
Deburring and Polishing Engine Parts
 05-17-2017, 03:31 PM
#1


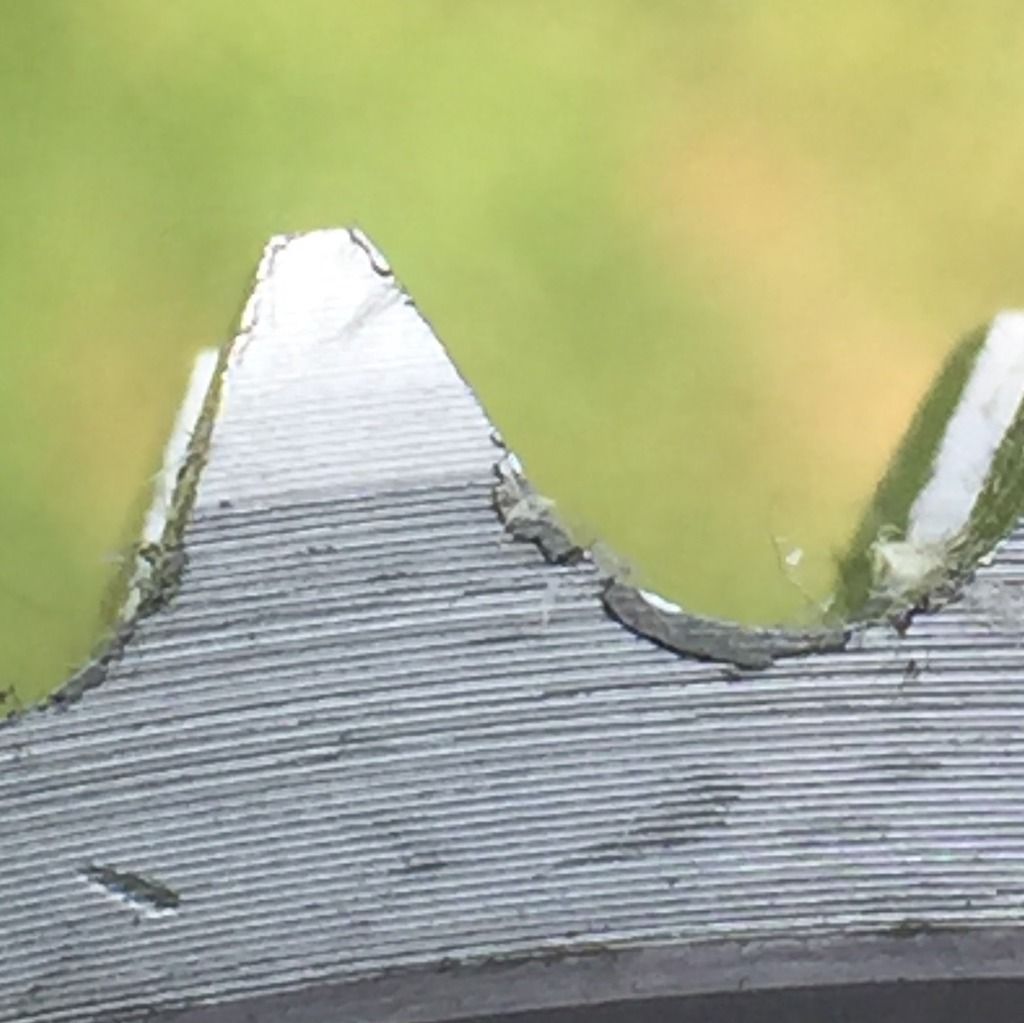
Timing gear before: notice all the burrs and laid over metal
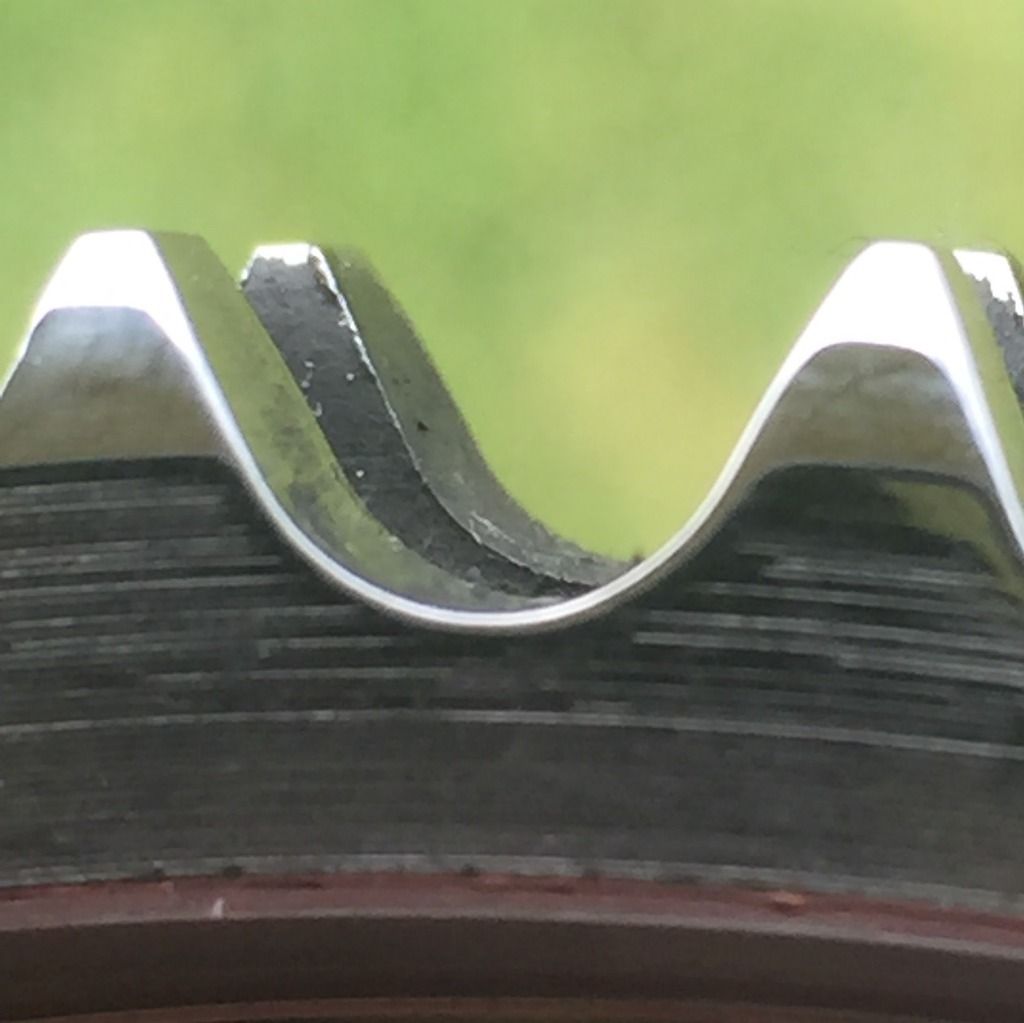
After: Just a quick buff with black emery jewelers rogue and a spiral wheel on buffer

After: Just a quick buff with black emery jewelers rogue and a spiral wheel on buffer

Last edited by Petraszewsky; 05-17-2017 at 03:32 PM.


 05-17-2017, 10:13 PM
#3
Safety Car


I can't say I've seen the gear polished, but I had to pull my cam and have it polished because it made a horrible noise when I first installed it and I was worried about how it was making the lifters vibrate. Sounded like I had a blower when I didn't 
This is a loud video, but it was taken after trying to make sure it wasn't something in the intake tract making the whirring noise.
This is a loud video, but it was taken after trying to make sure it wasn't something in the intake tract making the whirring noise.
The following users liked this post:
Petraszewsky (05-18-2017)
05-17-2017, 11:43 PM
#5
Safety Car
I don't believe it had a mirror finish on it but it definitely wasn't dull. Been a little while since Cam Motion did it for me sorry.
I also want to clarify and say that it wasn't a Cam Motion cam that they fixed.
I also want to clarify and say that it wasn't a Cam Motion cam that they fixed.
Last edited by sevinn; 05-17-2017 at 11:49 PM.
The following users liked this post:
Petraszewsky (05-18-2017)
05-18-2017, 11:09 AM
#6
Drifting


Well I have sent everything in my motor to be cryo'd and Micronite polished and it looks nice. I can't tell you if it helps, but it didn't hurt lol. Its relatively cheap to do and I like it so building two motors that I'm doing it to all the internals again. Crank, Rods, Cam,Wristpins, Valve springs Push rods, timing gears.
05-18-2017, 12:46 PM
#7
I'm coating a bunch of stuff in the engine as well...
I know in the second pic of the timing gear it looks to be polished smooth but in reality the machines grooves are there. I took a .003" feeler gauge and dragged it across the tip and you can feel/hear it catching on each one. It basically just deburred it... REM polishing, cyro etc etc actually make it much smoother and more uniform than my buffing wheel could ever do.
I know in the second pic of the timing gear it looks to be polished smooth but in reality the machines grooves are there. I took a .003" feeler gauge and dragged it across the tip and you can feel/hear it catching on each one. It basically just deburred it... REM polishing, cyro etc etc actually make it much smoother and more uniform than my buffing wheel could ever do.
05-23-2017, 12:57 PM
#8
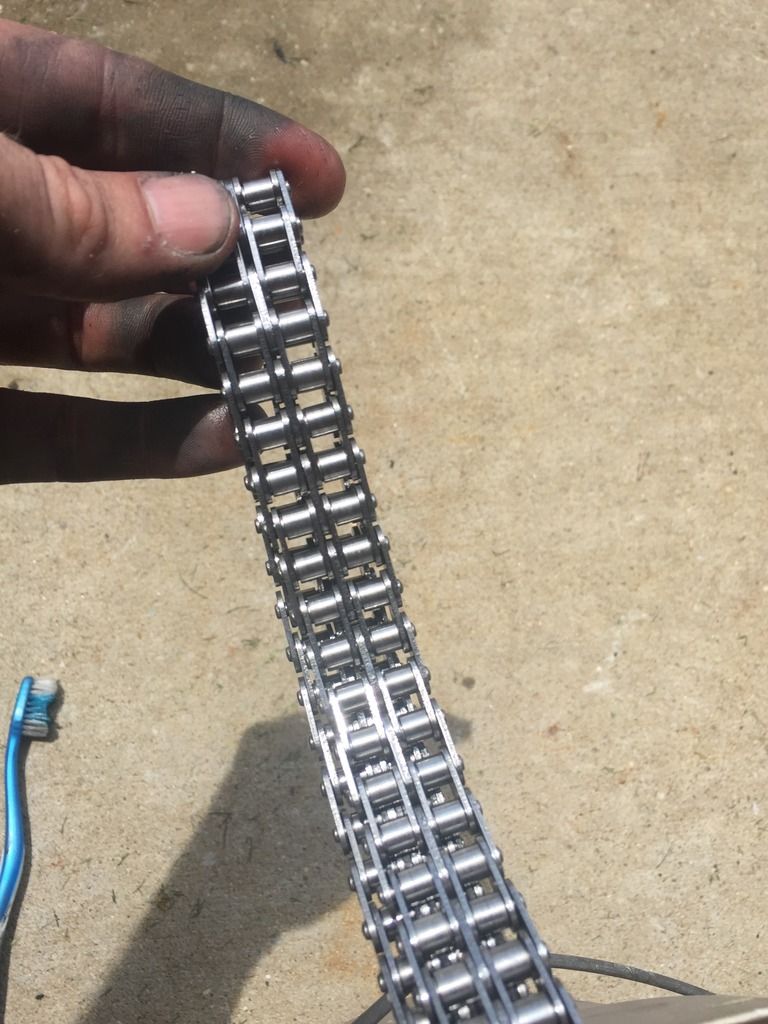
Some more messing up perfectly good parts:
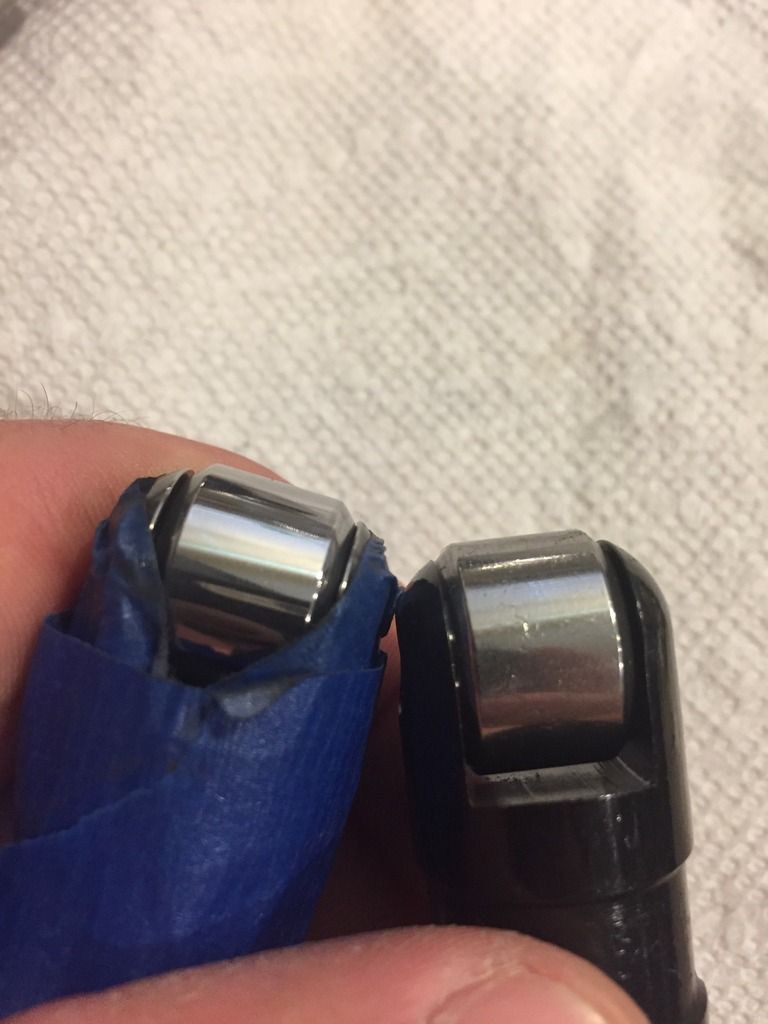
Polishing the rollers on the lifters
Saving weight

Valves and valves tips
Roller chain
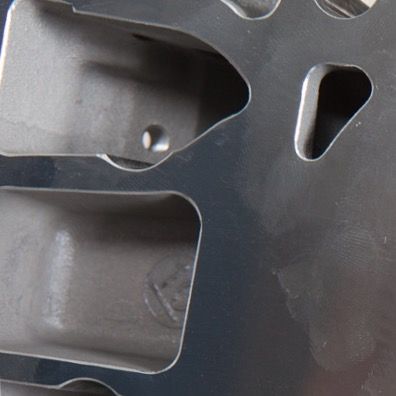
Cylinder head before breaking hard edges:
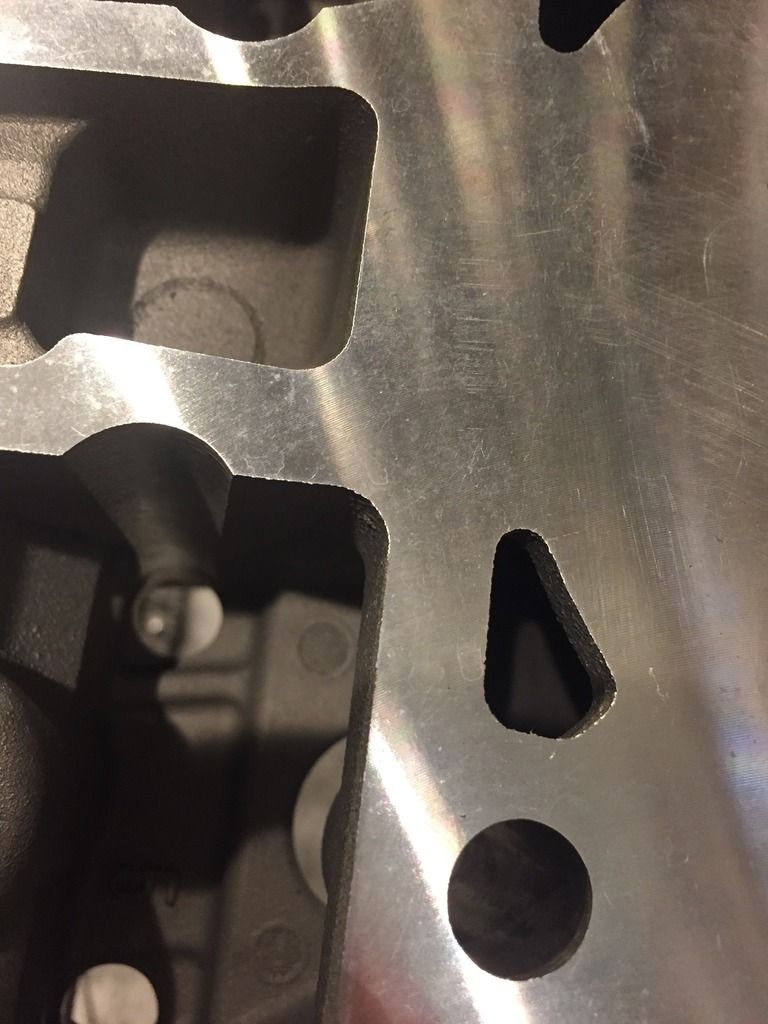
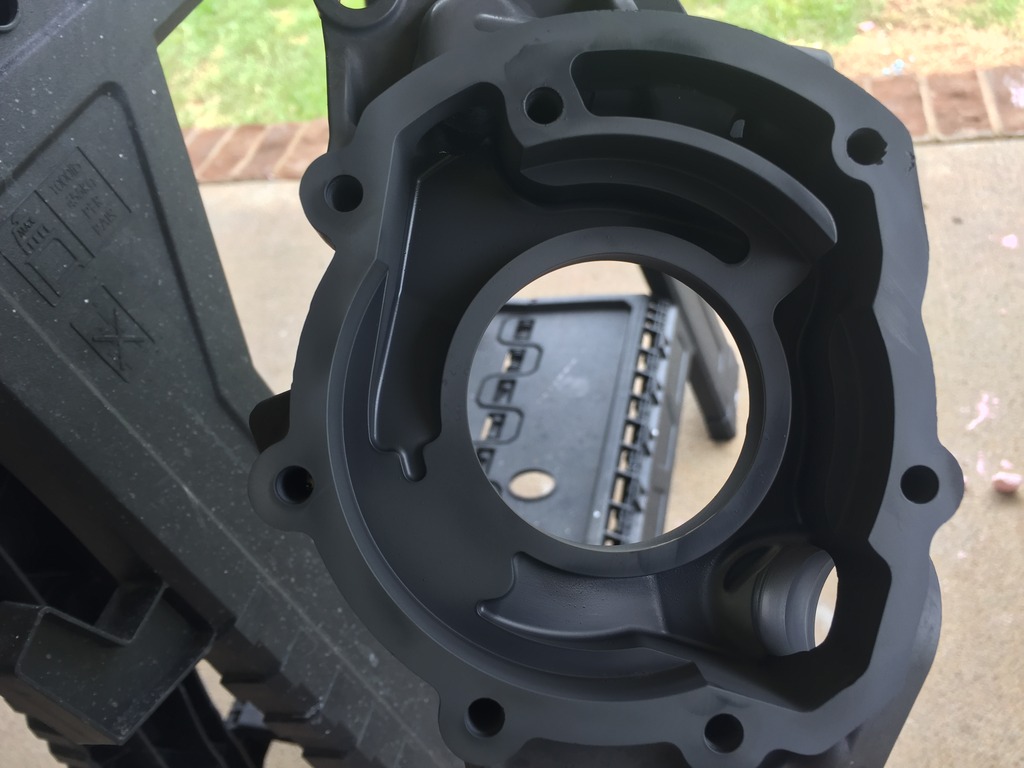
Cylinder head after breaking hard edges
Polishing the rollers on the lifters

Saving weight

Valves and valves tips

Roller chain

Cylinder head before breaking hard edges:

Cylinder head after breaking hard edges
 05-24-2017, 10:23 AM
#10
They're LS3 heads...the factory valvespring seats had a beveled edge that only allowed for a 1.250" diameter seat so I used a seat cutter to remove the beveled edge and allow for a 1.340" seat and shim. Now the installed heights are much closer together. The measurements on the head are prior to cutting.


 06-01-2017, 07:17 PM
#17
Yeppers you can have it "professionally" or do it yourself...the pistons and combustion chambers will get the Cerakote piston top coat (thermal barrier) Basically any other part is getting the mircoslick treatment. The blasting only etches the surface any and all marks in place prior to blasting are still there afterwards. So I'm polishing the surfaces to a mirror finish and then blasting/coating them. The backside of front/rear covers, valley area, block skirt, heads etc are getting mirco slicked for faster oil drainback.
06-01-2017, 07:17 PM
#18
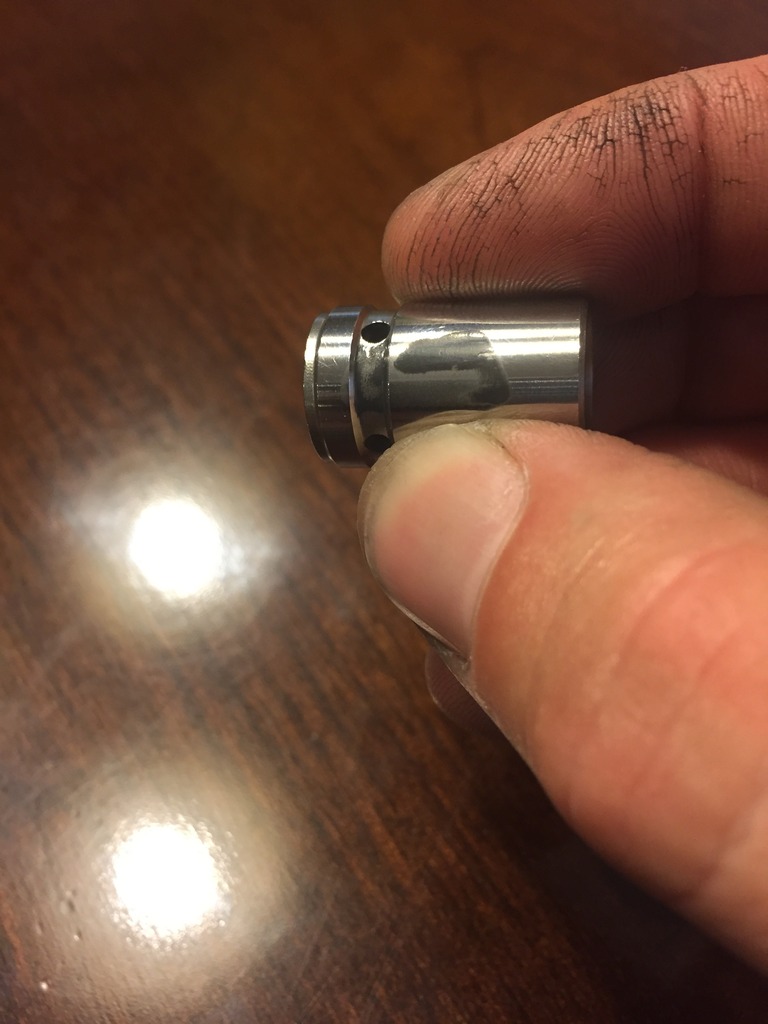
This stuff is definitely slick (brand new Melling 10296 after blasting and coating)
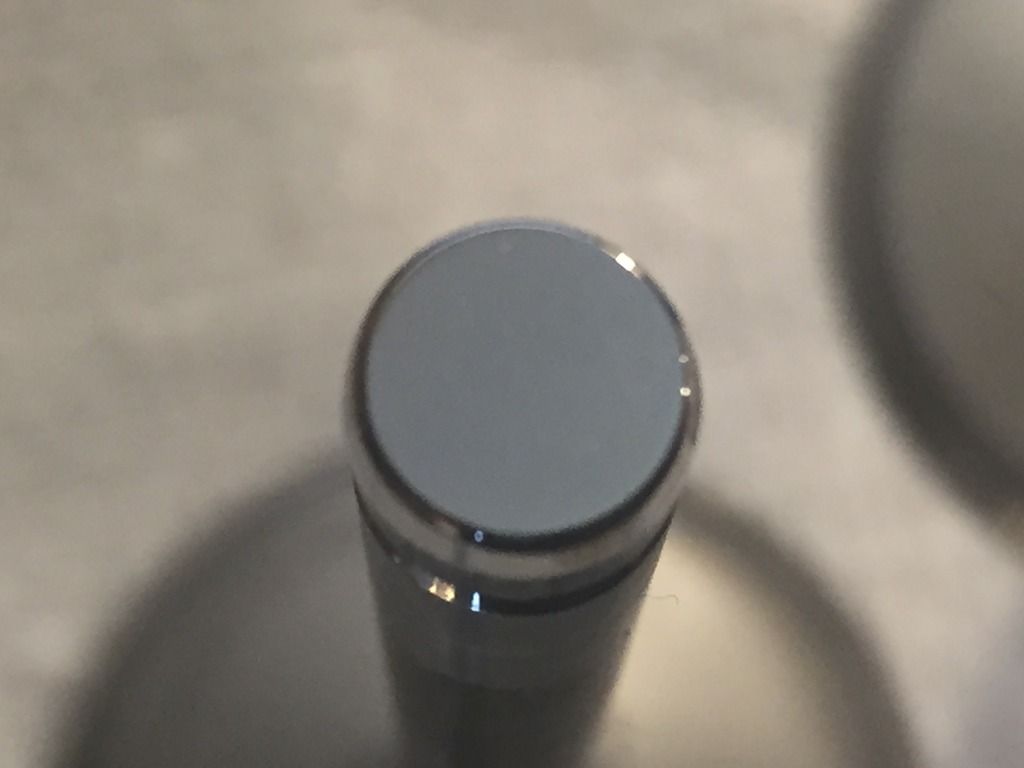
This is the pressure relief valve for the oil pump. I left it in on purpose while sandblasting and applying the Cerakote mirco slick so the port it slides in wouldn't be affected. Anywho a small spot got blasted and coated on the valve since I left it in so I removed it and polished it. (I was going to polish it anyways as these valves have been known to be "sticky") The micro slick isn't fully cured yet so I thought it would polish off within a 1-3 seconds....WRONG the stuff is so slick the buffing compound and wheel can't even catch on it to remove it and I purposely tried removing it!!! The professionally applied DLC (Diamond Like Coating) on my roller lifters buffs off within 2-3 seconds without even trying!!!!

This is the pressure relief valve for the oil pump. I left it in on purpose while sandblasting and applying the Cerakote mirco slick so the port it slides in wouldn't be affected. Anywho a small spot got blasted and coated on the valve since I left it in so I removed it and polished it. (I was going to polish it anyways as these valves have been known to be "sticky") The micro slick isn't fully cured yet so I thought it would polish off within a 1-3 seconds....WRONG the stuff is so slick the buffing compound and wheel can't even catch on it to remove it and I purposely tried removing it!!! The professionally applied DLC (Diamond Like Coating) on my roller lifters buffs off within 2-3 seconds without even trying!!!!

Last edited by Petraszewsky; 06-01-2017 at 07:18 PM.

The following 2 users liked this post by Petraszewsky:
Al-Bundy (02-08-2024),
LightningBrett (12-12-2023)

