When you click on links to various merchants on this site and make a purchase, this can result in this site earning a commission. Affiliate programs and affiliations include, but are not limited to, the eBay Partner Network.
Hello all, I want to provide some details that may make your install a little easier. Instructions from A&A are good, but can't possibly cover every little detail. Not knocking that amazing company in any way at all. But it's the details that can frustrate the hell out of you....
I really like how people here in the forum are helpful and provide detailed instructions on many things making life so much easier when working on our cars. What I will cover are the little things that I found difficult and hopefully my instructions will make your install easier.
First, roll your windows down so you can get in the car later and disconnect the battery....just do it first, trust me.
I removed the radiator vent to the hood extractor, the pcv hoses (squeeze white tabs), air inlet duct, air filter cover, all easy stuff. Don't put it on jackstamds yet, it's easier to do these first things when it's on the ground....
The engineers that designed the C7 wiring harness connectors are brilliant, but the connectors were very difficult for me to understand how to disconnect them. I am not an engineer and don't think like them. The MAF connector on the air filter cover was my first challenge. Trust me, the connectors break easily and must be treated gently. The MAF has a red tab, gently pull it away from the connector, use a flat screwdriver and twist it to get that red part to move away from the connector, then you will see a black rectangle piece, squeeze it while pulling the connector off. We are all strong, this isn't the time time to show off feats of strength (it's not festivus season) or you will break this stuff.
Next I unbolted the fan, then standing over the passenger fender, the fan harness connector has a tab, which you can't see, even with x-ray vision. It faces the engine, and you need to squeeze that tab and wiggle the connector off. That harness has a plastic piece attached to the fan to keep the harness in place. Don't waste a beer and 30 minutes trying to figure out how to undo it. Get some flat wire strippers, slip it between the fan and that unfriendly piece of plastic holding the harness and twist, and with glee in my heart it popped off.
The radiator needs to be drained so the lower radiator hose can be removed and lengthened, looking down from the drivers fender you will see a white plastic flat piece and that is the drain valve. Simple stuff here...
Put it on jackstands and remove the front wheels.
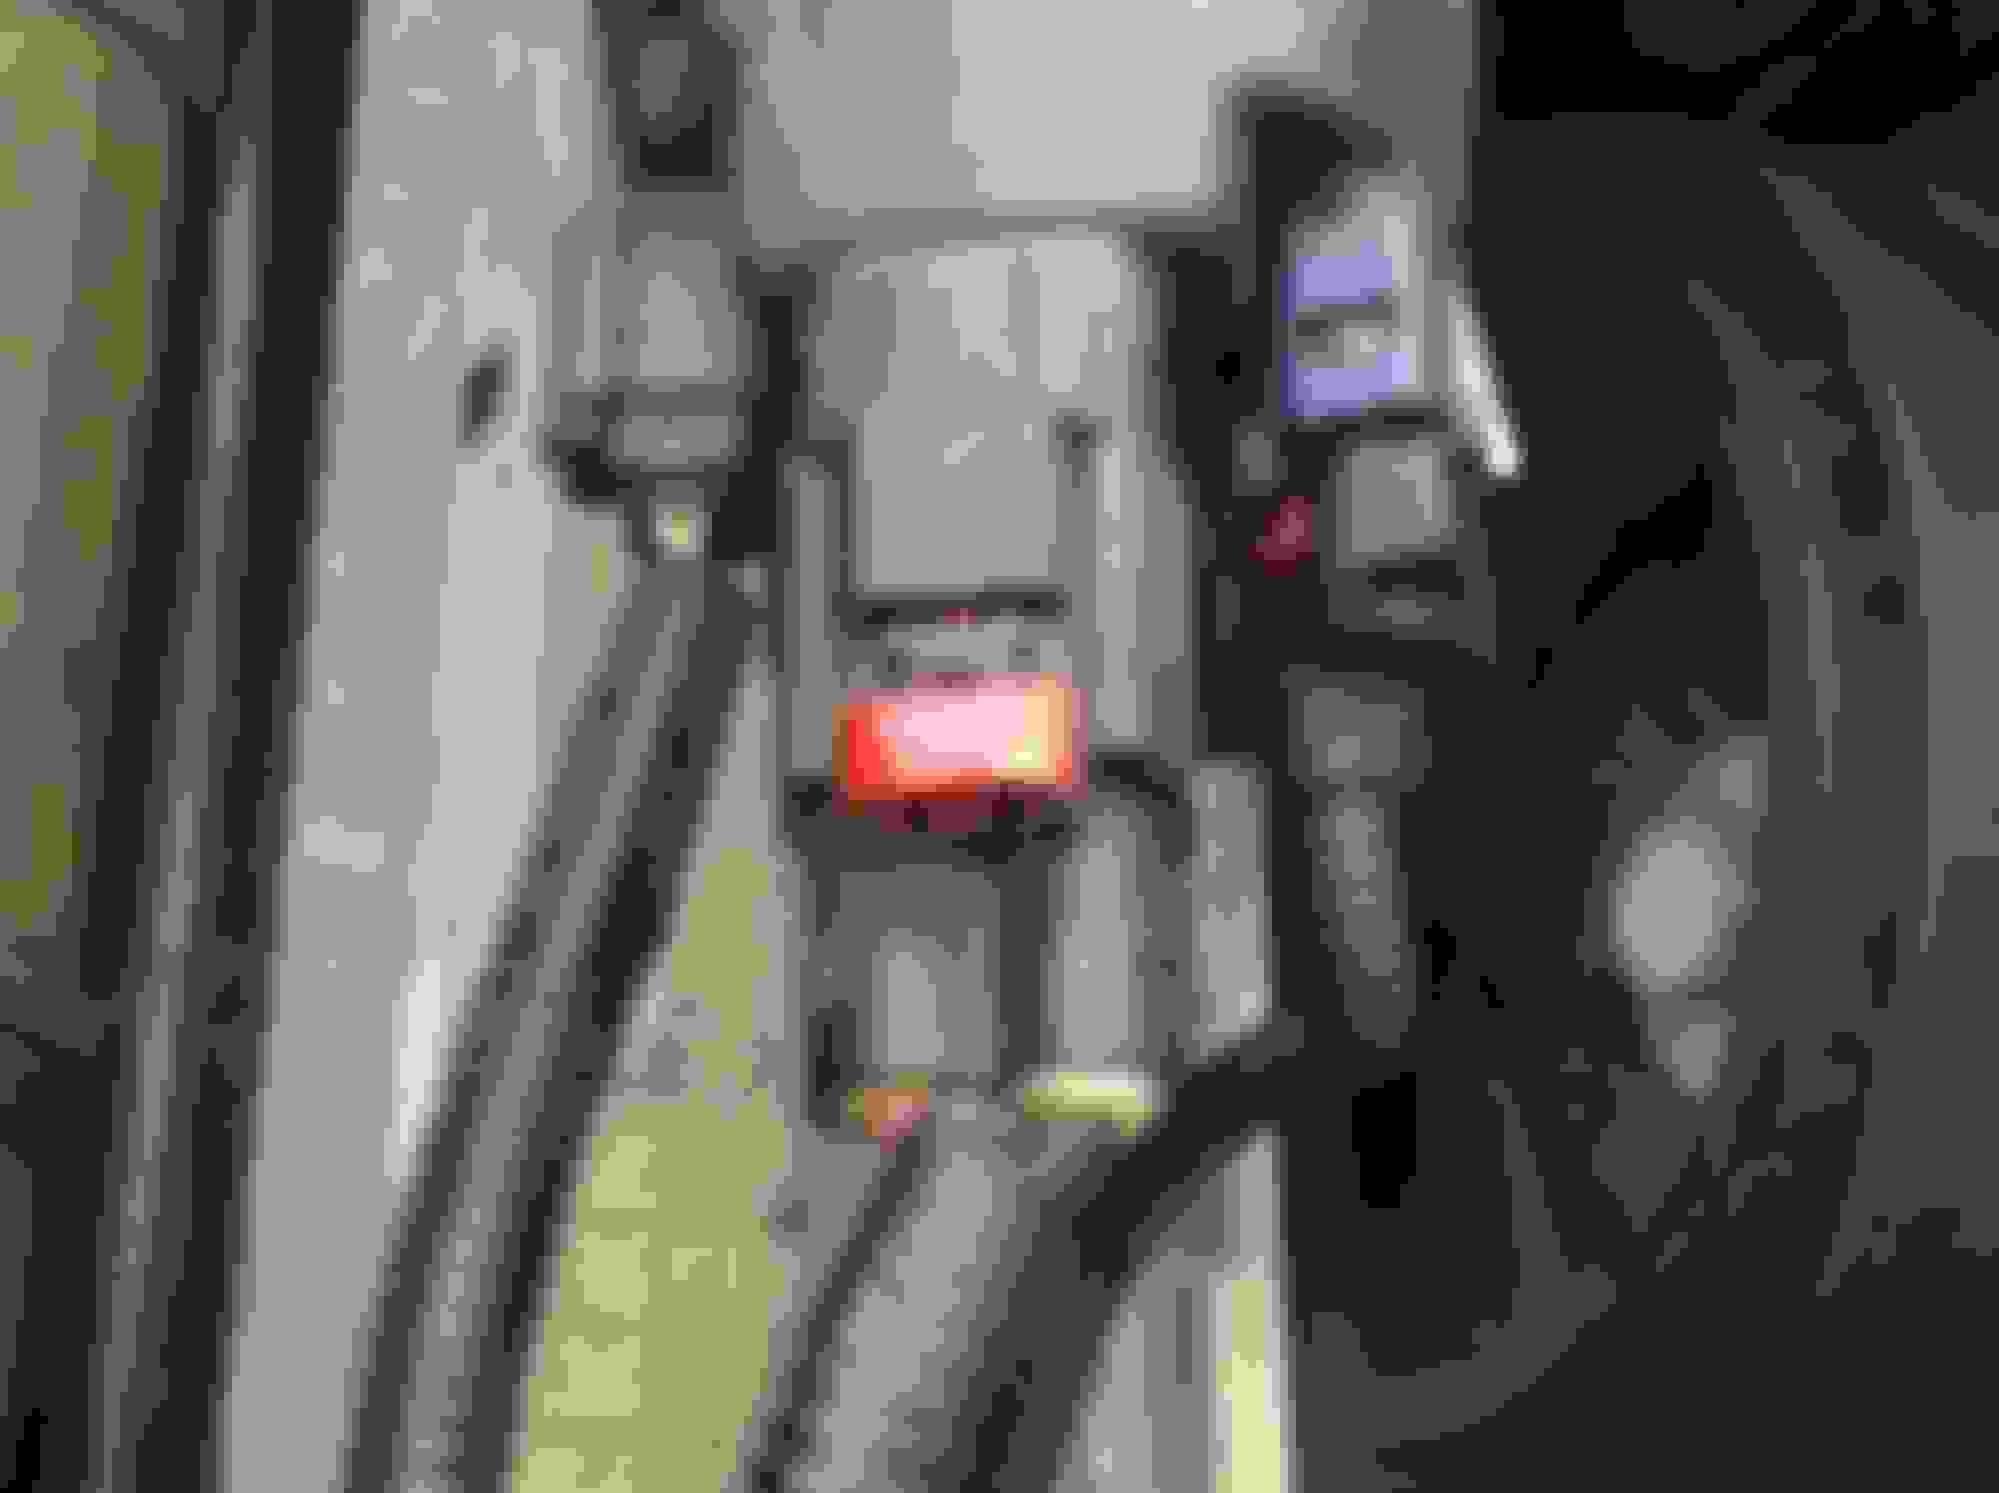
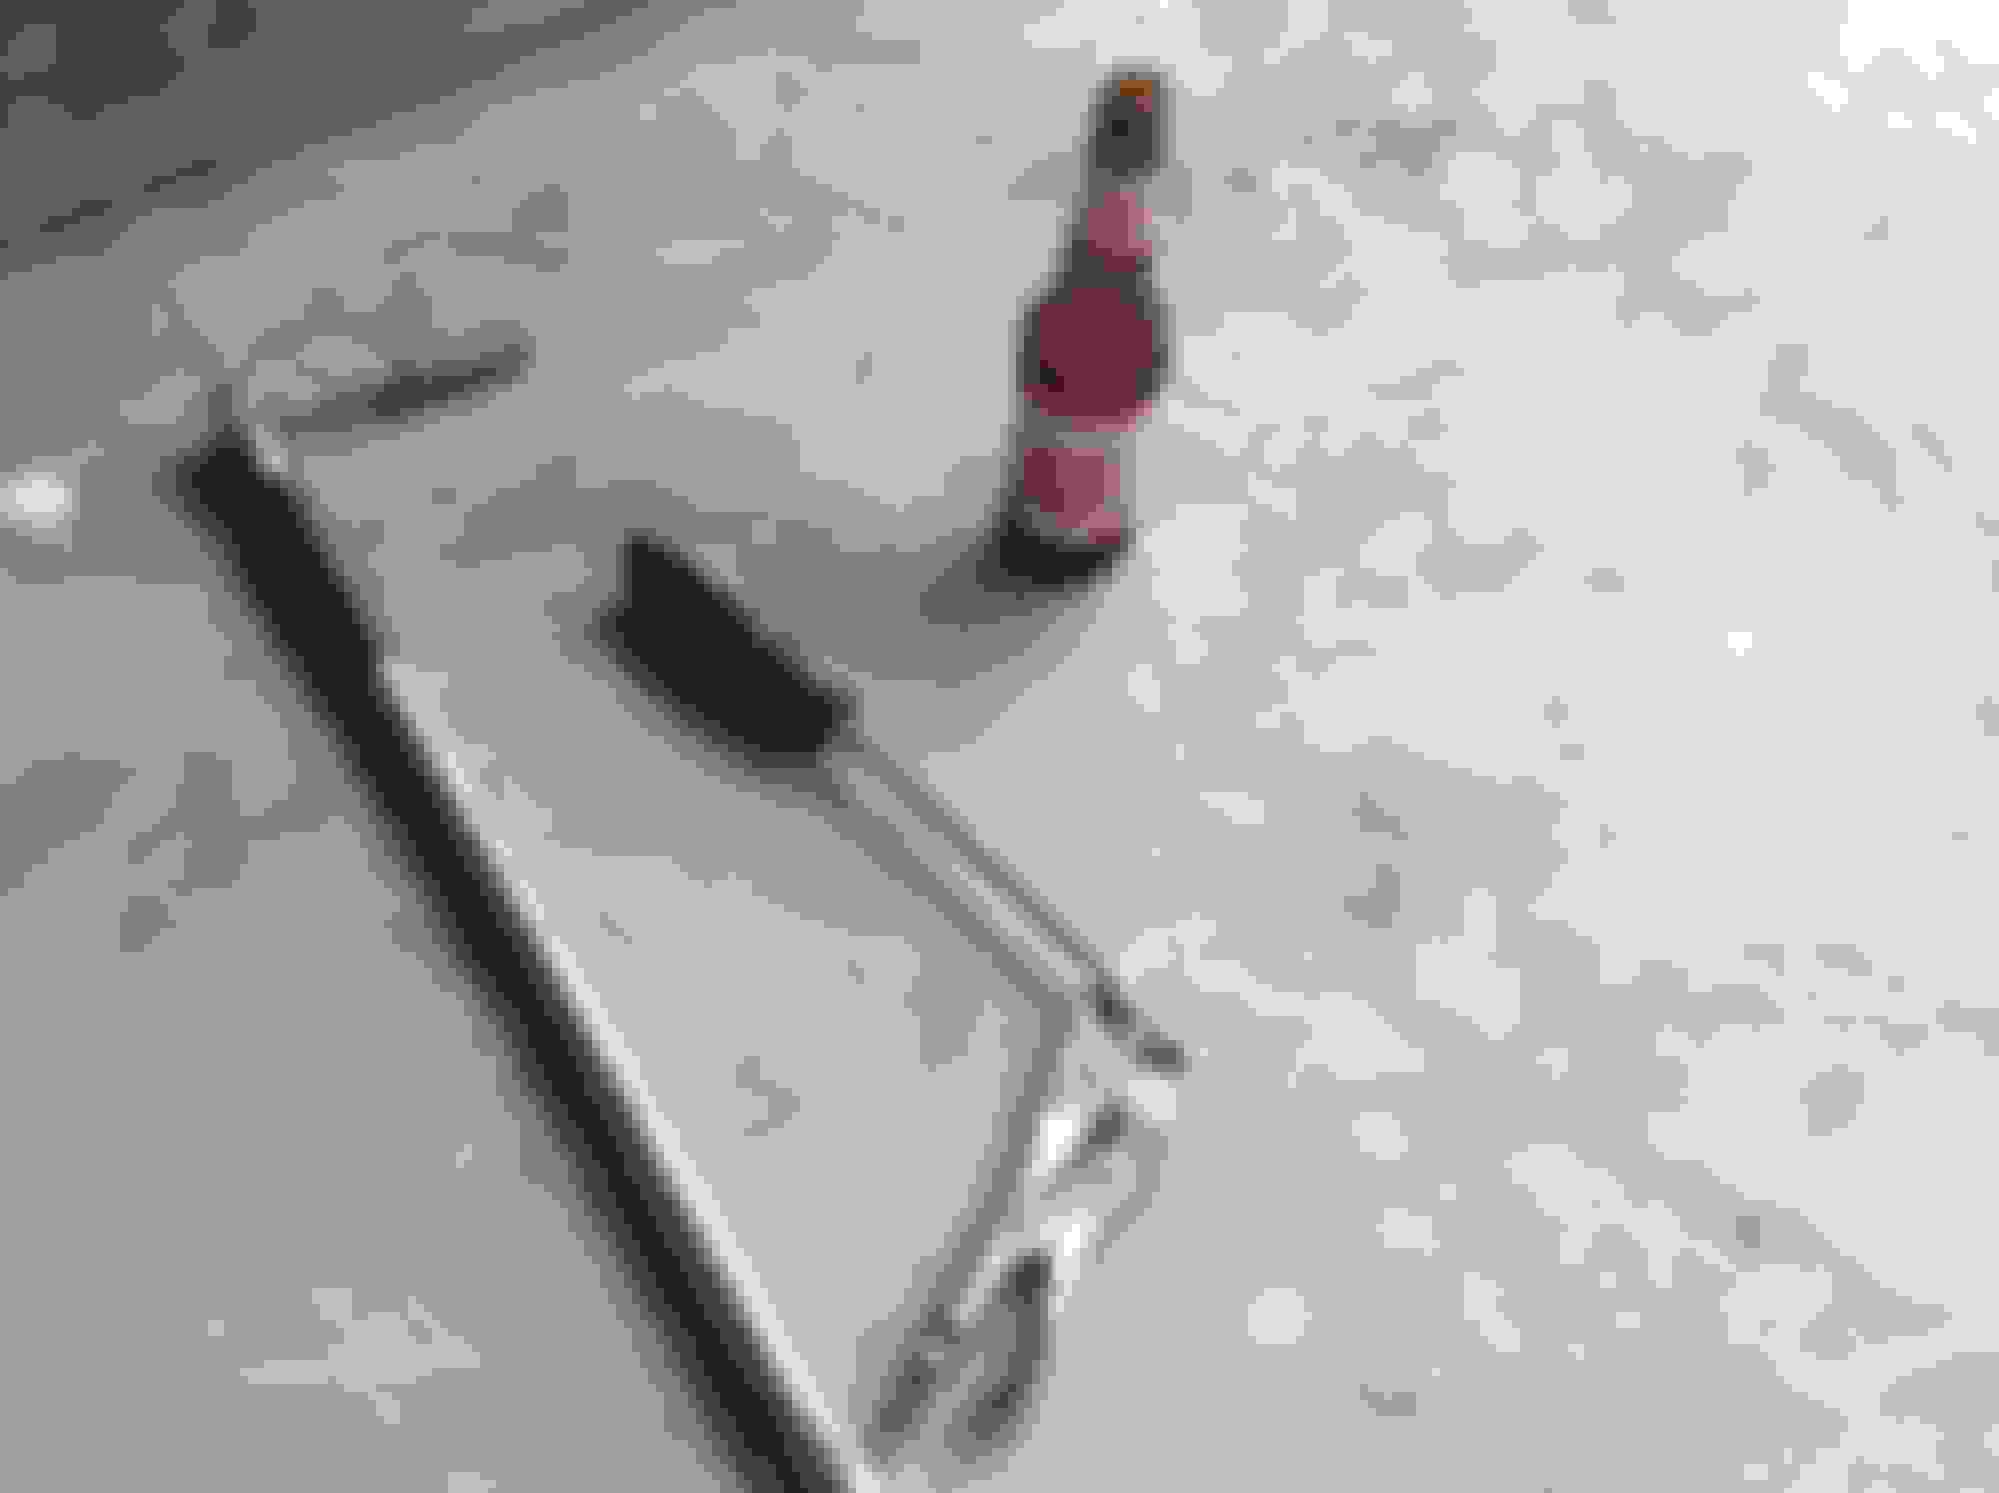
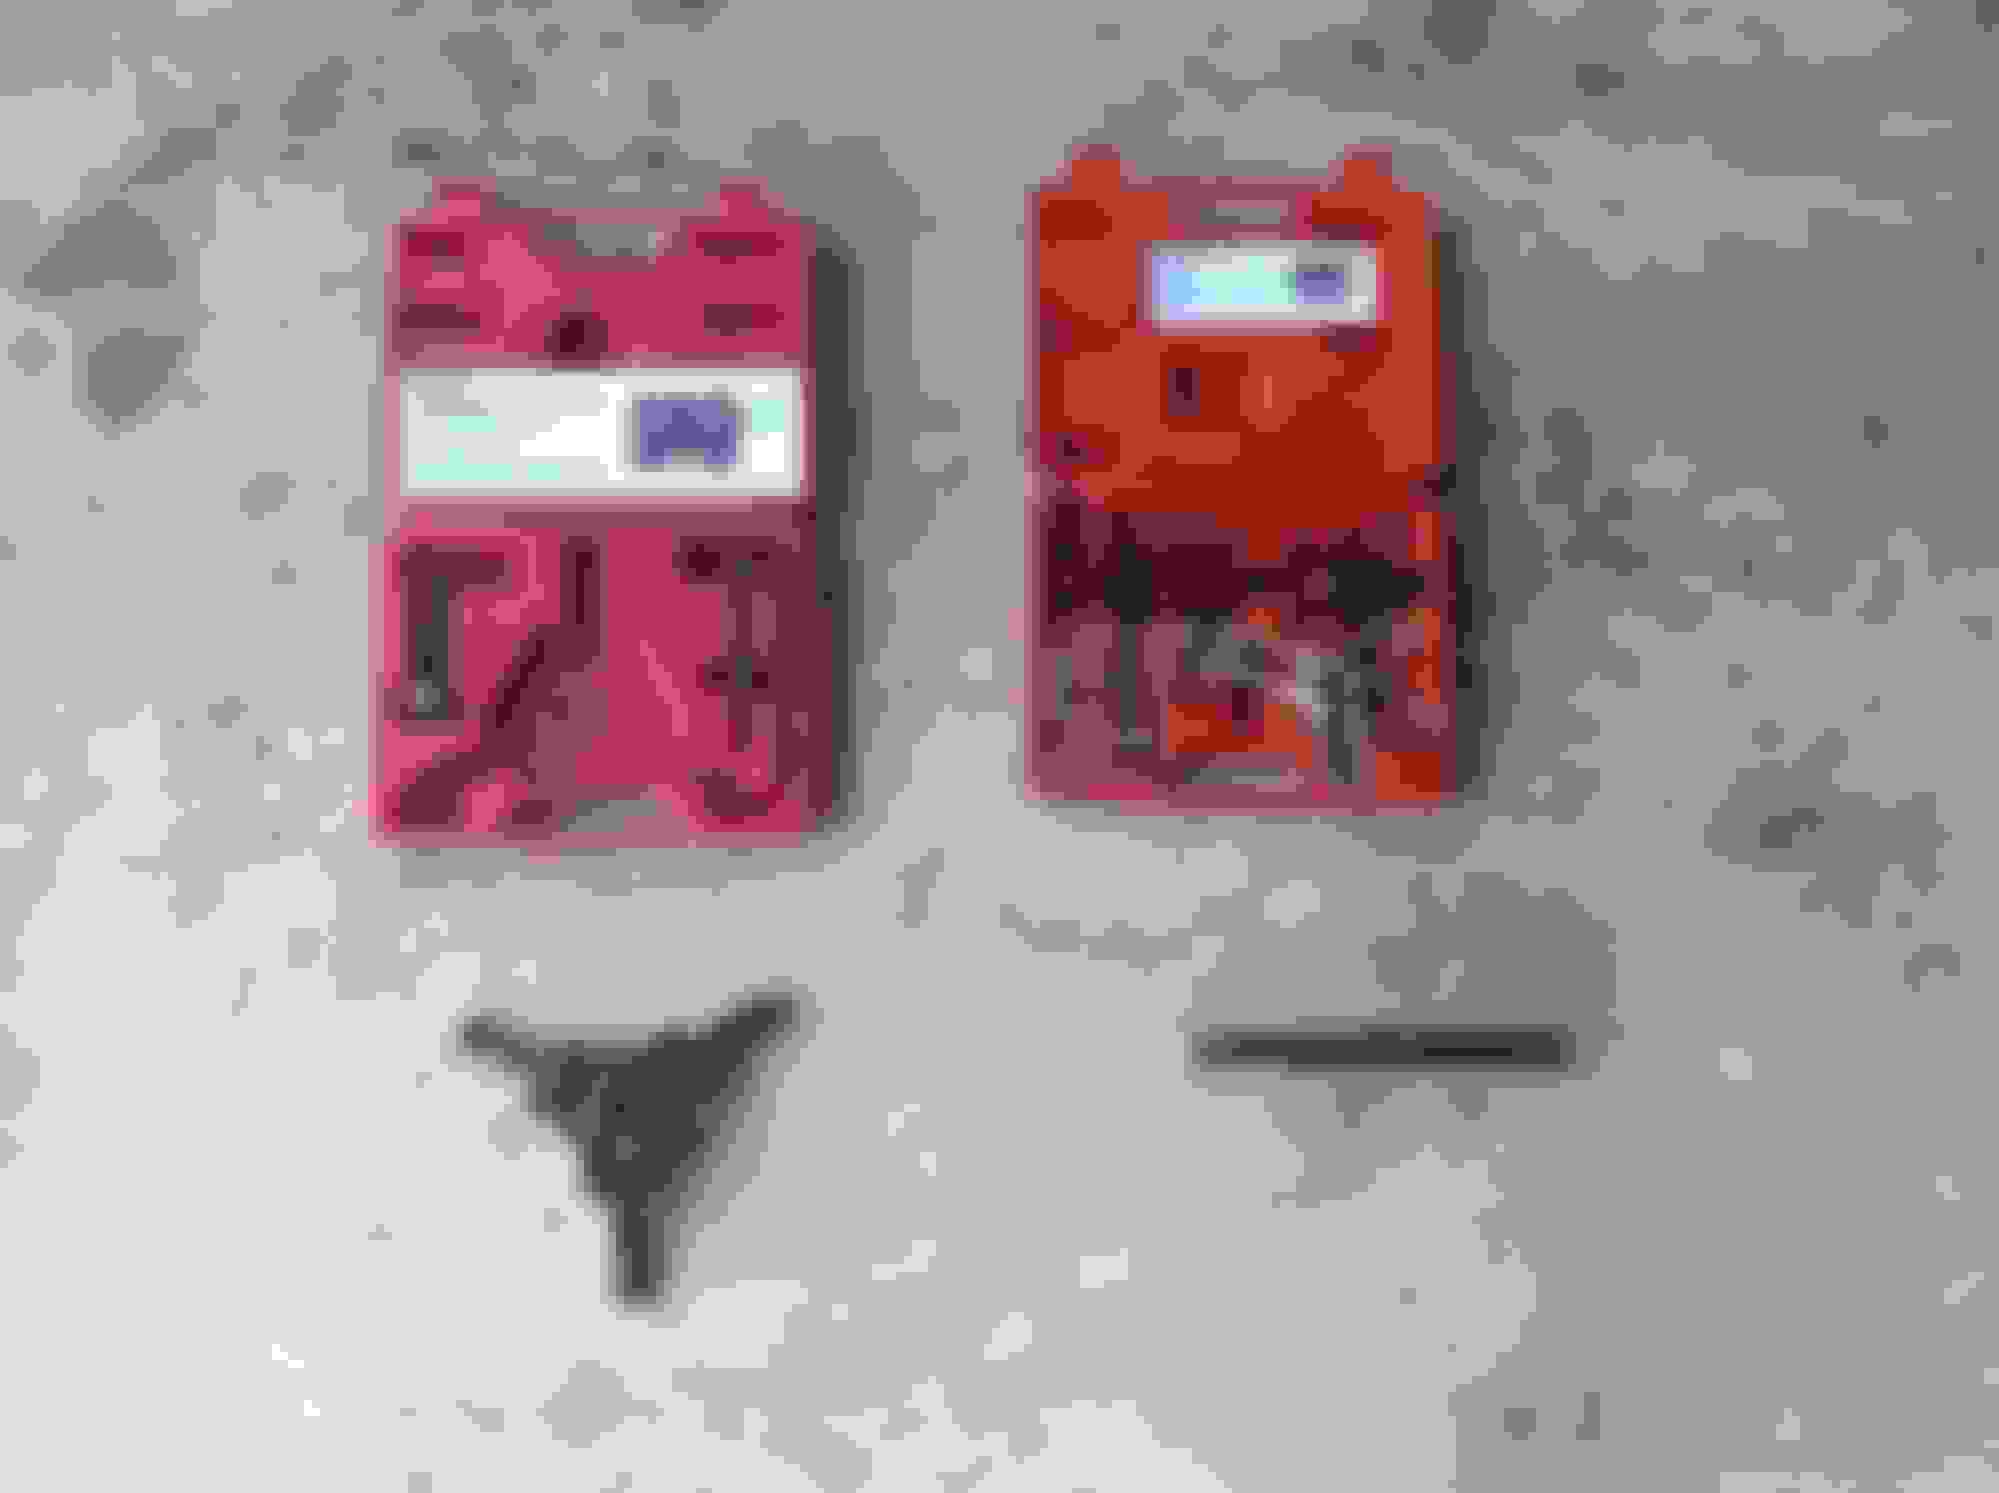
To remove the radiator hoses which are connected to the fan you have to disconnect/undo two plastic pieces that hold the lower radiator hose in place. I did a few searches online hoping that someone posted how to undo them but no luck. Under the car, with a very small flat screwdriver you have to pry the piece apart. You will see where the ends are when underneath the car. Trust me, these things take a lot of pressure to come undone. Below in the picture you can see how it's locked in and hopefully now you can see how to get it to release. It took quite a bit of force to get it undone, but it finally did. Breaking stuff like this, and having to order and paying crazy high prices for these little things is what drags projects on and on and drives people crazy. The next one was much easier. That was 30 minutes to figure out and half of a icy Lone Star. By the way, it's good beer when it's been in the freezer for 30 minutes and then placed gently in a Yeti or Walmart knock off cuzzie.
Next I wanted to disconnect the three connectors on the steering rack. And yes the evil engineers did a great job on designing these connectors as well. Standing over the drivers fender, the "top" connector (one on front, one on top, one on other side towards engine) on the steering rack has a red piece, push a small flat screwdriver between the red piece and the connector, twist gently and that red piece slide slides forward towards you. Cool... Now you will see a black tab exposed that must be squeezed while you pull the connector off gently.
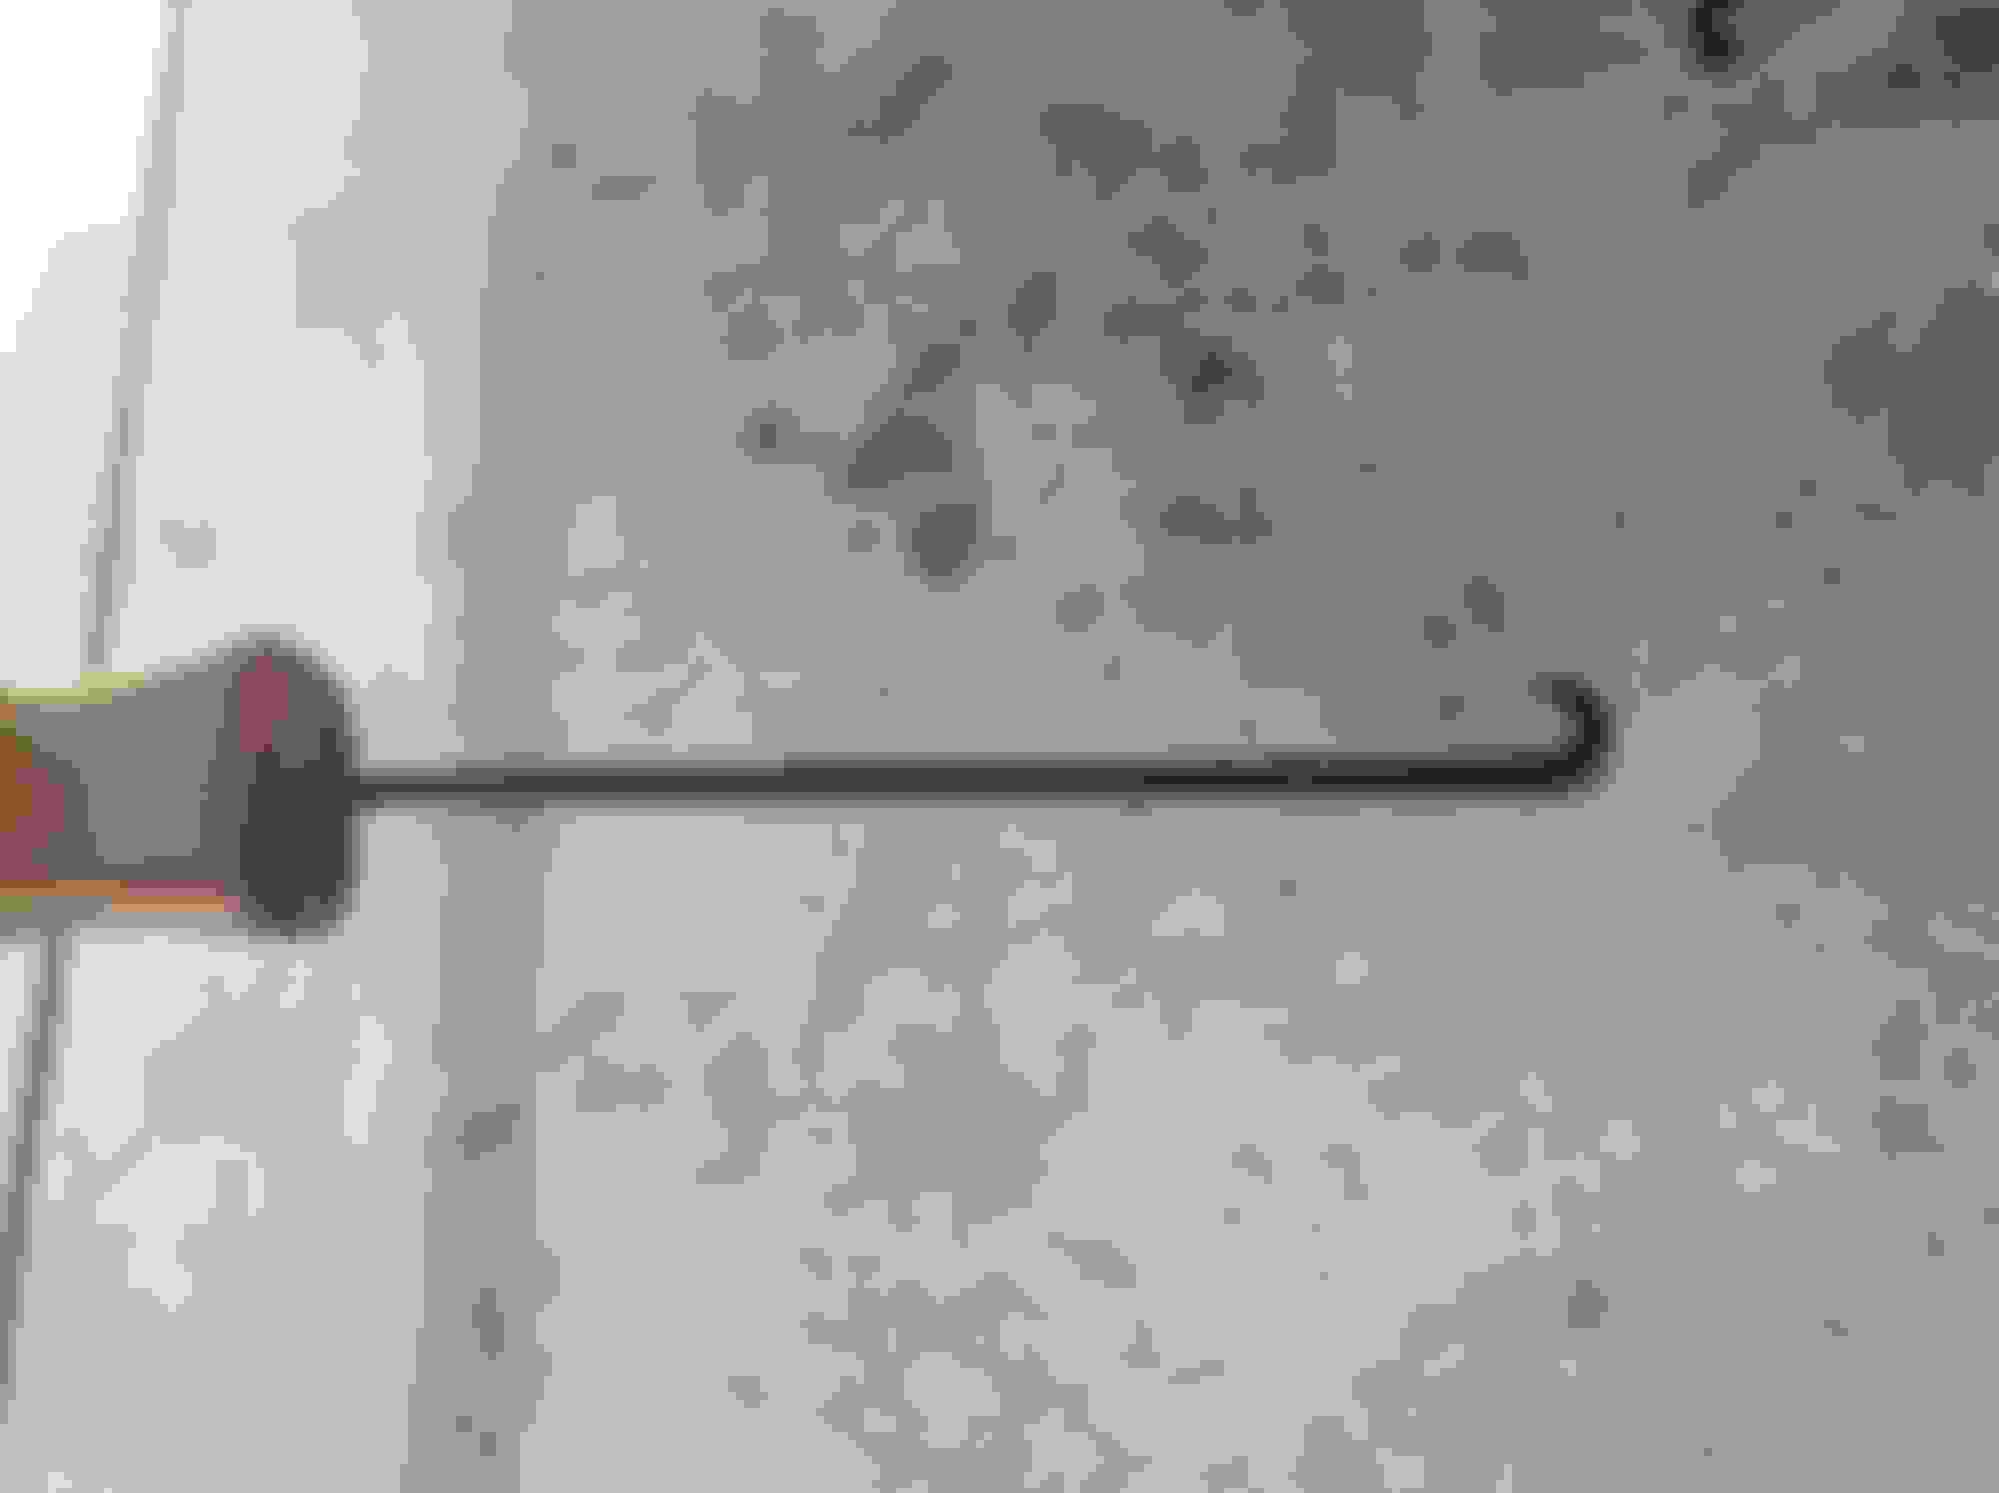
The next steering rack connector is towards the engine, which has a small red rectangle facing the front. Very hard to see, but it's there...waiting for you to try to figure it out. The person who designed this connector had to be in a bad mood, maybe ex wife issues, who knows. Anyhow, you need to buy, find, borrow, steal, whatever, this tool:
Use the tool with the hook facing the engine, and use it to hook the almost invisible red tab, and gently pull it towards you as you are standing over the drivers side fender. Does it come off now? Of course not.... using that absolutely must have tool, you need to use the hook portion to push in the impossible to see tab that the red tab previously covered. This connector is really close against the steering rack, so I just kind of twisted the hook to apply pressure against the tab that is completely impossible to see, even with x-ray vision. As you apply pressure to the invisible tab, you should gently be pulling on the connector toward you and hopefully it come off without too much cursing.
The last steering rack connector (yay!) is the one on the rack towards the front of the car. Save this one for last. Believe it or not, it's the easiest one to remove. There is a tab, and no it's NOT red, it's grey! Just place your finger on the grey tab, standing over the driver side fender, and gently pull the tab towards you and gently pull the connector towards you while keeping pressure on that grey tab. Once that was done I was quite happy as I had not broken anything. Whoever designed that tab is a great designer, as the connector simple to understand.
Removing the steering rack, now that the connector puzzles have been solved, is a piece of cake. The sway bar looks simple as well. It's all accessible with the front wheels off and on jack stands. Total beers consumed was two at this point, possibly three....
Tomorrow I will get the steering rack and sway bar out and start the dreaded "How the Hell do can I get this harmonic balancer bolt out" process. According to Andy at A&A it can be removed with an impact gun. We shall see, read many stories of how hard it was to remove it. My plan is to get the most powerful air impact Home Depot offers and get the air pressure in my compressor to "danger" territory.
Great job. Glad to see other people writing how to guides.
A couple things to note:
- Only two of the steering rack connectors need to be removed. One of them comes out with the rack entirely.
- When removing the sway bar, do not take off the bar bushings and bushing covers. Simply unbolt the actual big brackets that hold it in there. (The ones that have the lower hood strut connecting to.) obvioulsly this means you have to take the hood off, but you're going to want to take it off anyway to get better access in the engine bay for the rest of the install.
- The hood struts have a black metal tab on the outside. Put a small flathead screwdriver behind the tab and pry outwards while pulling off the strut from the mount.
- The crank pulley can be nasty. I used a Harbor Freight "Earthquake" impact with 750 lb ft of torque on my 80 gallon compressor at 150 psi and it zipped right off after a few hits.
- to pull the crank pulley off you will need a three jaw pulley puller. You can get one from Harbor Freight.
- I would recommend you are careful with the connectors and red tabs on the various wiring harness locations. But if you run into an issue you can use a small hook like the one you pictured from the opposite side to life the locking tab up.
- The hook you pictured is usually part of a set with 3-4 other types of similar tools called and pick and hook set.
- If you have trouble removing the tie rod ends from the knuckle, thread the nut back on for safety and wack the knuckle with a hammer to release it. You would want to do this on the outside of the hole where the stud goes through it.
- The sway bar end links will spin without coming loose. You'll need to use a wrech for the nut and a wrench for the stud as well to hold it from moving.
- When putting the blower on, put the two mounting bolts closest to the drivers side into the engine first. Trust me.
- Mounting the intercooler can be difficult with two people. If doing it alone, put one side on a floor jack and hold the other side up as you put bolts in.
You can rent for free from autozone a crank puller,I think it's the dodge one that fits it.
I broke the damn steering rack wire harness when removing mine I found that aluminum duct tap worked well to keep it attached in case some other idiot like me did the same thing. Also do your self a favor and buy the break out harness for iat breakout and 3 bar map sensor. Don't wast your time trying to tap those wire if your are doing so. Trust me it's not worth the aggravation. I had issue with the connectors pushing out of the maf harness when plugging it back in. Take a silver sharpy and make a line across wires to visibly be able to see if your move when reconnecting.
Yeah, let the fun begin. You should have flywheel locking tool tomorrow or the next day.
FYI, if you are deciding to switch out your grill with a zo6 one now is the time. Taking off the nose makes it really simple to cut out for intercooler.
Got the ABS module moved. Install the new A&A bracket to the module, don't forget to take the rubber bushing out of the old one and put in the new one (I did). You will see how much you need to move it to get it to bolt in where the old one was at. It's got to move a few inches back and over towards the frame rail. The "over" part is important as that's needed to clear the blower. Loosen lines a smidge, just so the lines turn. I started with bending the lines below the booster for rearward movement towards firewall. They are already bent, just keep tweaking them in small amounts
Then bend the lines below the module that turn so they run parallel with the frame towards the firewall. They are already bent that way, but bend them more. The goal is get get a few inches of movement towards the firewall and over towards the frame.
Then bend the lines on top of the ABS module towards the firewall. One at a time, in small bits. I would work the lines a little at a time like this: The ones below the booster (1st pic), then the ones along the frame, then the ones on top of the module, over and over until the bracket would bolt up without too much pressure. When I went to tighten the bracket to the subframe I used two long ratchet extensions together as a prybar, wedged it against the cylinder head and the ABS bracket to really get that bracket towards the frame. Took about two leisurely hours and in the end I had well over a 1/4" clearance from the blower. Don't forget to tighten your brake lines
Intercooler is installed. Quite a pain, the plastic is thin and easy to cut with a sharp box cutter. Took my time, used a jack with a piece of wood and a towel to hold it up, used tape as a guide, and cut inside my tape lines. Marked tape with a sharpie where I needed more clearance, removed intercooler, trimmed, jacked it back up, saw where I needed more clearance, repeat maybe 15 times. There is a template and yes I used it, but it wasn't a perfect fit with the initial template cut. Nothing's perfect...in the end it fits good. Took about four hours total to have it installed.
Went to install the blower to make sure the ABS unit had clearance. I was baffled as to how to tighten up the bolt that was behind the tensioner. You couldn't get to it. The instructions said nothing about this...
Called A&A and they said you have to remove the tensioner and they apologized for that not being in the instructions. No problem....remove the gold 9/16" in the center and the other one on the tab to the left and the tensioner comes off.
Bolted up the blower and there's is plenty of clearance with the ABS module.
Changed plugs. Not a pleasant task. Headers, no manifolds. Read stories about pulling fuse box, then saw how some broke the main 12V and negative lugs because it's crazy tight, and the plastic is thin where the lugs are at...pass on that. If you are a big dude with big hands good luck, it's tight. Maybe convince your son, daughter, boyfriend, girlfriend, wife, etc., just anyone with small hands to do it for you. I don't have leprechaun hands, but apparently they are just small enough... with no room, I didn't have any leverage to pull the spark plug boots off. I clamped vise grips on the metal plug wire sleeve, gave it a few twists, and used the biggest screwdriver I had to use for leverage against the vise grip to pop the plug wire off. Used a deep socket with a short extension on my ratchet. No room to grab the ratchet and apply leverage so I used a jack handle as a cheater pipe to loosen/tighten. Save the passenger rear one for last... Check the gaps for .035.
Wide band sensor installed, luckily the header had a bung available to use. Sensor wire by header wrapped with 2000 degree heat wrap and run up to drivers side footwell. Will fish it through firewall with Alky Control wires when I get to that point.
Last edited by Steve Garrett; 08-04-2017 at 09:10 PM.
Reason: Merged Posts
The harmonic balancer bolt as you probably know is extremely difficult to break free. I bought the most powerful impact I could find but my little compressor couldn't push enough air. Having an automatic means you have to keep the engine from turning over. You need to buy a flywheel locking tool. There are not a lot of options that I saw. Forum member Chefcg1 is an awesome dude and sold me his. Many thanks to his generosity! Here is the tool and it's $28 from MAF Racing who hand makes them.
With the flywheel locked I used a four foot pipe from Home Depot as a cheater pipe, braced myself while standing in the engine compartment and broke it free pretty easily. Trust me, that tool is well worth it. If your going to spend over $5K on a blower, spend the $28 for that tool.
Got the Chrysler harmonic balancer removal tool from Autozone (free rental with refundable deposit) but the bolt was too short. Went back and got another set that had the perfect bolt. The two sets together worked perfectly.
Torque the bolt at the end of the rack, which is called "Adjust Link Nut" (Outer) to 22 ft lbs then 120 degrees more. Thanks to forum member ErnieN85 who helped on that cause it ain't called "The nut at the end of the steering rack"....
Install sway bar. Note this can be installed upside down if you are not paying attention, and yes I did just that...
Long bolt going straight up (vertical) into the cradle is torqued at 93 ft lbs. Smaller bolt going horizontal into the cradle is torqued at 60 ft lbs (guessed on this one as I couldn't find it listed). The bracket that clamps over the sway bar, called "Stablizer Shaft Insulator Clamp" has two bolts. Specs call to replace these, one time use only, your call on replacing them. I didn't. Torque them to 22 ft lbs plus 50 degrees, which is 37 ft lbs when done.
Zip tie blower drain line.
Fun time, installing the hoses. Passenger side intercooler to intake was easy. But the tube will hit the fan, no way around that. By the way, I installed the tubes, then the fan.
Drivers side, not easy. Intercooler bracket on drivers side needs to not be tightened down, need room for clearance. Once that hose is on, then install the intercooler bolts.
Make sure the top of the radiator hose doesn't hit the pipe by the MAF, mine did so I cut a bit more off and it fit great.
Put the 45 degree silicone couple on the airbox cover, tighten then install that. Then install the tube that goes from there to the blower. This part is incredibly difficult. A&A said to slowly trim the silicone coupler from the blower to the aluminum tube to reduce its length until you can get it to fit. I trimmed at least 3/4" from both ends.
This is not in the instructions and I decided to do this on my own. I cut off the radiator tab and trimmed 1/4" off the two areas with tape on it.
That trimming gave me a little room to pull the pipe coming from the air box towards the radiator fan. With the silicone coupler trimmed, and that extra room, the airbox tube pulled back against the radiator fan the coupler will now line up with the blower
With the coupler trimmed, it slipped onto the blower fairly easily.
Last edited by Jaycajun; 08-12-2017 at 06:16 PM.
Reason: Merged Posts
Were you able to everything while keeping the nose on the car?
Yes, nose does not come off. Already had it off previously to install tow hook since mine didn't have the receiver. Tow hook is not for bling, it's for towing when the axles and/or differential eventually breaks...
Yes, nose does not come off. Already had it off previously to install tow hook since mine didn't have the receiver. Tow hook is not for bling, it's for towing when the axles and/or differential eventually breaks...
If you run meth you need to order the barometer/IAT breakout kit. Bought it locally (Texas) from forum shop owner Dsteck. They are $150. When you order your A&A kit, just ask them to weld the IAT bung for you unless you have a tig welder handy which I don't. Their fee is well worth it. I wont install the breakout kit until it's at the tuner's hacienda....
Didn't have one. The ZL1 company owner (great dude) said C7s produced prior to 1 Jan 15 didn't have them. Looking forward to using your fantastic Alky Control install documentary as soon as it arrives, which hopefully is soon.....
Didn't have one. The ZL1 company owner (great dude) said C7s produced prior to 1 Jan 15 didn't have them. Looking forward to using your fantastic Alky Control install documentary as soon as it arrives, which hopefully is soon.....
Thank you! So are you saying you were able to add a tow hook to a C7 that did not have the threaded hole in the front?!
Thank you! So are you saying you were able to add a tow hook to a C7 that did not have the threaded hole in the front?!
have to get the plate that ZL1 makes for the 2014 drill a hole & bolt it into place are you can also weld it in. I drilled mine Ant & works are looks like factory. But the cost is more from them for the 2 bolts & plate. Robert

 07-29-2017, 09:10 PM


 have to get the plate that ZL1 makes for the 2014 drill a hole & bolt it into place are you can also weld it in. I drilled mine Ant & works are looks like factory. But the cost is more from them for the 2 bolts & plate.
