When you click on links to various merchants on this site and make a purchase, this can result in this site earning a commission. Affiliate programs and affiliations include, but are not limited to, the eBay Partner Network.
For those members that own a Quick-Jack and were wondering if you can pull the drivetrain for clutch replacement, I can confirm that you can pull the drivetrain for clutch swaps or whatever you need to do, resulting in removal of the Torque Tube.
The Quick-Jack’s support of the car is “Rock-Solid”! [I had to get Mid-Evil of both half shafts to get them unlocked from the differential]!
The Quick-Jack was set to the highest mechanical stop during my drivetrain removal process and the Trans jack had plenty of lifting margin when supporting the trans-torque tube for rear cradle removal.
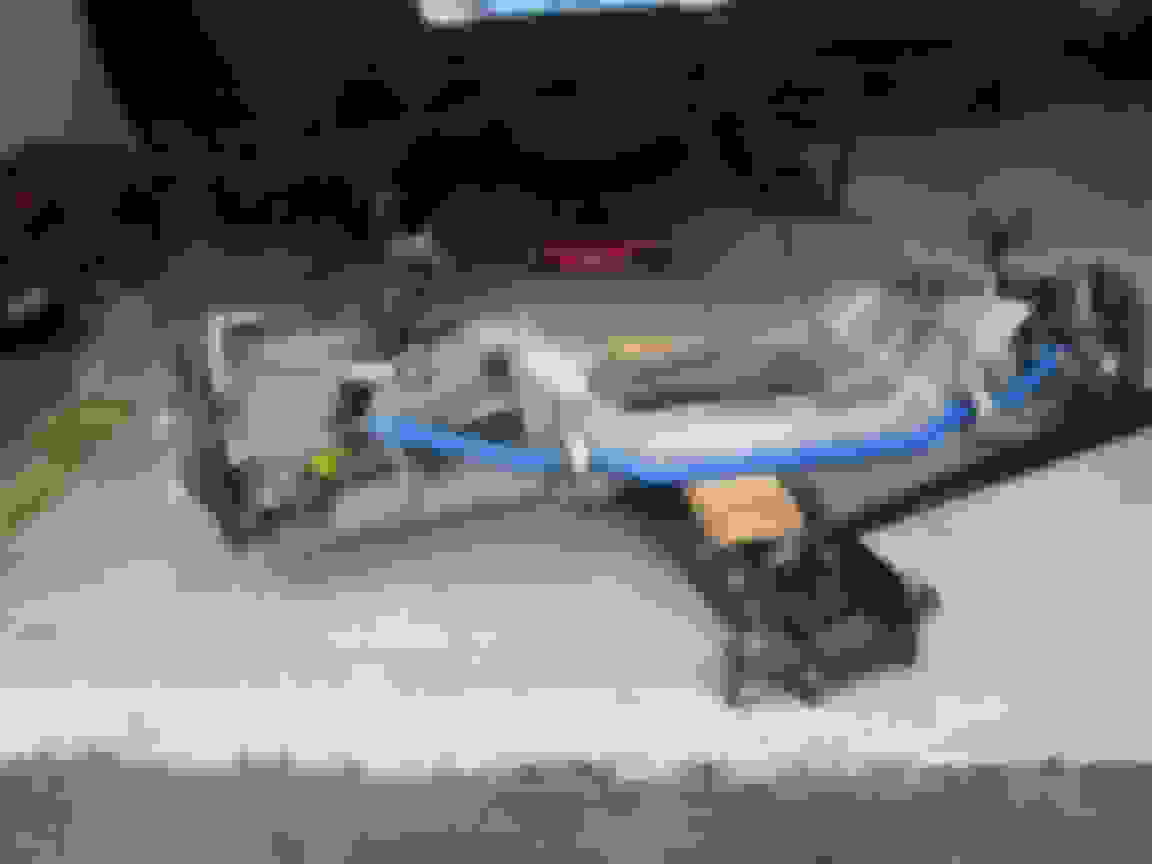
Pics
Cheers,
Kevin
Last edited by 69; 12-14-2019 at 07:25 AM.
Reason: added deleted photos from hosting service
I don't know about him wiggling the car while up on the Quick Jacks but I tried shaking the heck out of my 03 Coupe last week while on the jacks, Solid as a rock. Absolutely no movement. That was with the Hyd pressure drained and just the locks holding it up.
Looks good man! Did you try and wiggle the car while up?
Also...why did you take the tube off the cradle and also the half shafts?
Dropping the cradle first allows you to manage the brake lines and wire harnesses at the back of the car which are attached to the cradle. This method allows you to keep the brake lines/system intact without opening the brake lines.
Another benefit (for me) is that it is much easier to remove/handle/guide the cradle and then pull the tq tube/trans/diff so you can easily separate the main wire harness from the tq tube mounts and you reduce the risk of damage to other components as you have a clear view of the area while extracting the tq tube.
Half Shafts> That was a whole different story! Normally you can take a large screw driver and just pop the shafts off the diff output shaft locks... In my case those shafts would not budge and I had to use the "steel cable and slide hammer" to remove the half shafts from the differential method.
The Quick Jack was rock solid during my "all out assault of those half shafts with the mongo slide hammer!
Cheers,
Goose Brake Lines
Last edited by 69; 12-14-2019 at 07:28 AM.
Reason: added photo deleted by hosting service
So car up on Quick-Jacks, bottle jack at back of engine, then support the aft end of the torque tube and use tranny jack to lower the aft cradle? With aft cradle out, re-position tranny jack to transaxle/torque tube?
Or did you use a different support for the transaxle during aft cradle? I'm with C5 Kirkland, thanks for thinking of us other at-home hacks.
Floor jack> I used was � ton 24 inch rise jack and 30 inch 1�x 6� piece of wood to support the cradle structure during lowering from the frame.
Trans Jack> 450 lb. Low Lift Transmission Jack, Maximum Lift Height (in.) 23-1/4 in
Bottle Jack/Lumber> To support engine.
Brake Lines> If you decide to drop the cradle AND Differential/Trans/TQ Tube as one completed assembly with will need to disconnect the brake lines at the unions above the transmission. The brake lines run along the upper left side of the TQ Tube Tunnel and then transition down behind the Differential down to the cradle where the lines are secured with very expensive plastic clips (DON�T Break these clips during remove). The lines then transition forward to the frame mounts where the brake caliper flex lines connect.
NOTE> Even if you were to unsecure the brake lines from the cradle, the brake lines will NOT clear the CV/Half Shafts.
During the �2 Step� removal process, you will have to remove the CV/Half Shafts out of the differential so that you gain clearance for the brake lines to pass through this area during the cradle drop.
The Drivetrain Drop>
OK, my assumptions here is that you have already disconnected all the electrical connectors on the trans/differential, double checked ! and triple checked ! everything and you now are ready to drop the drivetrain.
1) Remove the 2 nuts on the differential mount securing the differential to the cradle.
2) Place trans jack on trans, secure trans with trans jack strap making sure you are not catching any wires or plumbing in the trans jack strap.
3) Lift/Rise the trans jack to remove the weight of the Differential/Trans/TQ Tube OFF the cradle. At this point the trans jack is supporting the weight of the Differential/Trans/TQ Tube by seeing a � inch air gap between the Differential mount and cradle.
Prep for lowing the cradle; PUT ALL IMPACT TOOLS BACK IN TOOL BOX NOW >OR< YOU MAY REGRET IT!!!!
1) Place floor jack with 1�x 6� piece of wood to support the cradle structure. NOTE make sure your lumber is long enough to support the complete cradle structure fore /aft for lowering.
2) BY HAND ONLY> loosen and remove the 4 nuts <BY HAND ONLY the 4 nuts securing the cradle to the frame. Use of impact tools on these nuts may break the �bolt keepers� on the top of the frame rail. If your bolt/nut are spinning, then google> corvette c5 cradle bolt spinning...and get out your cutting tool!!!
3) Place a 4 inch wide plastic pudy knife between the TQ Tube shifter box and the lines in the tunnel. This will prevent the shifter box from snagging the lines during extraction of the Differential/Trans/TQ Tube.
4) Disconnect the engine intake bellows from the throttle body.
Maximum driveline extraction angle WARNING.
There is a placard on the TQ Tube showing the Maximum driveline extraction angle. Failure to obey this WARNING may result in the engine contacting and damaging the fire wall, (if someone can post a pic of this placard to this thread it would be helpful for others).
1) Lower the trans jack a couple of inches and clear the wire harness from the TQ Tube and trans. Repeat this step until you are sure the wire harness is clear of the TQ Tube and Trans. Obey Maximum driveline extraction angle WARNING.
2) Place bottle jack under at the rear of the engine and support the engine, (you want to prevent the engine from rocking backwards into the fire wall upon TQ tube removal
3) Using a 13mm swivel socket and long extensions, remove bolts holding TQ Tube to clutch bell housing.
4) Double check ! and triple check that the main wire harness is free of the TQ Tube and the plastic pudy knife between the TQ shifter box and line in the tunnel.
5) Now slide that baby out!!!
Disclaimer> never rely on the accuracy information found on the interwebs�and please be advised that there are many more actions/steps to remove the C5 drivetrain without causing serious injury/death to one�s self or others!
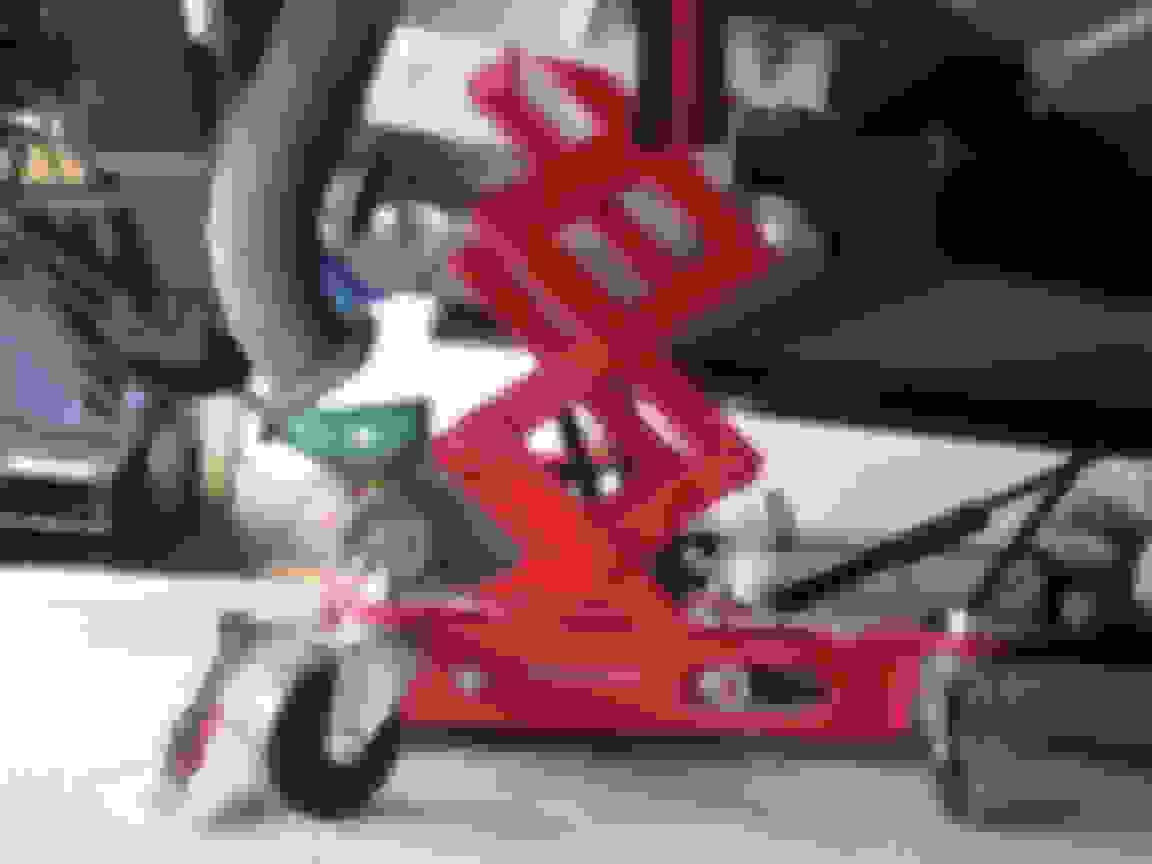
Happen to have a part# for that Pittsburgh jack so I can get one?
I have the Pittsburgh� Automotive - item#39178> I believe that the other one listed would on the HF web site would work also and don�t forget to get a 20% off coupon to save some cash!
Details On Car Lifting height info
For those with the Quick-Jack, I used the Kent Moore Lifting pads J-43625 that where designed for the Corvette C5 and the small rubber blocks supplied with the lift. my rockers are measured just a touch over 18 inches off the ground.
Jack-Stands> For those who plan on doing this drivetrain pull task on jack-stands, my rockers are measured just a touch over 18 inches off the ground.
Torque Tube Extraction Angle Warning Placard below
Cheers,
Goose
Pics
18 inch's Max TQ Tube angle for extraction
Last edited by 69; 12-14-2019 at 07:32 AM.
Reason: added photos deleted by hosting service
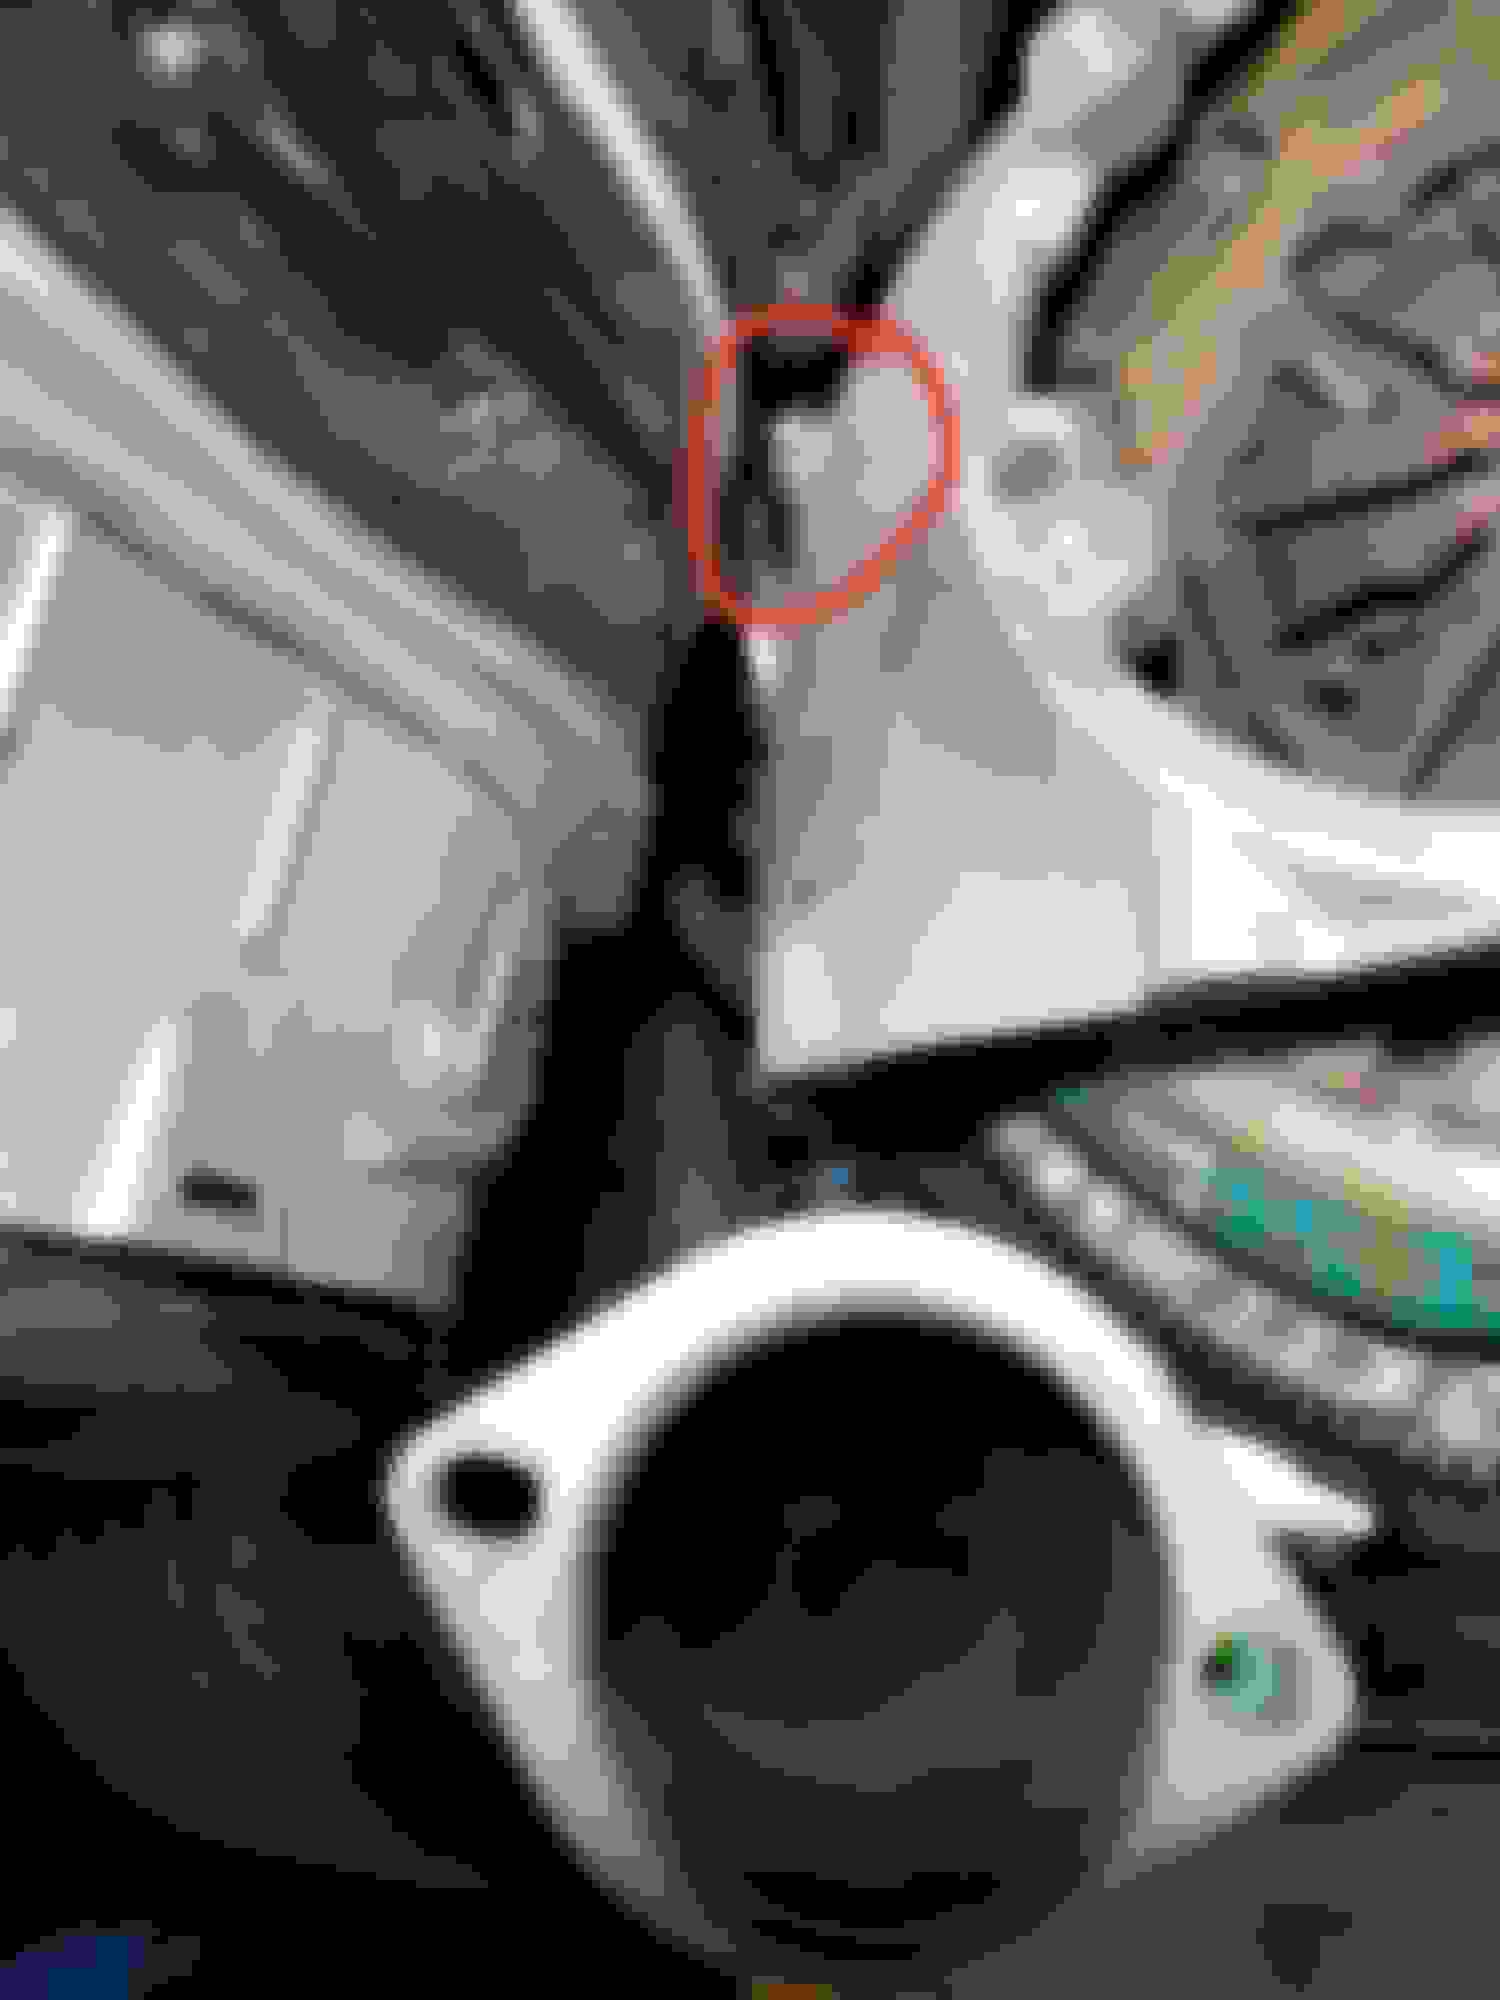
Is this a problem? Did i pull this out or is it like that from factory?
Great Post Georgies!! I have edited your photo for clarity.
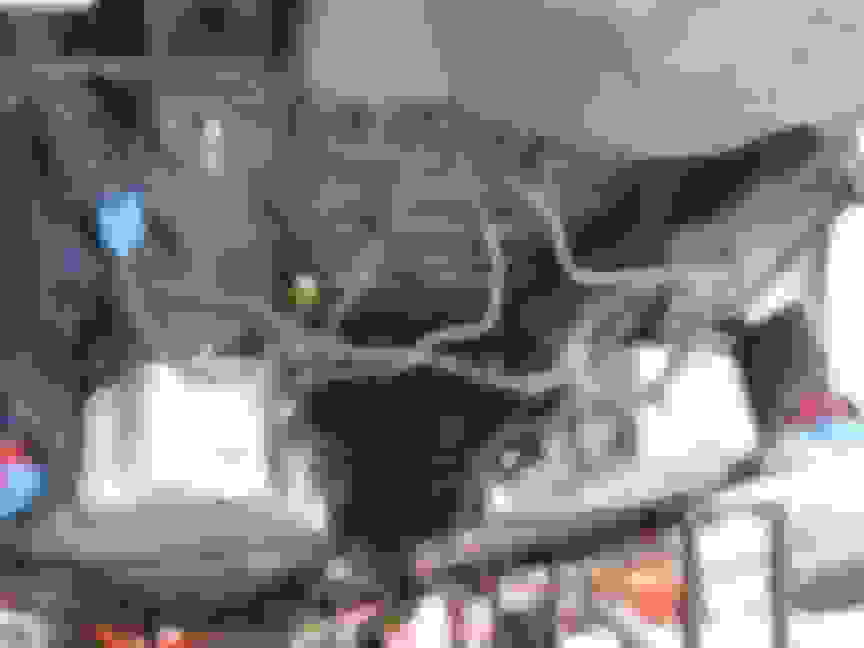
Wire Harness Inspection.
The main wire harness running to the back of the C5 will chaff/rub in 2 specific areas;
1) At the TQ Tube and Engine Flywheel Bell Housing area
2) At the TQ Tube to Trans Bell Housing area.
I have enlarged you photo and I don’t see any “pull damage” to the wire harness but>>IF <<you still have the TQ tube out of the car, I would get a closer eyeball on that section of wiring as you have typical chaff/rub marks on the harness as marked in your photo. If the TQ Tube is still out, get a roll of electrical tape and wrap those chaff/rub marks on the harness to restore the harness surface protection.
If your TQ Tube is back in the car, then “it is, what it is”….
For those following this thread> Before you install the TQ Tube, perform a complete detailed visual inspection on the wire harness specifically in the areas of the Engine Flywheel Bell Housing area and Trans Bell Housing area. Restore the wire harness surface protection as necessary.
Cheers,
Goose
Last edited by 69; 12-14-2019 at 07:38 AM.
Reason: photo deleted by hosting service
Dropping the cradle first allows you to manage the brake lines and wire harnesses at the back of the car which are attached to the cradle. This method allows you to keep the brake lines/system intact without opening the brake lines.
Another benefit (for me) is that it is much easier to remove/handle/guide the cradle and then pull the tq tube/trans/diff so you can easily separate the main wire harness from the tq tube mounts and you reduce the risk of damage to other components as you have a clear view of the area while extracting the tq tube.
Half Shafts> That was a whole different story! Normally you can take a large screw driver and just pop the shafts off the diff output shaft locks... In my case those shafts would not budge and I had to use the "steel cable and slide hammer" to remove the half shafts from the differential method.
The Quick Jack was rock solid during my "all out assault of those half shafts with the mongo slide hammer!
Cheers,
Goose
Drop the cradle first. We zip tie the calipers to the bracket on the frame which holds the brake line connection.
One of the fun parts of putting it back together is the subframe wants to tip front down keeping it from lining up. We have used a second jack for the last bit of movement before threading the nuts. The shifter box also gets close to some lines when moving it up into the tunnel.
I like the idea of using zip ties to keep the upper A arms from moving around. We always pull the intake so we don't risk cracking it when tilting the engine back during removal. It is optional with the stock intake but likely mandatory with a FAST or MSD intake.
If you don't have a remote bleeder I always recommend one when doing a clutch.
Also if you do this on stands, it isn't a bad idea to use a stand under the front cradle in addition to the 4 standard stands on the frame in case the car wants to tip forward.
Thanks for the reply. After looking at it closer...it seems fine.
I've been trying to remove the last bolt of bell housing. For 1h 1/2 without any luck. The on on the drivers side. I've tried almost ever combination of swivels and extensions with no luck. The fuel lines are too close.
Hold up! Put the bell housing bolts back in!
you can replace the clutch flywheel and pilot bearing with the upper section of the bell housing still installed.
justs brake the torque loose on the pressure plate bolts you can access, rotate flywheel to get the other bolts loose. Place pilot bearing alignment tool in clutch as a saftey so that when you remove all the pressure plate bolts the pressure plate does not fall on your face or take your fingers off!
cheers,
GOOSE
Thanks but im also replacing rear main seal and rear cover seal. So the bell housing needs to come off..
I think im going to try and jack up the motor a bit so it tilts forward...
If you have long tube headers as i do, or after market exhust, you may need to remove them from the heads to gain clearances at the bottom of the bell housing to drop out the pressure plate and flywheel. In my first set of post pics, you can see my header removed and dangling...
cheers
GOOSE

 04-21-2018, 08:31 PM


 Drop the cradle first. We zip tie the calipers to the bracket on the frame which holds the brake line connection.