
Huron Twin Turbo build
 06-02-2018, 03:07 AM
#1
Melting Slicks

Thread Starter

This is the Gen 1 kit. I bought it when they first debut, I've been randomly installing over the past year-ish between other projects.
My car is purposed for street activities, so just sharing install pics to whoever may venture into this.
My car didn't have a motor in it, so I've had the luxury of doing the clearancing on an engine stand.
I update my FB more current, if you want to keep track there
https://www.facebook.com/soflaz06/
https://www.instagram.com/soflaz06/
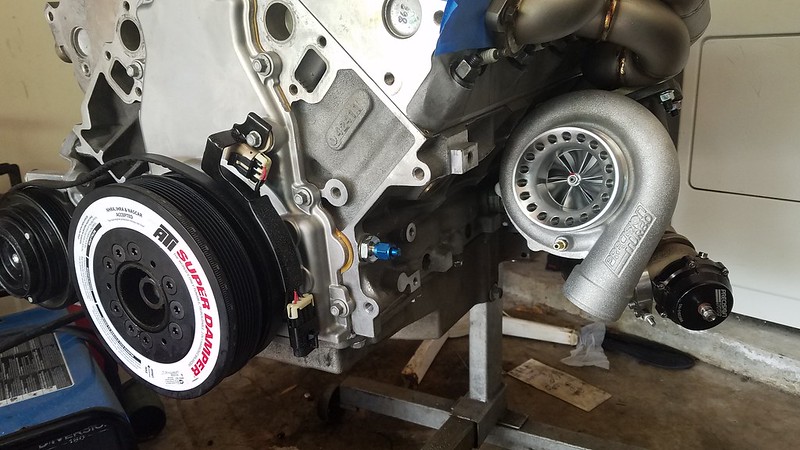
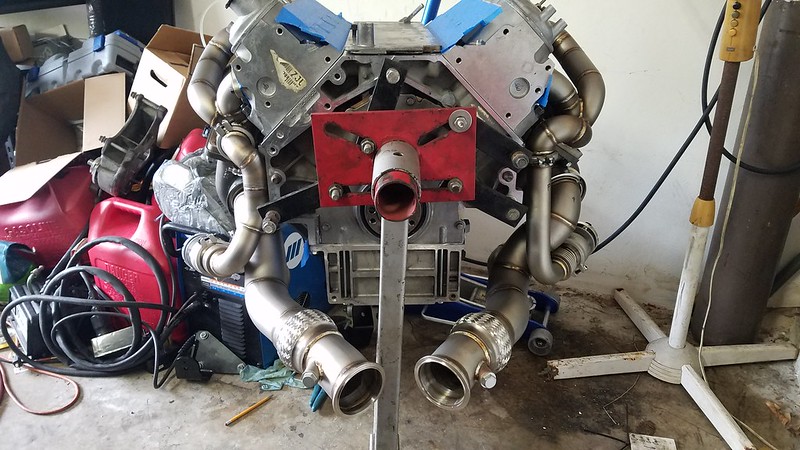
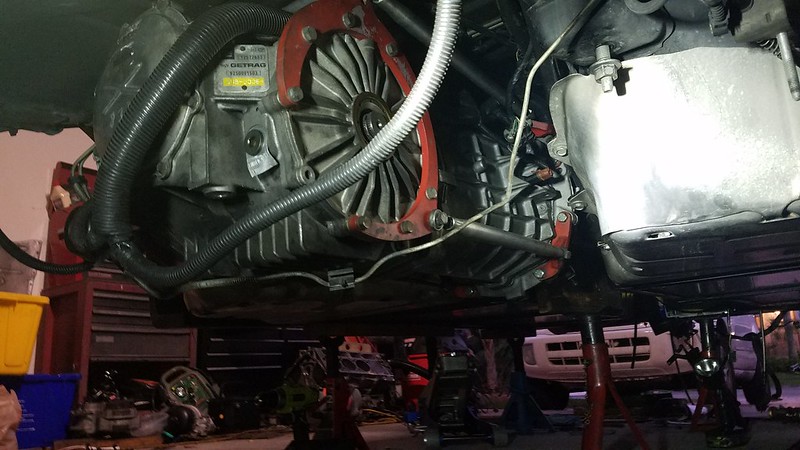
Engine Setup is a LS2 shortblock, hand ported 243s, Twin 62s on E85.

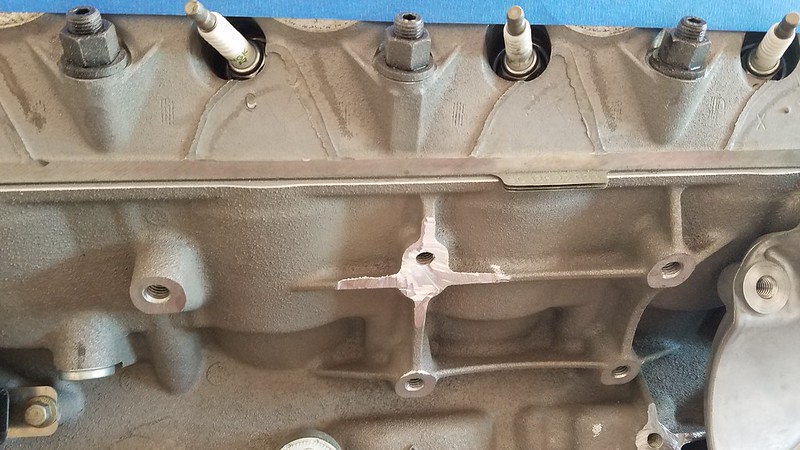
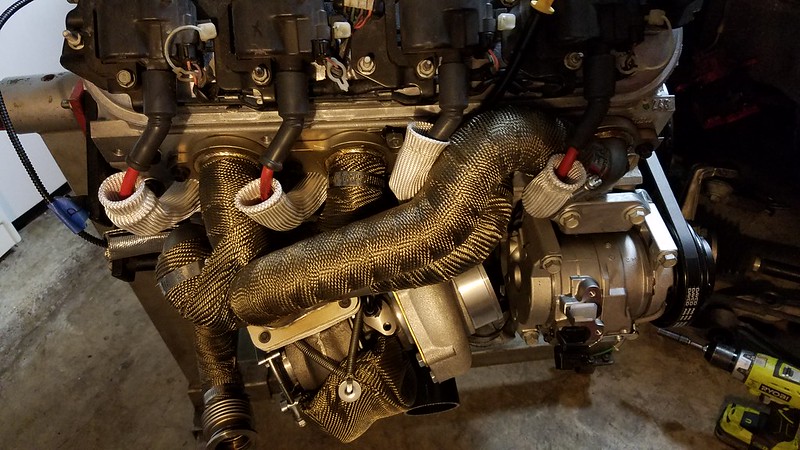
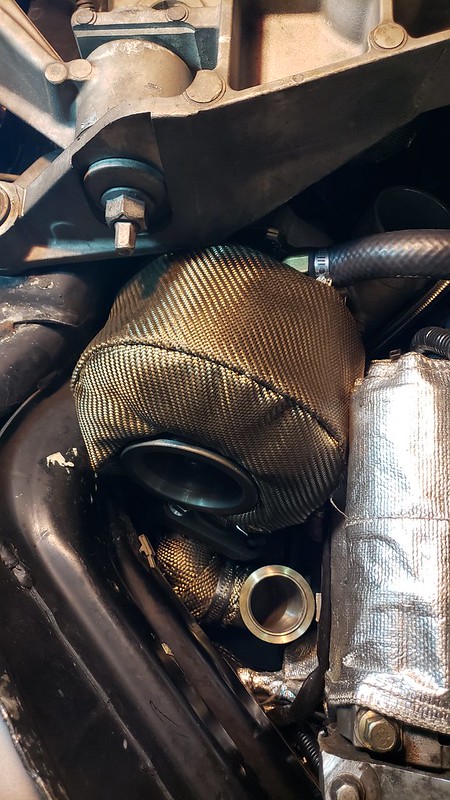
There's some clearancing that needs to be done, how much depends on your turbo choice.
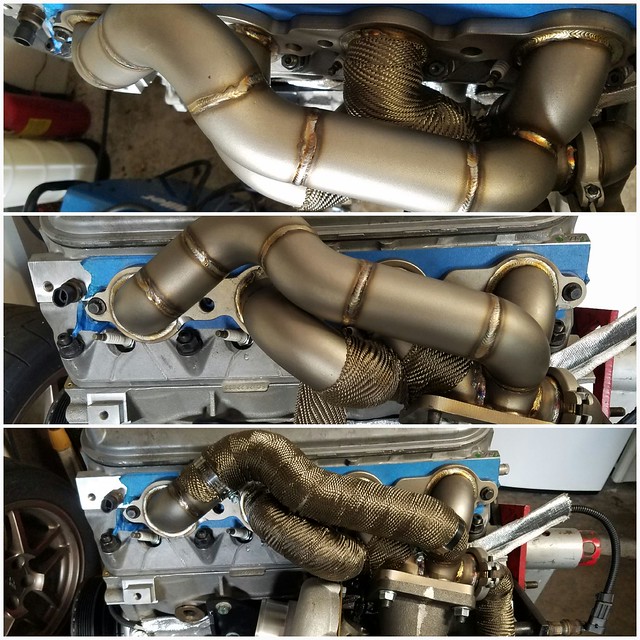
passenger side

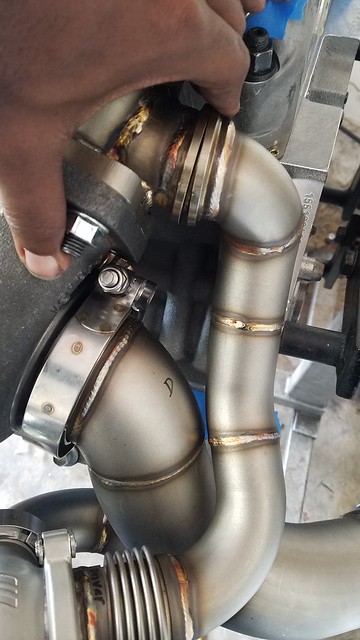
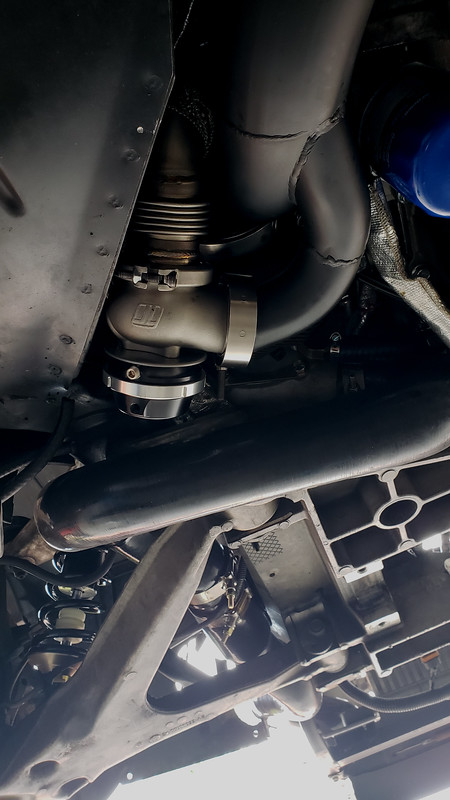
on the driver side, the clearance on the driver side wastegate tube was tight. was told I can massage it, but I have a welder and opted to adjust accordingly
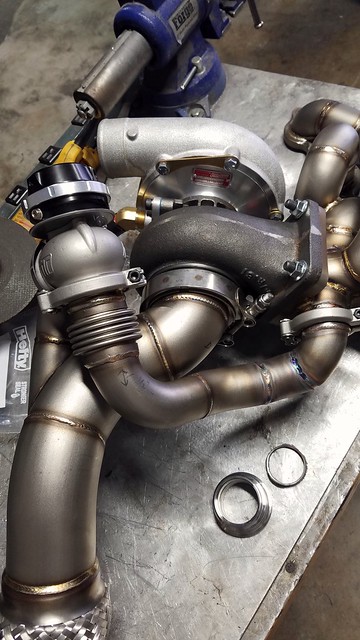
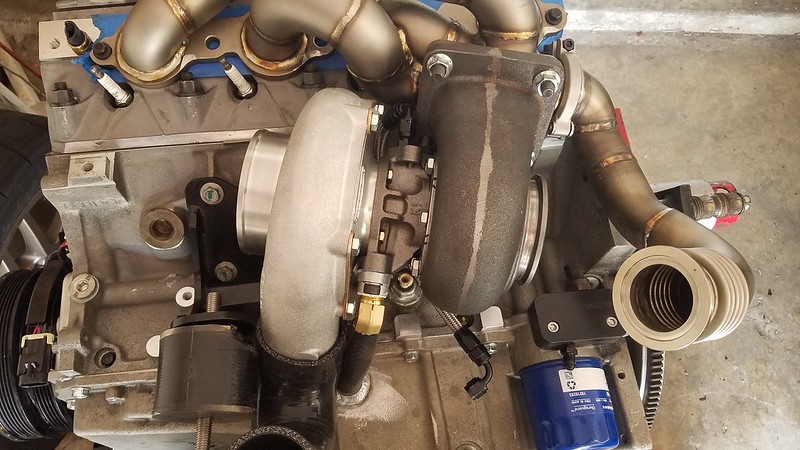
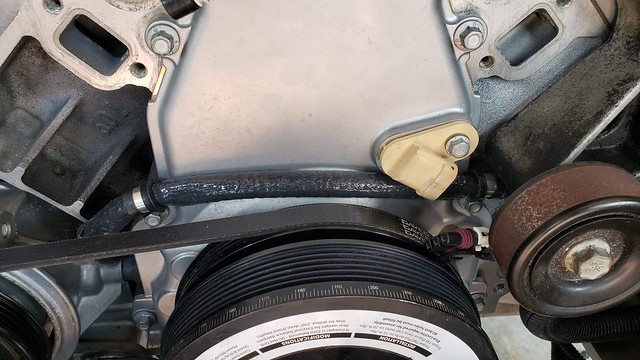
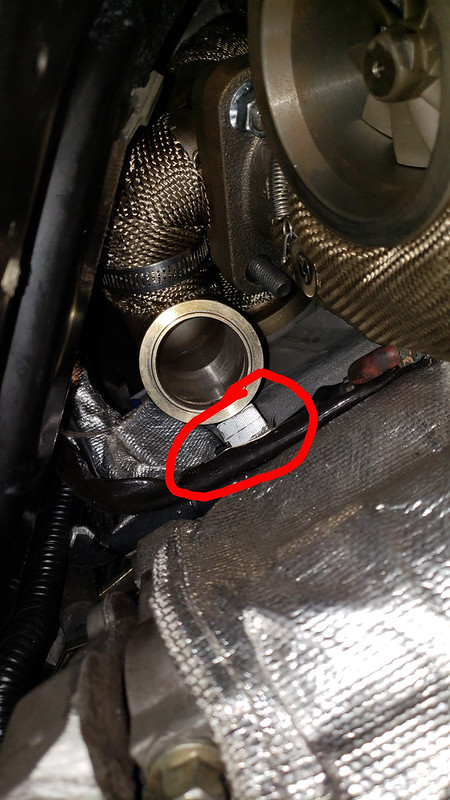
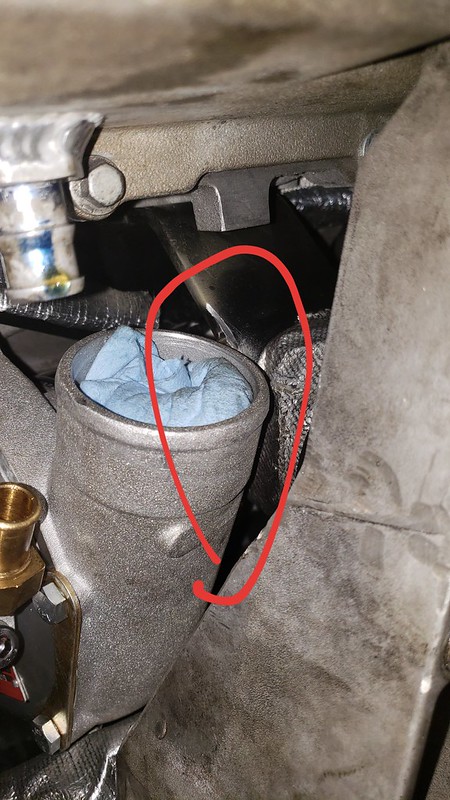
I attempted to AN fitting the drain, but failed, I couldn't accomplish the drain angle I felt comfortable with the fittings length
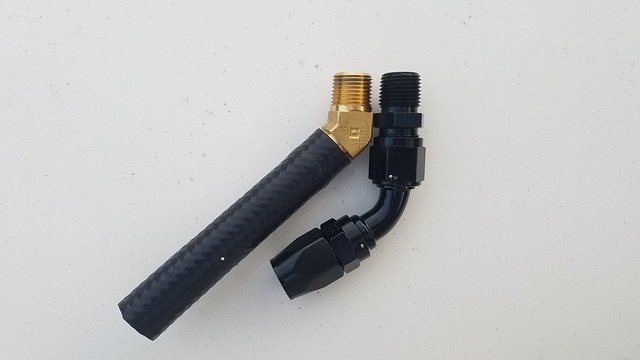

attached your oil lines to the turbo first, or else you wont be able to them after the turbo is mounted
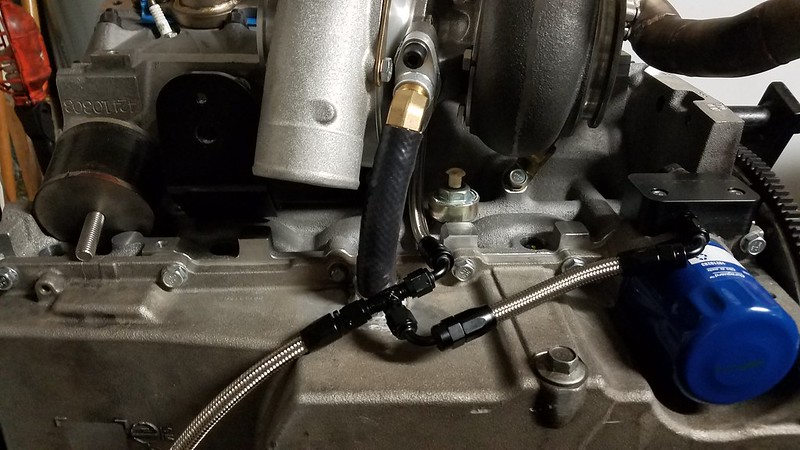
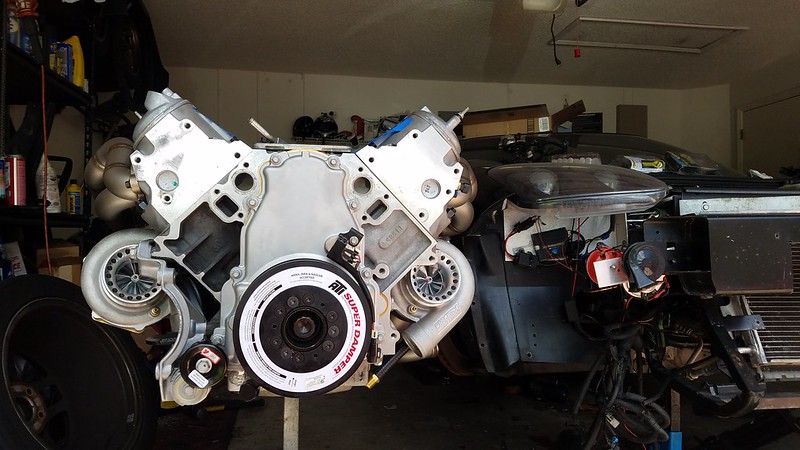
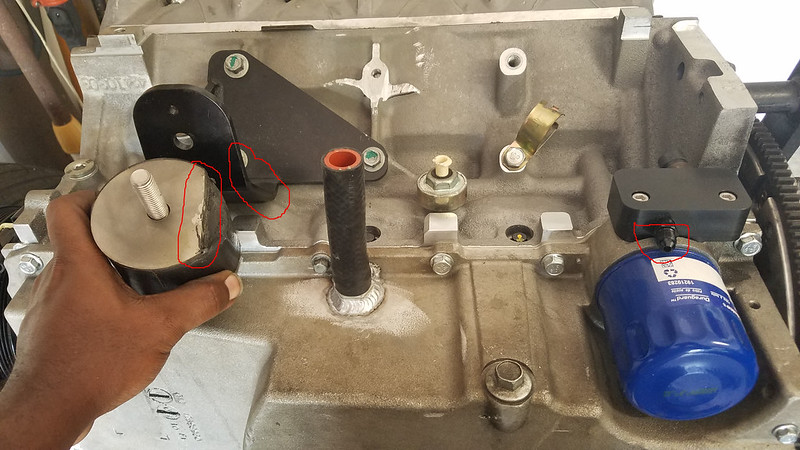
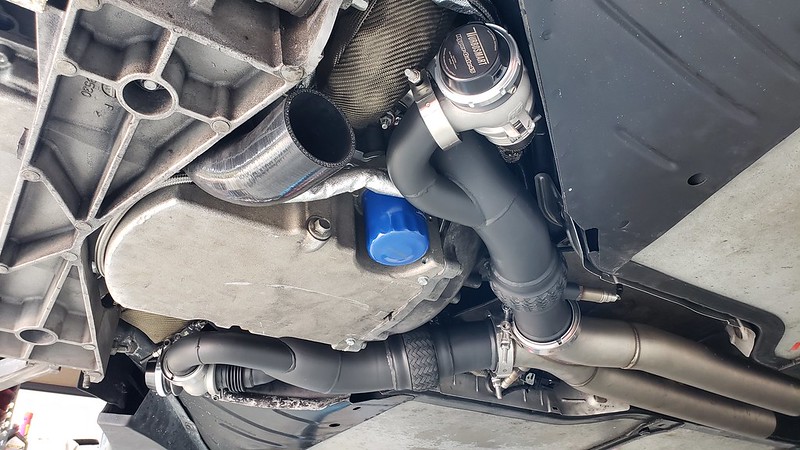
you have to make clearance on the motor mount to clear the compressor housing, also on the mount bracket itself, so you have room to slide the cold side pipe on, and by the oil filter housing, small clearance for the feed fitting.
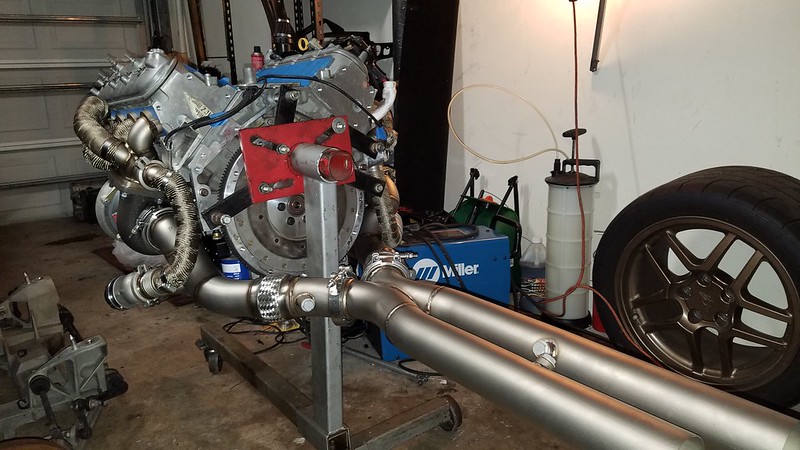
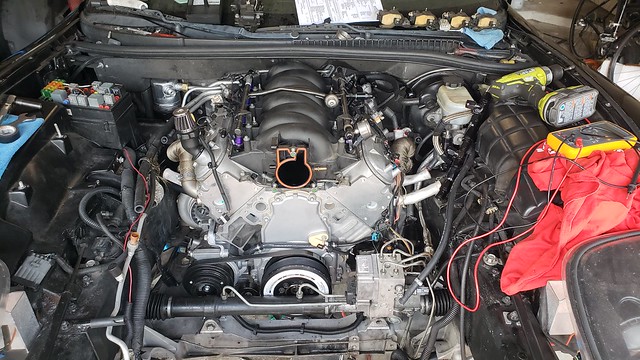
new home
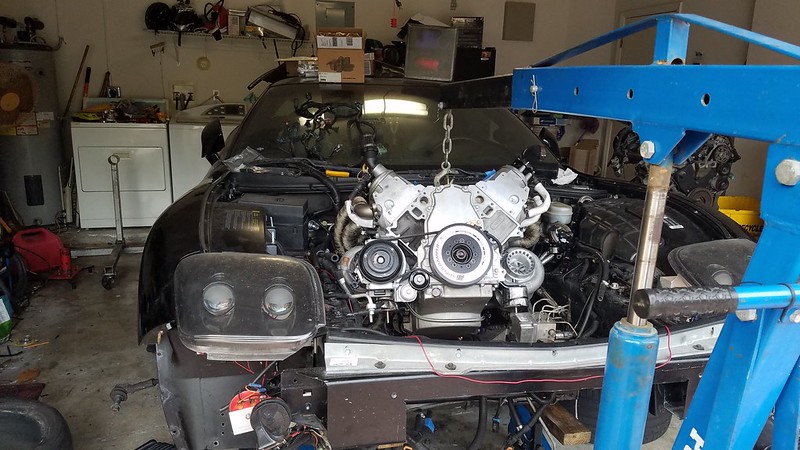
Since i'm switching from GenIII to GenIV, I had couple wiring to attend to, and I hate wiring

My car is purposed for street activities, so just sharing install pics to whoever may venture into this.
My car didn't have a motor in it, so I've had the luxury of doing the clearancing on an engine stand.
I update my FB more current, if you want to keep track there
https://www.facebook.com/soflaz06/
https://www.instagram.com/soflaz06/
Engine Setup is a LS2 shortblock, hand ported 243s, Twin 62s on E85.
There's some clearancing that needs to be done, how much depends on your turbo choice.
passenger side
on the driver side, the clearance on the driver side wastegate tube was tight. was told I can massage it, but I have a welder and opted to adjust accordingly
I attempted to AN fitting the drain, but failed, I couldn't accomplish the drain angle I felt comfortable with the fittings length
attached your oil lines to the turbo first, or else you wont be able to them after the turbo is mounted
you have to make clearance on the motor mount to clear the compressor housing, also on the mount bracket itself, so you have room to slide the cold side pipe on, and by the oil filter housing, small clearance for the feed fitting.
new home
Since i'm switching from GenIII to GenIV, I had couple wiring to attend to, and I hate wiring
 06-02-2018, 03:47 AM
#2
Melting Slicks
Thread Starter
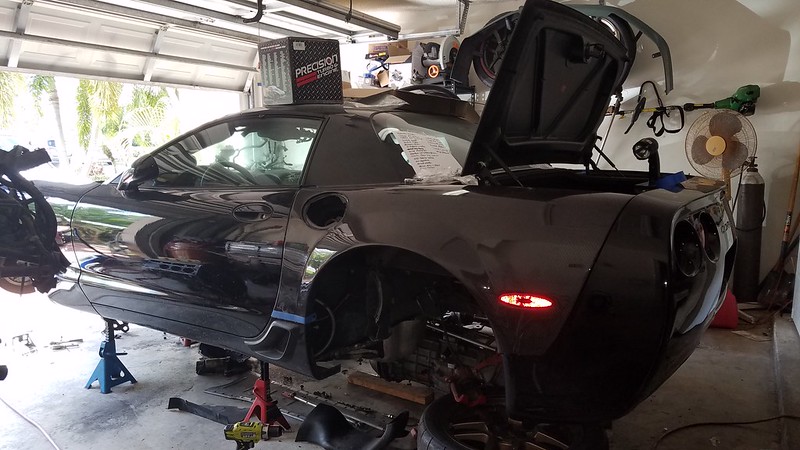
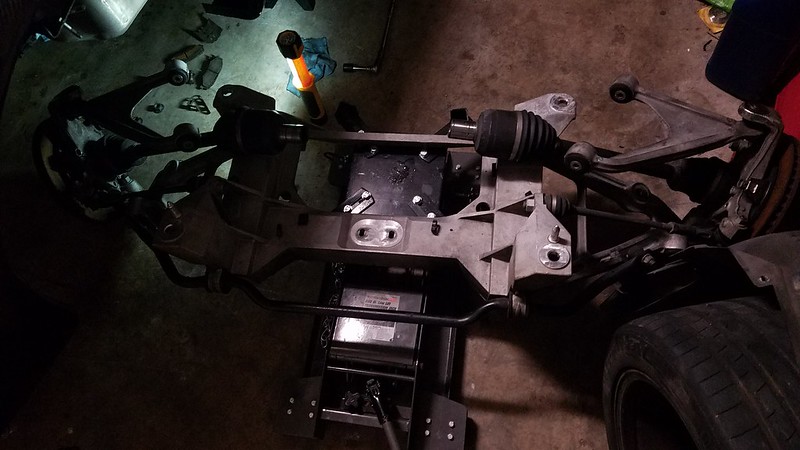
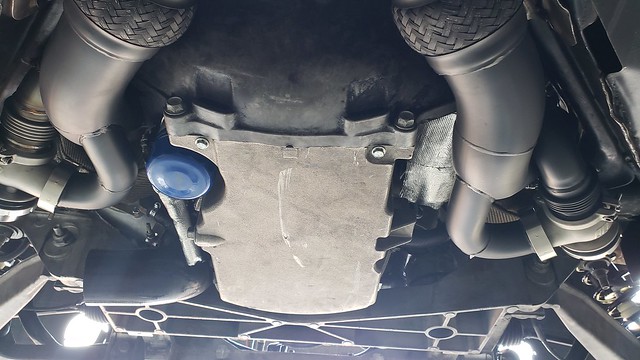
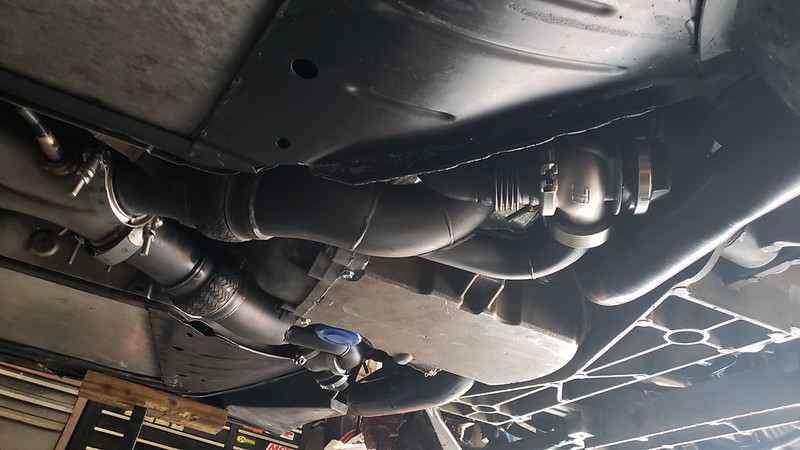
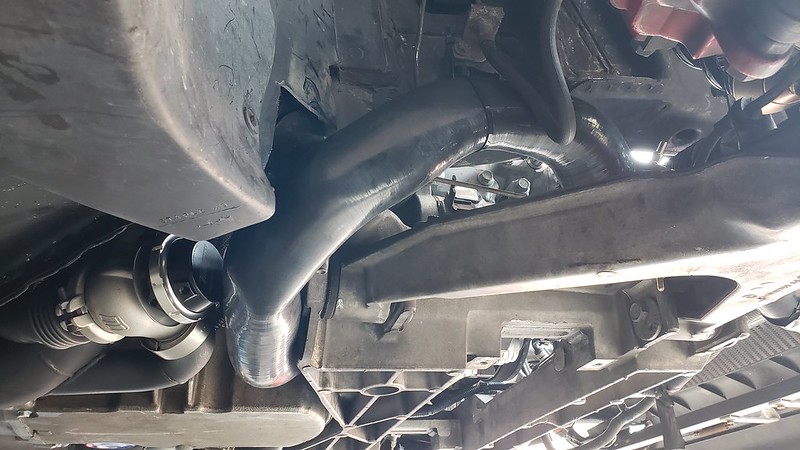
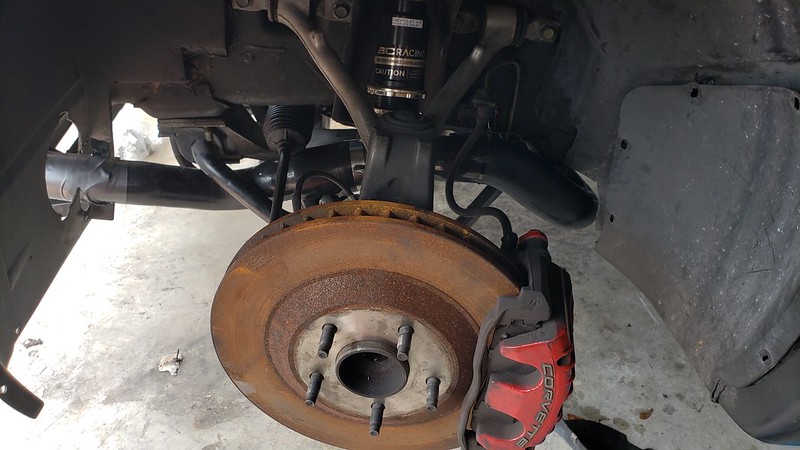
During this process, decided to get some meat under the car also.
Test fitting
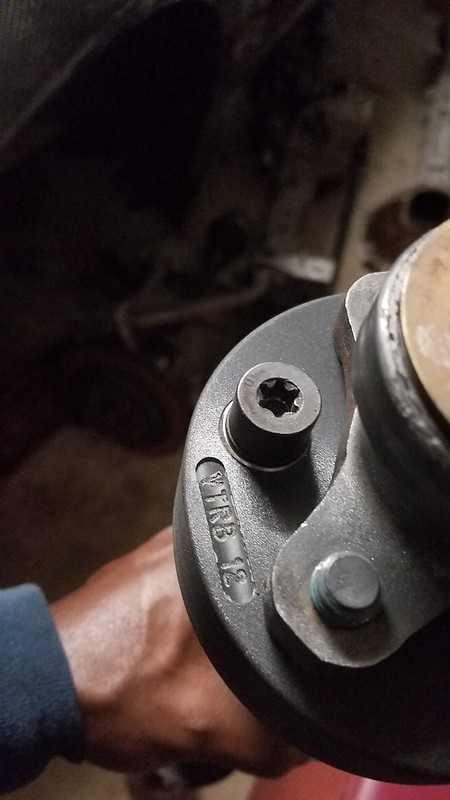
Drivetrain being out, I switch my RST to RXT, just incase, and replace my torque tube couplers, surprisingly they looked great with 110k miles on them. but that's a hit or miss thing
since my drivetrain was out, I had a weird problem to where I couldn't get a grip to reattach my slave to the master, since the wastegate tube in now in the way
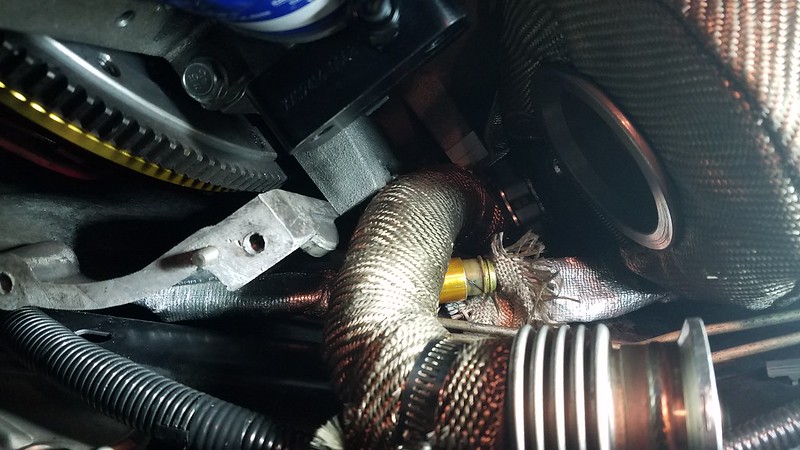
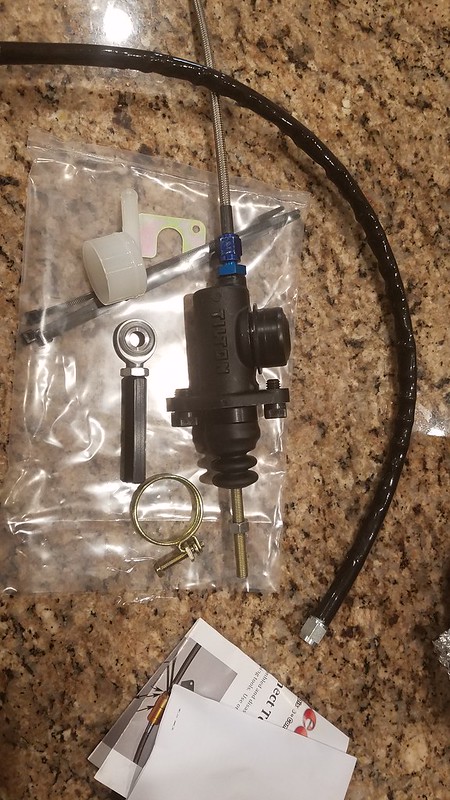
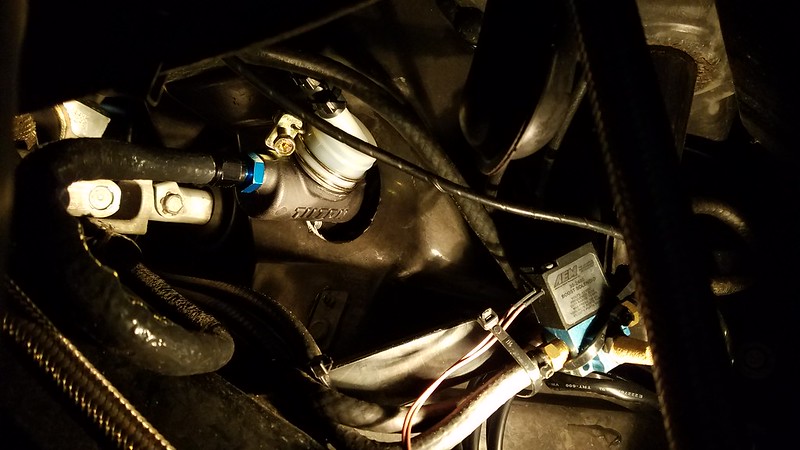
after 3 days of fighting with it, I ordered a new master and ran custom AN lines, allows me to move them away from heat also


drivetrain in
Test fitting
Drivetrain being out, I switch my RST to RXT, just incase, and replace my torque tube couplers, surprisingly they looked great with 110k miles on them. but that's a hit or miss thing
since my drivetrain was out, I had a weird problem to where I couldn't get a grip to reattach my slave to the master, since the wastegate tube in now in the way
after 3 days of fighting with it, I ordered a new master and ran custom AN lines, allows me to move them away from heat also
drivetrain in
Last edited by FourG63 97GST; 06-02-2018 at 03:51 AM.
The following users liked this post:
CorvetteBrent (07-04-2018)
06-04-2018, 08:59 AM
#4
Melting Slicks
subbed for results.
06-04-2018, 06:09 PM
#5
Melting Slicks
Thread Starter
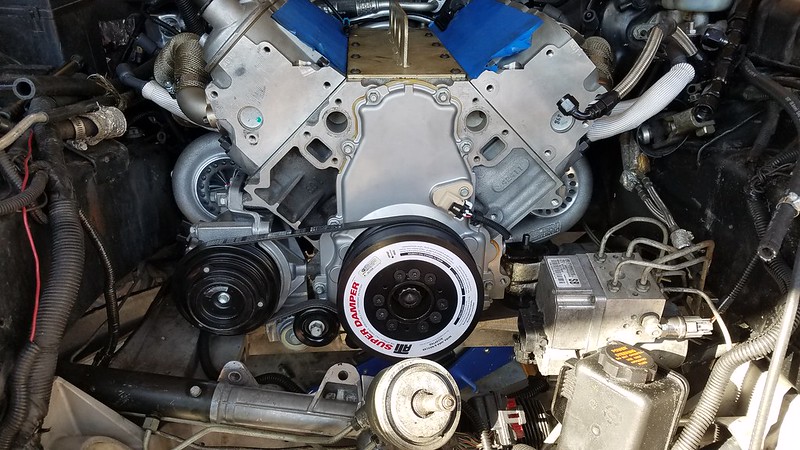
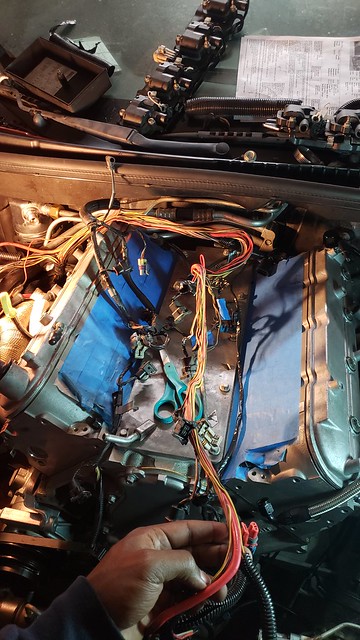
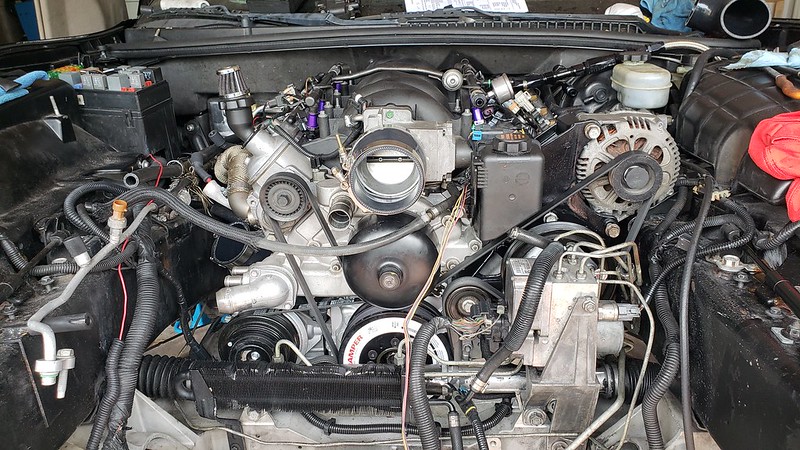
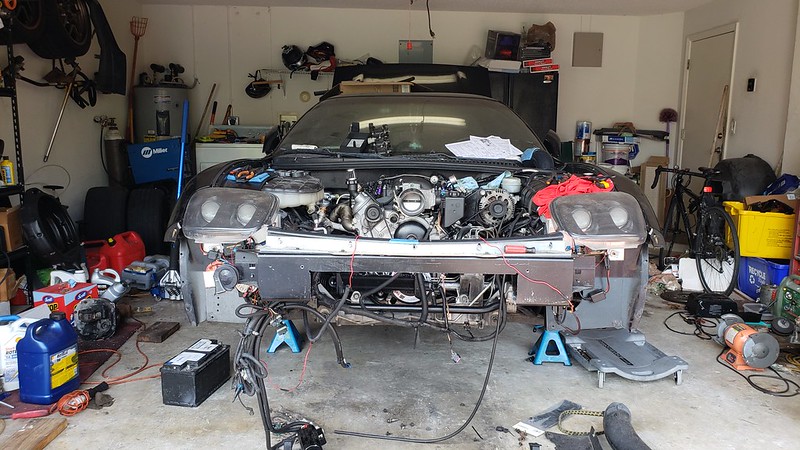
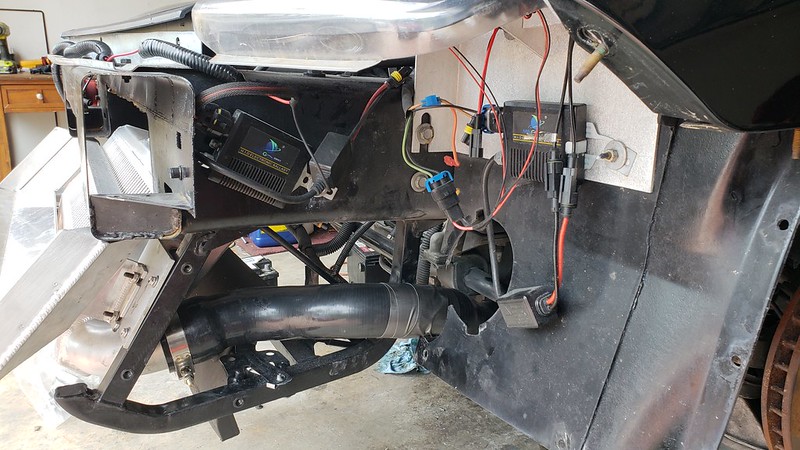
Now to move the wiring around, both for clearance and to away from heat as much as possible
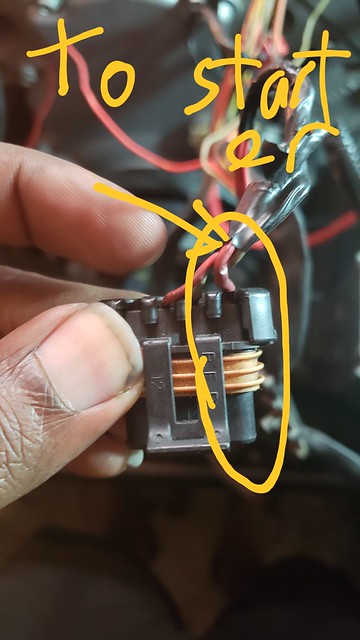
from factory, the charging system uses the starter as a bridge. There's a battery cable from battery to starter, then the the charging wire from the starter to the alternator, there's also a smaller wire that goes from the starter to the connector of the alternator.
I opened up the harness, and moves both those wires, and routed them infront of the motor, The battery to starter wire also moved to the front, then back to the starter.
general idea
The following users liked this post:
CorvetteBrent (07-04-2018)
06-04-2018, 06:32 PM
#6
Melting Slicks
Thread Starter
wires moved, starter and turbine wrapped
So I couldn't put the motor in with the passenger tube attached, I was concerned how much of a pain it'll be. trimming this tab would help alot with getting the vband clamp on if you're ever in this situation.
making sure the electrical works, I dont want to go back there again
So I couldn't put the motor in with the passenger tube attached, I was concerned how much of a pain it'll be. trimming this tab would help alot with getting the vband clamp on if you're ever in this situation.
making sure the electrical works, I dont want to go back there again
Last edited by FourG63 97GST; 06-04-2018 at 09:40 PM.
The following users liked this post:
CorvetteBrent (07-04-2018)

 06-05-2018, 07:42 PM
#8
Race Director


Member Since: Dec 2010
Location: Atlanta, GA
Posts: 10,426
Received 1,260 Likes
on
1,055 Posts
2020 Corvette of the Year Finalist (performance mods)
C5 of Year Winner (performance mods) 2019

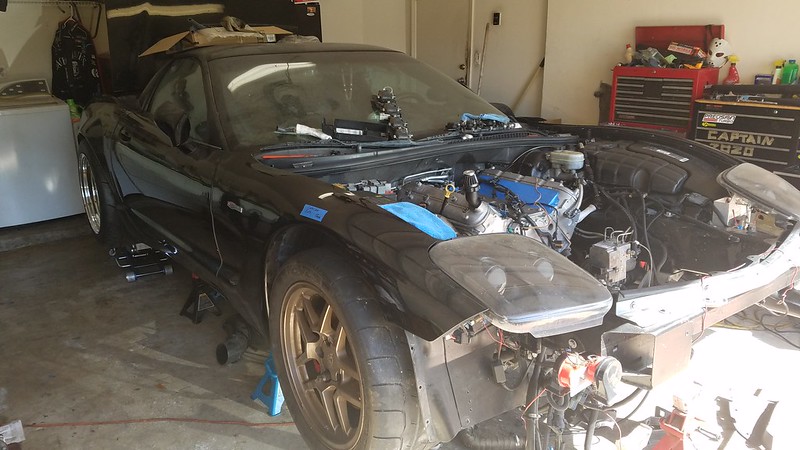
badass ... once it's all in there it doesn't look like it will be very fun to work on though
... once it's all in there it doesn't look like it will be very fun to work on though
The following users liked this post:
CorvetteBrent (07-04-2018)
06-06-2018, 10:42 AM
#9
Melting Slicks
Thread Starter
you're right, the plan is hopefully to not have to touch it again for awhile, this is my last "garage" build, if I have to work on it in the future, i'm just dropping the drivetrain out the bottom.
The following users liked this post:
CorvetteBrent (07-04-2018)

The following users liked this post:
CorvetteBrent (07-04-2018)
06-07-2018, 07:16 AM
#11
Melting Slicks
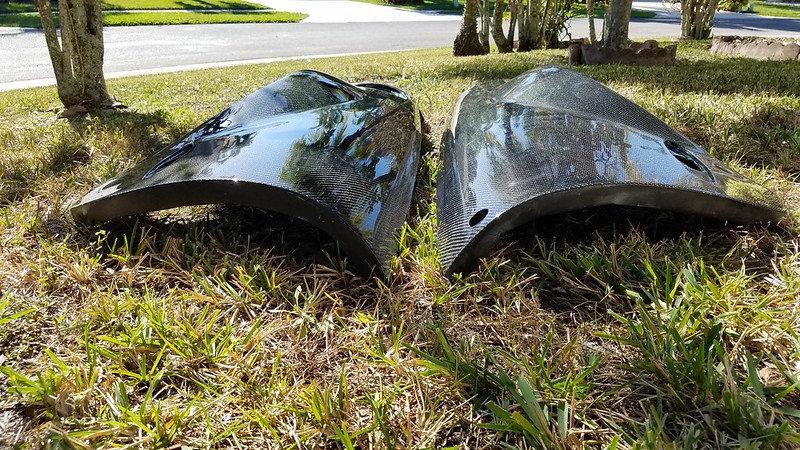
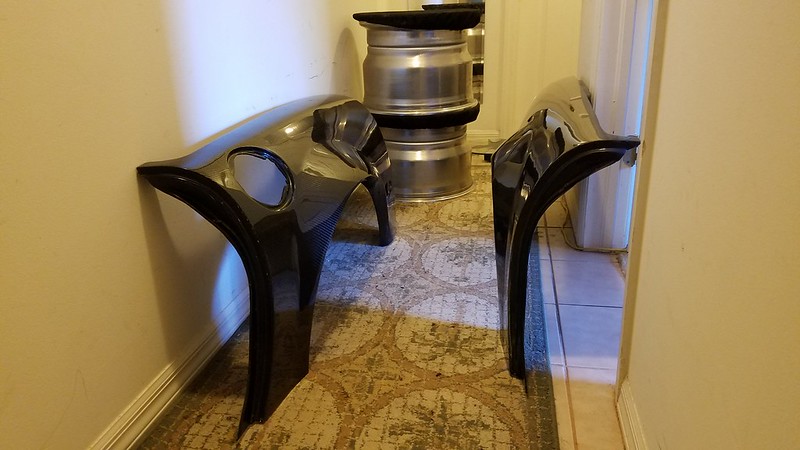
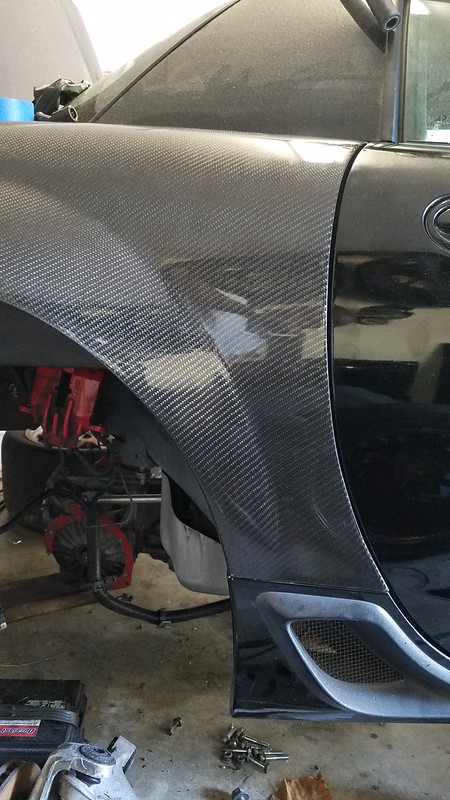
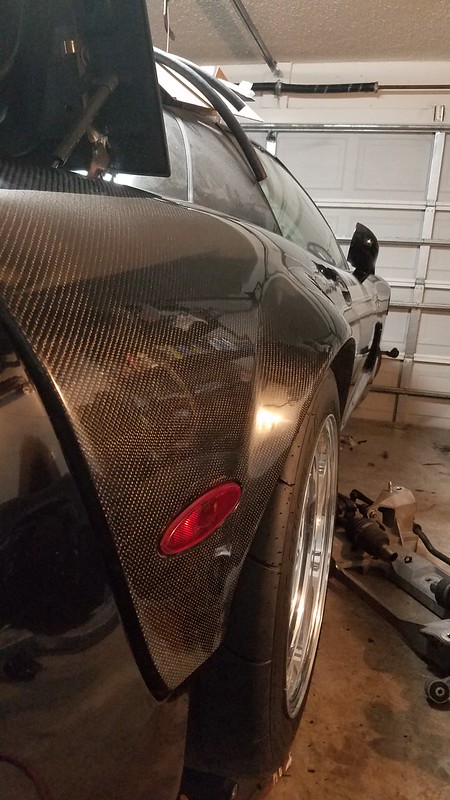
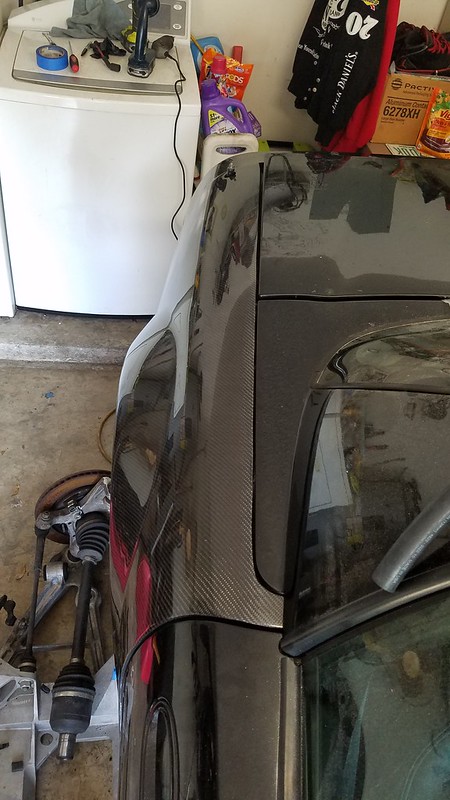
Which fenders did you end up going with and hows the initial fitment? I�m looking into doing the same.
06-07-2018, 12:46 PM
#12
Melting Slicks
Thread Starter
The following 2 users liked this post by FourG63 97GST:
CorvetteBrent (07-04-2018),
Turpid porpoise (06-11-2018)

 06-09-2018, 06:48 PM
#14
Race Director
Member Since: Dec 2010
Location: Atlanta, GA
Posts: 10,426
Received 1,260 Likes
on
1,055 Posts
2020 Corvette of the Year Finalist (performance mods)
C5 of Year Winner (performance mods) 2019
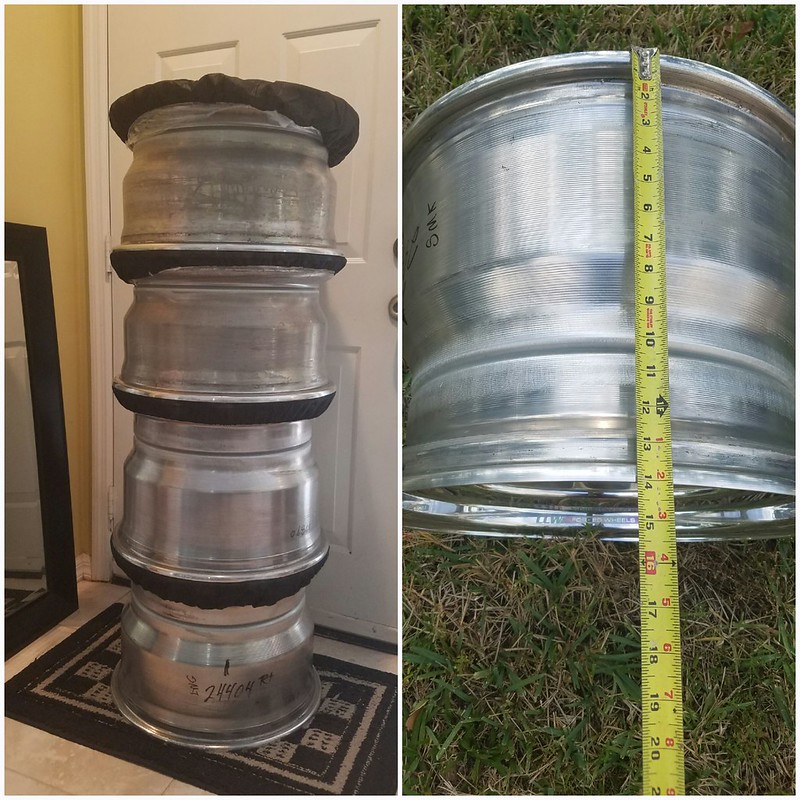
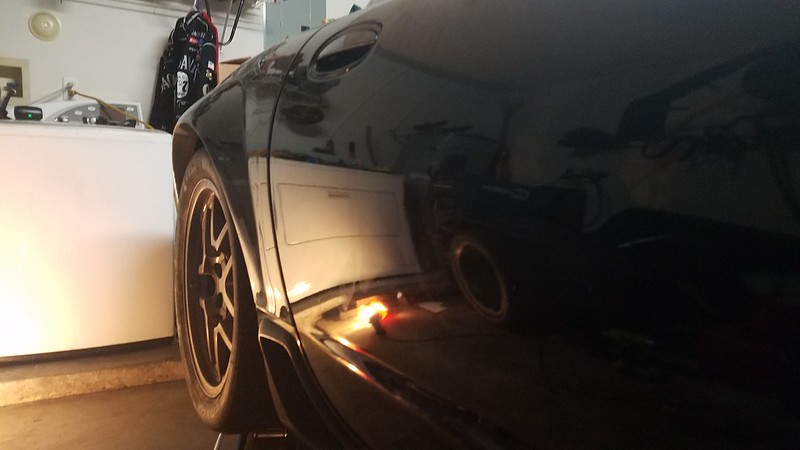
what wheel/tire setup are you running on the back and what sizes?... the profile shot with the new wheels looks real good
06-10-2018, 03:02 PM
#16
Race Director
Member Since: Dec 2010
Location: Atlanta, GA
Posts: 10,426
Received 1,260 Likes
on
1,055 Posts
2020 Corvette of the Year Finalist (performance mods)
C5 of Year Winner (performance mods) 2019
welds??
06-10-2018, 04:18 PM
#18
Melting Slicks
Thread Starter
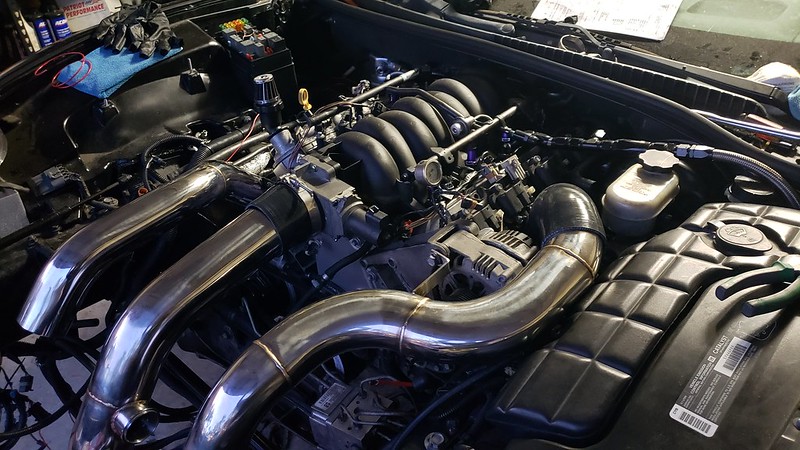
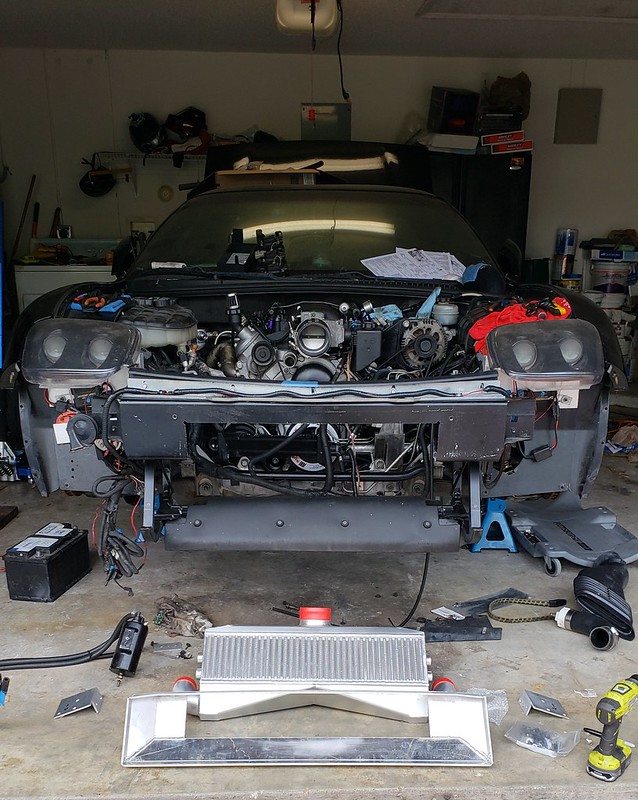
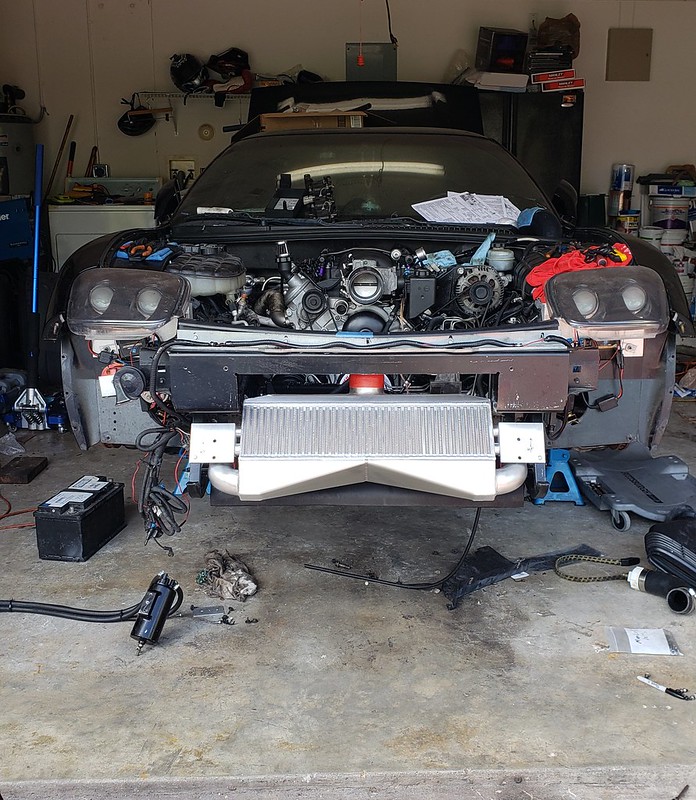
Tackling the cold side, I ended up not making enough clearance on the motor mount, the "silicone style" lower cold side piping is thicker and the coupler I test fitted with, I wasn't interested in figuring how to remove it an clear it some more, luckily I managed to be able to get up there with my cutoff wheel
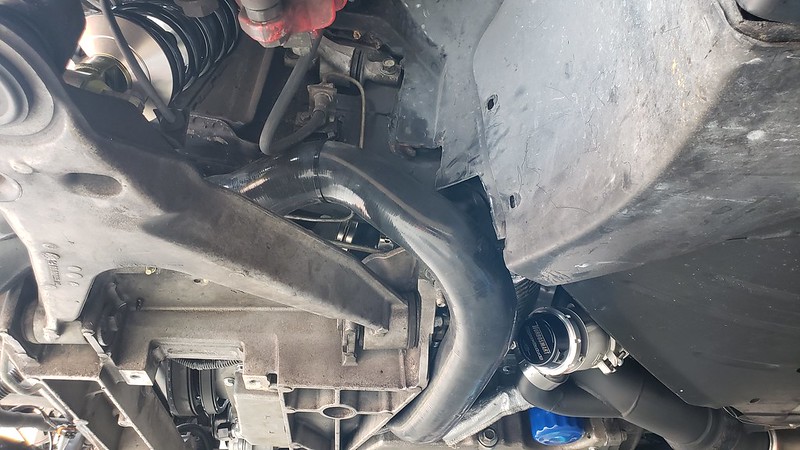
Intercooler
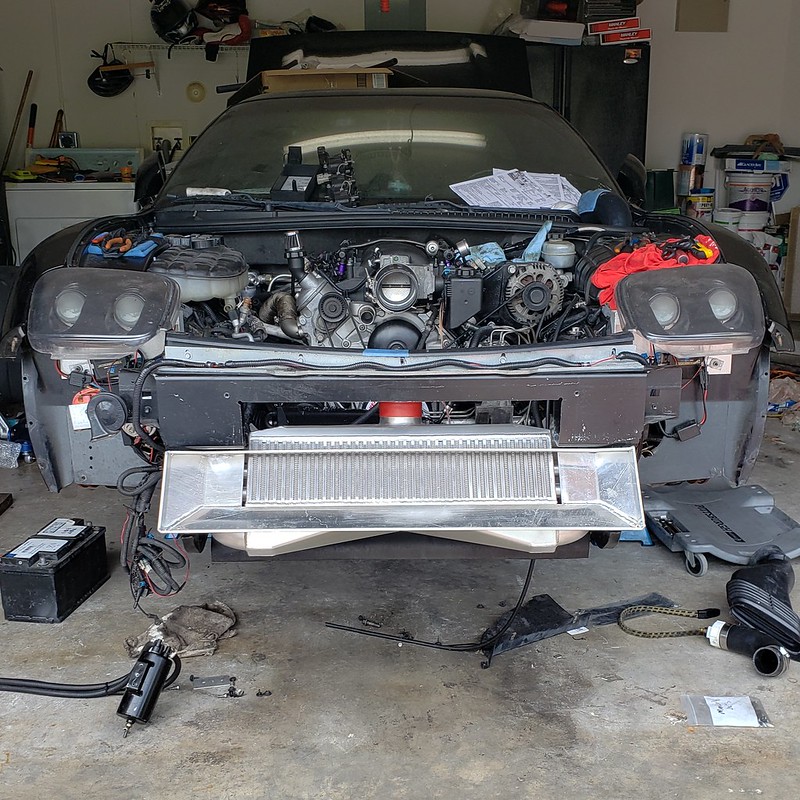
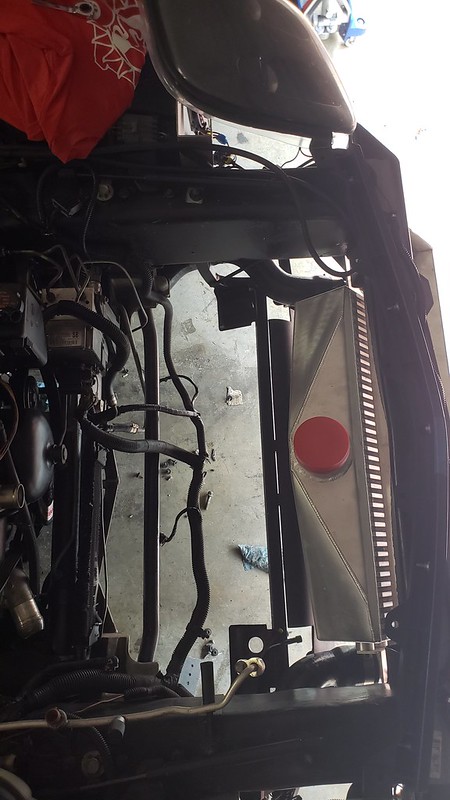
Intercooler
Last edited by FourG63 97GST; 06-10-2018 at 07:23 PM.
The following 2 users liked this post by FourG63 97GST:
CorvetteBrent (07-04-2018),
dmaxx3500 (06-10-2018)


