When you click on links to various merchants on this site and make a purchase, this can result in this site earning a commission. Affiliate programs and affiliations include, but are not limited to, the eBay Partner Network.
I made the decision to paint my white 61. I have been thinking about doing it for years.
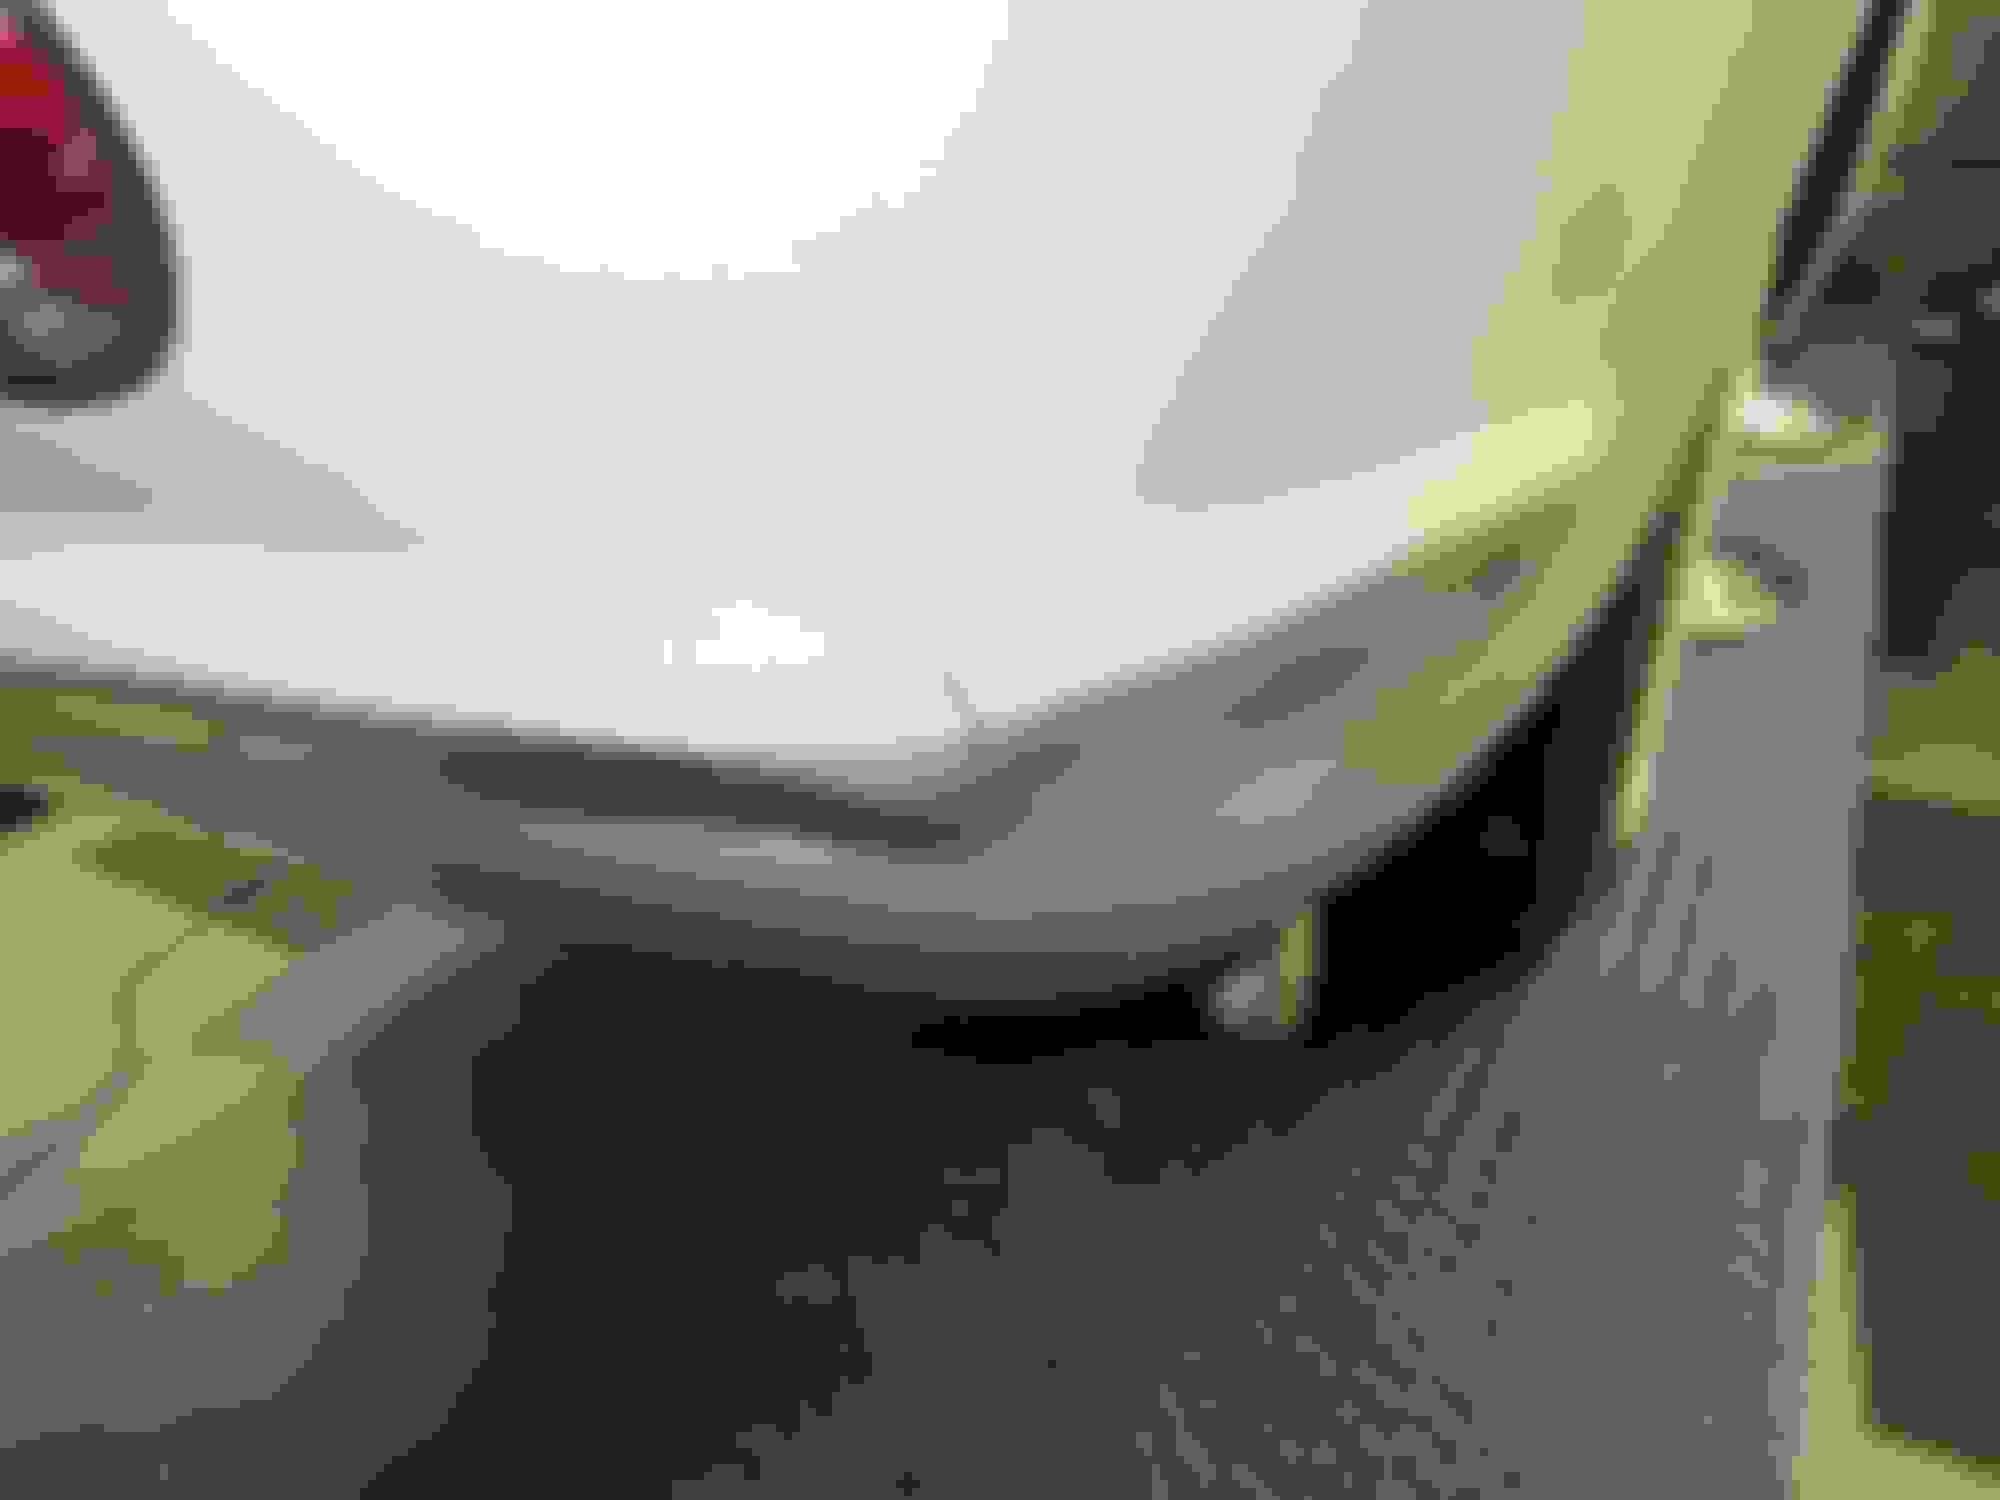
My friend and I started today and spent two hours and got a lot done.
I hope to get it into the body shop by the end of the year.
My thoughts are to drive it to the shop, about 25 minutes away, and then remove the windshield. Should I leave the hood on or remove it?
Any other suggestions.
Joe
I am bagging everything with labels and a lot of zip lock bags!
This is how project creep gets started, but you need to start somewhere.
You will probably want to remove the hood, but it's pretty easy to do.
Any thought as to removing the windshield at home (as it's a pretty big job), and just trailer the car to the body shop?
This way, you can remove all rear lights as well.
Also, since the windshield will be off, how's the dash pad??? Perfect time to replace it if it's anywhere close to needing it done. And both sides of the windshield frame will probably need some repair, as this is very common. But again, it's a perfect time to repair them. Perfect time to check chrome condition for the frame ends. See....I'm already performing project creep for you! LOL!
Good luck with your project, and keep us informed.
When I first got the car in 1999 it was a flood up to the top of the dash and the interior was grey. I removed the windshield and interior and painted the dash panel/cluster the correct red and installed a new red dash, rugs, door panels and seat covers.
I will remove most of the nuts for the shield and drive the car to him, only 25 mins., and remove the shield and tail lights then.
I don't have a lot of money in the car and it has been good to me so I will treat it with the new paint and do needed chrome.
Joe
I would not recommend removing most of the nuts and bolts on the windshield and driving it for 25 minutes. Not at ALL. That unit is heavy, and there is no telling what damage it can do and can be done to it with it not being securely fastened while the car is bouncing down the road. I would remove it at your leisure in your own garage, and trailer the car to the shop, or drive without a windshield and wear goggles!! YMMV....
Well I am making progress, slow but steady. When I put this car together 19 years ago it was much easier!
I have a few questions.
What is a good method to remove the harden yellow weather strip adhesive?
The lower cove trim near the door had these holding it in but only one had a nut on it and the end was double face tape.
Should there be a hole closer to the door and what holds the moulding to the body there?
That's not yellow weather strip adhesive this is lol. I took the doors to the soda blaster to see how I liked it before doing the whole car. The guy said I can't get that off. You'll have to get the 3m off before we can blast it. I as tickled that he said this because after I got it off I tried the soda blasting with my cheapo sandblaster and it worked great. I did repair the Bubba holes. To remove the 3m I used Citristrip from Lowes or Home Depot. It's a paint stripper so you can strip the jambs as well if you like. But if you only want to remove the 3m just brush it on let it work and wash it off with water. It doesn't hurt the fiberglass. Caveat, I guess you could do something to make it hurt the glass but it didn't touch it for me. Once you are done you rinse it off. The water neutralizes it.
You know what you are doing so I have to suspect you know project creep is unavoidable and already started. Seems a trailer ride would be simple unless you just have to drive her one last time before...you spend a lot more money and time. That's okay!
I have no idea other than maybe they were working on getting the glass back in the track or the regulators? They did both doors that way. They didn't have power windows so it wasn't that. I filled the holes and will be adding power.
I also redid all of the holes with the garbage thread repairs! If you look they just laid fiberglass right over the paint. I call that laid not laminated.
 12-02-2018, 07:21 PM