C5 Corvette: How to Repair Floppy Side Mirrors
Is your side view mirror not giving you a side view? Here's how to fix flopping or sagging mirrors.
This article applies to C5 Corvette (1997-2004).
A number of Corvette owners have noticed that sometimes their side view mirrors seem to develop minds of their own. This is exhibited mostly through flopping around and being only partially responsive to the electrical mirror controls. This condition is usually caused by the deterioration of the spring connection inside the mirror housing and its loss of a tight connection.
There are two basic solutions to the issue: either replacing the mirror assembly, or disassembling the mirror and repairing the tensioner. This walk-through covers the latter. For the most part, this process can be achieved with hand tools, but there is some level of wire cutting and soldering involved.

Materials Needed
- Screwdrivers
- Interior/plastic trim removal tools
- T30 Torx
- Soldering iron and solder
- Metal threaded bar (approx. 2-3" per mirror)
- Lock nuts
Step 1 – Remove the door trim
In order to get access to the mirror, it is necessary to disassemble the door trim. First, lower the window to get it out of the way. With a screwdriver, carefully remove the clip underneath the door handle. Then, remove the plate behind the door handle pull. Next, remove the two bolts you now see with a T-30 (Torx) screwdriver. Lift the door panel and pull it away from the door. A putty knife wrapped with a cloth can help you pry the fasteners.
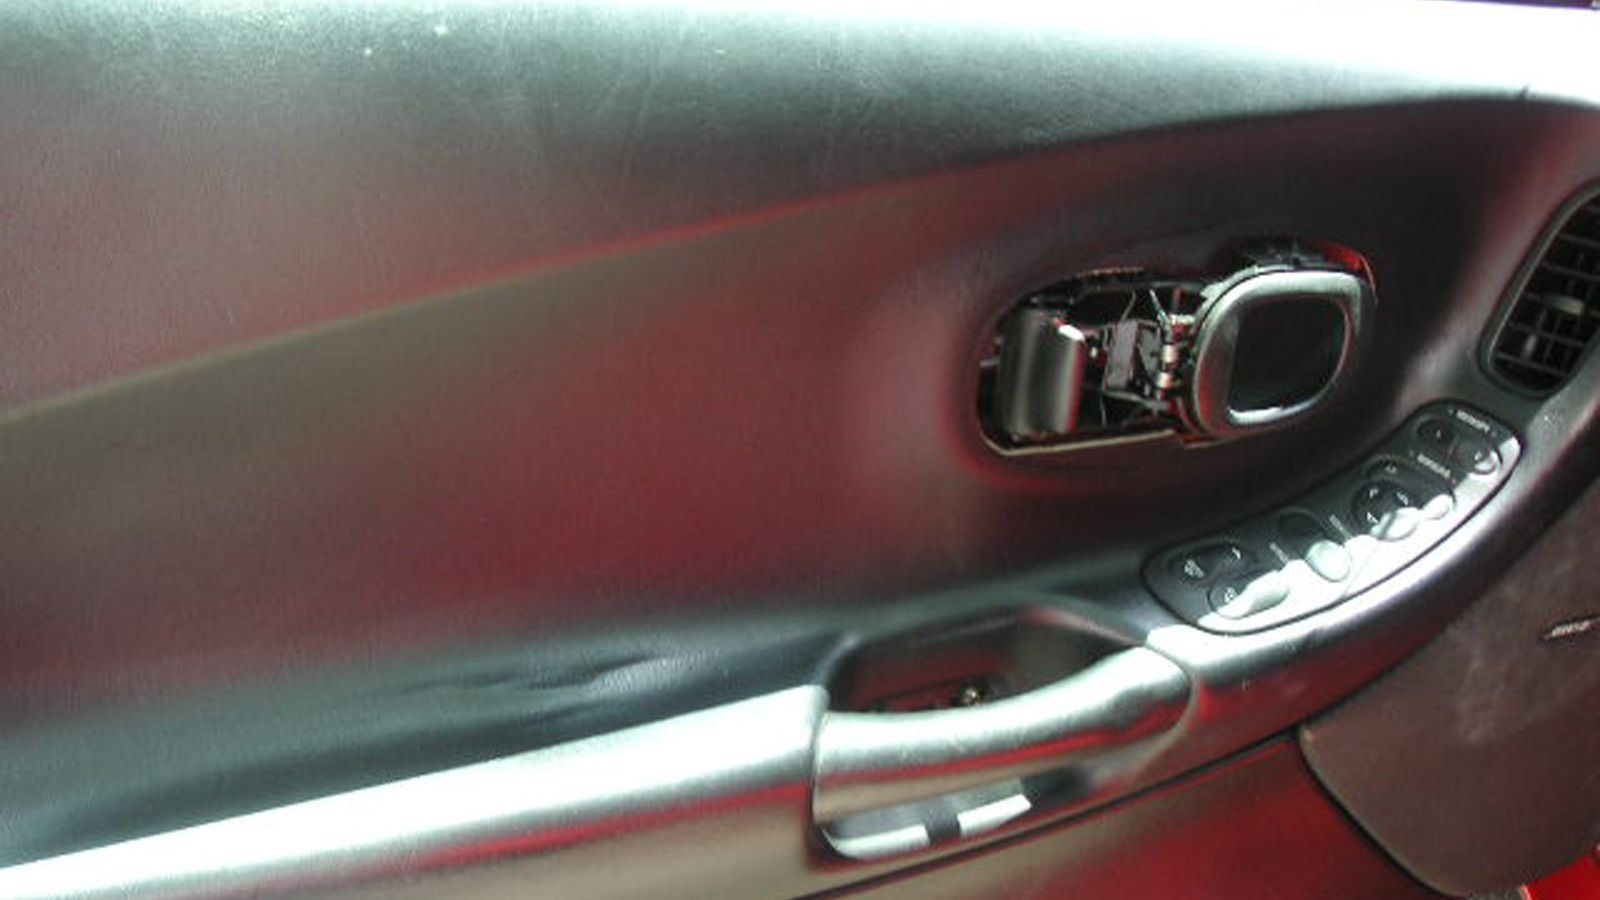
Figure 1. Door trim partially removed. 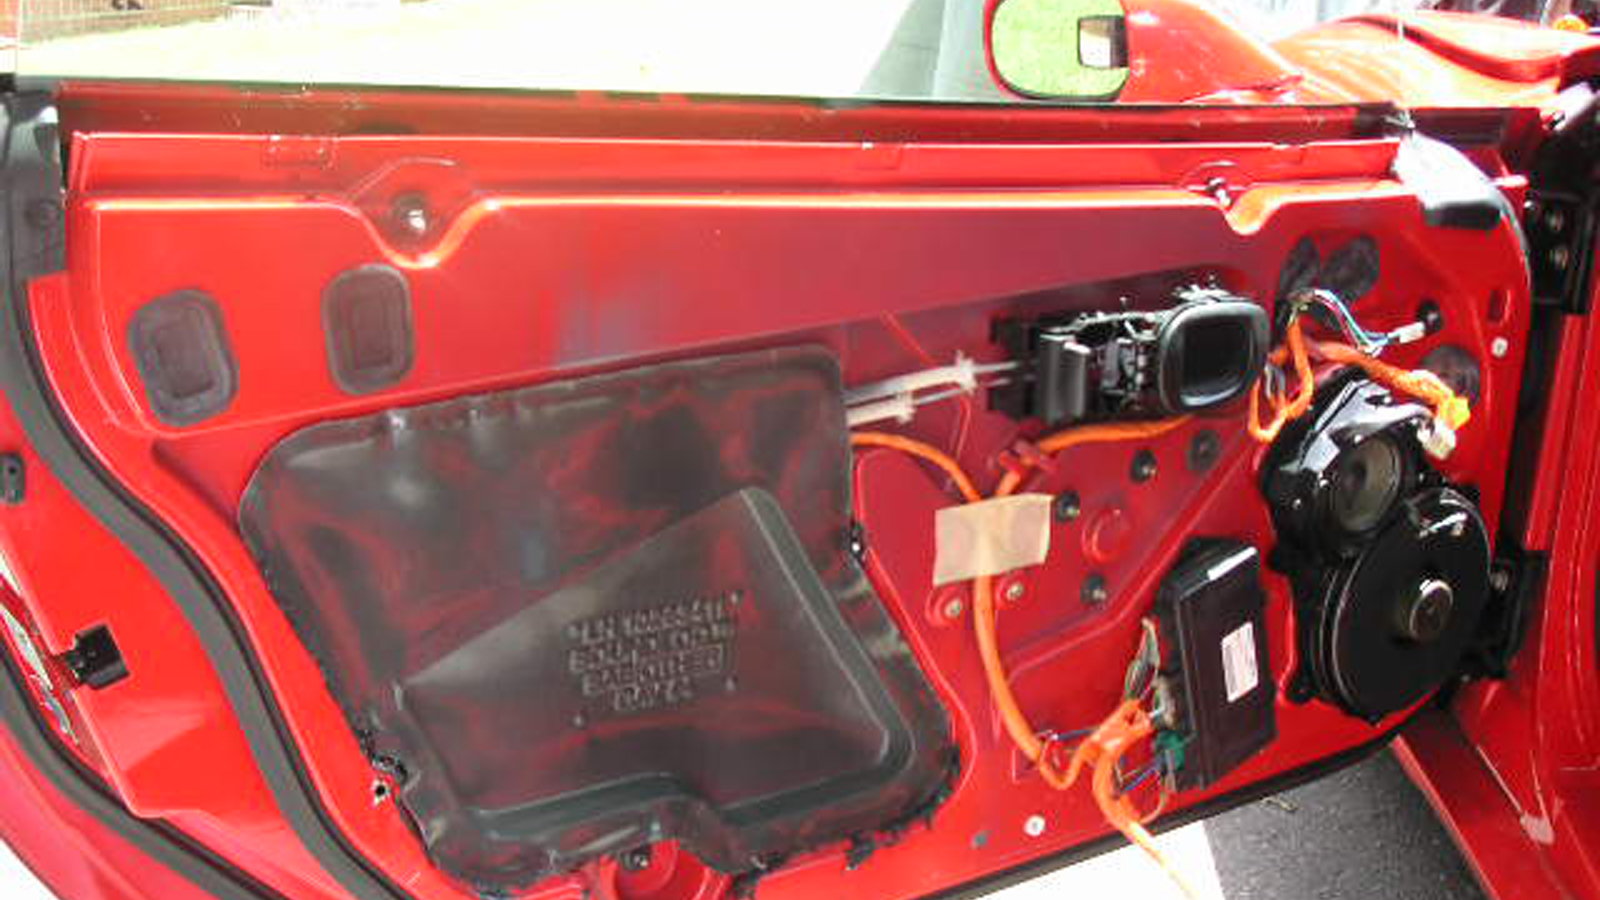
Figure 2. Door trim fully removed.
Step 2 – Remove the mirror assembly
From here, we need to disconnect the door computer harnesses. Doing this will keep the window from unexpectedly rolling up on you. Also, remove the white speaker connector. If you drop something into the door frame, you will be able to retrieve it. Remove the rubber grommets covering the mirror bolts, and then remove the bolts. Snake the mirror cables after disconnecting them from the power, out through the door. This may take a bit of hand/finger coordination in tight spaces. After this, you should have the mirror assembly off of the car.

Step 3 – Repairing the mirror
First, unclip the two black mirror heater wires. Then, cut the wires about 3-4 inches outside of the mirror housing. Proceeding from here is where experts differ. To tighten the spring connection (this is what is causing the floppiness), some make plastic shims from milk jugs, others cut strips of stainless steel to press against the spring. This discussion will take another route: tightening the spring with lock nuts and threaded bars. Both of these can be found in the lighting department of most hardware stores.
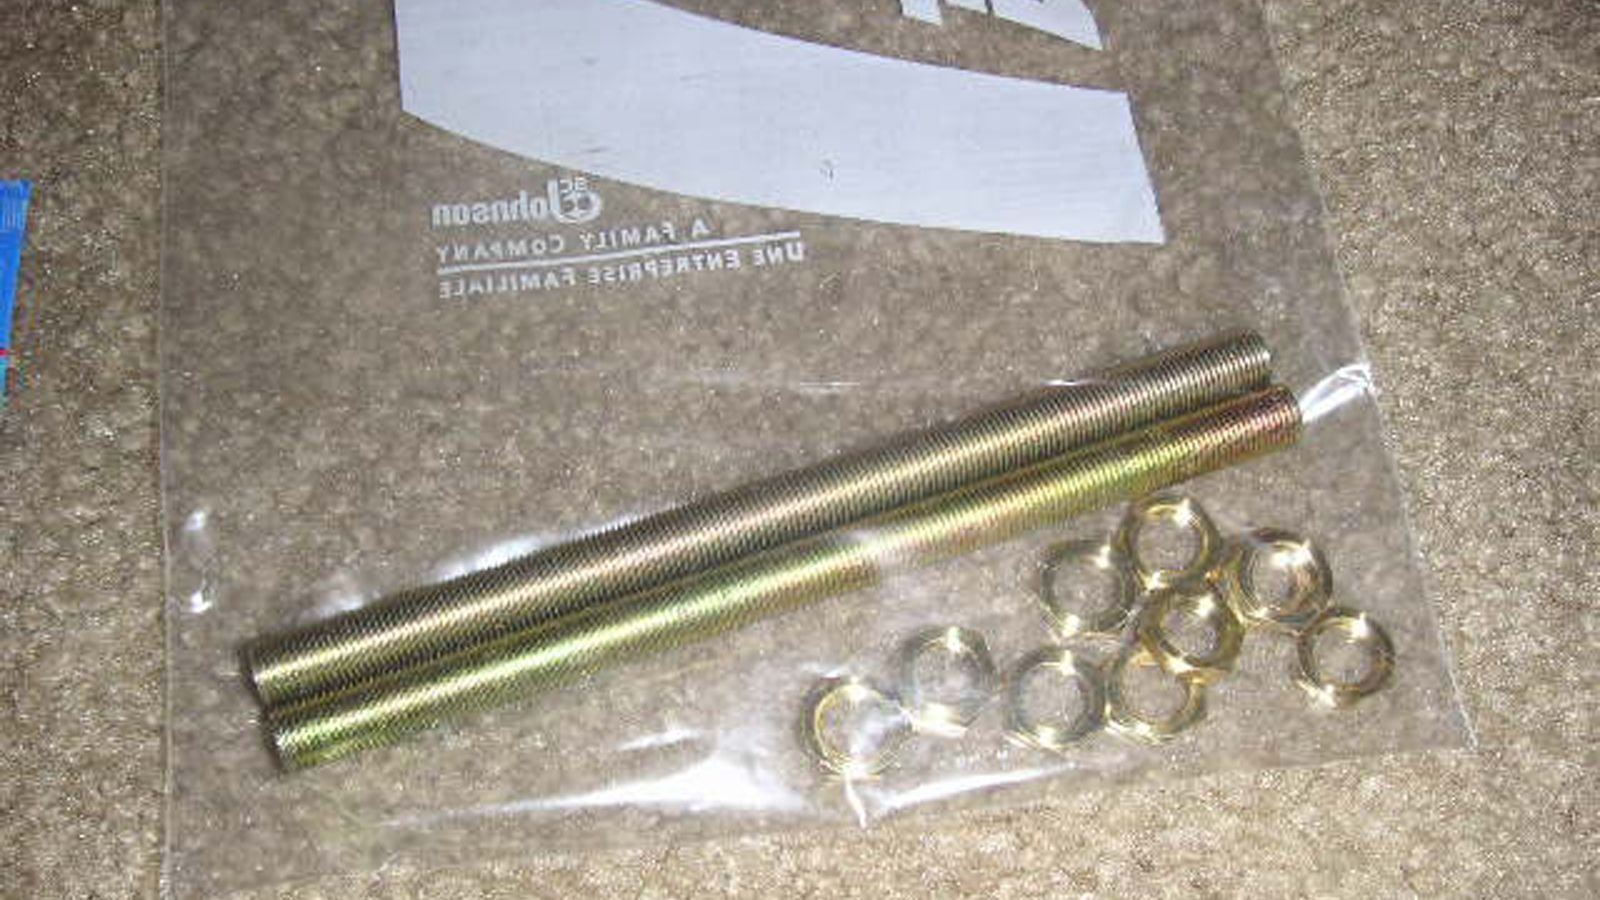
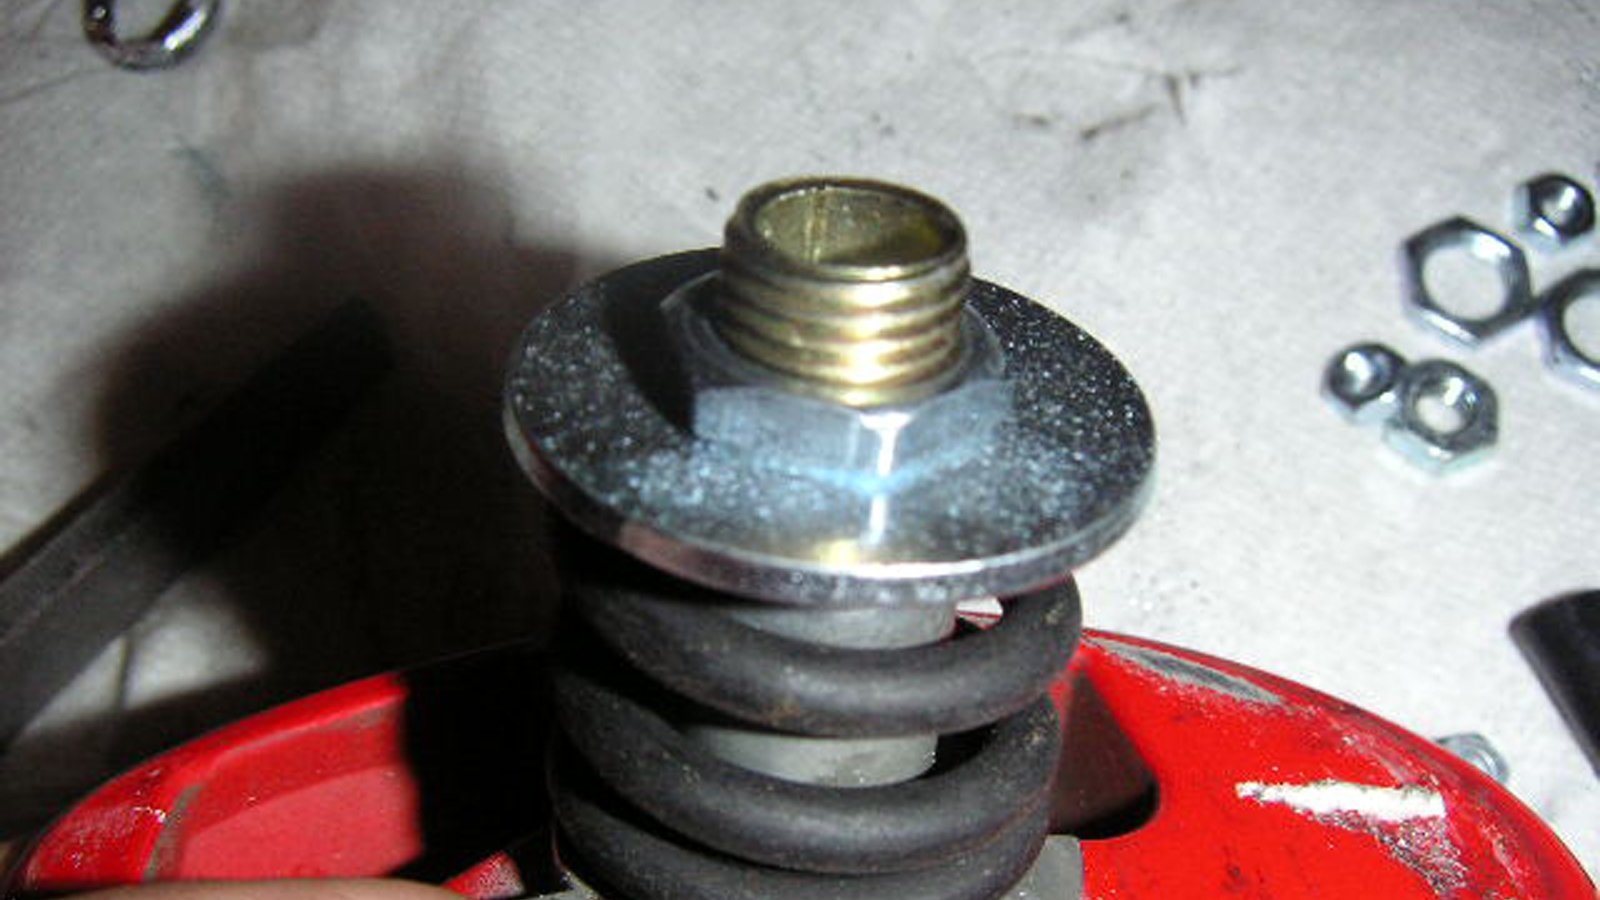
The bar should be 1/4 inch in diameter. Cut it to a length of 2 inches. The lock nuts are of an appropriate size. Remove the assembly spring and washer. Insert the bar into the tube connection, leaving about 1/2 inch exposed. Replace the spring and tension clip. Add a large washer and a nut to screw on the bar. Holding the other end of the bar that extends back out through the connection, place a bolt on it and hand-tighten the collection inside the housing. Give it another light tightening with a wrench.
Thread the wires back through and reconnect where they were cut. This is where the soldering bit comes in. Thread the wiring back into the door, and reverse the steps that disassembled the door.
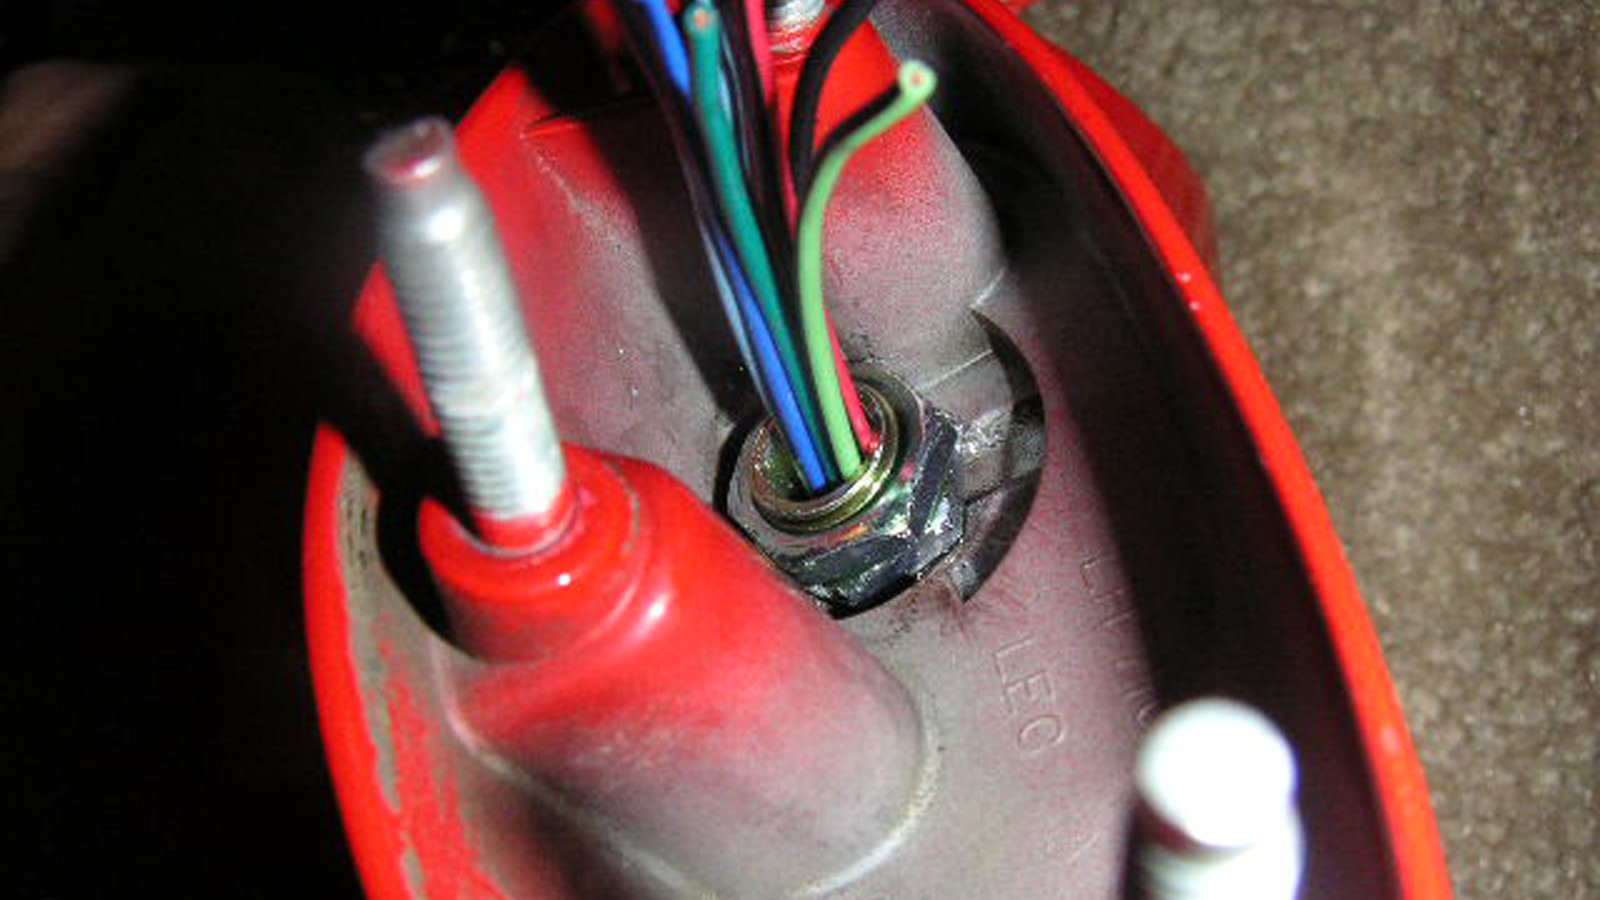
Figure 6. Wiring pushed through the hardware. 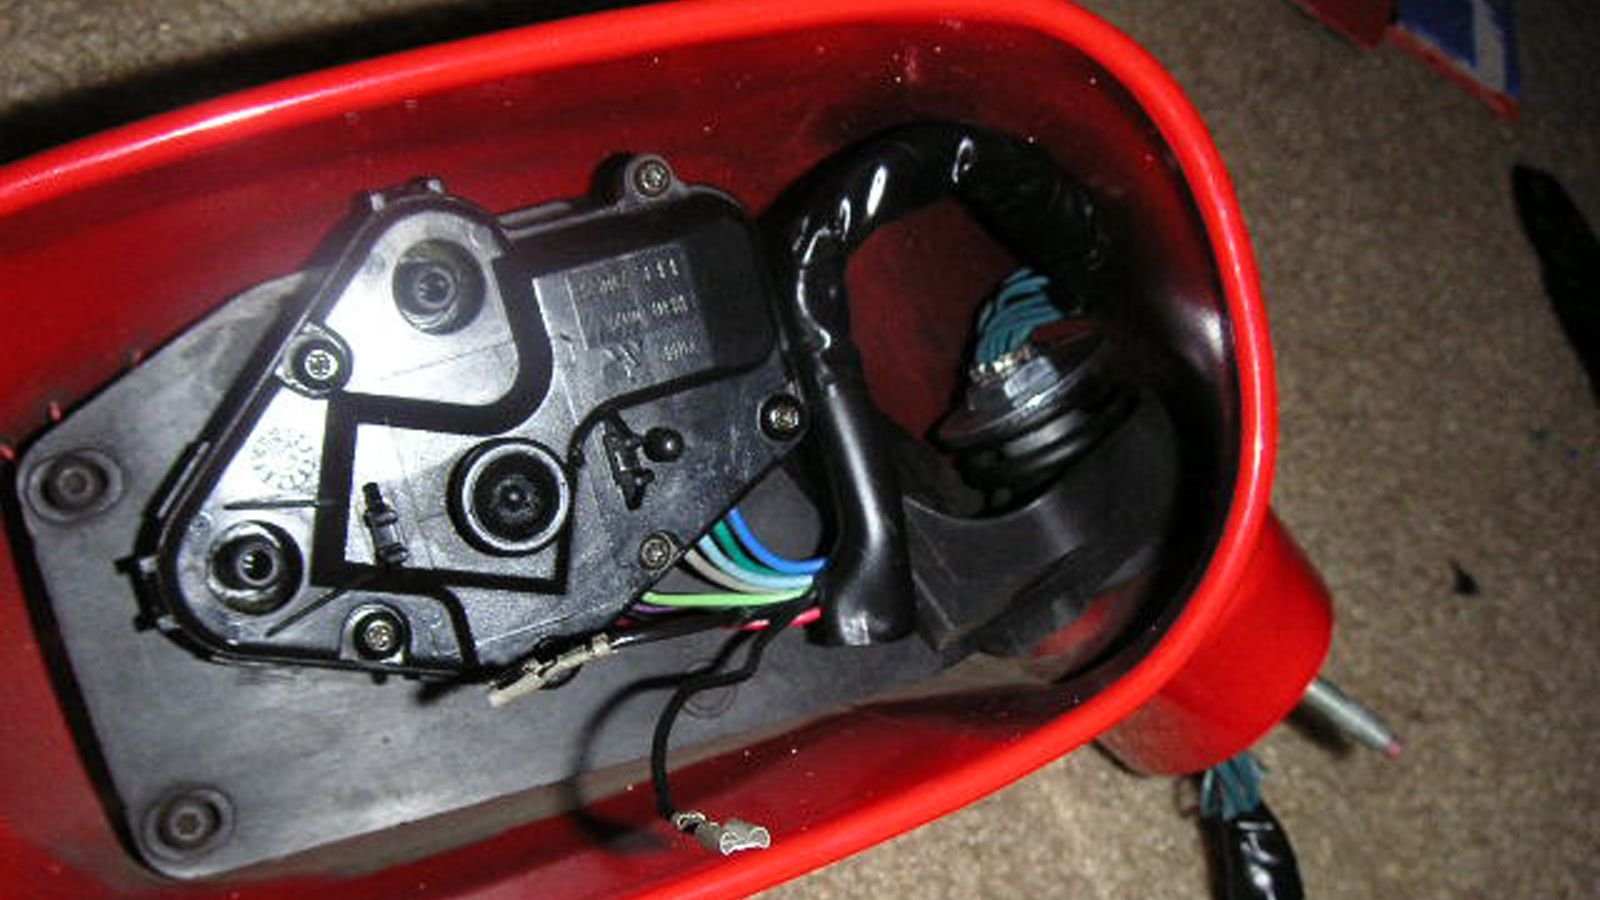
Figure 7. The completed mirror with wires resealed.
Pro Tip
Some owners have reported that cutting and soldering the harness is not necessary, and it can be unclipped further downstream of the harness and removed that way.
Related Discussion and Site
- How to Fix a Floppy Side Mirror - CorvetteForum.com
- CorvetteForum User Repairing His Mirrors - 97Vette.com