C6 Corvette: How to Install a ZR1 Front Splitter
Here's how to install a ZR1 splitter yourself and save a bunch of money.
This article applies to the C6 Corvette (2005-2013).
Are you looking for ways to improve your Corvette C6? Do you need something to give you an edge on the track at higher speeds? Try installing a ZR1 front end splitter. It will help decrease front end lift to increase traction and control. This process will require time, open space, and a ZR1 splitter kit. It is recommended you go to a shop to have this done if you're not very familiar with your car and are not technically savvy. It will be worth it to pay a few extra dollars to have it done correctly, and to assure your paint job isn't destroyed.

Materials Needed
- Socket wrench with extension, detachable 7mm and 10mm heads.
- T15 Torx screwdriver
- Flat head screwdriver
- Floor jacks and stands
- Painter's tape
- A drill
- A thick blanket
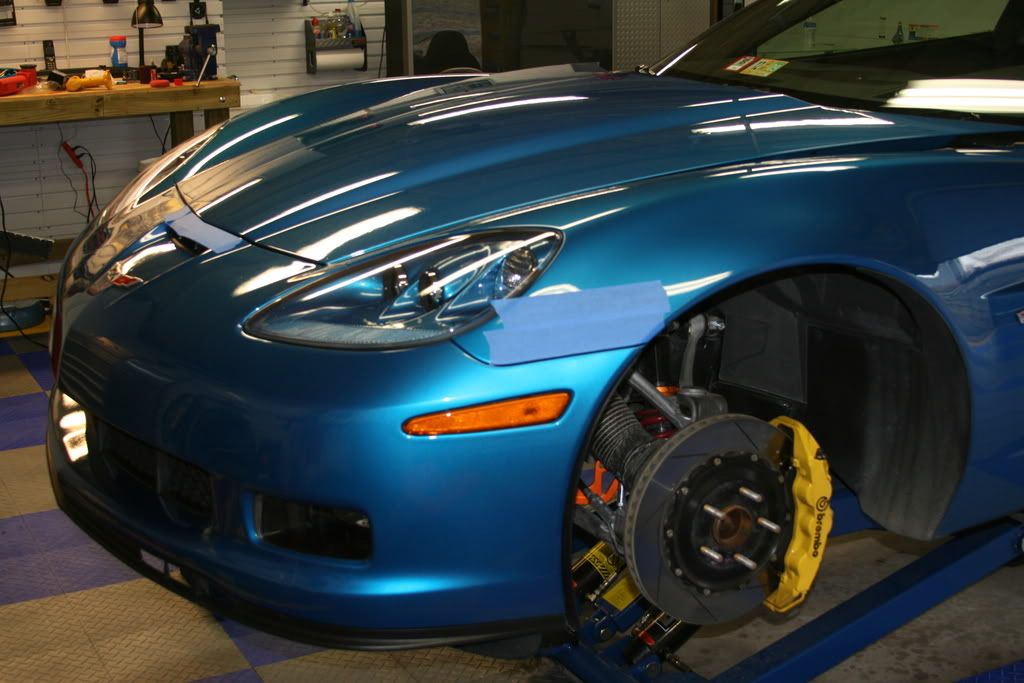
Step 1 – Lift your car and remove the front tires
Loosen the lug nuts on your front wheels, raise the car, secure it with jack stands, and then remove the wheels.
(Related Article: How to Jack Up Your Vette - CorvetteForum.com)
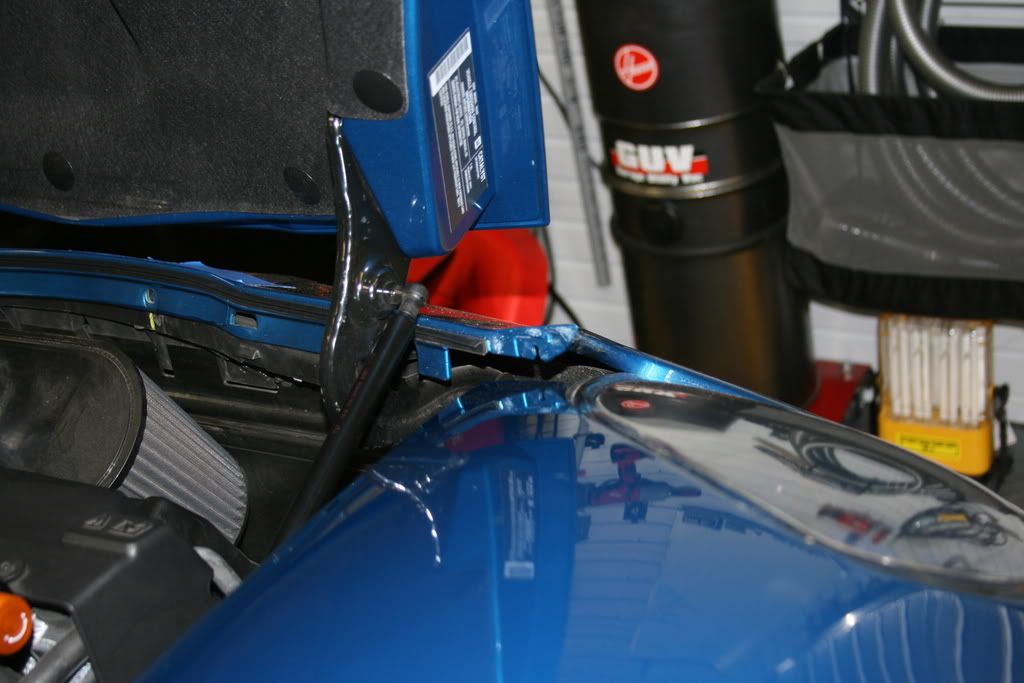
Step 2 – Remove the four screws in the front of the engine compartment
- Pop the hood.
- Use the socket wrench with the extension and 7mm head to remove the fascia screws. (Figure 2)
- Press in the two tabs near the screws to unhook part of the fascia. (Figure 3)
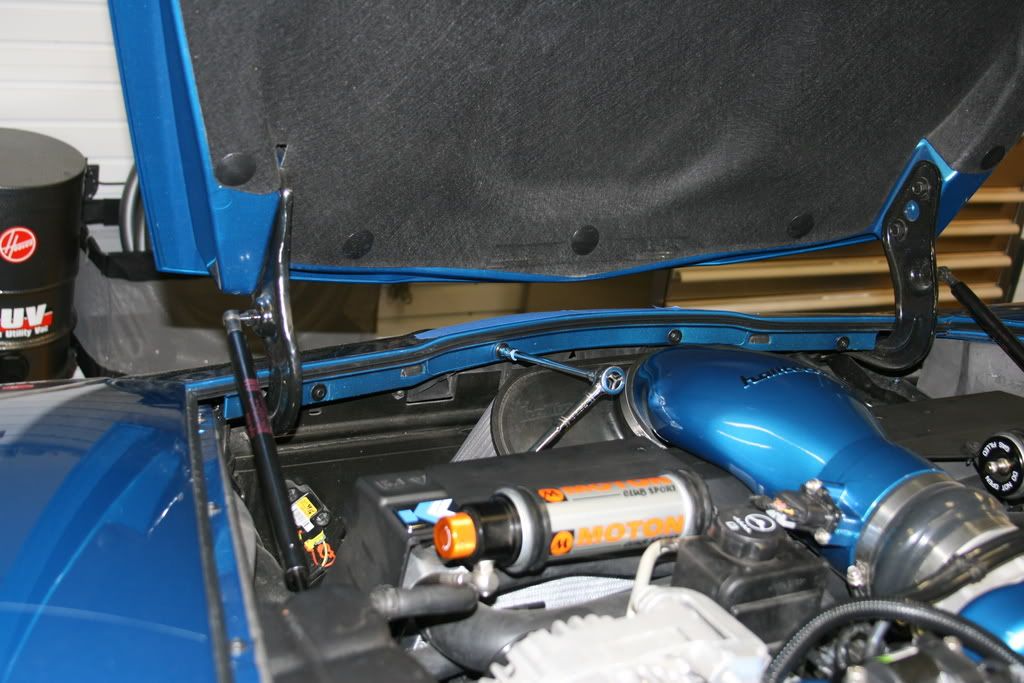
Figure 2. The four cover screws reside in the gap between the hood hinges. 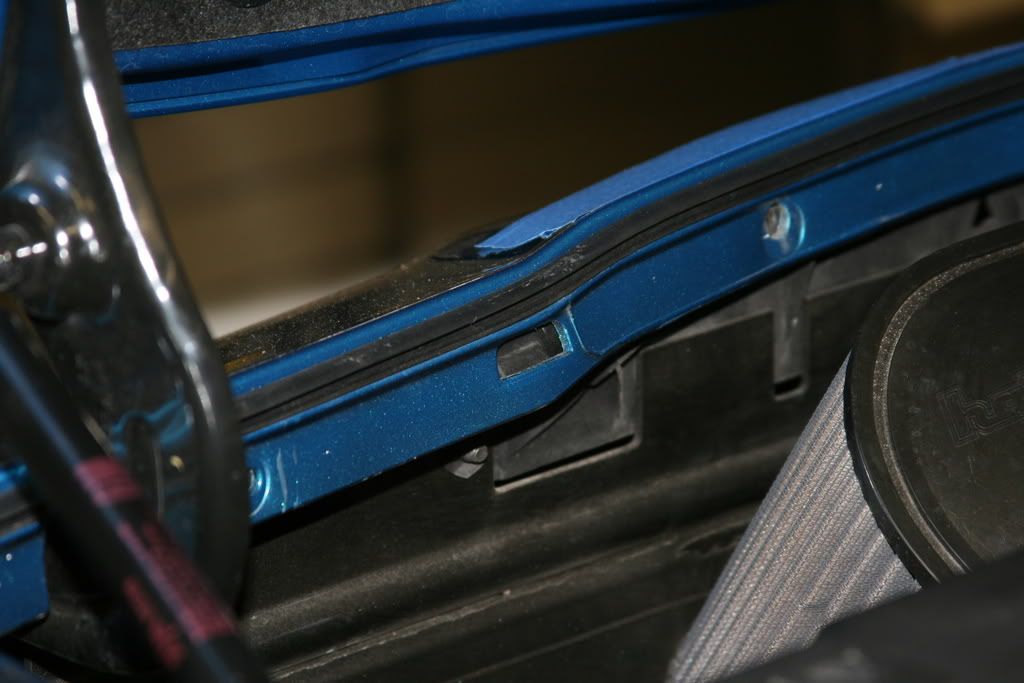
Figure 3. One of the screws removed.
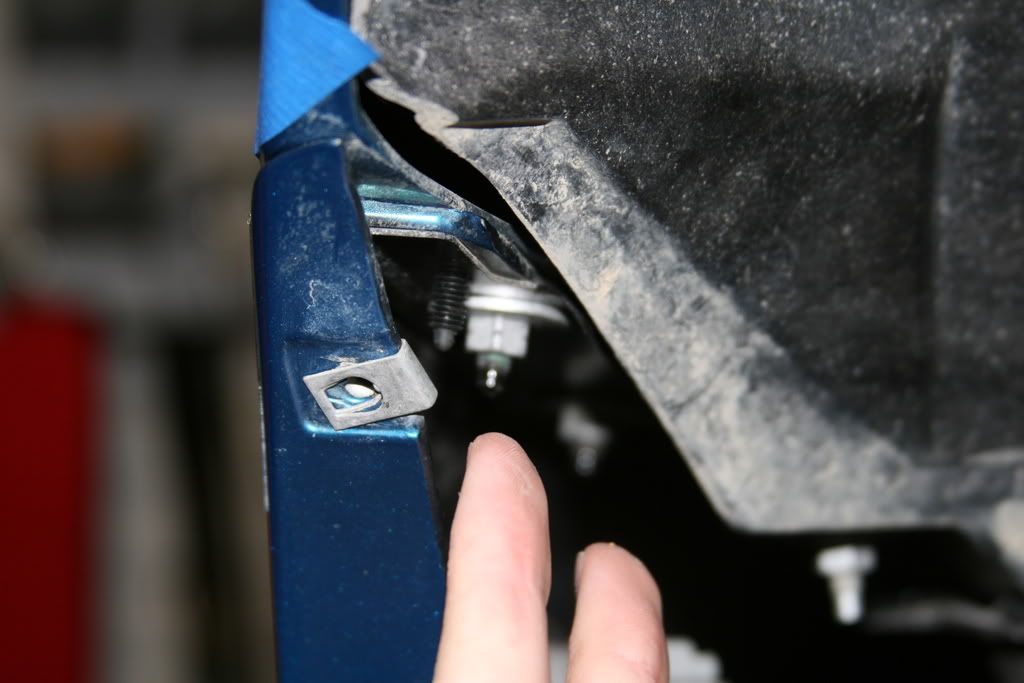
Step 3 – Remove the wheel well screws and liners
- Remove the T15 screws in both wheel wells. (Figure 4)
- Pull out the three push tabs. (Figure 5)
- Peel back the liners and remove them.

Figure 4. T-15 screws on outer fender liner. 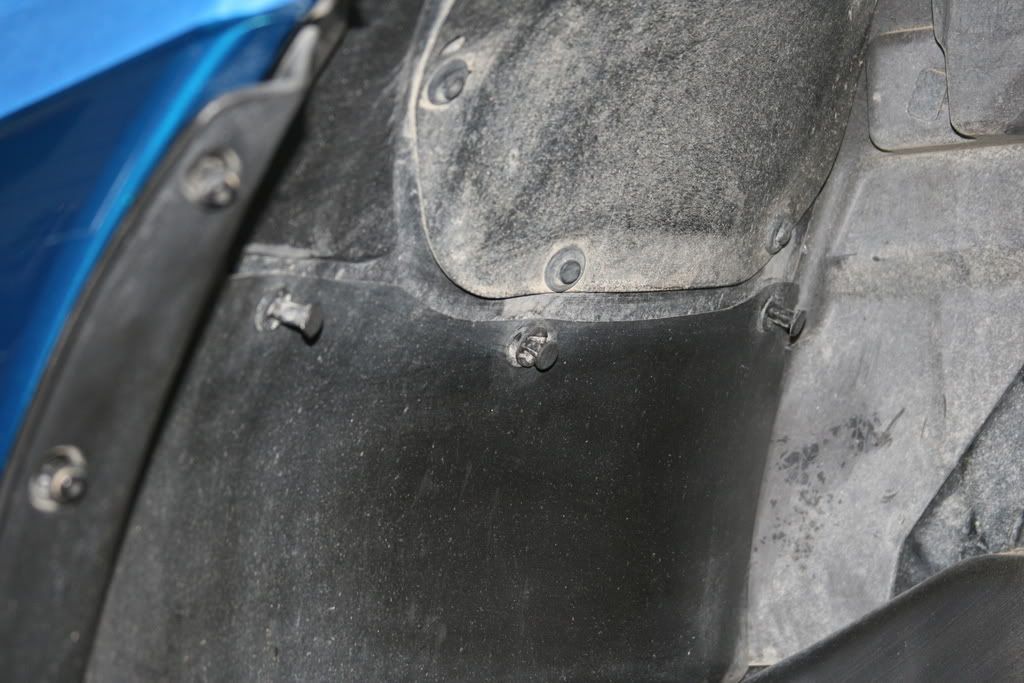
Figure 5. Pull out the push tabs on the inner fender liner.
Step 4 – Disconnect and remove lights
- Grasp the turn signal light firmly to rotate it, and then remove it along with its wires.
- Do the same for the fog lights.
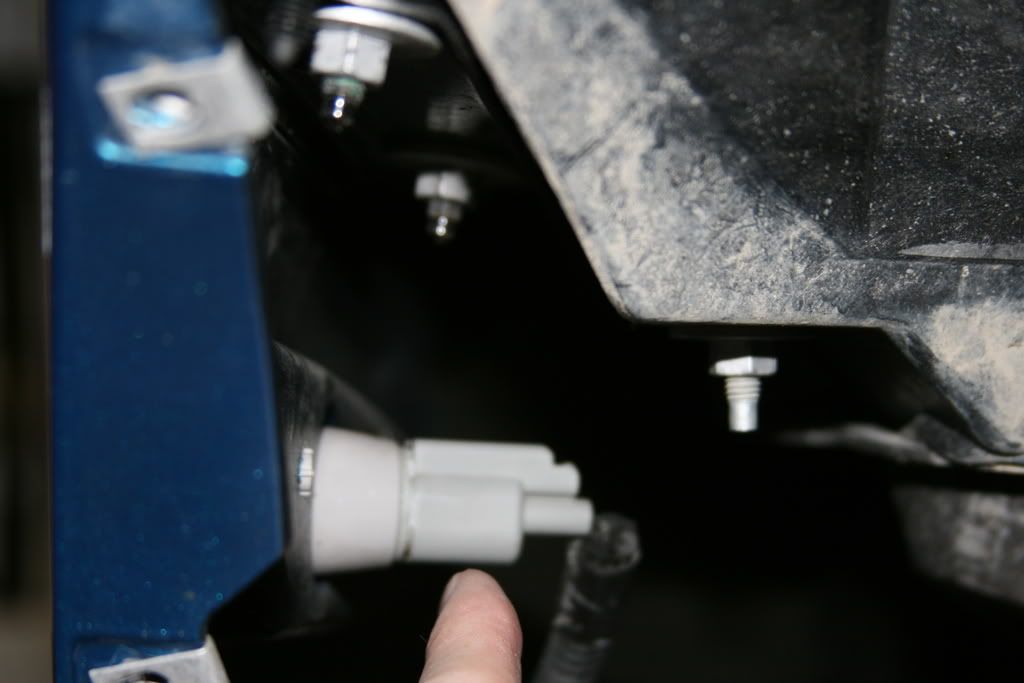
Step 5 – Remove the screws under the fender and unscrew the fascia
- First use the 10mm head on the socket wrench to remove the nuts near the turn signals.
- Then, remove the next two nuts with the integrated washer.
- For the next five screws switch to the 7mm head and remove the three towards the center. Once removed, the flex flap can be pulled down. The final two are near the wheel wells.
- Remove the push pins that are above the flap and on either side of grille. You can use a flat head to pry them out.
- Now, unhook the plastic trim piece with the pin it it by pulling it towards you.
Step 6 – Remove the fascia
- Grab the fascia in the upper corner by the headlights. Pull straight up to remove it from the metal clips that hold it in place.
- Slowly lift and pull the entire fascia off.
- Place it on the blanket to prevent scratches and scuffs.
Step 7 – Disassemble the fascia and insert new ZR1 splitter
- Remove the push pins inside of the grille, and then pull it out through the front.
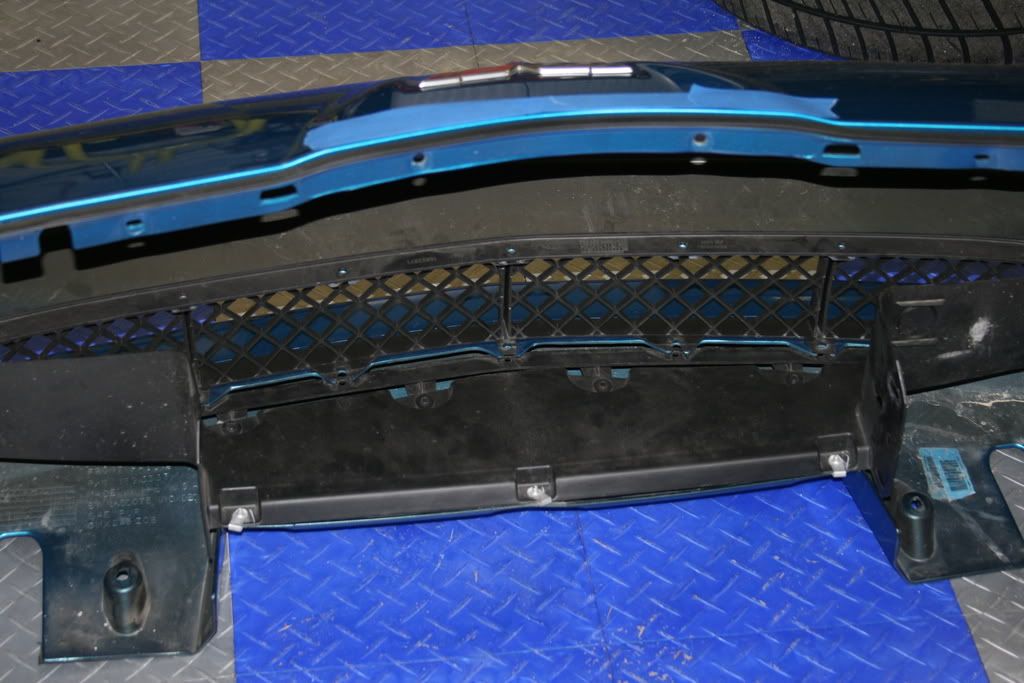
Figure 9. Remove the grille pins. 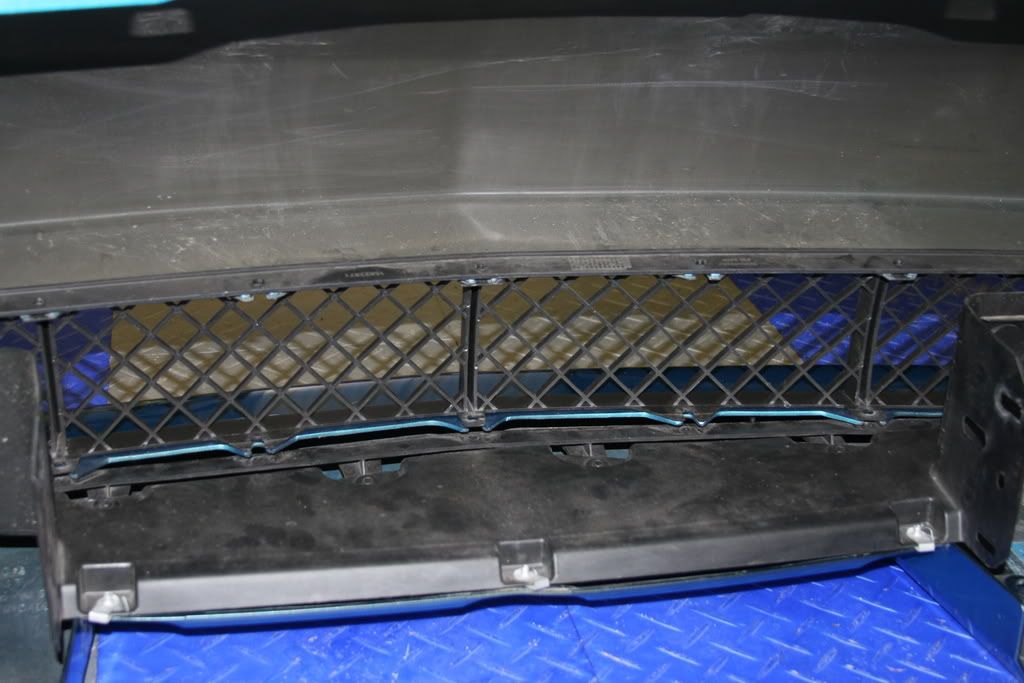
Figure 10. Another view of the grille pins removal.
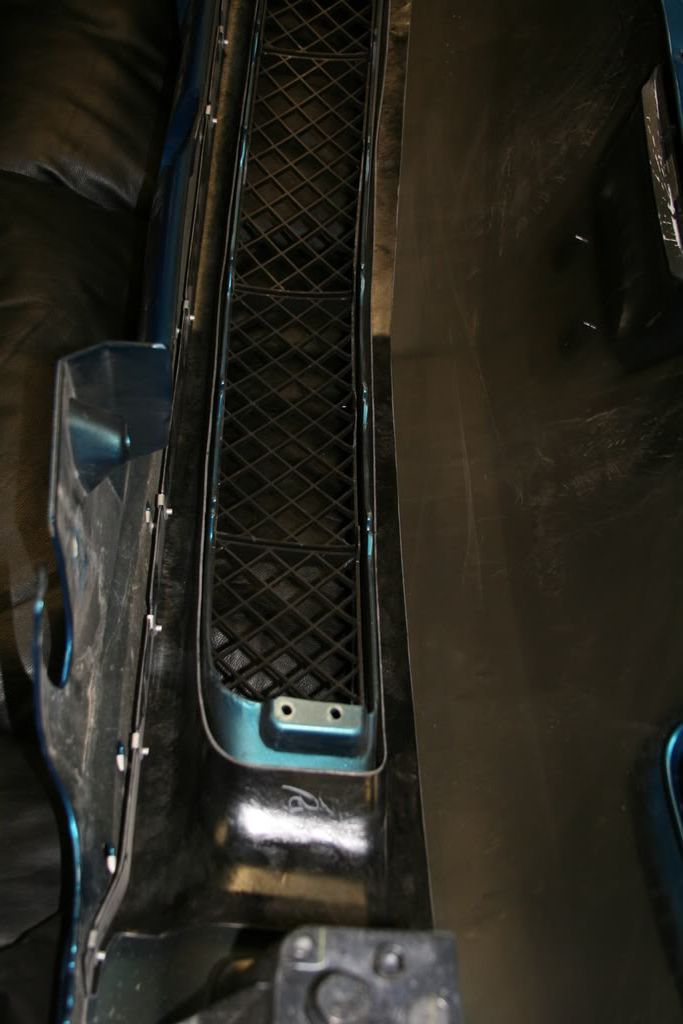
- Remove the push pins that hold the first support in place. Then use the socket wrench with the 7mm head to remove the screws.
- Locate and unscrew the final two screws holding the second support in place.
- Insert the new support around the grille opening.
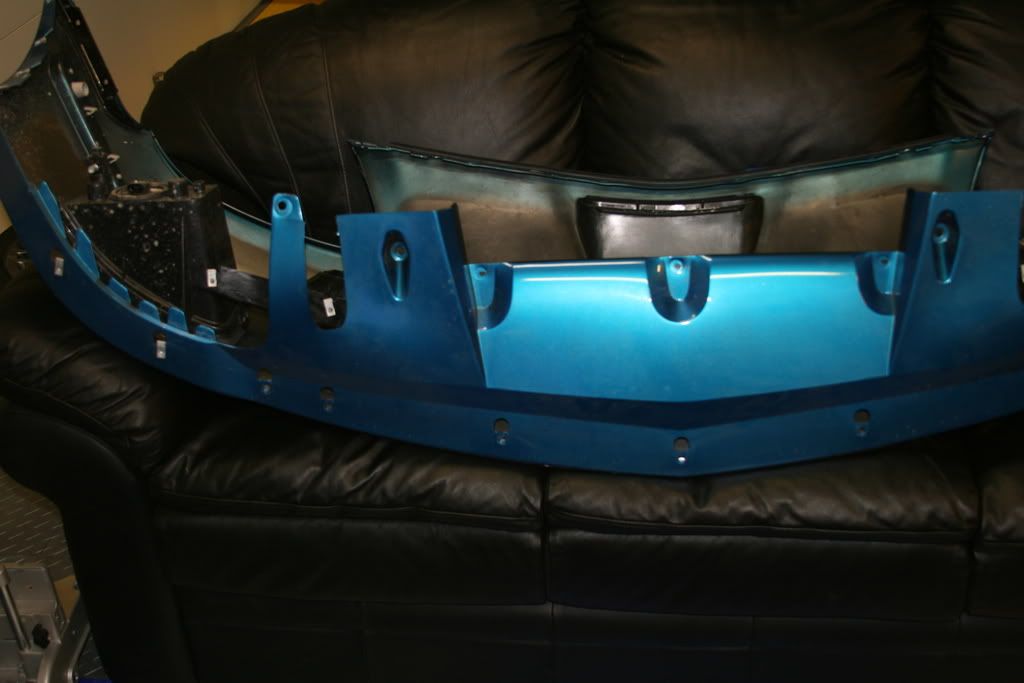
- Remove the final 7mm screws holding the old splitter in place.
- Line up the new splitter and screw it in place using its holes, and not the old splitter's holes. (Figure 15)
- Replace all of the 7mm screws that you had taken out, but still have holes for.
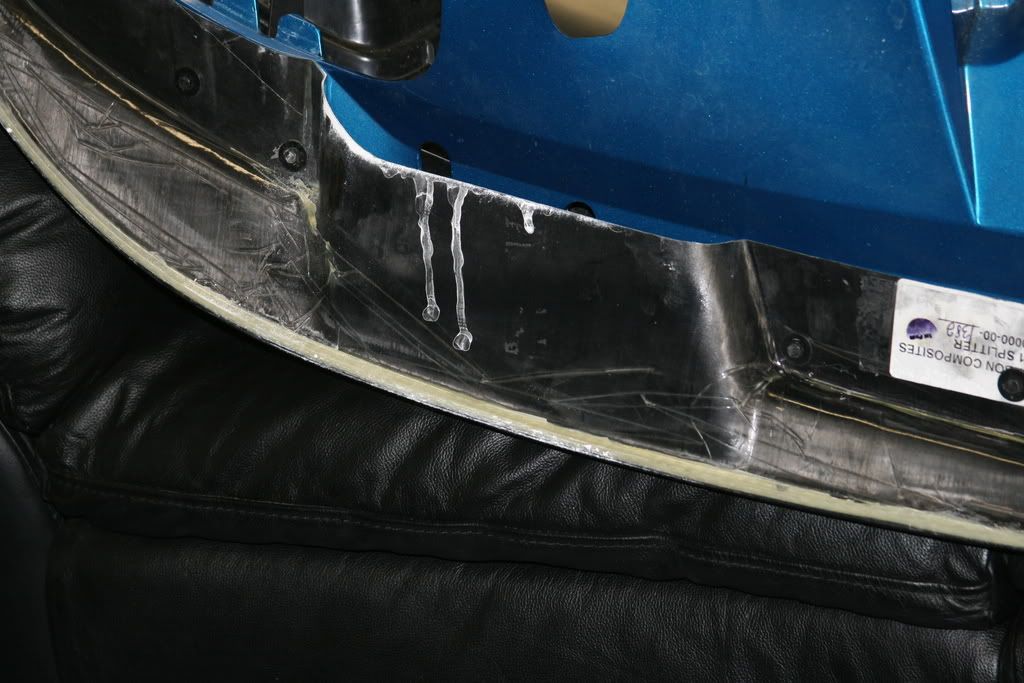
Step 8 – Drill four holes in the fascia and then reassemble
- Drill four holes in the fascia in order to replace the final four screws.
- Work your way backwards and replace the fascia. Screw it back in, replace the turn signals and fog lights. Then, replace the wheel well liners.
Related Discussions
- ZR1 Splitter How-To - CorvetteForum.com
- How to Lift Your C5 - 97Vette.com