C6 Corvette: How to Install an Insulation Kit
Increase the effectiveness of your vehicle's cooler/heater. Dampen road noise and increase radio sound quality by installing an insulation kit.
This article applies to the C6 Corvette (2005-2013).
An automotive insulation kit provides an effective and dependable way to increase the level of heat and sound absorption in your vehicle. By reducing the flow of noise in and out of your C6, you can increase radio sound quality and create a more pleasant cabin experience for you and your passengers. A great value for your investment, this DIY project is affordable and takes just several hours to complete. Best of all, you can purchase top quality automotive heat and sound insulation kits online without breaking the bank.

Materials Needed
- Pre-cut auto insulation kit for a C6 Corvette
- Spray adhesive (only for low-end kits that do not contain a sticky backing)
- Soundproofing material (only if you will not be purchasing an actual automotive insulation kit)
- Rubber roller
- Cloth/large pieces of cardboard (optional)
Step 1 – Spread the pre-cut foil material lengthwise on a flat surface
Lay the double-sided, foil material on an even surface, such as a work table or other large area; your kit will come packaged with pieces specifically designed for each panel. Check that the neoprene foam located in the middle of the material is firmly intact before proceeding to Step 2. Organizing the materials beforehand will reduce mistakes later on down the line.
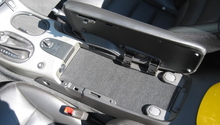
If you will be removing the seats in your vehicle to cover more area, do so at this time. If not, don't worry, it is possible to work around the seats; however, you will need to remove floor mats and other moveable items in the vehicle at this time.
Pro Tip
If you will be handling a spray adhesive because your kit does not contain a sticky backing (or you've cut out your own noise resistant material in lieu of a store-bought one), you may want to protect the area where you will be working using an old cloth or several large pieces of flat cardboard.
Step 2 – Remove interior trim
Some pieces of interior trim require removal for this installation. Items like the door opening trim can be removed with a plastic trim removal tool or, if you can be gentle, a flat head screwdriver. Depending on how the insulation kit was designed, it may require the removal of the seats and center console. The seats can be removed by removing the four bolts holding them in place to the floor, and the plastic center console can be removed by use of a Phillips-head and flat head screwdriver.

Figure 1. Plastic door opening trims being removed. 
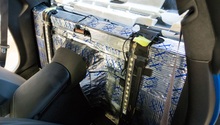
Figure 2. Center console plastics being removed.
Step 3 – Test fit each piece of material
Place the designated sheet diametrically over the intended panel to ensure a proper fit. If you will be applying large sheets of a sound insulation material that is not part of a store-bought automotive insulation kit, simply cut the material to the size and shape of the panel you want to cover, and then check for excess material along the edges and remove them.

Pro Tip
Check the dimensions of each sheet against the assigned panel (as determined by the manufacturer) before peeling off the protective layer or adding an adhesive to DIY soundproofing material.
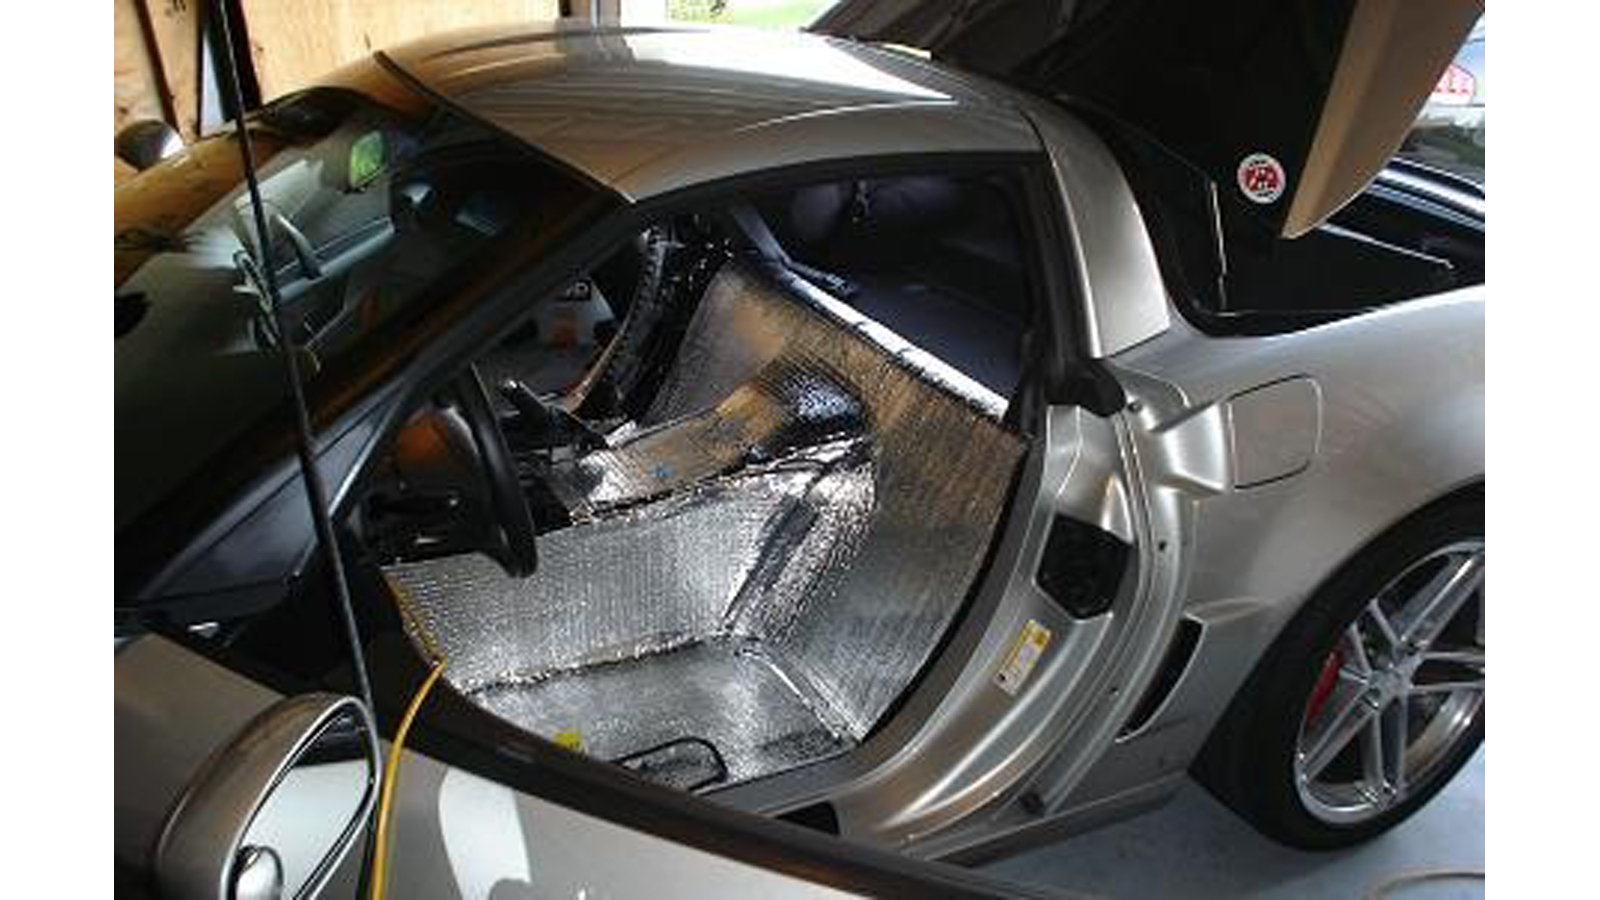
Step 4 – Apply the first sheet, and then move on to the next
Holding or pressing the first sheet against the panel, peel off the short side or edge of the sheet and work outward. Move slowly, taking special care not to expose the entire sheet (sticky side) to the surface of the vehicle at once, just several inches at a time. Continue until all of the backing paper has been completely removed and the sheet is attached to the panel.
If you will be applying an adhesive, simply spray the entire sheet with an adhesive product of your choice, and then attach the sheet one edge at a time, smoothing as you go.
Pro Tip
Wipe down any surfaces that contain stains or signs of oil to ensure a proper application.
Step 5 – Work out any air bubbles or uneven areas
Slowly sweeping your hand over each sheet, work out any air bubbles and smooth any uneven areas that you come across. Start from one edge and work your way out, moving slowly and covering only a small area at a time to ensure the best application. Sheets should not obstruct the functionality of any part or panel, so check adjoining hardware and upholstery for problems. Employ a rubber roller if air bubbles are a persistent problem.
Pro Tip
Do not double or stack sheets across panels.
Related Discussions
- C6 Insulation Recommendations - CorvetteForum.com
- C5 Installation Thread with Pictures - CorvetteForum.com
- Additional Recommendations and Solutions - CorvetteForum.com