C6 Corvette: How to Paint Your Hood Liner
For only $40, you could have your old liner looking brand new. Learn how to paint it here.
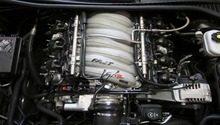
This article applies to the C6 Corvette (2005-2013).
Looking for a way to improve your hood liner? Trying to find a cheap alternative to replacing it? Look no further than this great how-to guide. With the right paint supplies and patience for detail, you can revive your old hood liner in a few steps.

Materials Needed
- 1 can of Krylon semi-flat black spray #1613
- Dupli-color red caliper paint
- 1 set of assorted flat brushes
- 1 plastic spoon
- 1 small Styrofoam or plastic cup
- Testors enamel paint markers (1 silver; 1 flat black; 1 gold)
- Testors Model Masters 1/2 oz. enamel paint (2 classic white; 1 gold; 1 gloss black)

Pro Tip
Paint your hood liner on a calm, warm day. This will allow you to work without the risk of dirt and leaves blowing into the paint.
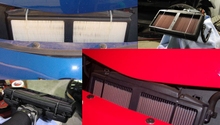
Step 1 – Remove hood liner and spray with Krylon black
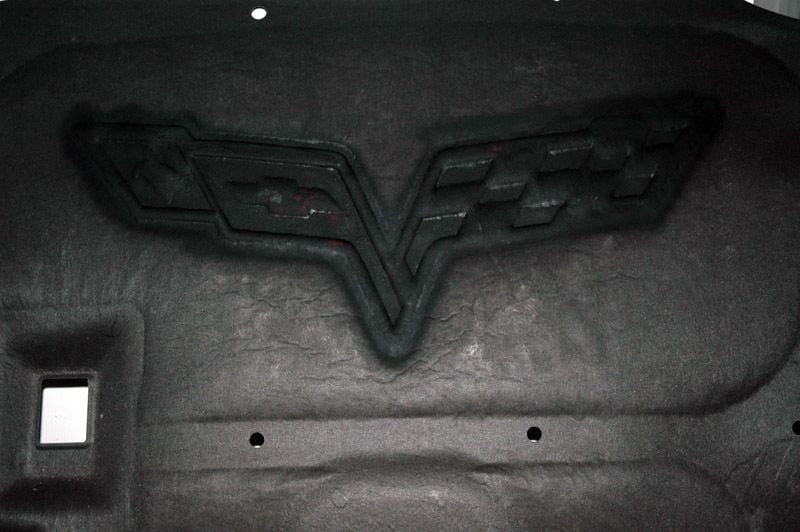
Remove the hood liner and spray the emblem with Krylon semi-flat black. Be sure to follow its outline and stay within its impression. Spray it with 4 coats, allowing 20 minutes between each coat to dry.
Twenty minutes after the final coat, turn the liner over and proceed to spray the inside of the emblem with the Krylon semi-flat black. Again, stay within the impressions of the emblem. Spray it with another 4 coats, also allowing 20 minutes between each coat to dry. This step should use up the entire can.
Five minutes after the final coat, use the back of a plastic spoon to smooth out any fibers that may be sticking out.
Pro Tip
Always hold the Krylon spray can about 2 inches away from the hood liner.
Step 2 – Paint the emblem using the Dupli-color red caliper paint
Using a wide, flat brush carefully paint the impression outline, the fleur-de-lis (maple leaf type insignia), the bow tie, and the white portions of the flag. Apply between 4-8 coats, allowing 20 minutes between each coat to dry.
Mix two drops of black paint with 1 oz. of red caliper paint in a Styrofoam cup; stir until completely mixed. Use this mixture to paint the section of the flag containing the fleur-de-lis.

Pro Tip
Apply the red paint within three hours or you will have to wait five days to reapply the paint. Also, save a portion of the darker red paint mixture to add final touches later on.
Step 3 – Paint the outline silver
Using a small, flat brush, paint the entire outline silver. Apply 2-3 coats, allowing 20 minutes between each coat to dry.

Step 4 – Paint the bow tie and fleur-de-lis
Using the golden paint enamel marker, outline the bow tie and fleur-de-lis in single and clean directional strokes.

With a small, flat brush and the gold enamel paint, finish painting the inside of the bow tie and fleur-de-lis in single and clean directional strokes.

With the dark red caliper paint mixture from Step 2, paint four detailed lines within the fleur-de-lis insignia.

Step 5 – Paint the left portion of the flag
With a small, flat brush and white enamel paint, paint over the red checkered portion on the left side of the flag. Apply 5-6 coats to achieve the solid white color and allow one hour between each coat to dry. Be careful not to paint into the black checkers.

Step 6 – Touch-up the surrounding outline
Using the flat black enamel paint marker, paint a straight, thin line to create a divide between both flags as well as to any imperfections in the outline. Touch up the silver outline with the silver enamel paint marker if necessary.

Related Discussions
- How to Paint Your Hood Liner - CorvetteForum.com
- DIY Paint Your Hood Liner Step-by-Step Instructions - CorvetteForum.com