C6 Corvette: How to Rebuild Seats
Repair your 'Vette's seats the quick and easy way by following this how-to guide.
This article applies to the C6 Corvette (2005-2013).
Unfortunately, C6 Corvette's have seats that were poorly designed and tend to go flat quickly. There is a seat repair kit that will allow you to easily add some more cushion to your seats, and put an end to the under-coils cutting through the cushion.

Materials Needed
- 10mm socket
- Flathead screwdriver
- Wire cutters
- A blanket
Step 1 – Unbolt the seat
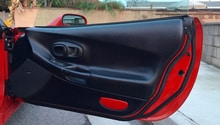
- Pull the tabs on the plastic covers that hide the seat bolts, then unbolt the front two bolts.
- Slide the seat all the way forward, and unbolt the rear bolts.

Figure 1. Removing plastic covers. 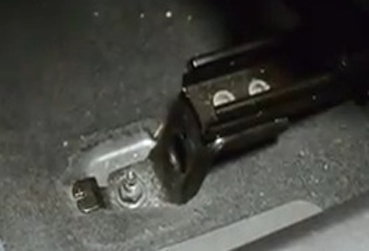
Figure 2. Front floor bolt. 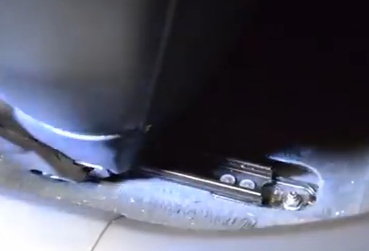
Figure 3. Back floor bolt.
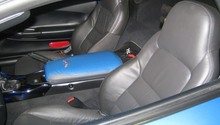
Step 2 – Remove the seat
- Lay a blanket over the door trim, lift the seat, and place the seat on the blanket.
- Disconnect the front two plugs under the chair. For the black and pink connectors, lift the pink lever and detach. On the yellow connectors, lift the side tabs and detach.

- Use a 10mm socket to remove the seat belt.
- Turn the chair so the front is facing out of the open door, lean the seat back, and disconnect the final plug.
- Lift the seat completely out of the car, and get ready for the real work.

Figure 5. Removing seatbelt. 
Figure 6. Removing the final electrical plug.
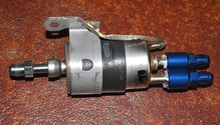
Step 3 – Remove the seat adjuster
- Place a flathead screwdriver between the button that would allow you to slide the seat forward and backward, and the actual seat; slowly pry the button off.
- Lift the seat recliner lever, up, and out; use a flathead to slowly remove it, by sliding the metallic ring, that holds the lever in place, off.
- Unscrew the newly revealed screw that was behind the seat lever.
- Remove the panel, and unscrew the three screw holding the metal panel plate.
- Remove the metal plate; disconnect and remove the plastic panel, and remove the seat adjuster plug.

Figure 7. Removing adjuster button. 
Figure 8. Removing seat adjuster lever. 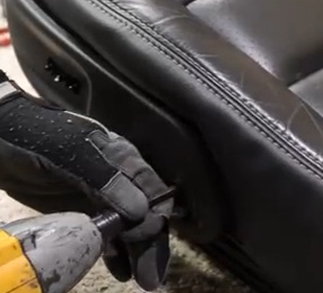
Figure 9. Removing plastic panel screw. 
Figure 10. Removing plastic panel.
Step 4 – Remove the seat cover and foam
- Starting under the chair, cut the three hog ties near the back, that hold the chair cover in place. Lift the flap it creates, and cut the final two in the back of the chair.

Figure 11. Cutting the first set of hog ties. 
Figure 12. Cutting the second set of hog ties. - Untie the string under the chair that holds the cushions in place, and undo the Velcro flaps behind the seat.
- Starting in the front, peel the seat cover and the foam from the seat, until you can lift the whole thing off.
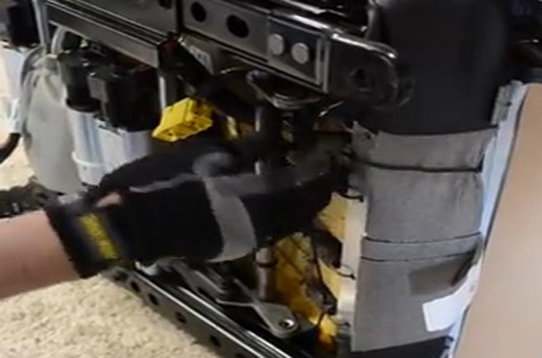
Figure 13. Untying the cushion string. 
Figure 14. Undoing the rear Velcro. 
Figure 15. Peeling back the seat cushion and cover.
Step 5 – Insert the chair repair kit
- Using the adhesive spray, coat one side of the two smaller portions of foam; now place them inside the seat frame, in the front right and left corners.
- Place the jute pad in the center of the seat to cover the coils.
- Again using the spray adhesive, coat one side of the longer portions of foam and attach them to bottom of the original seat padding.


Step 6 – Re-assemble the seat
- Slip the seat cover and foam back down.
- Tie the seat cover string under the chair.
- Close the Velcro flaps in the back of the chair.
- Using the zipties, go through the 5 hogtie holes, and tie the seat back down.
- Re-attach the seat adjusters.
- Re-install the seat, and bolt it back down.
Related Discussion and Video
- C6 Seat Rebuild Kits - CorvetteForum.com
- Chevrolet Corvette 2012 Sport Seat Leather Upholstery and Foam Conversion Upgrade - Youtube.com