C6 Corvette: How to Replace Front Turn Signal
Replacing the front DRL/turn signal bulb is something every owner will eventually need to do. It's a quick and easy DIY. Find out how it is done.
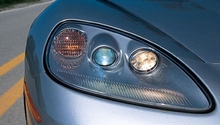
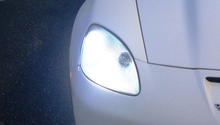
This article applies to the C6 Corvette (2005-2013).
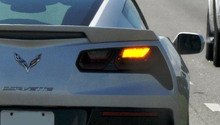
This guide will go through the necessary steps to replace the front turn signal bulb. This is a fairly easy project that all Corvette owners should learn. The fact is, the turn signal bulbs don't last forever and they will need to be replaced eventually. Before the bulb completely burns out, you will notice it blinking faster than usual. The side that you notice blinking fast, is the side that has a bad turn signal bulb. When you notice this, you can then proceed to figure out whether it's the front or back. This article will help you to replace that faulty bulb. The procedure for replacing the bulb is the same for the driver and passenger side.

Materials Needed
- Light bulb (Ex-Sylvania - Part #3157NA / 4157NA)
- Flat head screwdriver
- Small pliers
- Floor jack (optional)

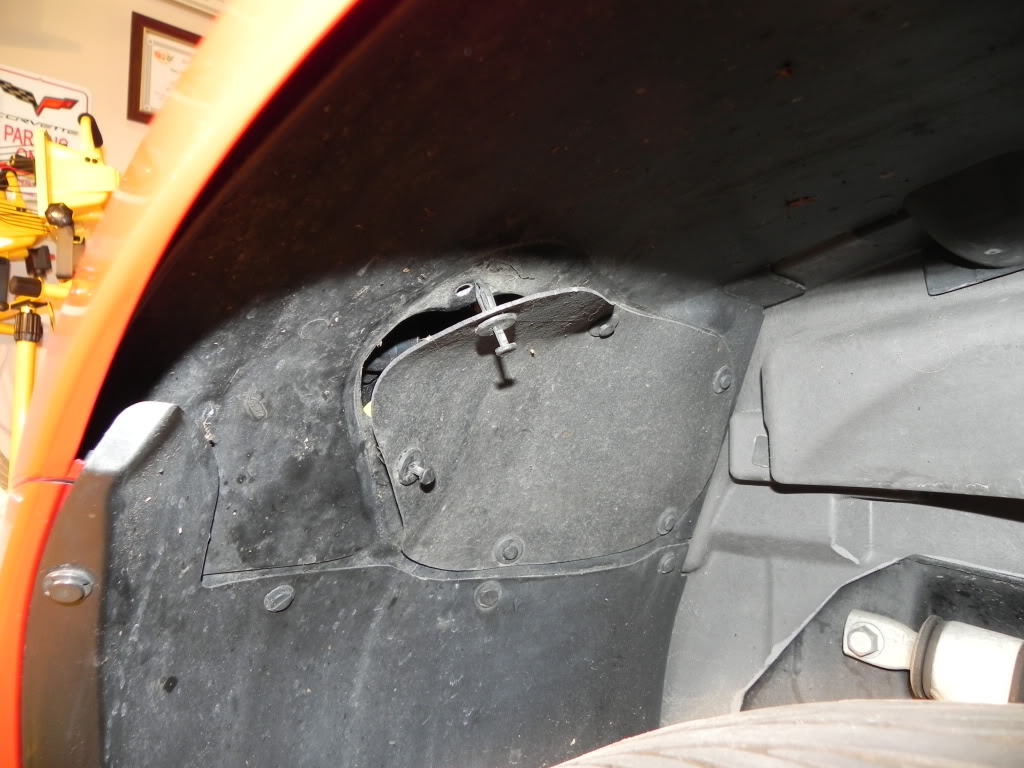
Step 1 – Get access to top center of wheel-well liner
The first step is to access the wheel-well panel flap. The flap allows easy access to the bulbs in the headlight assembly. The easiest way to access this panel is to turn the wheels inward as much as possible. Turn the steering wheel to the right if you're working on the driver side. This should give you reasonable access. If it's still too difficult to access this way, jack up the front corner of the car. If you want to get really comfortable, you can remove the wheel, but it is not necessary.

(Related Article: How to Jack Up Your Vette - CorvetteForum.com)
Pro Tips
- In figure 2, the corner of the Corvette is jacked up. When jacking up your Corvette, remember to take the usual precautions necessary (block rear tires to prevent car from moving).
- In case you want to go OEM, the OEM bulb is a 5702KA (2005-2010).
Step 2 – Open access panel for the bulb
The rubber access panel for the bulb is closed shut with push-to-lock pins. In order remove them, pry the center of the push-to-lock pins straight out to release their locking mechanism. Do this correctly and you will free the pin from the hole in the wheel-well. Begin with a flat head screwdriver, and then pull them out with pliers. Be patient, so you don't damage them.
Step 3 – Remove bulb socket
The socket you want to remove is to the left side of the opening. The socket is a twist to lock, which is standard in other makes and models as well. There is a release on the top left. Using your right hand, find the release and press it down. Holding the release, you need to give the socket a quarter turn counterclockwise. The socket should now become loose. You can now wiggle or pull out the entire bulb socket assembly.
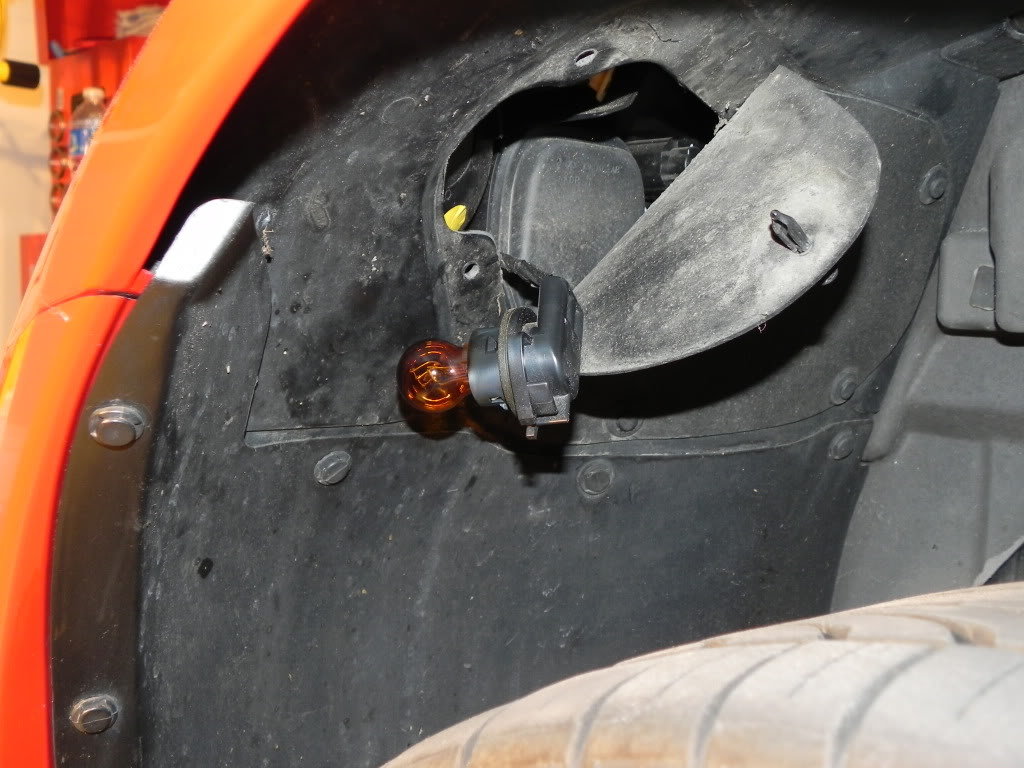
Figure 4. Bulb socket assembly removed. 
Figure 5. You will need to press down to remove.
Step 4 – Replace signal bulb
With socket in one hand, grab the bulb with the other hand and pull it straight out. There is a slot in the socket for the bulb, so there are no release or any lock mechanisms that you need to worry about. Keep that in mind when installing the new bulb. Once you install the bulb, follow these steps in reverse order to put everything back together properly.
Pro Tip
Wipe the bulb clean of your finger prints before installing the bulb socket assembly back into it's proper place. This helps extend your bulb's life.
Related Discussions
- Front DRL Turn Signal Replacement - CorvetteForum.com
- Front Turn Signal Replacement - Theredlion.us