C6 Corvette: How to Replace Radiator
Replacing your radiator may not be all that difficult, but gaining access to it can be.
This article applies to the C6 Corvette (2005-2013).
When your Corvette always runs hot, but you haven’t found any issues with coolant leaks, a faulty thermostat, or water pump failure, it’s probably time to replace your radiator.

Materials Needed
- Flat blade screwdriver
- Torx head drivers or sockets, and extensions
- Hose clamp pliers
- Large, shallow collection pan
- Screwdriver with a "V-shaped" head or panel removal tool (optional)
- Two sheets of poster board and masking tape (optional)
Step 1 – Preparation
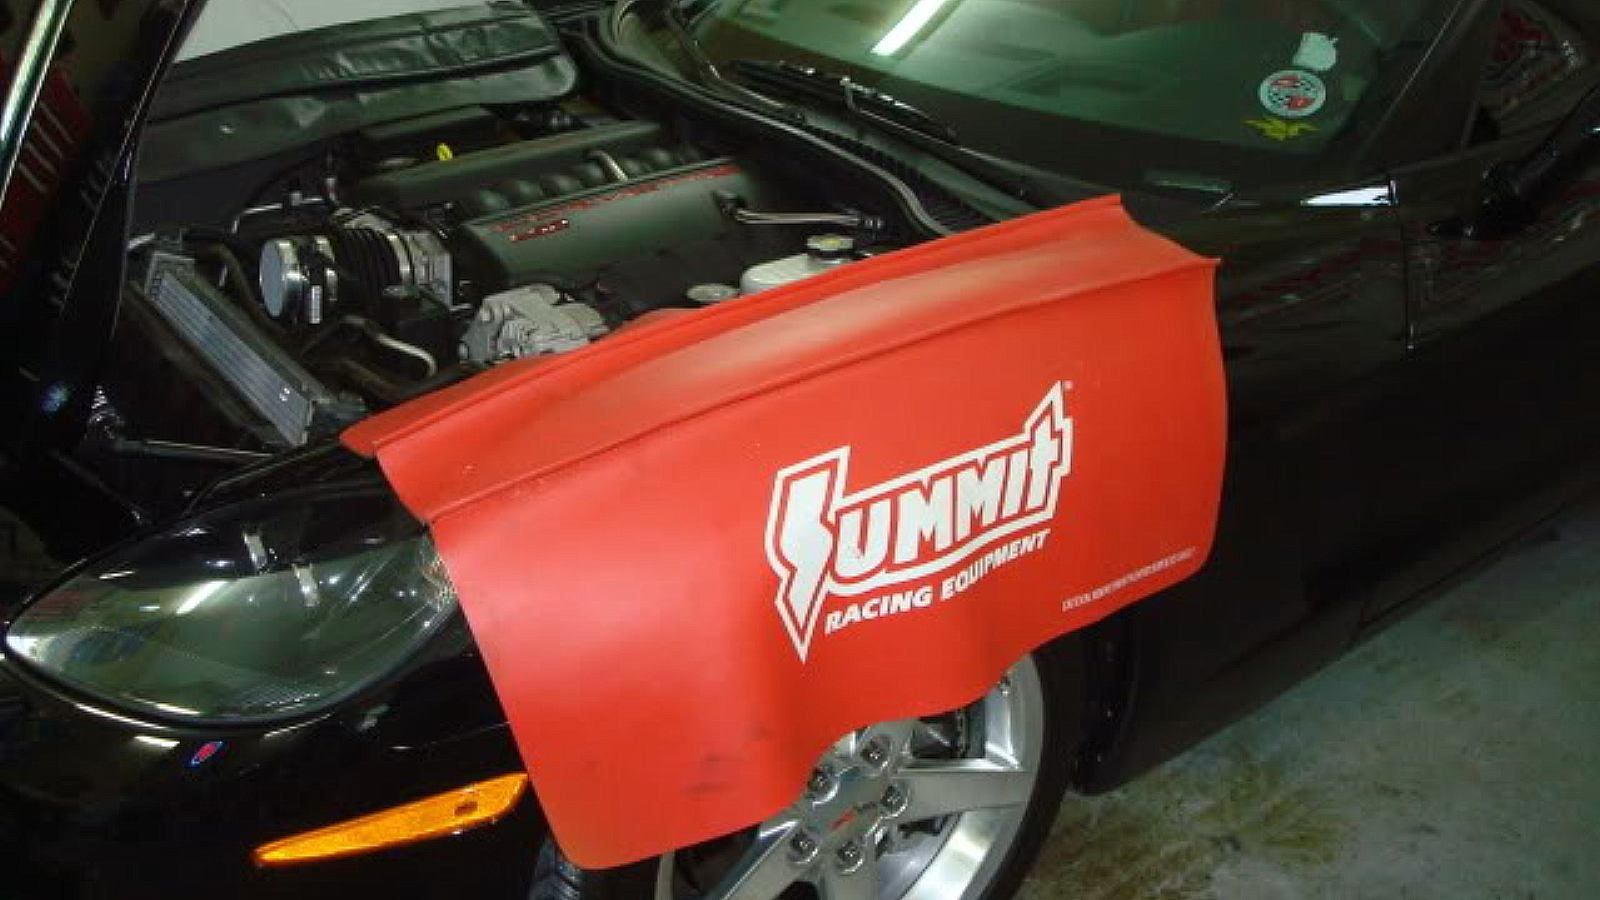
- Protect the front fenders.
- Disconnect battery ground.
- Jack front of Corvette up on jack stands.
Pro Tip
When replacing drained coolant, the rear end should be higher than the front; if reusing the coolant, the front can be higher as this will retain more coolant in the engine.
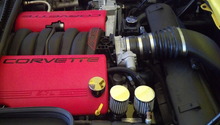
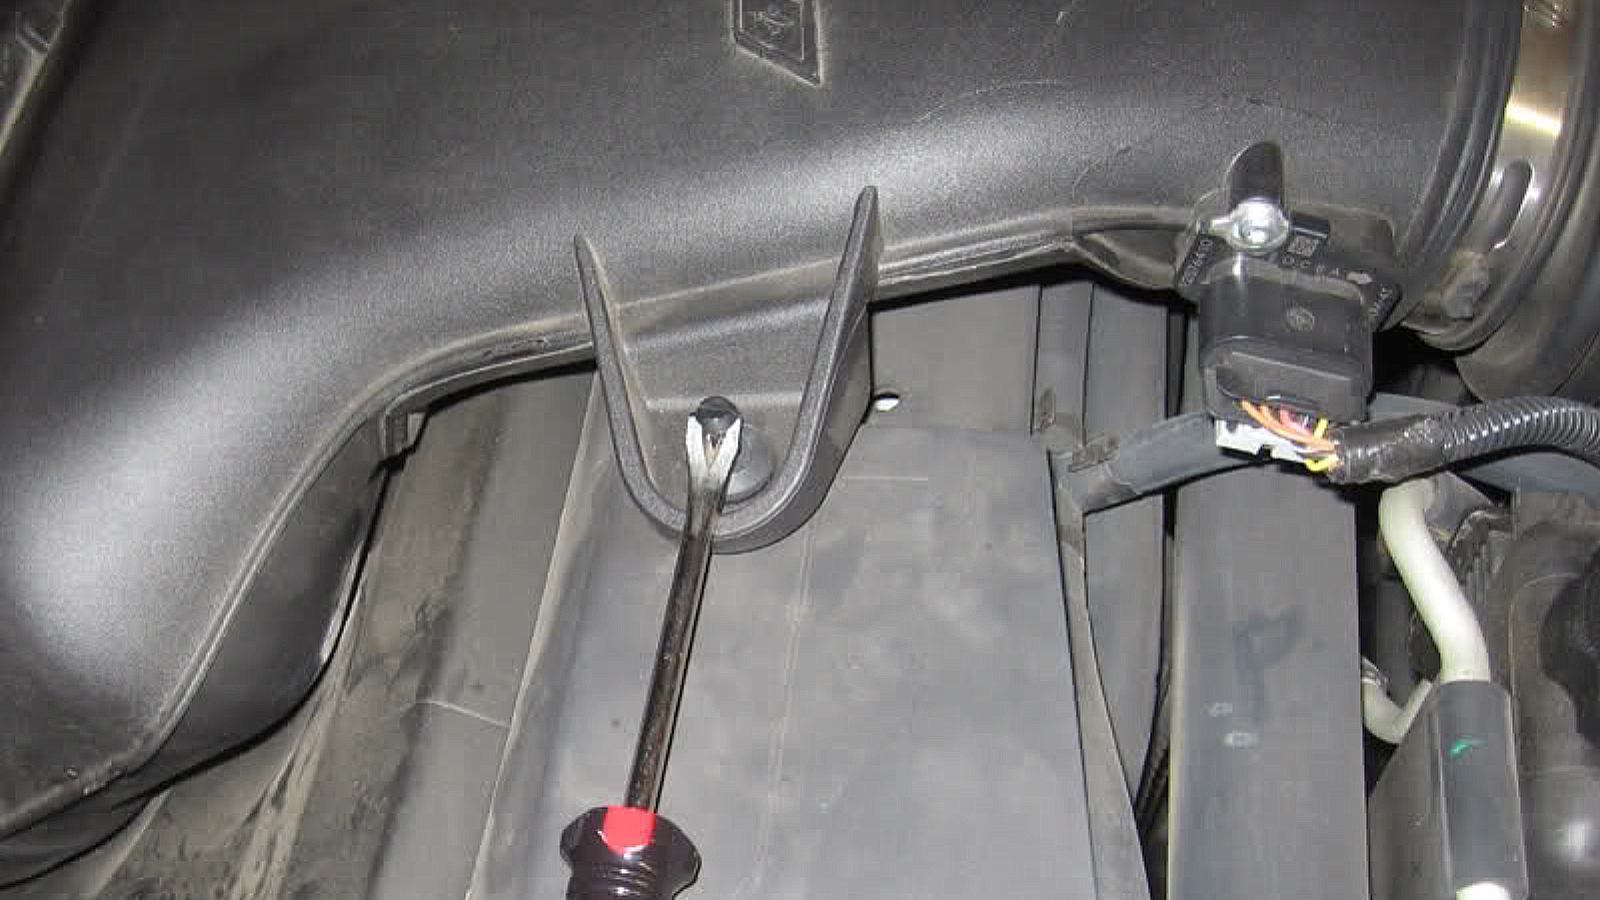
Step 2 – Remove the two air intake / air box retaining pins
Using a flat blade or "V-shaped" screwdriver, lift the center of the push-pins up.
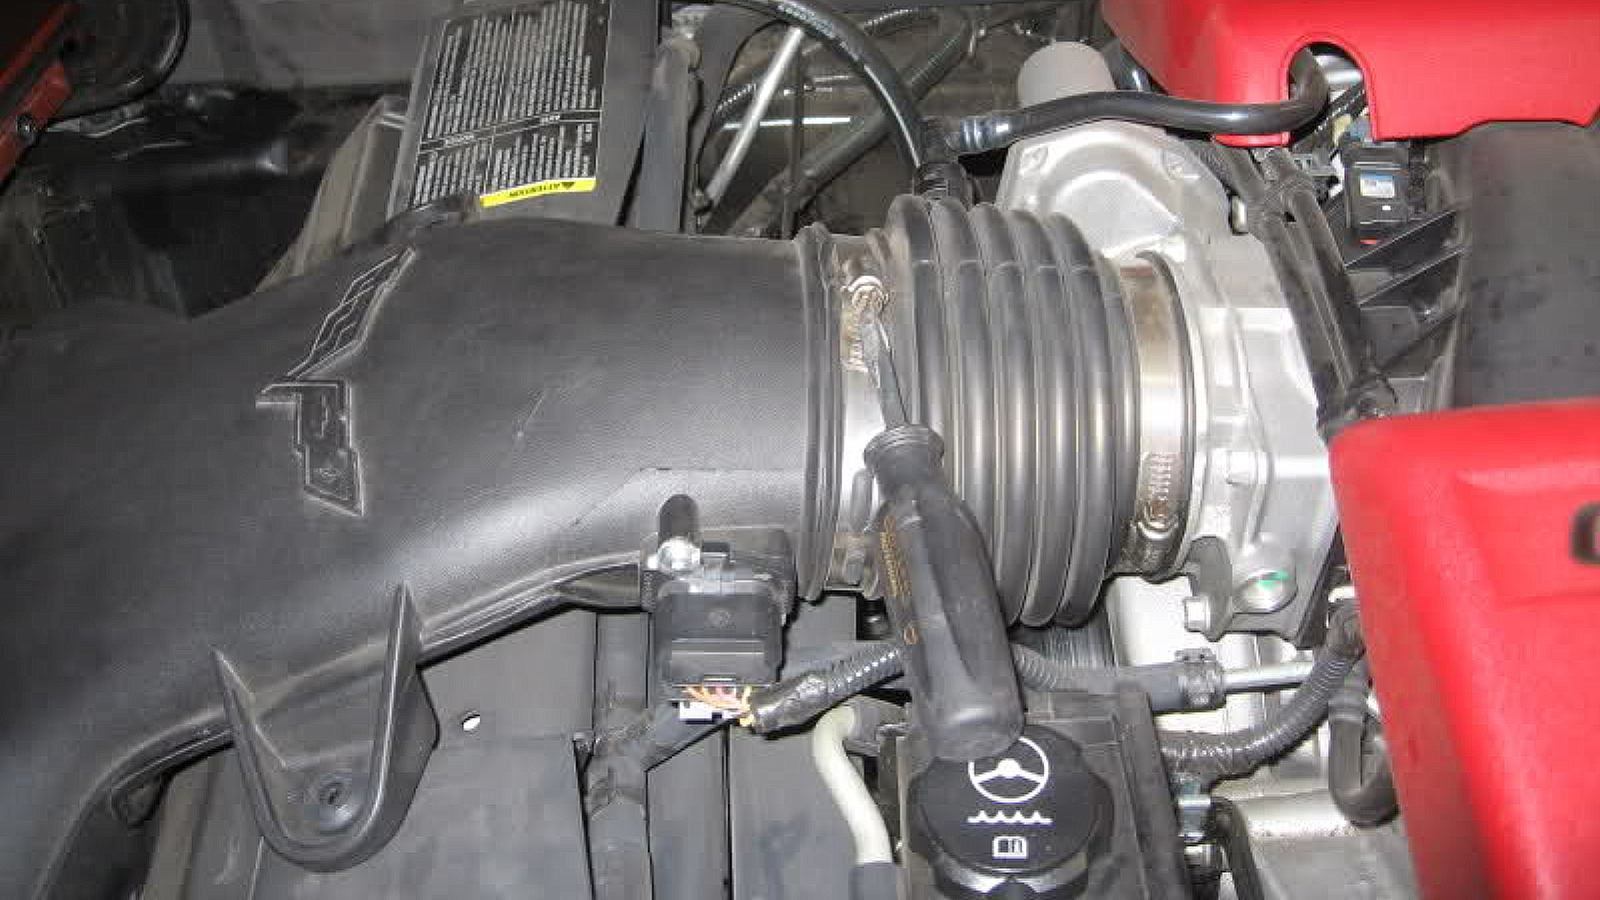
Step 3 – Loosen the worm-drive hose clamp on the mass air flow (MAF) sensor bellows
Use the flat blade screwdriver to loosen the worm drive clamp screw. No need to 'open' it completely, just loosen it.
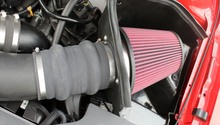
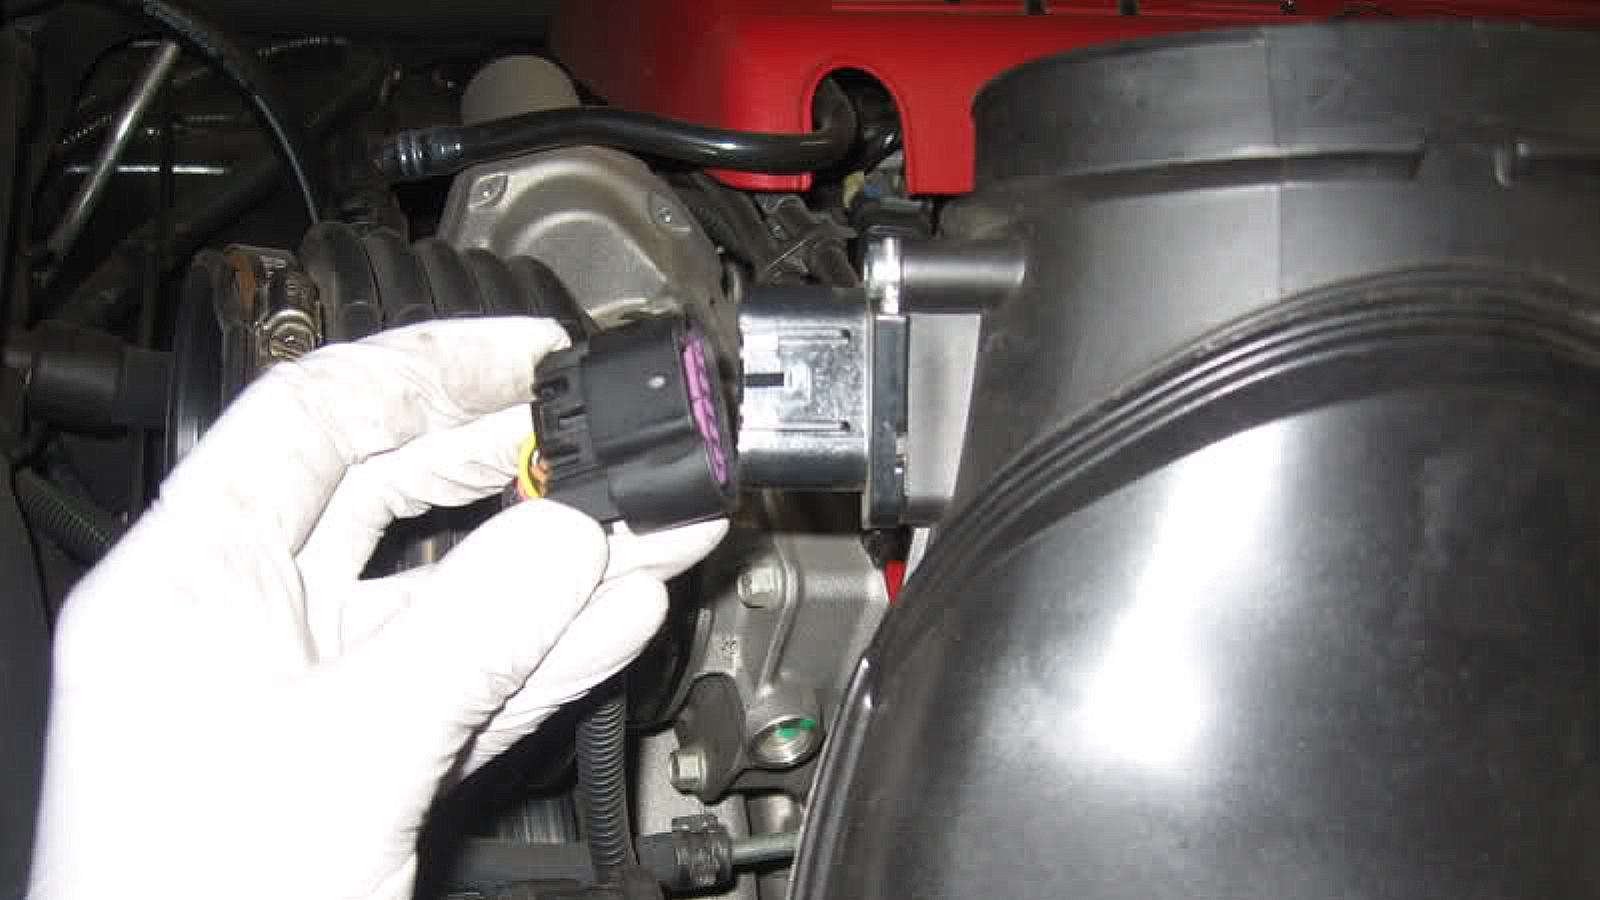
Step 4 – Disconnect the intake from the throttle body bellows
Push the end of the bellows toward the rear of car. Move and wiggle the intake until it's free and place on top of the bellows (be careful not to strain the MAF sensor connection wires). Carefully flip the intake over and place on left side of engine.

Next, push the center tab of retaining pin, and pull the pin toward the front of the car. The harness also unplugs by pulling it toward the front of the car. Bag the intake/MAF assembly and set aside.
Step 5 – Remove the top radiator support
Using an extension, remove the four 10mm bolts (two on each side) from the top radiator support. Lift hoses off the support cradles located on the radiator support. Then, lift the top radiator support off the car.
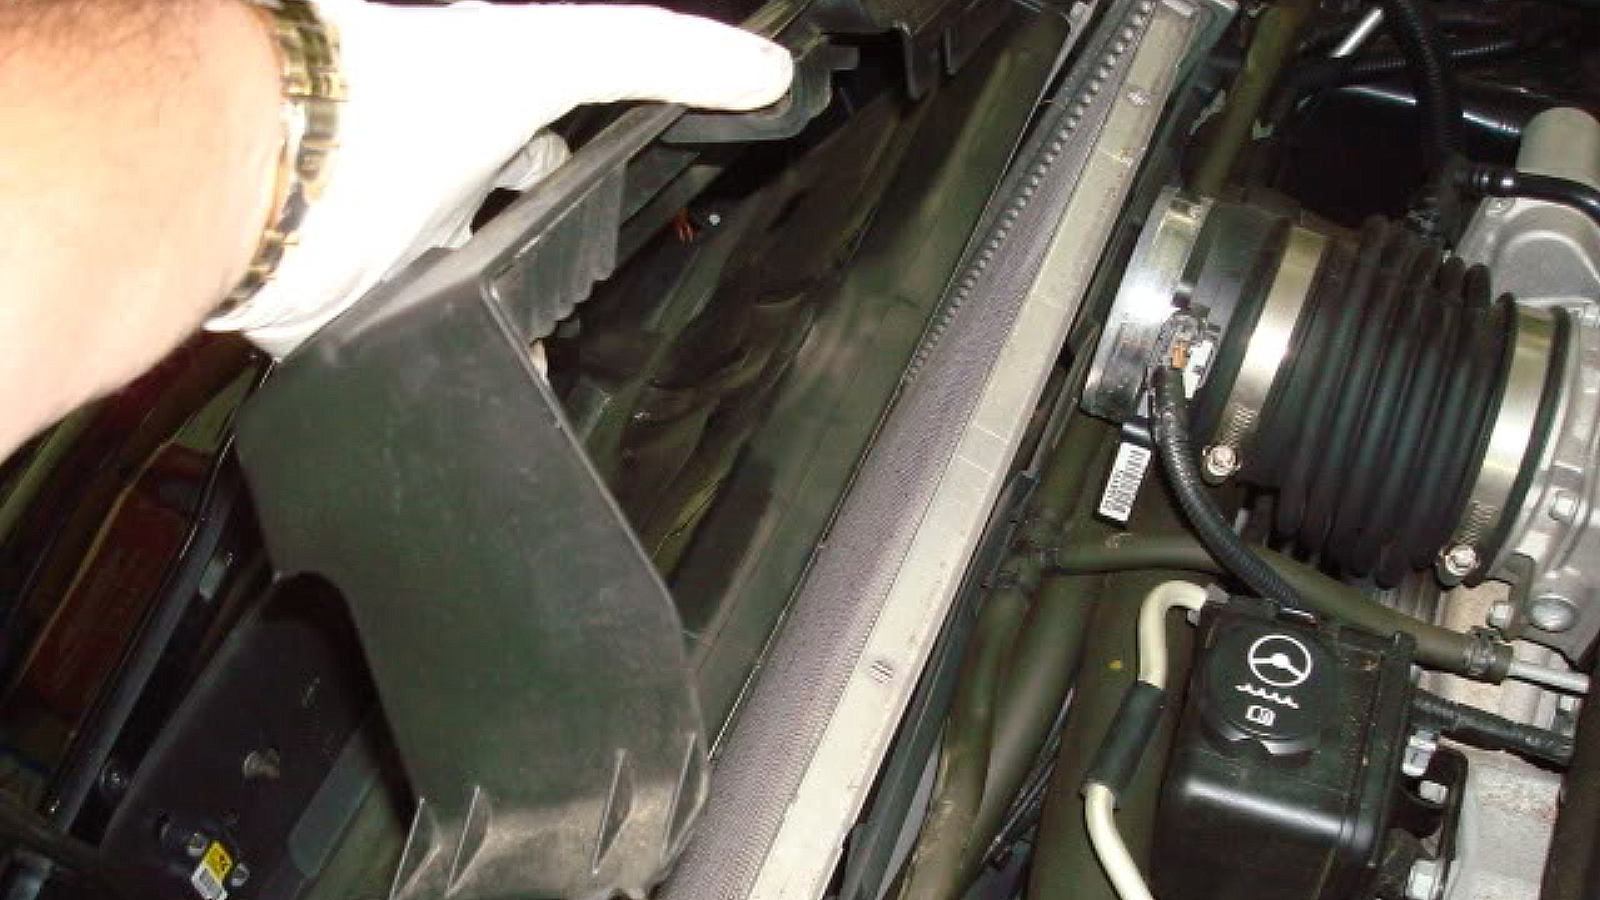
Step 6 – Remove the front radiator shroud
First, go to the underside of the car and remove the seven bolts that fasten the bottom of the bumper cover to the car. You may want to remove the air dam for more room, but it is not necessary. Then, remove the four (two per side) push pins mounted to the inside of the radiator shroud.
Pro Tip
A panel removal tool works well for this step.
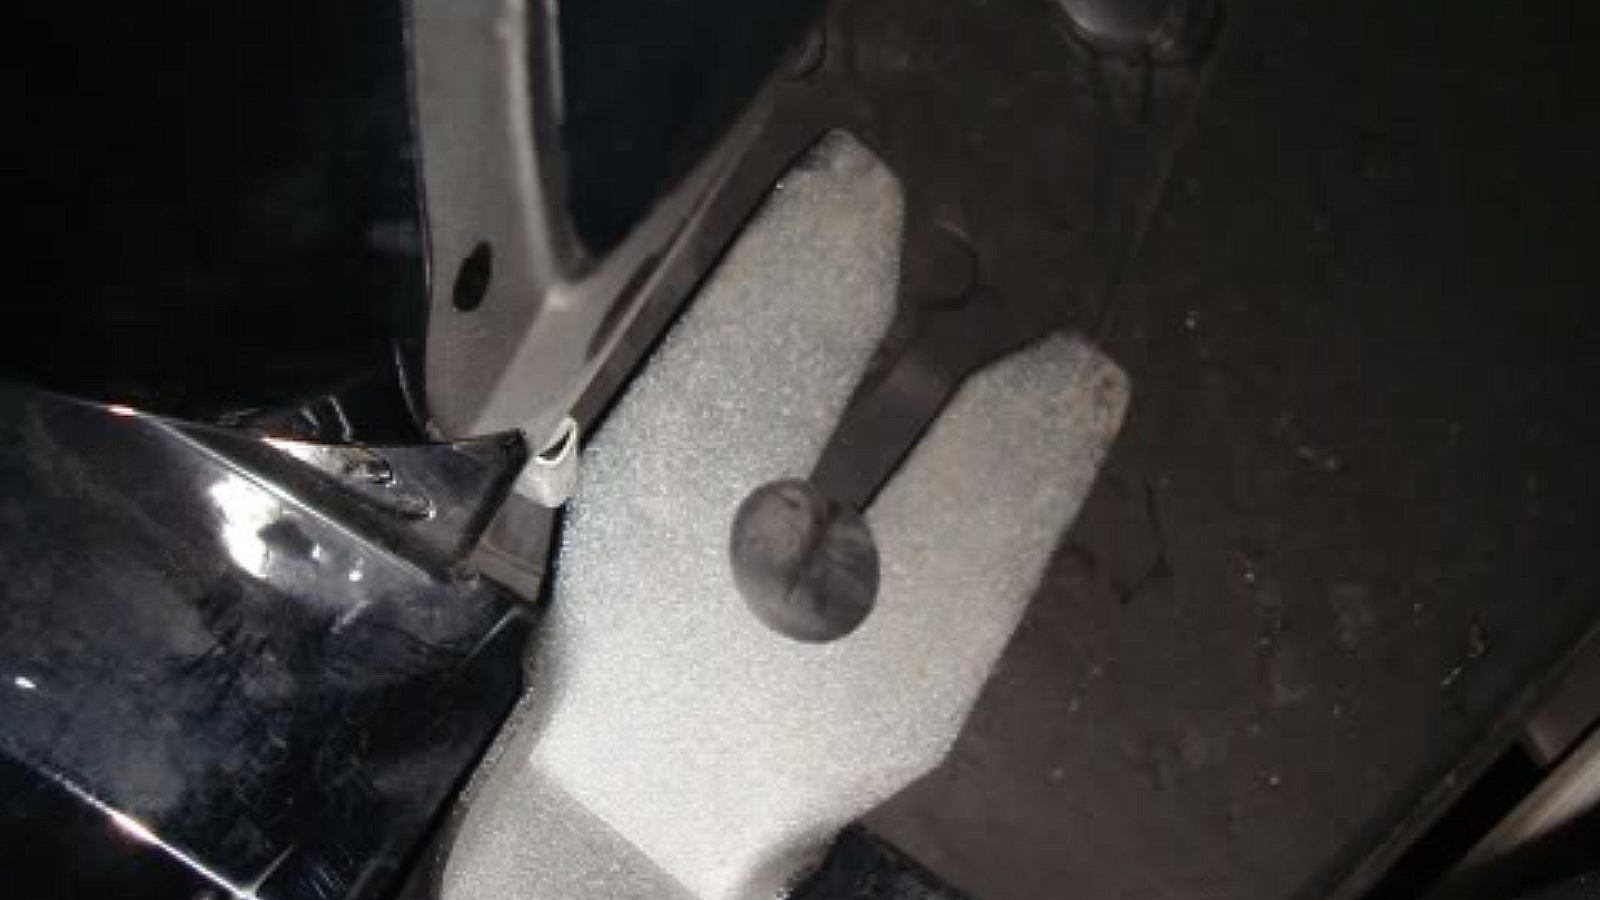
Remove the two pins that mount the bottom of the radiator shroud to the car’s bumper beam. A small, flat tip screwdriver is useful to pull the center pins out for removal.

Disconnect and remove the ambient air temperature sensor located on the passenger side of the shroud.

Also disconnect the hood lamp connector.

Each bottom end of the shroud is secured underneath a metal tab. First, push the bottom end toward the center of the engine bay to get the shroud loose on one side.

Then tilt the loose end up first, and shove the shroud in the opposite direction to free the other side from its metal hold-down tab.
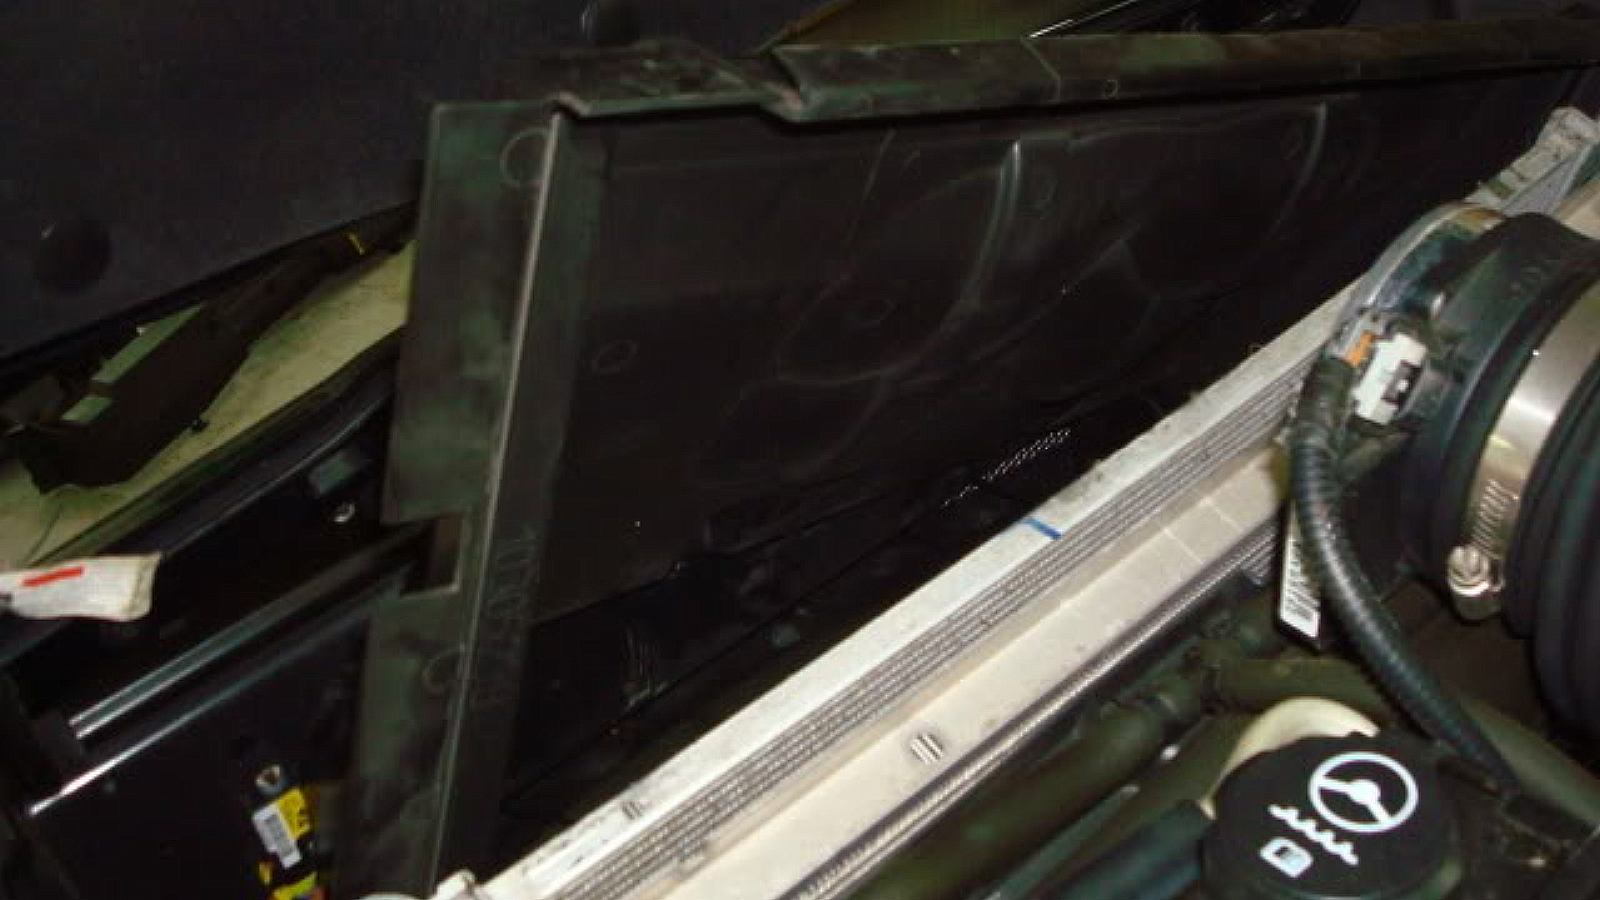
Remove the radiator shroud from the engine bay.

Step 7 – Drain coolant
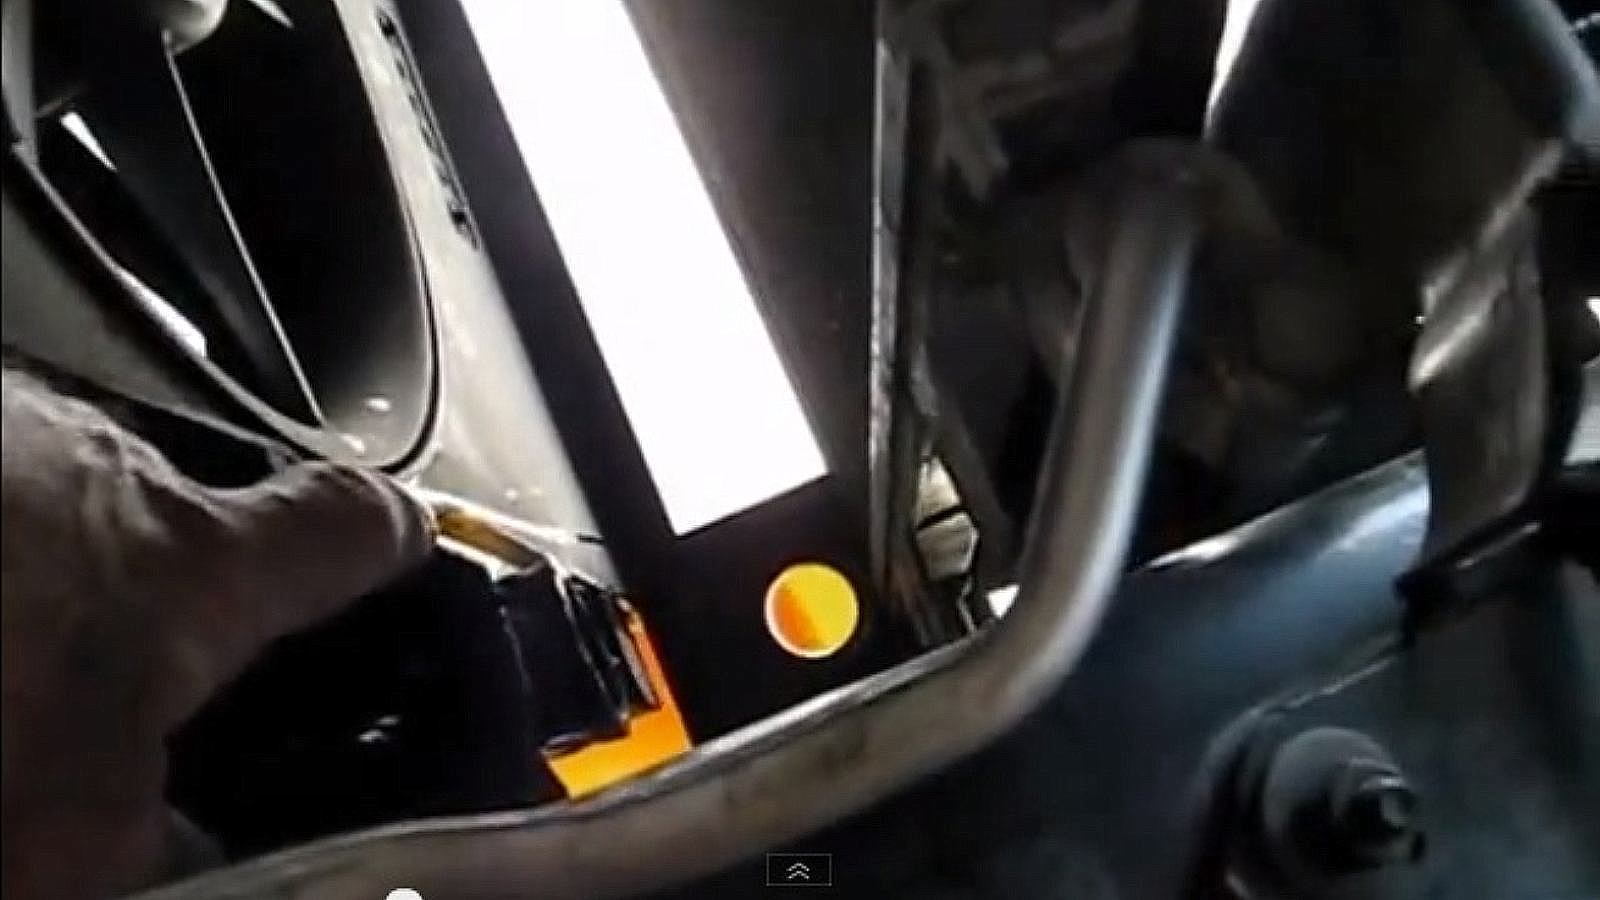
If you haven't already, remove the cap from the coolant reservoir and drain the coolant into the shallow pan. This is done by opening the radiator drain plug on the passenger side located at the bottom and behind the radiator support beam (refer to Figure 19 below). A half-turn is all that is necessary to open this plug.
Pro Tip
Replace, don't reuse the coolant if it comes out darkly discolored or brown.
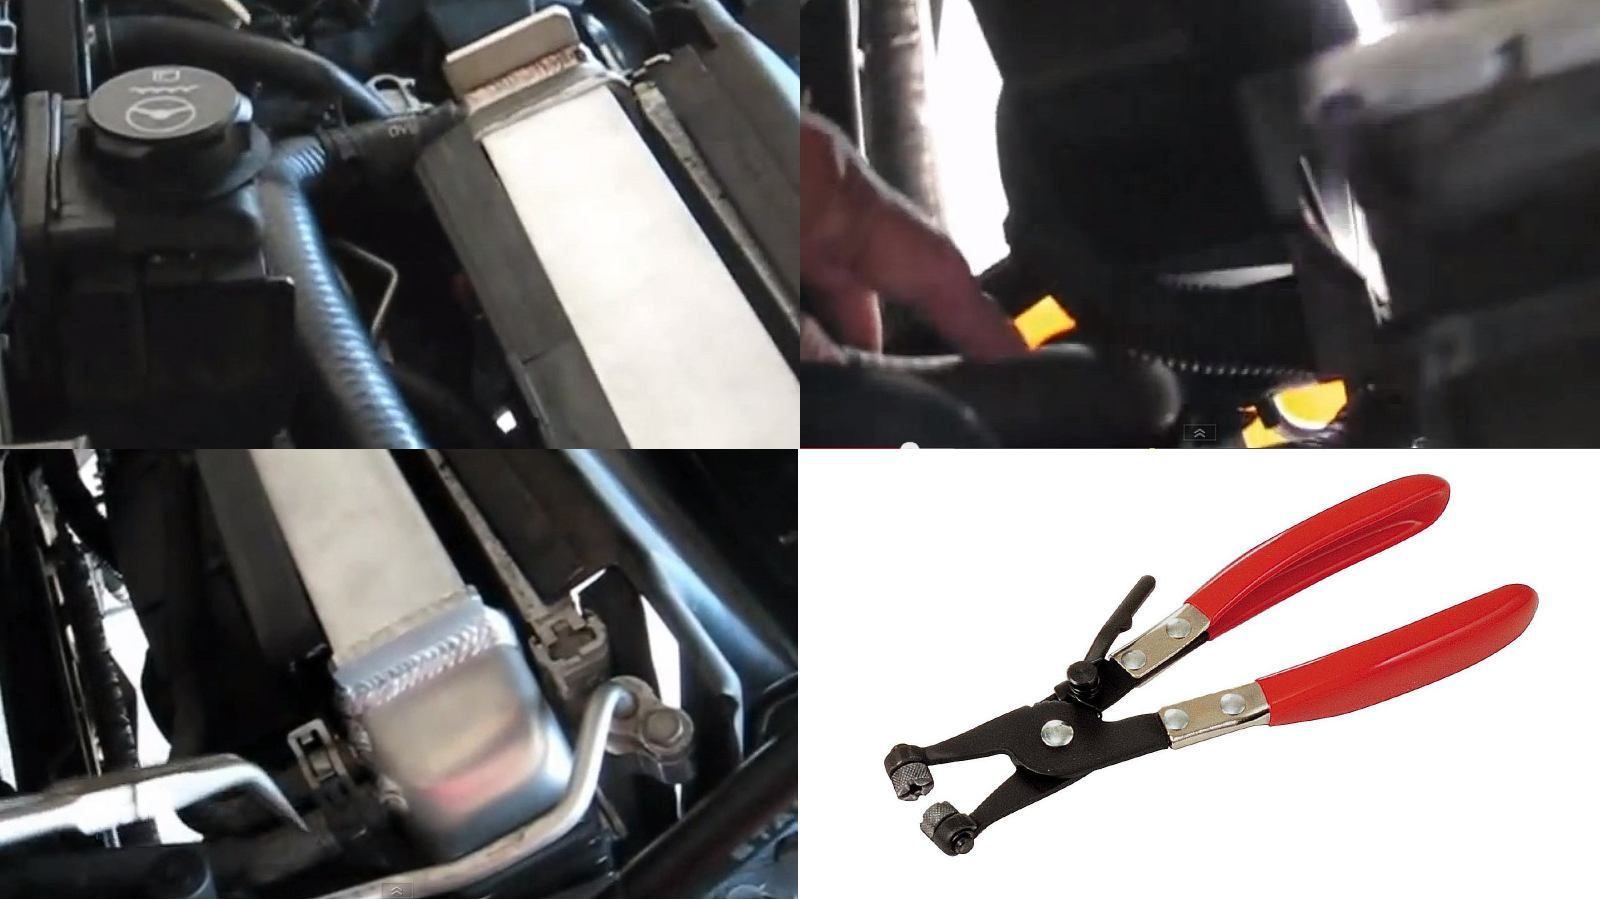
Step 8 – Disconnect the four radiator hoses
Disconnect the four radiator hoses; one goes to the throttle body, one to the coolant reservoir, the large hose at the top attached to the water pump, and the lower hose attaching the bottom of the radiator to the thermostat. All these hoses are attached by spring clamps, which are easy to compress using a special tool made for that purpose: hose clamp pliers.
The A/C condenser rests on two tabs. It can be tilted forward by lifting it up while pushing it forward. if your vehicle has a transmission cooler, the lines connected to it will also have to be removed.
Step 9 – Remove radiator
The fan assembly doesn’t have to be removed to pull the radiator up and out—but it might make this task a lot easier, especially if working alone. Regardless, just removing the side connections on the fan shroud can also allow it to lean back a bit, away from the radiator. When extracting the radiator, care should be taken not to let the radiator hang up on an electrical connection on the lower passenger side of the fan shroud. The radiator can also hang up on the lower hose if it isn’t pulled out of its connection area.
Carefully vacuum the now-exposed A/C condenser. Note the tiny rocks embedded in the A/C condenser fins. It would probably cause more damage to the condenser fins trying to remove them than just leaving them in place.

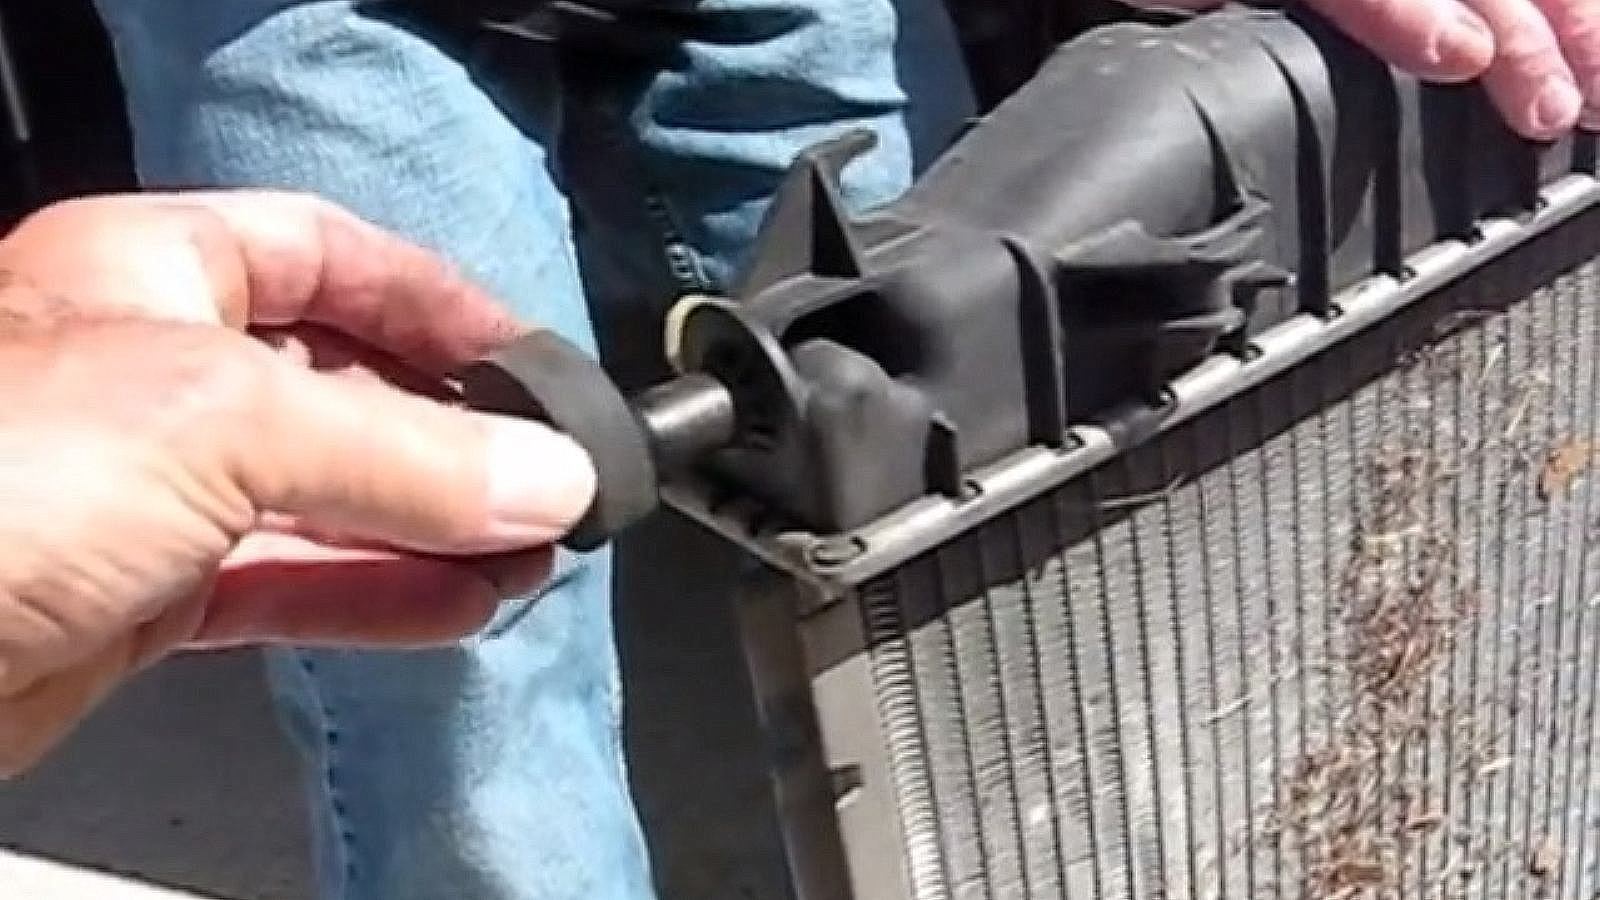
Save and reuse the two large rubber grommets that the radiator sits on. These are located on either side of the radiator’s bottom.
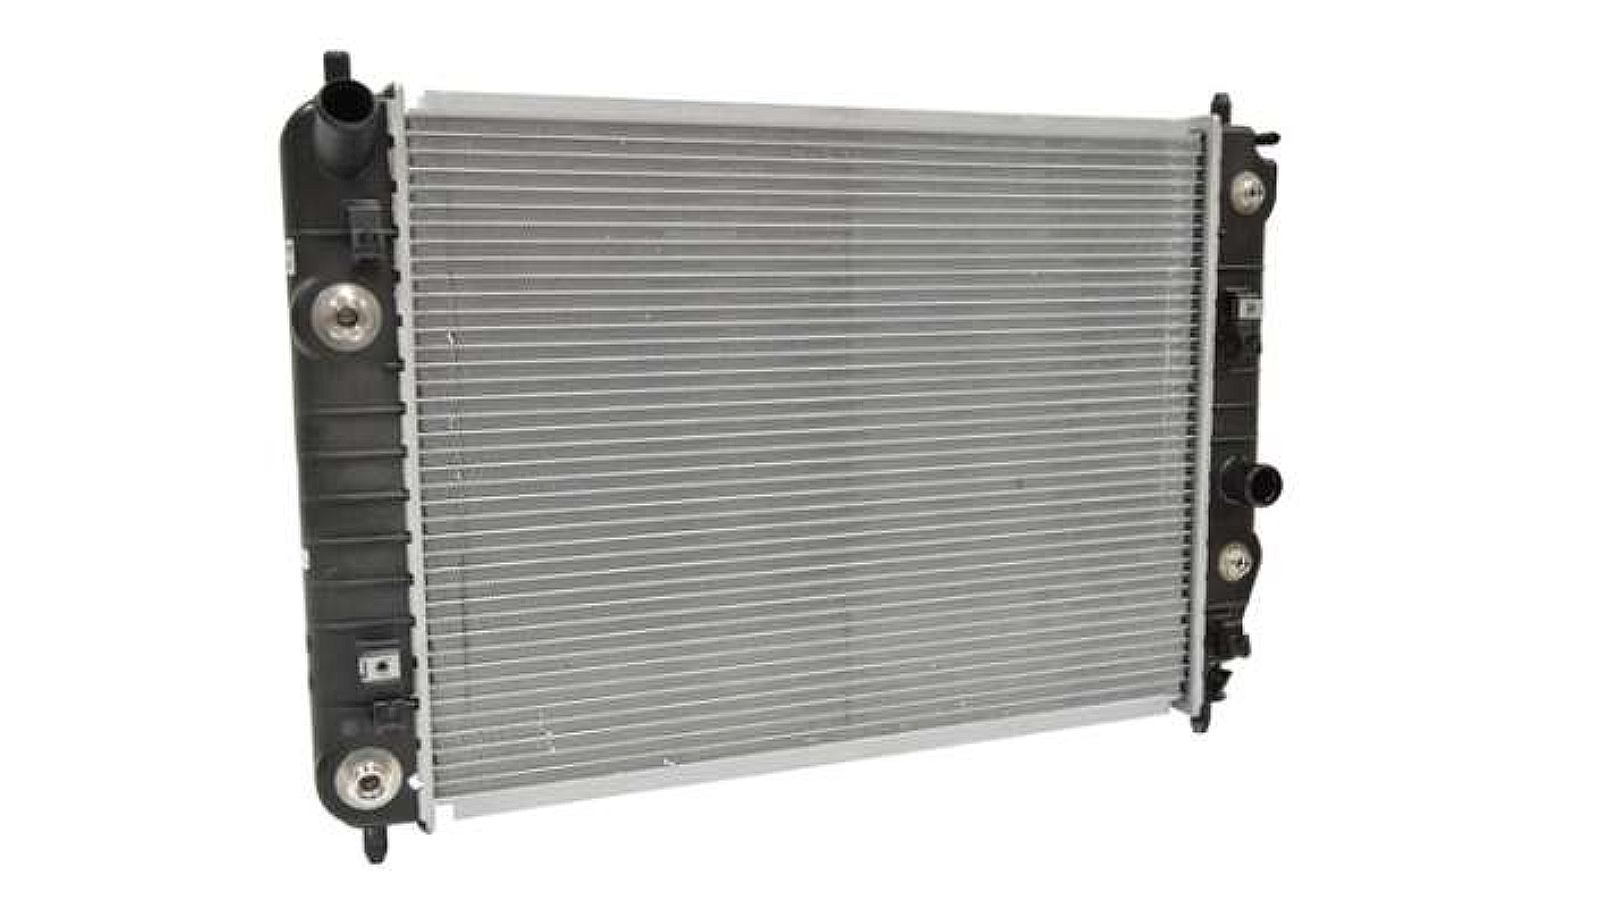
Step 10 – Install new radiator
Lower the new radiator into place.
Pro Tip
Attaching poster board to either side of the radiator with masking tape could save a lot of damage to the delicate aluminum fins when handling it.
Make sure the drain plug on the bottom of the radiator is shut off, and reverse these disassembly directions to secure your new radiator in place.

Refill the radiator with the proper coolant with the proper mixture of distilled water. Using GM's recommended procedure, properly “burp” your vehicle to ensure that all air bubbles have been removed from the coolant. Note that it can take a number of engine warm-ups, or even days of driving, to accomplish this.
Related Discussions and Video
- DIY Changing Stock Air Intake Filter Element z06 - CorvetteForum.com
- DIY Step-by-Step How to Add a Vararam Cal - CorvetteForum.com
- Removing the Radiator - Youtube.com
- How to Remove Radiator - CorvetteForum.com
- Removing Radiator Shroud- How Difficult? - CorvetteForum.com
- C6 Radiator Replacement Help - CorvetteForum.com