C6 Corvette: How to Replace Tail and Side Lights
This guide explores how you can replace both tail and side lights without seeking professional help.
This article applies to the C6 Corvette (2005-2013).
Safety is paramount, especially after forking over a considerable amount of money to acquire the beloved C6 Corvette. The key to safety are the tail and side lights. The tail lights are located on the rear side of the C6 Corvette and are meant to alert other motorists of a vehicle ahead. Side lights, on the other hand, alert other drivers—who can't see the tail lights or headlights—which way you might be turning. Typically, these lights are pretty long lived, but the bulbs may go out from time to time. This procedural guide will show you how to replace the tail and side lights. Doing it yourself will cost you the parts, while the professional cost is for labor only.

Material Needed
- Torx T15 screwdriver
- Magnet
- Flat head screwdriver
- Socket
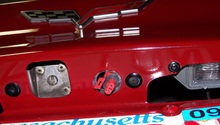
Step 1 – Unscrew tail lights
Using a Torx T15 screwdriver, remove the screws securing the tail lights to the Corvette's rear paneling. Make sure to keep each tail light matched to its original location.
Pro Tip
When using a screwdriver, be gentle because the plastic parts in the light can easily break.
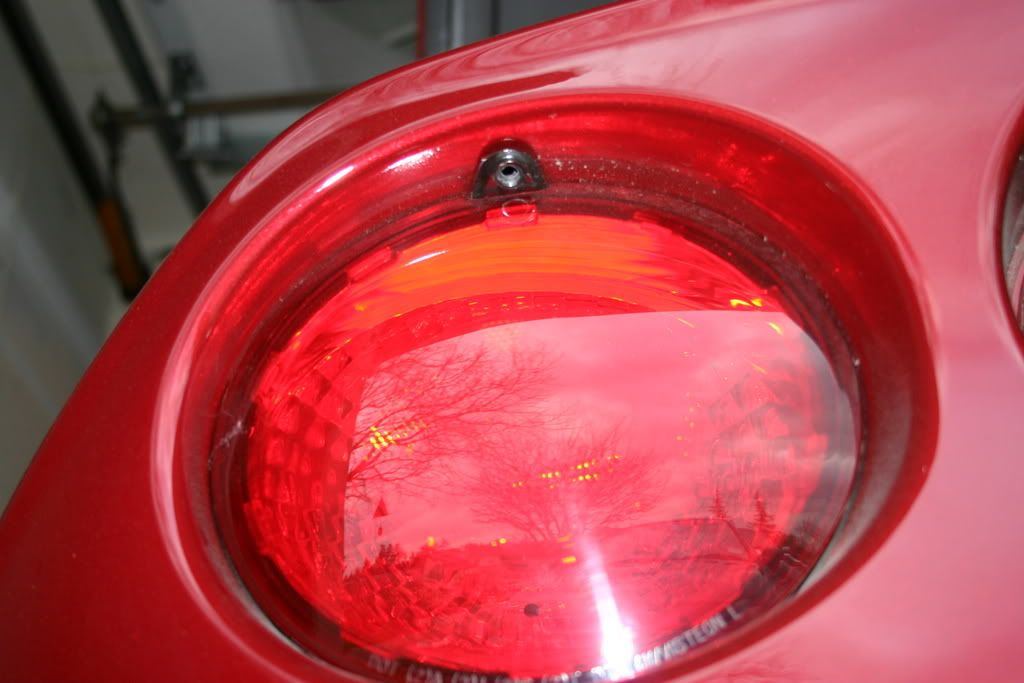
Step 2 – Remove light bulb socket
Use a flat head screwdriver to depress the clip securing the taillight connector. Twist the bulb socket counterclockwise to remove it. In addition, clean the tail light assembly from dust and debris.
Pro Tip
When opening up the tail light assembly, check the condition of the socket, wires and seals.
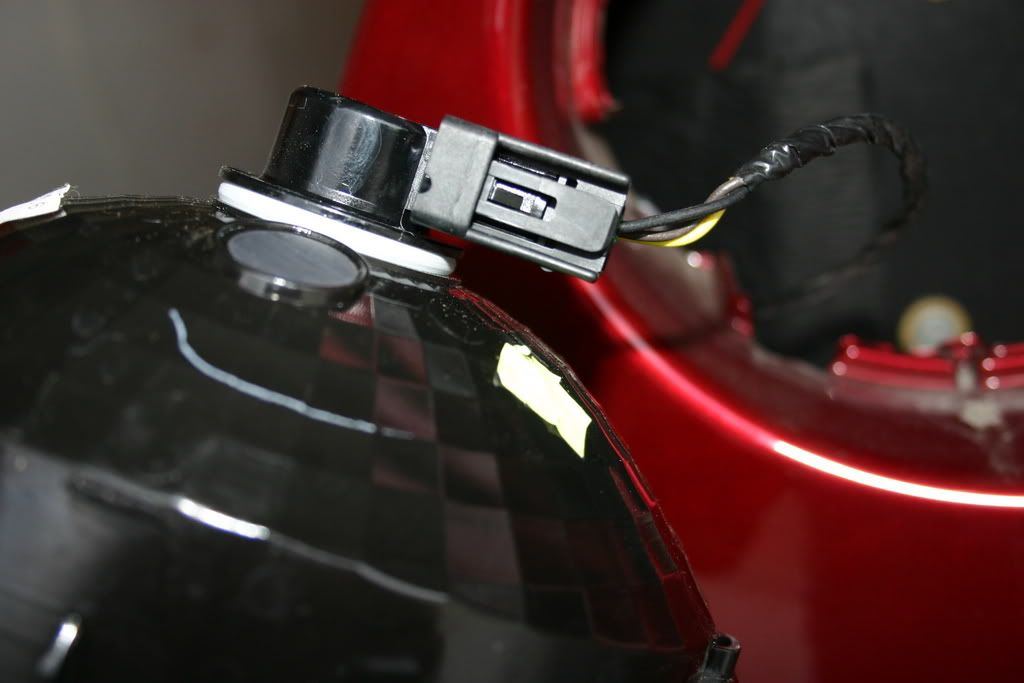
Step 3 – Remove the rear side markers
The rear side marker lights are accessible through the tail light hole. Look into the hole to locate the plastic clips securing the light to the body. Unclip these and push the side marker out.

Step 4 – Remove front side markers
Loosen the wheel shroud by unscrewing the plastic connectors with a flat head screwdriver. There's no need to remove the entire liner, but it should be flexible enough to fit a hand behind it. Insert your arm into the gap between the wheel and the front light. Unclip the side light the same way as the rear side markers.
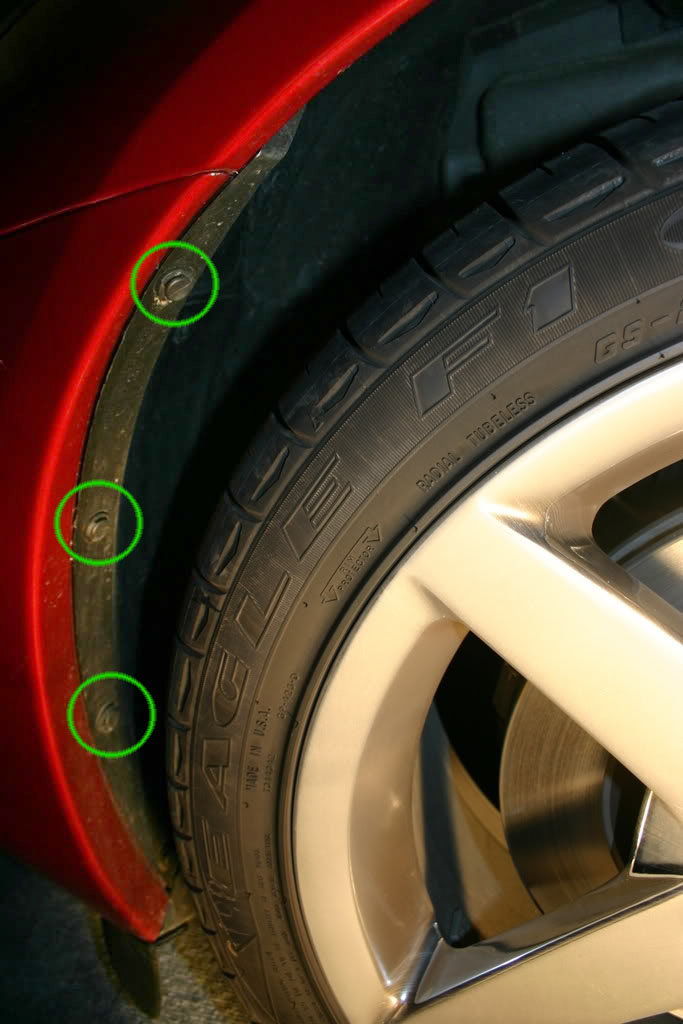
Figure 4. Remove the bolts highlighted in green. 
Figure 5. Reach the side markers. 
Figure 6. Pop out the side markers.
Related Discussion
- DIY Tail Light and Side Light Removal - CorvetteForum.com