C6 Corvette: How to Replace Tie Rod Ends
The tie rods are final joints of the steering that meet the wheels of the car. These arms can be adjusted to keep your Corvette's toe alignment true; however, they are susceptible to damage and wear and should be replaced in due time.
This article applies to the C6 Corvette (2005-2013).
The tie rods on your car control your steering, so it's important to replace the tie rod ends when they wear out. The tie rod assembly consists of an outer and inner tie rod with a threaded rod and jam nut to connect them together. Inner tie rod ends generally last a whole lot longer than the outer end, so chances are you'll only need to replace the outer tie rod end. If you're unsure if the tie rod end is worn out, jack up the car so the wheel is off the ground and try to wiggle the tire while holding it at the 9 and 3 o'clock position. Any play is a sign the outer tie rod end is worn out. Failure to replace them can cause the steering to feel sloppy, produce odd handling characteristics, and result in uneven wear on your tires.

Materials Needed
- Socket set
- Open ended wrenches
- J-42188-B Ball Joint Separator Kit or gear puller
- Torque wrench
- Tire iron
- Floor jack
- Jack stand
Replacing the tie rod ends in matching pairs is recommended, so if you replace the front-left outer also replace the front-right outer. This will help to keep them wearing evenly. Because you're replacing a steering component, you'll need to get an alignment afterwards to make sure the tires are properly set.
Step 1 – Remove the wheel
- Block the wheels on the opposite end of the car you are working on.
- Break loose the lug nuts on the wheel, but don't remove them.
- Raise the car enough for the wheel to be off the ground.
- Position the jack stand under the lower control arm. You want to position the jack stand so that when the car is lowered onto it, the tie rod end angle will be relatively the same as it is at ride height. This will make getting the old tie rod end off a lot easier.
- Remove the wheel.
- Lower the car onto the jack stand.

Step 2 – Remove outer tie rod end
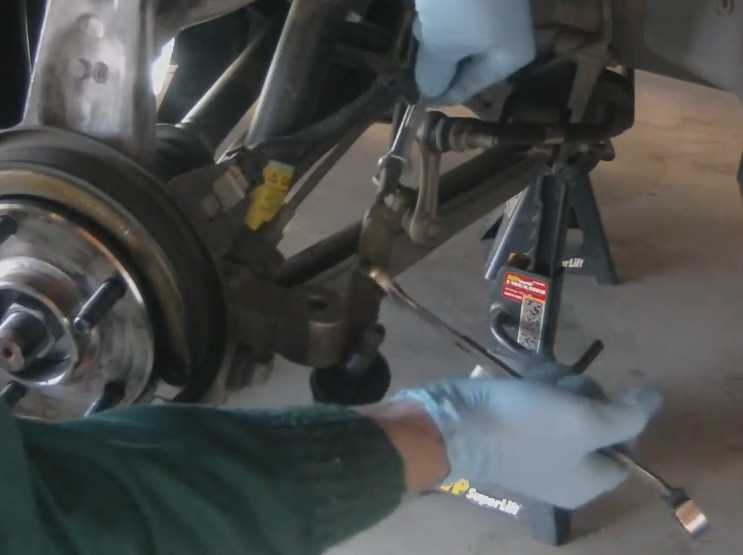
The images below are of a rear outer tie rod end, but the process will be the same for the front. The only difference is the tie rod end will be on the opposite side of the control arm.
- Loosen the nut on the top of the tie rod end. if you have an aftermarket tie rod end you may need to remove a cotter pin first.
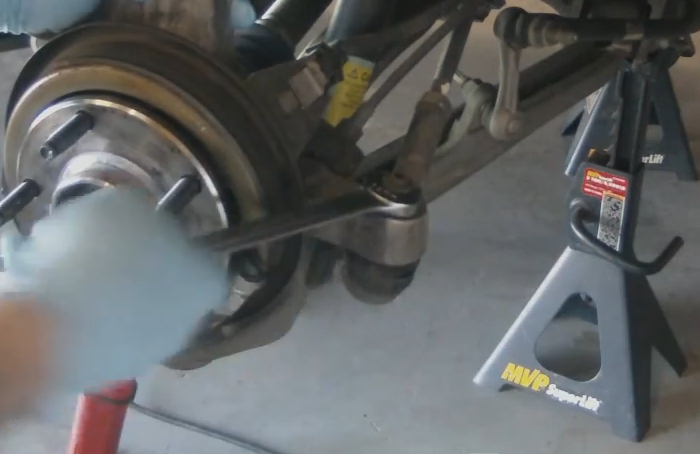
Figure 2. Loosen the nut on top of the stud. - Loosen the jam nut holding the tie rod end in place. From the position in Figure 3, you only need to loosen it a half turn or so. It's recommended to use a paint pen to mark a line from the jam nut onto the threaded rod to help line up the new tie rod as close as possible; this will make driving to get an alignment easier.
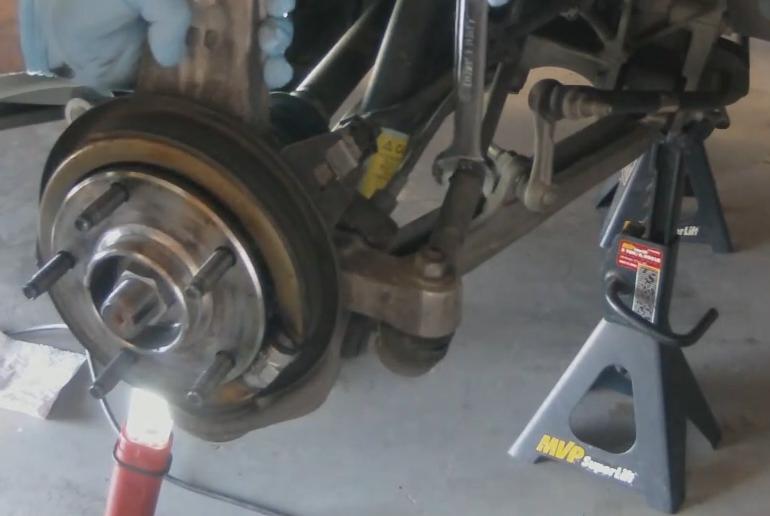
Figure 3. Loosen the jam nut.
You now have two options to get the old tie rod end out if you are replacing an outer. If it's the inner, you'll need to use option one.
- Option 1 - Use a ball joint separator or a gear puller to pull the old tie rod end out. Figure 4 provides a general idea of how you would use it.
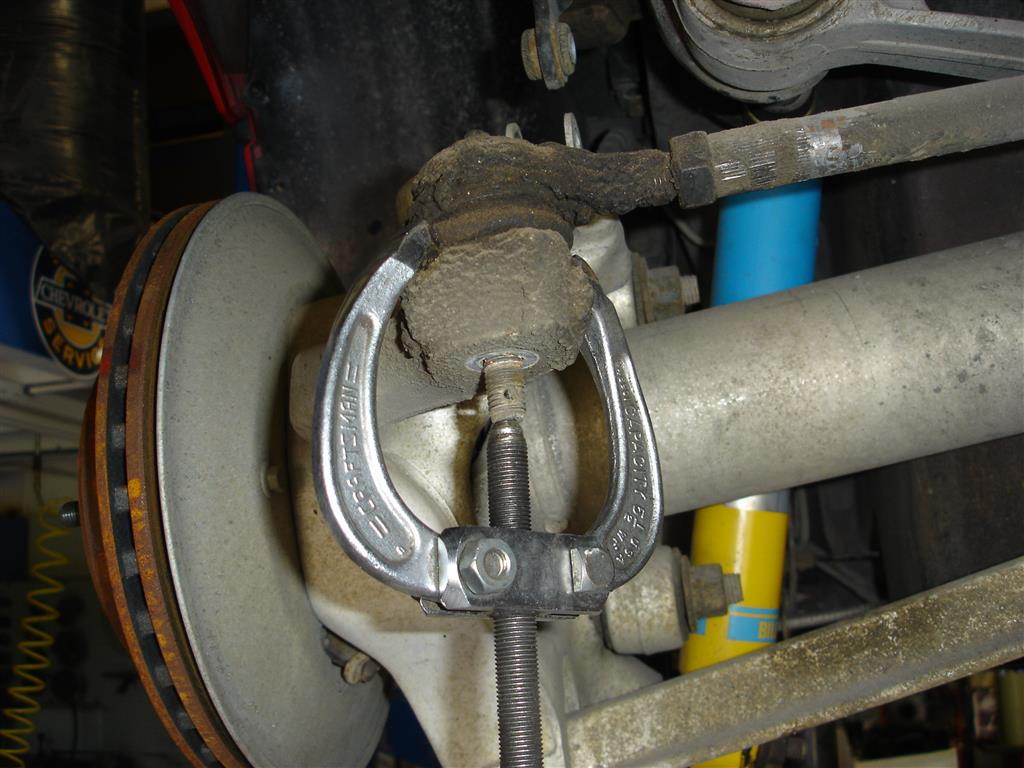
Figure 4. Using a gear puller to remove the tie rod end. - Option 2 - Use a small sledge hammer to knock the tie rod end out, which normally takes 2-3 hits, and it'll pop free.

Figure 5. Using a hammer to knock out the tie rod end.
With the tie rod end separated from the knuckle, you can now remove it completely. Using a wrench on the jam nut and one on the tie rod end body, you can loosen it up. Once you have it loose you should be able to finish unscrewing it by hand.
Step 3 – Install new tie rod end
- Hand tighten the new tie rod end in place. Depending on how much you loosened the jam nut, you'll want to tighten the tie rod end all the way up to the jam nut.
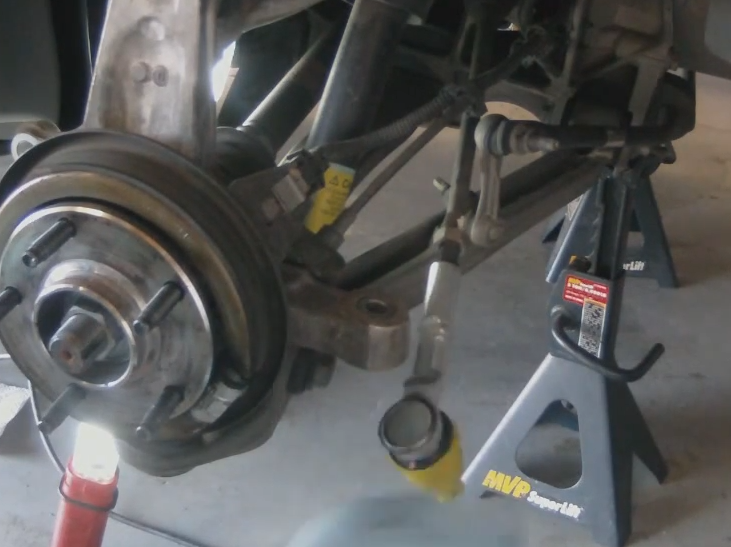
Figure 7. Hand tighten the new tie rod end. - Push the new tie rod end up into the knuckle. You may need to unscrew the tie rod end slightly to be able to line it up to the hole.

Figure 8. Push the new tie rod into the knuckle. - Hand tighten the new nut included with your tie rod end into place.
- If you went with an OEM replacement, you can use a hex wrench in the top of the tie rod end bolt to keep it from spinning while you torque it down. If your tie rod end doesn't have this feature, you'll need to put a wrench on the body and hold it as best you can.
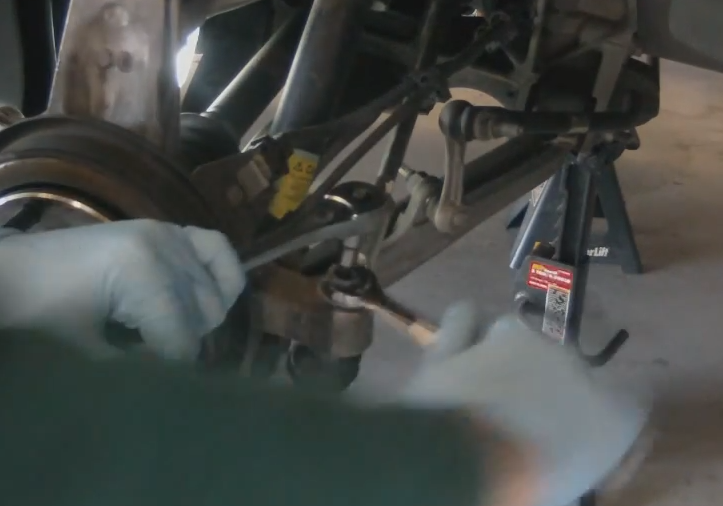
Figure 9. Tighten the new nut onto the tie rod end. - On first pass with the torque wrench, you'll want to torque the nut to 22 ft-lb.
- Turn the nut an additional 120 degrees.
- Torque the nut to 33 ft-lb.
- If your new tie rod end has a castle nut, you'll want to install the cotter pin through it now.
- If your new tie rod end has zerk fittings to add grease, you'll want to make sure the boots are also full now.
Step 4 – Get an alignment
With the new tie rod end in place and torqued to spec, re-install the wheel and go get an alignment. If you don't get an alignment, you'll run the risk of having all the negative effects the bad tie rod end presented.
Related Video
- Corvette C6 Rear Tie Rod Replacement - YouTube.com