Corvette: How to Add Carbon Fiber to Your Dash
You spend most of your time inside of your vehicle. Give your Corvette a customized look by installing a carbon fiber style dash. It's the perfect touch to make your interior stand out.
This article applies to the C5, C6 and C7 Corvette (1997-current).
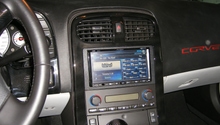
Spicing up the interior of your Corvette can make driving much more enjoyable. Going from the standard dash to the carbon-fiber wrapped option is the perfect touch to set the interior of your Corvette over the top. Swapping dash boards is a time-consuming task, but it can be completed by the novice car owner having little to no mechanical knowledge. Some special tools are required, so if you just don't have the time or don't want to purchase the tools, it may be the easiest to have the work done by the dealership or a professional.

Materials Needed
- Pry bar
- Security bit set
- Torx screwdriver set
- Socket or nut driver
- Small flathead screwdriver
Step 1 – Remove the handle cover
Remove the passenger side handle cover. Pry the cover and pop it off. Once the cover is popped off, remove the two Torx screws.

Step 2 – Remove lower section of the handle
Remove the lower section of the handle by popping the insert out of place.
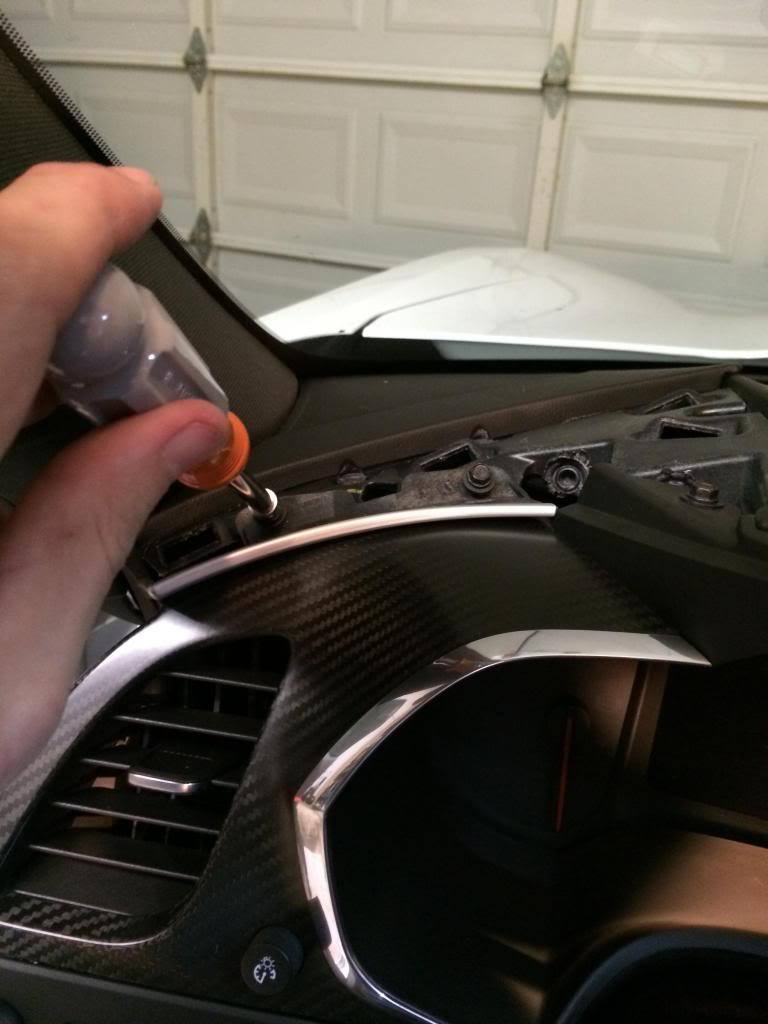
Step 3 – Remove the leather dash trim piece
Remove the leather trim piece that wraps around the dash by popping out the retainer clips and removing the Torx screws.

Step 4 – Remove the arm rest
Remove the arm rest by unscrewing the Torx screws.
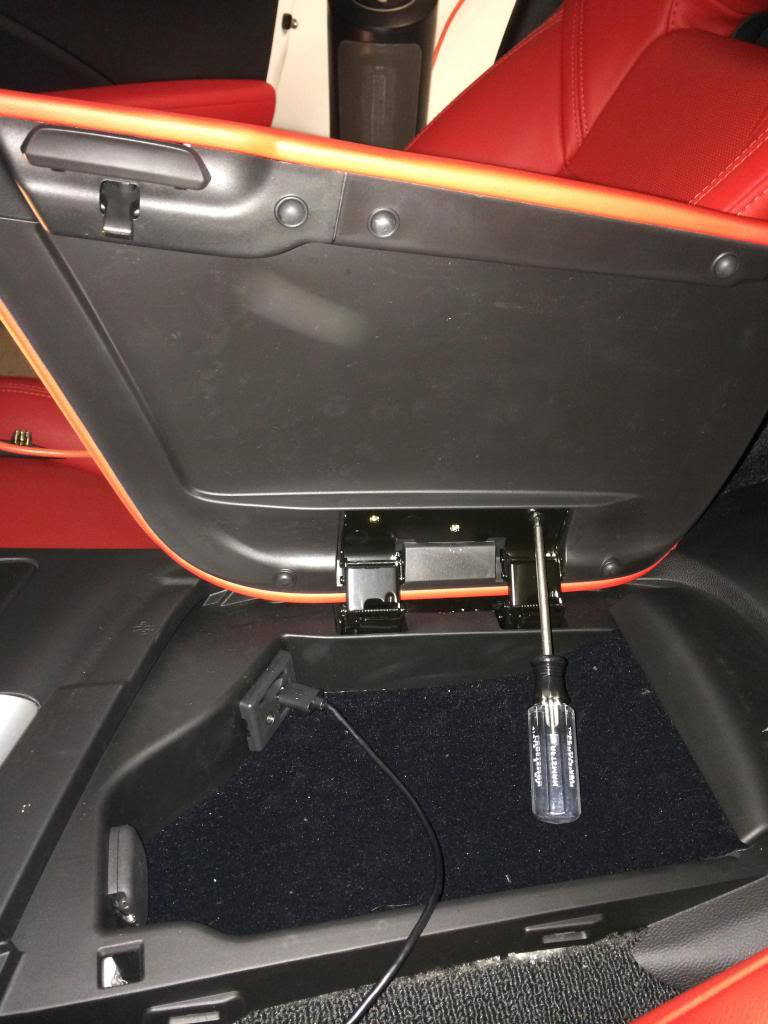
Step 5 – Remove the leather center console trim piece
Remove the leather trim piece on the driver's side of the center console by popping off the retainer clips.

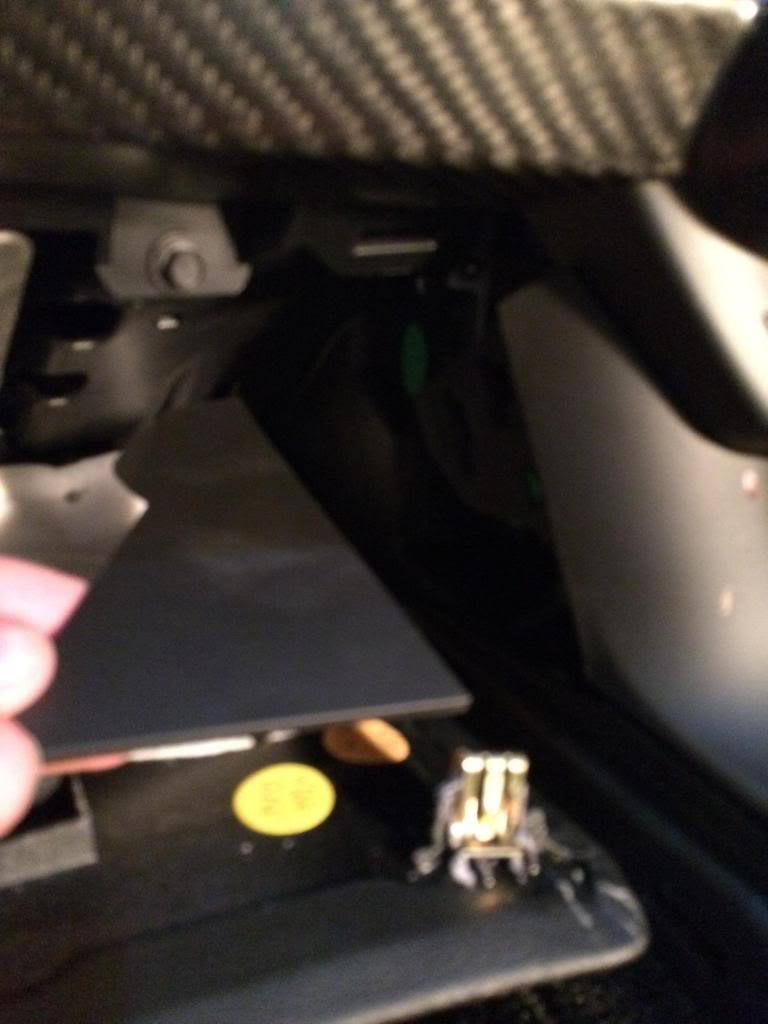
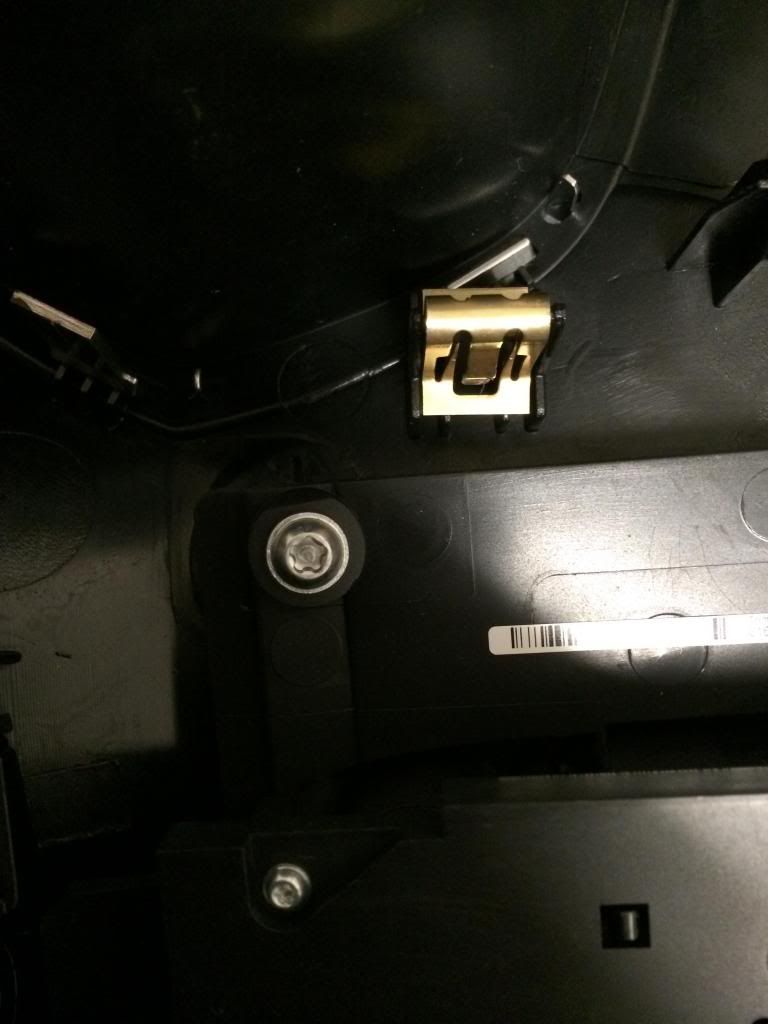
Step 6 – Remove the plastic insert
Remove the plastic triangular piece from underneath the dashboard by sliding and releasing it.
Step 7 – Remove door sill trim
Remove the trim pieces along the driver side door sill by prying them loose.
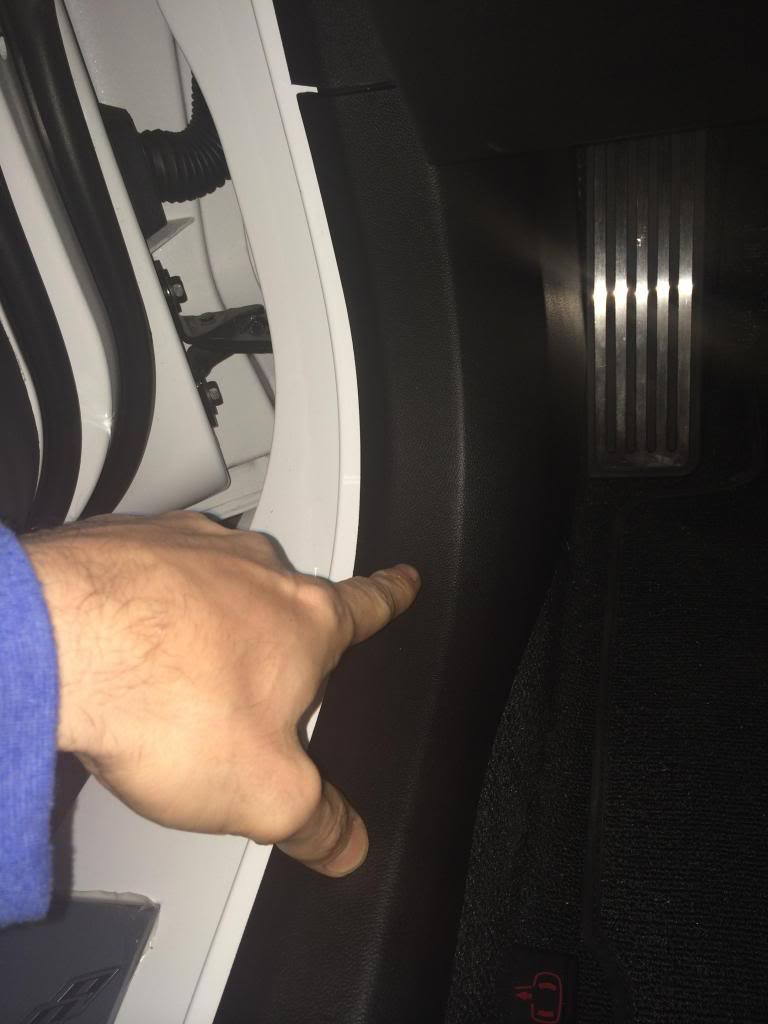
Step 8 – Remove panel in the driver's footwell
Lower the plastic panel in the driver’s footwell. Remove two screws from the bottom, one screw near the door sill, and four clips along the seam of the panel. This will allow you to access the dash-surrounding screws under the steering column.
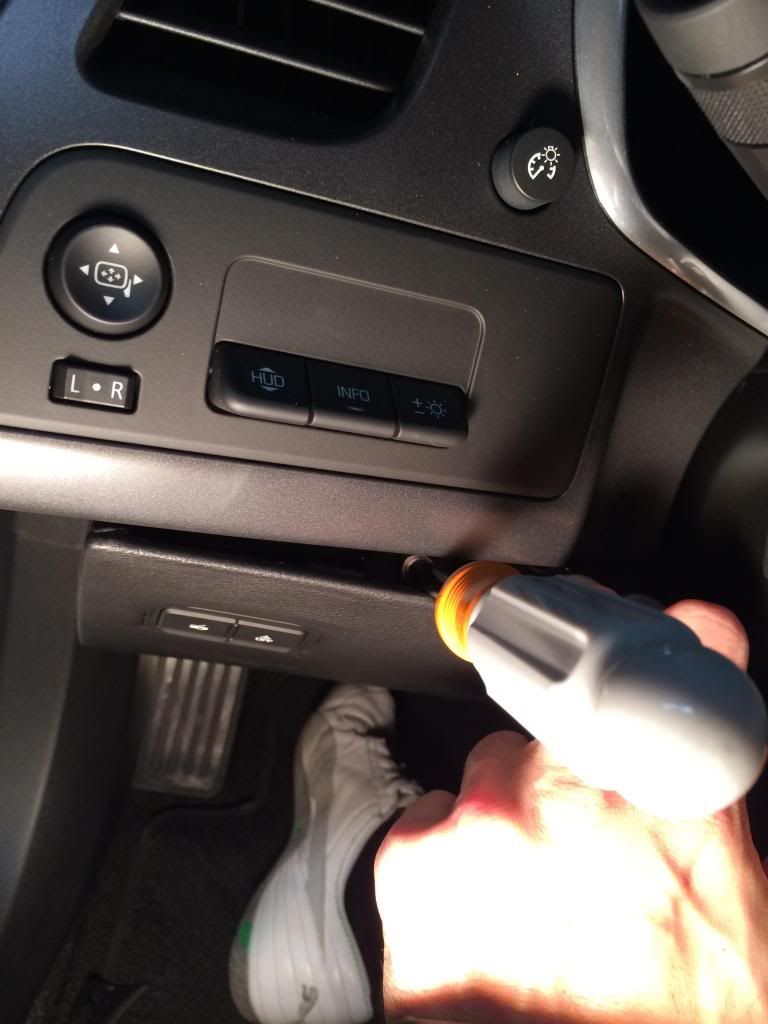
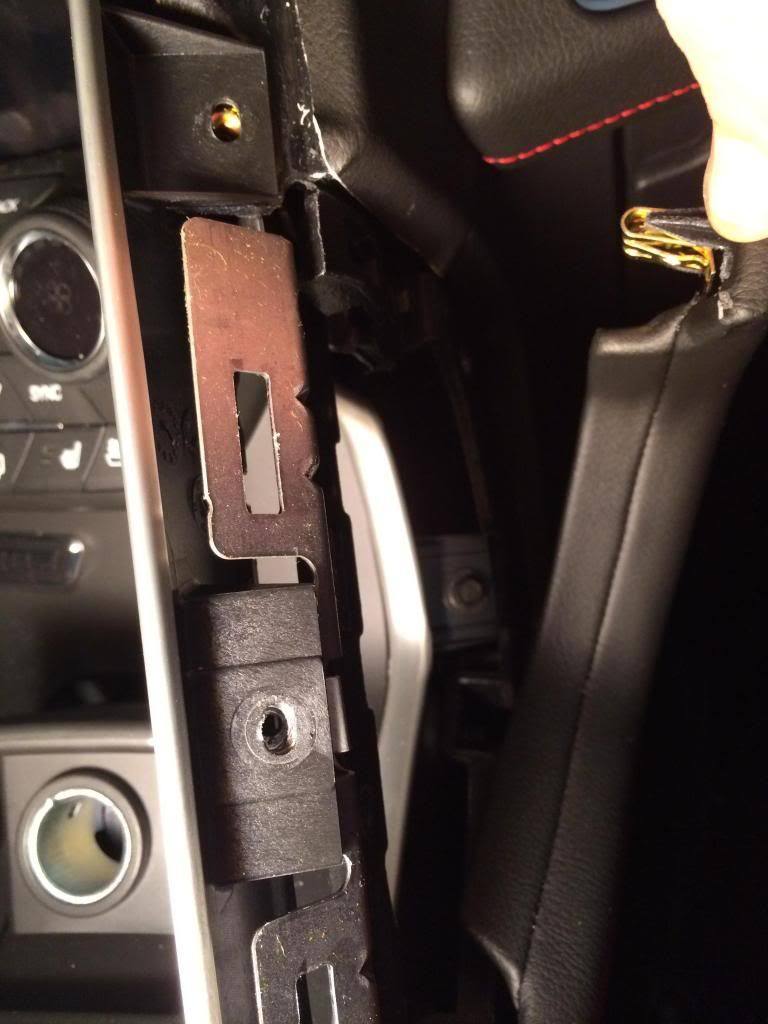
Step 9 – Remove the aluminum trim piece
Remove the screws that secure the aluminum trim piece surrounding the dash.
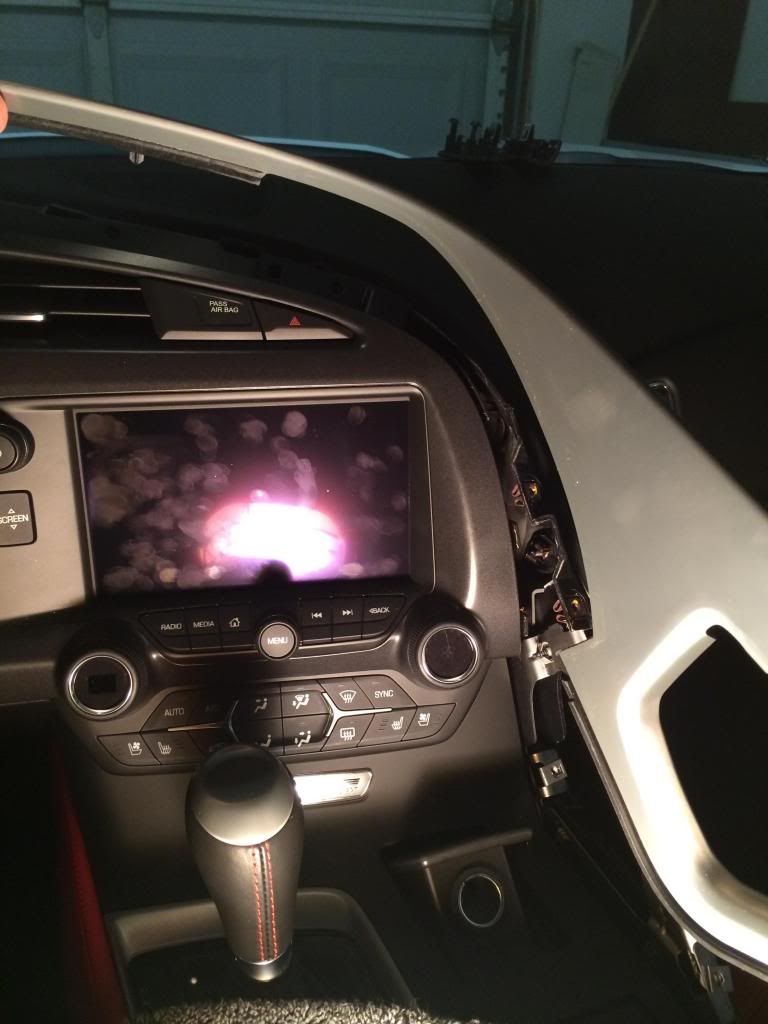
Step 10 – Remove remainder of the aluminum trim piece
Remove the rest of the aluminum trim from the left side of the dash.
Step 11 – Remove screws from dash
Remove the all of the screws that secure the dash section in place.

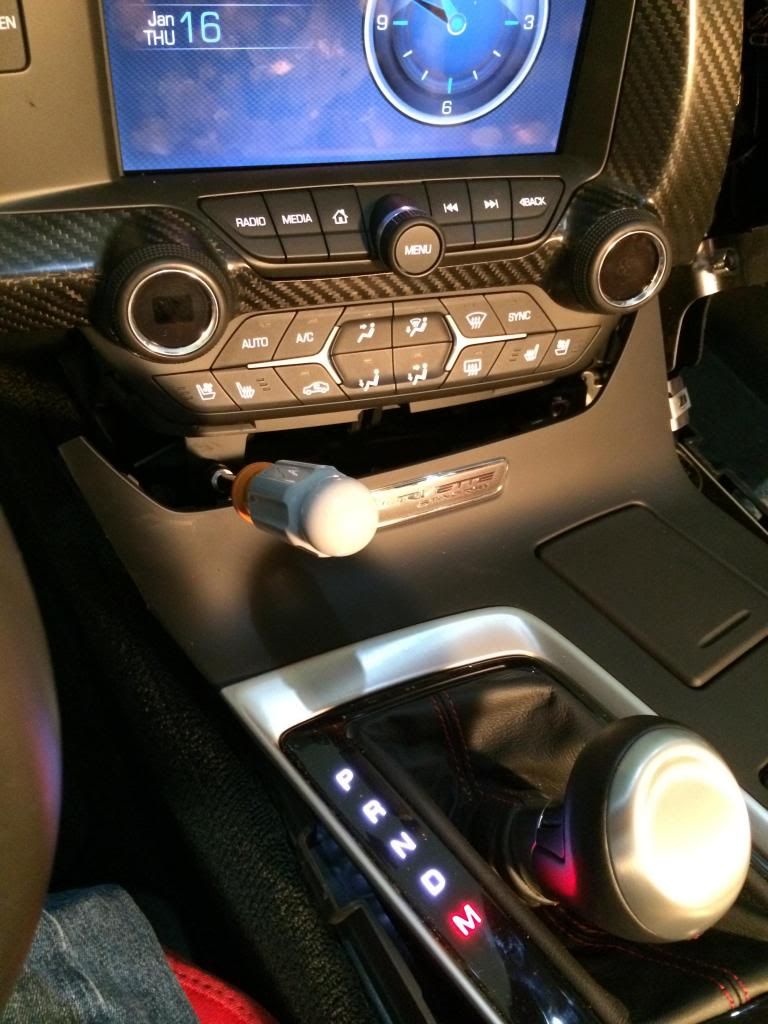
Step 12 – Remove the plastic center console insert
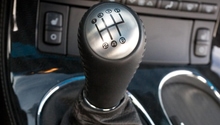
Pry the plastic insert that surrounds the shifter and center console, and remove it. It may be necessary to put the vehicle in gear to properly remove the insert.
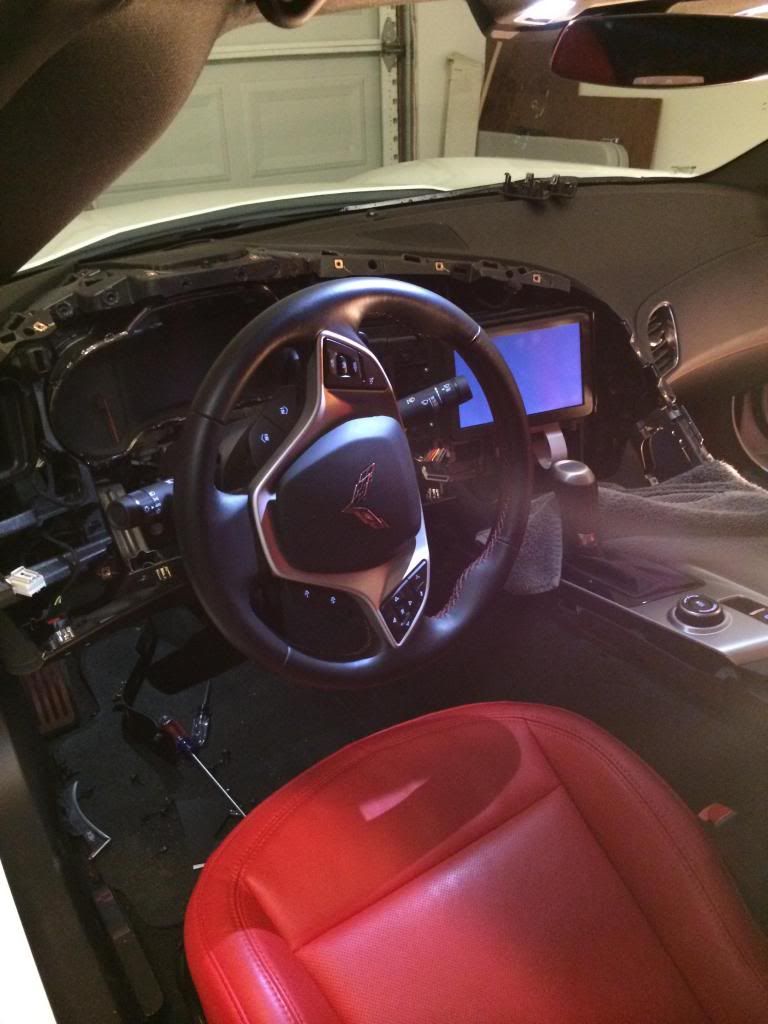
Step 13 – Disconnect electrical connectors
The dash should now be completely removed. Unplug any electrical connectors or harnesses and remove the dash from the vehicle.
Step 14 – Swap accessories over to the new dash
With the dash removed, transfer the A/C controls, start button, hazard button, and HUD controls to the new carbon fiber dash.
Step 15 – Install the new dash
The new carbon fiber dash is now set up and ready to be installed. To install the dash, reverse the removal procedures.

Related Discussion
- Carbon Fiber Dash Install Step By Step - CorvetteForum.com