Corvette: How to Detail Your Engine
People are usually intimidated by washing their engines. Here's how to do it like the pros.
This article applies to the C5 Corvette (1997-2004), C6 Corvette (2005-2013), and C7 Corvette (2014-current).
Detailing can be a highly rewarding task. Proper detailing takes time, but having a spotless vehicle is well worth it. One part of the vehicle that often gets neglected is the engine bay. With a bit of information and practice, you'll be detailing your engine like the pros while avoiding damage to any critical components. Some special precaution and skills are required, so if you've had high performance engine work done or you feel more comfortable having a professional do the work, you may want to call a reputable pro in your area.

Materials Needed
- Hose or power washer
- Engine degreaser
- Masking tape
- Saran wrap
- Aluminum foil
- Microfiber towels
- Wheel brush
- Detail brush
- Air blaster or leaf blower
- Plastic trim detailer
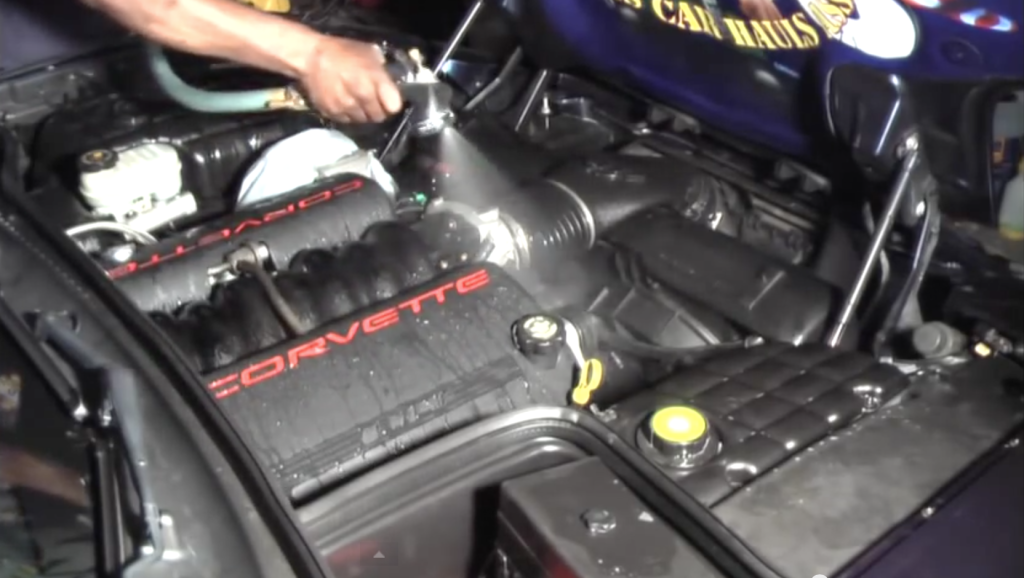
Step 1 – Cover all vulnerable components
Cover all electrical connectors, exposed air intakes and the alternator using Saran wrap and masking tape. If these components are exposed to a steady stream of water, they can become damaged or affect engine drivability.
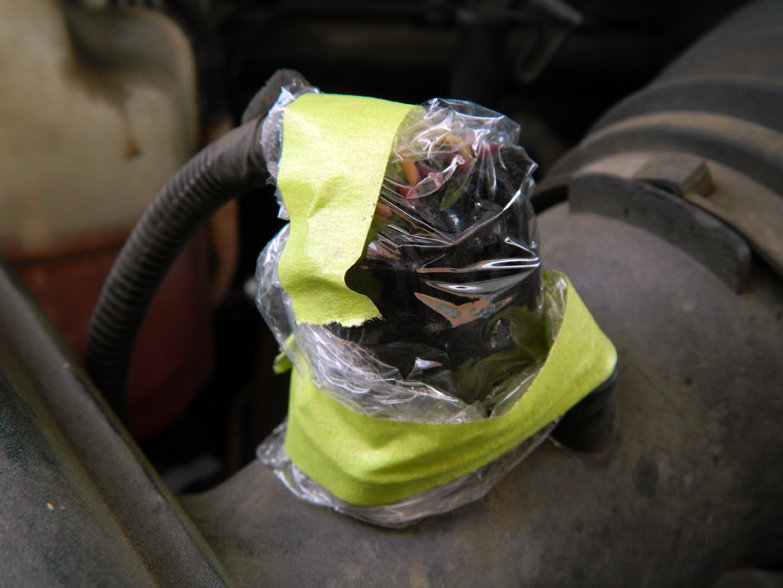
Pro Tip
Some of the larger components can be covered with aluminum foil. Although it will not create a water tight seal, it will protect the components from becoming drenched in water and it's easier to manipulate around larger parts.
Step 2 – Pre-rinse the engine
Use a low-pressure water stream to pre-rinse the engine. This will remove loose dirt and debris. Also, it will prepare the engine for application of the engine degreaser.
Pro Tip
Be sure that the engine has cooled before rinsing.
Step 3 – Spray engine with degreaser
Spray all dirty areas of the engine with engine degreaser. Allow the engine degreaser to sit for a few minutes to break down the dirt and grime.

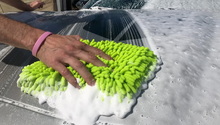
Step 4 – Clean the engine
Use various detail brushes to agitate the degreaser. Scrub all reachable areas of the engine to remove as much dirt and grime as possible.

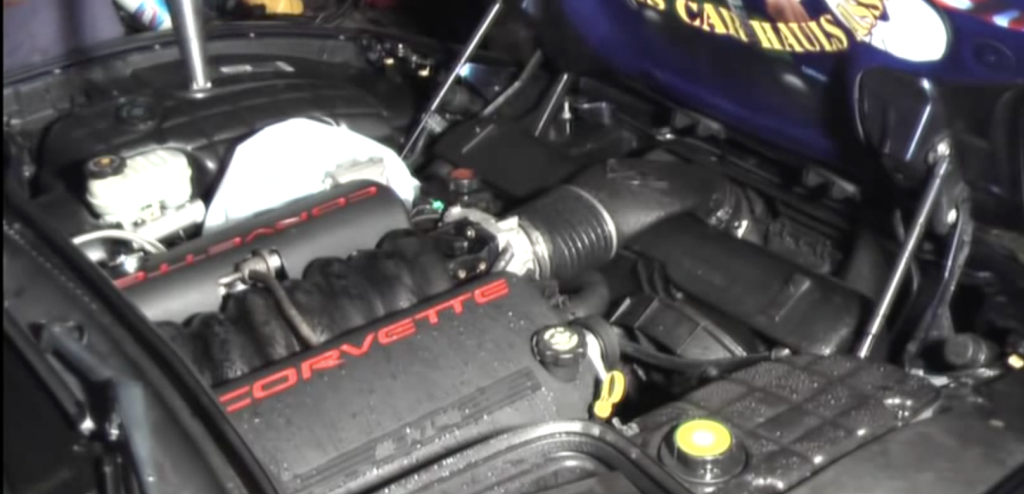
Step 5 – Rinse the engine
Now that the cleaning is complete, use a low-pressure stream of water to completely rinse the engine. Be sure that all degreaser is removed.

Step 6 – Dry the engine compartment
Use an air blaster or a leaf blower to blow as much water off the engine as possible. For any drips or runs, you can also use microfiber towels.
Step 7 – Apply protectant
The plastic materials under the engine should be protected by applying plastic trim detailer. If these items are left unprotected, they may become worn, dried and cracked quicker than expected.

Featured Video: Engine Detailing
Related Discussions
- Engine Detail - CorvetteForum.com
- Detail Your Engine Like a Profesional - CorvetteForum.com