Corvette: How to Install Backup Camera
Backup cameras are no longer an out-of-reach option. Aftermarket modifications are widely available and can be a weekend installation.
This article applies to the C5 Corvette (1997-2004), C6 Corvette (2005-2013) and C7 Corvette (2014-current).
There was a time, long ago, when backing up a Corvette into a narrow spot with something behind you could give a driver cold sweats. That time has thankfully come and gone. Aftermarket backup cameras are now affordable and available to anyone. The options and pricing for the units seem as plenty as the stars in the sky. Take a read through the article below to get directions on one optional installation of many.

Materials Needed
- Wire splice cutter or similar tool
- Flathead and Phillips head screwdriver
- Drill with 1/2" bit
- Electrical tape
- A rubber grommet or silicon sealant
- Insulated barrel connectors
This article assumes that you have already purchased and placed your backup camera capable head unit into your car. Read on for information regarding the installation of the camera and running the wiring from the back of the car to the head unit.
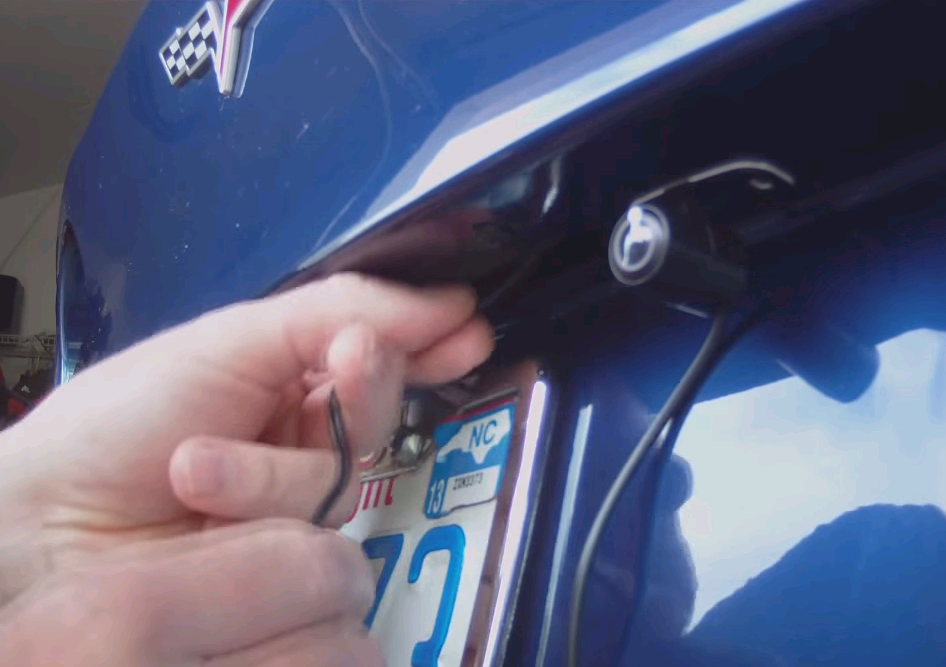
Step 1 – Install the exterior camera
This step concerns the licence plate mounted camera. The installation option here uses your factory bolts from the license plate frame holder to secure the camera mount. This eliminates drilling any more additional holes into the body of the car than necessary. Some people will drill a hole behind where the license plate sits to run the wiring into the car. Others may use a hole already in place above the license plate and run the wiring through there, again to keep from drilling additional holes. The option is yours. If you choose to drill a hole, make it only as large as necessary to run the wiring through. You can also use a rubber grommet to provide extra seal and hold for the wiring if you would like. Once you have the camera installed, push the wiring through the hole or opening you are using until the wiring is as much inside the bumper as possible.
Pro Tip
Take your time while working this first step. Start with a small hole when drilling and work your way up. You can always increase the size of a drilled hole, you cannot decrease it. It can be a good idea to use some sort of additional protection for the wiring on this exterior hole. That extra protection can help increase the lifespan of the wiring, and potentially eliminate accidental wire exposure down the road.
Step 2 – Run the wiring inside the bumper to the cabin of the car
Remove one of the tail lights on the passenger side of the car in order to gain access to your wiring. It's as simple as a Phillips head screwdriver and the top center of the tail light. Carefully remove the light and let it hang out of the way; you do not need to disconnect wiring from the tail light. Reach in and grab the wiring from the camera and pull it tight so that you have access to all of the wiring. You'll then need to use your drill to make a hole from the inside of the bumper to the cabin of the car so that you can access the wiring from the head unit to the camera. Depending on your camera and system, you may have a plug-n-play set up. That's what is recommended for simple ease of install; it's worth the extra money. Plus, you generally don't have to worry about splicing issues.
But let's assume you don't. You'll want to use the same drilling instructions from Step 1 now for Step 2. This time, however, you will absolutely want to seal the hole once you have ran the wiring. This will prevent water, insects, exhaust fumes, etc. from entering the cabin of the car. A tube of liquid silicon on the exterior of the hole, inside the bumper, is a great idea. Put it on there heavy; no one is going to see it, and it's worth the extra protection. Once you have run the backup wiring from the head unit through the hole, and you have the wiring from the camera run through and pulled tight to the cabin, seal the hole. You can then re-install the tail light.

Figure 2a. Removing the tail light. 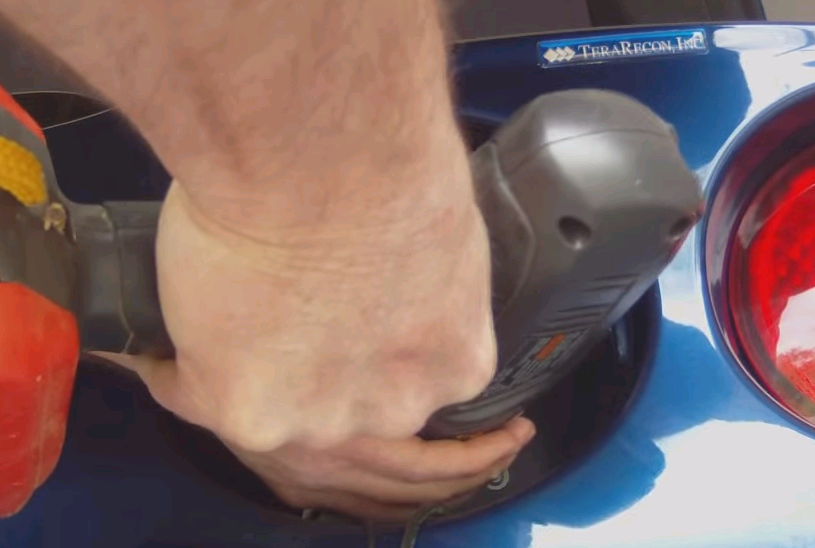
Figure 2b. Drilling hole through tail light opening. 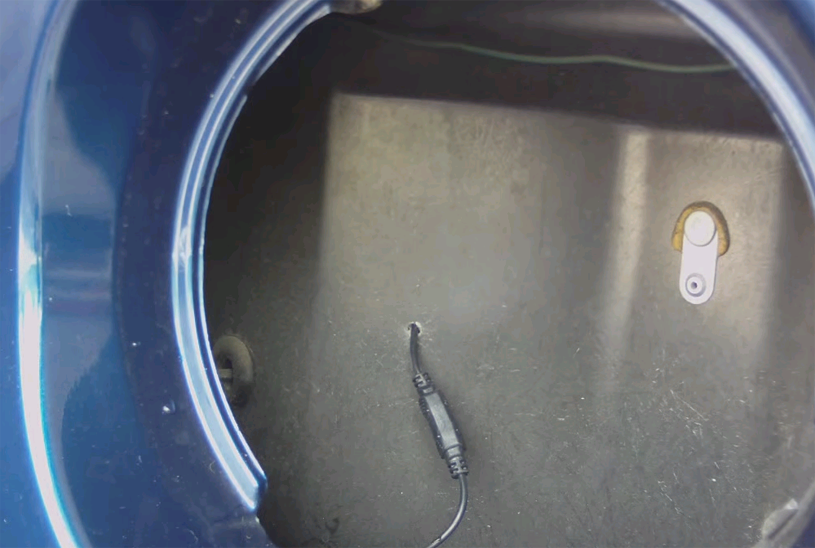
Figure 2c. Wiring through drilled hole.
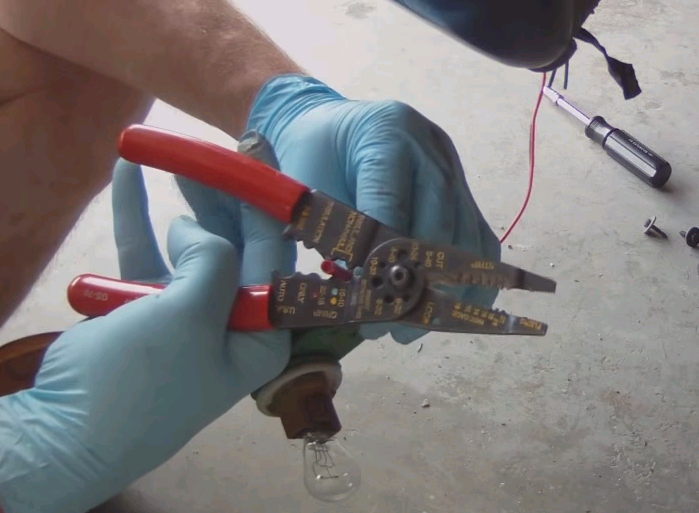
Step 3 – Bring power from the reverse light
You will need access to the reverse light on the passenger side of the car to bring power to the camera, provided you are not using a plug-n-play set up. There are four screws on the lower valance directly behind the wheel in the wheel well. A Phillips head screwdriver should get the job done. Once removed, you can reach in and disconnect light bulb assembly and pull it through the opening. You'll need to cut the wiring. There should be one green and one red wire. Strip and expose the lines running to the head unit as well. You're going to connect the red to the camera and to the green on the reverse light. Match up the black to the black. Use an insulated barrel connector to protect and cover the cables and then crimp it down in place for both connections.

Next is connecting the power from the car to the barrel connectors you just installed. Strip the wiring from the power source and install into the barrel connectors to match the colors they were originally connected to: green to green and black to black. Re-crimp to secure the connection. Re-connect the back up light assembly and screw the valance back in.
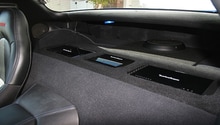
Step 4 – Run the cable through the car
Once again, there are a few options for this process. Some people will run the wiring underneath the carpet up the middle of the car, others underneath and along the door frame. Certainly, there's no right or wrong answer. Depending on who you ask, one way is easier than the other. One of the easier options is removing the armrest and running the wiring underneath it, underneath the carpeting from the panel hole you made in Step 2 behind the carpet and wall between the bumper and "trunk" storage area. There should be two bolts to remove the arm rest, with oval covers on the base and side of the bottom of the armrest. Lift it just enough to run the wire underneath; you may not need to remove it all together. Feed the wires underneath the carpet from the back, then pull it under the armrest area. Tighten up the bolts and you're back in business.
Pro Tip
Similar to a previous mention, it can be a good idea to wrap wiring that will be run underneath abrasive surface contacts, such as under the armrest, with additional tape. It's a precaution that can go a long way and only takes a few additional moments of time.
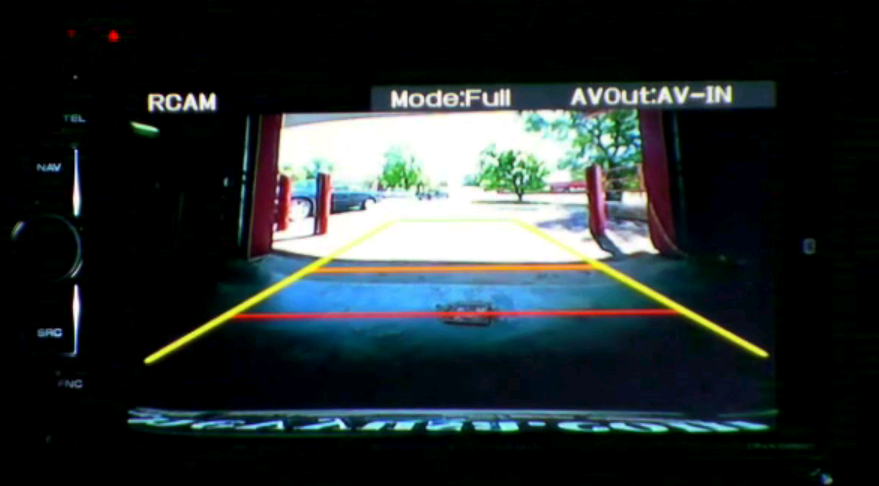
Step 5 – Reconnect everything and enjoy the new camera
Time to put everything back in its proper place. But before you lock everything back down, take a moment to test your new set up. The last thing you want to do is put everything back together and then have to remove or un-install something that isn't functioning as you expected.
Featured Video: Backup Camera Install Corvette C6
Related Discussions
- C6 Backup Camera Installation - CorvetteForum.com
- C5 Backup Camera Installation - CorvetteForum.com