Corvette: How to Install Lowering Springs
Lowering the ride of the Corvette is a simple process. Learn how here.
This article applies to the C5, C6 and C7 Corvette (1997-current).
The Corvette has been described as the ultimate high performance sports car. That doesn't stop its owners from making it even more high performance. Owning a 'Vette is one thing; having the skills to make it uniquely yours is another altogether. Fortunately, there are many modifications that you can make even with limited skills. You don't have to be a professional mechanic to do some professional-looking jobs on your ride. Lowering your Corvette is one such mod. It is easy to do, and the finished product looks awesome. You can do this in your own garage for absolutely no cost in less than an hour. A professional would charge a good deal of cash, so read on to save yourself money and catch that contagious modification bug.

Materials Needed
- 10 mm wrench or ratchet
- Hydraulic floor jack
- Jack stands
These instructions work for the C5, C6 and C7, although the lowering bolts may be different sizes.
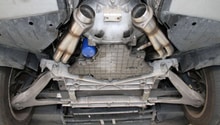
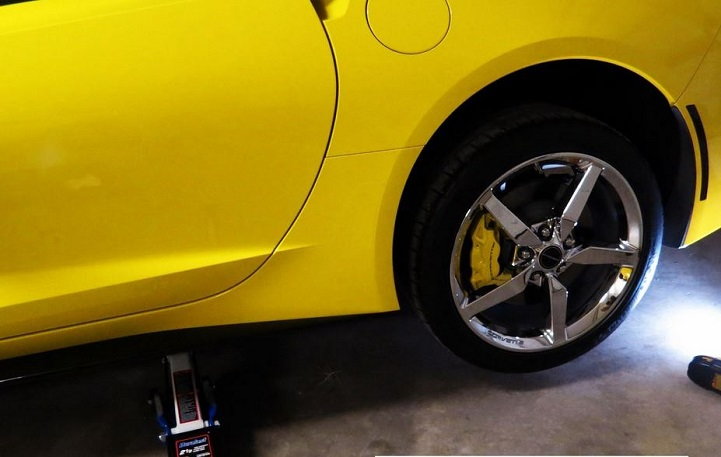
Step 1 – Jack up the front end on the driver's side
Use wheel chocks or blocks on the rear wheels to properly secure the vehicle before you raise it. Use a hydraulic floor jack in the proper jacking position to get the front end up higher than your jack stands.

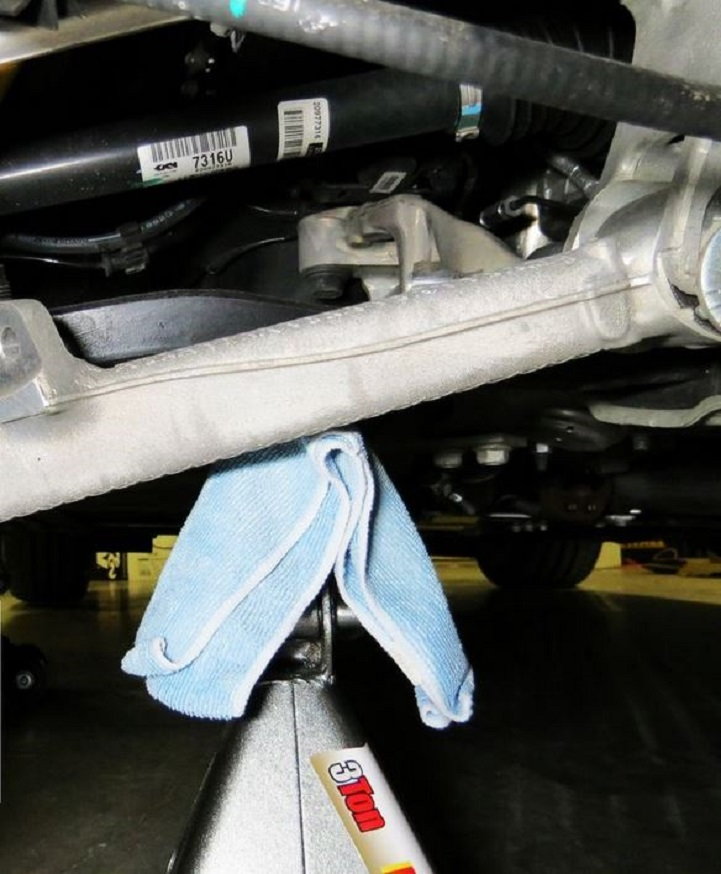
Step 2 – Position jack stand and lower the front end
Place a jack stand under the leaf spring. Once in place, lower the hydraulic floor jack slowly until the leaf spring is resting on the jack stand. This will relieve the pressure against the lower control arm and allow the lowering bolt to be turned with no resistance.

Step 3 – Find the lowering bolt and turn it counter-clockwise
The lowering bolt is on the inside of the control arm and in front of the shock. It is likely black and should be 10 mm. A wrench or ratchet can be used, but a wrench will be the best choice because of limited clearance. Turn the bolt counter-clockwise as far as it will go. It will stop turning when you reach the lowest level possible.

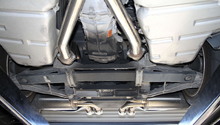
Step 4 – Raise the rear end on the driver's side
Move the rear wheel chocks or blocks to the front wheels. Use the proper location to put the hydraulic floor jack under the driver's side rear end and jack the car up above the level of the floor jack.
Step 5 – Position the jack stand and lower the rear end
Position the jack stand under the rear end of the car, right underneath the rear spring, just as it was done for the front. The spring will rest on the jack stand and relieve the pressure, allowing the lowering bolt to easily turn.
Step 6 – Turn the rear end lowering bolt
The lowering bolt is easier to locate and work than the front lowering bolts. This, too, is a 10 mm bolt that turns counter-clockwise to lower the car. As this bolt is turned, it will rise. Continue turning the bolt until the car is lowered the desired amount.

Pro Tip
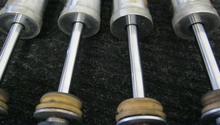
Lowering the vehicle with the stock lowering bolts will get maybe 3/4 to 5/8 of an inch lowered. If you want the vehicle lowered even more, you will need to remove the front rubber bumpers from the lowering bolt and use a longer bolt on the rear.
Related Discussions
- Lowering on Stock Bolts - CorvetteForum.com
- Stock Lowering of Z06 - CorvetteForum.com
- C6ZO6 Lowering Front - Youtube.com
- C6ZO6 Rear Lowering - Youtube.com