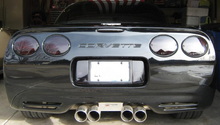
Corvette: How to Paint the Front Bumper
If your Corvette's bumper isn't looking its best, it may be time for a DIY paint job. Owners who feel comfortable enough to tackle a paint job on their own can save a lot of time and money painting the bumper on their own. With a bit of free time and a handful of supplies, you can restore your car's former appearance in a few steps.
This article applies to the C5, C6 and C7 Corvette (1997-current).
Depending on the size, type, and amount of paint damage to your car's bumper, the remedy can range from a simple sanding and repainting to a much more demanding repair that can involve removing the bumper. Most professional shops charge north of $1,000 for bumper repainting, while some DIY jobs can cost as low as $80.

Materials Needed
- Sand paper (may need 80, 100, 200, 400, and 800 grit)
- Auto paint spray gun
- Shammy and bucket of water
- Turtle Wax or similar polishing compound
- Wax of choice
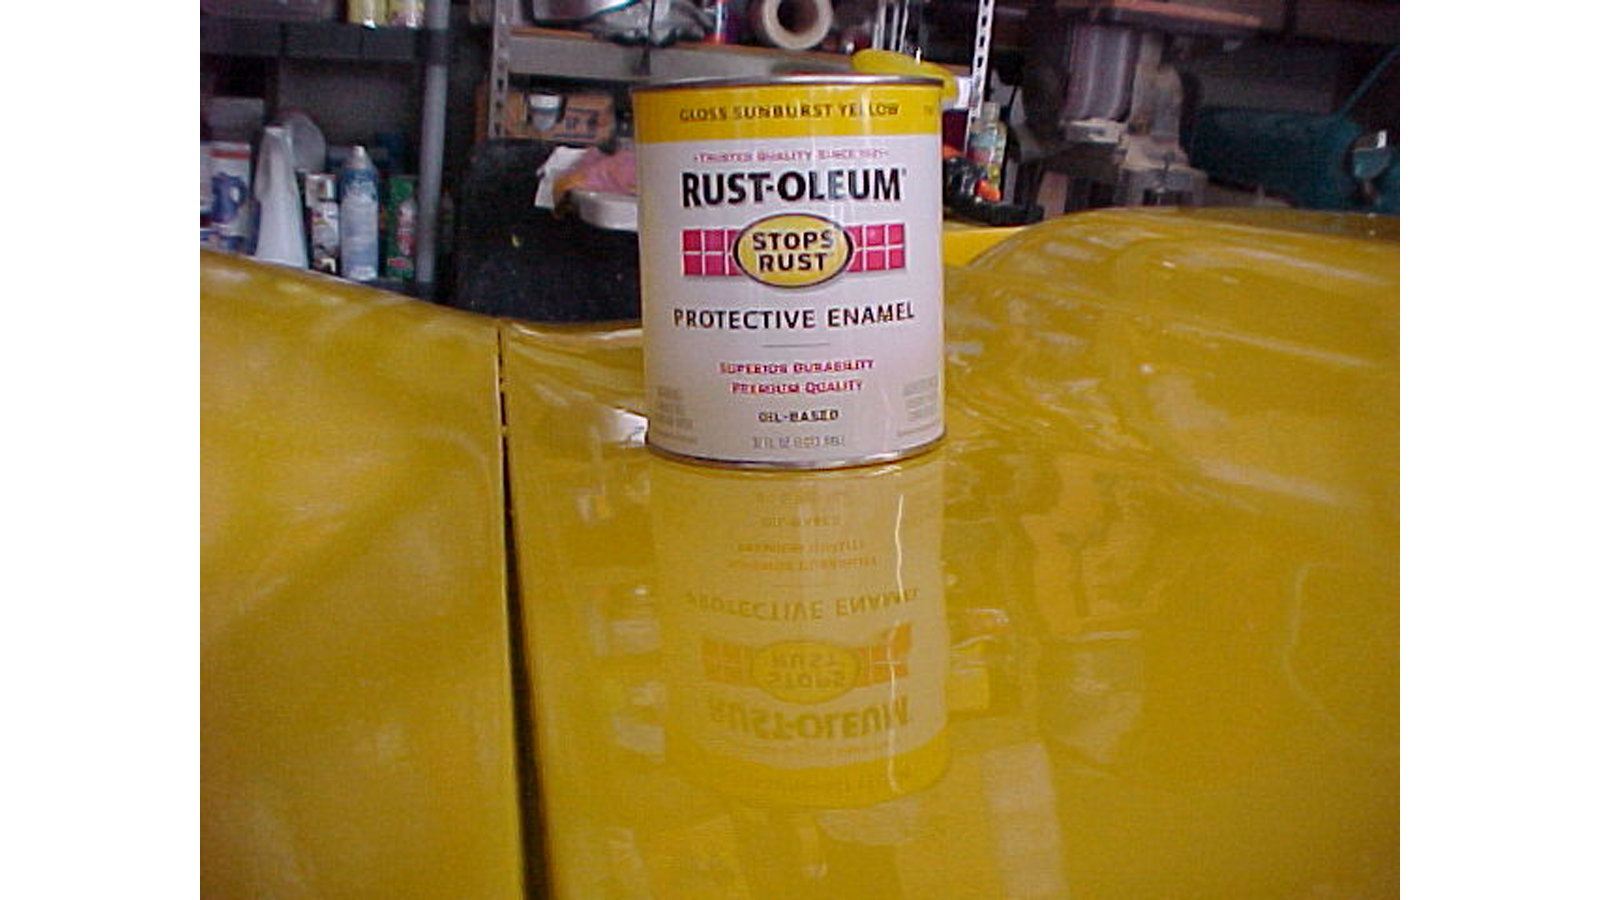
- Durable paint, such as Rustoleum, in color of choice
- Water spray bottle
Before you begin, assess the damage of the front bumper. If it is extensive and requires replacement rather than a simple paint job, removing it isn't difficult. Follow the related article below for more information.
(Related Article: C6 Corvette: How to Remove Front Bumper - CorvetteForum.com)
Step 1 – Sand the bumper
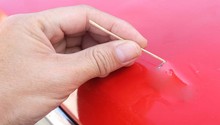
The best way to remove any existing paint and prep the car for painting is to block sand it by hand. Depending on the extent of damage, you may choose thicker or thinner sand paper, or a combination to use along the way.
Use a spray bottle in one hand and a folded up piece of sandpaper in the other to effectively sand the areas to be painted.

Pro Tip
It's best to use progressively finer sand paper when sanding the bumper.
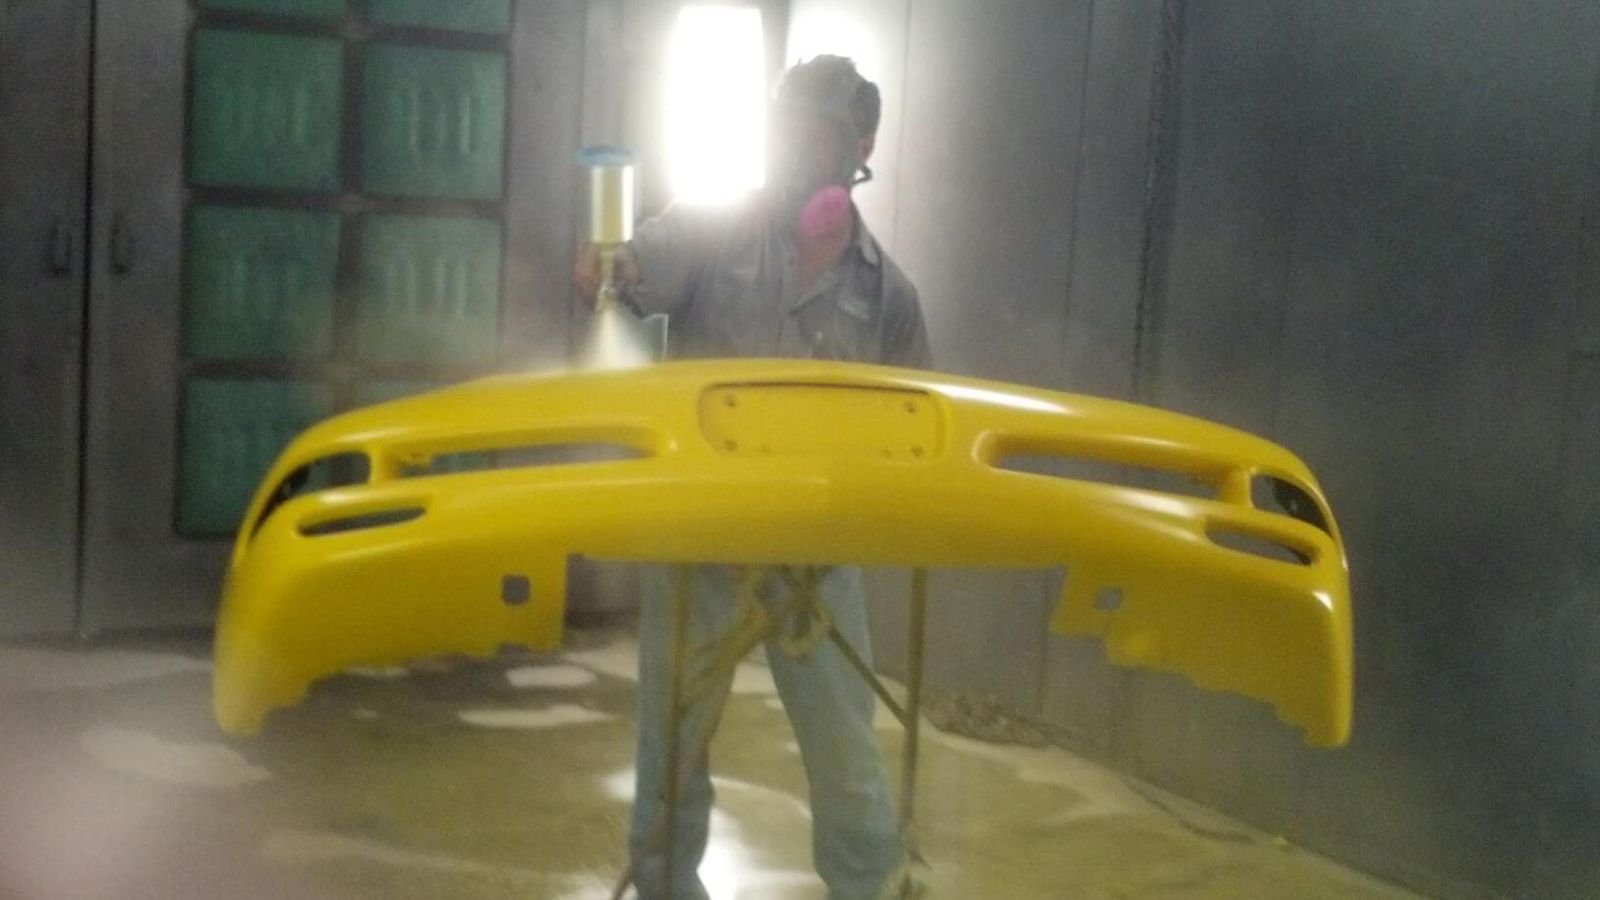
Step 2 – Apply first two coats of paint
Once the initial sanding prep work is complete, apply the first coat of paint with the spray gun. Wait for it to dry completely, then apply a second layer of paint. As with the first layer, you'll want to let the second layer dry completely as well.
Pro Tip
Auto paint spray guns can be found online at sites such as Amazon.com.
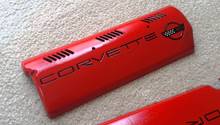
Step 3 – Alternate sanding and painting
The amount of sanding and painting you do will vary based on the type and amount of underlying damage. As with the previous step, it's generally best to start with a rougher sandpaper then move to a finer one. Allow the paint to dry completely between each session. In the picture below, the panel exhibits substantial "orange peel" (named due to the texture matching that of an orange) in the finish. Wet sanding and polishing will remove a substantial amount of these imperfections from the finish.

Step 4 – Apply your wax of choice
Once you've sufficiently sanded and painted the bumper, ensuring that the final coat is smooth and thick, it's time to apply your polishing compound of choice. After applying the compound, seal the paint with a coat of wax.
Related Discussions and Video
- How to Prep Your Plastic Bumper Cover for Paint - Youtube.com
- $50 DIY Paint Job - CorvetteForum.com
- $50 Paint Job Update - CorvetteForum.com