Corvette: How to Remove Your Throttle Body
Removal of the throttle body is a necessity for a number of other part installations, as well as for access reasons. If you plan on extensively modding your Corvette, get familiar with the throttle body removal process.
This article applies to the C6 Corvette (2005-2013).
The throttle body is the electronically-controlled module that controls that amount of air being let into the engine, in response to throttle application. In your Corvette's engine bay, from front to back, it goes air intake ("lid"), throttle body, and then the intake manifold. The throttle body is commonly removed for access when dealing with a lot of modifications. Beyond that, it is believed that porting, or resurfacing the inlet of the throttle body can be a source of a few extra horsepower. With that mind, let's dig into the removal process.

Tools Needed
- Flat-head screwdriver
- Phillips-head screwdriver
- 10mm socket and ratchet
- Pliers
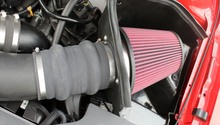
Step 1 - Remove the air intake
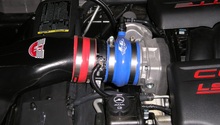
The air intake is secured using a few clasps or clamps, which can removed with a flat-head screwdriver, and a few hose clamps to secure the piping to the throttle body. These hose clamps can be unscrewed with a Phillips-head screwdriver.

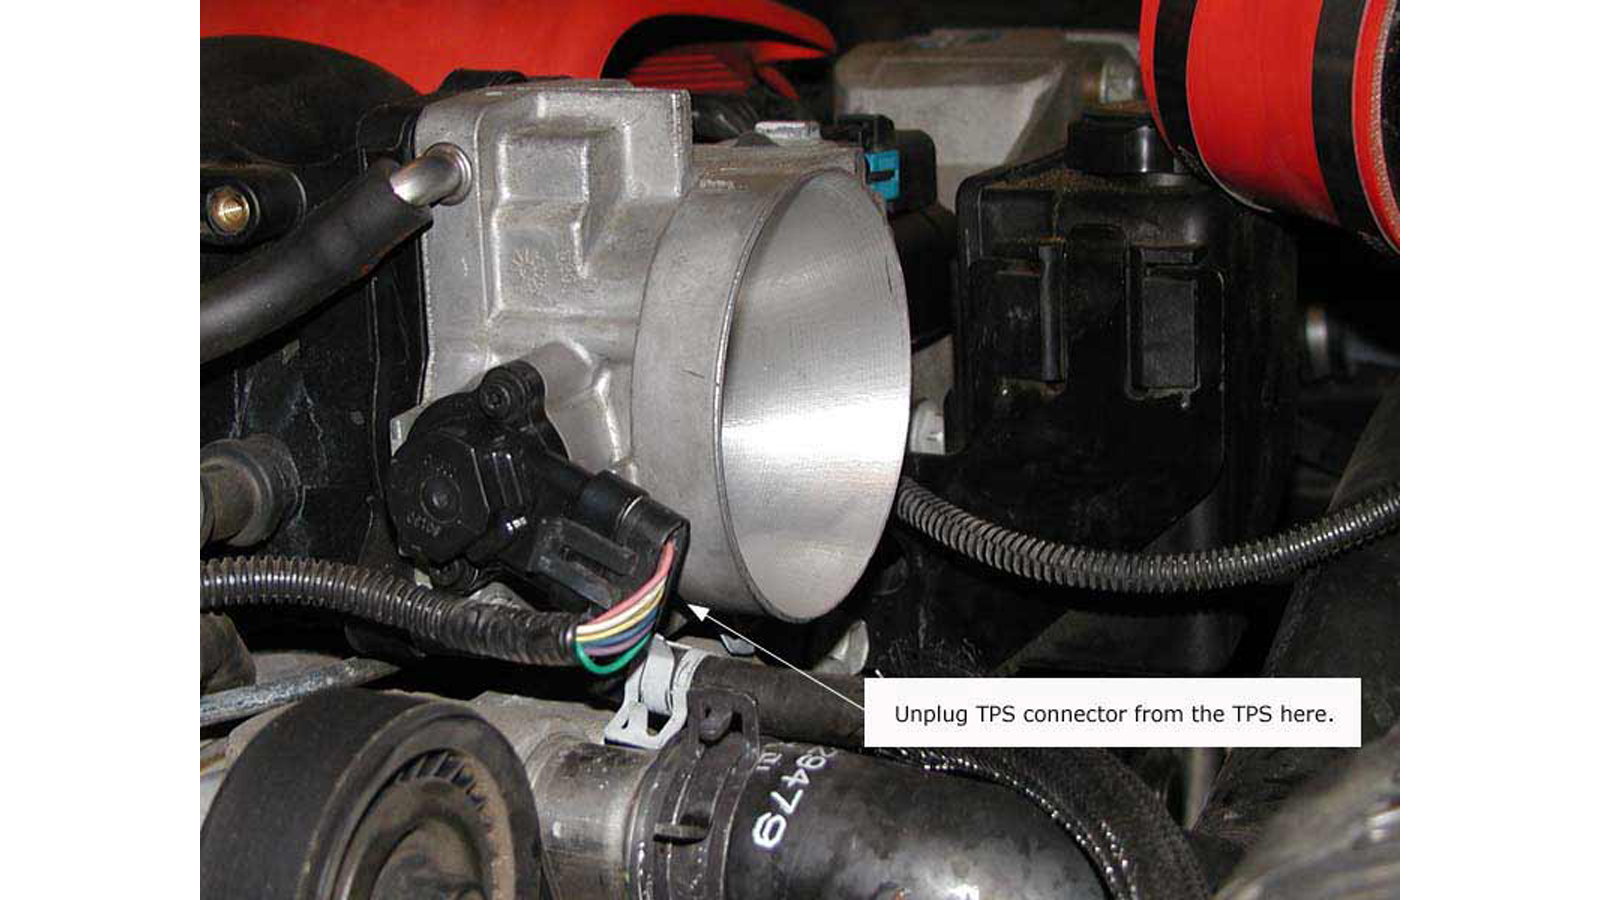
Step 2 - Unplug the vacuum sensor and throttle position sensor
The vacuum sensor can be seen above just before the throttle body opening. It should be unclipped and stowed away safely. When facing the throttle body from the front of the car, look down and to the left (passenger-side) of the throttle body assembly. You will find a sensor clipped in that will require removal.
Pro Tip
By gentle with the removal of the air sensor, it should unclip and wiggle off without too much fuss. Do not force it off.
Step 3 - Remove the coolant bypass line
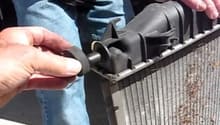
Beneath the throttle is a coolant line that needs to be removed. Use the needle-nose pliers to carefully unhook the coolant line system from the throttle body. Be ready to uncap and recap the coolant line as necessary during the R&R process so coolant is not leaked in the engine bay.
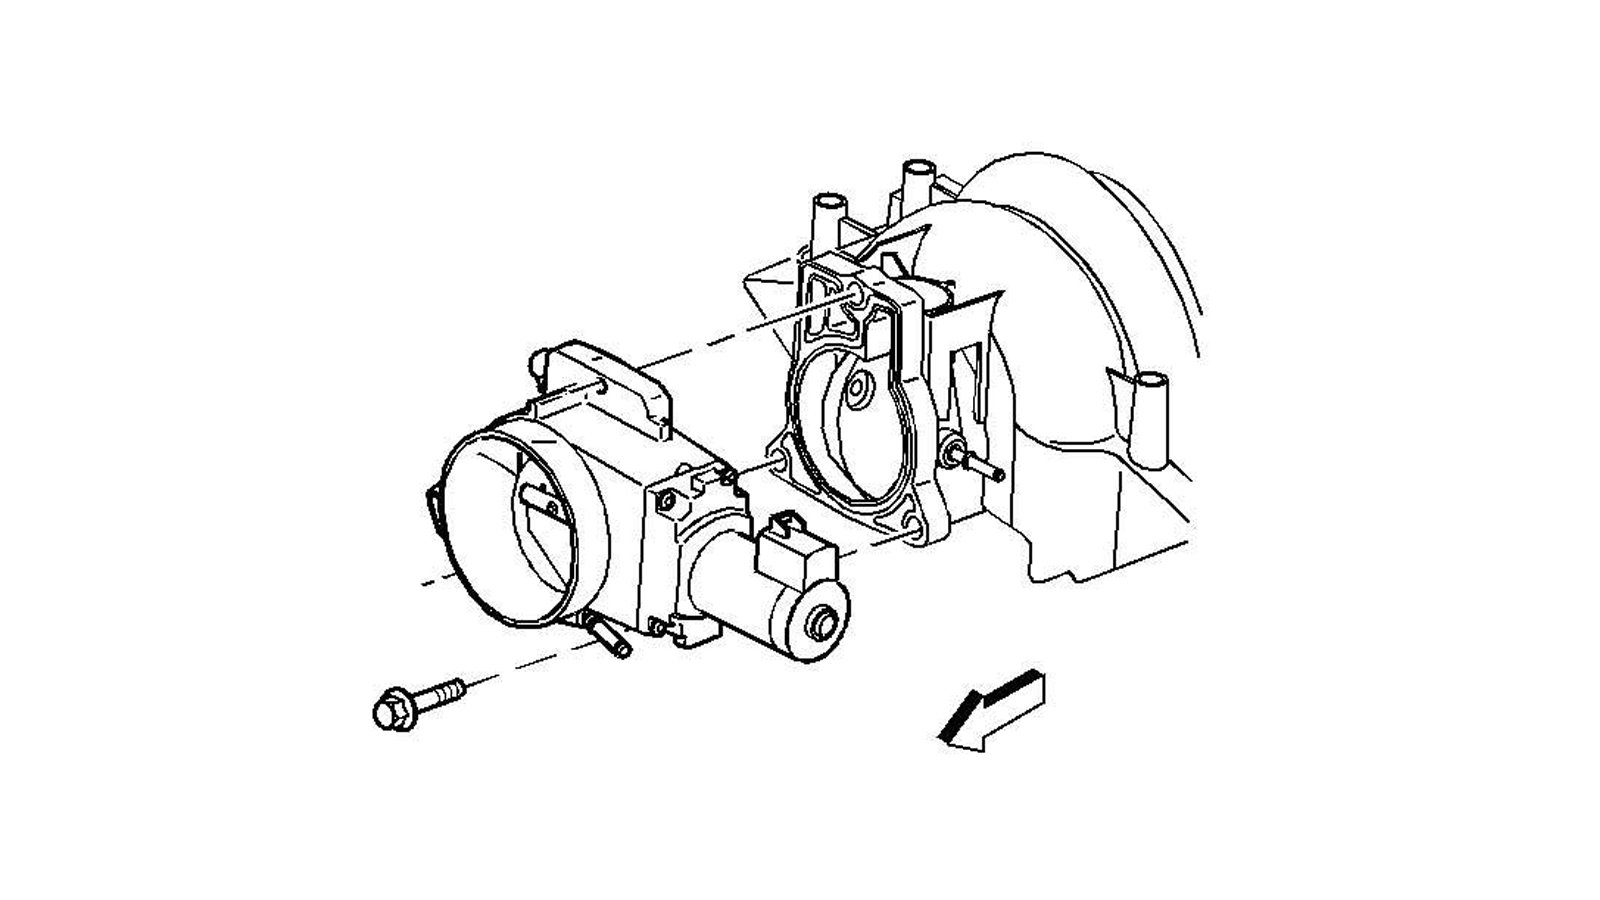
Step 4 - Remove throttle body from manifold
Unscrew the three 10mm bolts holding the throttle body to the manifold and pull off the throttle body. The manifold is made of a composite plastic, and the throttle body is aluminum, so the torque spec is under 10 lb./ft., this should not require excessive force. Once the three bolts have been backed out, slowly pull the throttle body from the manifold. It is possible that years of being fastened together may have punched the throttle body onto the manifold, so a small amount of wiggling may be necessary to release it.
Pro Tip
In order to avoid dropping or damaging the throttle body, back all three bolts out, but stop a few full turns away from removal. This prevents the throttle body from dropping once it is pulled off the intake.
The throttle body has been now been removed. There should be access to the intake manifold, and many other things if you plan on continuing. Otherwise, send that throttle body out for refinement, and re-install. Remember, the installation is the reverse of the removal process!
Related Discussions
- FAST Intake Install - Corvetteforum
- CorvetteForum User Toque's Install Guide - toqueZ06