Corvette: How to Replace Brake Disc
At some point you may need to change your Corvette's brake disc. Save money by following this DIY guide.
This article applies to the C5 (1997-2004), C6 (2005-2013), and C7 (2014-2015).
Worn, grooved, or damaged brake discs will dramatically affect stopping distance and can also cause severe vibrations in the steering wheel when brakes are applied, causing loss of control under hard braking. For even the most novice mechanic, this is a simple DIY job that can be completed with common hand tools.

Materials Needed
- Low profile jack
- Jack stands
- 15 mm socket and ratchet (caliper bolts)
- 16/18 mm wrench (rear/front caliper bolt collar)
- 13/16" socket and 1/2" ratchet
- Loctite
- Hammer
- Screwdriver
- Brake cleaner
- Torque wrench
Step 1 – Loosen lug nuts, jack vehicle and remove wheel
Using the jacking points in front of the rear wheels or behind the front wheels, raise the car enough to remove the wheel. Never jack the car using suspension components or any part of the body as this may cause damage. It is also recommended that you use either a small block of wood or jacking pucks. Once the car is raised properly, place jack stands under the vehicle.
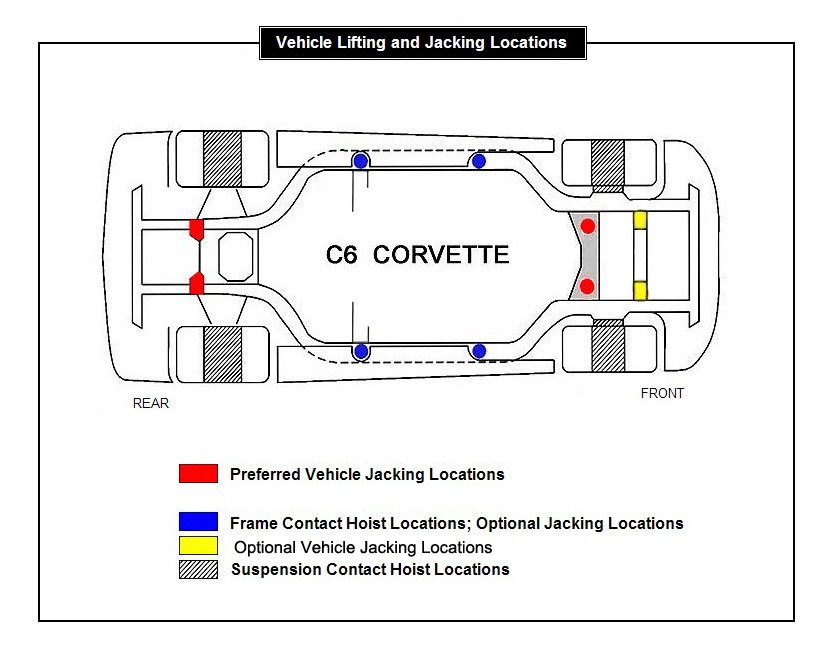
(Related Article: How to Jack up Your Corvette - Corvetteforum.com)
Step 2 – Remove the caliper bolts and slide the caliper from the brake disc
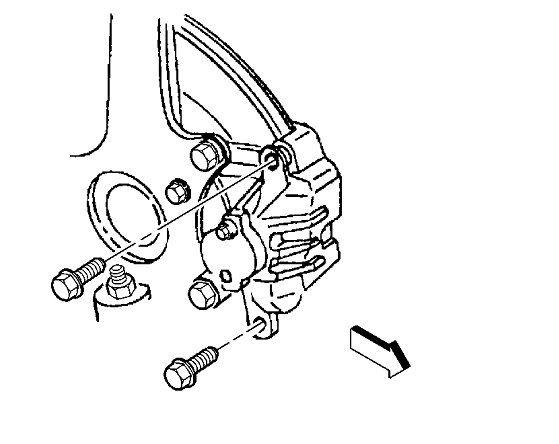
Using the 15 mm socket and either the 16 mm wrench (rear) or 18 mm wrench (front), remove the caliper bolts and slide the caliper off the brake disc. Support the brake caliper using a plastic zip tie or wire in between one of the holes, but do NOT let the caliper hang free using only the flexible rubber brake line. Once the caliper is removed, using the 13/16" socket, remove the caliper bracket bolts. These bolts have Loctite on them from the factory and may require some force and a breaker bar to remove.
Step 3 – Remove disc
If still present from the factory, remove the spring washers from the wheel studs using a flat screwdriver and discard as these will not have to be reused. At this point the disc should slide freely over the wheel studs; some light tapping on the rear with a hammer may be necessary.

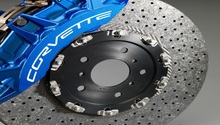
Figure 3. Indication of a bad brake disc. 
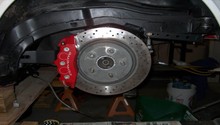
Figure 4. Remove the disc.
Step 4 – Install new discs and attach brake caliper bracket and caliper
At this point, it's time to install the new brake disc. Be sure to inspect the wheel bearing flange for rust or debris and, if necessary, clean. Slide the new disc over the wheel studs and clean any fingerprints or grease from the disc using brake cleaner. Next, re-install the caliper mounting bracket using Loctite and torque to 125 ft/lbs. Finally, position the caliper back into the caliper bracket ensuring that the brake pads have remained in place and that there aren't any fingerprints or grease on the face of the brake pads. Use Loctite on the caliper bolts as well and torque to 23 ft/lbs.

Step 5 – Re-install wheels and lower vehicle
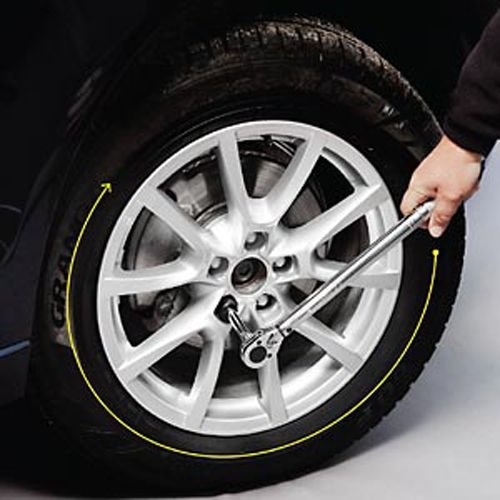
Re-install the wheel and torque the lug nuts to 100 ft/lbs. Using the jack, raise the vehicle and remove the jack stands, then slowly lower the vehicle back down to the ground. Before driving the vehicle, it's a good idea to start the engine and pump the brake pedal a few times to re-seat the brake pads.
Related Discussion
- How to Replace Brakes and Rotors - Corvetteforum.com