Corvette: How to Replace Oil Pressure Sensor
The oil pressure sensor is known to fail often on the Corvette. Here's how to replace it yourself.
This article applies to the C5, C6, and C7 Corvette (1997-current).
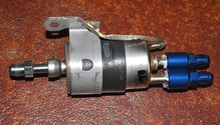
The oil pressure sensor measures the amount of oil going into the motor, so if it fails, you'll want to replace it as soon as possible. Unfortunately, this sensor is prone to failure, so knowing how to change it yourself can save you a lot of trips to the dealership. There are a few ways to change the sensor: removing the manifold, cutting a hole in the wiper cowl, and using a wide assortment of socket extensions and joints. Removing the intake manifold is very time consuming and presents a lot of chances to cause damage to the motor so it's not recommended for the average weekend mechanic. This article covers two methods for replacing the oil pressure sensor. Read on for more information.

Materials Needed
- Oil pressure socket or 1 1/16" deep socket
- Wire coat hanger
- Socket extensions
- Socket swivel/wobble joints
- Dremel or hole saw
- 10mm socket
Method 1: Cutting a Hole
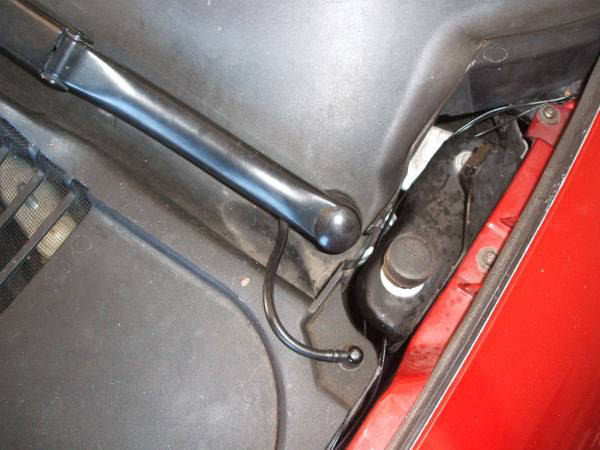
Step 1 – Remove valve cover and wiper blades
- Remove the plastic valve cover. Just pull up, and it'll pop off.
- Remove the wiper blades with your 14mm socket.
Step 2 – Disconnect wiper fluid lines and remove tray
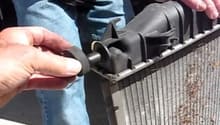
- Disconnect the wiper fluid lines; just give them a little tug and they'll come free. Be prepared for a little fluid to spill out.
- Remove the plastic tray. it's held in with five plastic rivets. You need to pull the center up to free the tension on the rivet and then you can pull it out.
Step 3 – Cut an access hole
Using a dremel, hole saw or something similar, cut your access panel.

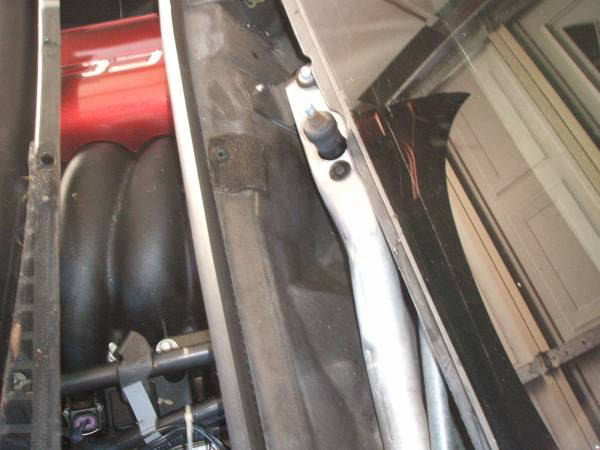
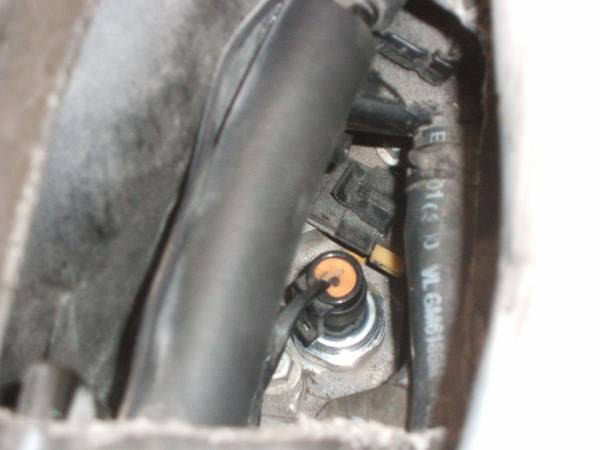
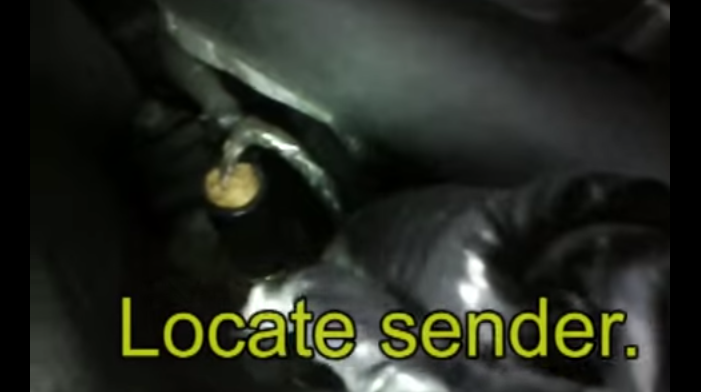
Step 4 – Disconnect and remove the sensor
- You now need to disconnect the electrical connection from the sensor. If the access hole you cut is too small to get your hand through, you can use a hanger. You'll need to straighten it out and bend around 3/4" at the end in a 90-degree angle. You can then hook the clip on the electrical connector and pull up to unplug it.
- With the electrical connection out of the way, you can use your deep socket and extension to remove the sensor. If you put a little electrical tape on the inside of the socket, it'll allow for a more snug fit so the sensor is less likely to fall out when you remove it.
Step 5 – Reconnect electrical connector
- The new sensor should start in the hole easily, but it's recommended, if possible, to try to start it by hand to prevent cross-threading it.
- Once you have the sensor installed, reconnect the electrical connector.
- You can cover the hole in multiple ways, whether you glue the cut out piece back in or cover it in duct tape.

Figure 5. Potential way to cover access hole. 
Figure 6. With the tray re-installed, the hole is no longer visible.
Pro Tip
If you cut the hole at an angle, you can drop the piece you cut out back in and use some silicon to glue it back in place.
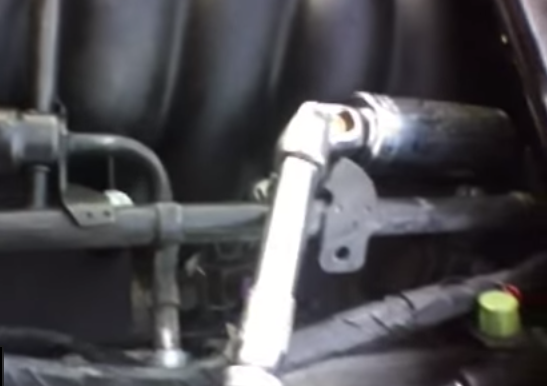
Method 2: Using Socket Extension/Joint Assortment
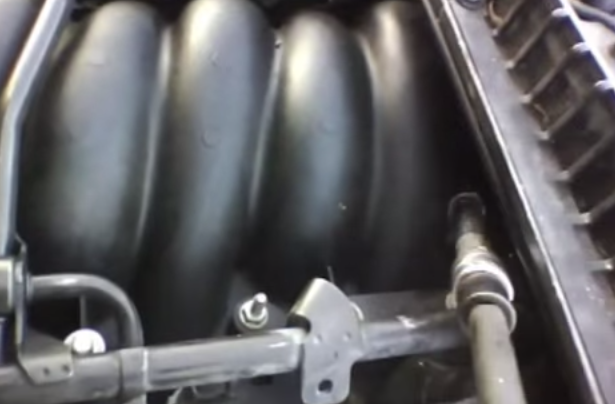
This method may be a bit challenging if you have large hands, but once the socket is on, it's clear sailing. You'll need to assemble yourself a long enough extension with two swivels on it to be able to reach the sensor. We recommend going with it in this order: Deep socket, swivel, extension, swivel, then ratchet.
Step 1 – Remove cover and disconnect sensor
- Remove the plastic valve cover. Just pull up and it should pop off easily.
- Disconnect the electrical connection from the sensor; if you can't get your hand in there, you can use a hanger. Just straighten it out with about a 3/4" length at the end at a 90 degree bend. You can then hook then end onto the electrical connector and use it to unplug it.
Step 2 – Place socket on top of sensor
You'll need to finesse your socket back behind the manifold, and then you should be able to drop it on the sensor. A little electrical tape on the inside of the socket will allow for a more snug fit to hold the sensor in it when you remove it.
Step 3 – Test it out
Tighten the sensor, plug it in, and try it out.
Featured Video: Replacing a C5 Oil Sender
Related Discussion and Site
- Oil Pressure Sensor DIY - Istech1.com
- Oil Pressure Sensor Change - CorvetteForum.com