Corvette: How to Replace Power Window Motor
Power window motors help raise and lower windows. If your windows get stuck or no longer go up or down, then your motor may have failed. If you're willing to spend the time, removing and replacing a power window motor is a job even the most novice of car owners can do, and here's how to do it.
This article applies to the Corvette C1 (1953-1962) and C2 (1963-1967).
Power window motors tend to fail for one of three reasons - a wire has shorted out, the window is off-track, or because it has gotten wet and blown a fuse. Frequent use can cause a power window motor to fail too, though this happens most often on the driver's side. Before you can replace the power window motor, you'll have to remove the old one. You also should make sure that the problem is isolated to one problem. If none of your windows raise or lower, then a bad fuse or faulty wire may be responsible and your power window motor(s) may be just fine.

Tools and Equipment Needed
- Tool 1 - Clip removal tool
- Tool 2 - Flathead screwdriver
- Tool 3 - Philips screwdriver
- Tool 4 - Gear wrench
- Tool 5 - Small mirror (optional)
- Tool 6 - Bolt
- Tool 7 - Socket wrench
- New power window motor
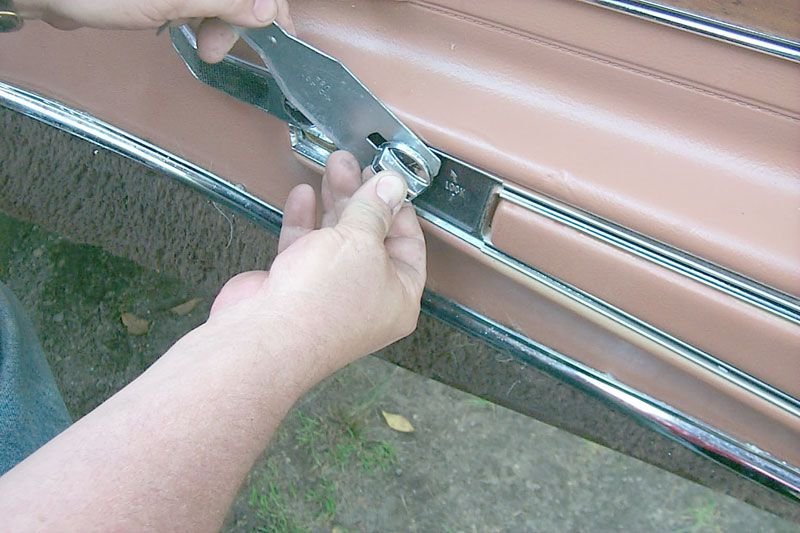
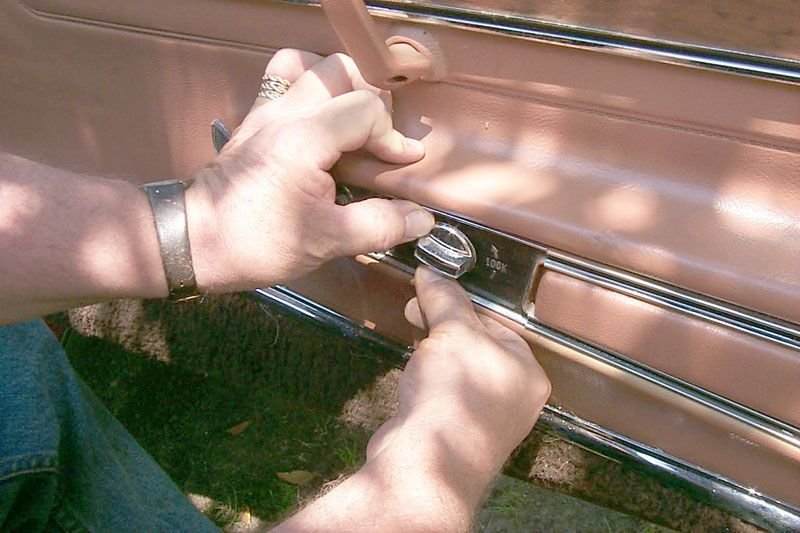
Step 1 - Remove lock knob
Open the door where you need to replace the power window motor. Use a clip-removal tool to release the clip holding the lock knob on the shaft. Once you've done this, you can easily remove the lock knob itself.
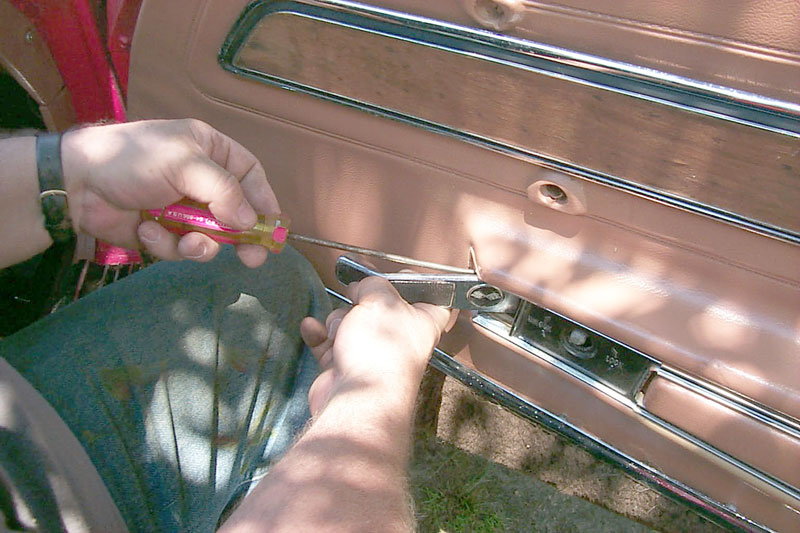
Step 2 - Remove door handle
Hold the door handle and pull on it like you are trying to open the door. Unscrew the retaining screw with a long-bladed flathead screwdriver. After you've removed the retaining screw, slide the handle off of the opening mechanism.

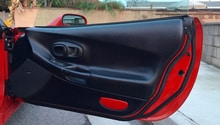
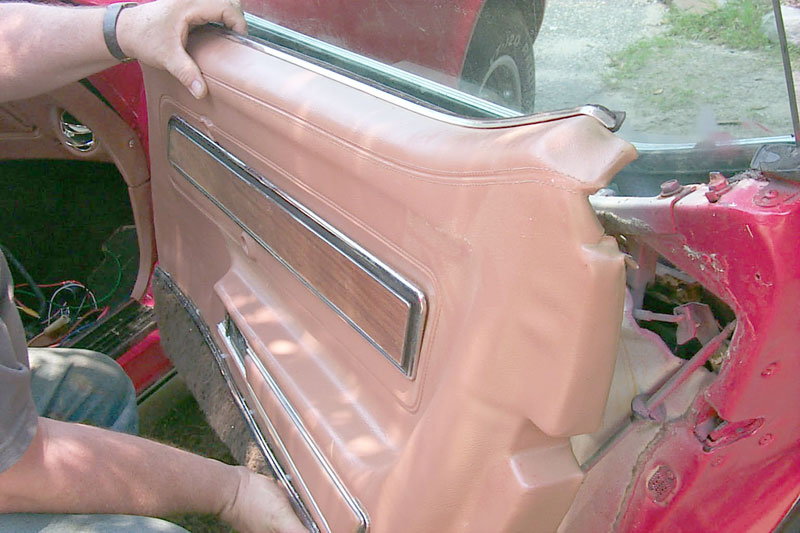
Step 3 - Remove the door panel
Use a Philips screwdriver to remove the two door-pull retaining screws, the door-pull handle, the two lower panel retaining screws at the front and rear of the door panel, and the upper panel retaining screw. Once you've removed all of the screws, carefully remove the door panel. You can do this by gripping it on both sides and pulling up and out at the same time. Set aside the screws and door panel.
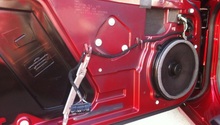
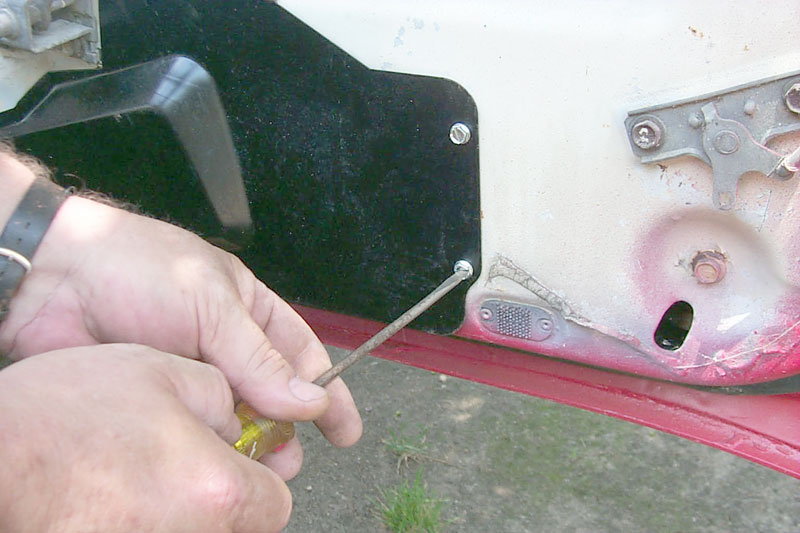
Step 4 - Remove the power window motor compartment cover
Use a Philips screwdriver to unscrew the power window motor compartment cover. Once you've done this, grip the cover and pull it off. Set it and the two screws aside.
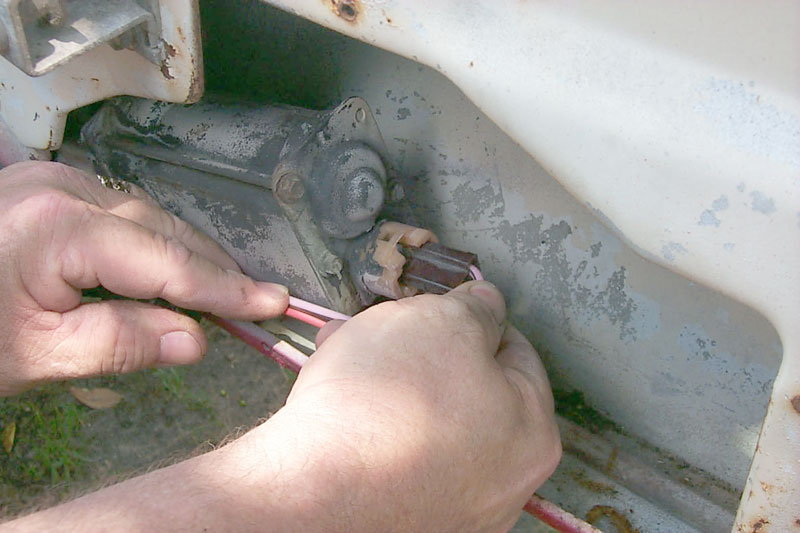
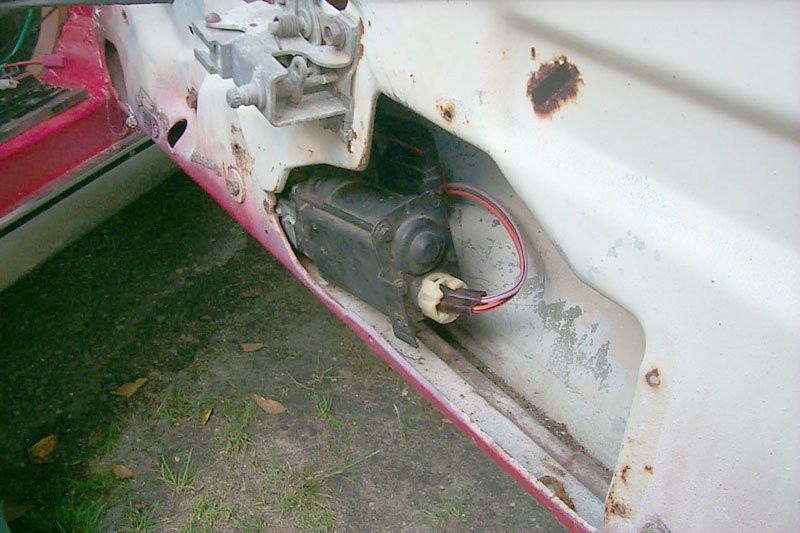
Step 5 - Unplug the wiring harness
Unplug the wiring harness from the power window motor by pulling on the harness.
Step 6 - Remove the power window motor retaining bolts
Use a gear wrench to remove the power window motor retaining bolts.
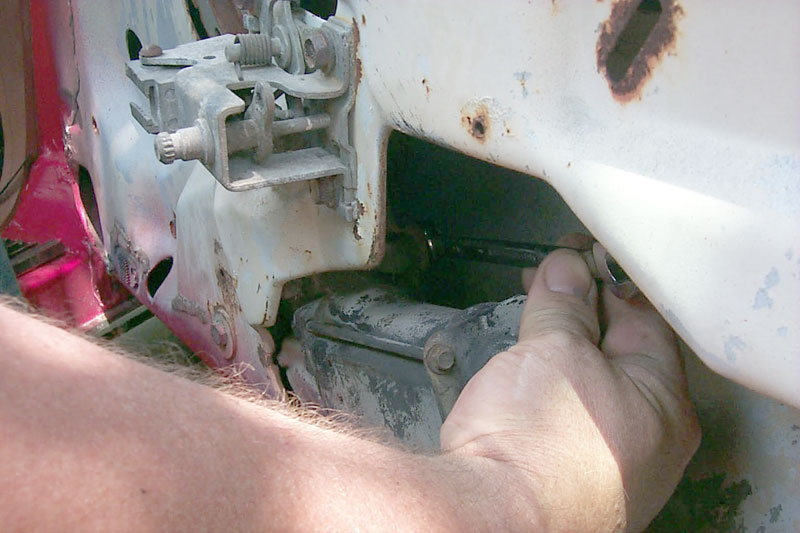
Pro Tip
You won't have enough room between the power window motor and the door skin to use a ratchet and socket. While you can use a standard box or open-end wrench, using a gear wrench makes the job considerably easier.
Step 7 - Remove the power window motor
Roll the window about halfway. Using your finger or a small mirror, locate the hole in the main regulator gear that will align with a hole in the main section of the regulator. Align these holes, put a bolt throw them, and tighten it by twisting it clockwise. Doing this prevent the regulator from moving when you take out the motor. Once you have this bolt in place, use a socket wrench to remove the three bolts that hold the motor to the regulator. After you've removed the three motor retaining bolt, lift the power motor out of its compartment.

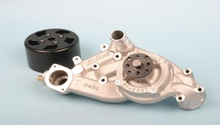
Step 8 - Install the new power window motor
Mount the gear retainer plate on the outside of the window regulator, and mount the new power window motor on the inside of the window regulator. This may take a few minutes, since you have to make sure everything is aligned by touch rather than by sight, since you won't be able to actually see what you're doing on the inside of the window regulator.
Step 9 - Install power window motor bolts
Slide the power window motor bolts into place. Tighten them a little with your fingers, and then use a gear wrench to fully tighten the bolts.
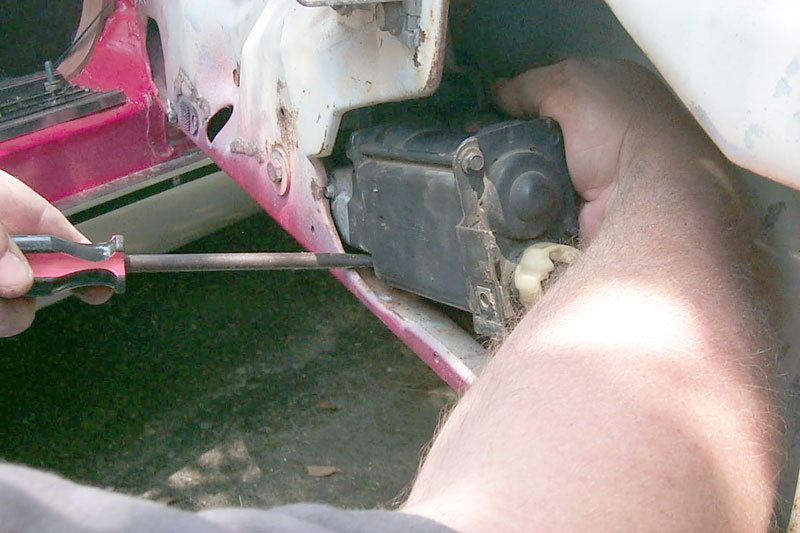
Pro Tip
Consider using a screwdriver for support under the motor while you tighten the bolts with your fingers.
Step 10 - Plug in the harness
Plug the harness into the new power window motor.
Step 11 - Make sure the power window motor works
Turn on your car and make sure the window goes up and down. If it doesn't, check and make sure that the retainer plate and power window motor are perfectly aligned and bolted into place.
Step 12 - Replace the compartment cover and door panel
Install the power motor window compartment cover. Position the door panel back into place and put the retaining screws back into place using your screwdriver. Install and tighten the door release handle as well.

Step 13 - Install door-pull handle and lock knob
Screw the door-pull handle into place and re-install the lock knob. Do this by putting the knob in place and pressing on it until you hear the retaining clip click on the shaft.
Related Discussions
- Need Window Removal Help - CorvetteActionCenter.com
- Power Window Motor Repair - CorvetteActionCenter.com
- Power Window Motor Replacement - CorvetteMagazine.com
- Corvette Power Window Motor Replacement - Zip-Corvette.com
- How to Install, Repair, Replace Power Window Motor Chevy Impala - YouTube.com
- '67 Power Window Motor Replacement Help - CorvetteForum.com
- 1984-1996 Corvette Power Window Regulator Upgrade and Install - CorvetteMagazine.com
- Corvette C5 Power Window Motor Rebuild - 101CorvetteProjects.com
- Install a Corvette Window Regulator - YouTube.com