Corvette: How to Replace Thermostat
Replacing your car's thermostat is a very inexpensive and easy DIY project that can cure many issues.
This article applies to the C5 Corvette (1997-2004), C6 Corvette (2005-2013) and C7 Corvette (2014-current).
The thermostat housed on the front of your engine controls the amount of water that flows through the coolant system. At a predetermined temperature, depending on the thermostat, it will open mechanically and allow water to pass from the radiator through the engine block. A faulty thermostat can lead to overheating as well as the heater in the cabin failing to blow warm air. Additionally, a thermostat with a lower opening temperature (usually 160 degrees) can be used to allow cooler water to pass through the engine, potentially making a few more horsepower. The good news is that this is a very easy project for even the most novice mechanic, taking under an hour and only costing around $20 for the price of the new thermostat.

Materials Needed
- Metric sockets
- Radiator drain pan
- Screwdriver
- Adjustable pliers
- Shop towels
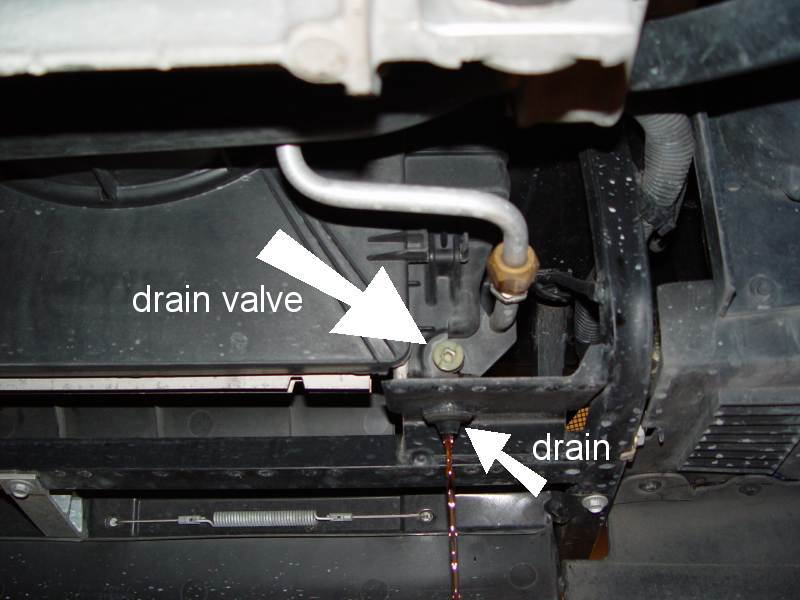
Step 1 – Drain radiator
It will be necessary to drain some coolant out as you're going to need to remove the radiator hose from the thermostat housing shortly. If all the coolant is still present in the system, you will have a mess on your hands (or more specifically, on your garage floor). Slide a radiator drain pan under the right side of the radiator and locate the yellow/white plastic drain plug on the bottom. Using a flathead screwdriver, turn the drain plug a quarter of a turn counter-clockwise until water comes out. If your drain plug is worn, it may be a good idea to replace it at this time.
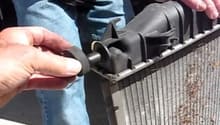
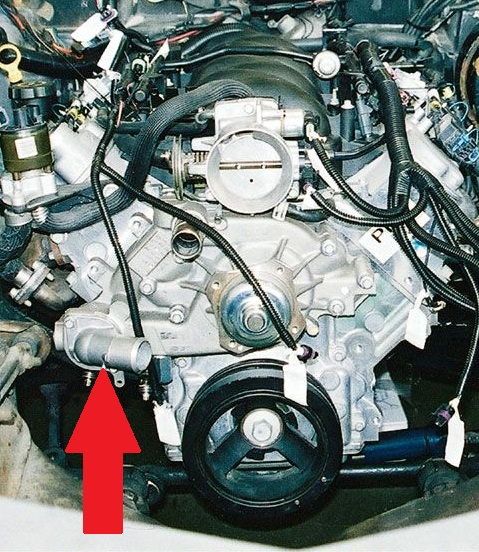
Step 2 – Remove thermostat
Locate the thermostat on the front of the engine in the lower left corner, parallel to the harmonic dampener. Remove the radiator hose attached to the thermostat housing and slide off. You may lose a little coolant here, but if you drained the radiator down enough it shouldn't be a significant amount. Remove the two bolts attaching the thermostat housing. Once the bolts are removed, the housing and thermostat should be free, but the o-ring often sticks which would require you to tap lightly on the housing with a rubber or wooden hammer.
Warning
Be careful here as the housing is cast material and can crack or break easily.
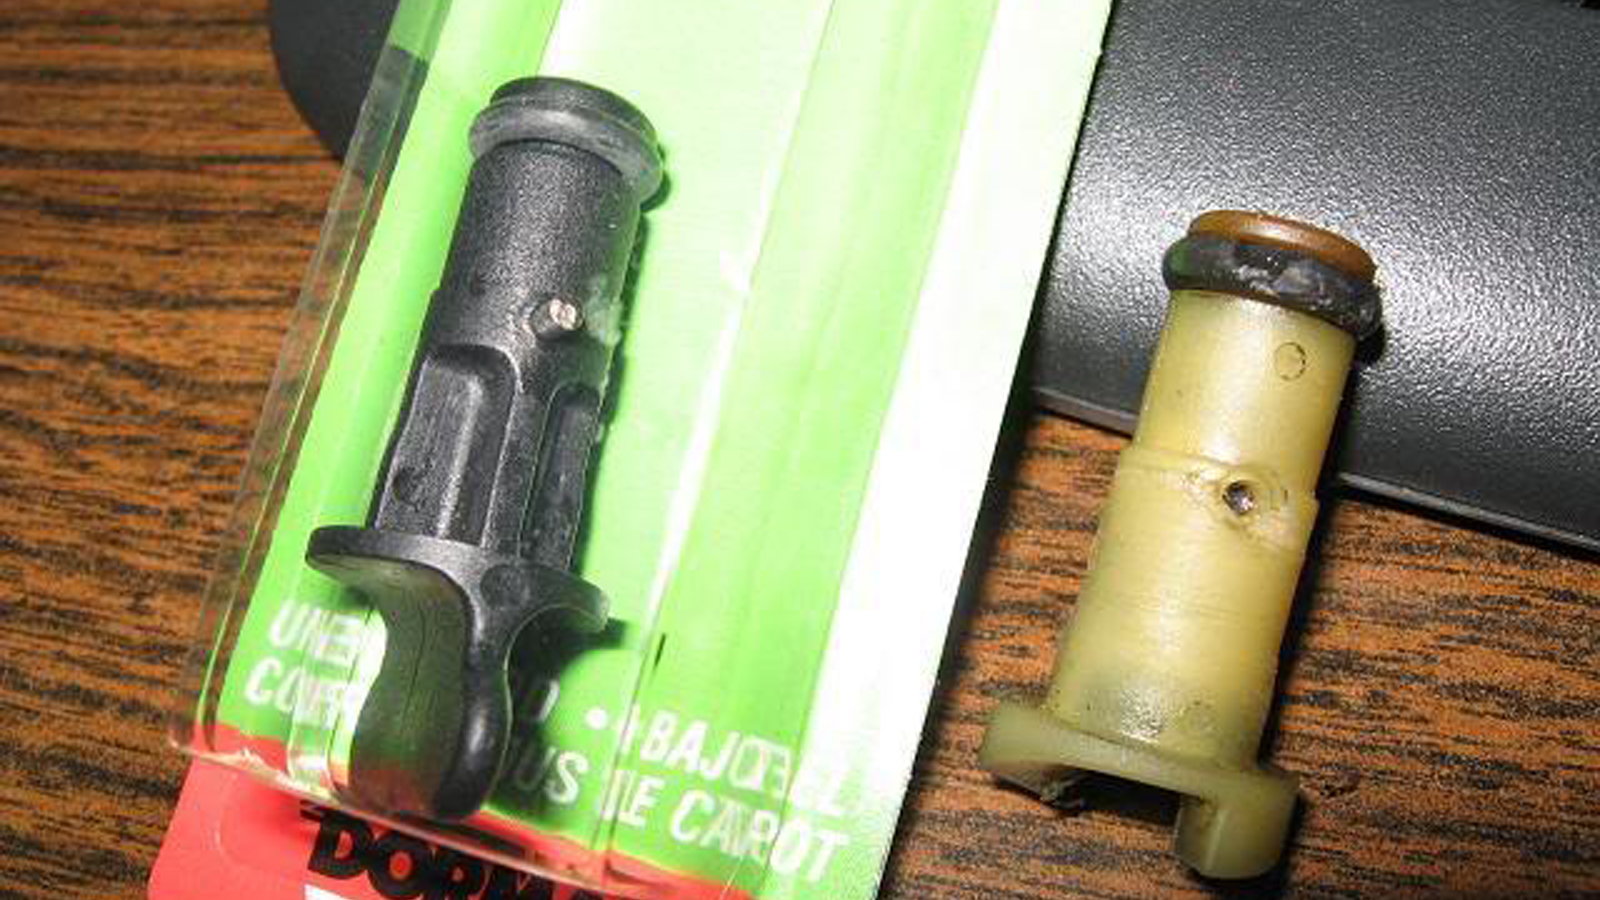
Step 3 – Replace thermostat
At this point remove the old thermostat and replace with a new one. Make sure the housing is dry and clean.
Step 4 – Secure the thermostat housing
When the thermostat housing is reattached, do NOT use RTV silicone. The o-ring on the new thermostat will provide a sufficient seal. Using the reverse process from above, secure the thermostat housing with two bolts and attach the radiator hose back.
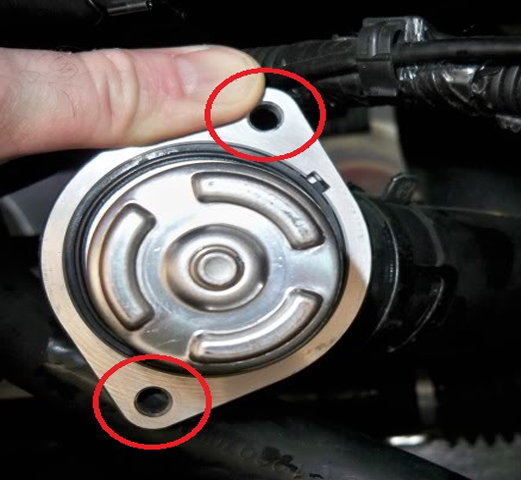
Figure 4a. Location of bolts that secure housing. 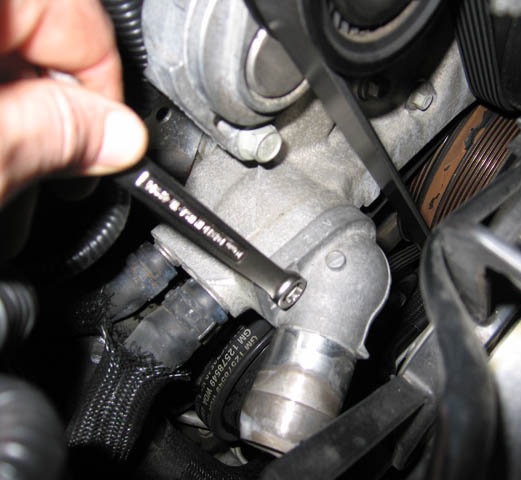
Figure 4b. Securing the housing.
Step 5 – Check coolant level
If the coolant that was drained is clean, you can use it to refill the system by adding it to the overfill reservoir on the inner fender. Once all of the coolant is replaced (use new if necessary) start the car and bring to operating temperature. Check the coolant level to ensure that additional coolant isn't needed.

Related Discussions
- Special Instructions for C5 Radiator Flush and Refill - CorvetteForum.com
- Coolant Drain and Replace - CorvetteForum.com