When you click on links to various merchants on this site and make a purchase, this can result in this site earning a commission. Affiliate programs and affiliations include, but are not limited to, the eBay Partner Network.
I found an "engine degreaser" gun at Harbor Freight, it has a compressed air inlet and a siphon inlet you can hook up a flexible tube for any kind of liquid to be mixed with the air. It has a spray nozzle and is about 16" long and it fits into the frame rail holes. The nice thing is the nozzle is angled so should spray in multiple directions. It's item #68290. I'll be spraying in a week or two and will post pics of how it goes.
Thanks for the compliments guys, Saturday was 66 and sunny so I made great progress, nearing the prime/paint stage!
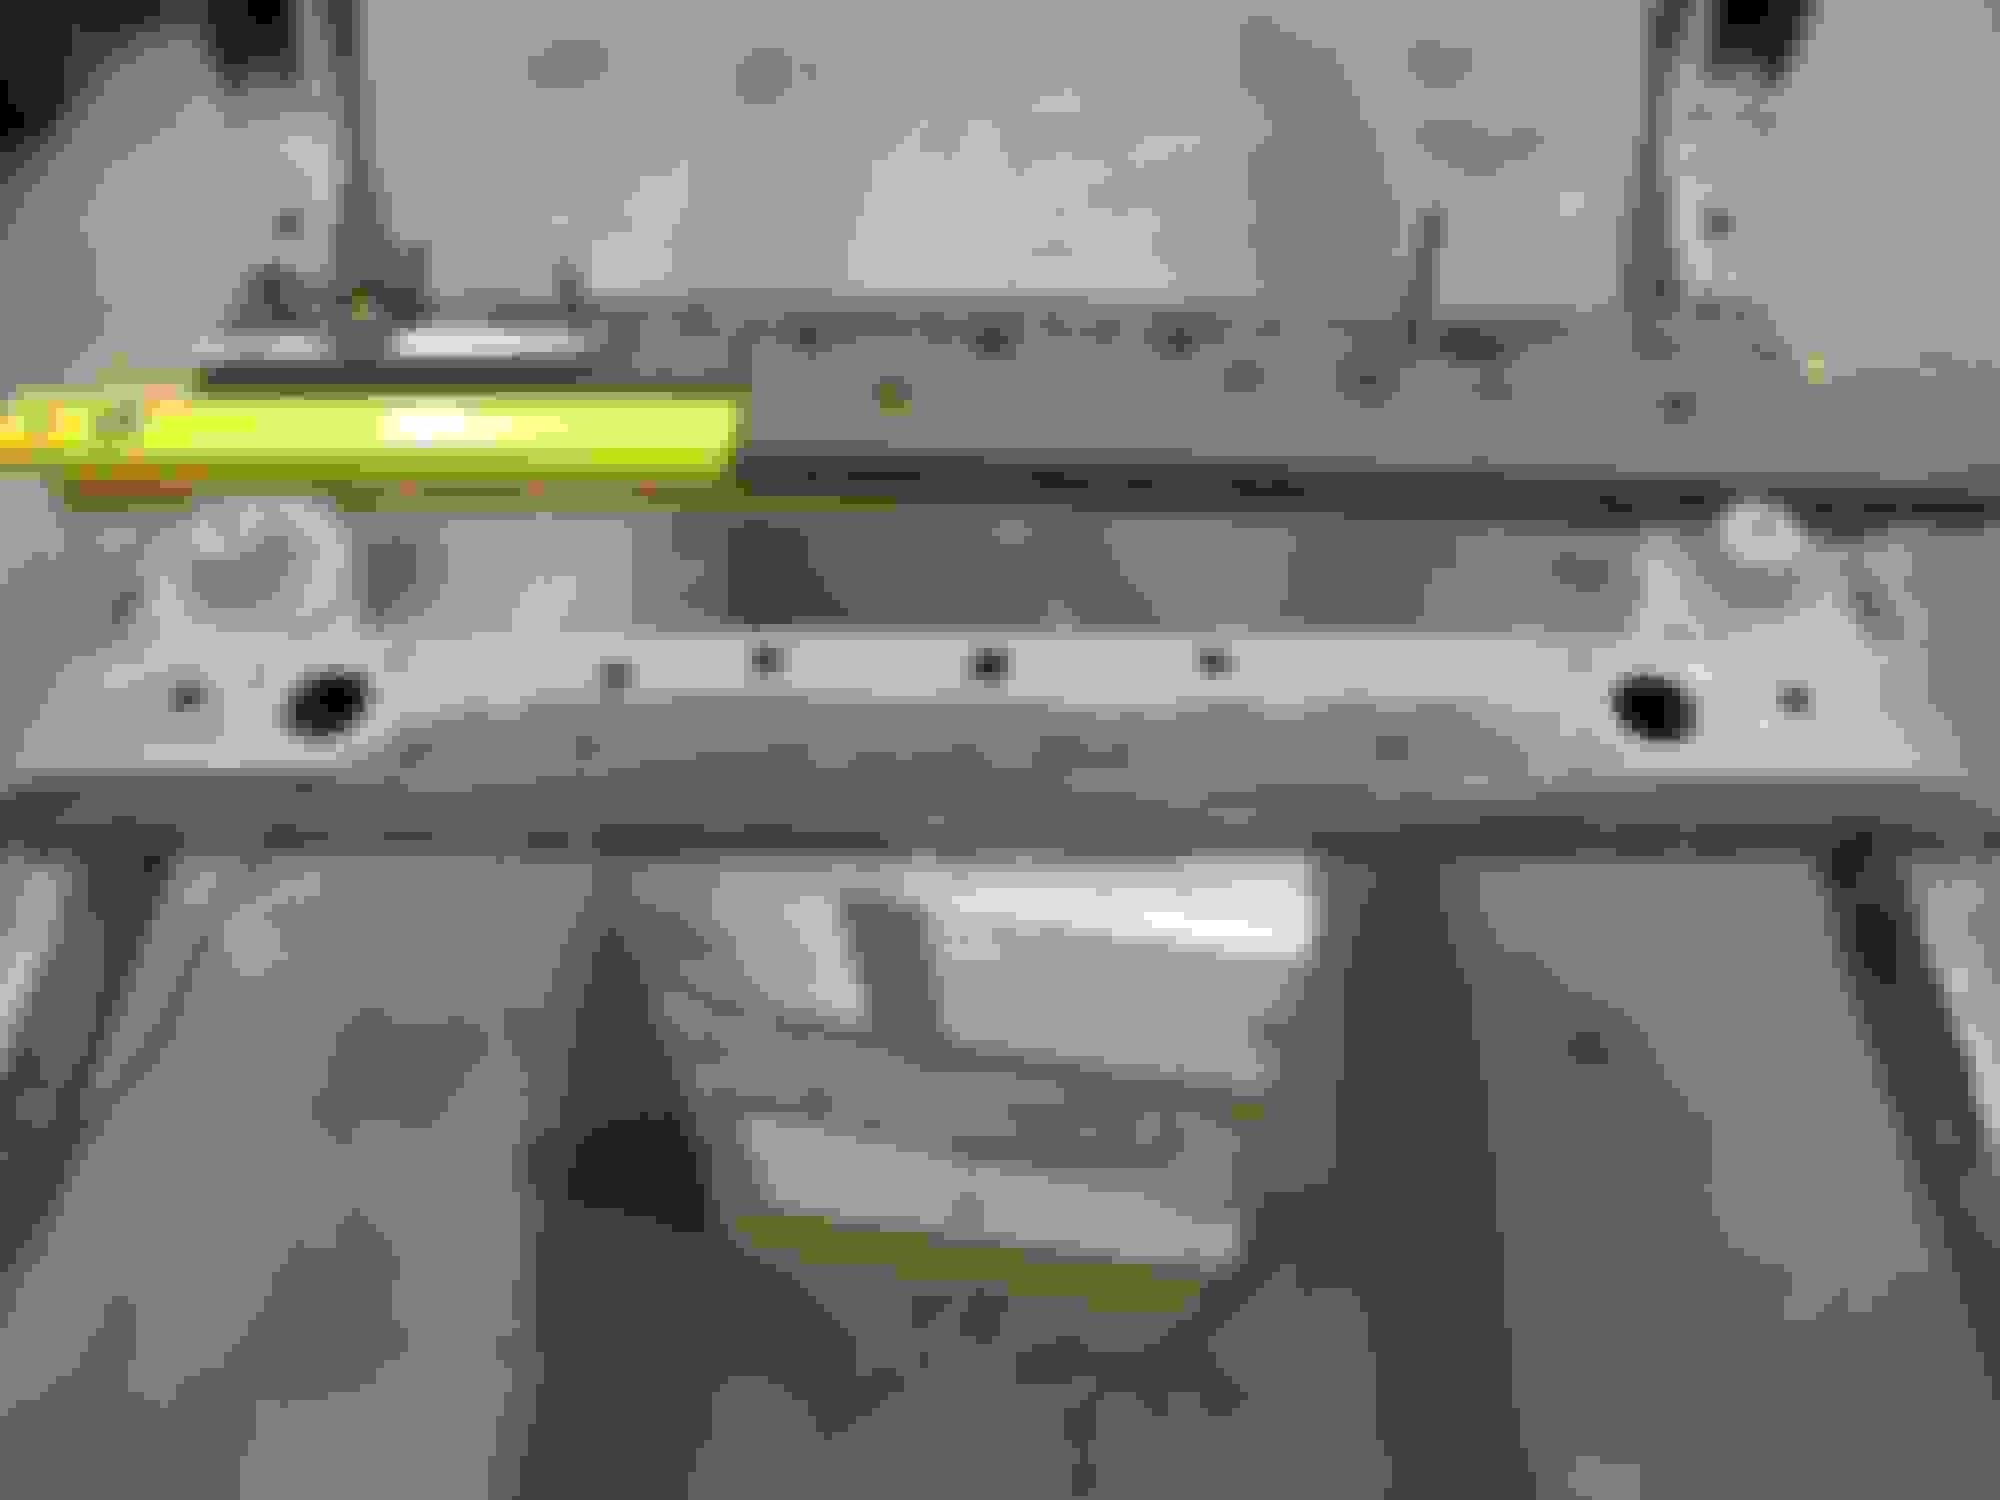
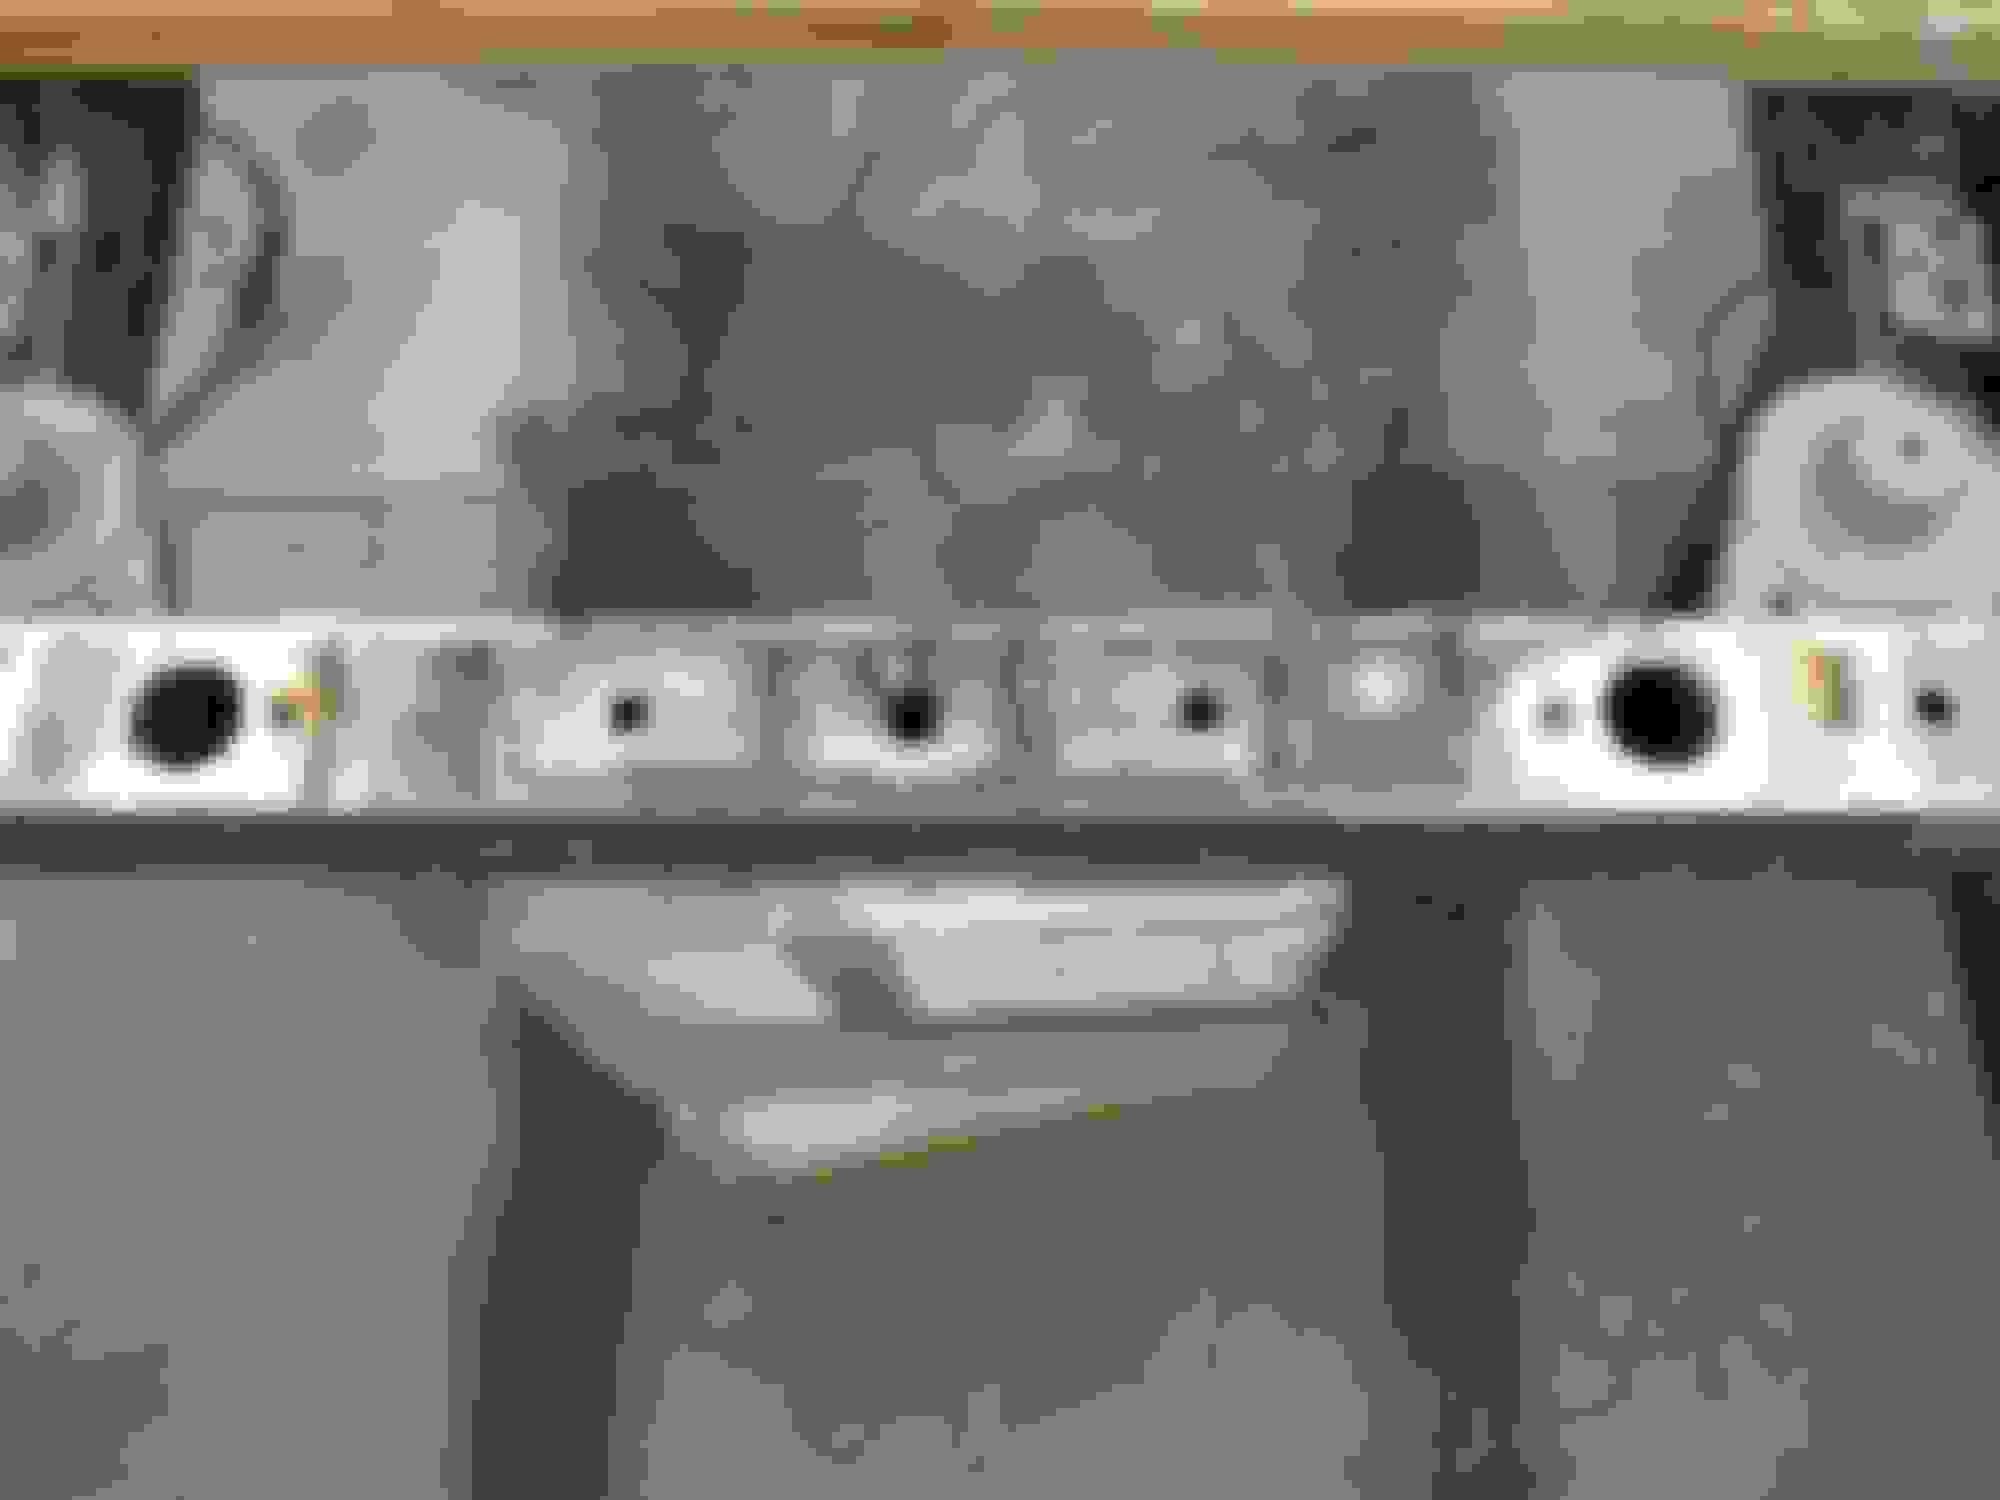
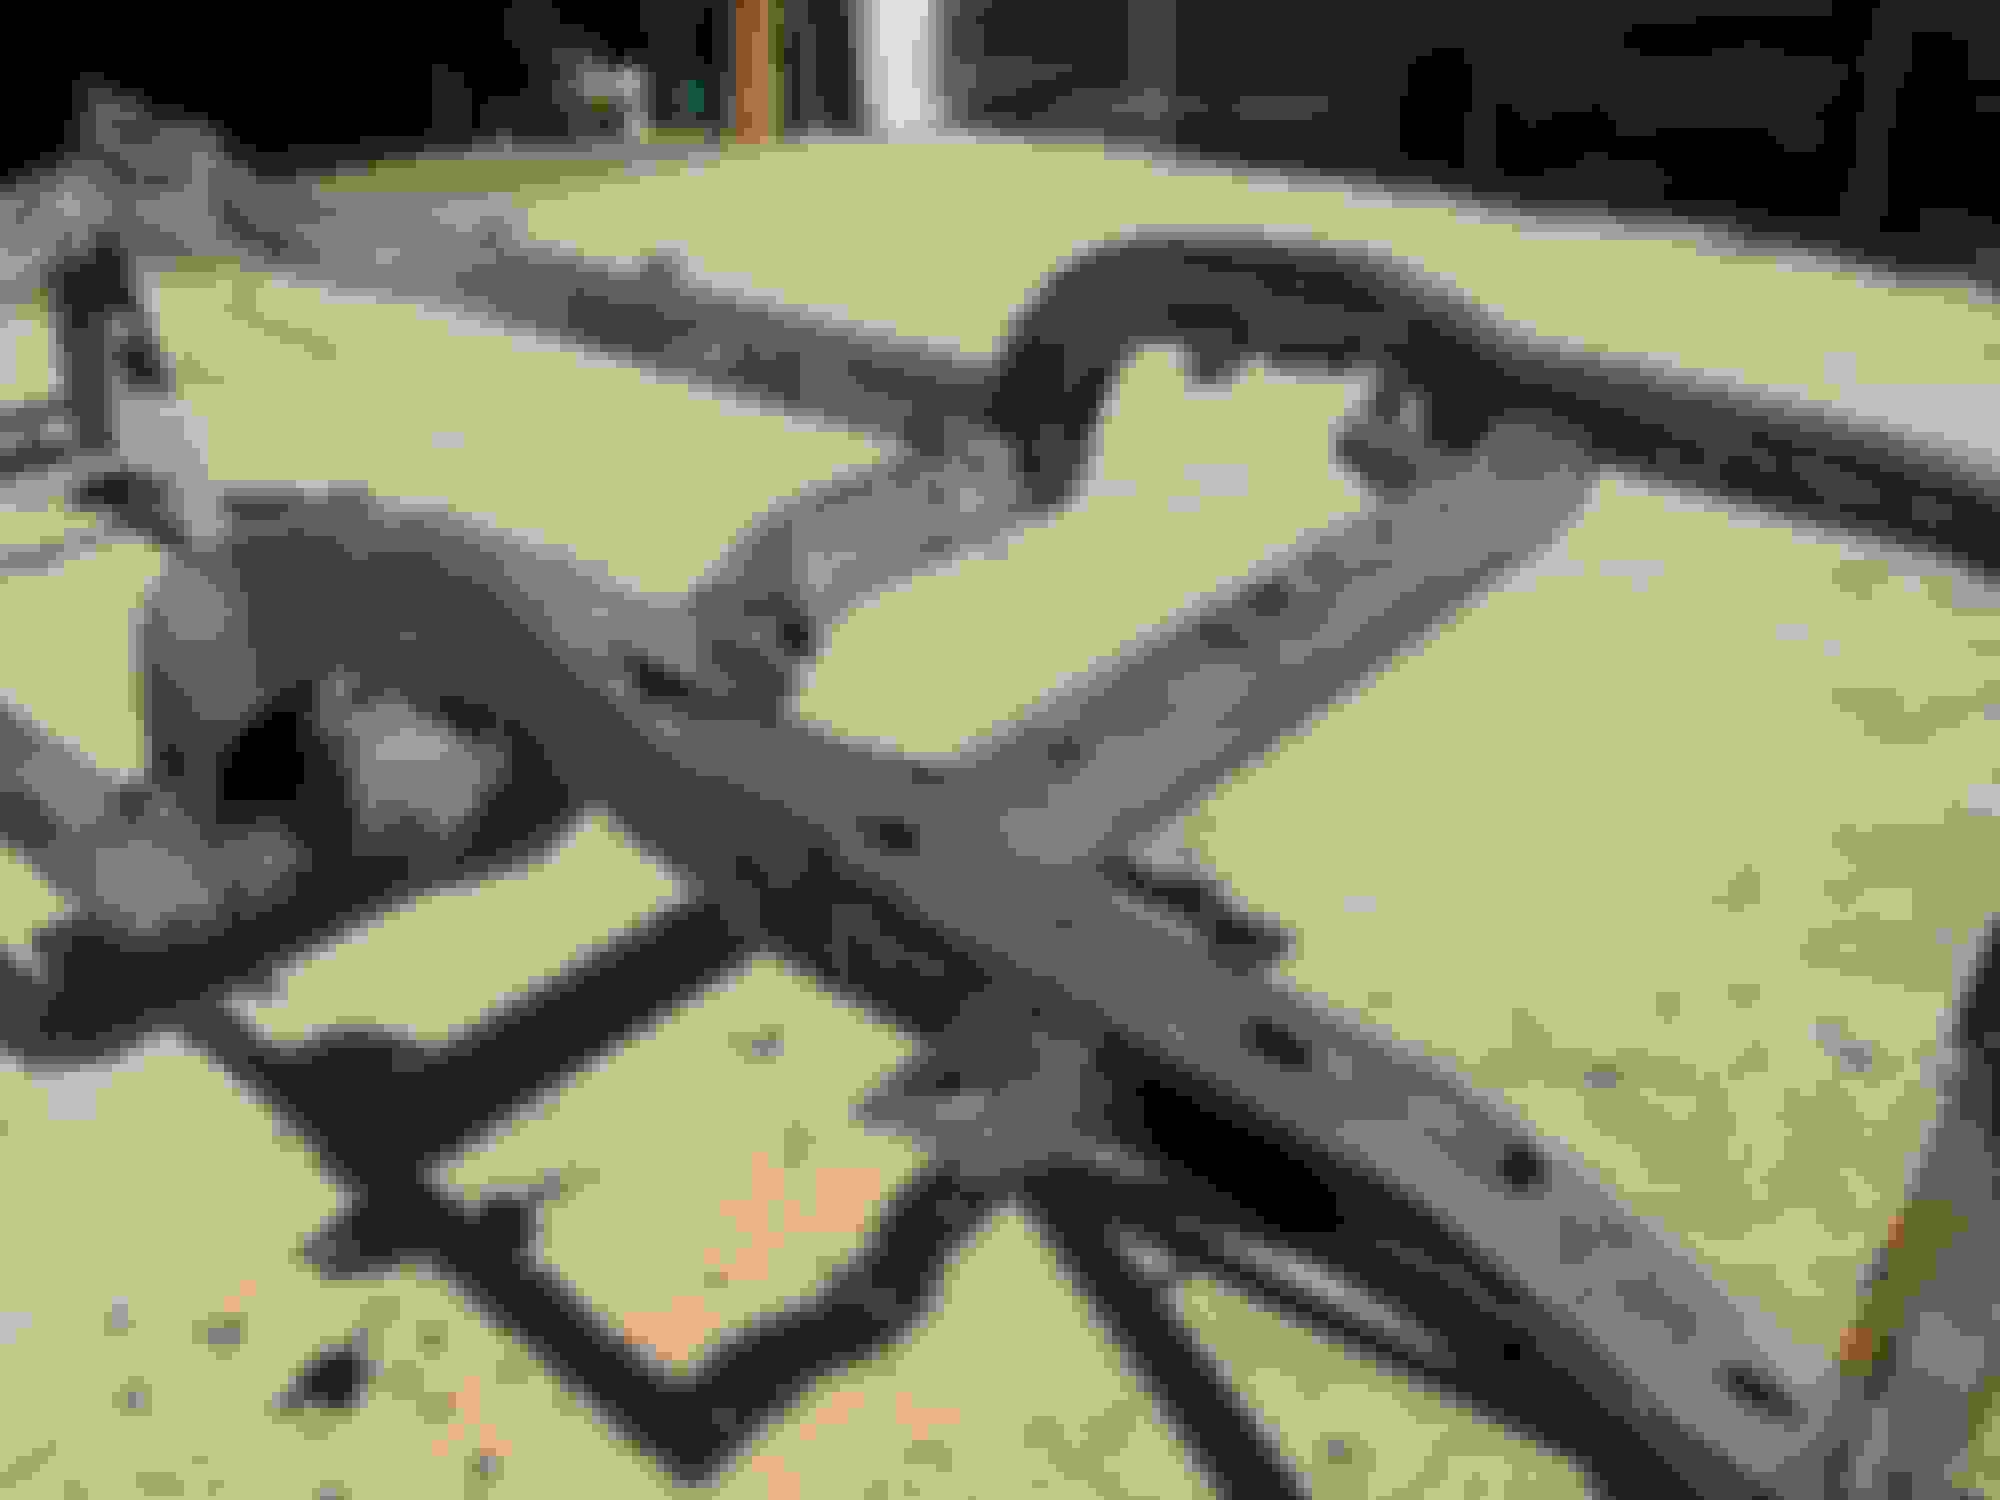
Rene wanted to see the #4 crossmember rework so here are the pics.
I found a '75 really clean rear section on Craigslist about 3 months ago for $60 and wasn't sure what I'd do with it but the price was right. Glad I did as I used a part of it for this patch.
Here is a pic of the '76 that I started with, the sloped section has to come off and the spare tire bolts holes are not in the correct location (actually none of the holes match the '67 locations)!! But the nice thing is that there are three groups of holes that have the same center lines, they just need to be relocated.
I cut out the bottom panel to be replaced and also cut the flat top panel from the '75 donor frame. The I spliced the hole groups from the '76 into it and tacked them in place. I used my old rusty '67 panel as a pattern for the center lines.
I used the stitch weld process to keep from building up too much heat and warping the metal. Once I had a spot weld about every 3/4", I did the fill welds alternating about 8" apart until it was complete. Grinding/sanding and wallah, a '67 matching crossmember for a fraction of the cost of the replacements.
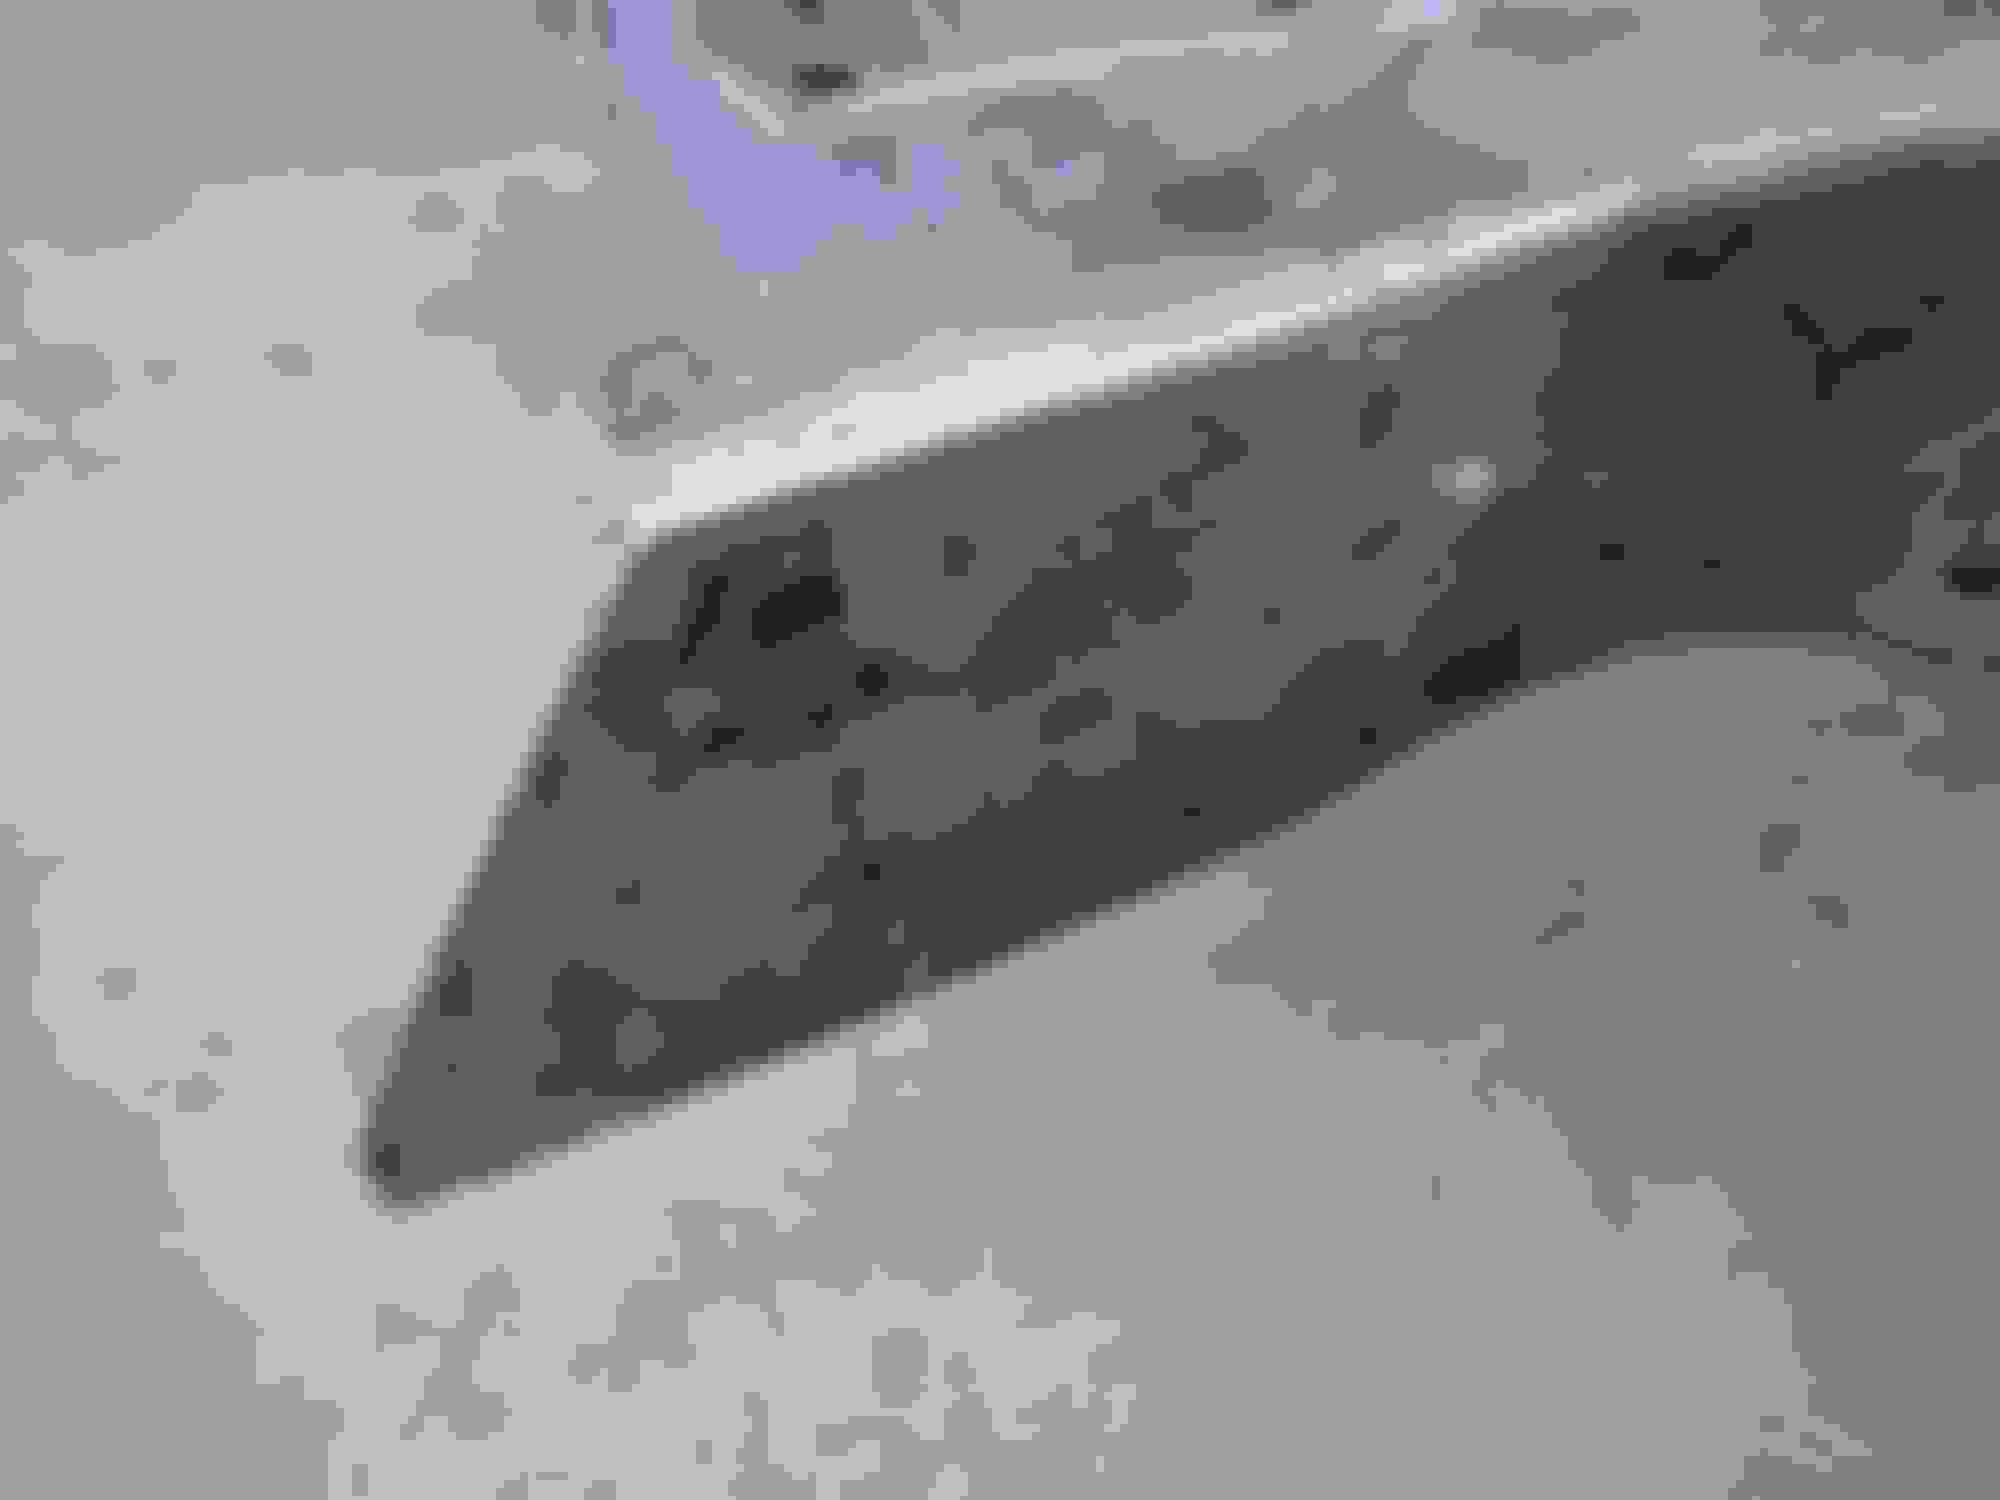
Here it is lined up with the original '67 piece.
All totaled, it took about 5 hours, some .030 welding wire and a patch piece from the $60 frame.
Then I moved the frame outside, finished the removable crossmember brackets (drilled the horizontal holes and welded to the side rails). Then I blew out all the sandblast dust (took about 45 mins) and applied the rust prep/etching. I also drilled the holes for the '67 inner front bumper brackets into the #1 crossmember. Next is the front frame horns rework, then prime/paint.
Last edited by slalomfiend; 12-20-2017 at 12:27 PM.
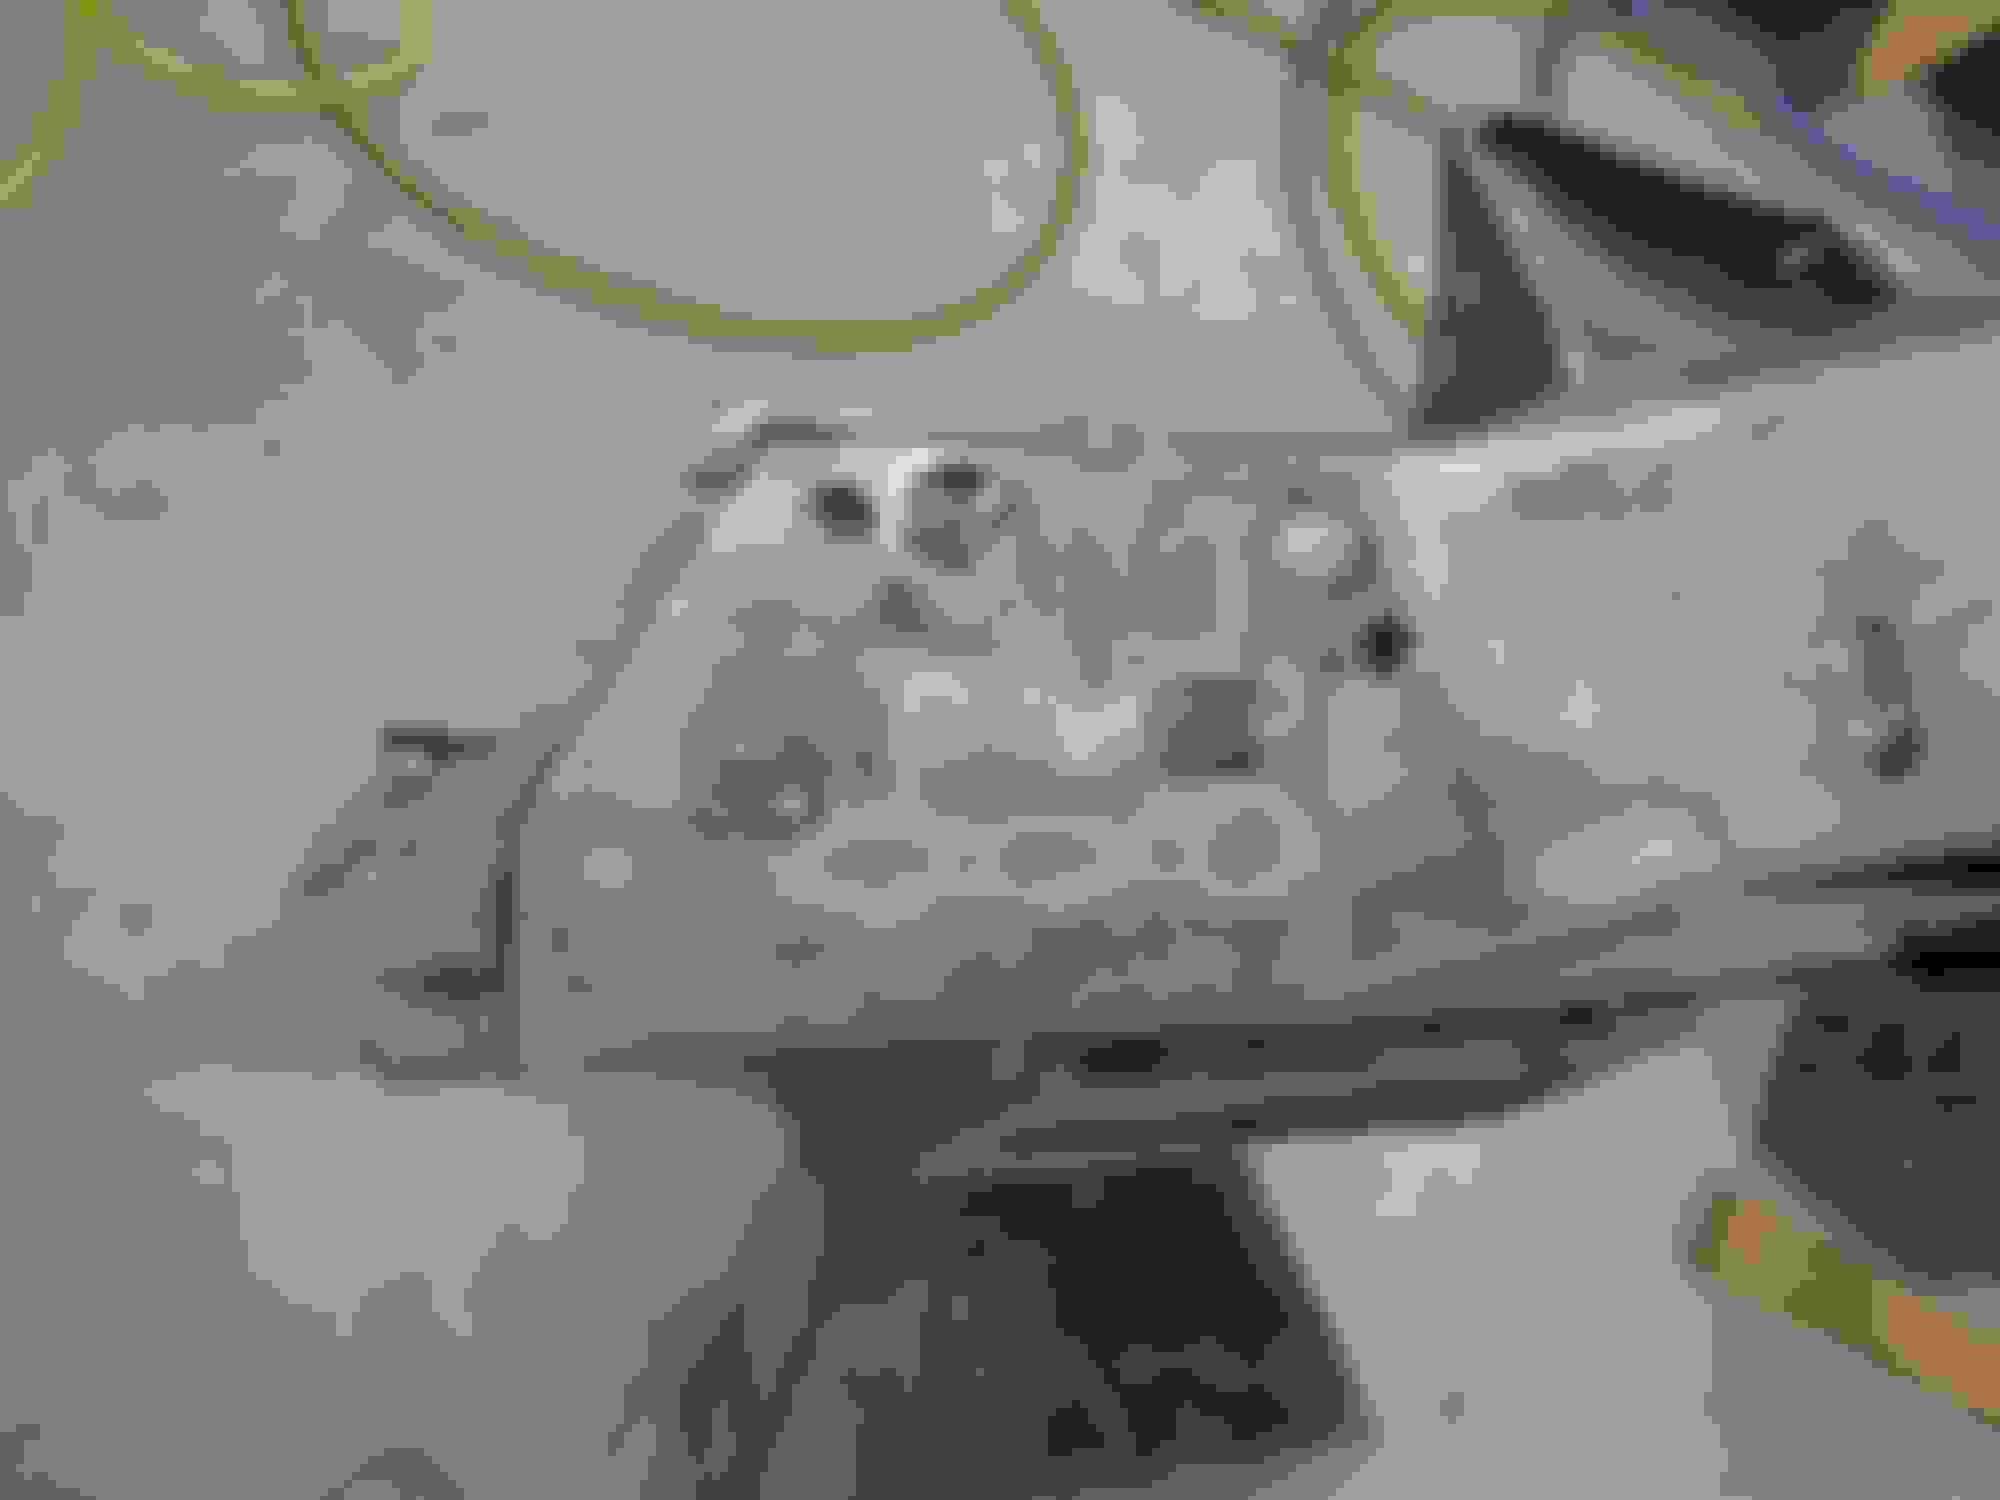
It's been a busy week or two. I finally finished the front frame horn rework, the '75 has different holes and is shorter than the '67. I relocated the weld nuts, redrilled the correct holes for the bumper brackets and core support after welding the extensions on. I also filled the holes not needed, okay I'm ****...
All ground down and sanded smooth
Last edited by slalomfiend; 12-20-2017 at 12:30 PM.
Since all the frame welding/grinding was done, all I have been waiting for was a nice day to spray paint. Yesterday was 75 and sunny so I shot Por15 inside the frame with the degreaser gun. Only issue was I had to hold the can of paint above the gun because it didn't siphon real well. Once I taped the siphon hose into the can and held it higher than the gun, it worked fine. Real messy, but at least I know it's coated in there pretty good. Then sprayed the frame Chassis Black and a bunch of suspension parts Gloss Black. Now comes time to buy some new parts...
Next nice day I'll get the other parts painted Silver and Cast.
Last edited by slalomfiend; 12-20-2017 at 12:33 PM.
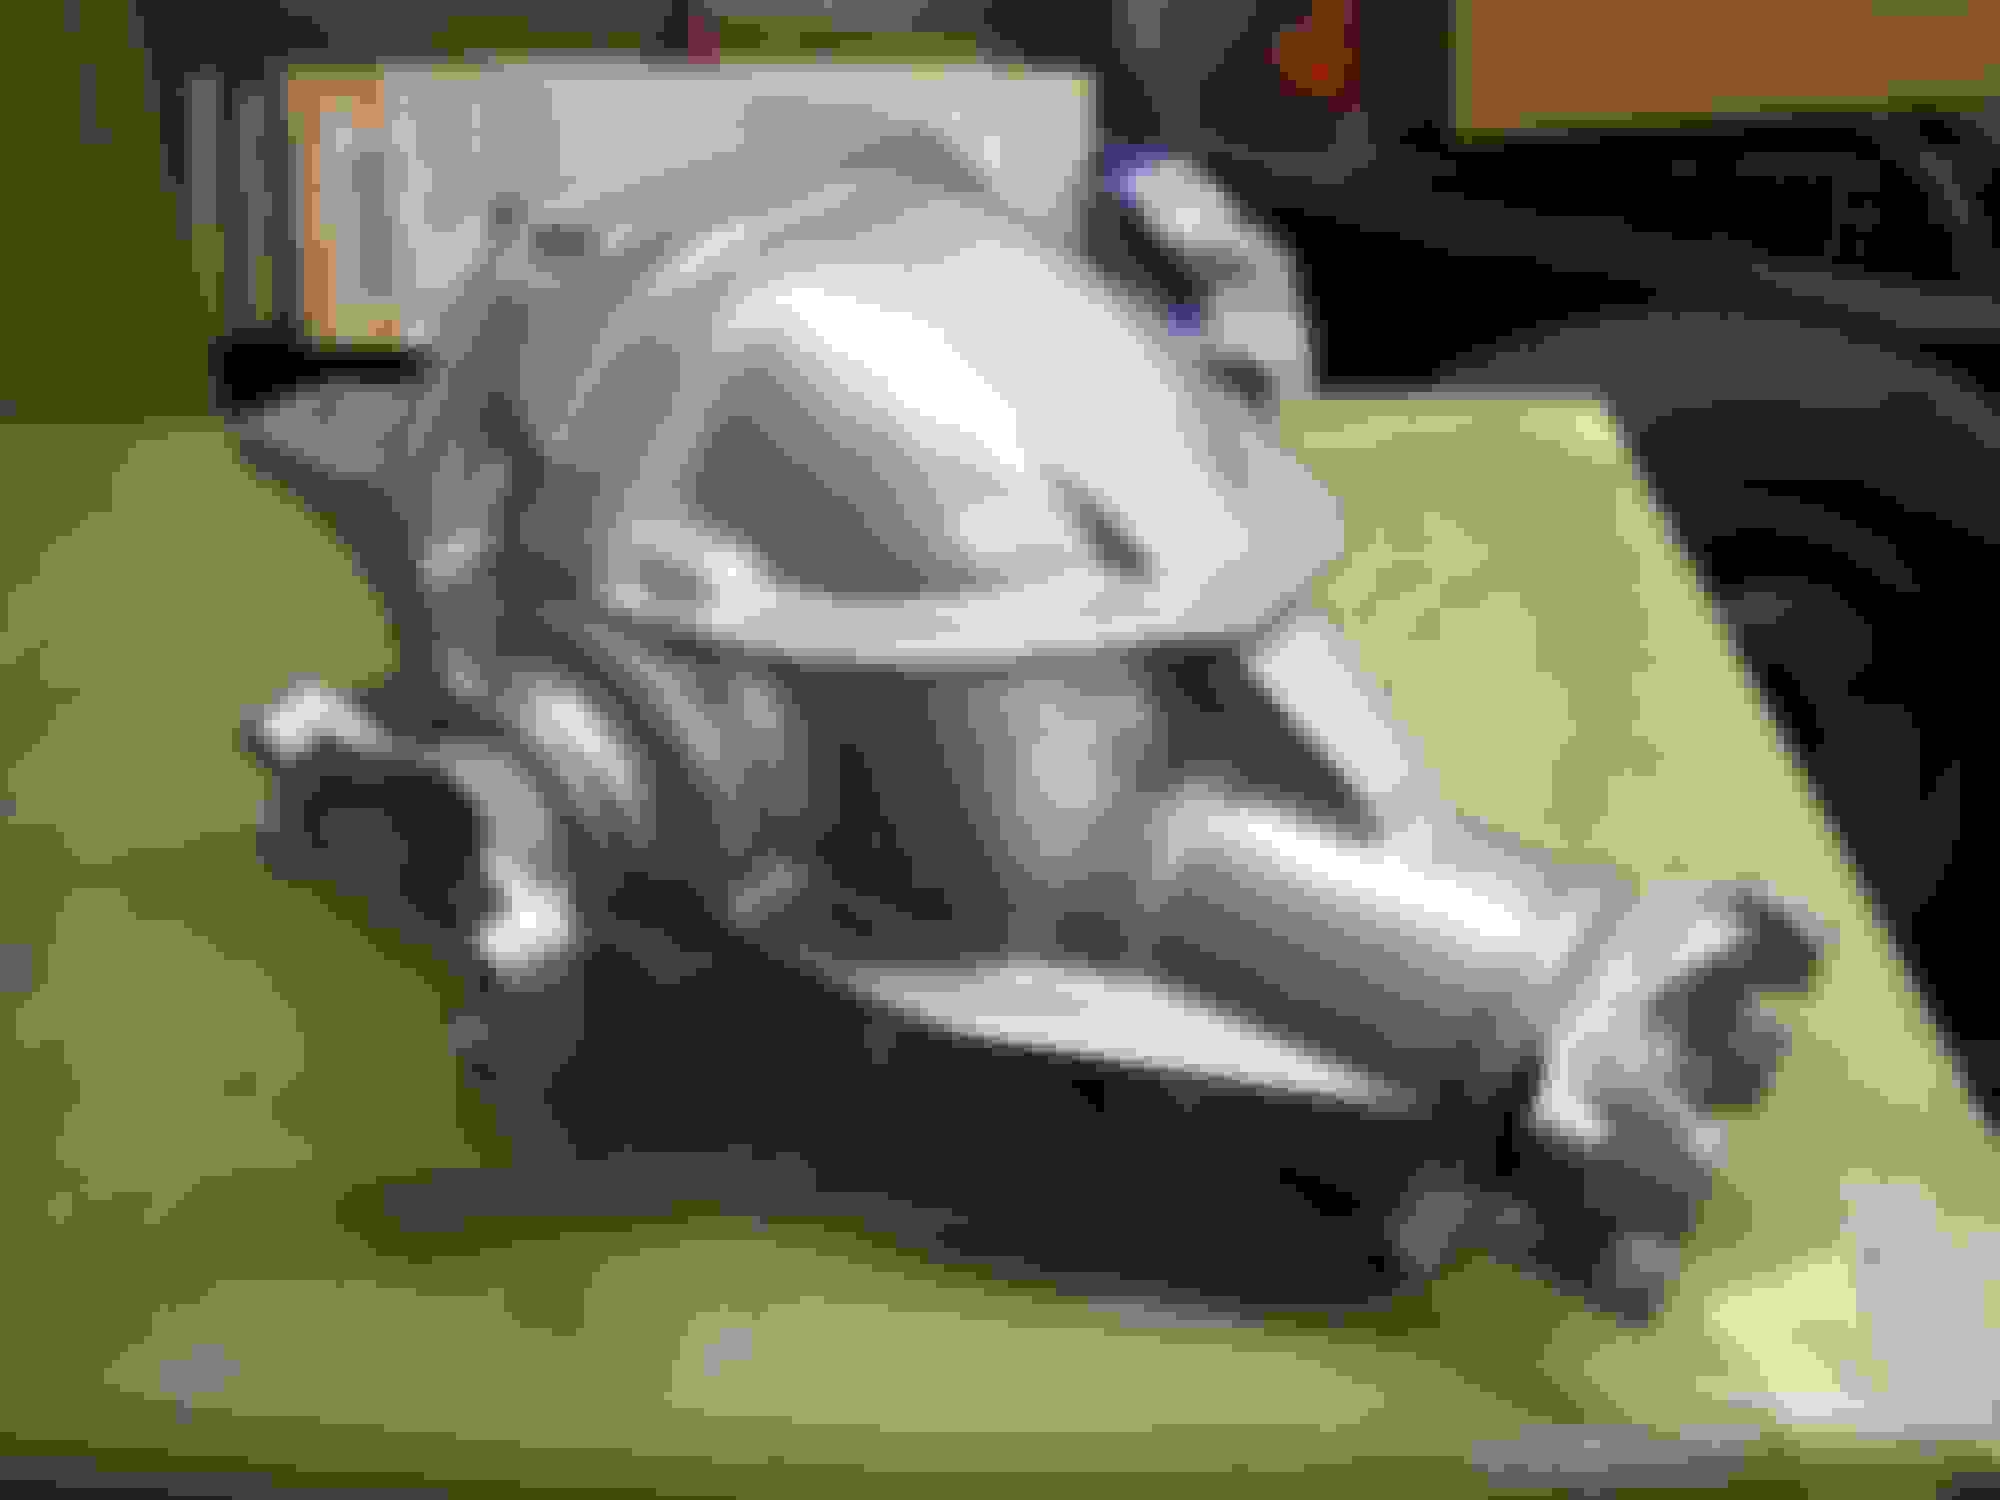
I prepped the chassis parts that I'm painting silver this past week and had another great Sunday so got almost all of the parts painted. Just have the pumpkin to paint yet and then re-assembly. Actually, I put the first part back onto the frame, the removable crossmember is done and bolted in so I guess the rebuild has officially started!!
As you can tell, I'm not going for NCRS correct but will be close to the original details/colors on my driver. Clean, fresh painted parts are so cool, just makes me want to get it all done quick.
Last edited by slalomfiend; 12-20-2017 at 12:36 PM.
Thanks Y'all, I did get the pumpkin painted as well as the rest of the silver parts - will post pics soon. I'm starting to get my Christmas in Feb/Mar boxes and getting all the new parts organized. I am also logging all my hours and costs on this rebuild, too many people ask "so, whacha got into that car??" at shows and gas pumps. Don't know that I'll ever share the truth - but at least I'll know!!
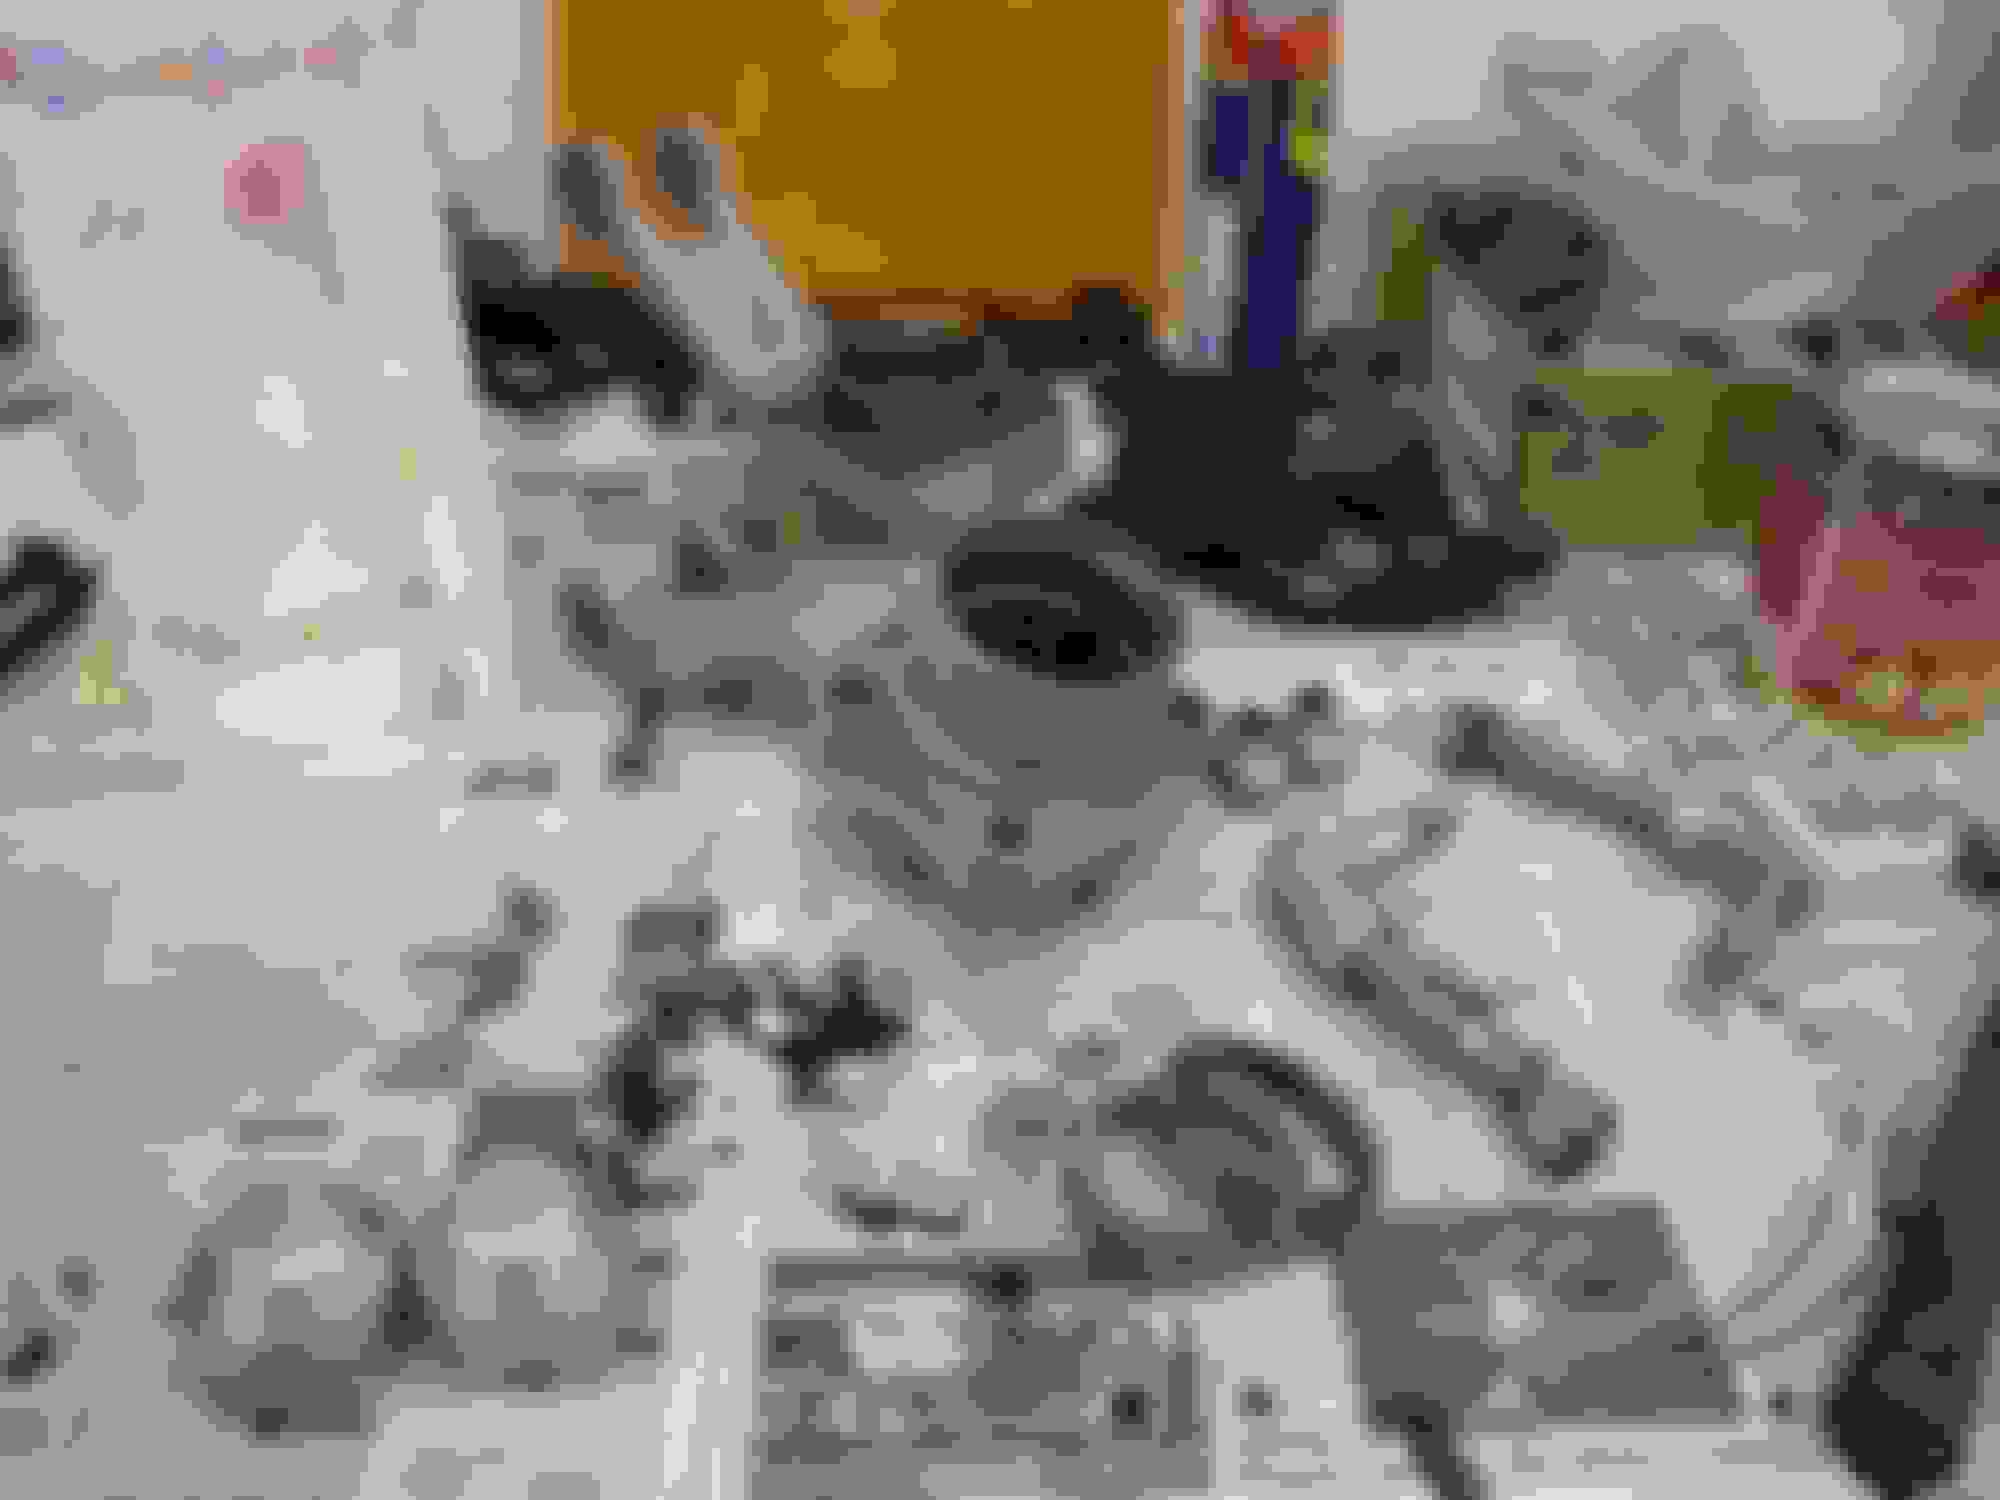
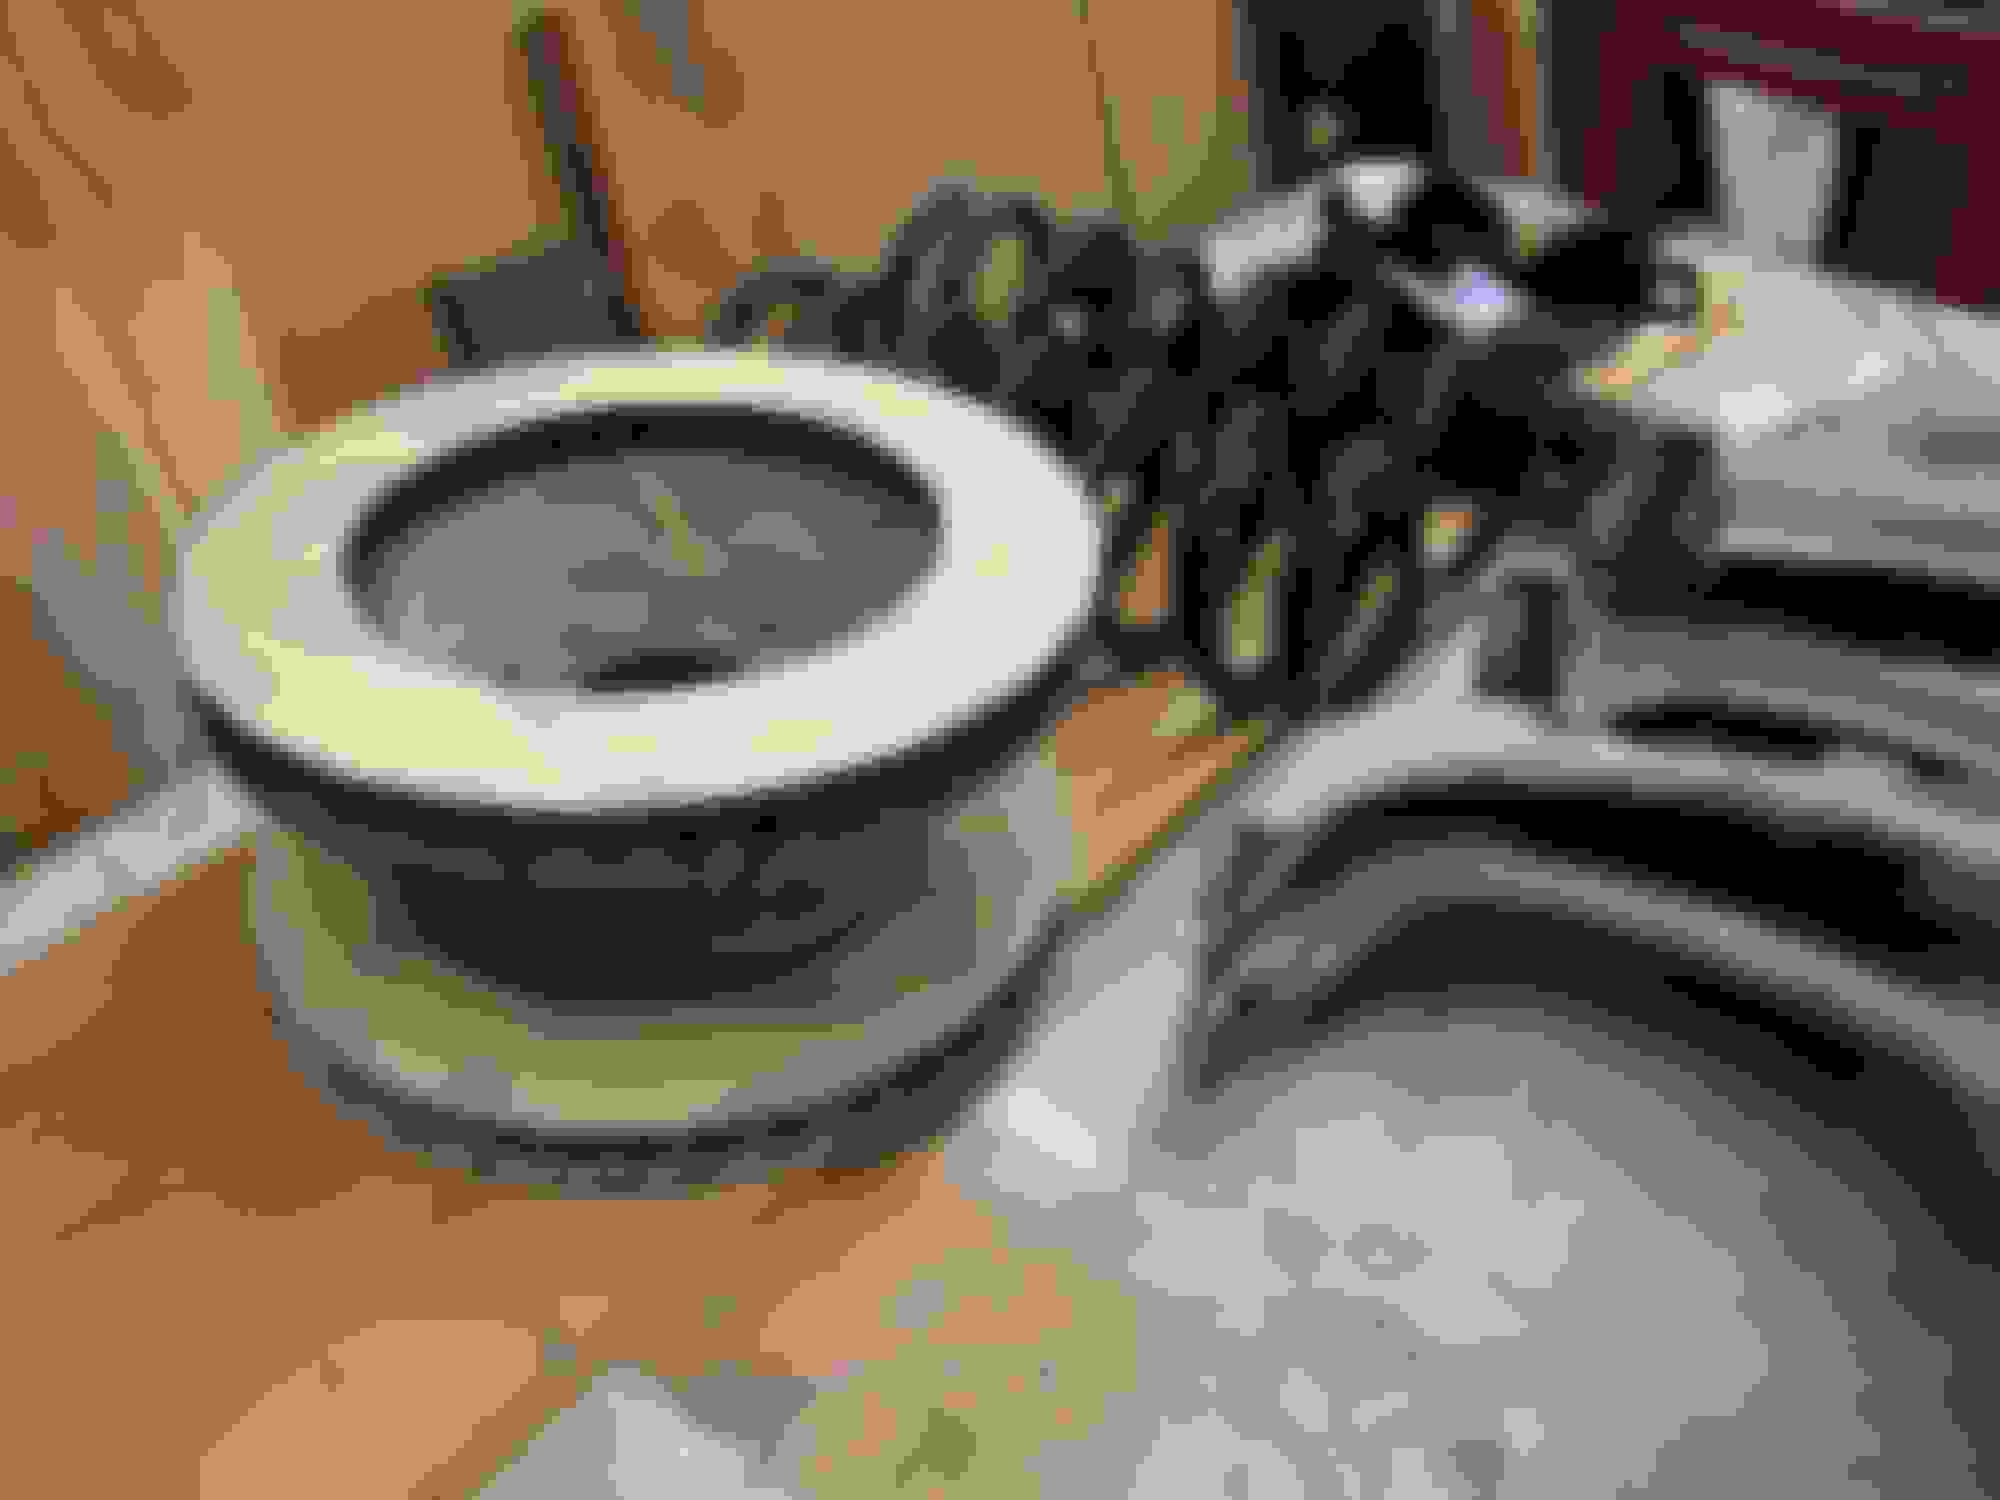
Wow, life just gets in the way of the "project" some times... here are a few pics of the silver parts and pumpkin. It was a long rainy Saturday so I even painted the A-arm washers - I know...
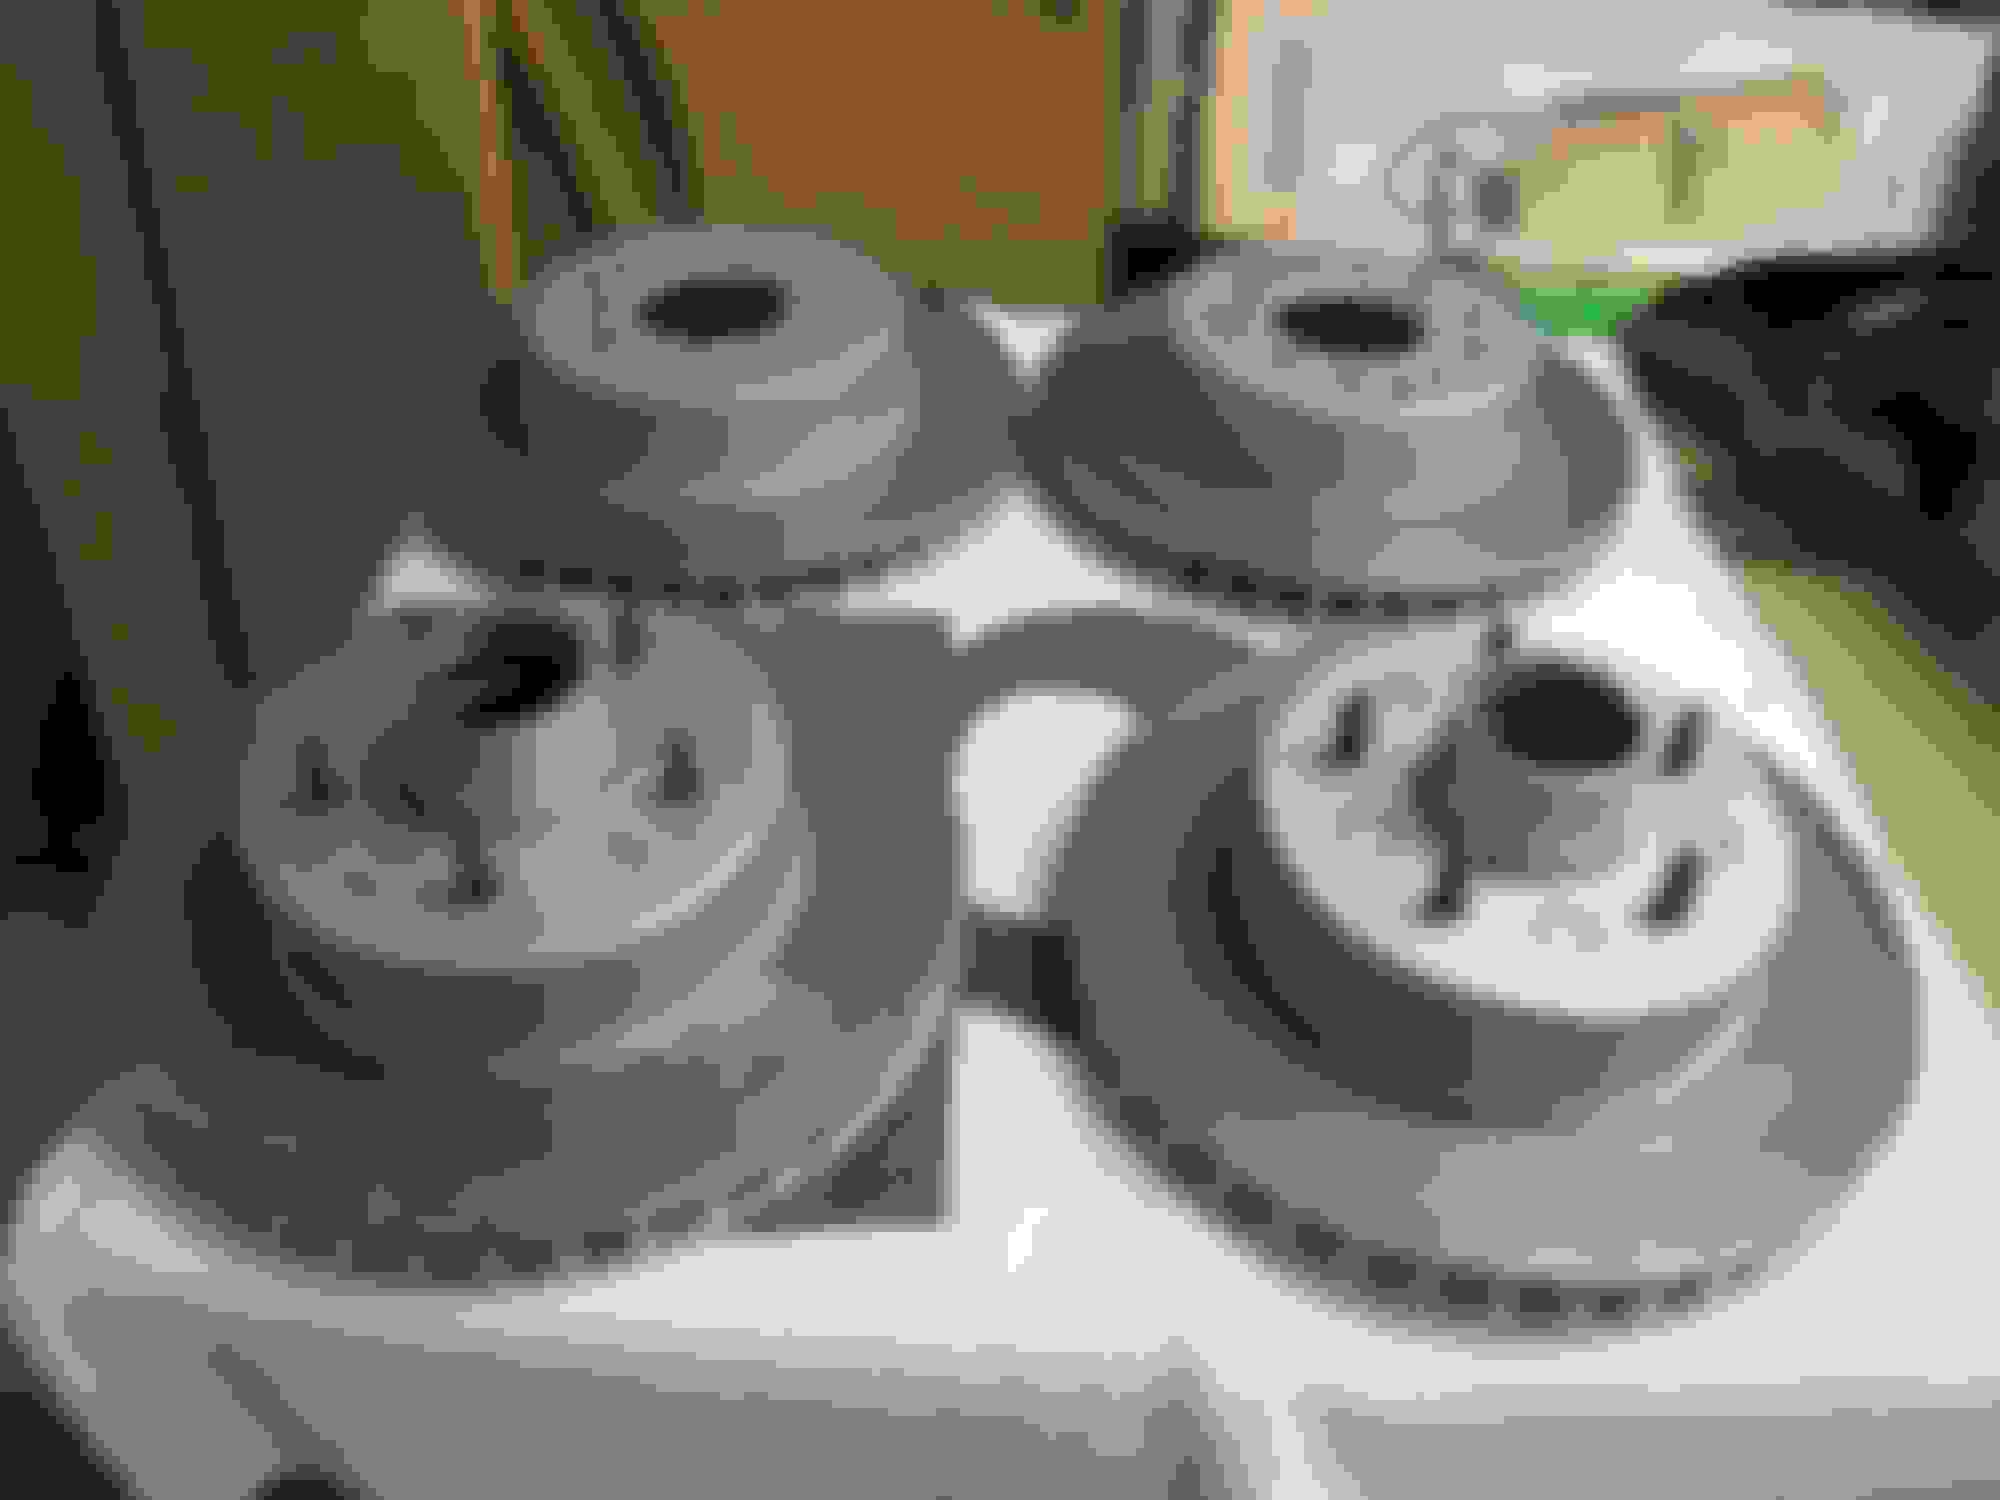
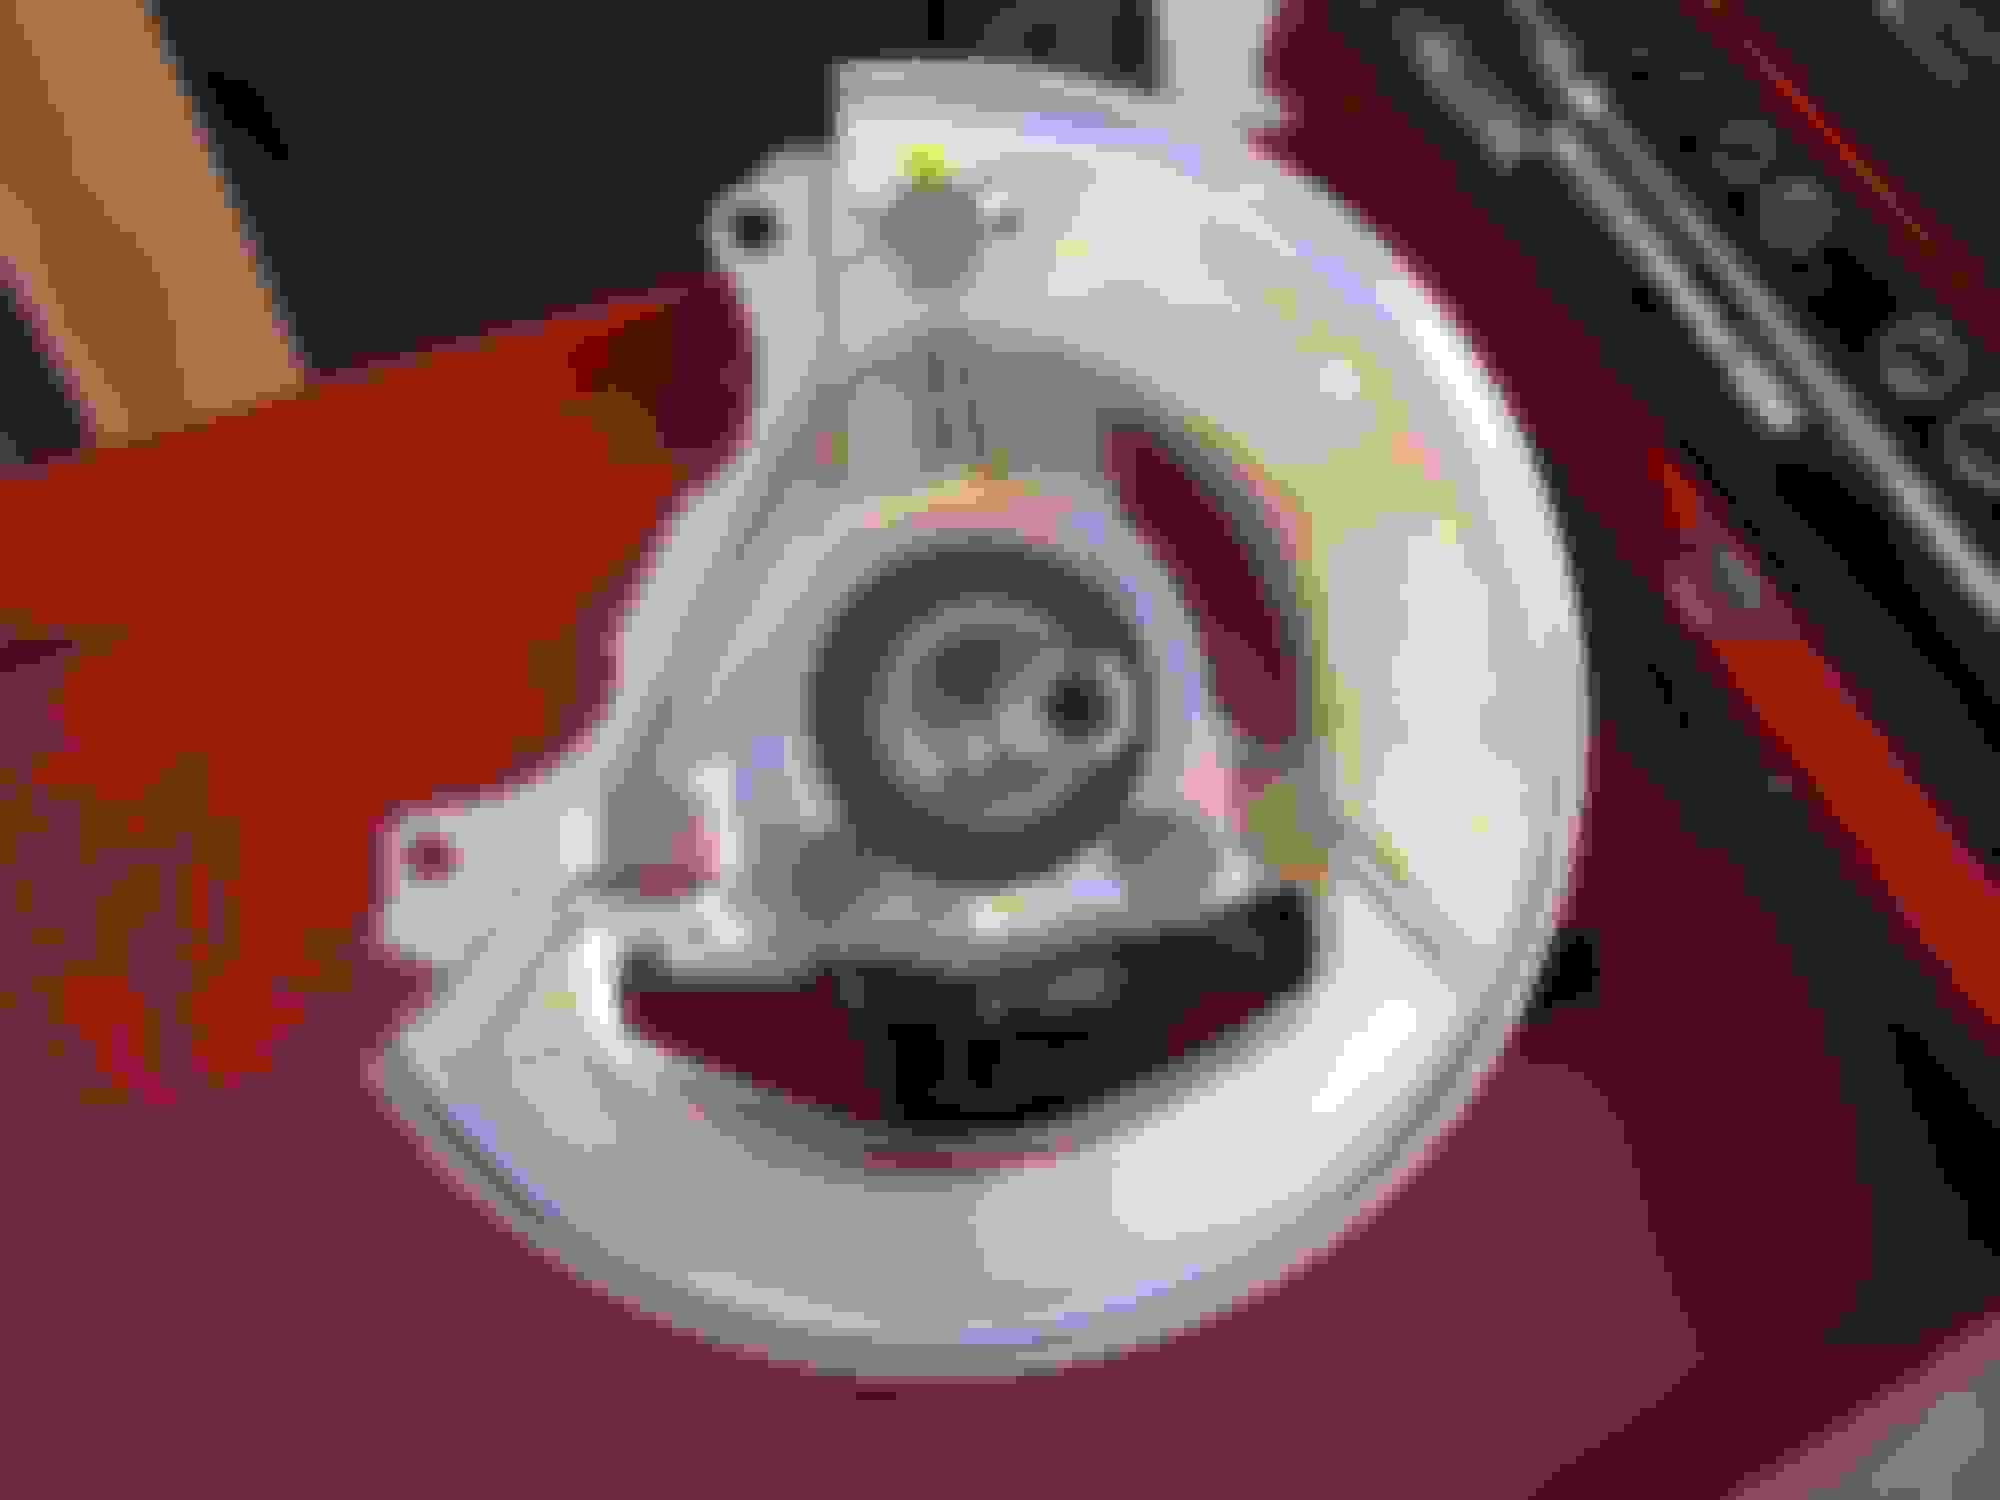
I'm going with updated wheels so the rotors will show more than the stock wheels so I cleaned, prepped, masked and painted them with caliper paint.
I need to finish painting the A-arms, then I'll start putting the suspensions back together.
I got my new 9 leaf rear spring and just to show how SICK these "projects" can make us, I asked my wife if she thought I should take it apart and paint the leafs grey, reassemble and then put on the car... it's just going to be a DRIVER!! I have to keep telling myself.
Last edited by slalomfiend; 12-20-2017 at 12:39 PM.
salomfiend, Our friends over at Webster's New World Dictionary define the word restore as follows: to return to a former or normal state, or to a position, rank, use,etc. to bring back to health, strength, etc.
As I look at your build I think your work has defined the word perfectly. Keep up the great work and please keep those pic's comming.
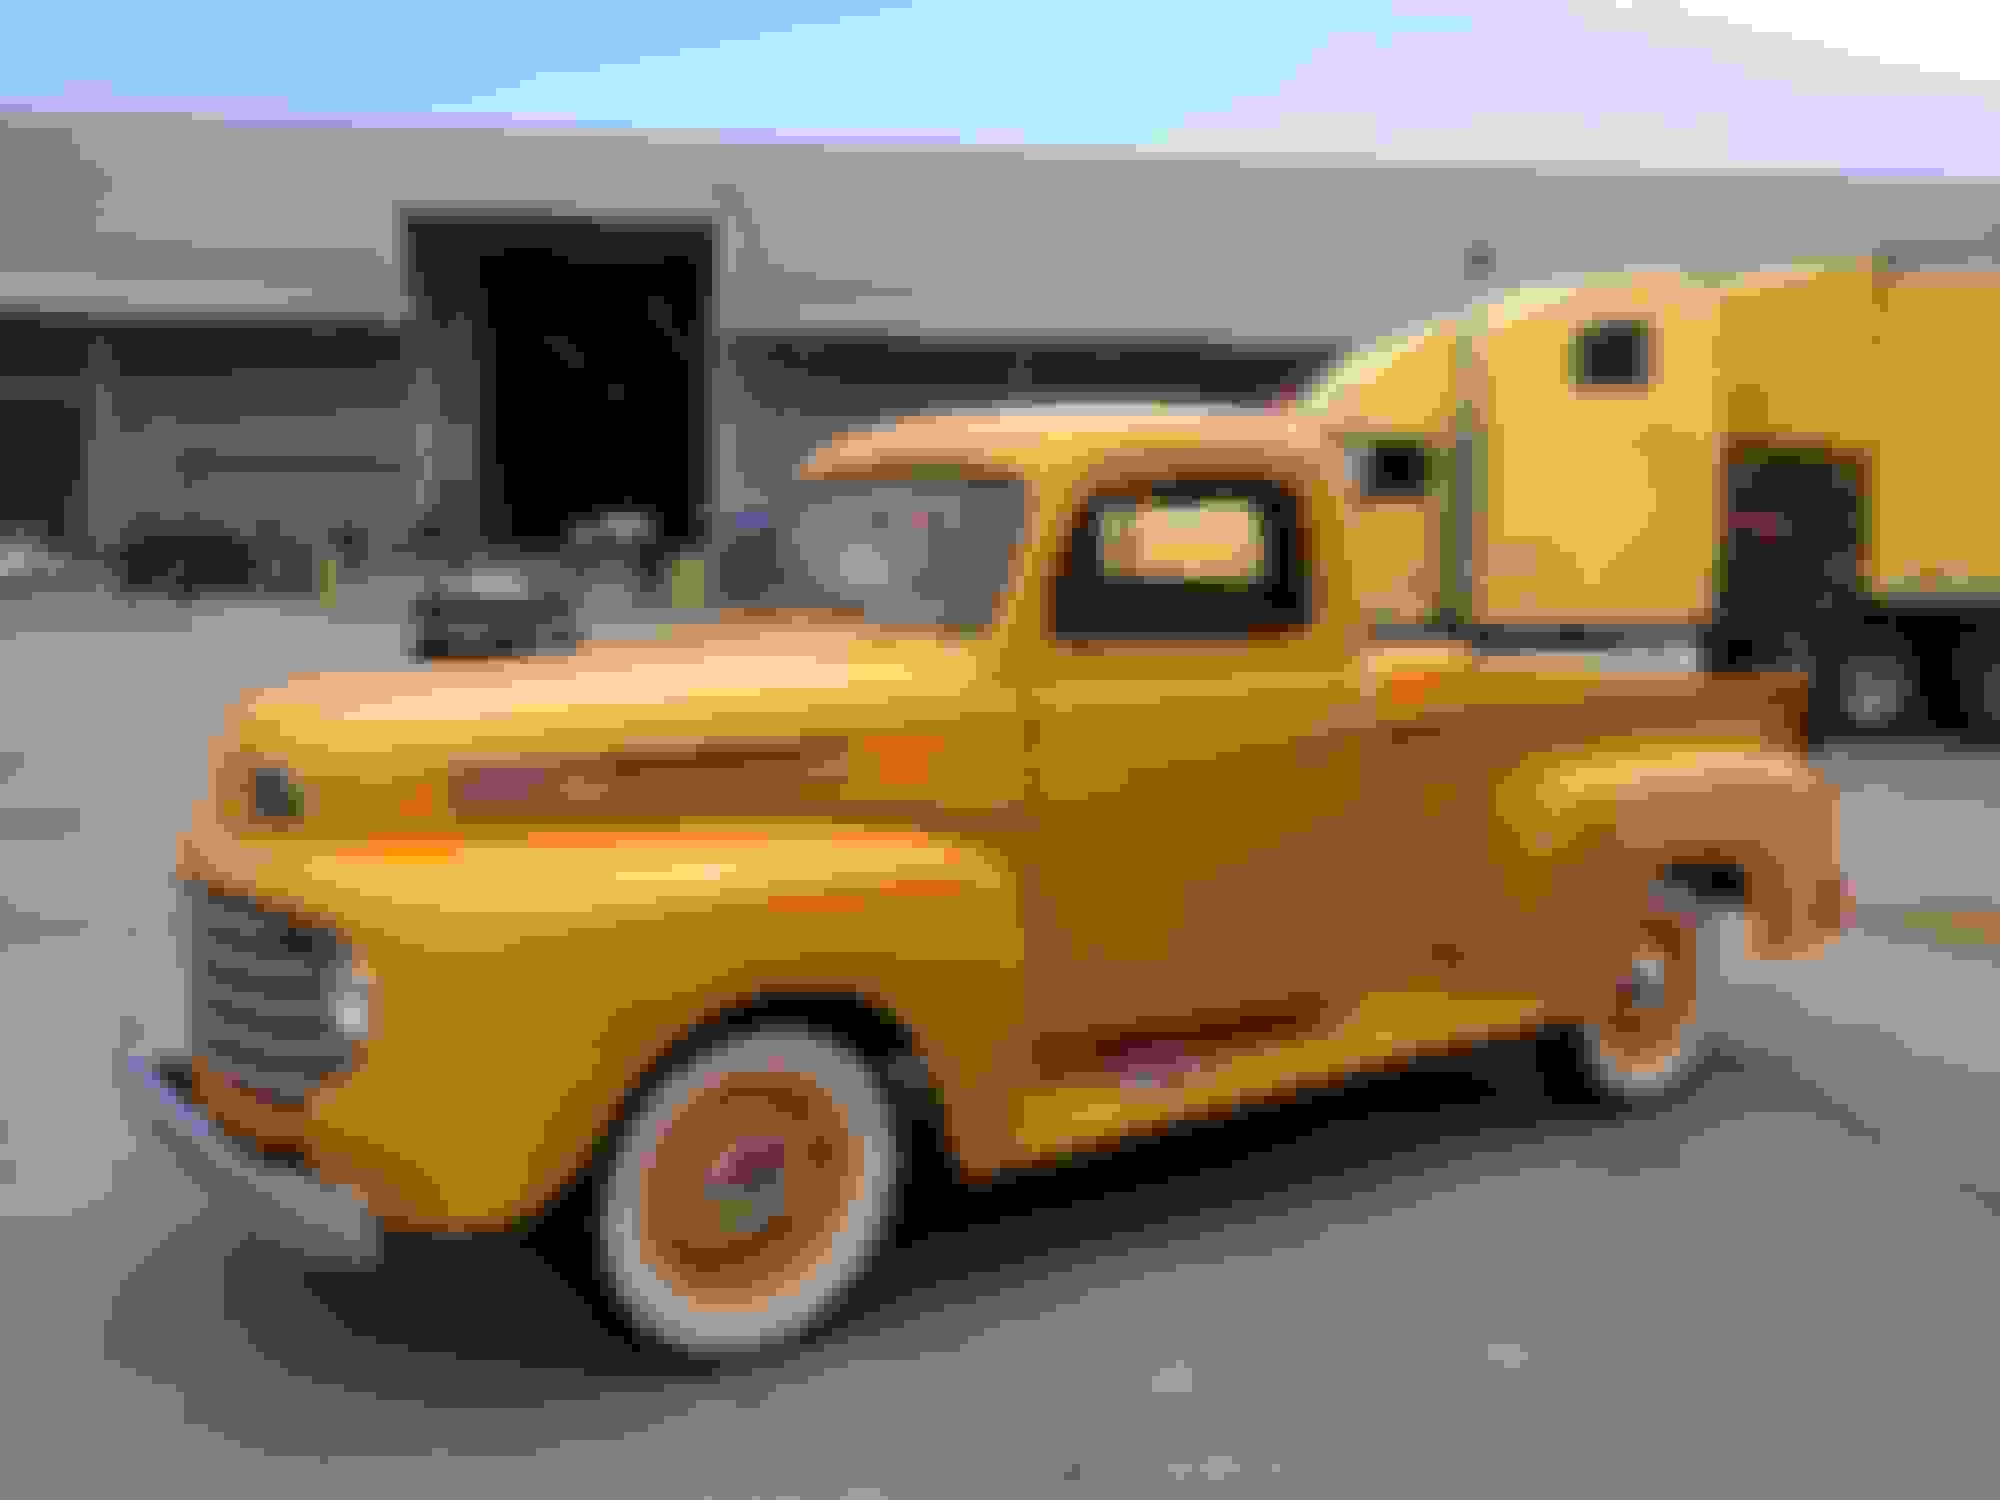
I'm just itchin' to get back into the '67 now that I have a bit more room in the garage!! Took the '49 to Mecum Houston after a few weeks of finishing the final details and did pretty well, also saw some sweet Corvettes. There were 5 split windows, 3 of which were fuelies. This Thursday is my daughter's wedding so I'll get back into the chassis re-assembly after I catch my breath.
Last edited by slalomfiend; 12-20-2017 at 12:45 PM.
66DCJR, I debated on the paint for a long time. I used Kirsch's Chassis Black paint on the '49 Ford but it wasn't as hard as I wanted. I finally tried the POR15 Chassis Black on the frame, Gloss Black on the suspension parts and their silver on the other parts. The silver went on like a dream with a cheap throw away 1" brush and dried hard and glossy (minimal runs) but the gloss black would not dry on some of the parts (exact same process and conditions) so I had to end up putting them in the oven at 400 for a few minutes to get the solvent to cure out. Now they are smooth and the stickyness is gone. Not sure I would use it again, it's tough as nails but really picky to put on with varying results. May have been an old can of paint...
Slalomfiend, Thank you for the feedback. I just completed my chasis with POR15 and also used metal prep as I wire wheeled the entire frame to bare metal. Yours looks great. I do like the silver or maybe gray for some of the drive train .
Nice work on your welding.
Been a busy five weeks! Sold the truck at auction (took a while to prep), got the taxes done and my youngest daughter got married last week. Been getting the wedding stuff dealt with and actually carved out a couple hours to get back into the car. I couldn't stand it so I put the front a-arm rubber bumpers on a few days ago at 11pm on night. Yesterday was even better, got to start putting together the front spindle assemblies and cleaned all the sticky labels off the new leaf spring. I pick up the trailing arms, rear sway and a-arms this afternoon, Duntov is pressing the bushings for me. I should get a few hours this weekend and will post more after that.
Last edited by slalomfiend; 12-20-2017 at 12:48 PM.
 01-30-2013, 12:55 PM


 - but at least I'll know!!