When you click on links to various merchants on this site and make a purchase, this can result in this site earning a commission. Affiliate programs and affiliations include, but are not limited to, the eBay Partner Network.
Been a while since I posted, had my head into the project and work. I finished the '49 Ford truck, showed it and won Best in Class in early May 2012 then was able to clean up the garage and get the Vette moved home from storage. I built a body cart and transferred the body in July.
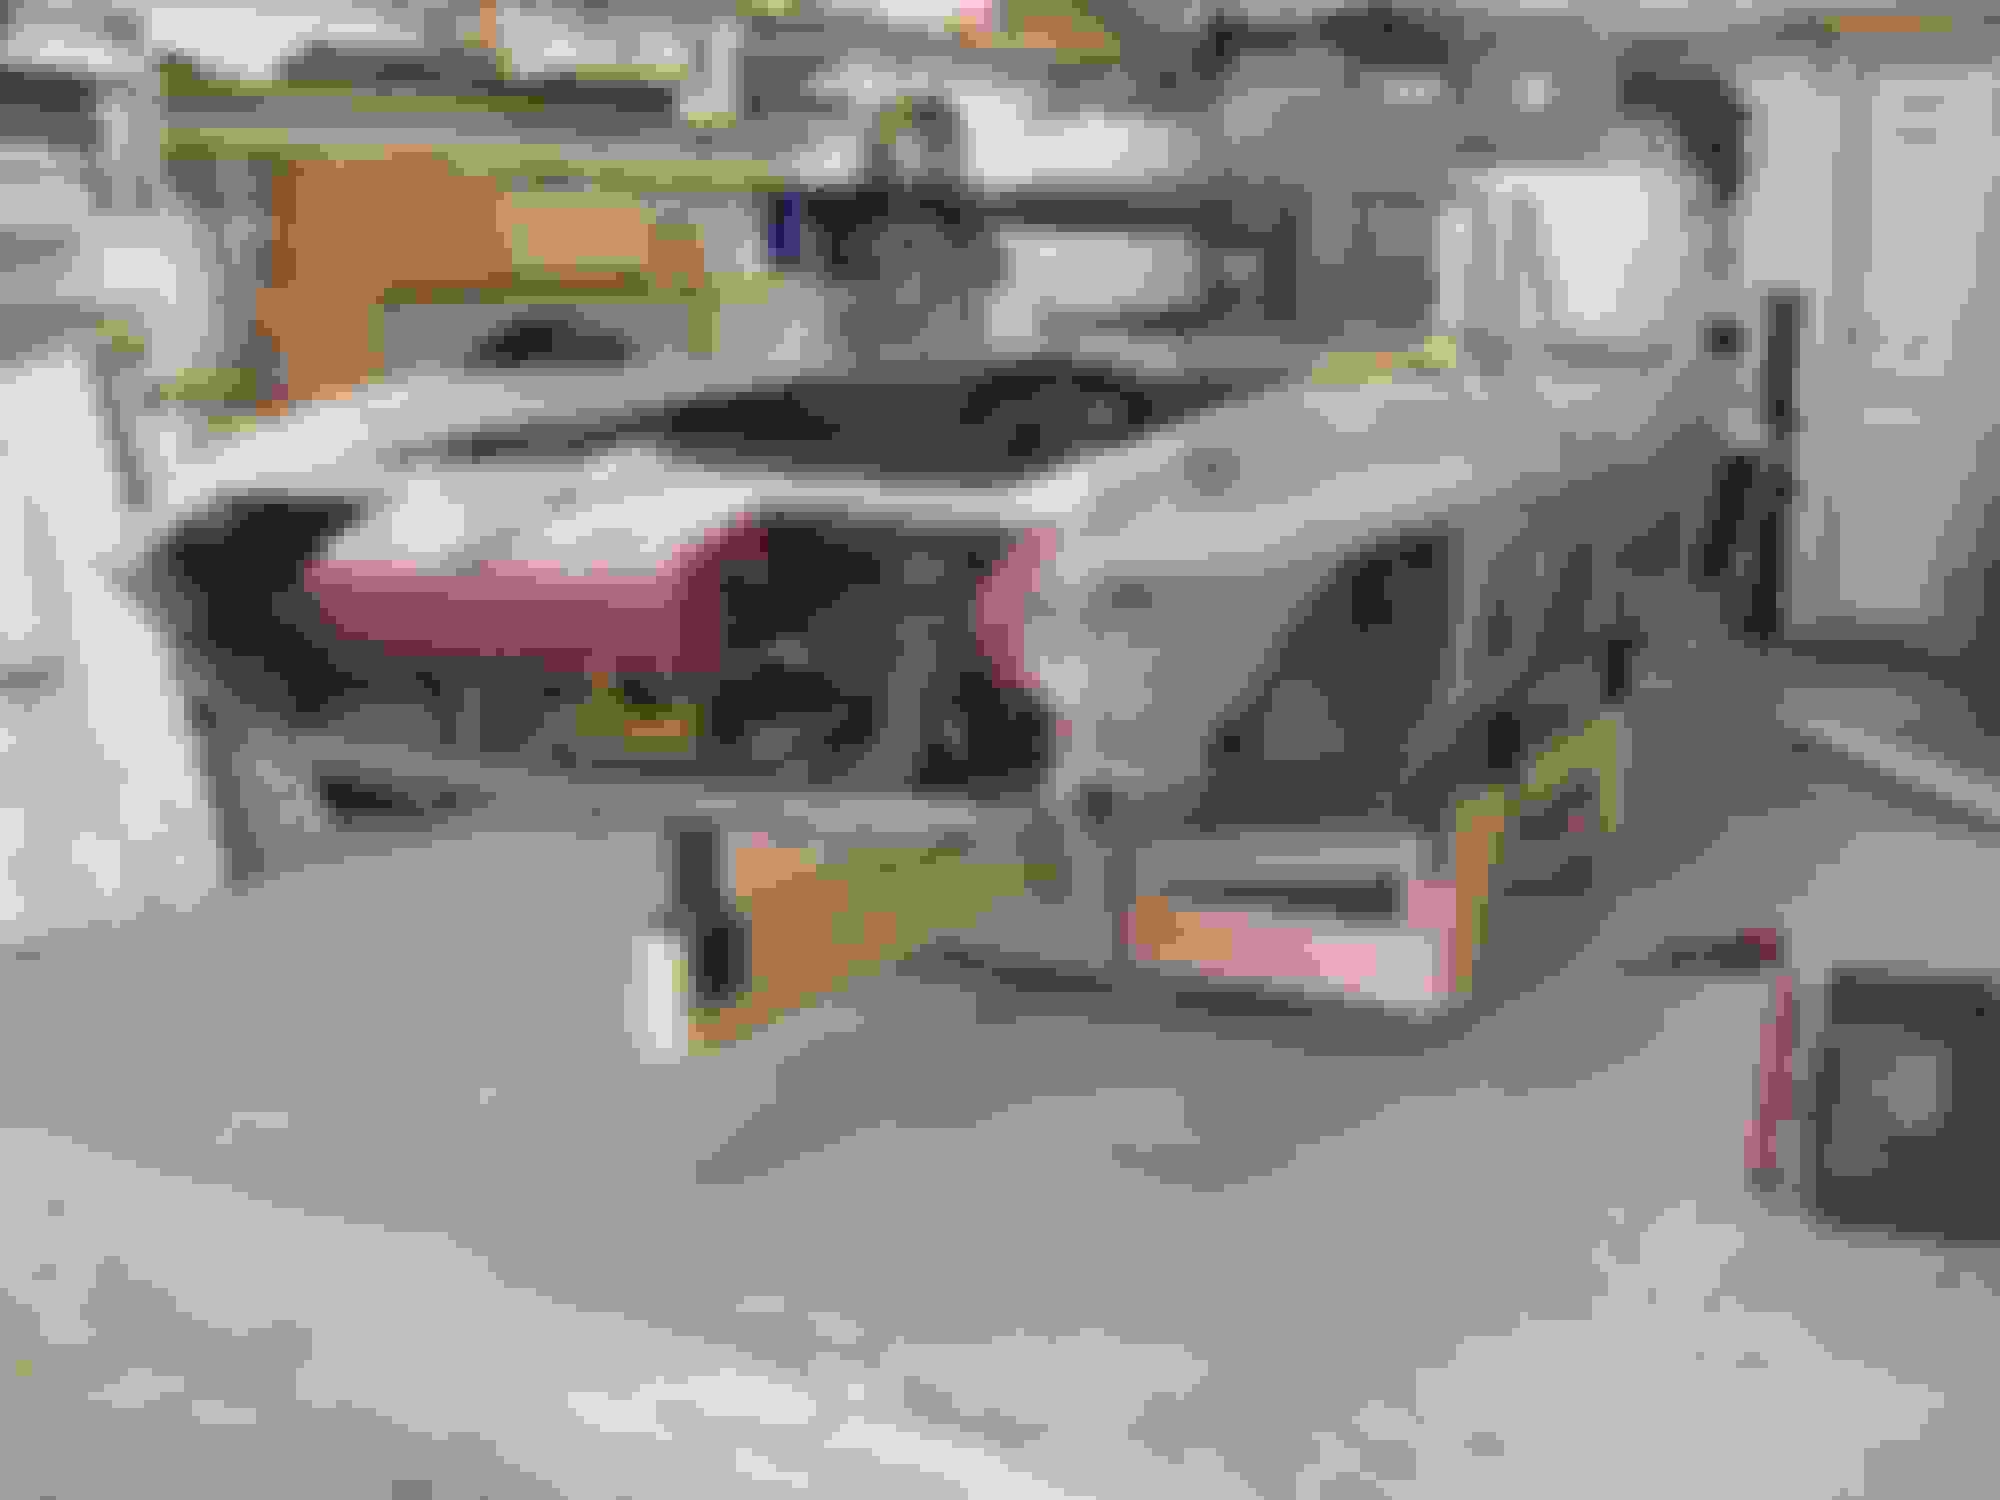
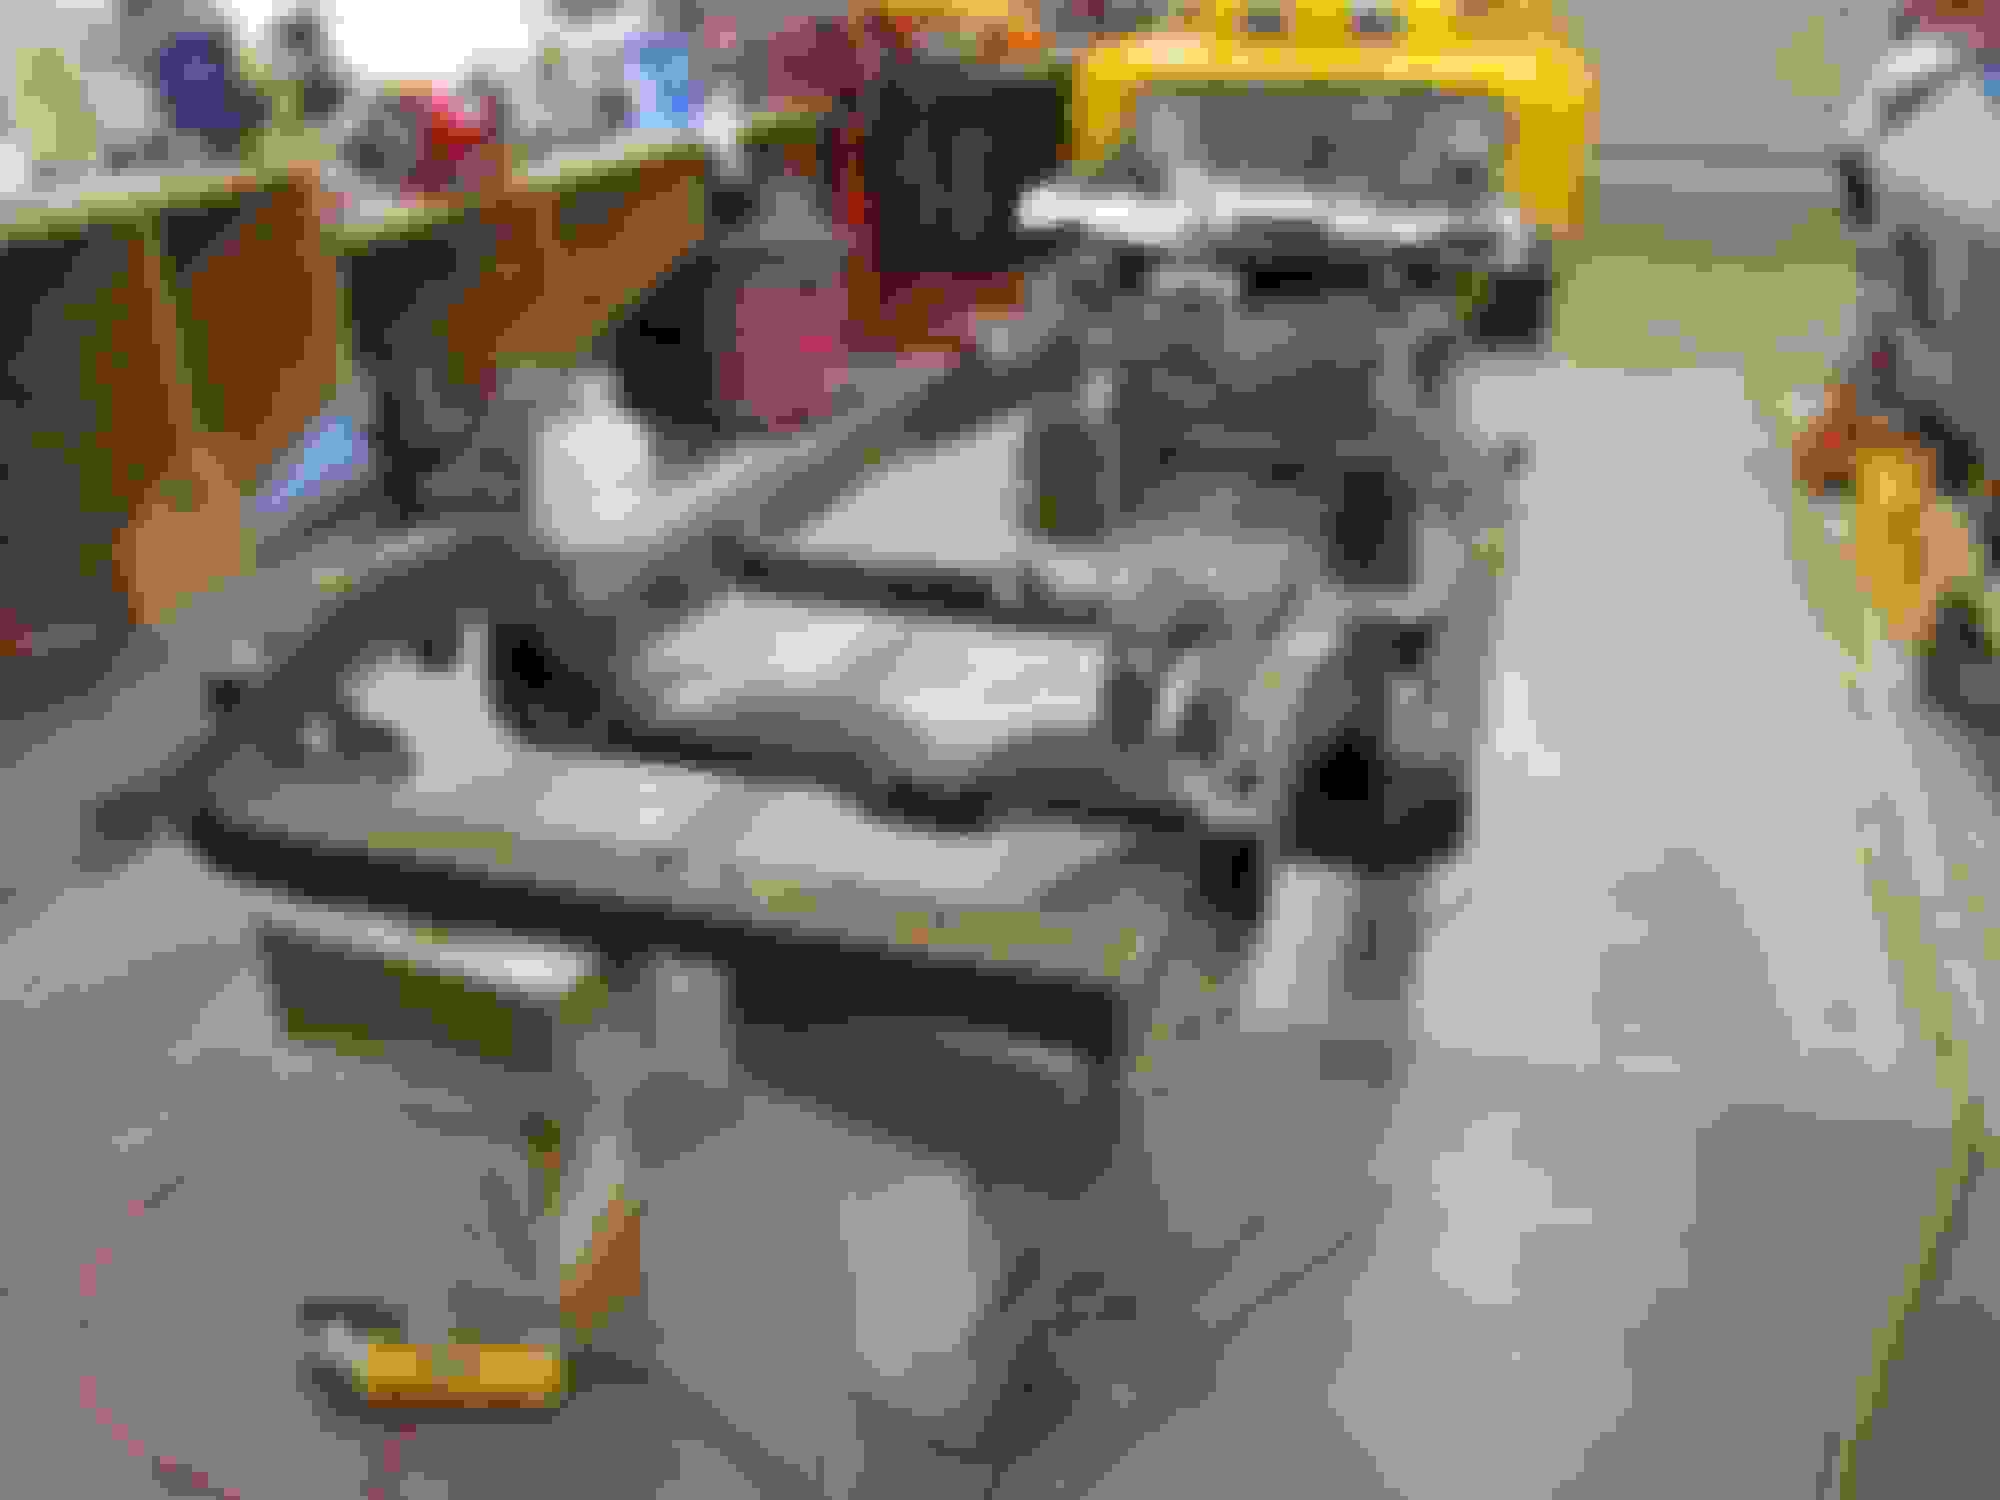
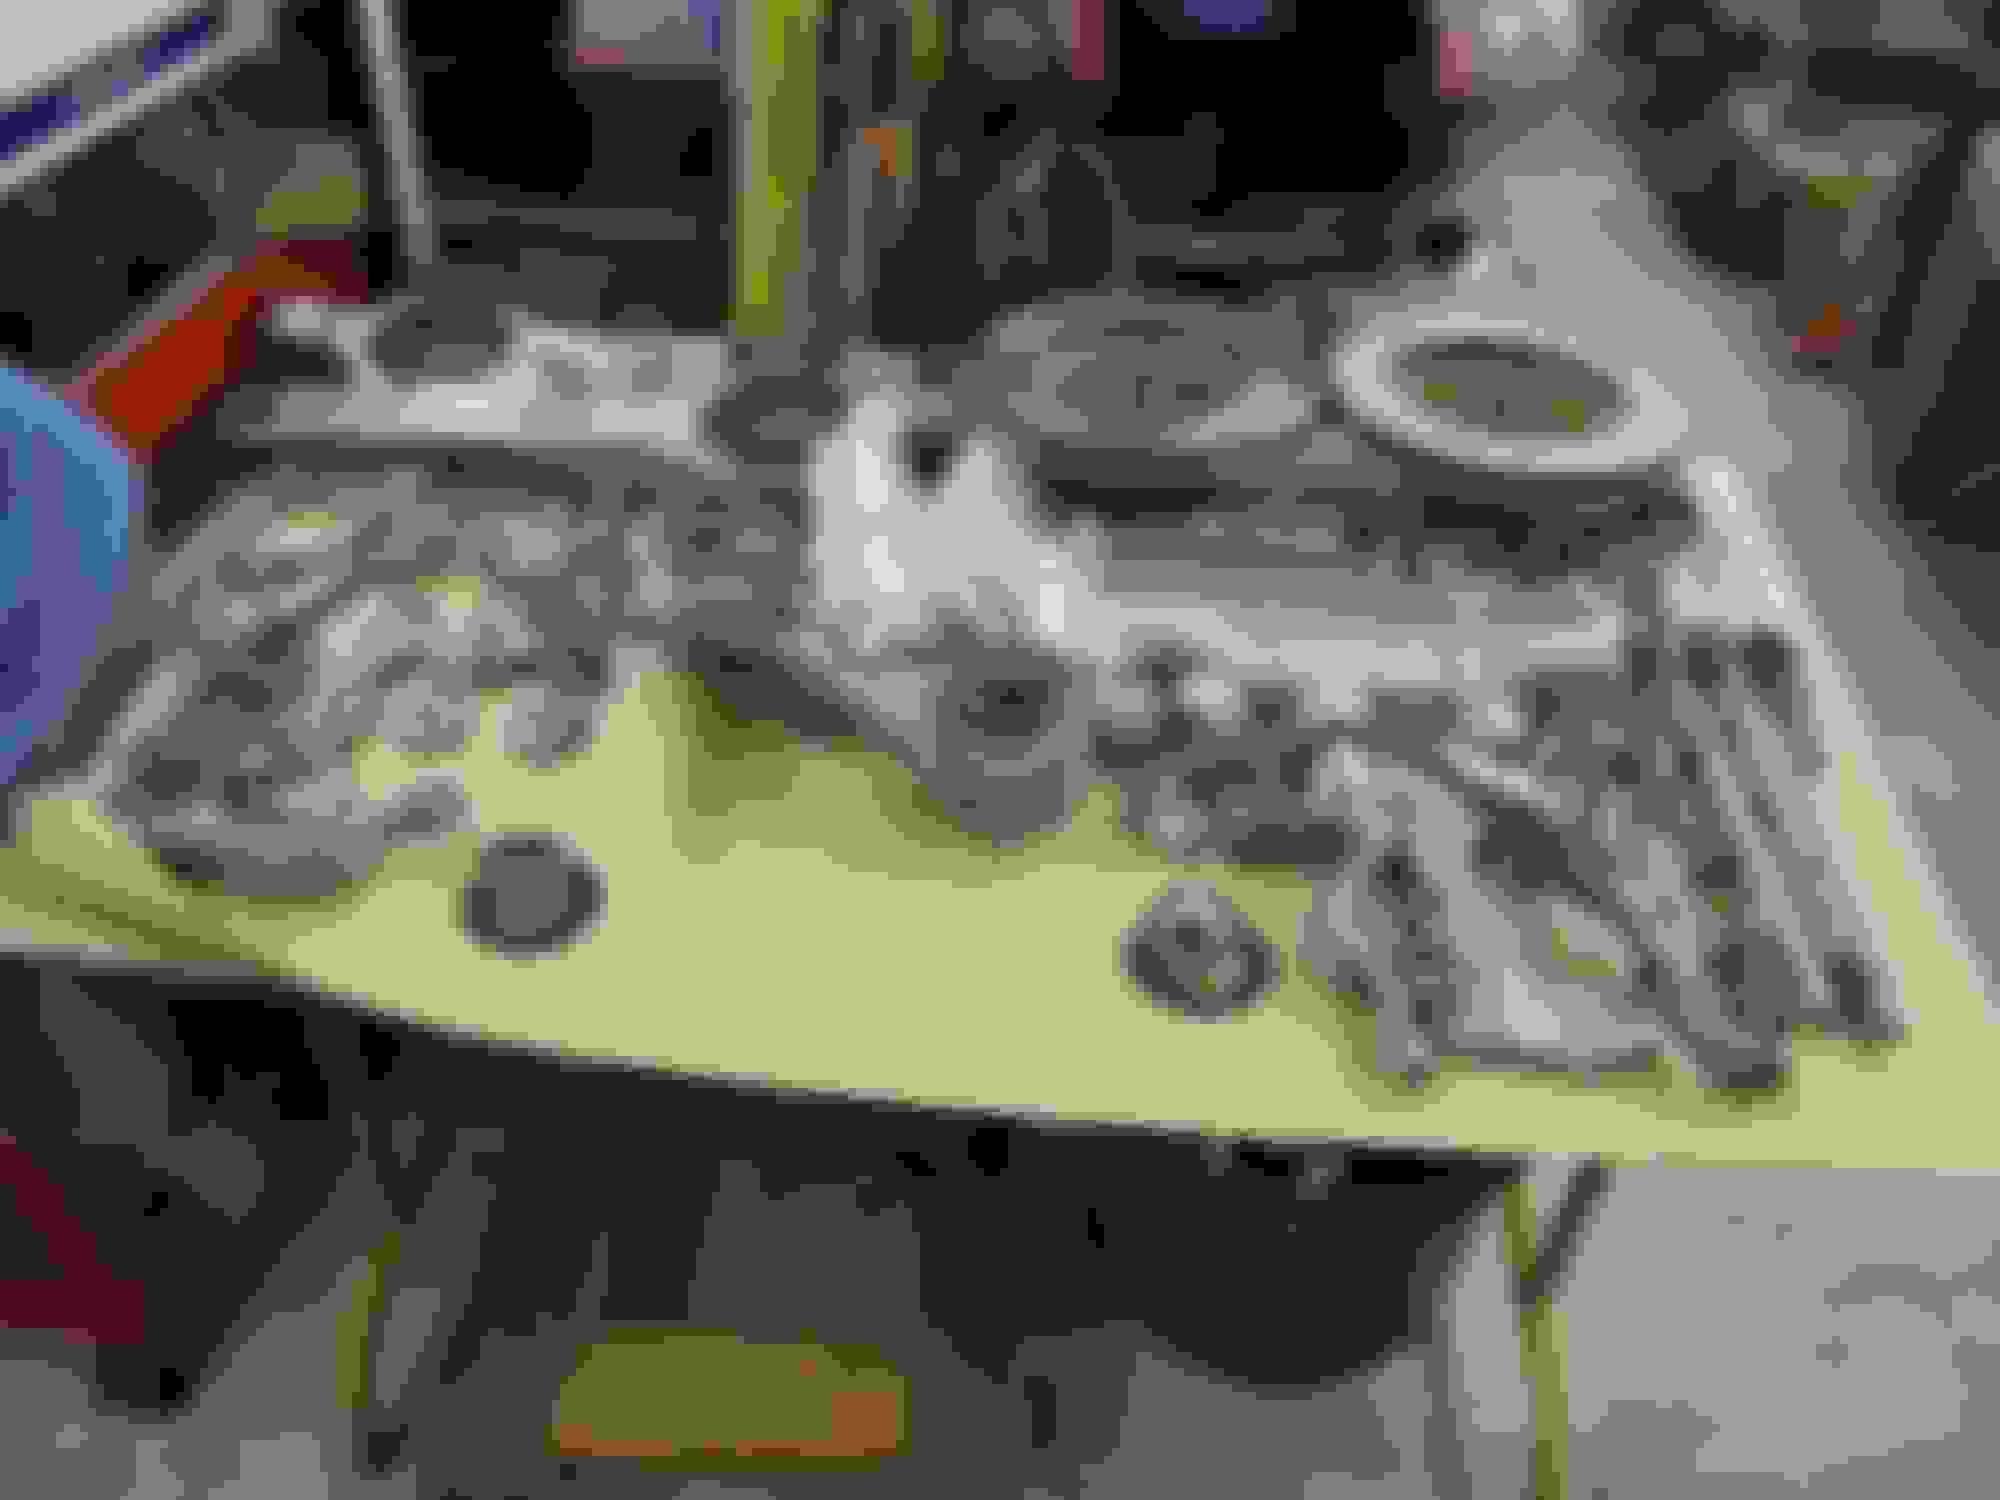
I knew the '67 frame was toast but wanted to break it down and save/sell anything that was worth anything. Most everything was rusted to the point that the frame flexed when we lifted the body off. I photo documented everthing and began the bag/tag process.
Here is how bad the frame was, the PO had weld plates applied to half the frame just to keep it together.
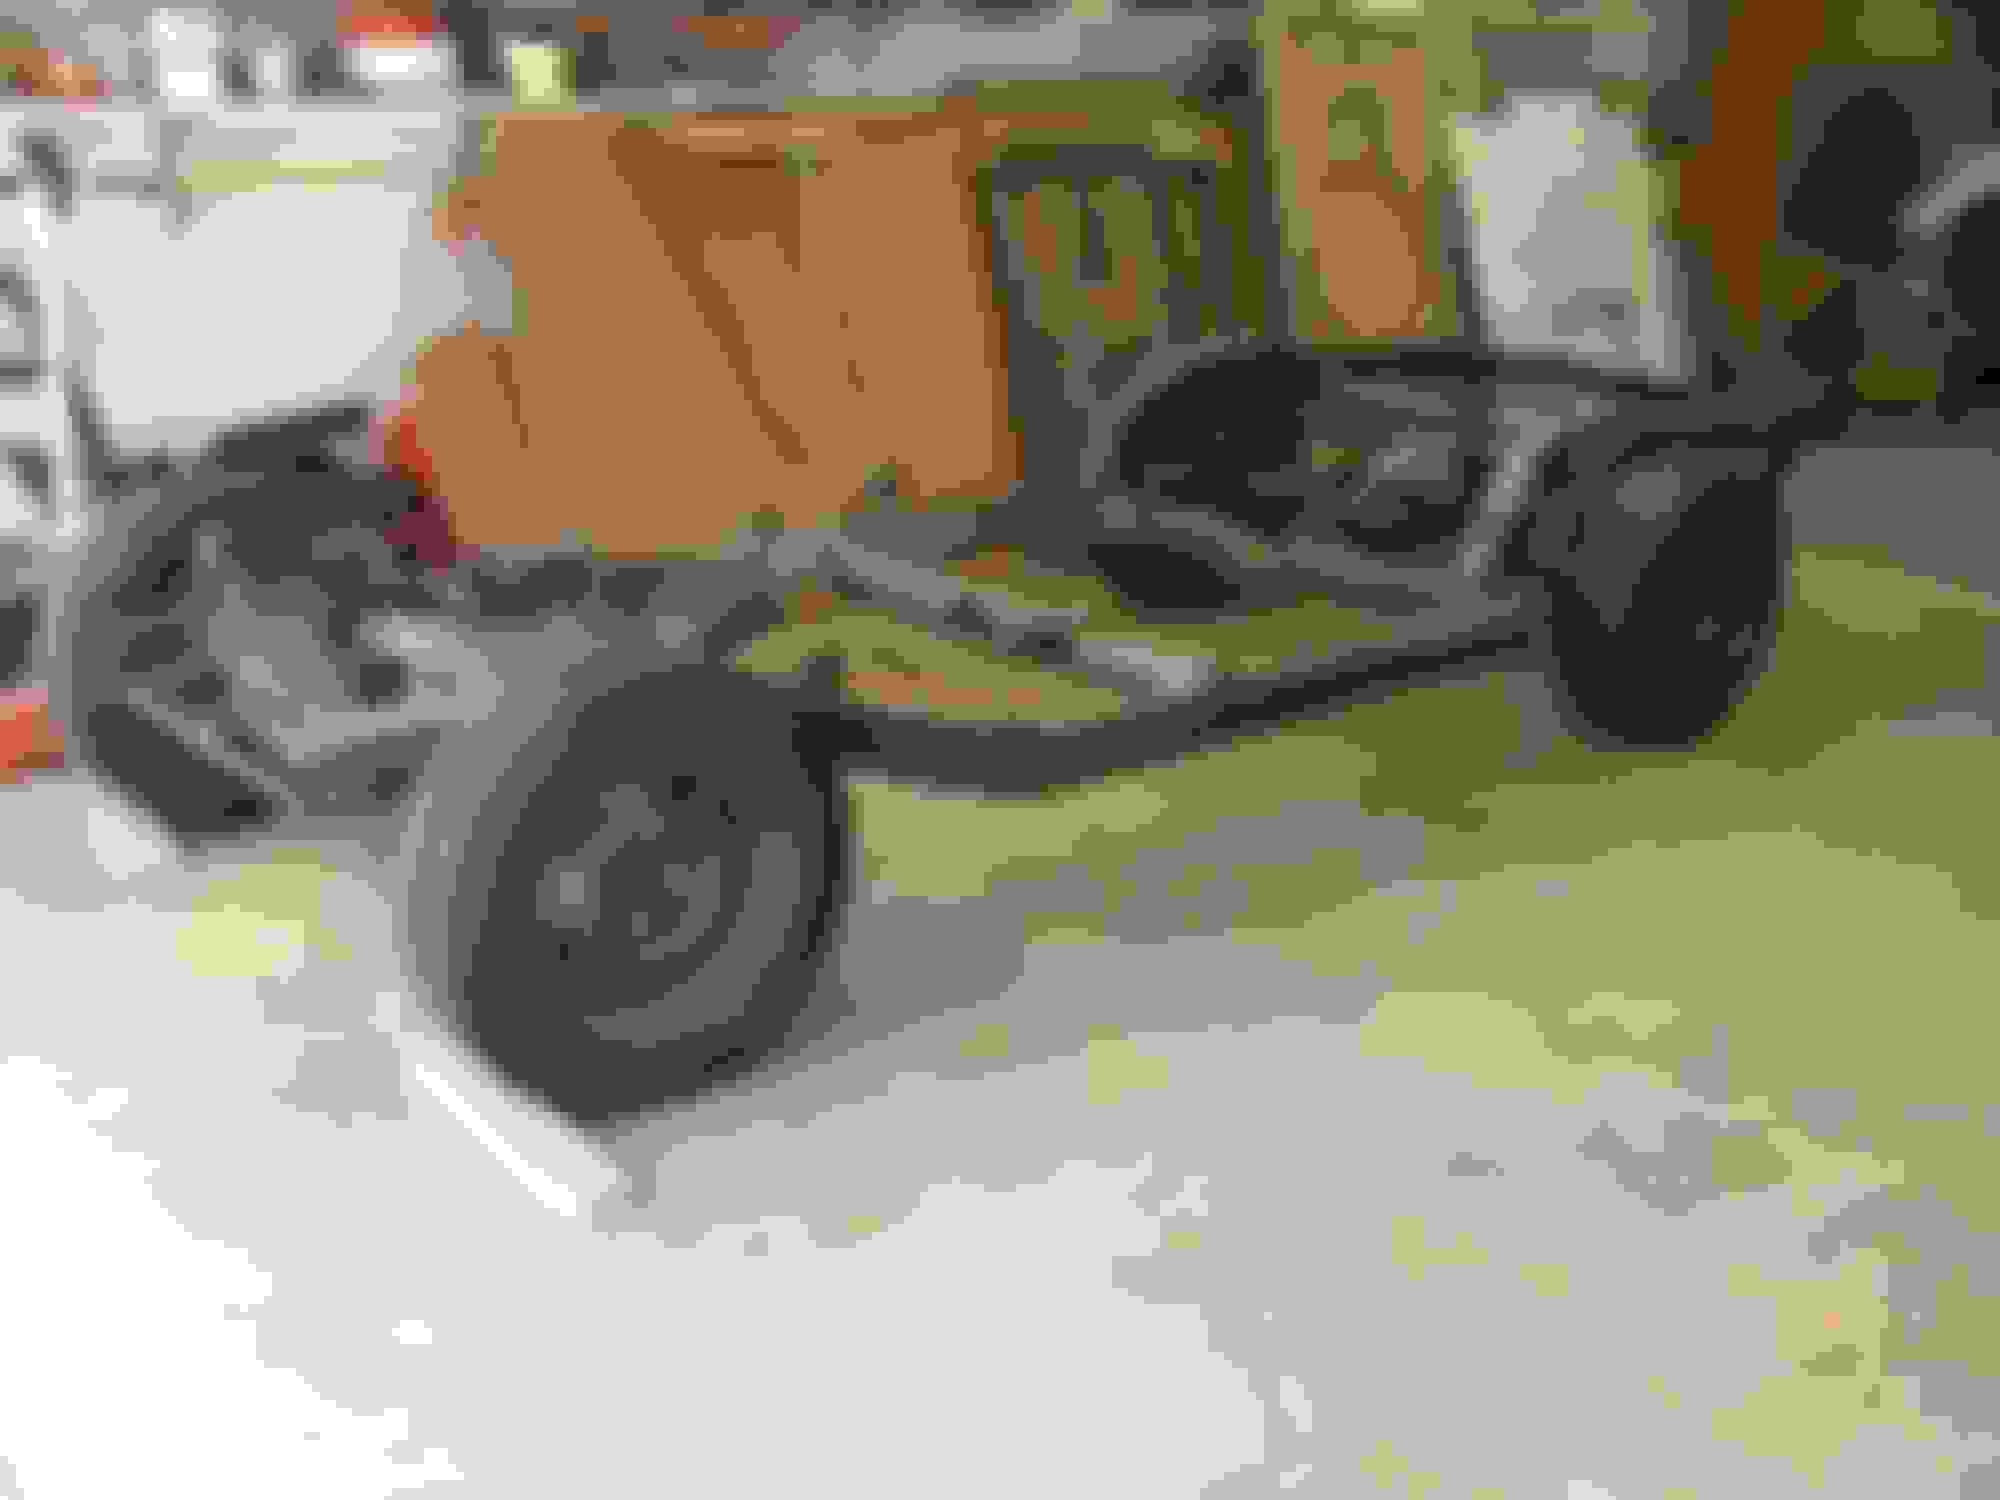
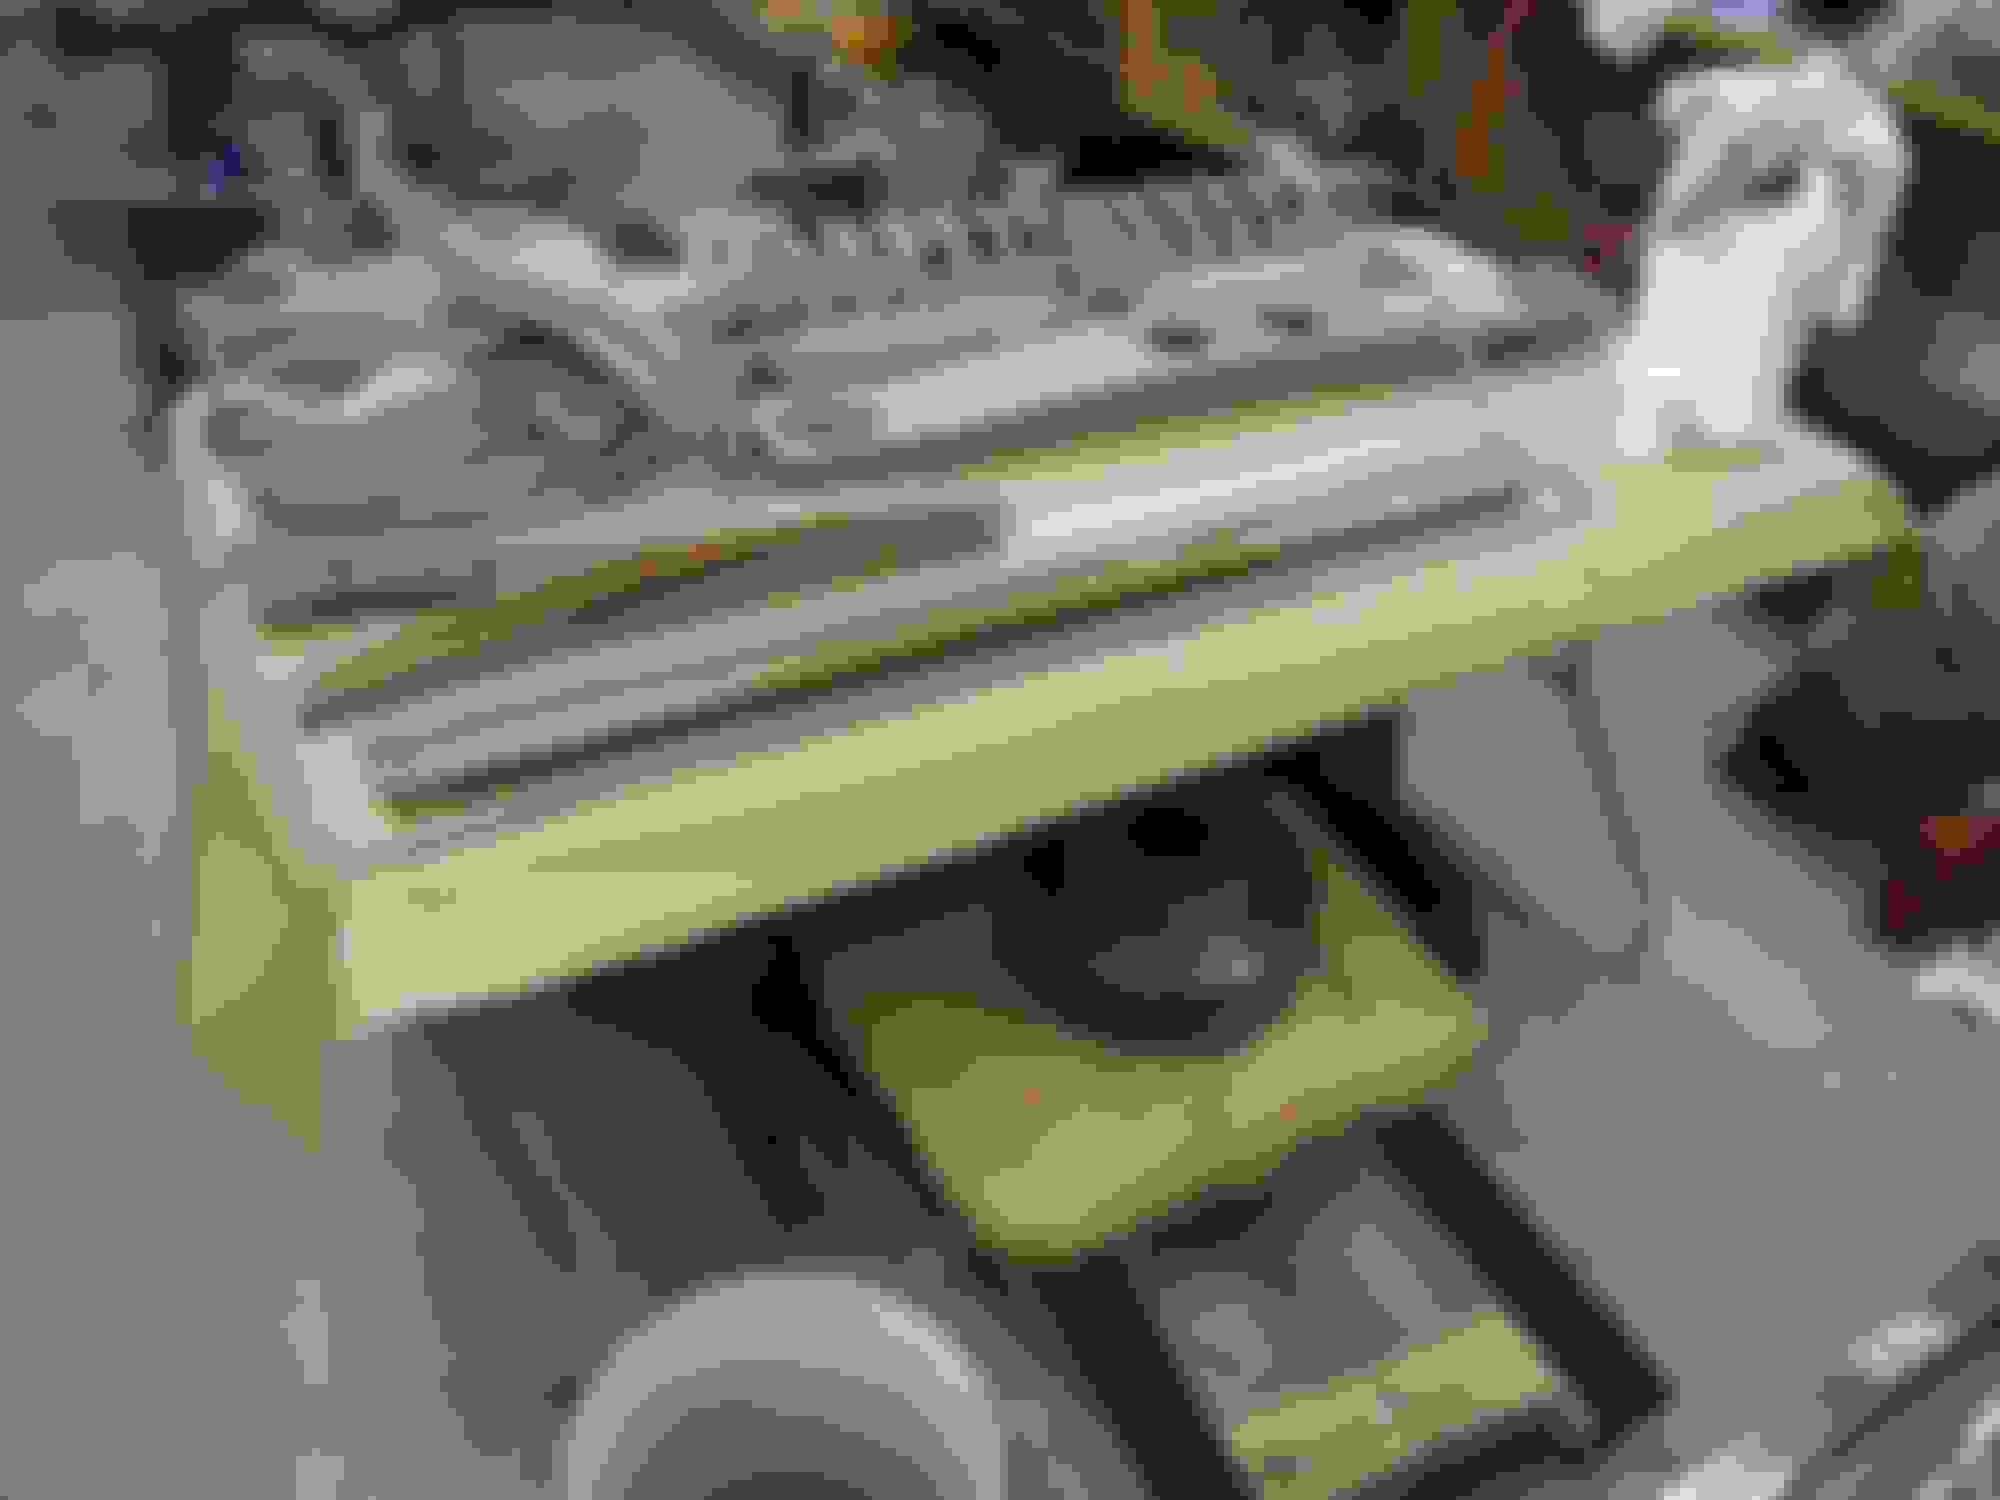
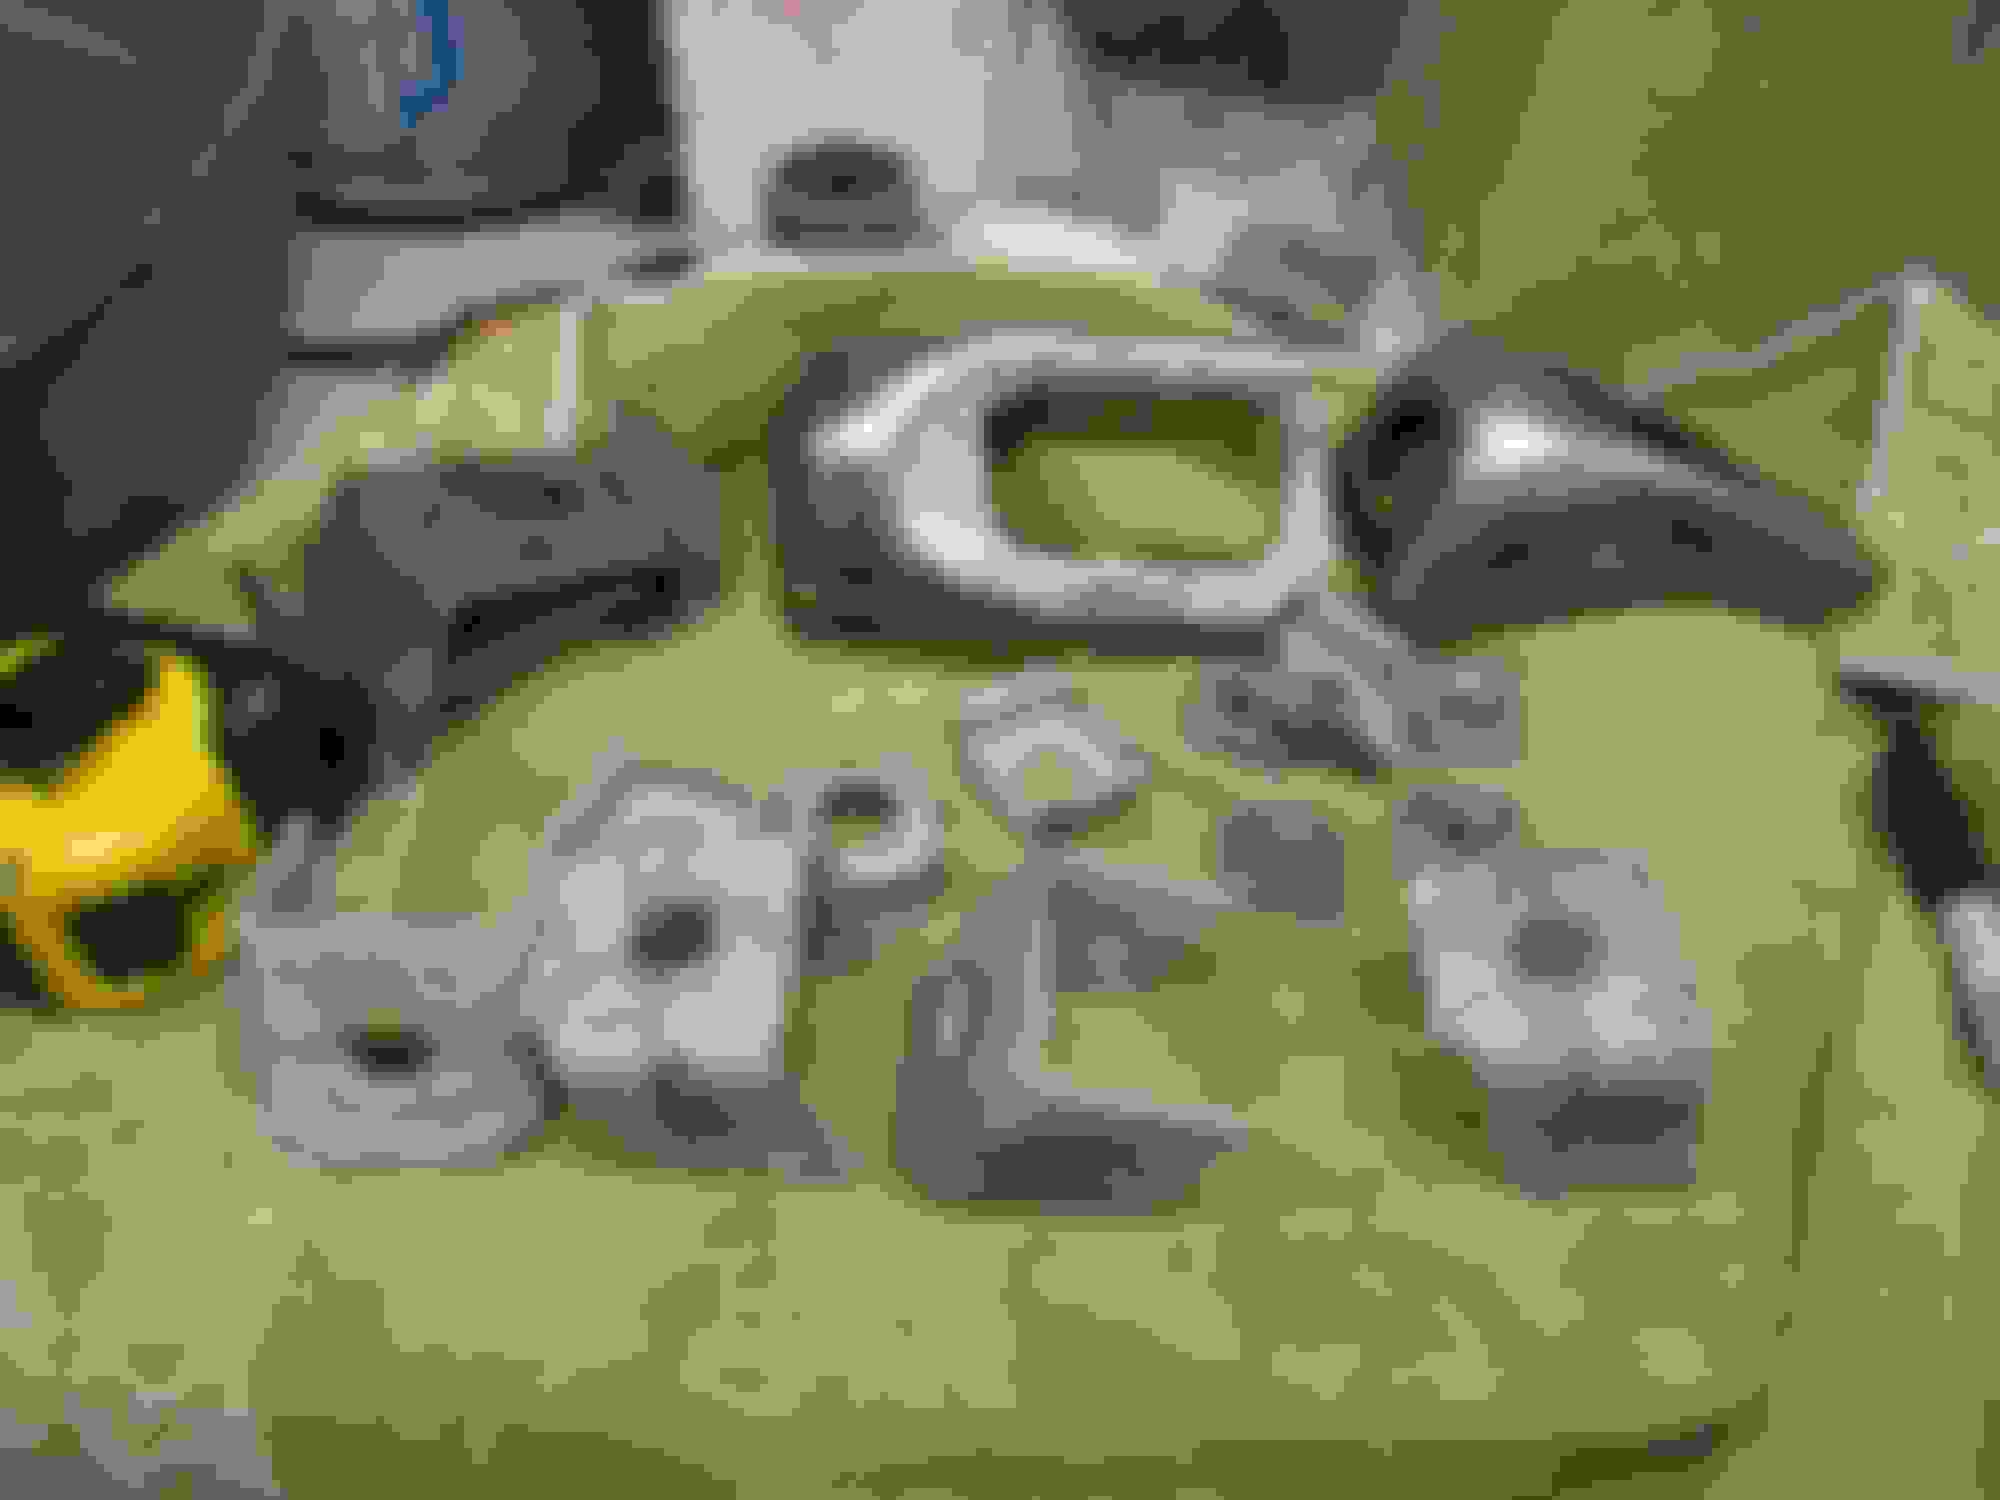
I picked up a really nice '75 donor frame/rolling chassis and started to break it down as well... more ziplocks!!
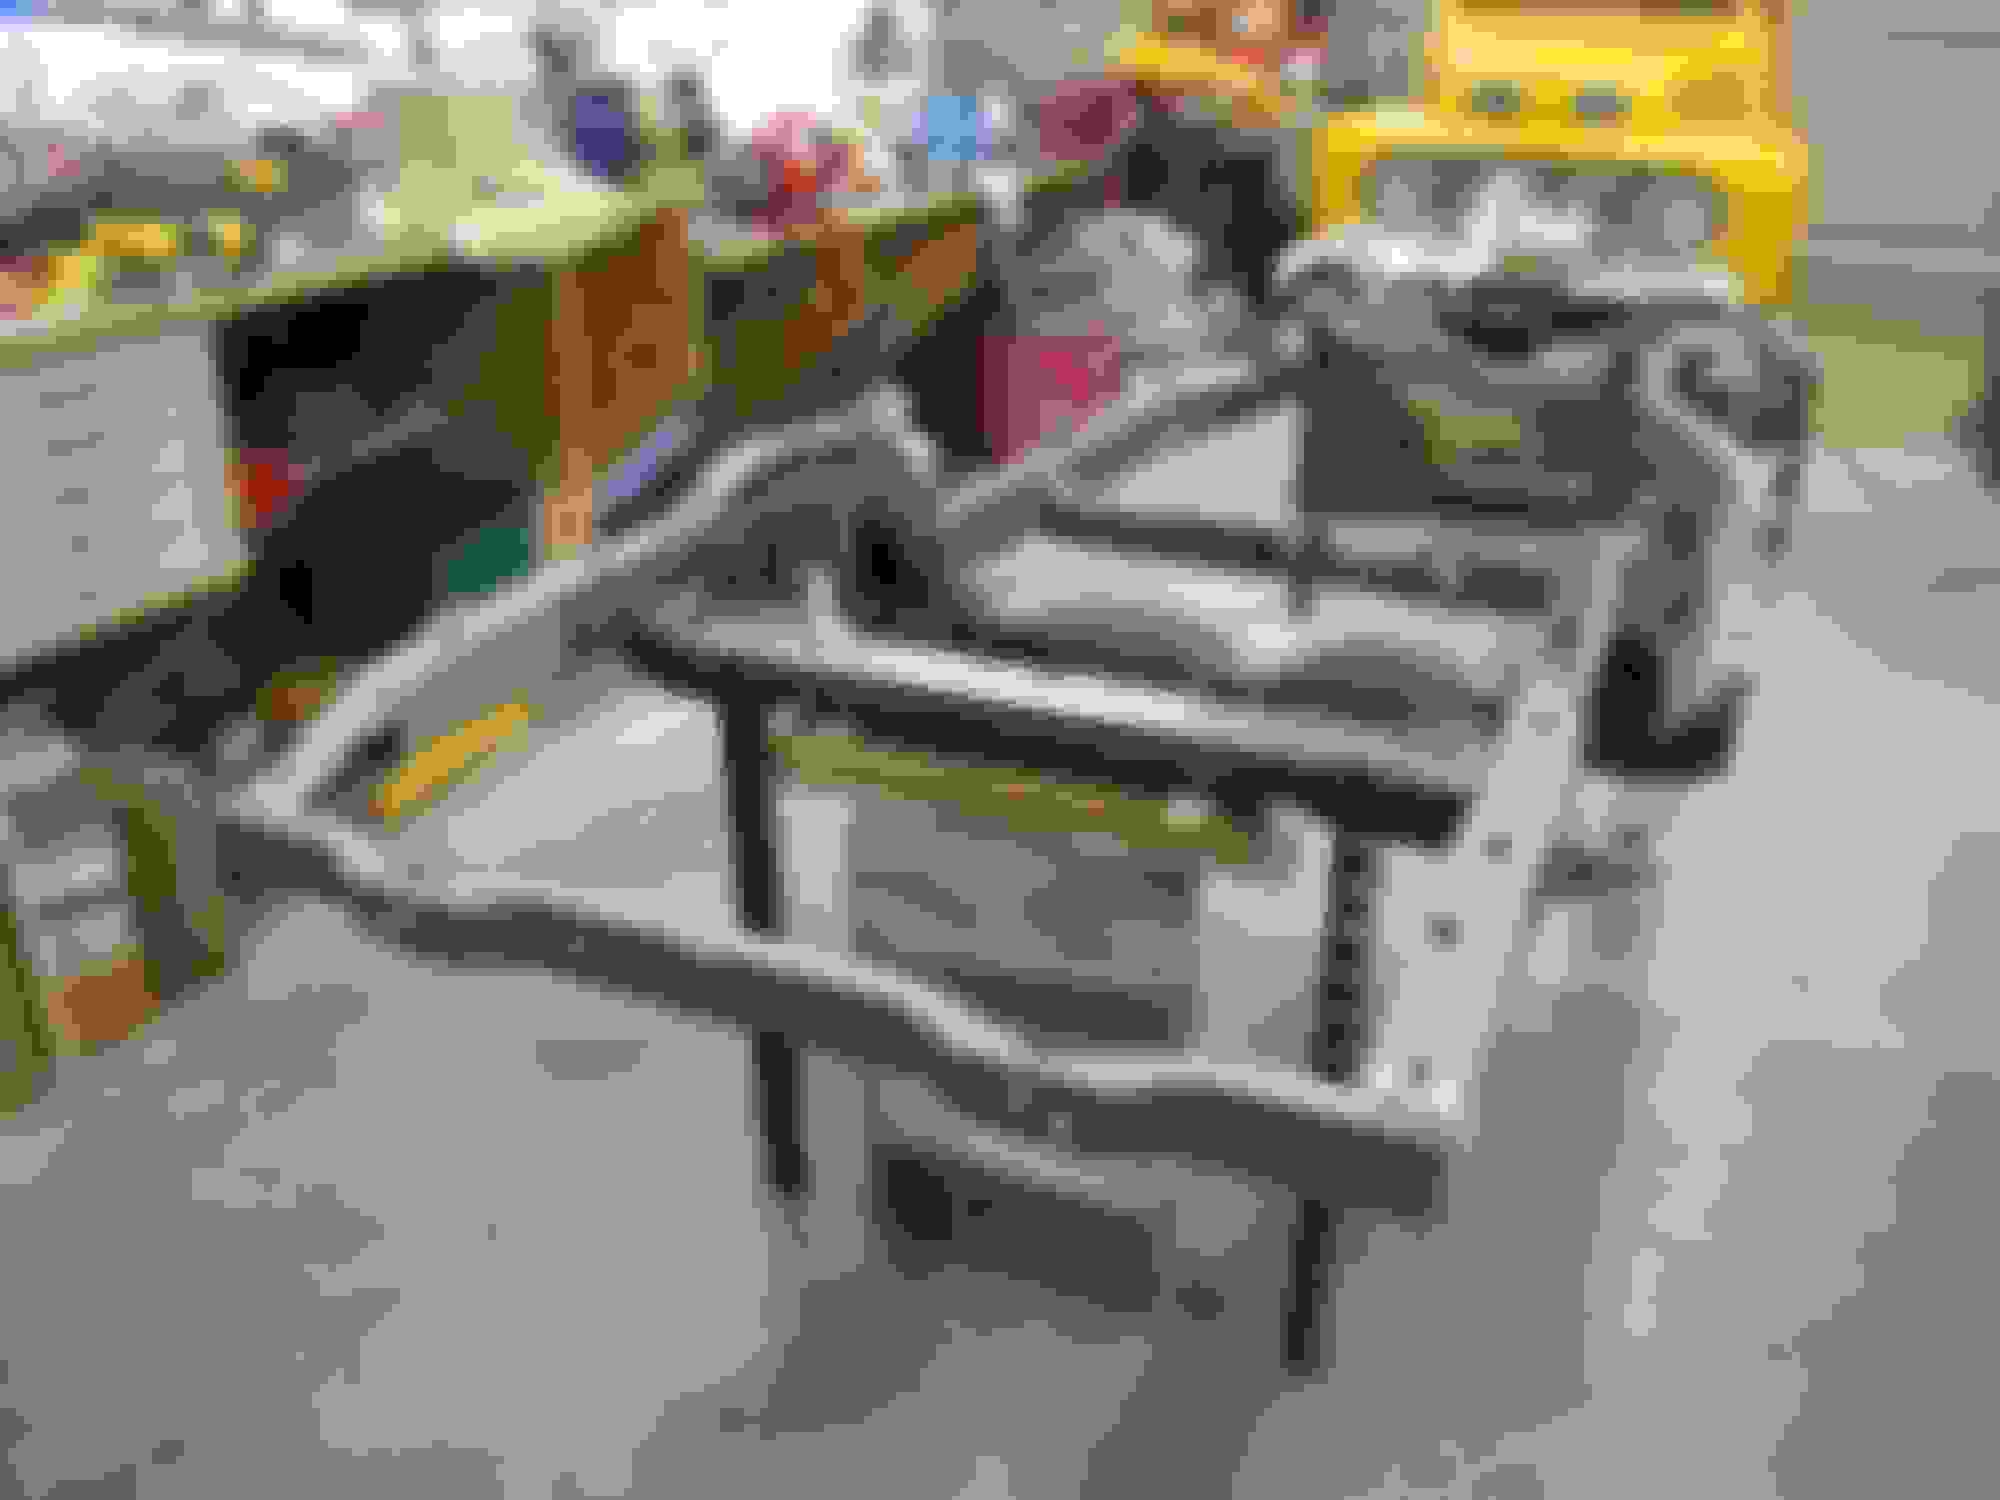
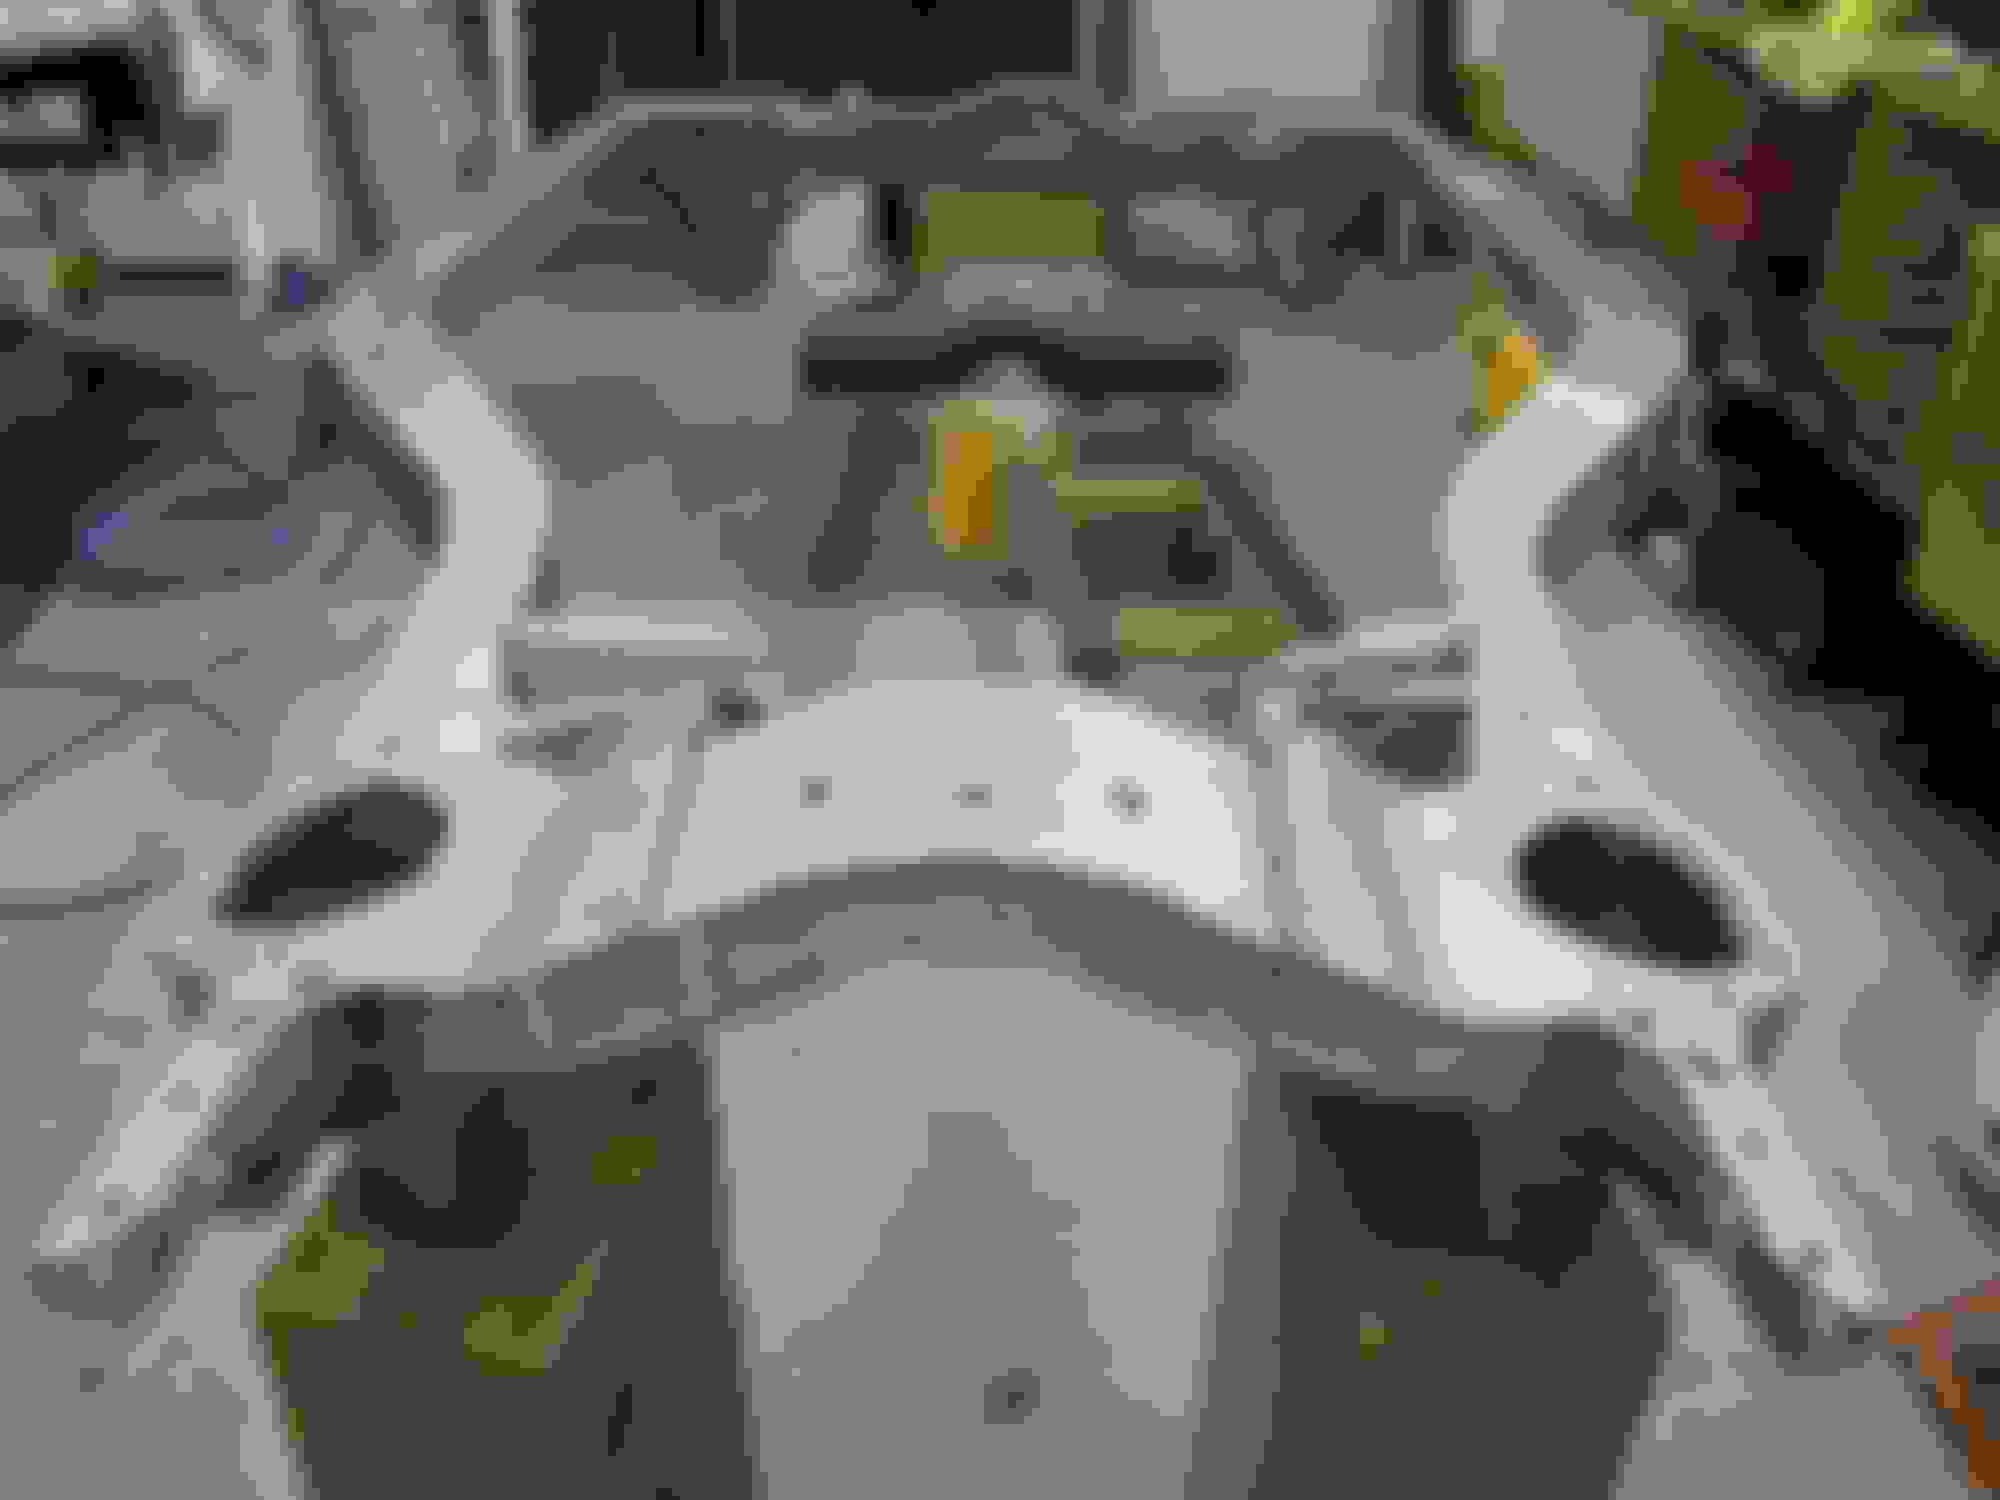
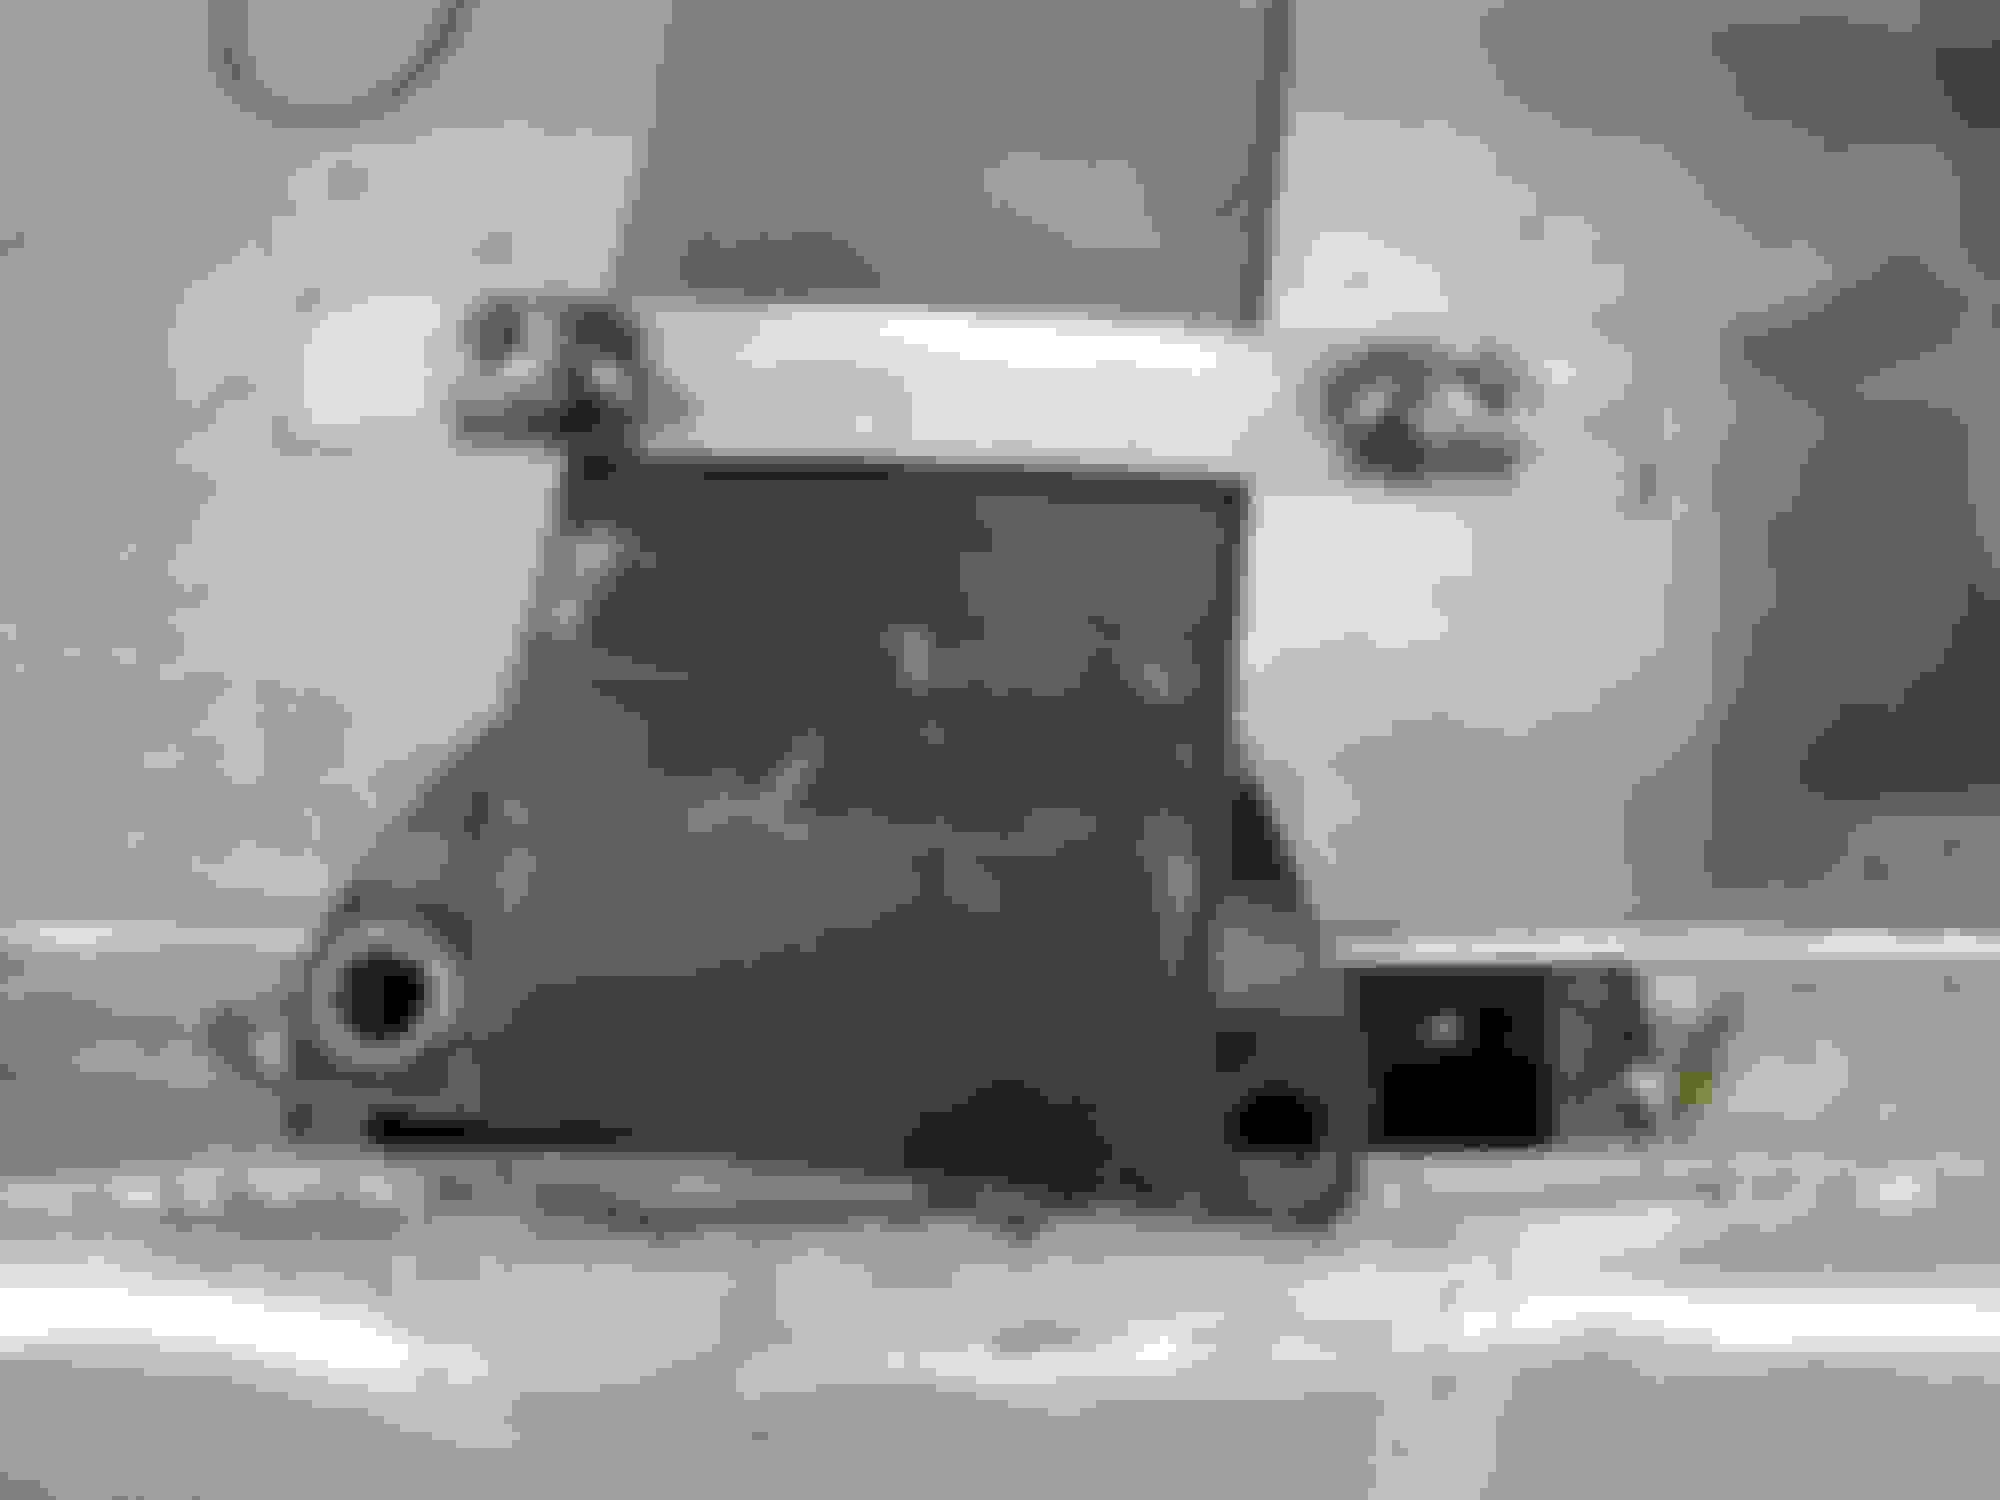
I am converting the '75 frame to match the '67, so the body mounts are getting moved/transferred. I set up the frame, laser leveled and then set up a datum frame out of unistrut. This was really great as you can bolt it all together and still see the center lines on the reference holes and body mounts. Here is the way I sectioned the frame to splice on the '67 rear frame sections.
Here is the pass side frame section during pre-fit.
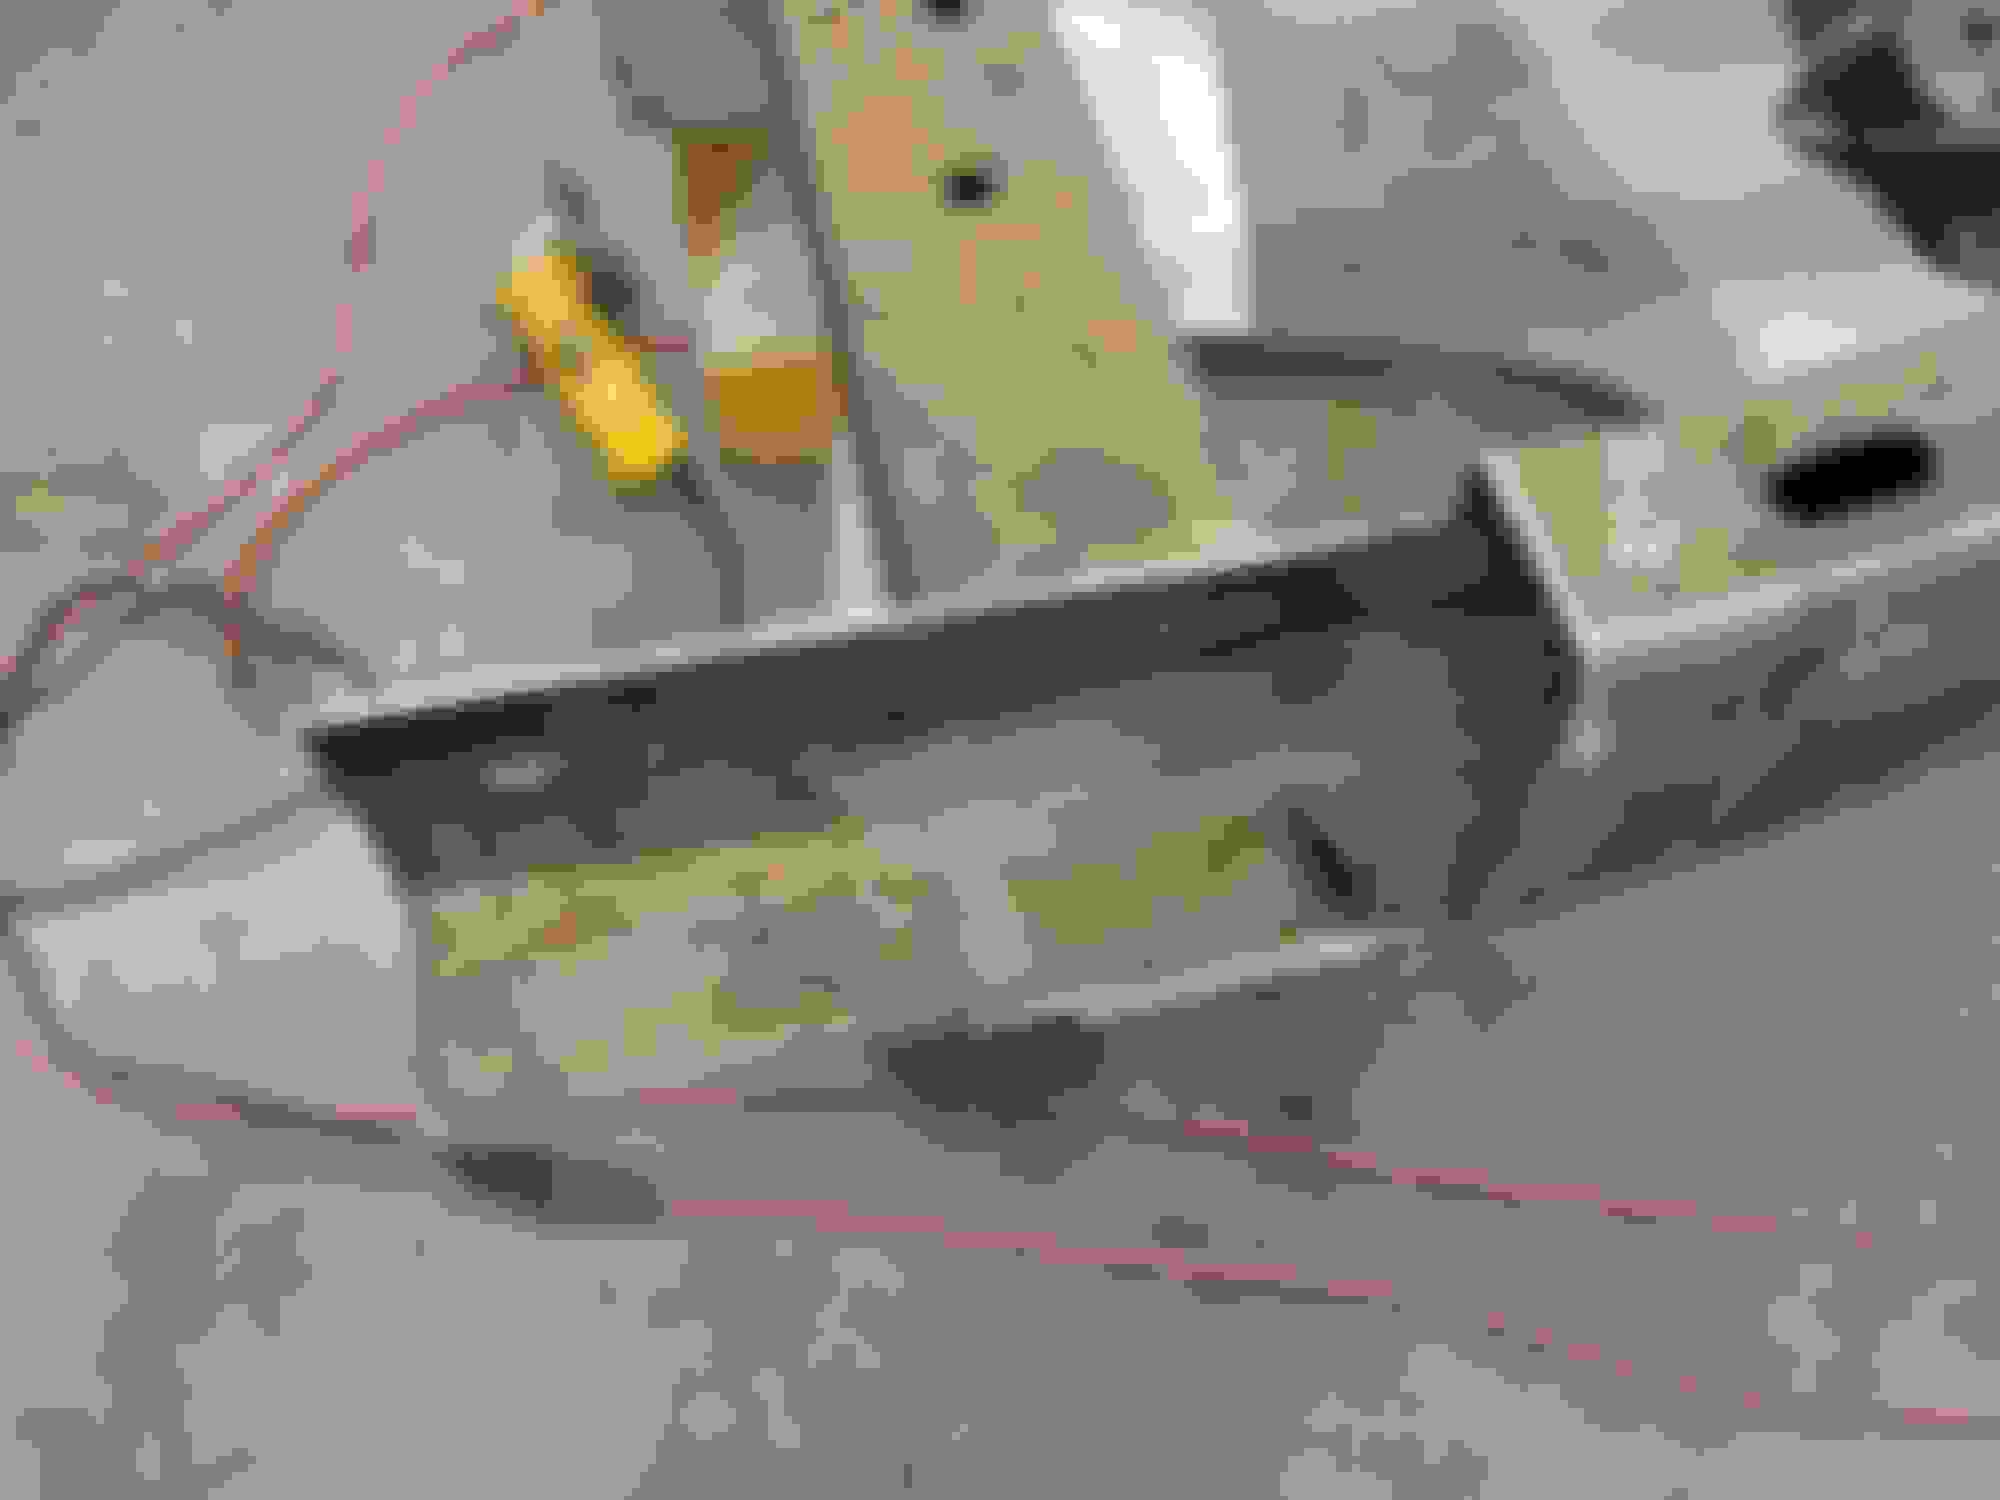
The '67 frame is wider and the '75 is taller so I had to cut out wedges and re-shape to mimic the original frame transitions
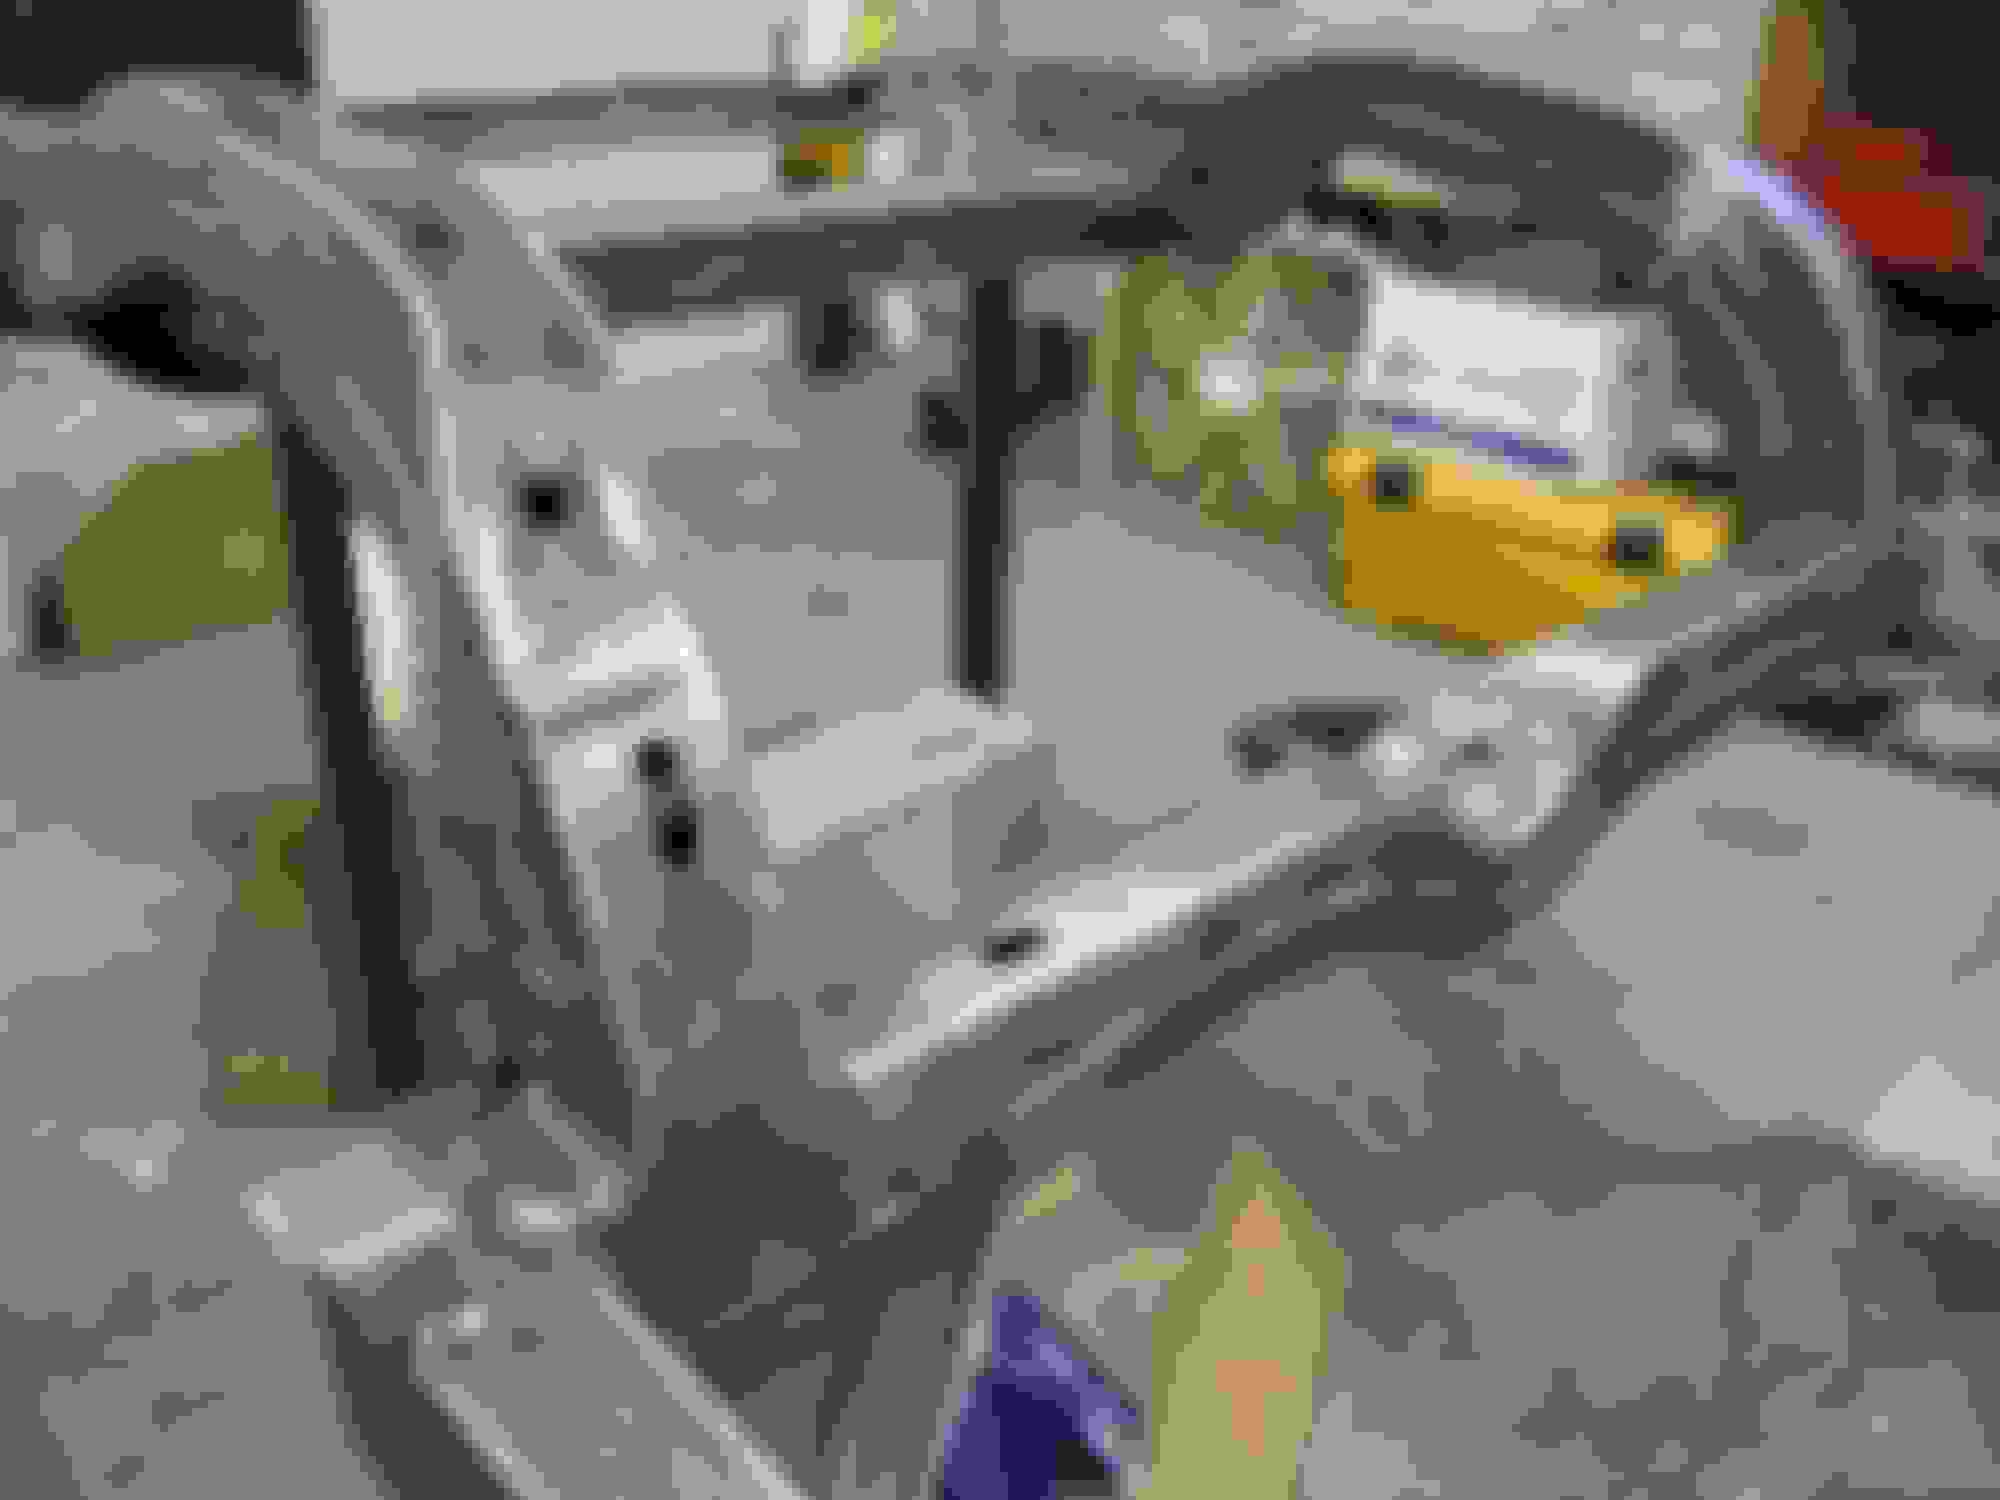
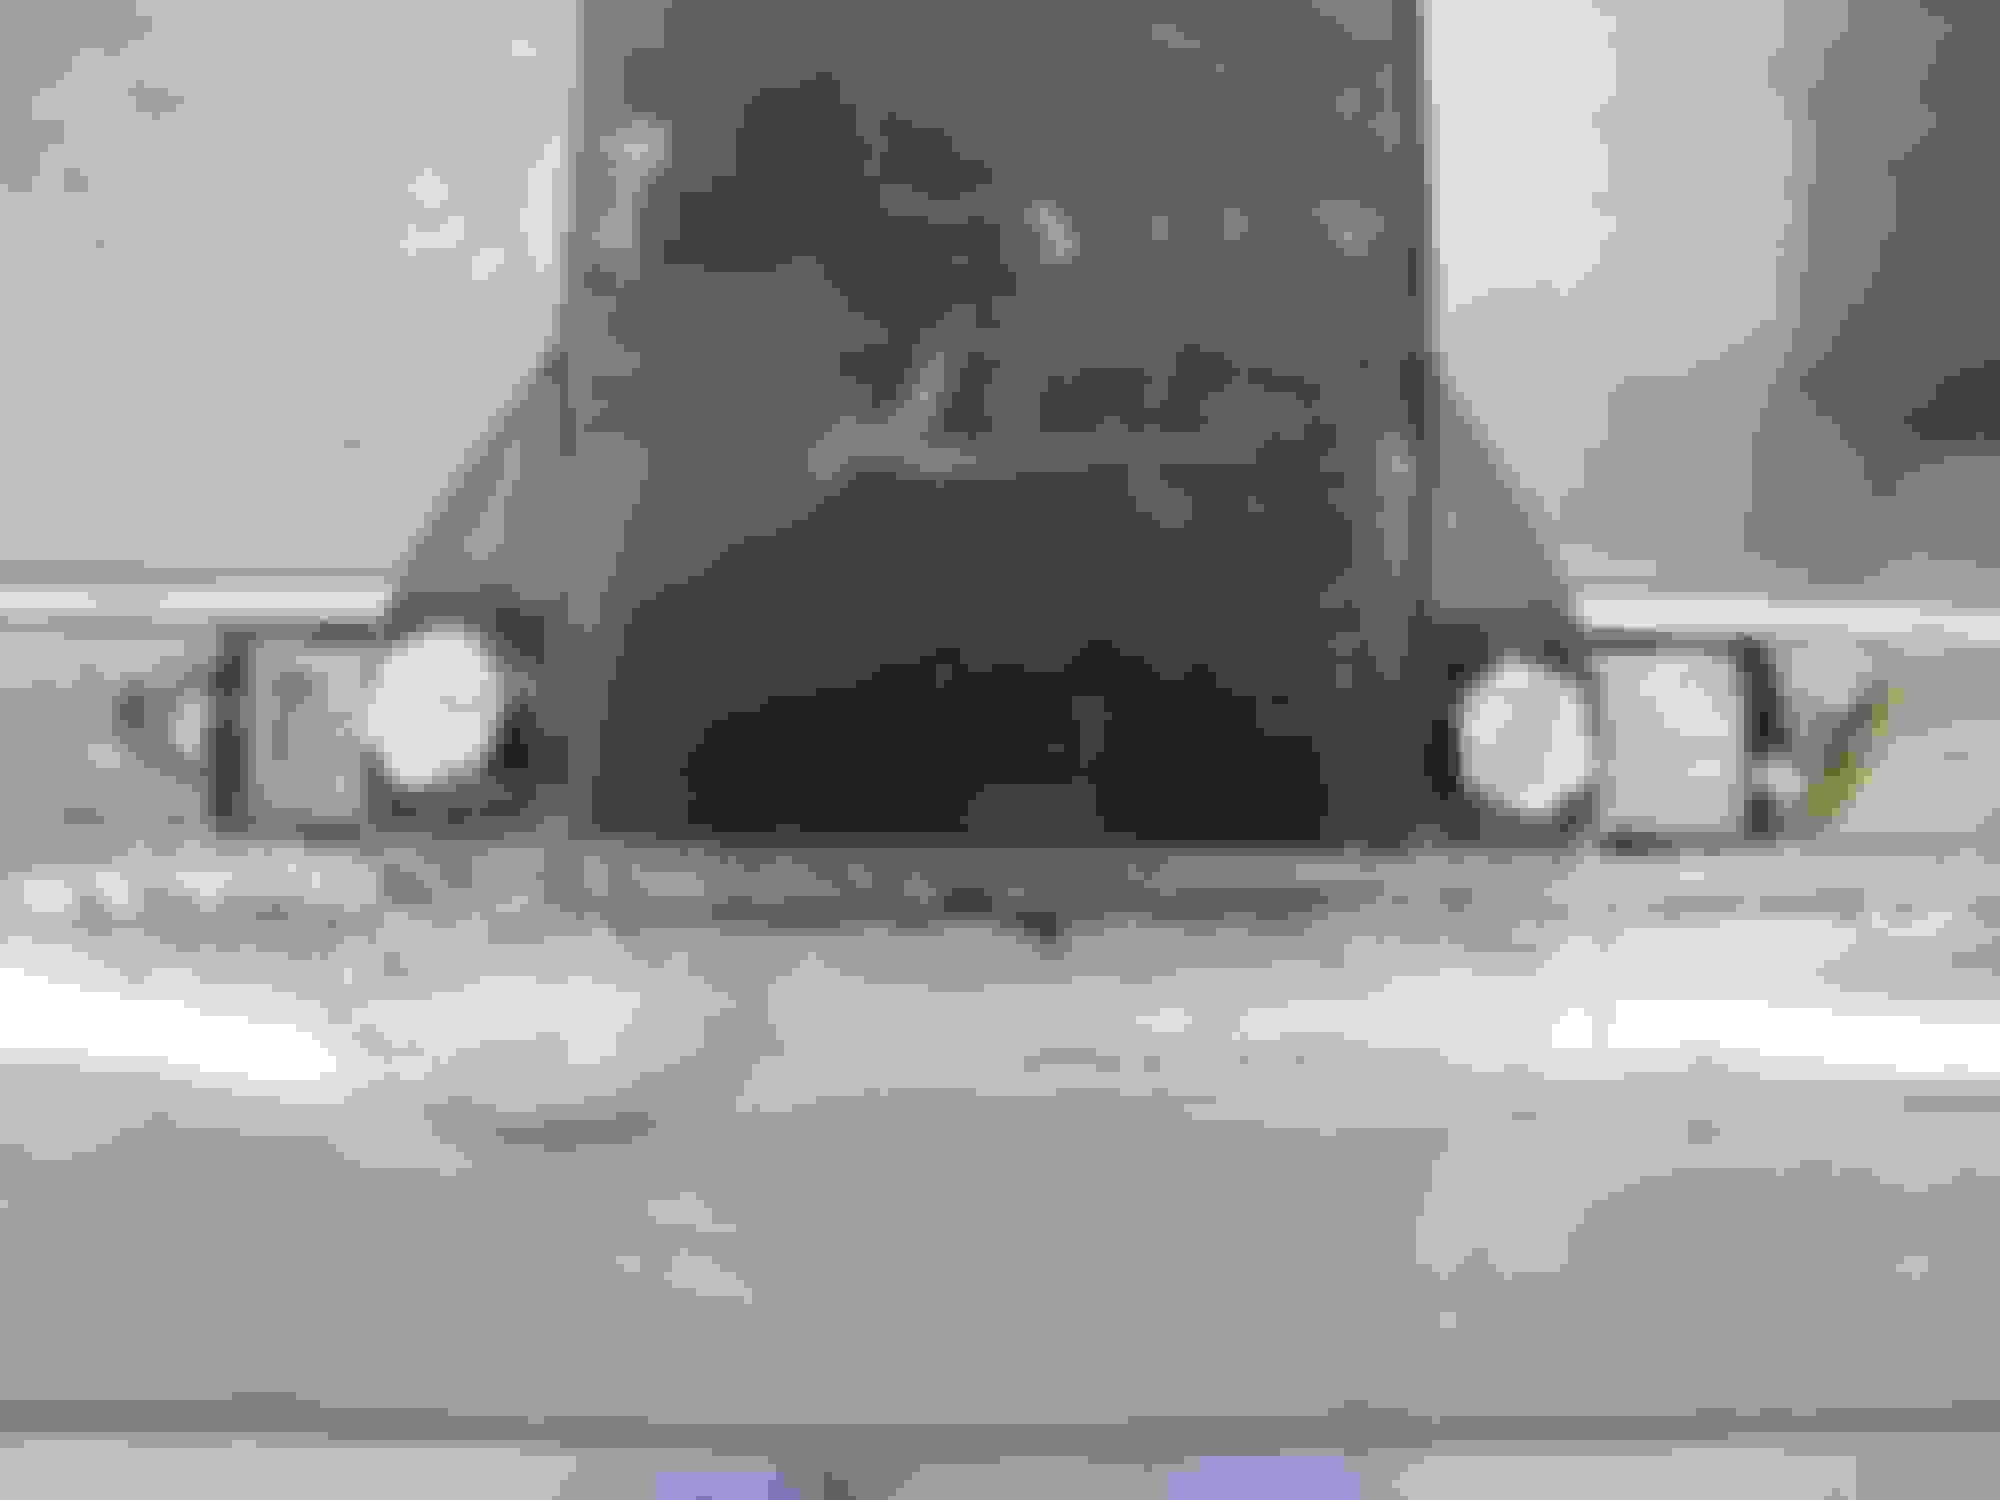
Here is the rear part of the frame all tacked up
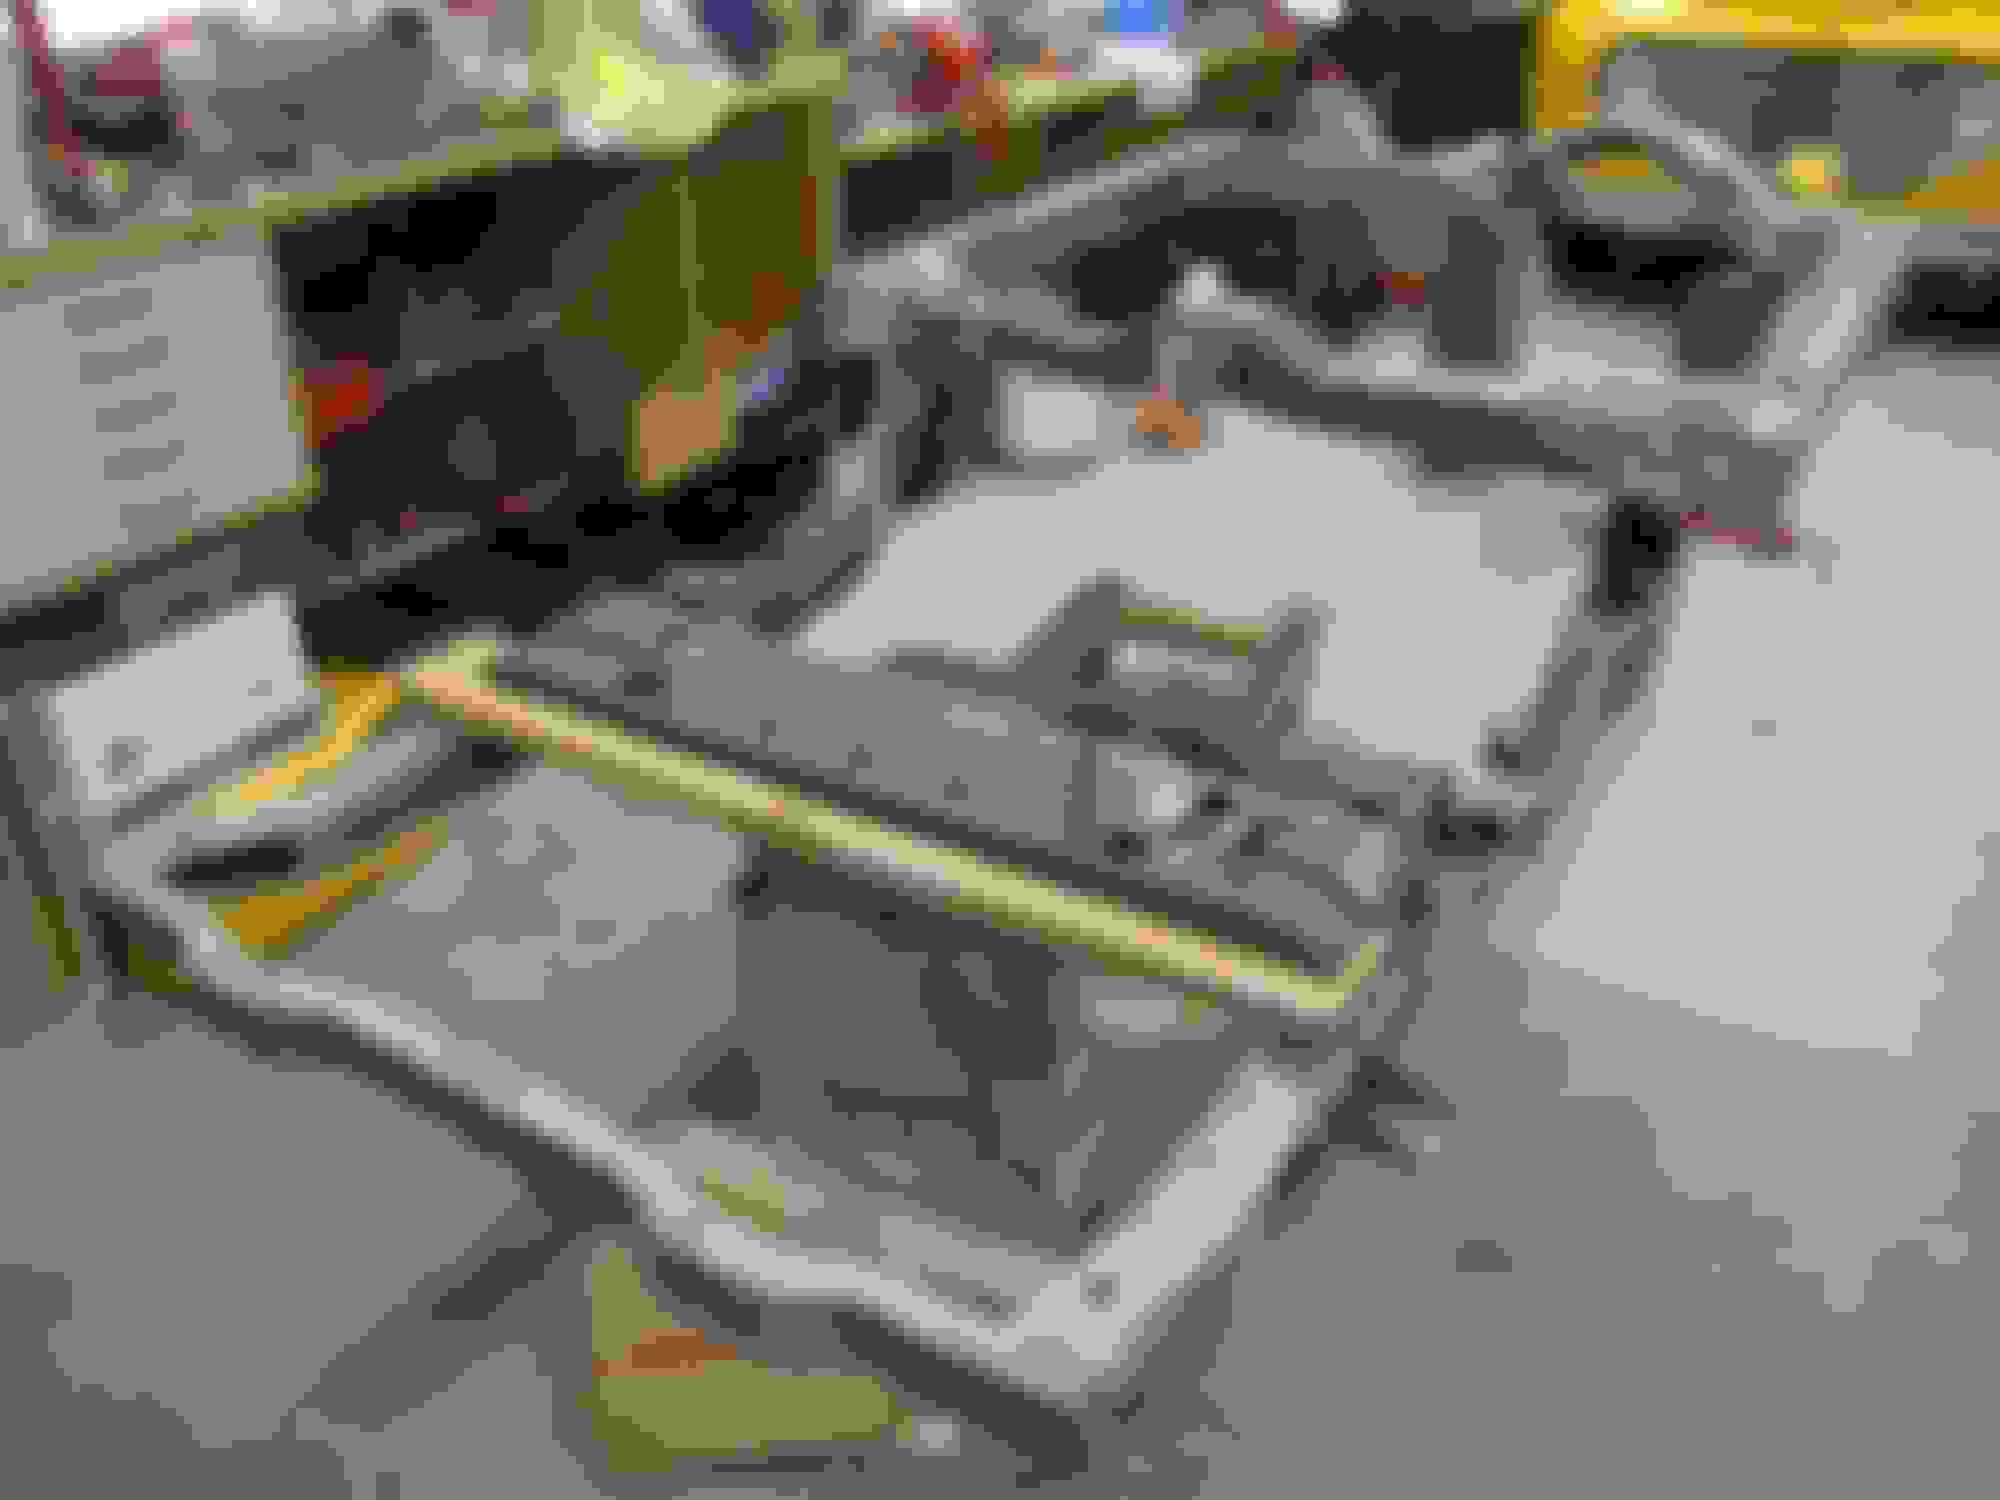
Top welds done and ground smooth, I also wire wheeled the '75 frame - gotta love the new smooth/shiney steel!!
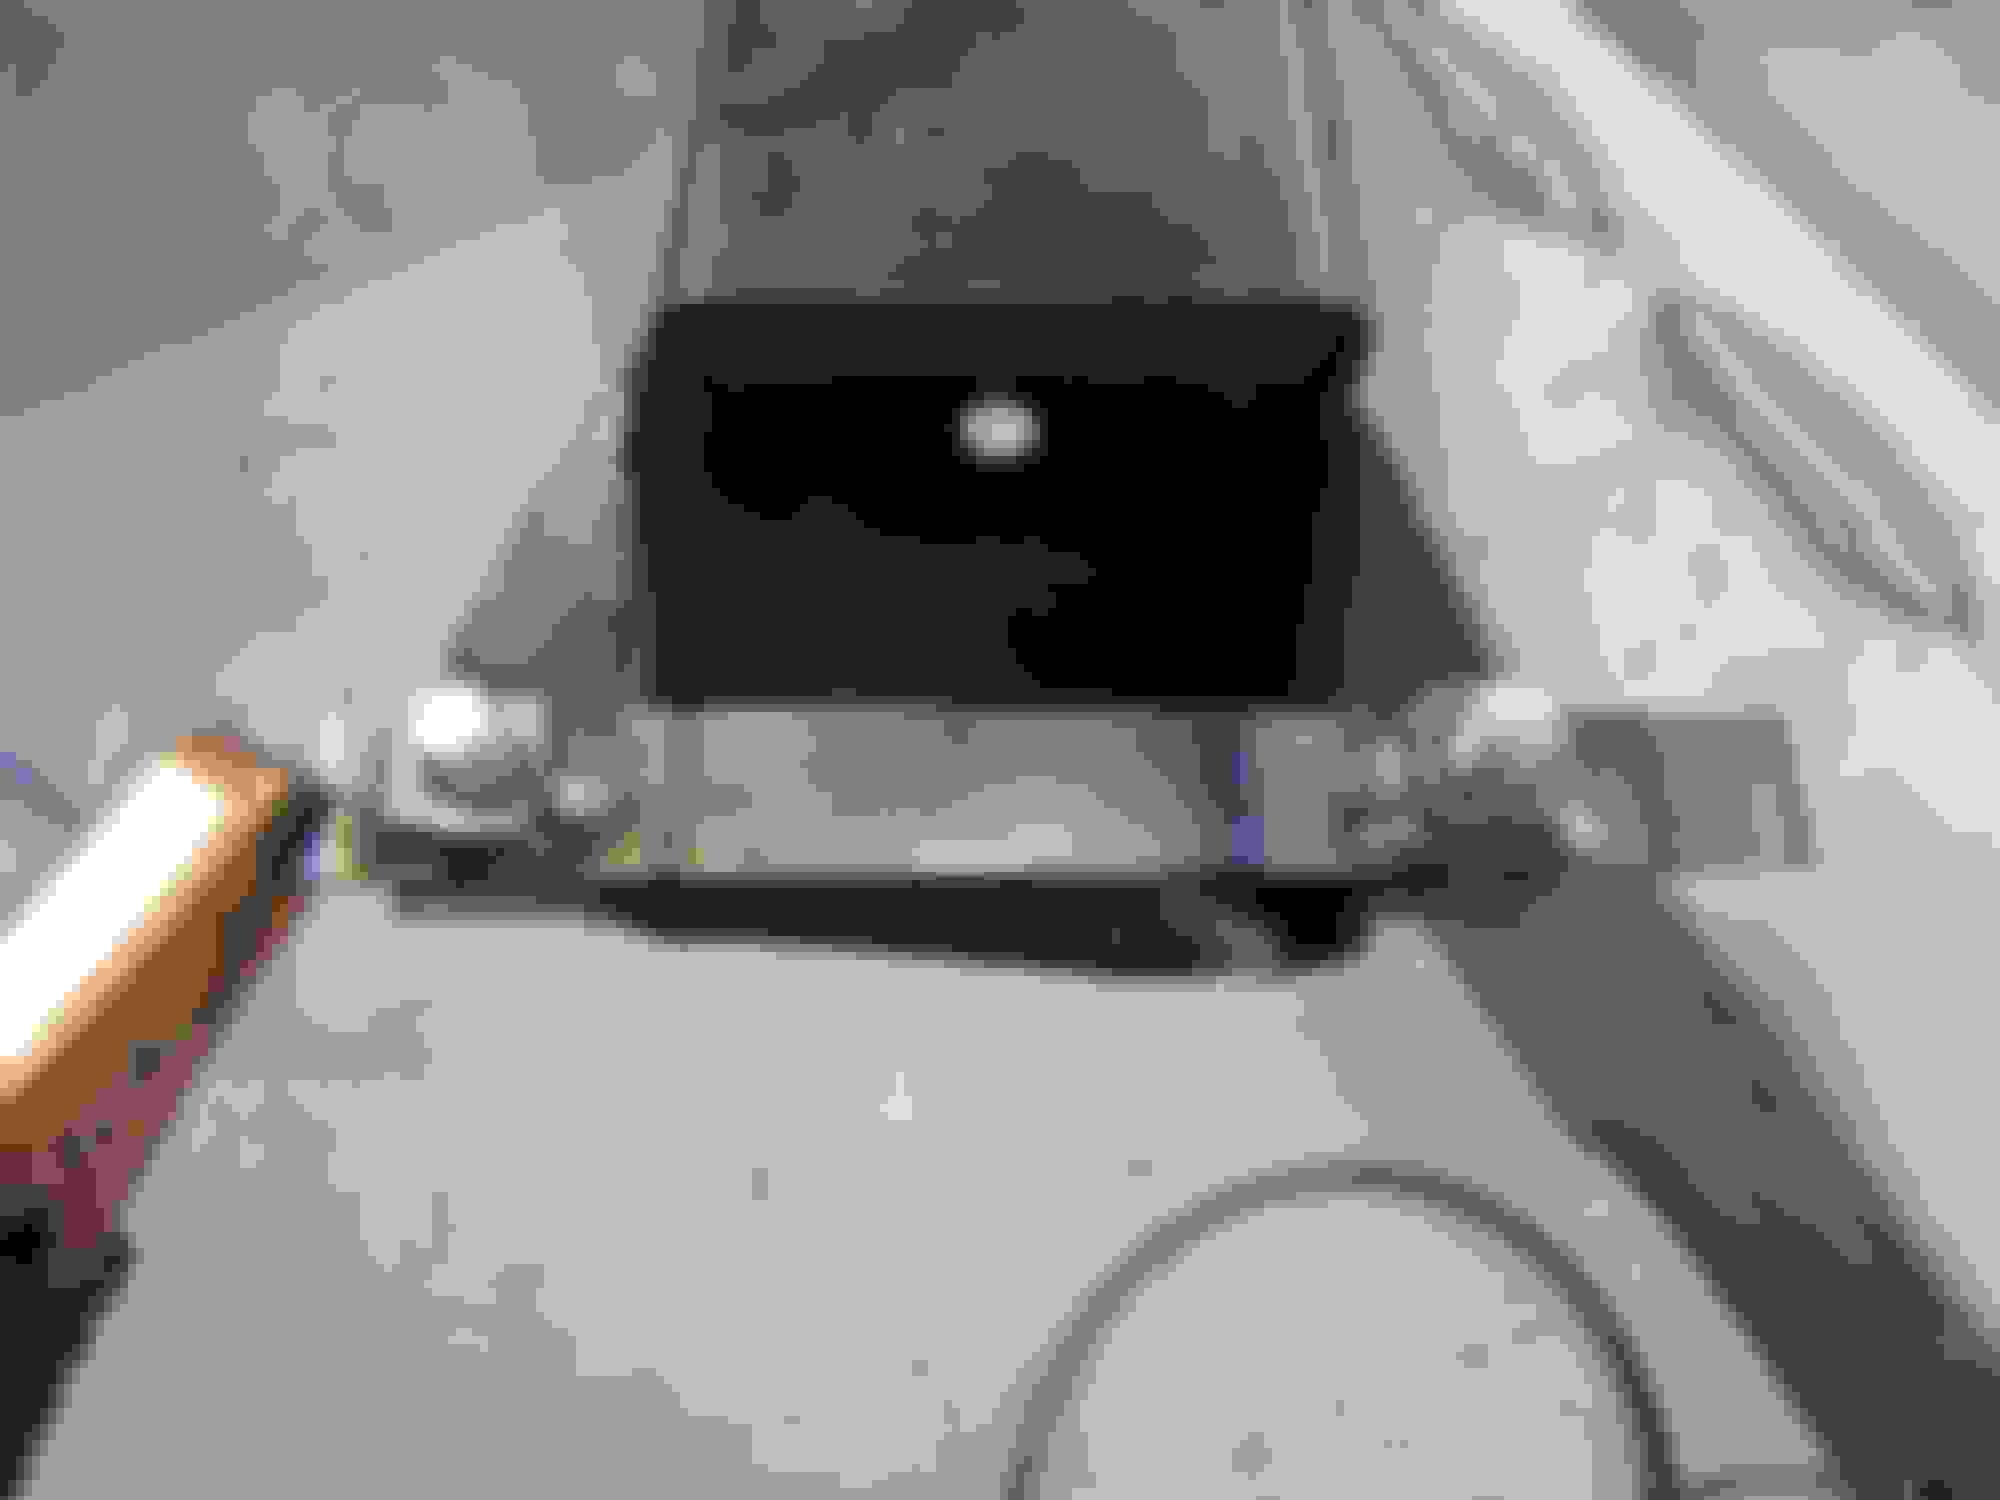
The inside frame line is nice and straight, I'm very pleased with how it's turning out!
I'm also full welding the frame and adding a removable trans crossmember that I picked up from Craigslist ($120). I'm fabricating the side rail brackets from the ends of the '75 fixed crossmember and modifying the front side tabs to match the 90 degree shape.
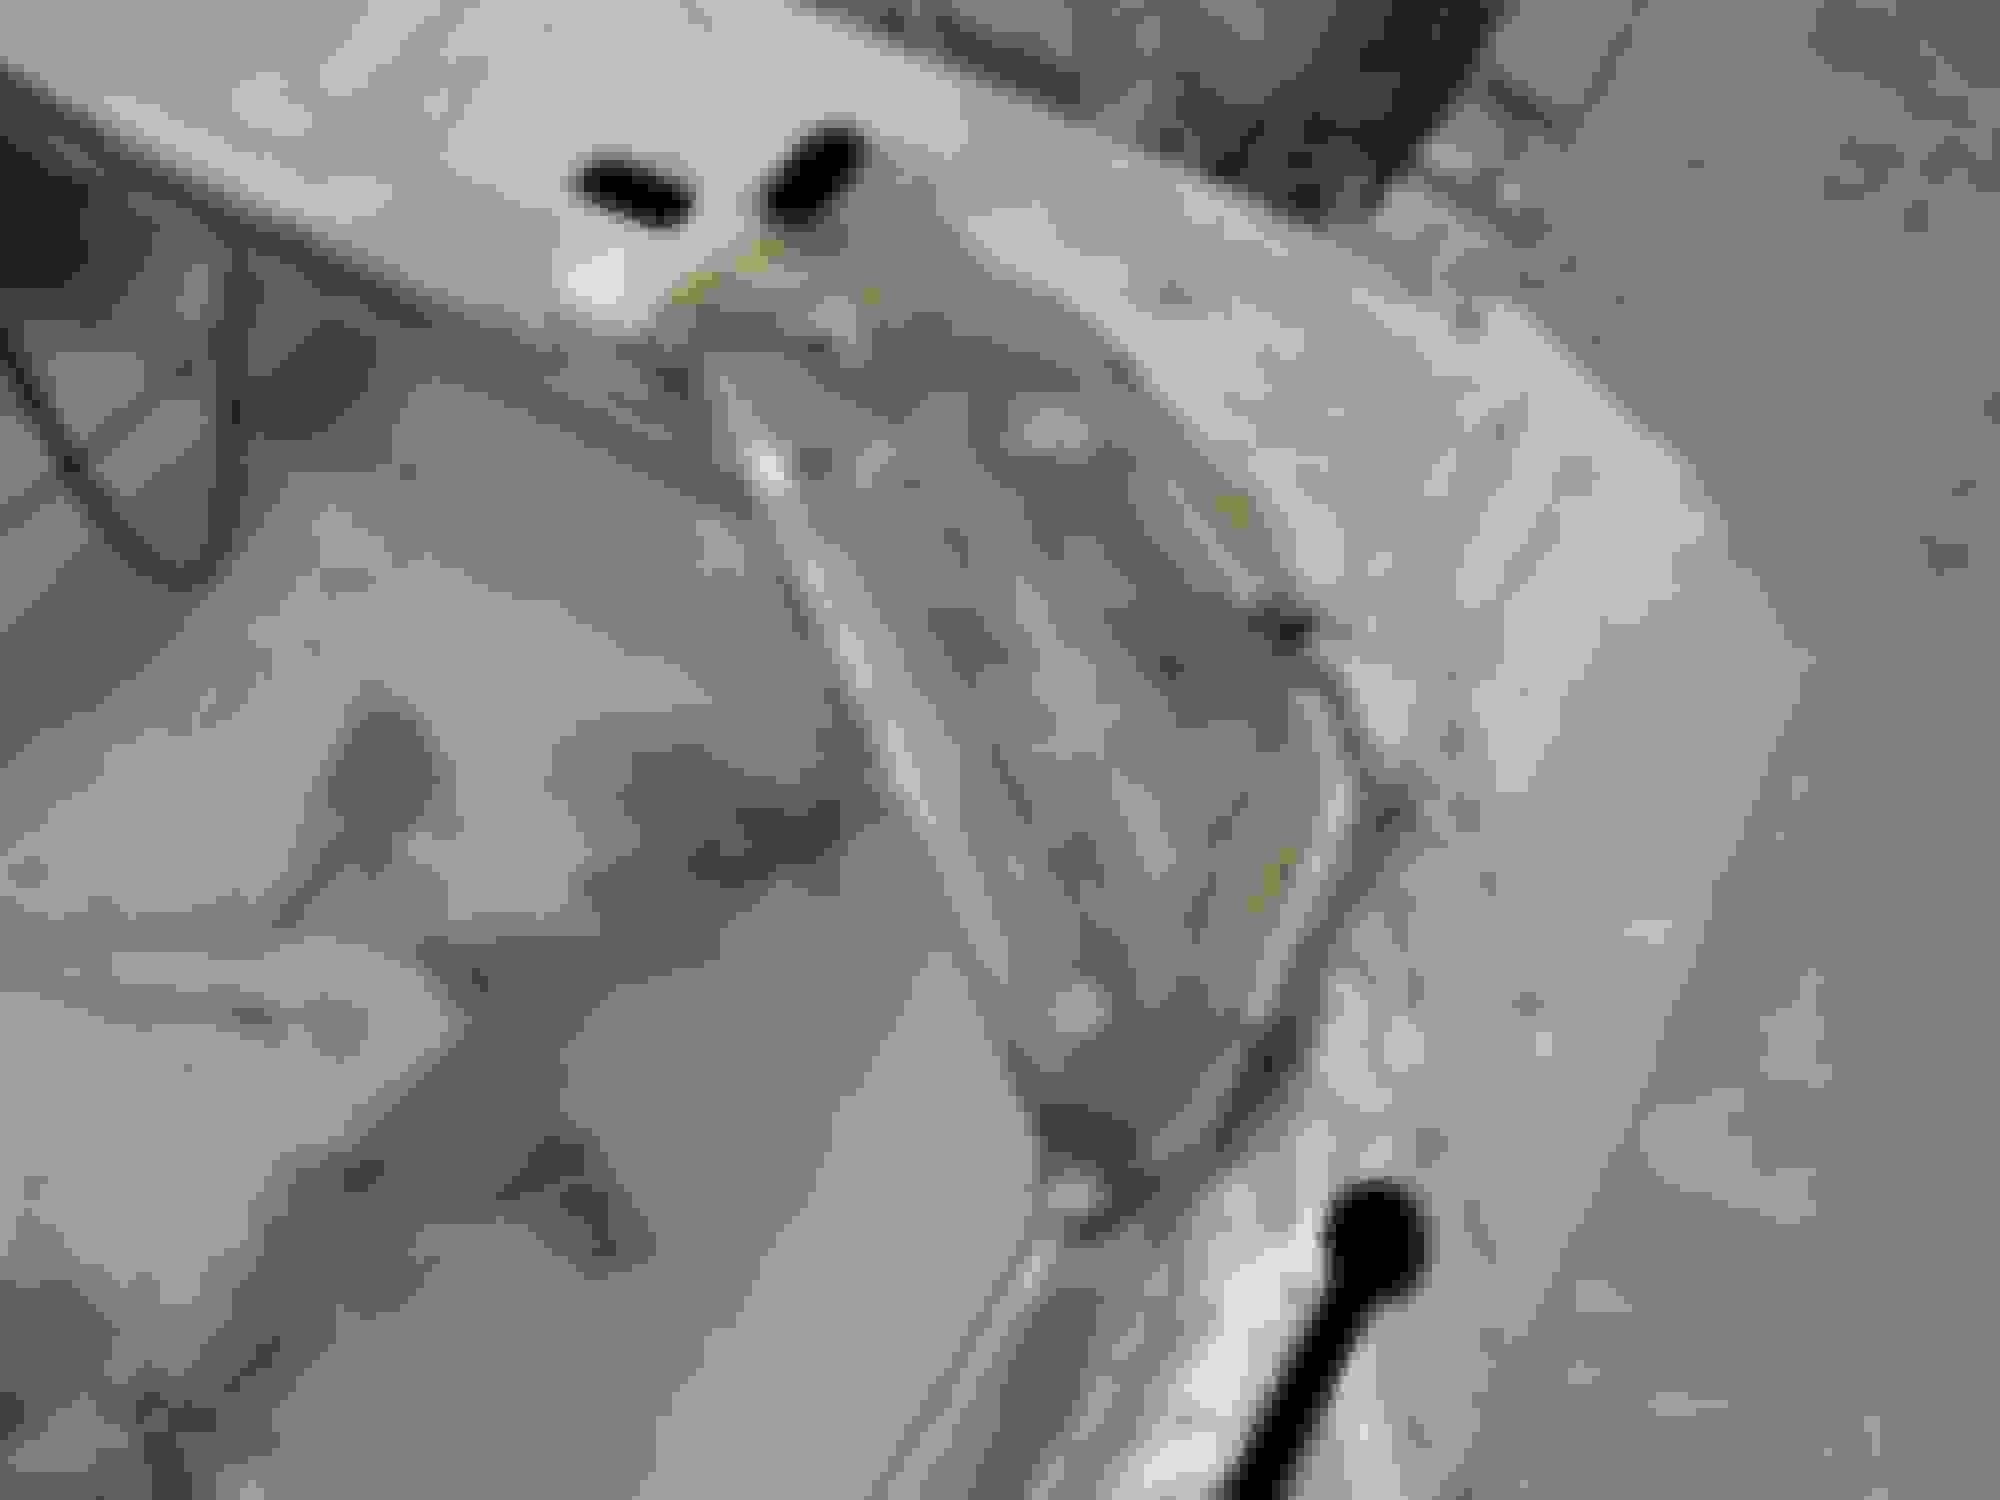
Last night I repaired the #4 body mount holes that had some rust wear and tacked in the patch where the fuel line exits the front kick up. I'll try and get some more pics posted as I progress. I've got all the suspension parts cleaned/sandblasted and rust prepped, just have to catch a nice warm day to get them primed and painted. I hope to have a new rolling chassis in a month or so.
Last edited by slalomfiend; Dec 13, 2017 at 05:46 PM.
Reason: reloading pics
Well, it's now transitioned from project to being a CAR!! The top will go on next week but couldn't resist driving it to work on such a beautiful day! New front springs and alignment are done and the ride height is level - drives great!! Here's a pic of me with the car finally - after looking through the thread I realized that I'm usually the one taking the pics in progress...
I have rigged up a flexible hose/spray tip to apply Por15 to the interior of the frame and them I will paint the frame with PPG Epoxy Primer and DCC Black w/ flattening. That way I can fix any dings/mods that present themselves later. Can't do that w/ powdercoating and this is going to be a driver.
As to the tranny crossmember, it will unbolt and drop down once the pipes are disconnected and pushed to the rear. I have a '91 World Class T5 and '83 Camaro bellhousing that I'll be fabbing up once the frame is rolling again.
"As to the tranny crossmember, it will unbolt and drop down once the pipes are disconnected and pushed to the rear. I have a '91 World Class T5 and '83 Camaro bellhousing that I'll be fabbing up once the frame is rolling again."
Nice work on the frame! Question - where did you find the "83 Camaro bellhousing? . . . I haven't seen another one of those since I bought mine 3 years ago. A very rare piece!
Tom, it was one of those call a guy that had parts on Craigslist but was an automatic car but he had access to the national salvage dealers message board. He searched and found two available, I bought the $65 one and they shipped for $10. I couldn't jump on it quick enough! I know of one in the northeast and they want $200 for it...
Finally got some time to load the latest pics to Photobucket. Here is the pass side rear section fully welded/ground smooth. Also the kick up that I added the fuel line hole patch to, just a little more grinding there.
Here are most of the suspension/chassis parts all rust prepped. I also got a bit more frame cleaning done with the wire wheel, need to vacuum up the floor a bit though. I understand that there will actually be a day when the rusty, grimey work will be done, one can always hope...
I meant to add that the rusty looking film on the parts is the converted oxidation and it just rubs off with a Scotchbrite pad. Next nice day will bring some primer work!
Last edited by slalomfiend; Dec 13, 2017 at 05:55 PM.
Reason: reloading pics
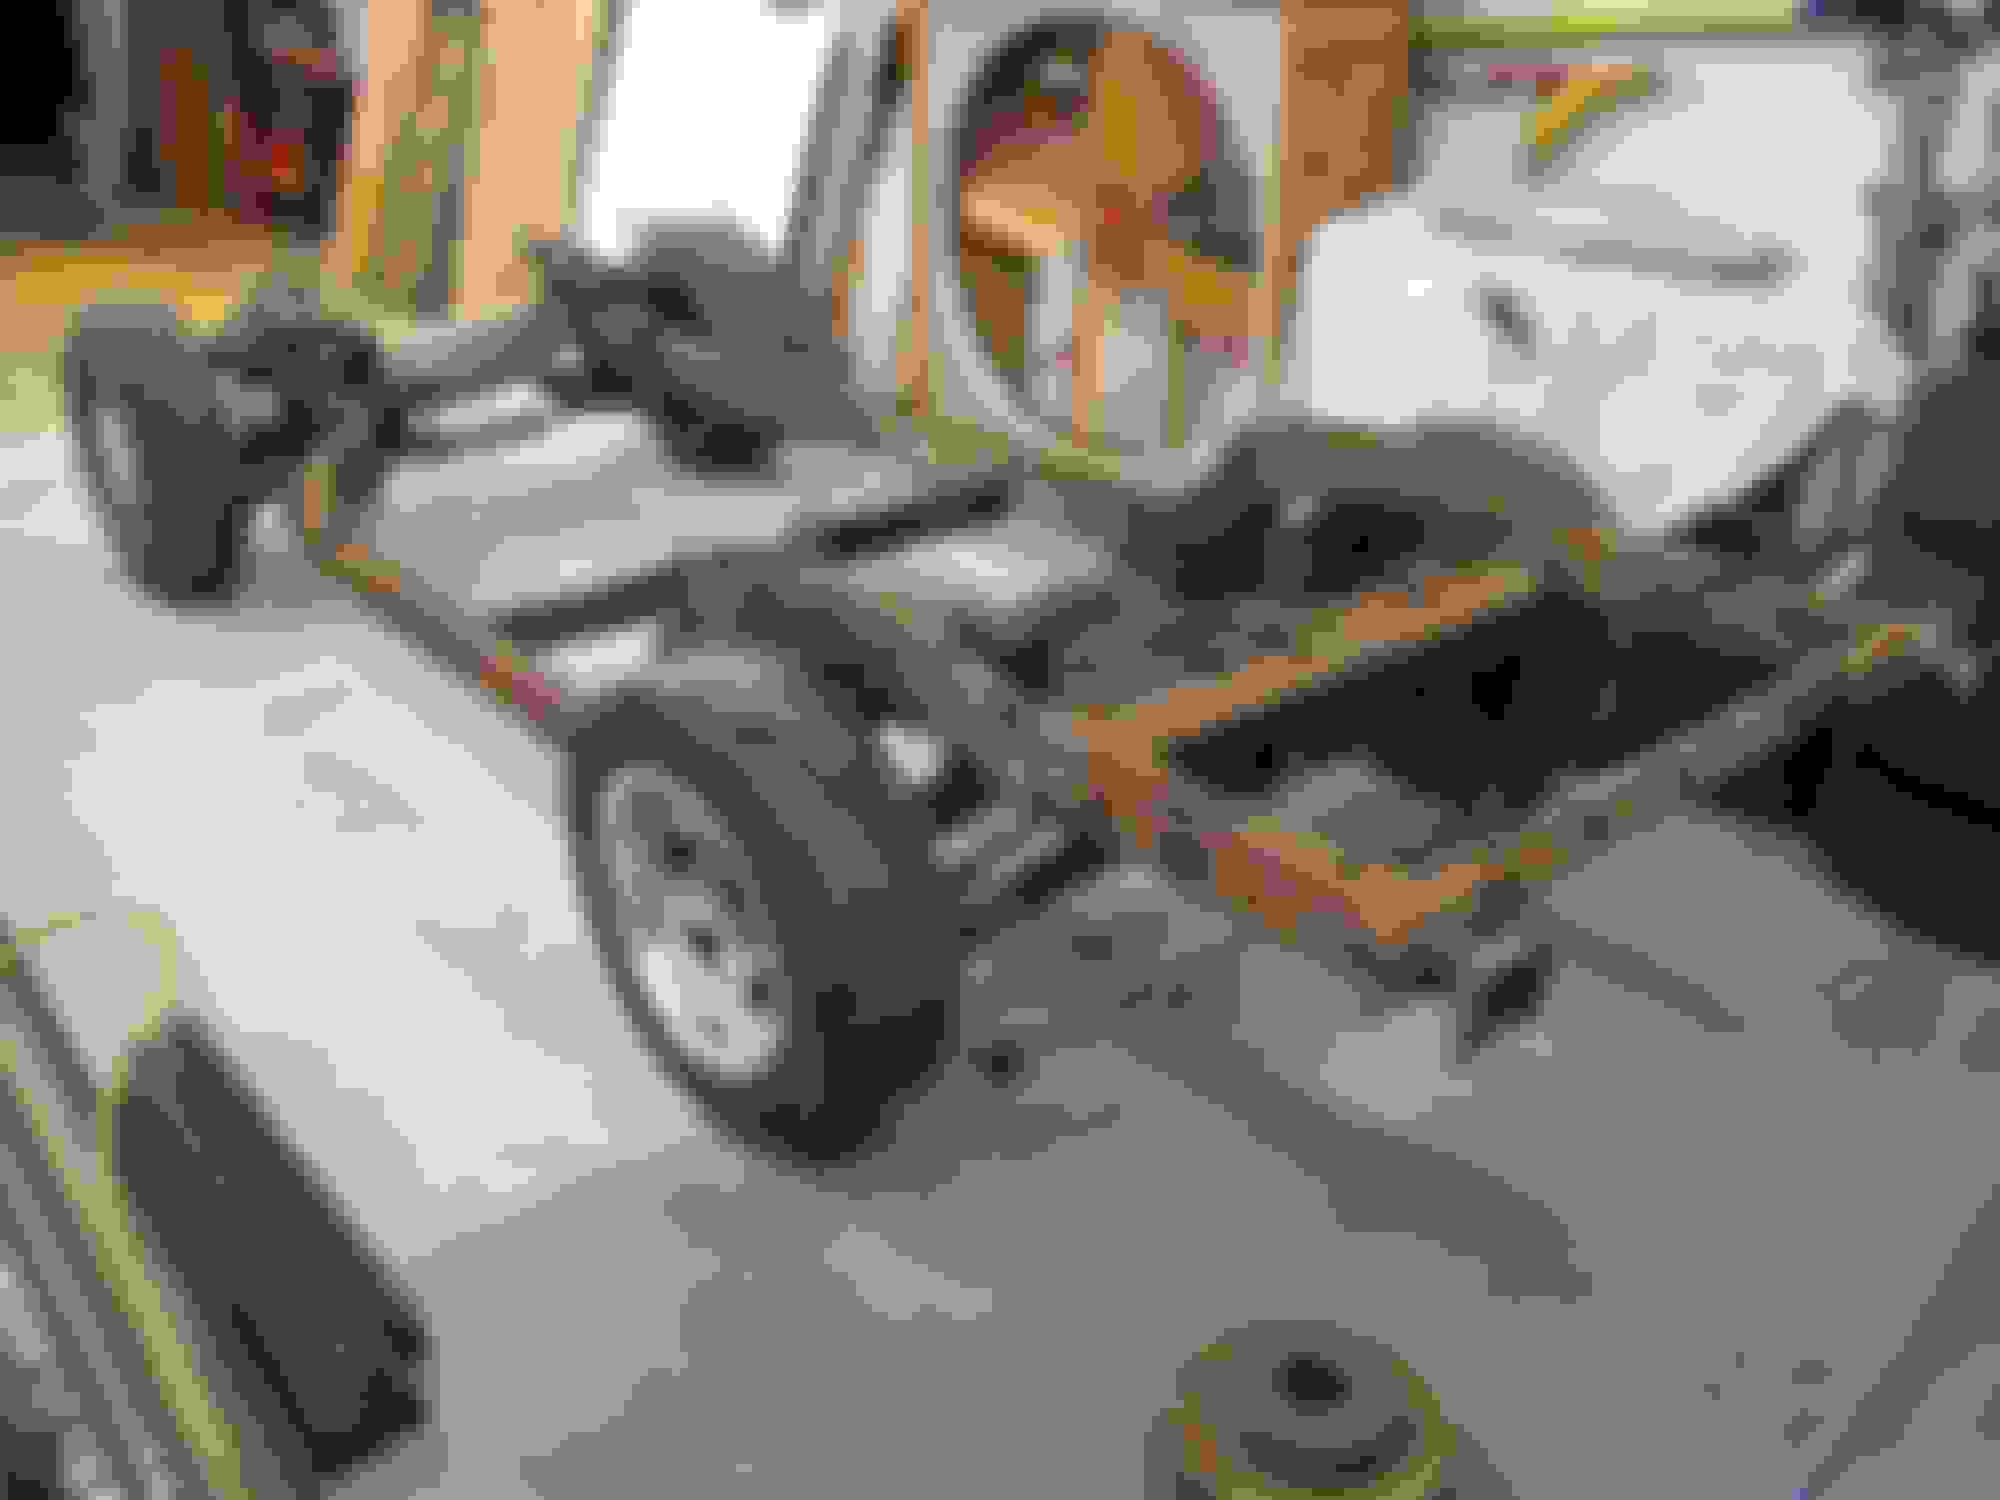
Thanks!! I am a bit of a perfectionist, I have the time this winter so want to get the foundation of the car really RIGHT! The #2 and 3 body mounts were missing the caged nuts so I dissected the ones off the '75 donor frame, cleaned them, coated with zinc weld thru primer and reassembled onto the '67 frame in the correct locations. The unistrut framework method yielded fabulous results. I got the garage cleaned up and moved the body onto the frame to double check the mountings before final welding. Without the doors/top/decklid, it only took five of us to make the transfer. Everything lined up perfectly!
Last edited by slalomfiend; Dec 13, 2017 at 06:03 PM.
Reason: reloading pics
Rene, I've got a Miller MIG unit w/ argon gas. I use the 0.030" wire on the frame and 0.024" on the thinner stuff. You can run some pretty hot amps through the thicker wire, up to 1/8" steel with a nice running weld. I used the thinner wire for the sheet metal work on the 1949 Ford F1 that I just finished - worked great.
Here's a pic of the infill welds along the driver side frame rail as it meets the front crossmember. Once they are wire wheeled, you have a hard time telling it's not original.
Last edited by slalomfiend; Dec 20, 2017 at 11:51 AM.
Gotta love a three day weekend!! I caught a few nice days and took advantage of it, set up to sandblast outside and finished the clean up work on the top side of the frame and rear gear housing.
Then scraped off all the undercoating and started to blast the front crossmember area
Found some stress cracks in the old welds that need to be fixed and will drill the holes for the '67 front bumper brackets. Also, did a light blast on the rear kick up covers and they are super clean metal, will finish the undercoating removal/blasing back there on the next nice weekend. The trailing arm pockets are very clean as well, nice smooth metal.
I will need to splice in a patch to the bottom of the #4 crossmember to mimic the holes and spare tire suspension rods, the '75 has different hole locations and a sloped area that isn't correct. I'll also get the bolt nut plates made and installed for the bottom part of the removable crossmember attachment.
Last edited by slalomfiend; Dec 20, 2017 at 11:59 AM.
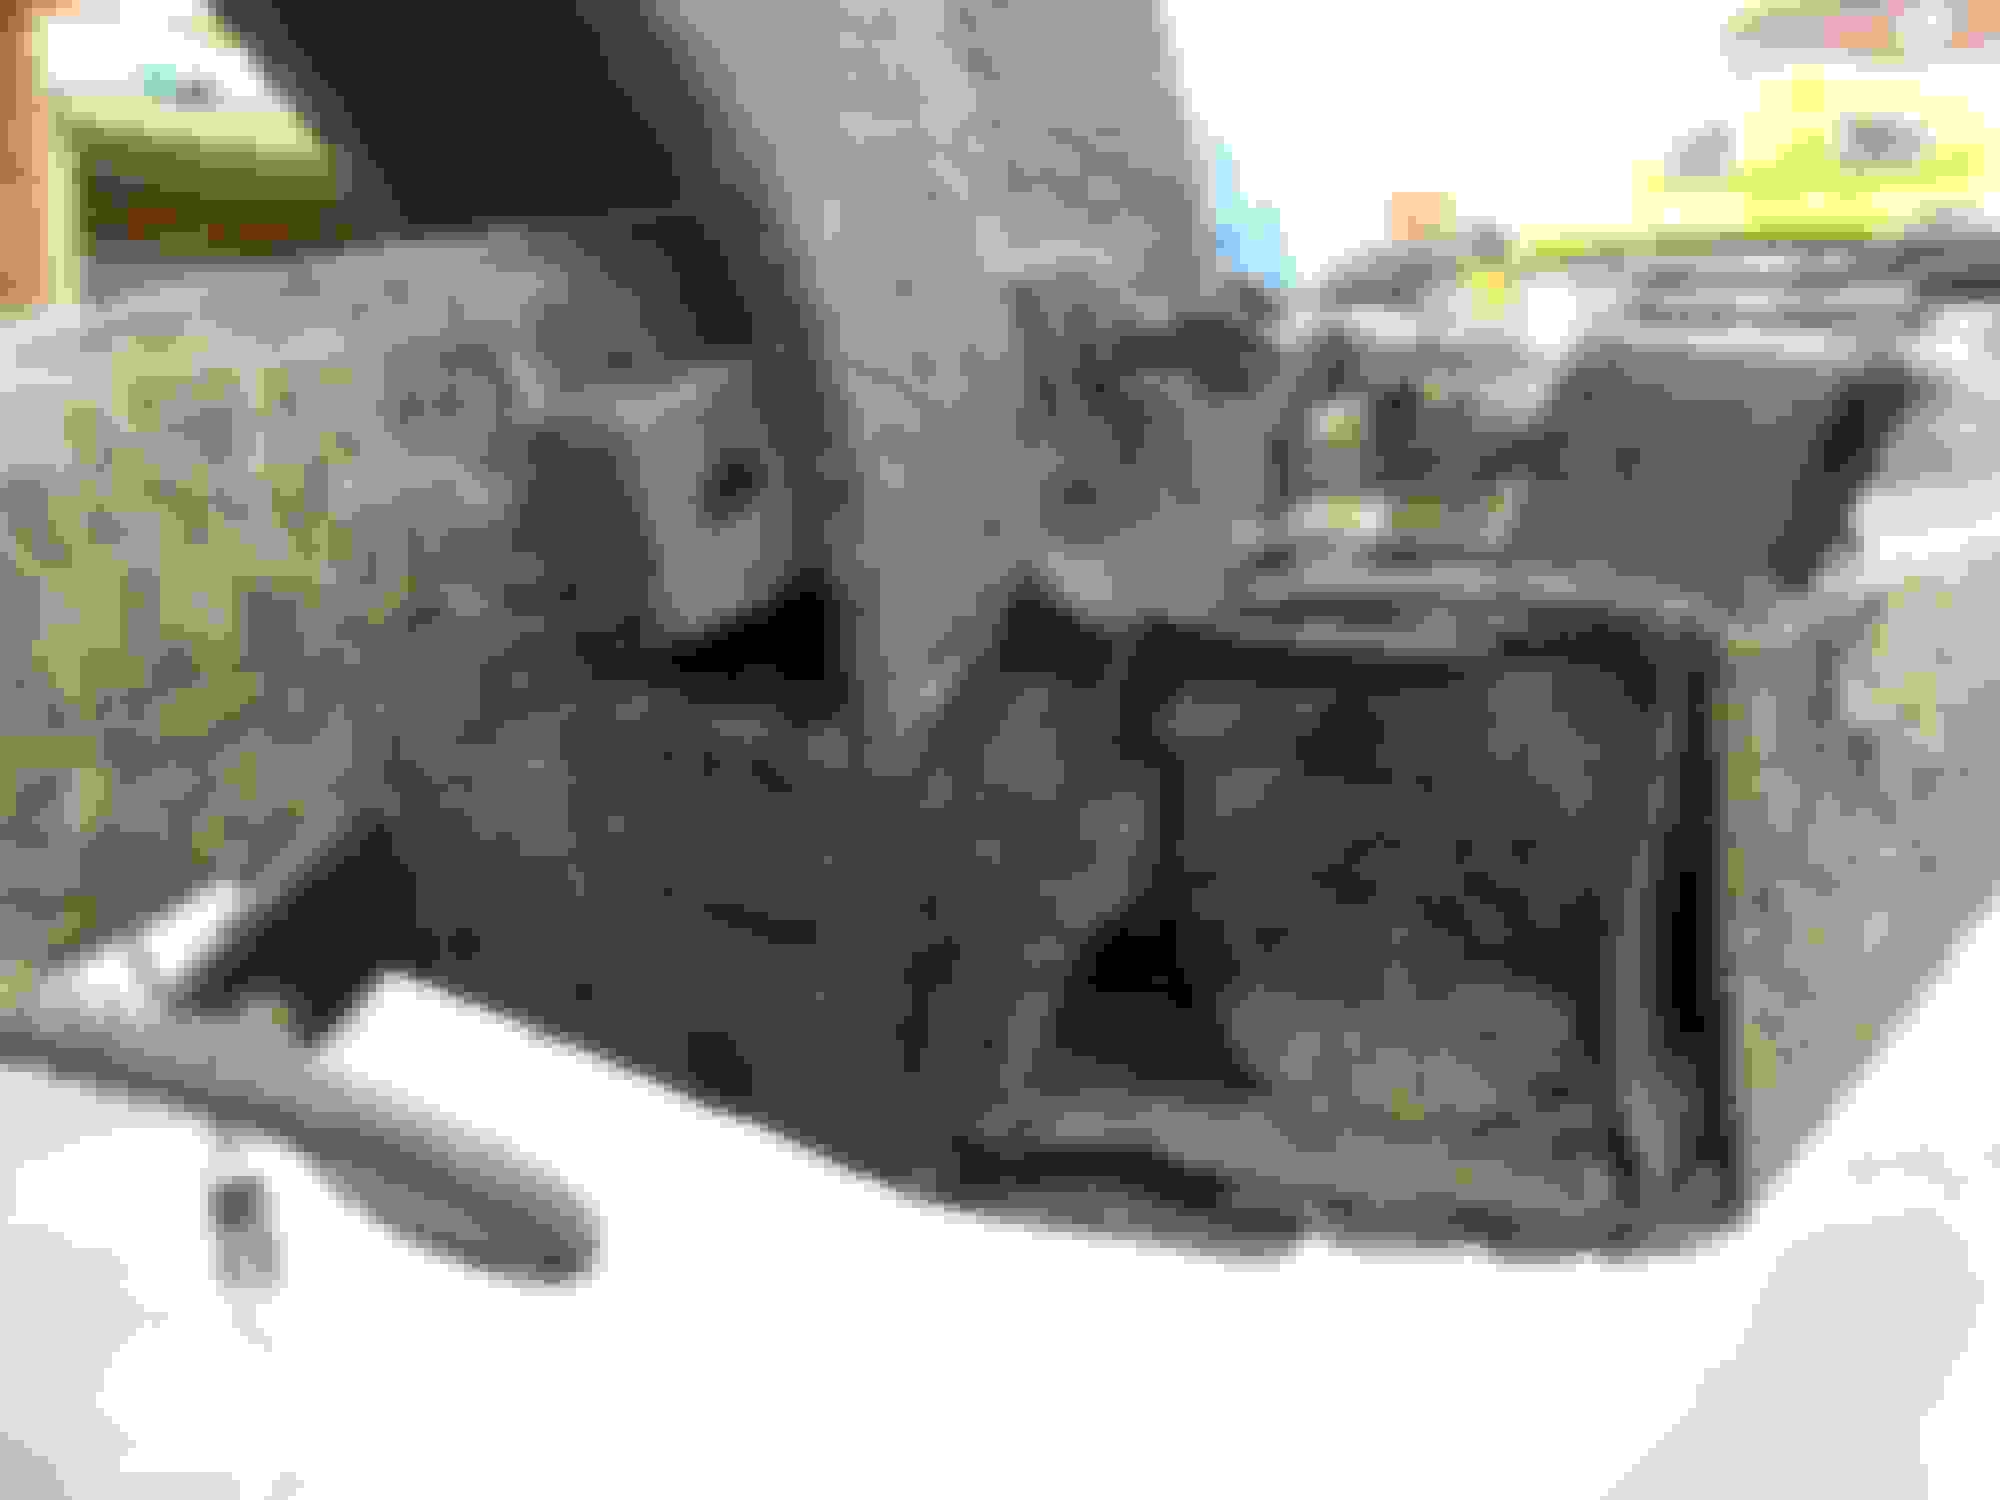
I rolled the frame outside this past Sat and finished blasing the underside of the frame, finally feeling like the nasty part is nearing the end! The side rail box ends are rust free and the trailing arm pockets have no rust rot.
The only area that concerned me was the sandwich between the lower siderail to #3 crossmember gussets. They had a bit of rust that I couldn't get to so I cut out the welds, sandblasted, rust prepped/zinc primed and re-welded into place
Here's a pic after wire wheel, now I know it's clean under there!
I'll post the removable crossmember work next...
Last edited by slalomfiend; Dec 20, 2017 at 12:05 PM.
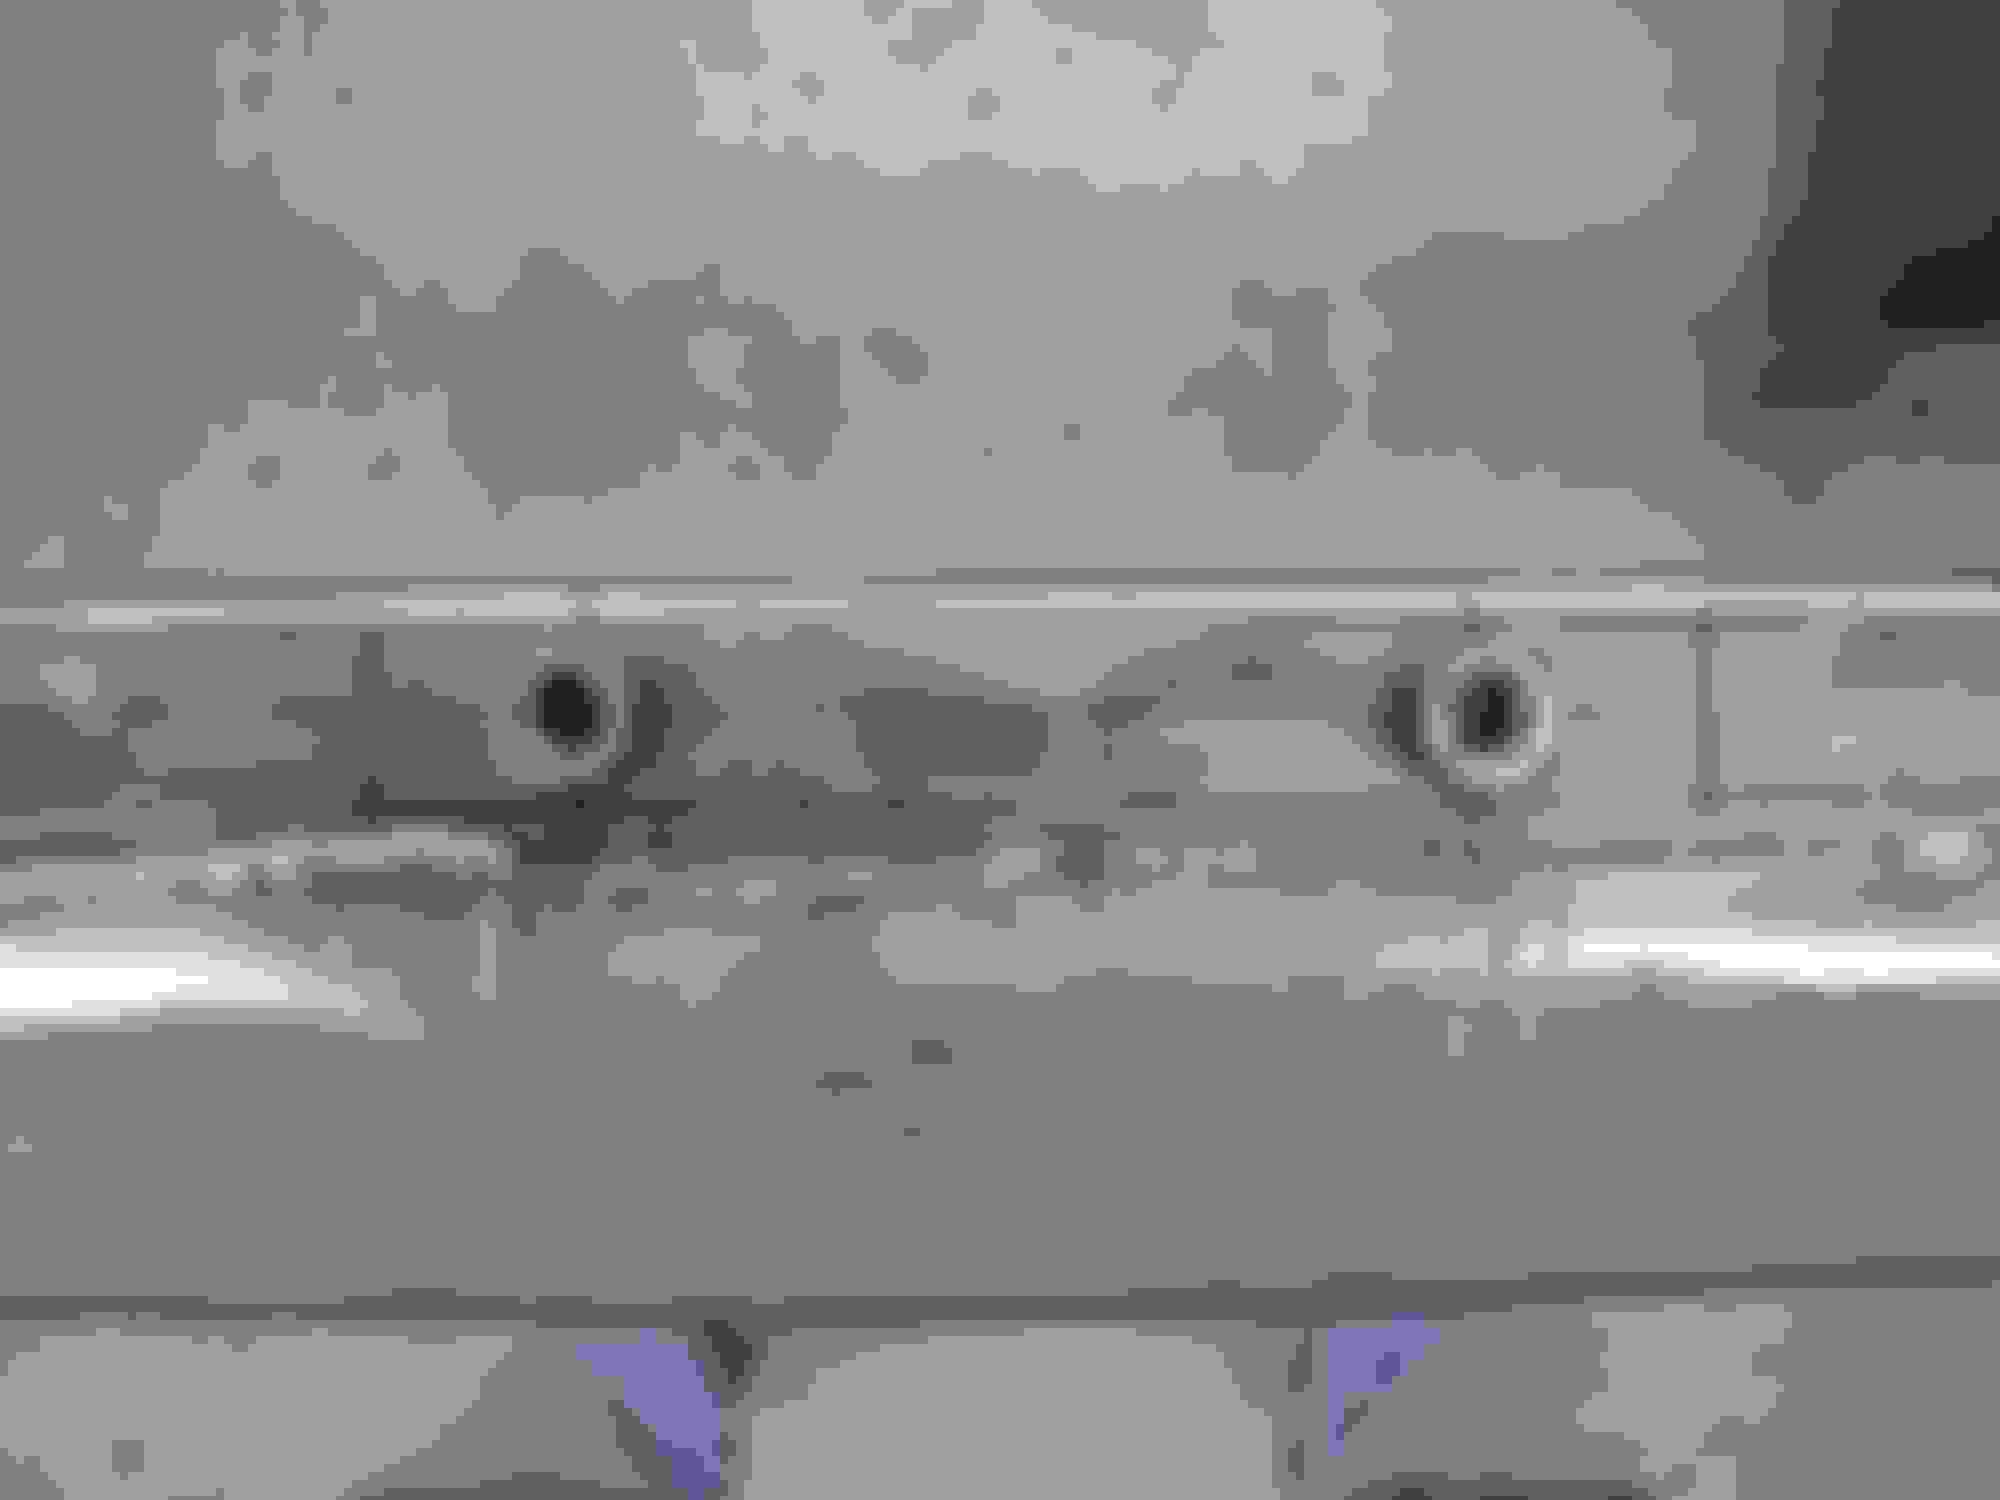
I was asked to outline how I was doing this as well as the #4 crossmember conversion. I did the removable xmember first starting with setting the center lines for the bolts that have to be installed in the side frame rails. Set the xmember in both the front to back and side to side location, mark the hole locations with a fine line Sharpie
I salvaged four 7/16" NC14 weld nuts from my donor frame and cleaned them up, you can use the sombrero nuts or the spare tire bolt nuts.
Then set the splice cut width, I set it 1/8" wider than each side of the nuts
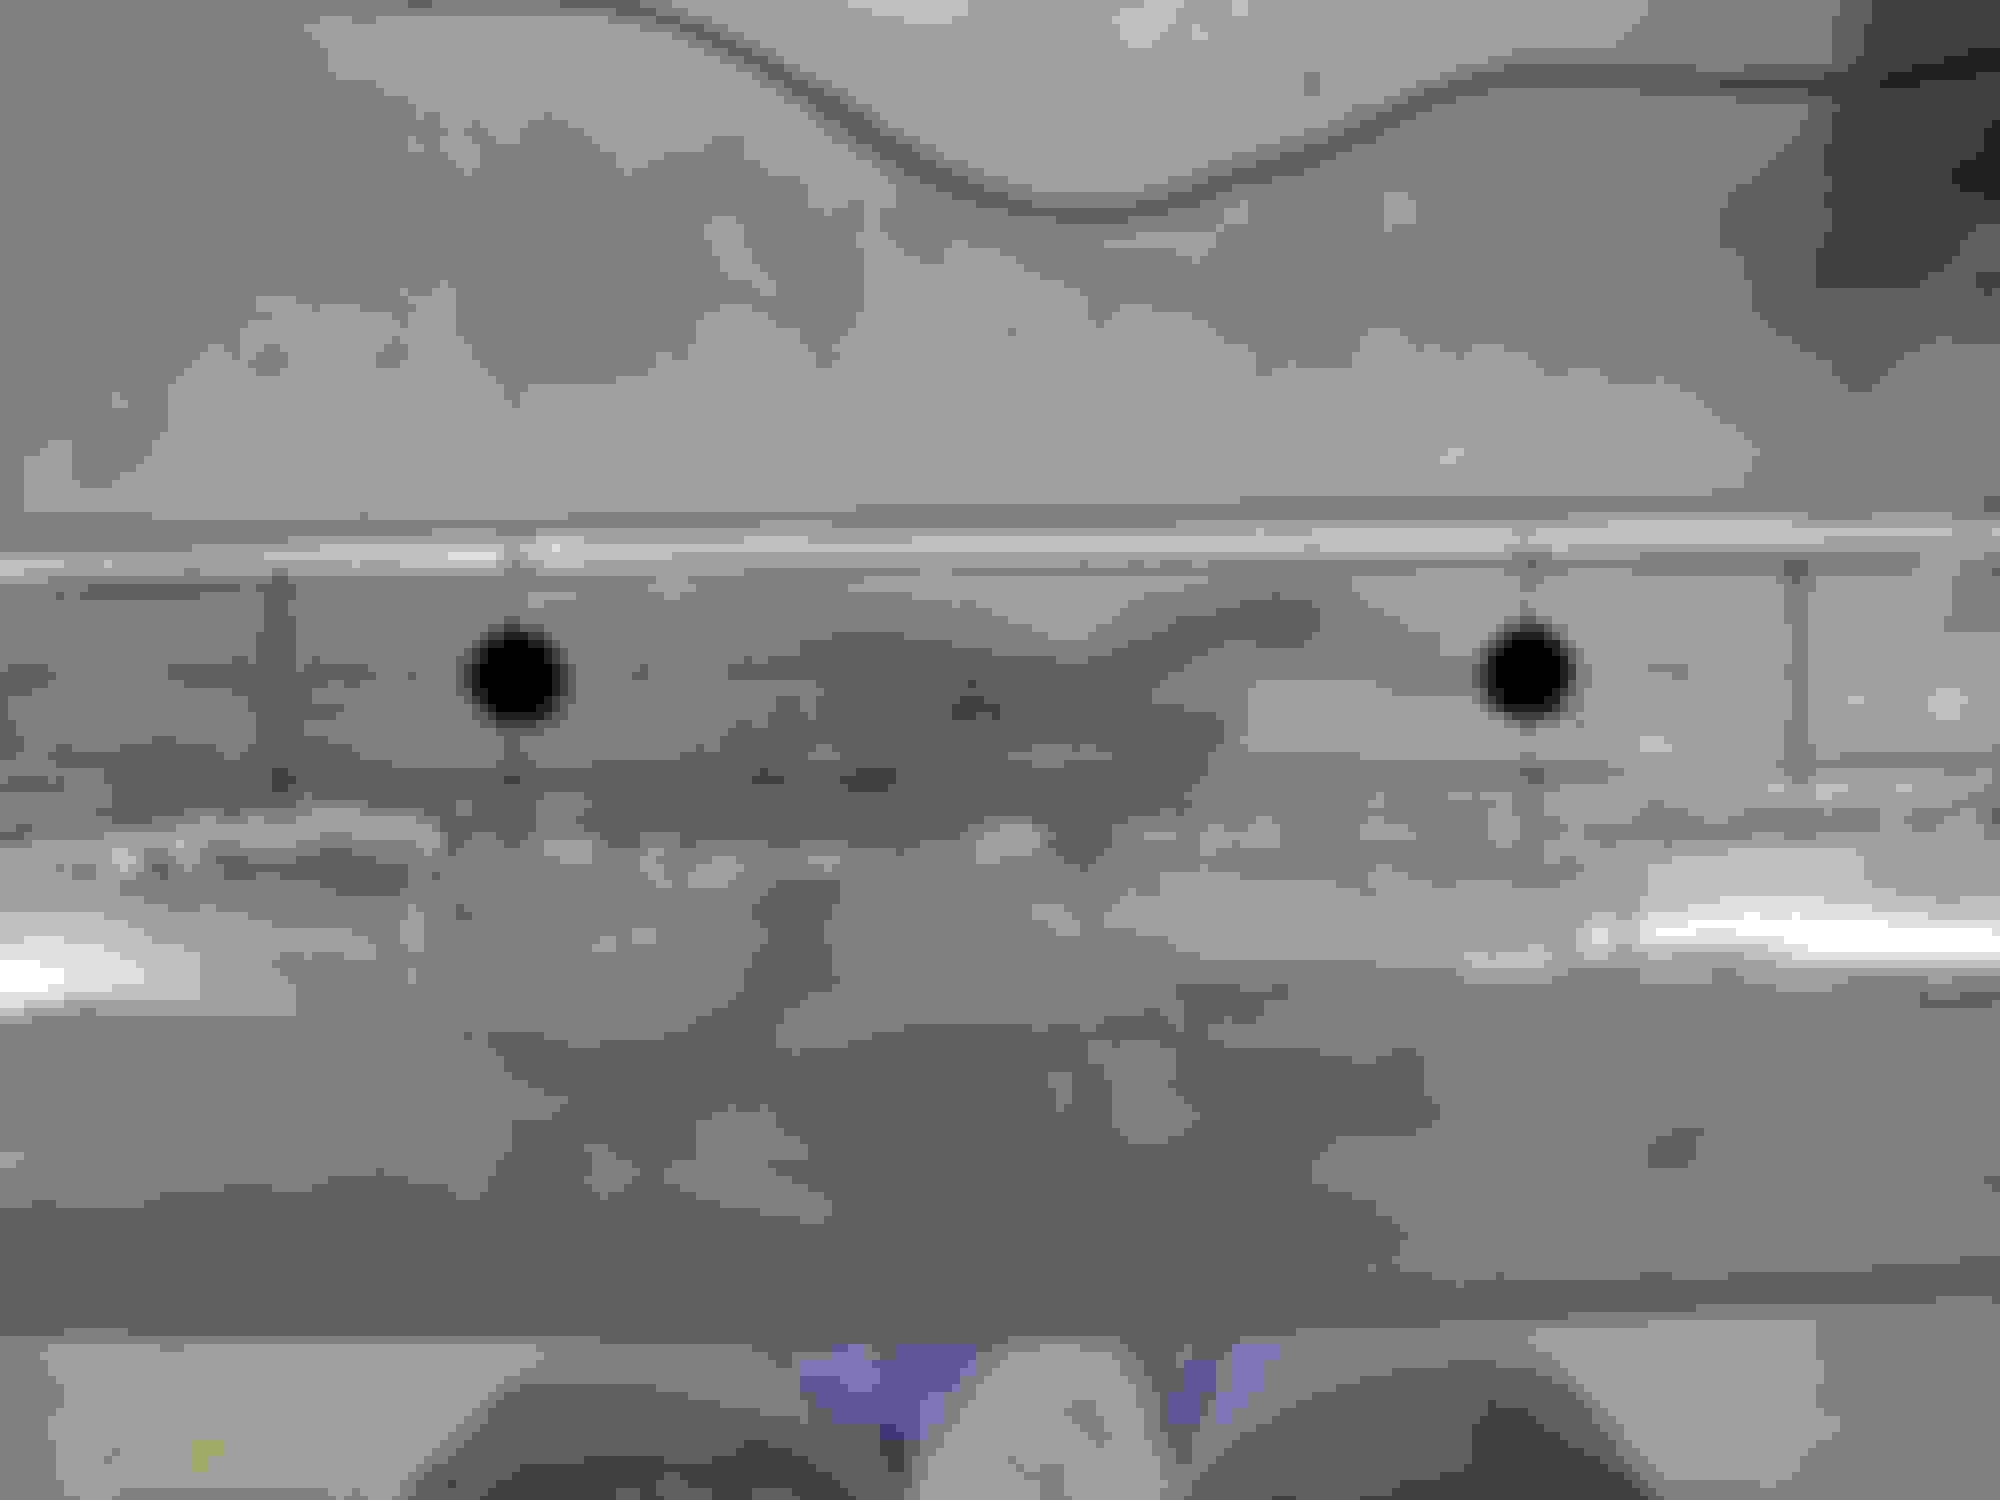
Then drill the 1/2" holes using progressively bigger bits
Cut the splice out, I use a 4" angle grinder w/ cut off wheel then a dremmel/cut off wheel the get the corners
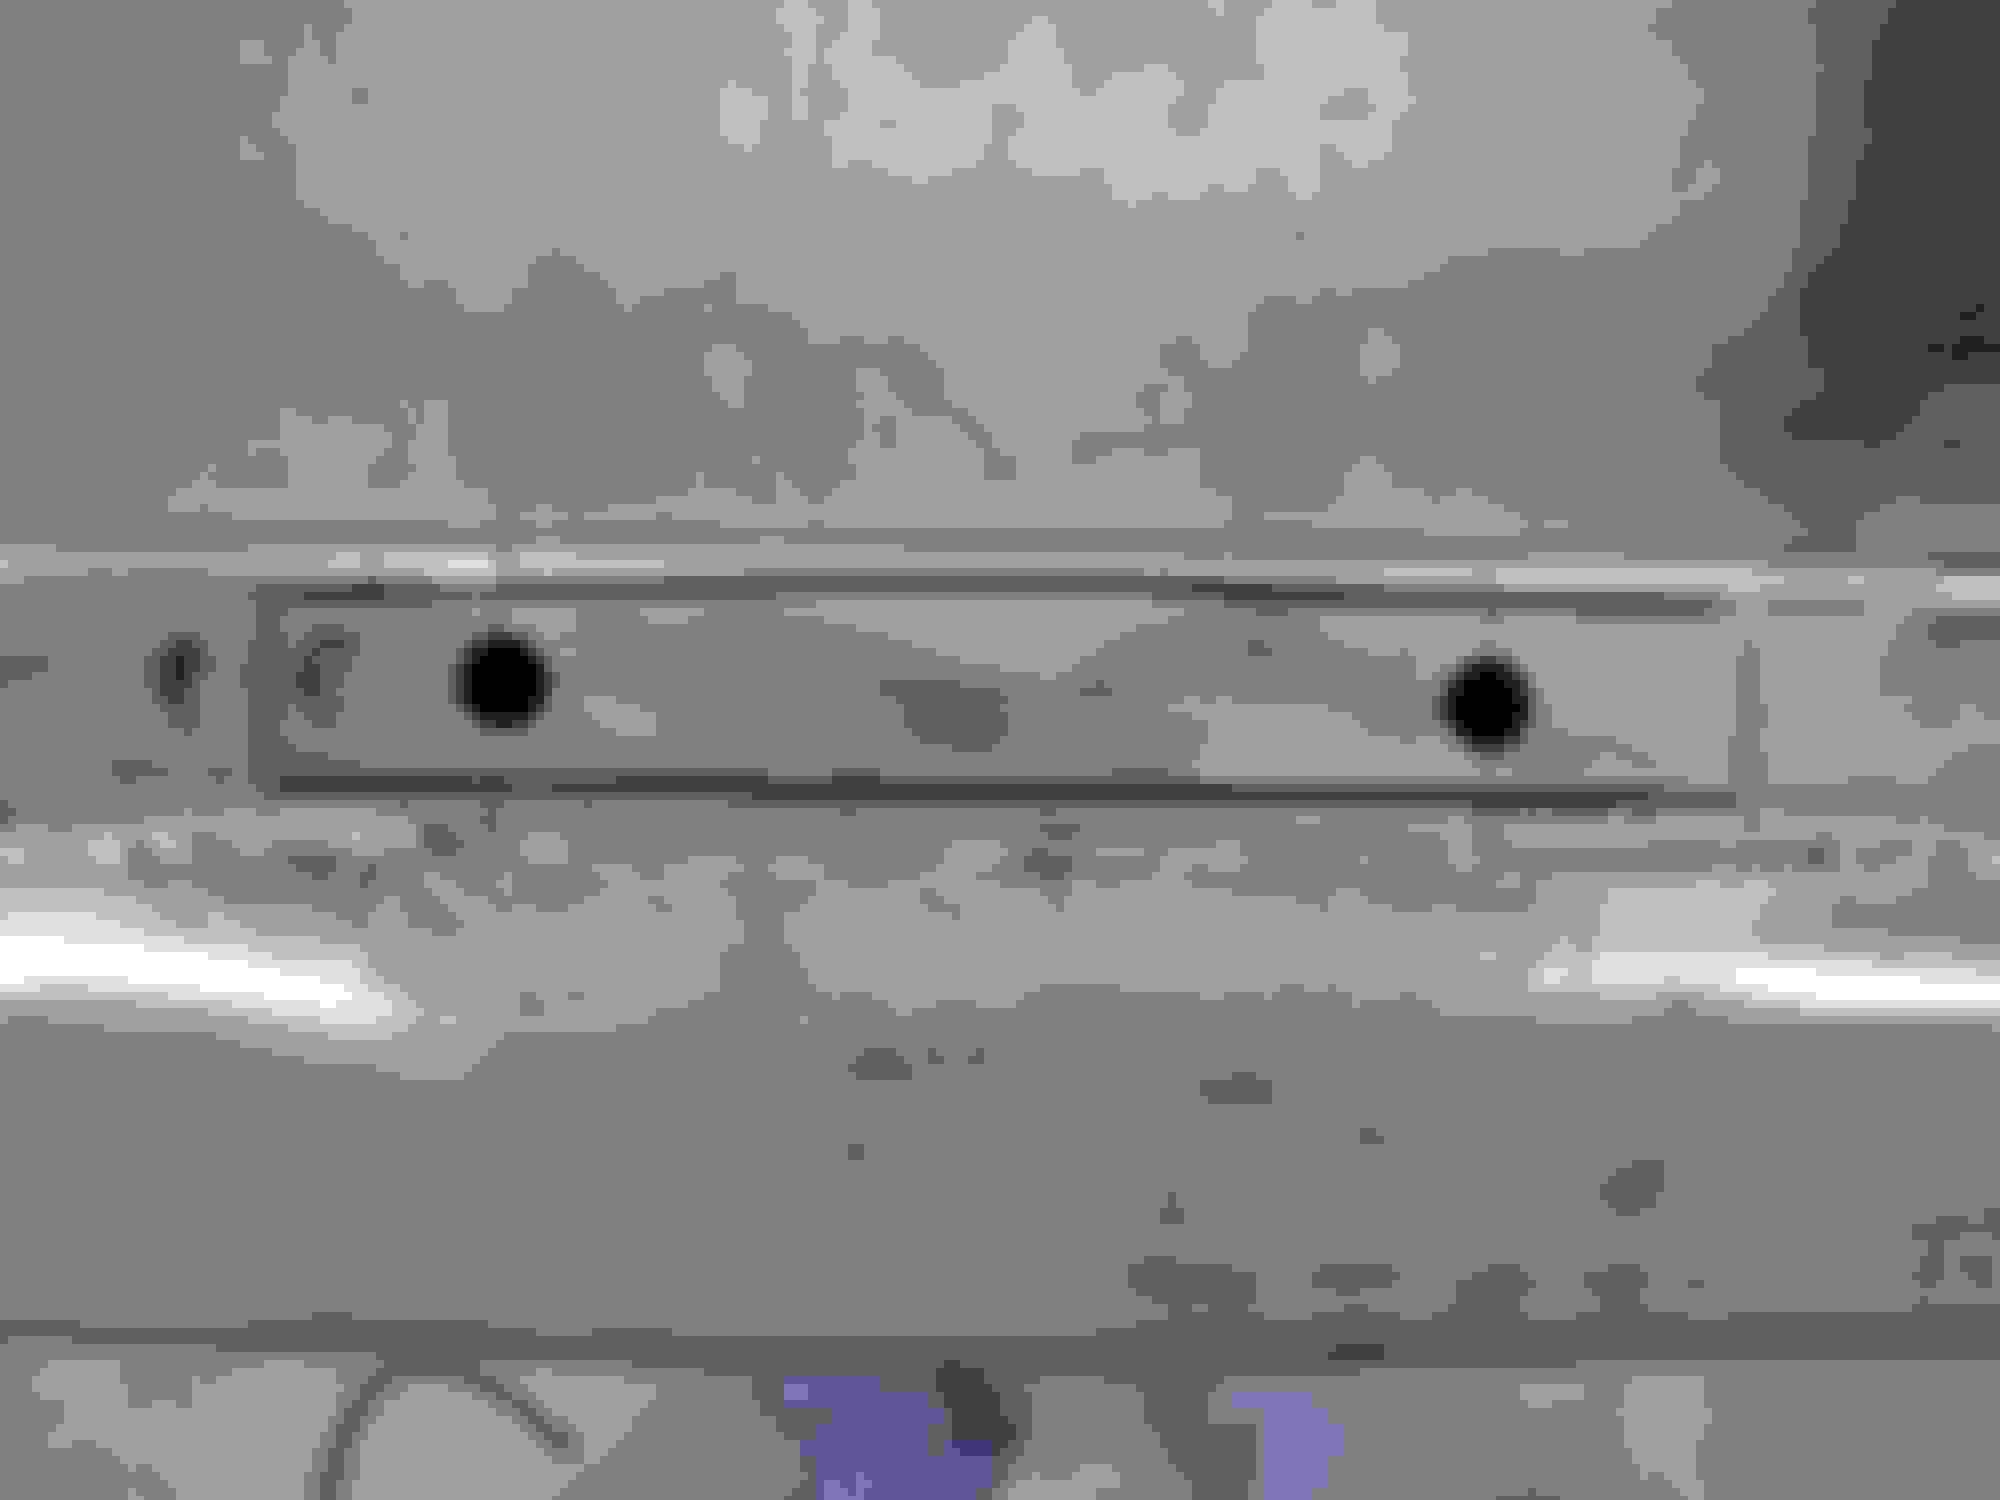
I put weld tabs inside the frame to strengthen the weld and keep the splice in plane with the bottom of the side rail. I grind out half round dimples for the initial tack weld, keeps the tack weld out of your main weld line and allows the splice to lay flat.
Tack weld the nuts, centered on the holes and bolt up to the xmember and test fit
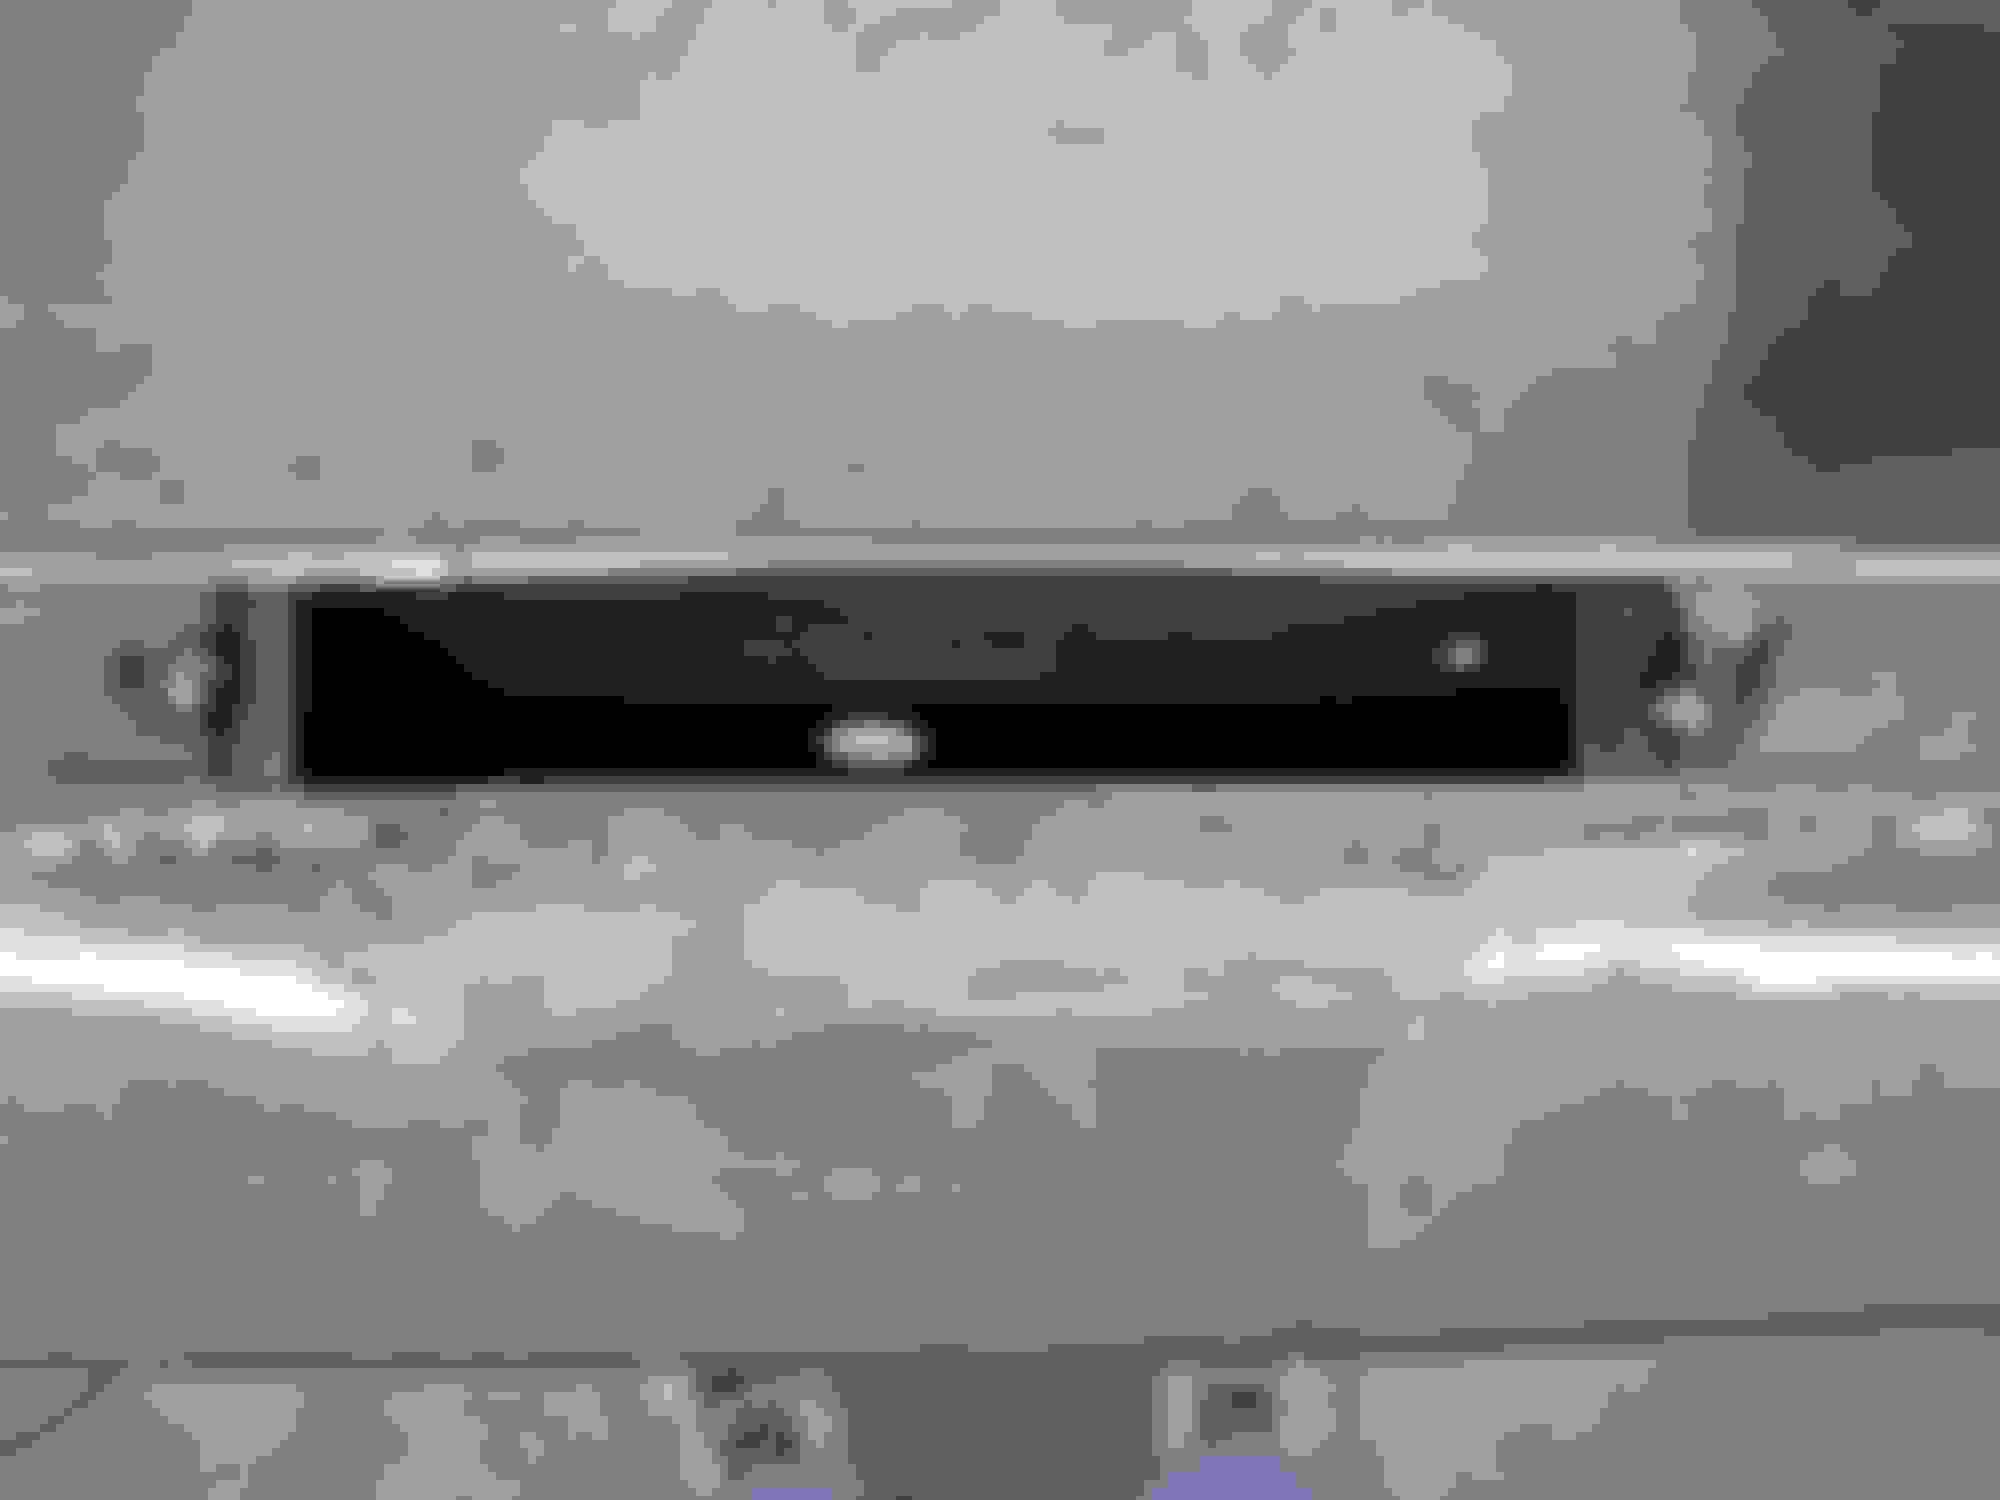
Finish welding the nuts to the splice plate and then tack the entire assembly into place
Unbolt the xmember, finish the full welds and grind smooth
I should finish the #4 crossmember tonight and post those pics tomorrow...
Last edited by slalomfiend; Dec 20, 2017 at 12:18 PM.


 Dennis