When you click on links to various merchants on this site and make a purchase, this can result in this site earning a commission. Affiliate programs and affiliations include, but are not limited to, the eBay Partner Network.
I am doing a custom set up using 6 autometer gauges ( not including tach & speedo) and I am trying to figure a way to wire them up on the bench, then plug and play into the main custom harness. Basically trying to get info on connectors of some type. Car is a 78 but nothing is stock including the Ron Francis 24/7 fuse box. thanks for any ideas.
I am doing a custom set up using 6 autometer gauges ( not including tach & speedo) and I am trying to figure a way to wire them up on the bench, then plug and play into the main custom harness. Basically trying to get info on connectors of some type. Car is a 78 but nothing is stock including the Ron Francis 24/7 fuse box. thanks for any ideas.
Hey kanvasman.
Post some pictures of your work please. And gauges. We love pics.
Just did mine. The other end of the connector goes to the stock harness. I used the original wires for the power, water, volts and fuel level also lights. Nothing on the original harness was cut. I used crimp connectors to slide into the original connectors. Everything can be returned to original.
Lots of good replies, thanks to all. I am using Autometer ProComp Lite, water,oil & trans temps plus fuel, oil pressure and voltmeter. I don't have any stock harness in the car, so this is all from scratch. Made a template of the opening for the stock gauge pod. This is using all the orig dash parts, that will be cut up and used for mocking up the new center panel. Used steel since I didn't want the abs plastic, It was a little too thick and I am not sure yet if I am just going to paint it or upholster it in vinyl to match the interior when I get there. My object right now is to get the gauges working so I can fire up the newly rebuilt TPI engine I have put in. That is one reason I want the plug and play since they will be needed way before the final dash is done. I have looked at the autometer harness and I can justify the $$ in time saved. Richard, I am looking into something like what you have but don't feel like going to the junk yard to grab some connectors, so I hope I can track down some DIY plugs that I can configure for what I need. As we know, there is not a lot of room down there, so anything to tidy it up will help. Basically 6 sending unit wires, and corresponding power wires, grounds and the lighting. Here is where I am so far.
That panel will fit right over the OEM center bezel. I just need to cut out whatever is behind it and leave some trim to attach this new one to. That's the other rreason I went with thinner steel than the ABS, it sits almost flush with the radio part of the bezel. WHen you get to this project, make sure to get the correct sending units. There are a lot of them.
Not sure where Georgetown is, but I hope you didn't get hurt too much from the storm. I have friends north of Houston and they stuck it out, didn't have any damage to speak of but now are waiting for the roads to open up so the supplies can get in.
We are 30 miles north of Austin. Wind and rain is about all we got. No immediate flooding.
Pray for our neighbors in South and Southeast Texas. They need all the help they can get.
Lots of good replies, thanks to all. I am using Autometer ProComp Lite, water,oil & trans temps plus fuel, oil pressure and voltmeter. I don't have any stock harness in the car, so this is all from scratch. Made a template of the opening for the stock gauge pod. This is using all the orig dash parts, that will be cut up and used for mocking up the new center panel. Used steel since I didn't want the abs plastic, It was a little too thick and I am not sure yet if I am just going to paint it or upholster it in vinyl to match the interior when I get there. My object right now is to get the gauges working so I can fire up the newly rebuilt TPI engine I have put in. That is one reason I want the plug and play since they will be needed way before the final dash is done. I have looked at the autometer harness and I can justify the $$ in time saved. Richard, I am looking into something like what you have but don't feel like going to the junk yard to grab some connectors, so I hope I can track down some DIY plugs that I can configure for what I need. As we know, there is not a lot of room down there, so anything to tidy it up will help. Basically 6 sending unit wires, and corresponding power wires, grounds and the lighting. Here is where I am so far.
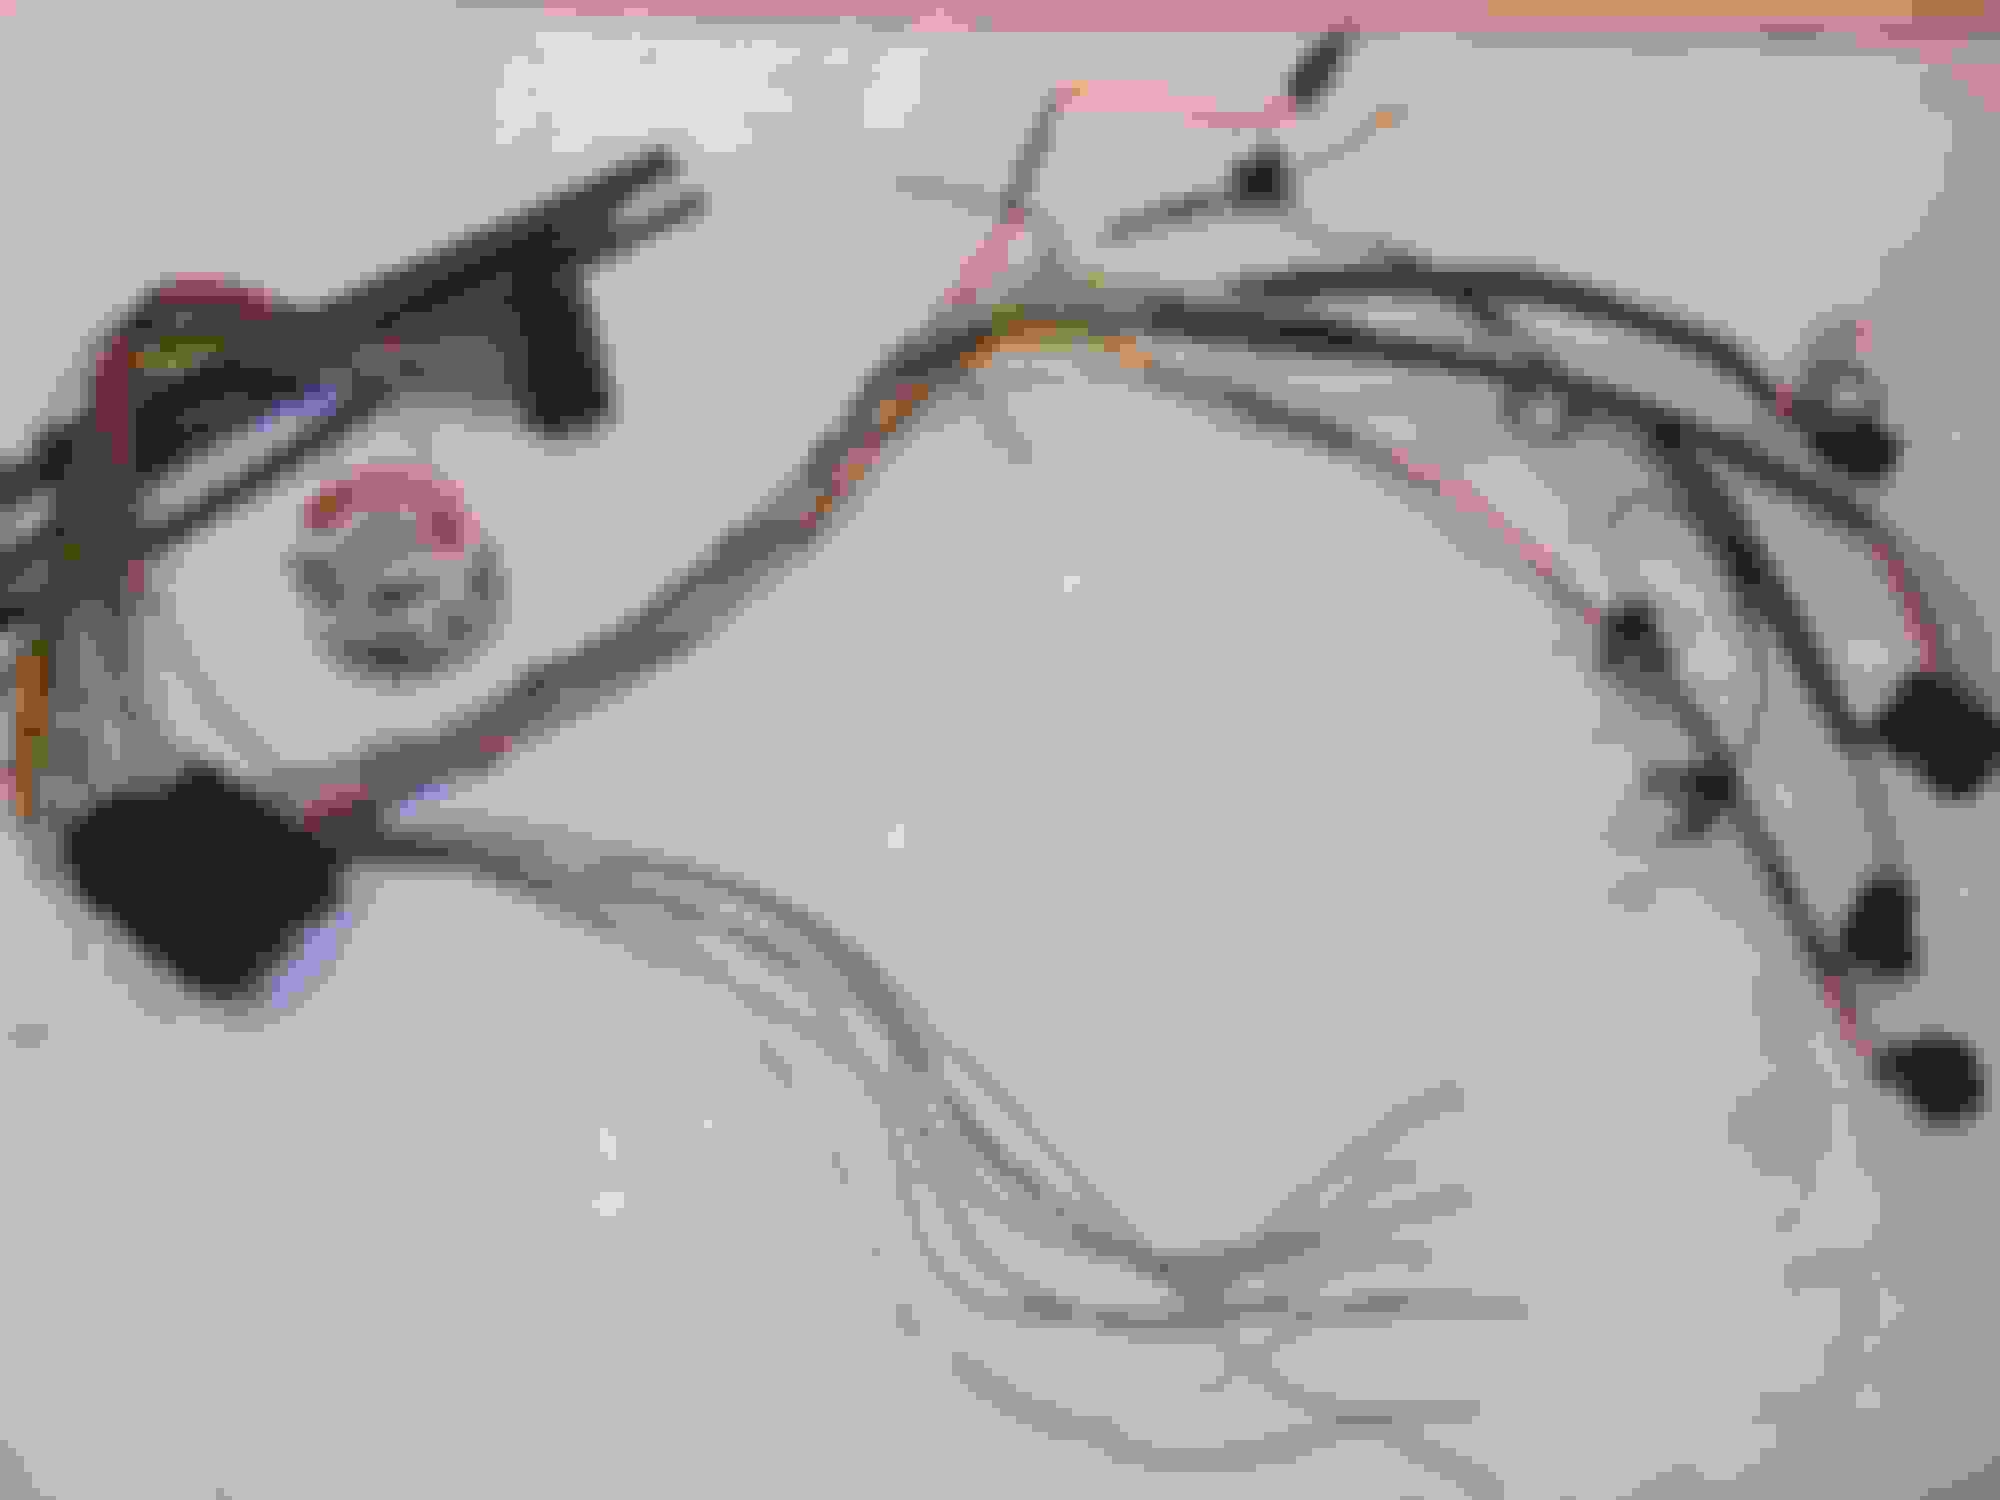
If you want to DIY with new plugs, you may like something similar this Molex connector.... They are available in a variety of connections.
HA- I have my own junkyard - a parts car sitting in my upper garage!!!
Have you looked at some of the vinyl wrap they have out? Don't know what look you are going for but the 3M stuff is really easy to work with.
If you decide to paint-
I wanted a brushed finish-
So I hit the metal w/ 80grit belt sander. Put on some high fill primer and ran some 150 w/ a block over it then paint. Wet sanded w/ 400 and here's the result-
Richard, beautiful work on the BRUSH look. I am not sure how I will finish the panel off yet, won't know until I get the dash in and the C4 center console in place to see what I can do. ( and I can't wait to install my ESTOPP brake switch!) As for the junk yard, I just get into trouble when I go to one. I have more sets of A/c hose combinations in my garage, just in cast one might work better than another in my TPI transplant. Every time I would go pick a part, I would see something totally unrelated, and got it, just in case. I finally bought a tool to crimp my own hoses so now I have the makings of my own pick a part!!!And Wendell, you hit it. THAT is what I was looking for. But now I have to ask the wife to use her PRIME account, and she will want to know why. I will post some more pics when get this done. Thanks.
Here are 2 pics of the gauge panel in the dashboard. Again, it's not finished by any means. THe new dash is locked away for safe keeping, I will get a new bezel set up for a single din radio and haven't wired anything up. I just wanted to see if this plan would work. It does. I just laid the panel on the old bezel, cut off whatever was in the way of the new gauges and put them in. Thanks to all for your help and ideas.

 09-01-2017, 08:14 PM