When you click on links to various merchants on this site and make a purchase, this can result in this site earning a commission. Affiliate programs and affiliations include, but are not limited to, the eBay Partner Network.
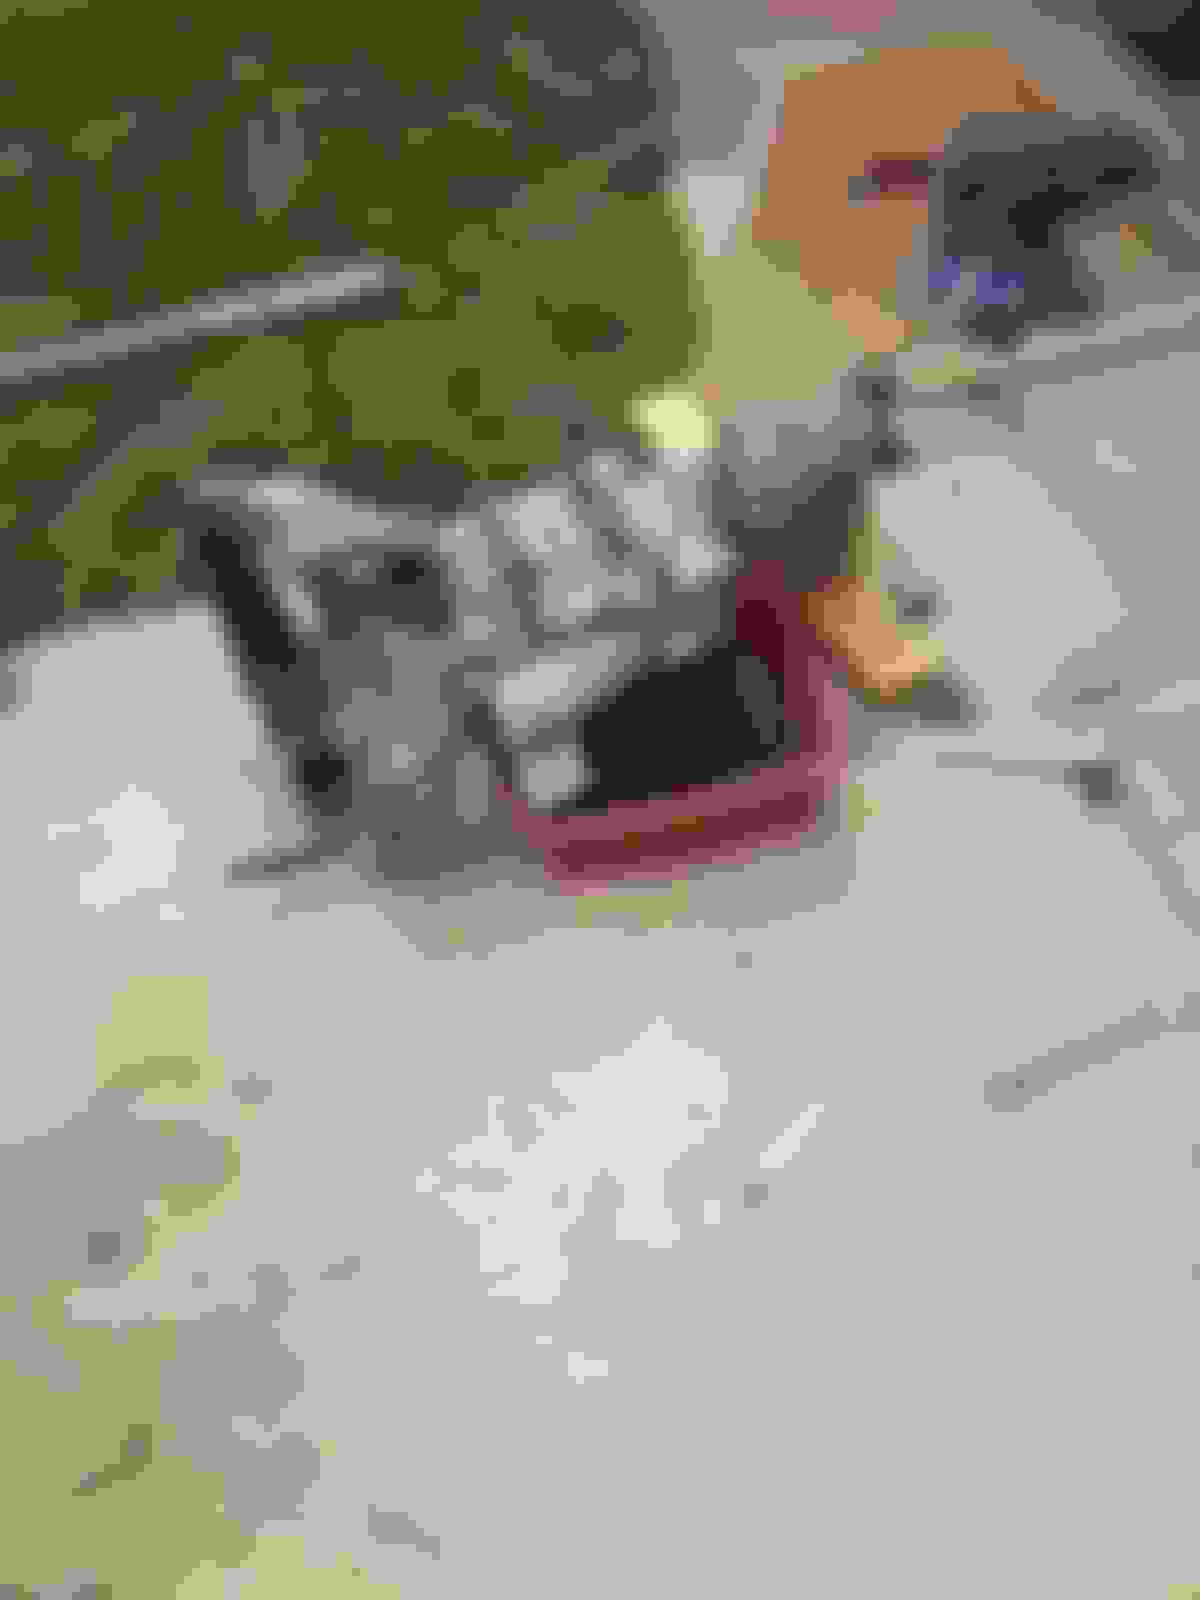
What remains of the seatbelt reinforcement plate to rocker channel is removed...
The replacement will be fabricated from heavy gauge A36 steel...
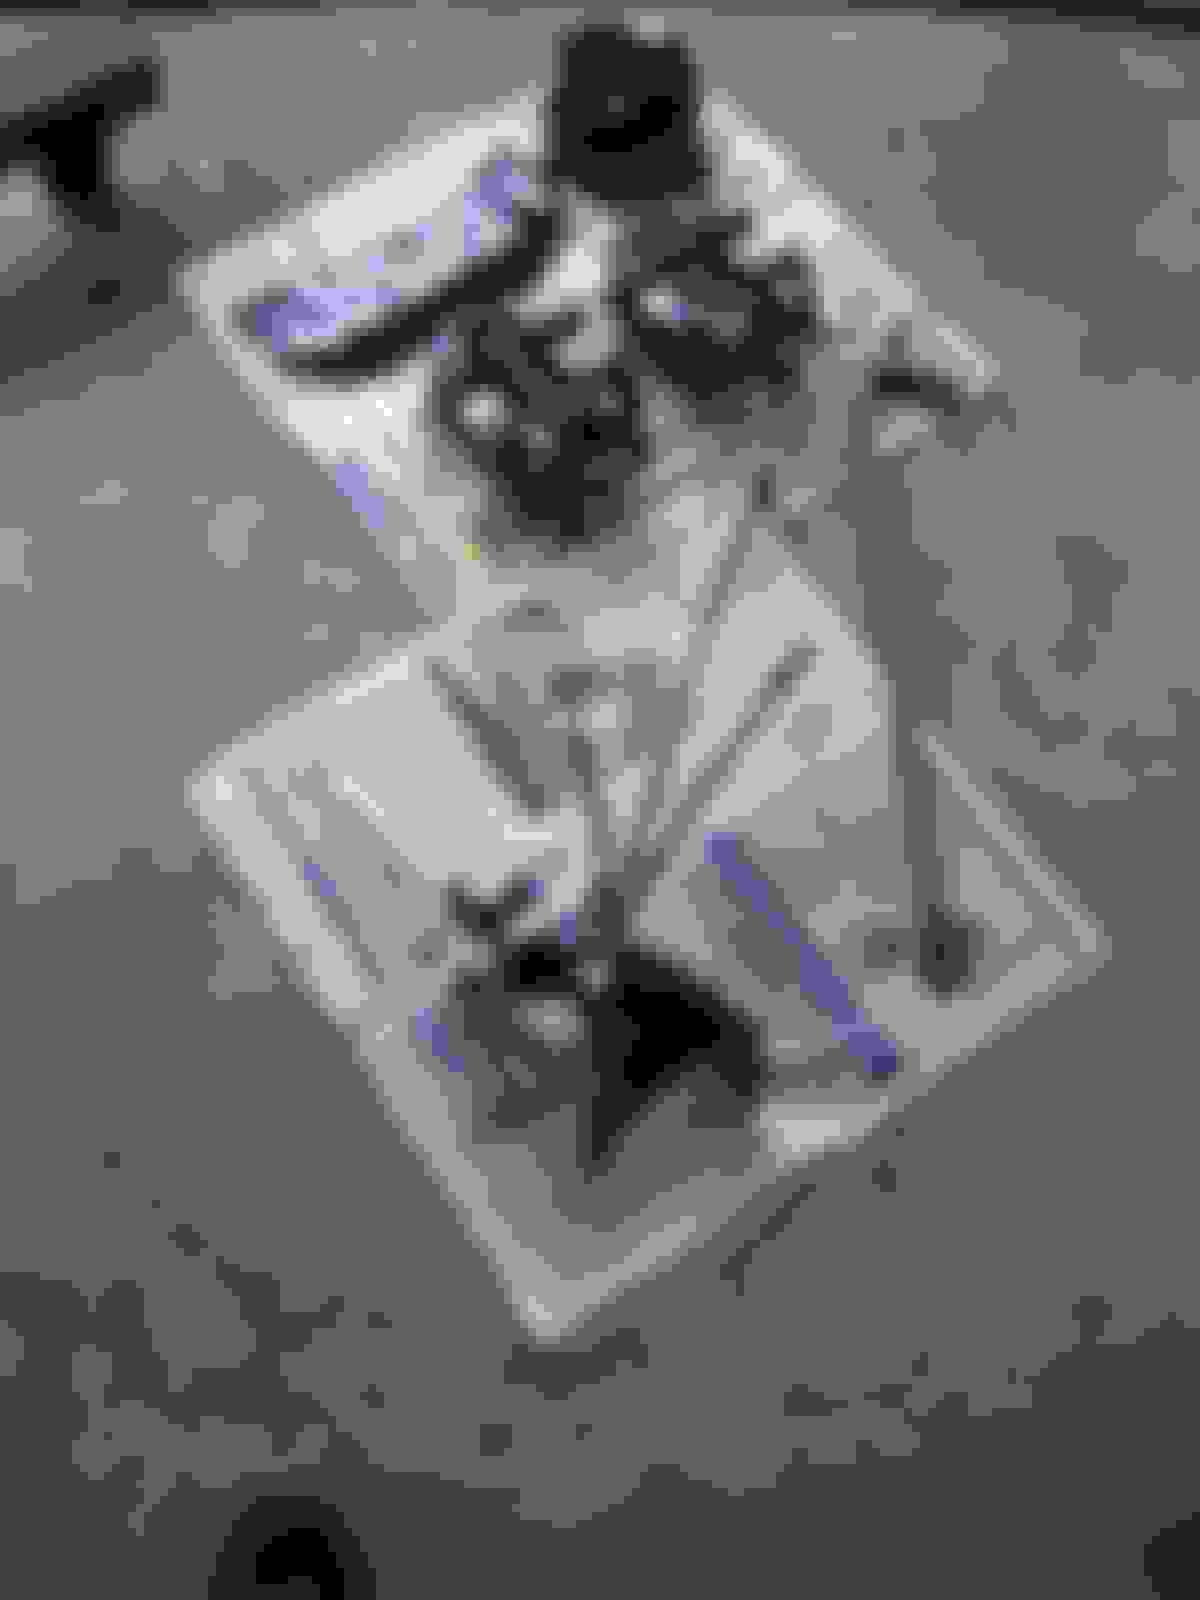
The first A36 components are designed...
Cut...
The area is prepped...
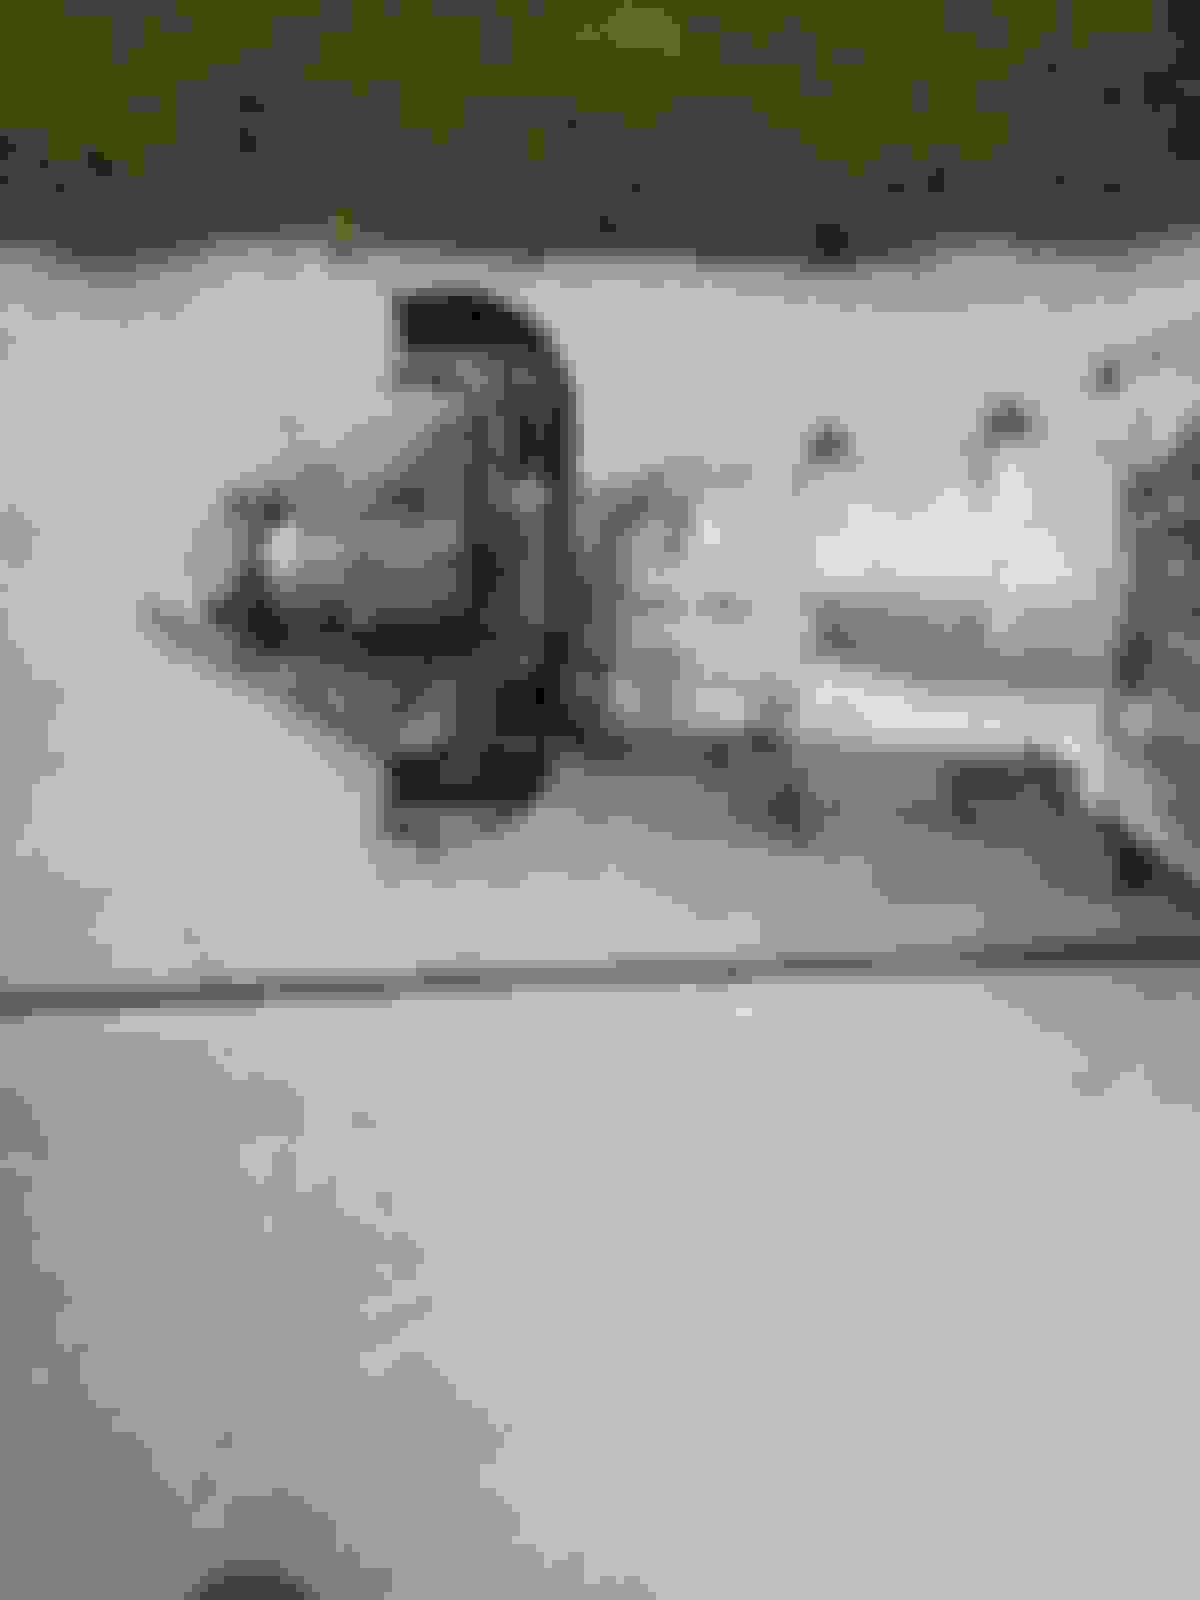
I weld the reinforcements...
The reinforcements welded...
A before/after reinforcement...
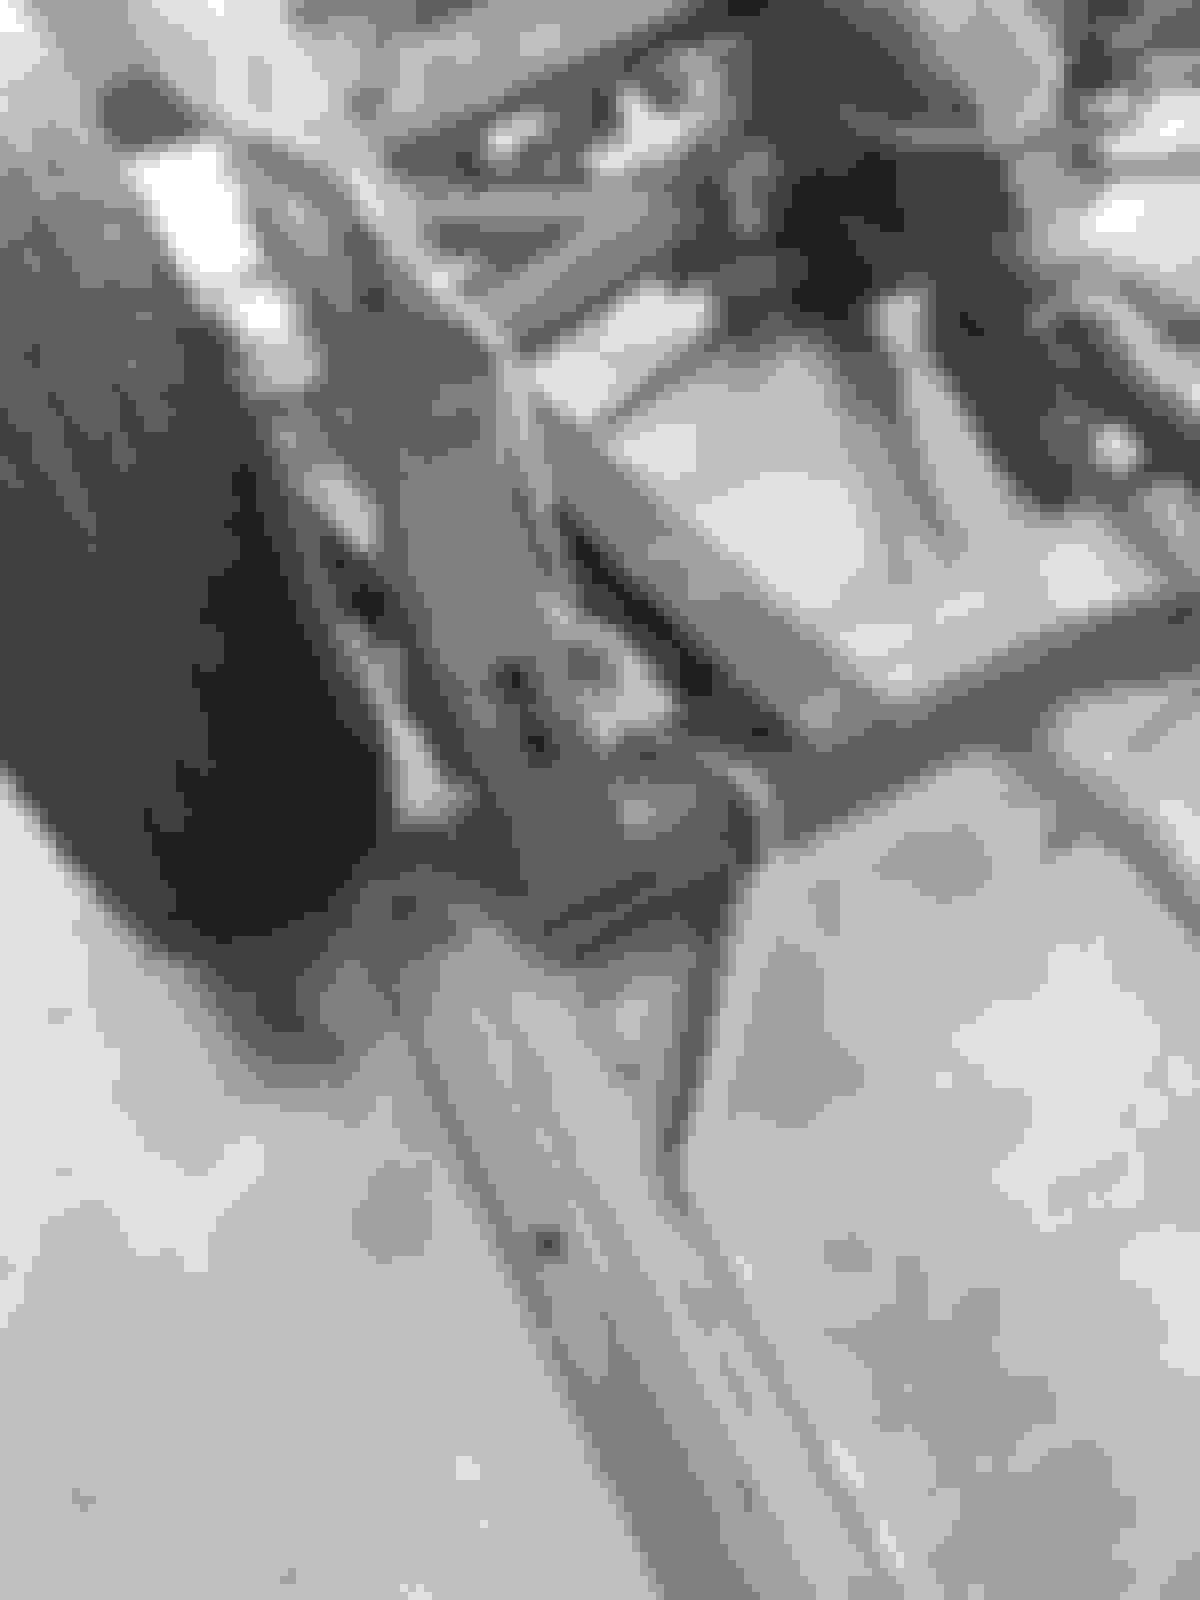
Rocker channel repairs are designed...
Cut and marked...
Cut some more...
Modified...
Cold forged exactly to spec... ready to weld in...
I will keep you all apprised, next I shall weld in the rocker channel repairs, weld in the seatbelt reinforcement replacement, paint all of the underbody metal, and put the body on!
Nice progress, How's the back? Don't worry, gain some weight and grow old it will get better.
Good luck, great to see 20yr olds into c3's I tell my wife it's not a young mans car,glad you are making me a liar.
I finished the car a year ago and have been enjoying driving her ever since! The last step is a professional paint job...
Please enjoy these year old pictures of the final steps. Life took hold and I got busy and left the story unfinished, sorry!
Power steering...
High pressure lines...
Got the radiator and fans out of the attic...
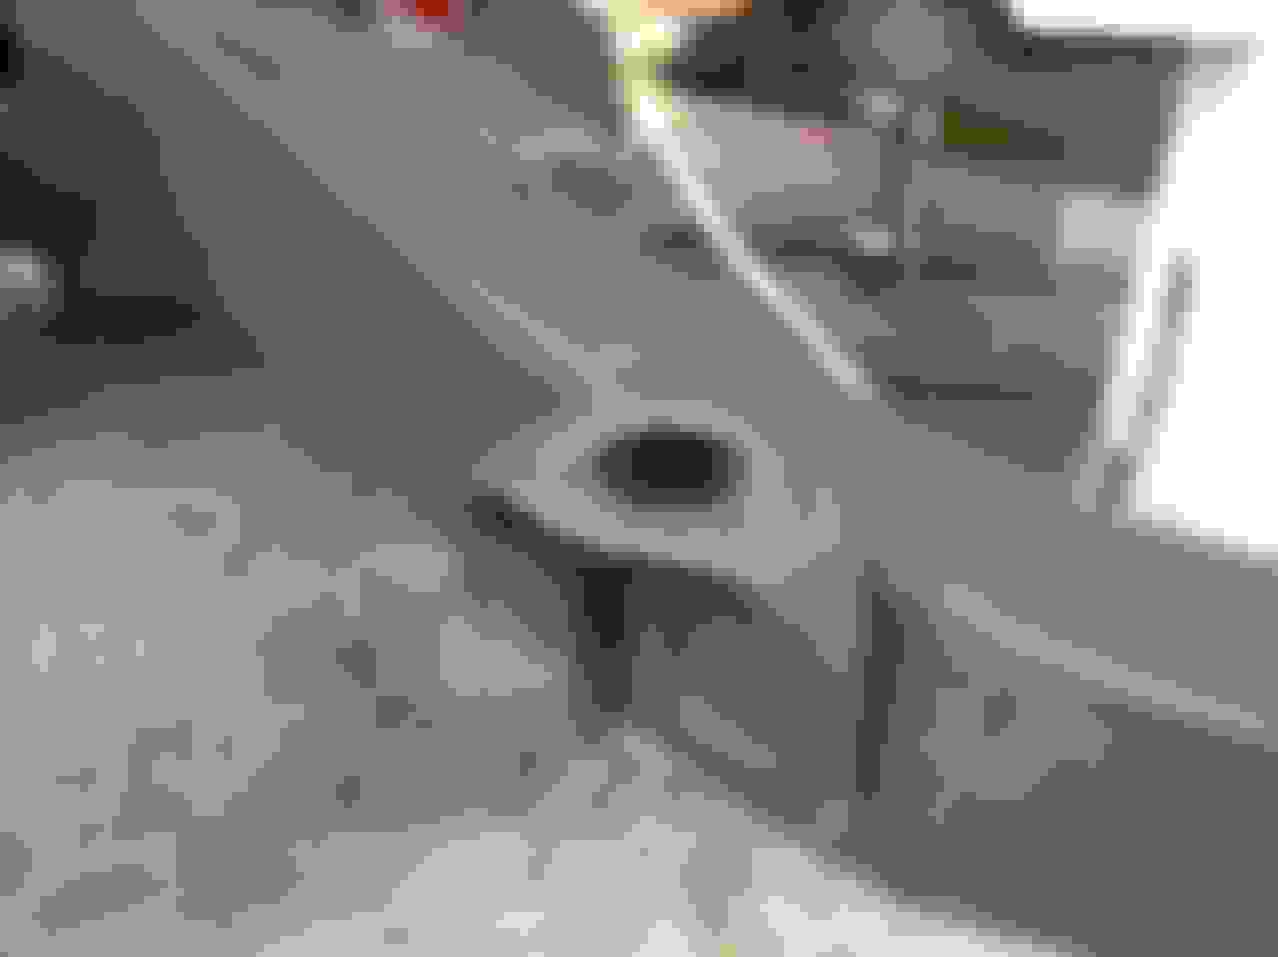
Radiator and fans in, assembling the front bumper...
Bolting it all together again...
Bumper installed...
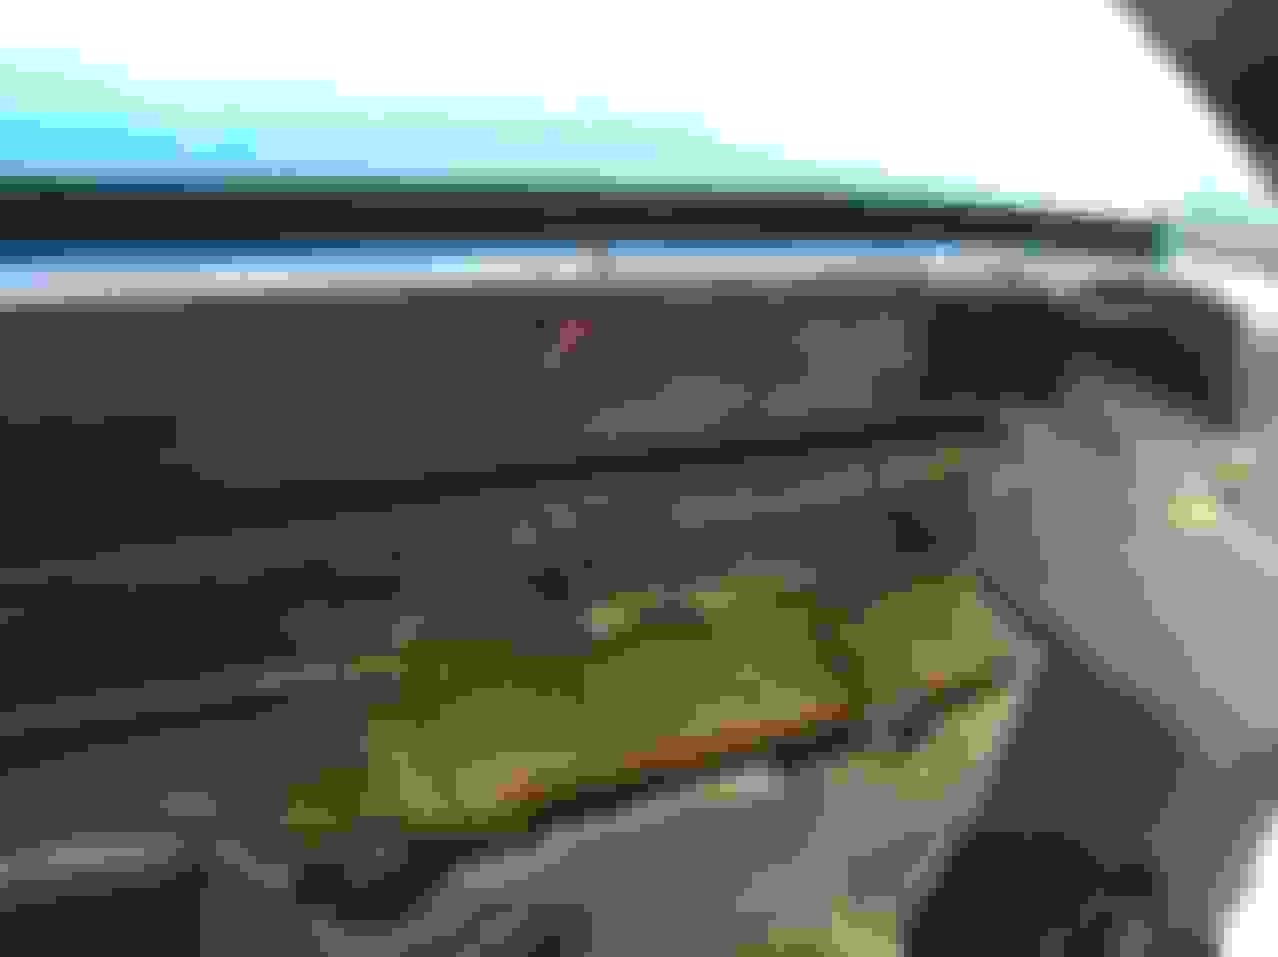
Gassed up, battery installed, took her for her first drive in nearly 3 years...
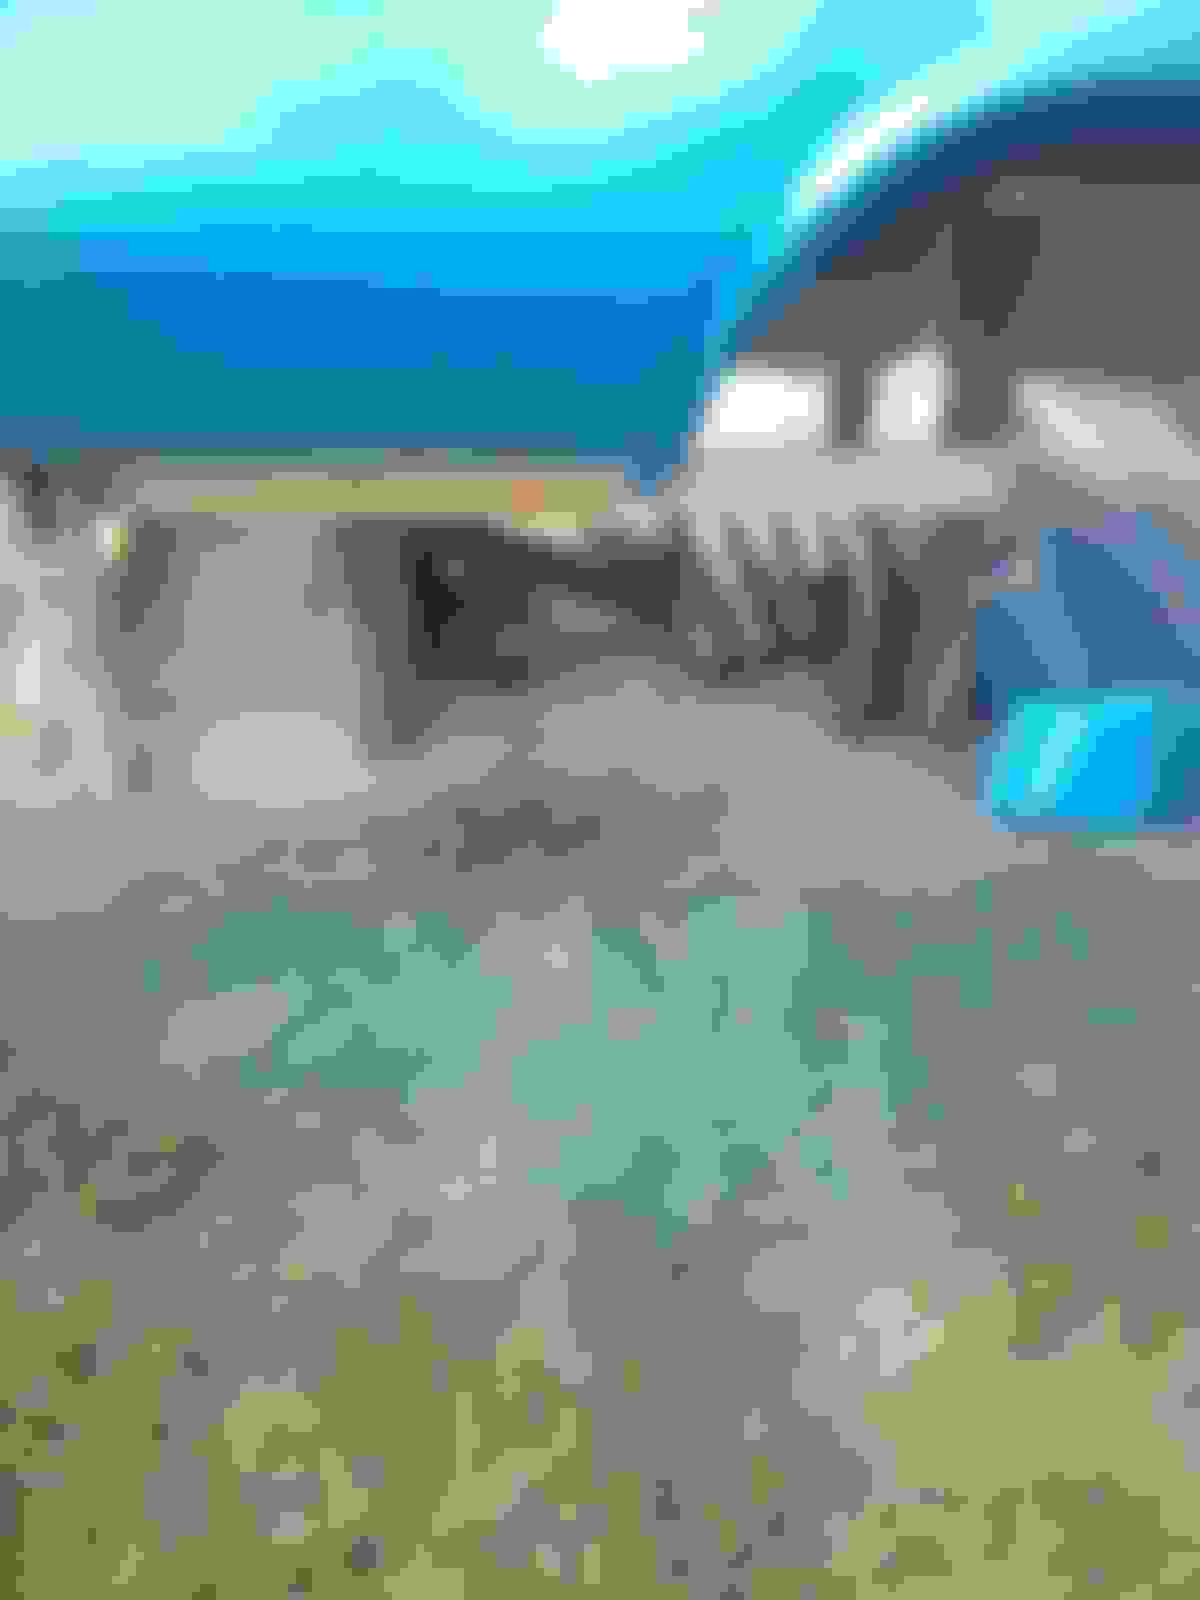
Out and about...
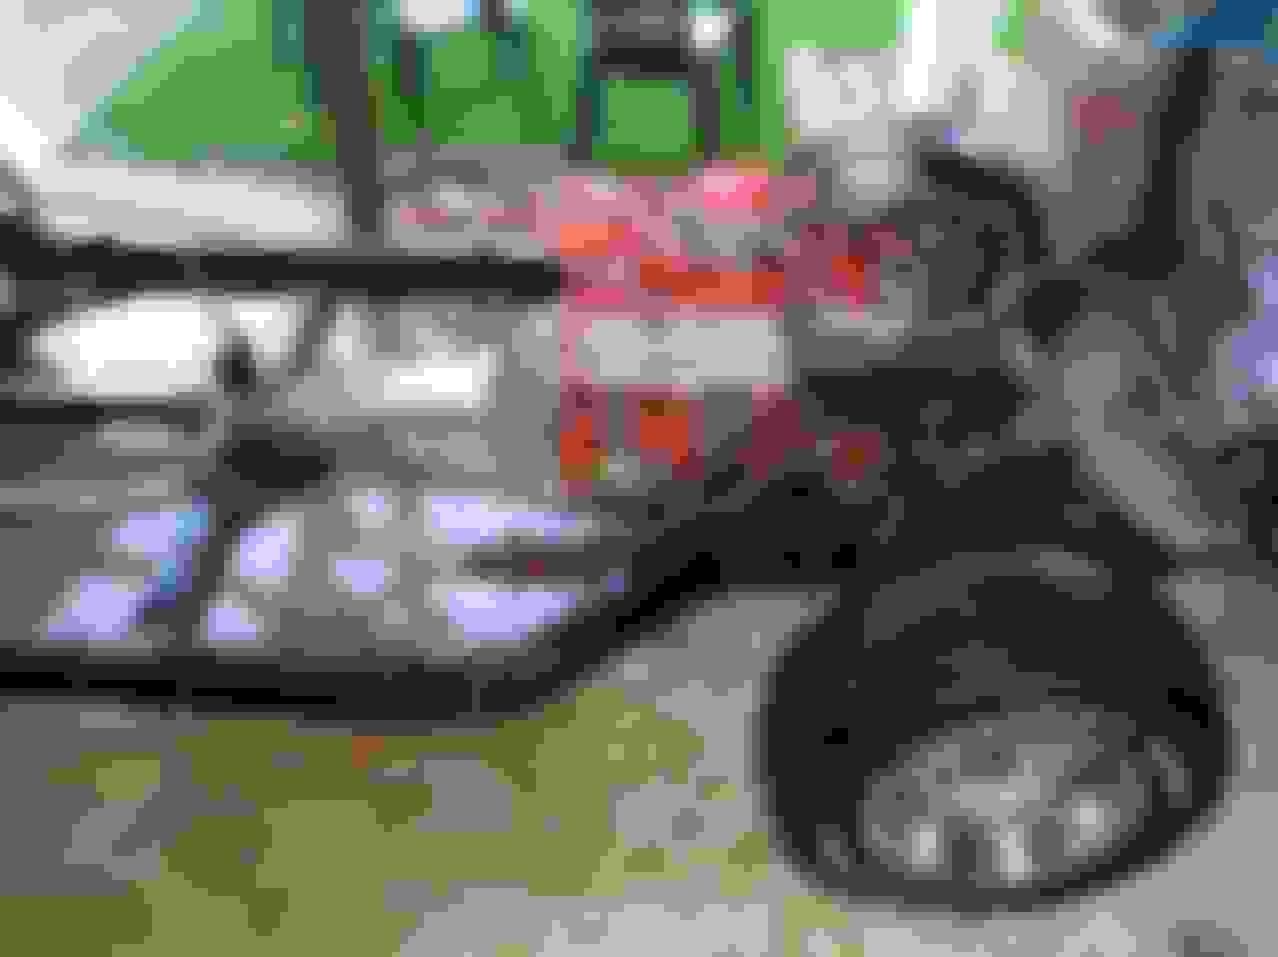
Moved to my own place and got her her own garage...
Parked at my new place next to my bike I got three months ago...
Well that's it for now, I will post some pictures after I have her professionally re-painted... and I still have plans to mess with the motor more...
When I started reading this I didn't realize the time frame. You did a huge amount of work on that car, hope it is providing you with the joy you have earned. Just a suggestion, after all you did to it and I'm sure you have learned a ton, give some thought to expanding your knowledge and paint that car yourself. It is easier than doing what you have already done! Good luck whatever you do...
It appears like the free image server I used has deleted/moved all the most recent pictures! I will edit the thread and get them re-installed again when I get the chance.
Thanks everyone, the car is most enjoyable and feels brand new again!

 04-01-2014, 01:59 AM