When you click on links to various merchants on this site and make a purchase, this can result in this site earning a commission. Affiliate programs and affiliations include, but are not limited to, the eBay Partner Network.
New Project: Dropping the Rear Suspension and Installing the Ridetech System
After coming to the realization that the 700-horse Vortec Supercharged engine that we built needs more rear tire than the stock Vette suspension will allow, we decided to drop the rear suspension and do a complete change to the RideTech system with offset trailing arms and coil-over shocks. This will allow a significantly wider tire to be used, and should help with the complete lack of traction from the blown 383 engine.
The entire rear suspension system and driveline was dropped out in 90 minutes. Although the trailing arm bolts were loose, it was actually quicker to just cut them with the SawZall than to remove them: I screwed around with the driver’s side bolt for 15 minutes to wiggle it out in one piece. On the passenger side, I took the SawZall and cut the bolt in 2 places spending less than 30 seconds per cut… I’ll never remove another bolt again – SawZall rules!
We dropped the exhaust out of the car for easier access to the rear suspension. With the exhaust removed, everything dropped down quickly and easily:
New brake lines are on the “while-we’re-at-it” list. A little cleanup and chassis black paint will make the new installation look clean:
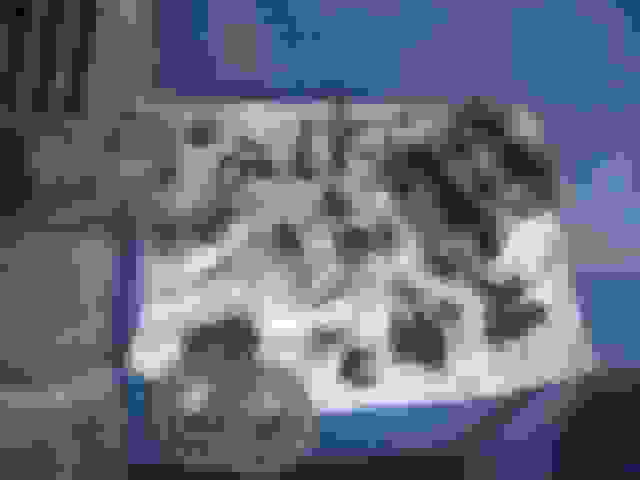
Here are all the parts laying on the floor after the “demolition” effort: All the old parts removed on the left, and the new RideTech parts in front and to the right. With the trailing arms out, it was quick and easy to pop the bearing/hubs out of the arms. These have been sent to Van Steel for rebuild - they do excellent quality work at such a fair price that it's silly to do the bearing rebuild yourself.
The rear differential at the top of the photo has excessive endplay in the stub shafts, so we’ll be doing a little custom machine work to install custom heat treated end caps on the ends of the shafts. I'll shoot some photos of this process as I get into it:
Hardware and brake calipers removed and arranged on a towel for easy of re-assembly:
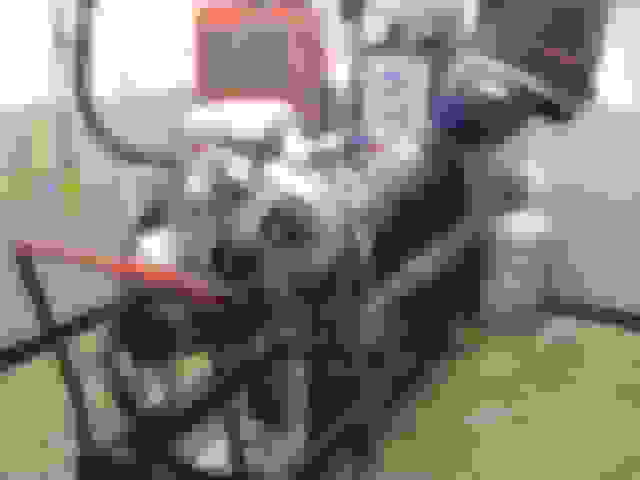
The RideTech fabricated trailing arms are very nice quality units, and the coil-over system is top-notch stuff:
The differential housing will bolt up to the new RideTech crossmember, which also has the upper attach points for the coil-overs:
More to come as this project starts going together…
Hi Lars. I have some rear brake lines for a 77 if that will help you. I bought new rotors and calipers and got the whole package and realized I had a set that I got prior. I can get them to you tomorrow barring Snowmageden!
Neat project, will stay tuned. Lars nice to see that name again in the feed, thanks again your tuning papers they have helped me get my 68 in top running condition.
Subscribed! Any Pictures of the 700hp blown 383 / engine bay?
You can check the post I did during the engine installation here. On the last page of the thread I posted a printout of the dyno results showing over 690 HP before I dialed it back just a tad:
The project is now in the assembly stages. But before we put it all back together, it’s important to get all the basic repair and setup work done.
One of the key areas of ‘Vette rear suspension setup is the amount of endplay that older Vettes tend to have in the differential stub shafts. The stub shafts wear against the spider gear pin, and this wear causes excessive endplay in the shafts. Since the stub shaft/half shaft assembly constitutes the “upper A-Arm” in the rear suspension, a bunch of play in the stub shaft is just like having a front suspension with loose upper a-arm bushings – it allows a bunch of slop and “clunk” in the camber of the rear wheels.
The ideal endplay in the stub shafts is about one to eight thousands (.001 - .008). From the factory, the Vettes came with anywhere from ten to thirty (.010 - .030). With use and wear, we see cars with anywhere from .035” to over �”. The cars with over �” have had the stub shaft so worn down inside the rear end that the entire snap ring groove is consumed, and the stub shafts are not retained at all.
As long as the snap ring groove has not been consumed, the shafts can be saved by custom machining the ends of the shafts and installing custom hardened steel end caps to bring things back to tolerance. Many of the available aftermarket “new” replacement stub shafts are not heat treated and hardened to the correct Rockwell hardness, and these shafts will fail if not modified.
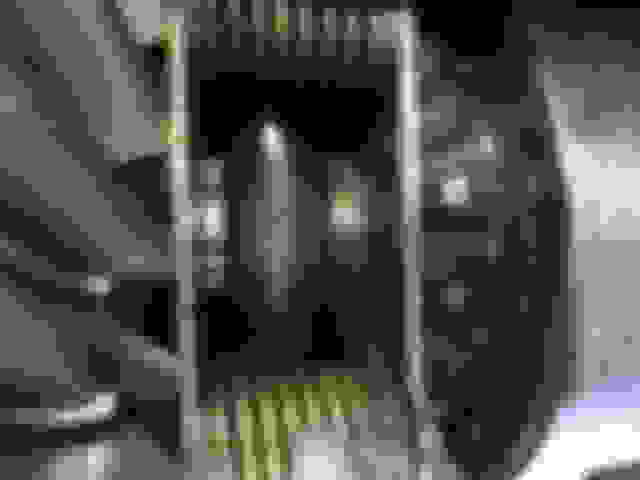
Here is our rear differential with the cover popped off. A simple feeler gauge is used to measure the total endplay in the shafts. We measured .039 slop on the passenger side, and .040 on the driver’s side:
Once measurements are done, the shafts are tagged and removed by popping the snap rings off and pulling them out:
The wear on the ends of the stub shafts can be seen – this will be machined off and a hardened cap will be pressed into place to correct this:
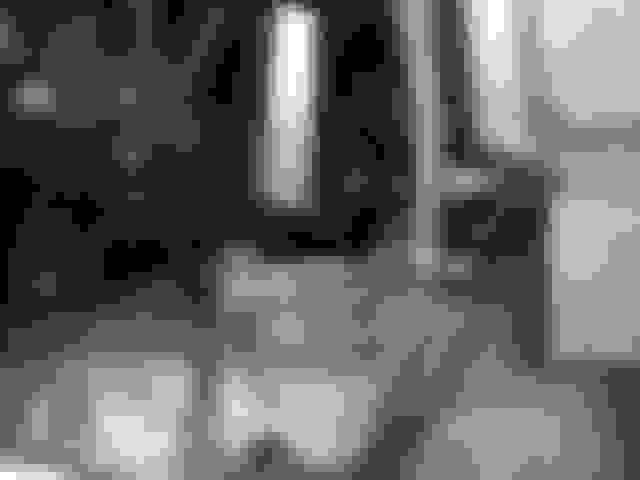
Van Steel is rebuilding our spindles/bearings, so we proceeded with basic assembly of the Ride Tech components without the spindle/bearing assemblies for now. With the bottom of the car cleaned up and painted with black epoxy, the new components are looking good.
Here are the new trailing arms mounted. Stainless shims are installed at the front, duplicating the thickness of the shims removed from the stock trailing arms. This will get us close for the alignment to come:
The new crossmember is installed, and the coil-overs mounted in position. Now all we need are the new rebuilt spindle/hub assemblies, the new heavy duty half shafts, and completion of the stub shaft machine work:

 01-30-2016, 10:51 AM