1985 Front suspension upgrades bushings ball joints wheel bearings
 07-23-2012, 02:22 AM
#1
Drifting

Thread Starter

Hey all! Several weeks ago I went to get an alignment after slipping of the road in the rain. The alignment shop said that my wheel bearings and ball joints where developing play so instead of getting the alignment I decided to do some work on my front suspension.
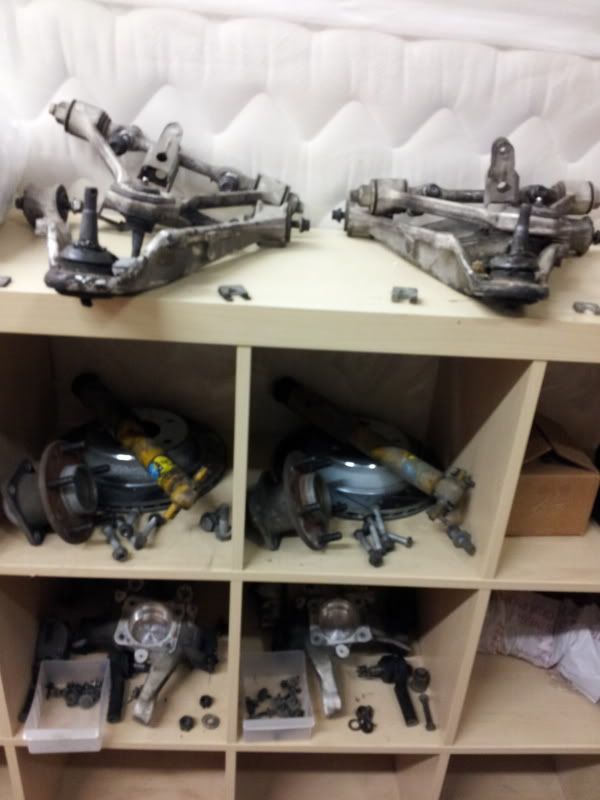
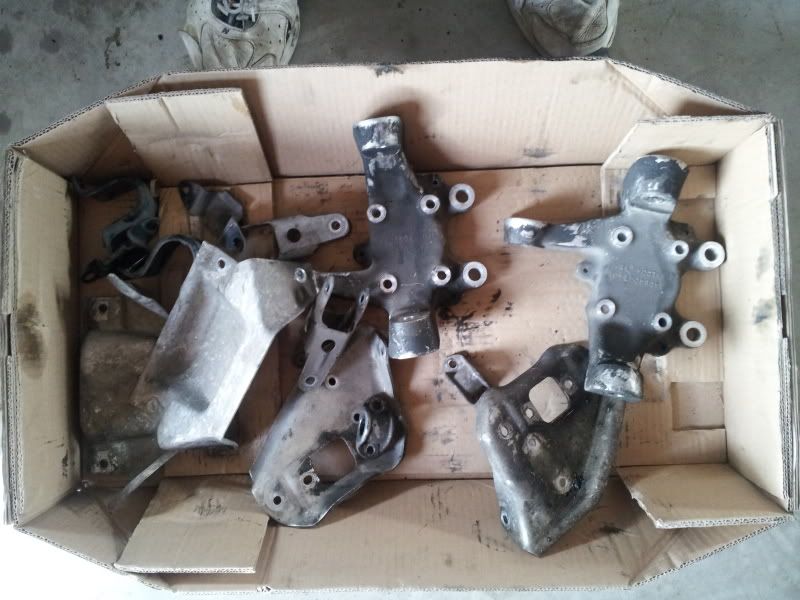
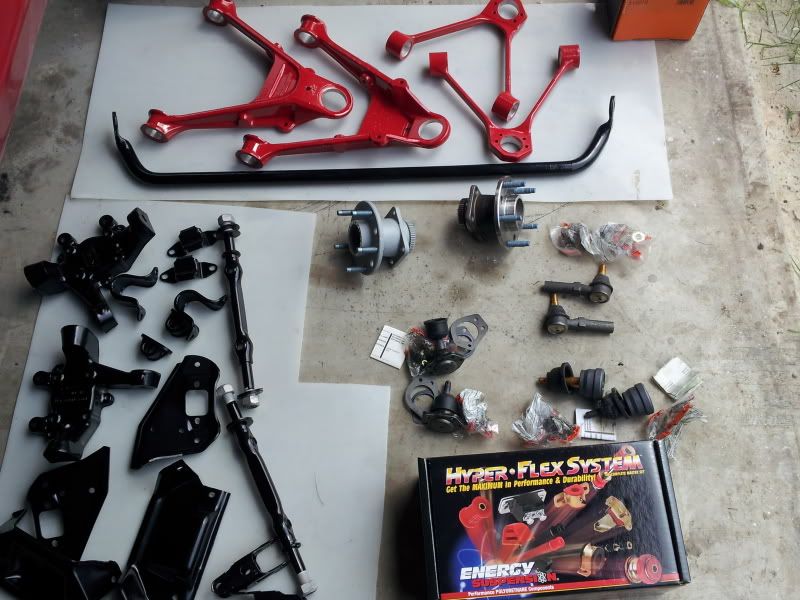
From other threads I gathered that the no name ball joints have fitment and longevity issues so I went with Moog for my upper and lower ball joints as well as tie rod ends. I also replaced the wheel bearings with Timken units and upgraded the front suspension bushing to Energy Suspension polyurethane. While the bits and pieces were off the car I got them powder coated.
Removing the old bushings was a matter of using a hydraulic press and some elbow grease and the old lower ball joints came out with the help of a rented tool from Autozone. The upper ball joints proved to be quite the PITA. My tip is to invest in a good set of punches to punch our the riven and to make sure that you don't drill too deeply when drilling off the rivet head. My rivets were solid steel inside of the aluminum control arms and it was a real neck ache trying to safe the arms from marring and scratches.
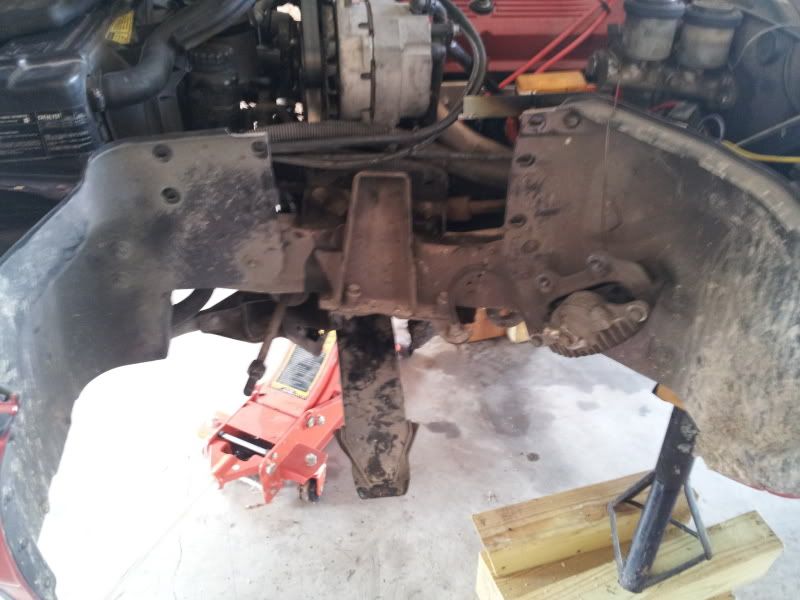
Dealing with the front spring was as simple as putting a jack under the lower control arm perpendicular to the length of the car and slowly releasing the tension after the shock bolts and spindle have been separated from the lower control arm.
Everything went back together smoothly, remember to mark what goes on what side (first time putting the lower control arms back in I mixed up the sides! )
)
Actual time spent in the garage working on the car could not have been more than 16 hours and if you have access to a hydraulic press at home (just buy the harbor freight one, finding a shop to do it cost me 100 dollars and they dinged my control arms pretty good) you could finish the entire project in a weekend.
Taking heed from other threads I made a steel support by cutting up some unistruct to keep the upper control arms from bending while installing and removing the bushings.
When putting everything back together make sure not to torque down the lower control arm to frame bolts, upper control arm to upper control arm main shaft nuts, and sway bar link/bracket bolts until the car is at curb height meaning the full weight of the front of the car is on the front suspension.
I made the mistake of doing this in a half-azzed manner (torqued everything down while jacking the suspension up on each side to what looked like neutral ride height) and I think that may be why I'm honestly a little disappointed in the 1000 dollars I spent on this project.

So far I've put about 300 miles on the car since the project and it still does not feel like the "completely different beast" I read about in other threads. Maybe my components were not as worn as I thought or maybe torquing the suspension down incorrectly is reducing the felt upgrades. Anyhow, I plan to re-torque the suspension correctly at the alignment shop while it is on the lift and hopefully no damage has been done with by the 300 miles of driving.
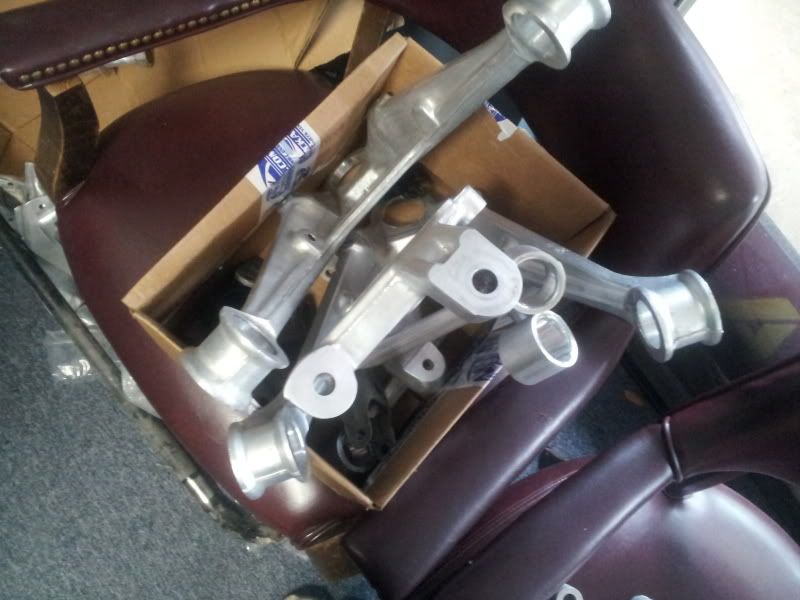
Anyway here are some pics. Shout out to Bad Boyz Cycles in Austin, Texas for some great turnaround and pricing on their sandblasting+powdercoating.
By then end of the week It should be driving like the "completely different beast" I was hoping for.
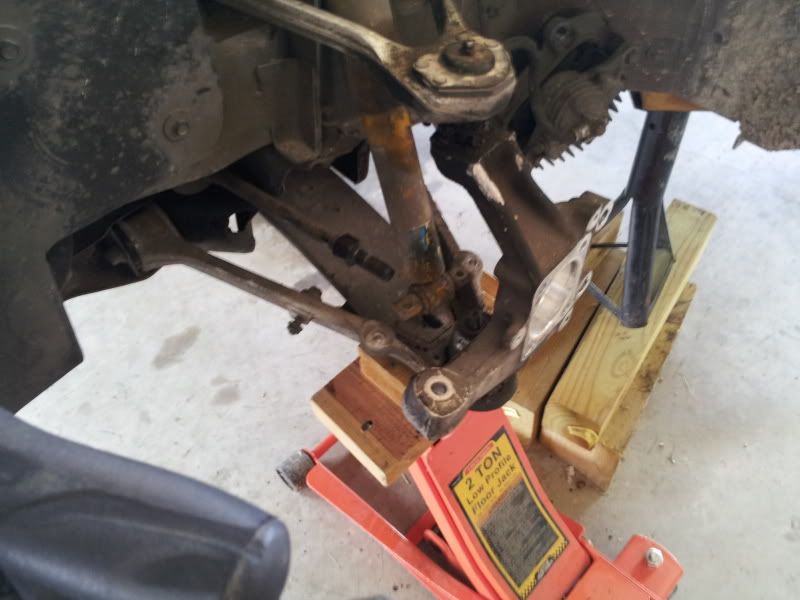
I made the setup more stable by changing the wood blocks to a "jenga style"
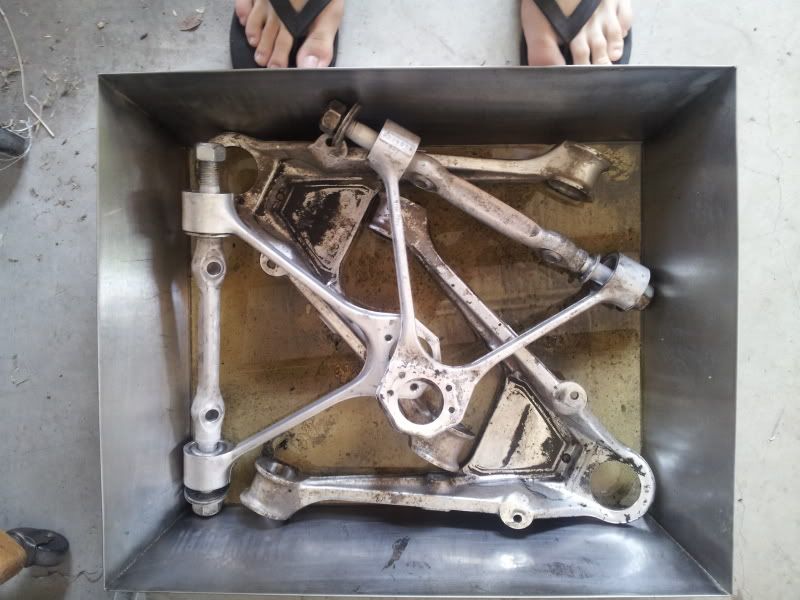
brake cleaner, gasoline, sponge, and scotchbrite
mmmm tasty
All new fasteners from American Bolt in Austin, Texas.
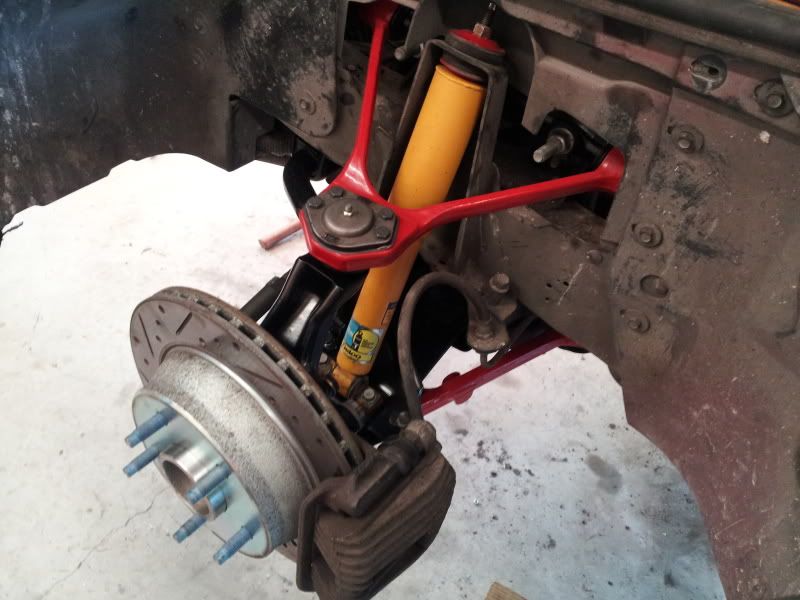
back together!
From other threads I gathered that the no name ball joints have fitment and longevity issues so I went with Moog for my upper and lower ball joints as well as tie rod ends. I also replaced the wheel bearings with Timken units and upgraded the front suspension bushing to Energy Suspension polyurethane. While the bits and pieces were off the car I got them powder coated.
Removing the old bushings was a matter of using a hydraulic press and some elbow grease and the old lower ball joints came out with the help of a rented tool from Autozone. The upper ball joints proved to be quite the PITA. My tip is to invest in a good set of punches to punch our the riven and to make sure that you don't drill too deeply when drilling off the rivet head. My rivets were solid steel inside of the aluminum control arms and it was a real neck ache trying to safe the arms from marring and scratches.
Dealing with the front spring was as simple as putting a jack under the lower control arm perpendicular to the length of the car and slowly releasing the tension after the shock bolts and spindle have been separated from the lower control arm.
Everything went back together smoothly, remember to mark what goes on what side (first time putting the lower control arms back in I mixed up the sides!
)Actual time spent in the garage working on the car could not have been more than 16 hours and if you have access to a hydraulic press at home (just buy the harbor freight one, finding a shop to do it cost me 100 dollars and they dinged my control arms pretty good) you could finish the entire project in a weekend.
Taking heed from other threads I made a steel support by cutting up some unistruct to keep the upper control arms from bending while installing and removing the bushings.
When putting everything back together make sure not to torque down the lower control arm to frame bolts, upper control arm to upper control arm main shaft nuts, and sway bar link/bracket bolts until the car is at curb height meaning the full weight of the front of the car is on the front suspension.
I made the mistake of doing this in a half-azzed manner (torqued everything down while jacking the suspension up on each side to what looked like neutral ride height) and I think that may be why I'm honestly a little disappointed in the 1000 dollars I spent on this project.
So far I've put about 300 miles on the car since the project and it still does not feel like the "completely different beast" I read about in other threads. Maybe my components were not as worn as I thought or maybe torquing the suspension down incorrectly is reducing the felt upgrades. Anyhow, I plan to re-torque the suspension correctly at the alignment shop while it is on the lift and hopefully no damage has been done with by the 300 miles of driving.
Anyway here are some pics. Shout out to Bad Boyz Cycles in Austin, Texas for some great turnaround and pricing on their sandblasting+powdercoating.
By then end of the week It should be driving like the "completely different beast" I was hoping for.
I made the setup more stable by changing the wood blocks to a "jenga style"
brake cleaner, gasoline, sponge, and scotchbrite
mmmm tasty
All new fasteners from American Bolt in Austin, Texas.
back together!
 07-23-2012, 09:04 AM
#2
Drifting

Very nice work!
The powdercoating is awesome!
Maybe your parts were not as worn as you thought. At least you will have many miles and years of enjoying the fruits of your labor.
Again, congratulations on a job very well done!
While driving your newly suspended Vette, please be sure to SAVE the WAVE!
The powdercoating is awesome!
Maybe your parts were not as worn as you thought. At least you will have many miles and years of enjoying the fruits of your labor.
Again, congratulations on a job very well done!
While driving your newly suspended Vette, please be sure to SAVE the WAVE!
07-23-2012, 02:11 PM
#3

It's better to replace things before your front tires wear with a pattern that ruins them from the play in the front end (ask me how I know). Looks like you did good work and the PC looks great with the red.
07-24-2012, 09:40 PM
#4


Great job on the front.
Did you take a look at the end play in the rear wheel bearings.
I found end play in the back made it real crazy on rutted roads.
Check them with a dial indicator and you'll know just how bad they are.
I found my orginal bearings out back were almost .02" If I remember the book says max allowable is .006"
Made night and day difference.
JS
07-25-2012, 12:29 AM
#5
Drifting
Thread Starter
Did not check but even if they're out I don't have the funds to deal with them until next summer. Hopefully they're okay and I don't ruin my spindles.
any tips on how to torque down the LCA bolts to frame and UCA nuts to main shaft? I think I'm going to have to take the car to a shop so that I can get under it for the LCA bolts while the wheels have weight on them. And the UCA nut is HUGE. I can't find a socket that fits well. 30mm is too big and 27mm is too small. Any tips?
any tips on how to torque down the LCA bolts to frame and UCA nuts to main shaft? I think I'm going to have to take the car to a shop so that I can get under it for the LCA bolts while the wheels have weight on them. And the UCA nut is HUGE. I can't find a socket that fits well. 30mm is too big and 27mm is too small. Any tips?
07-25-2012, 04:42 AM
#6
Burning Brakes

Very nice work. Looks great. The cribing under the jack stand is scary. If you need to stack blocks set the first layer laying right to left then the next layer front to rear. The 4 footed stands with the cast heads are a big improvment too. But like I said the car looks great!