When you click on links to various merchants on this site and make a purchase, this can result in this site earning a commission. Affiliate programs and affiliations include, but are not limited to, the eBay Partner Network.
Got the custom front license plate frame installed. I do know that most would say its overkill instead of just buying one of the clear ones and paint the edges (like many has done here at CF) - but I really like the custom touch - and the way that you almost think its OEM
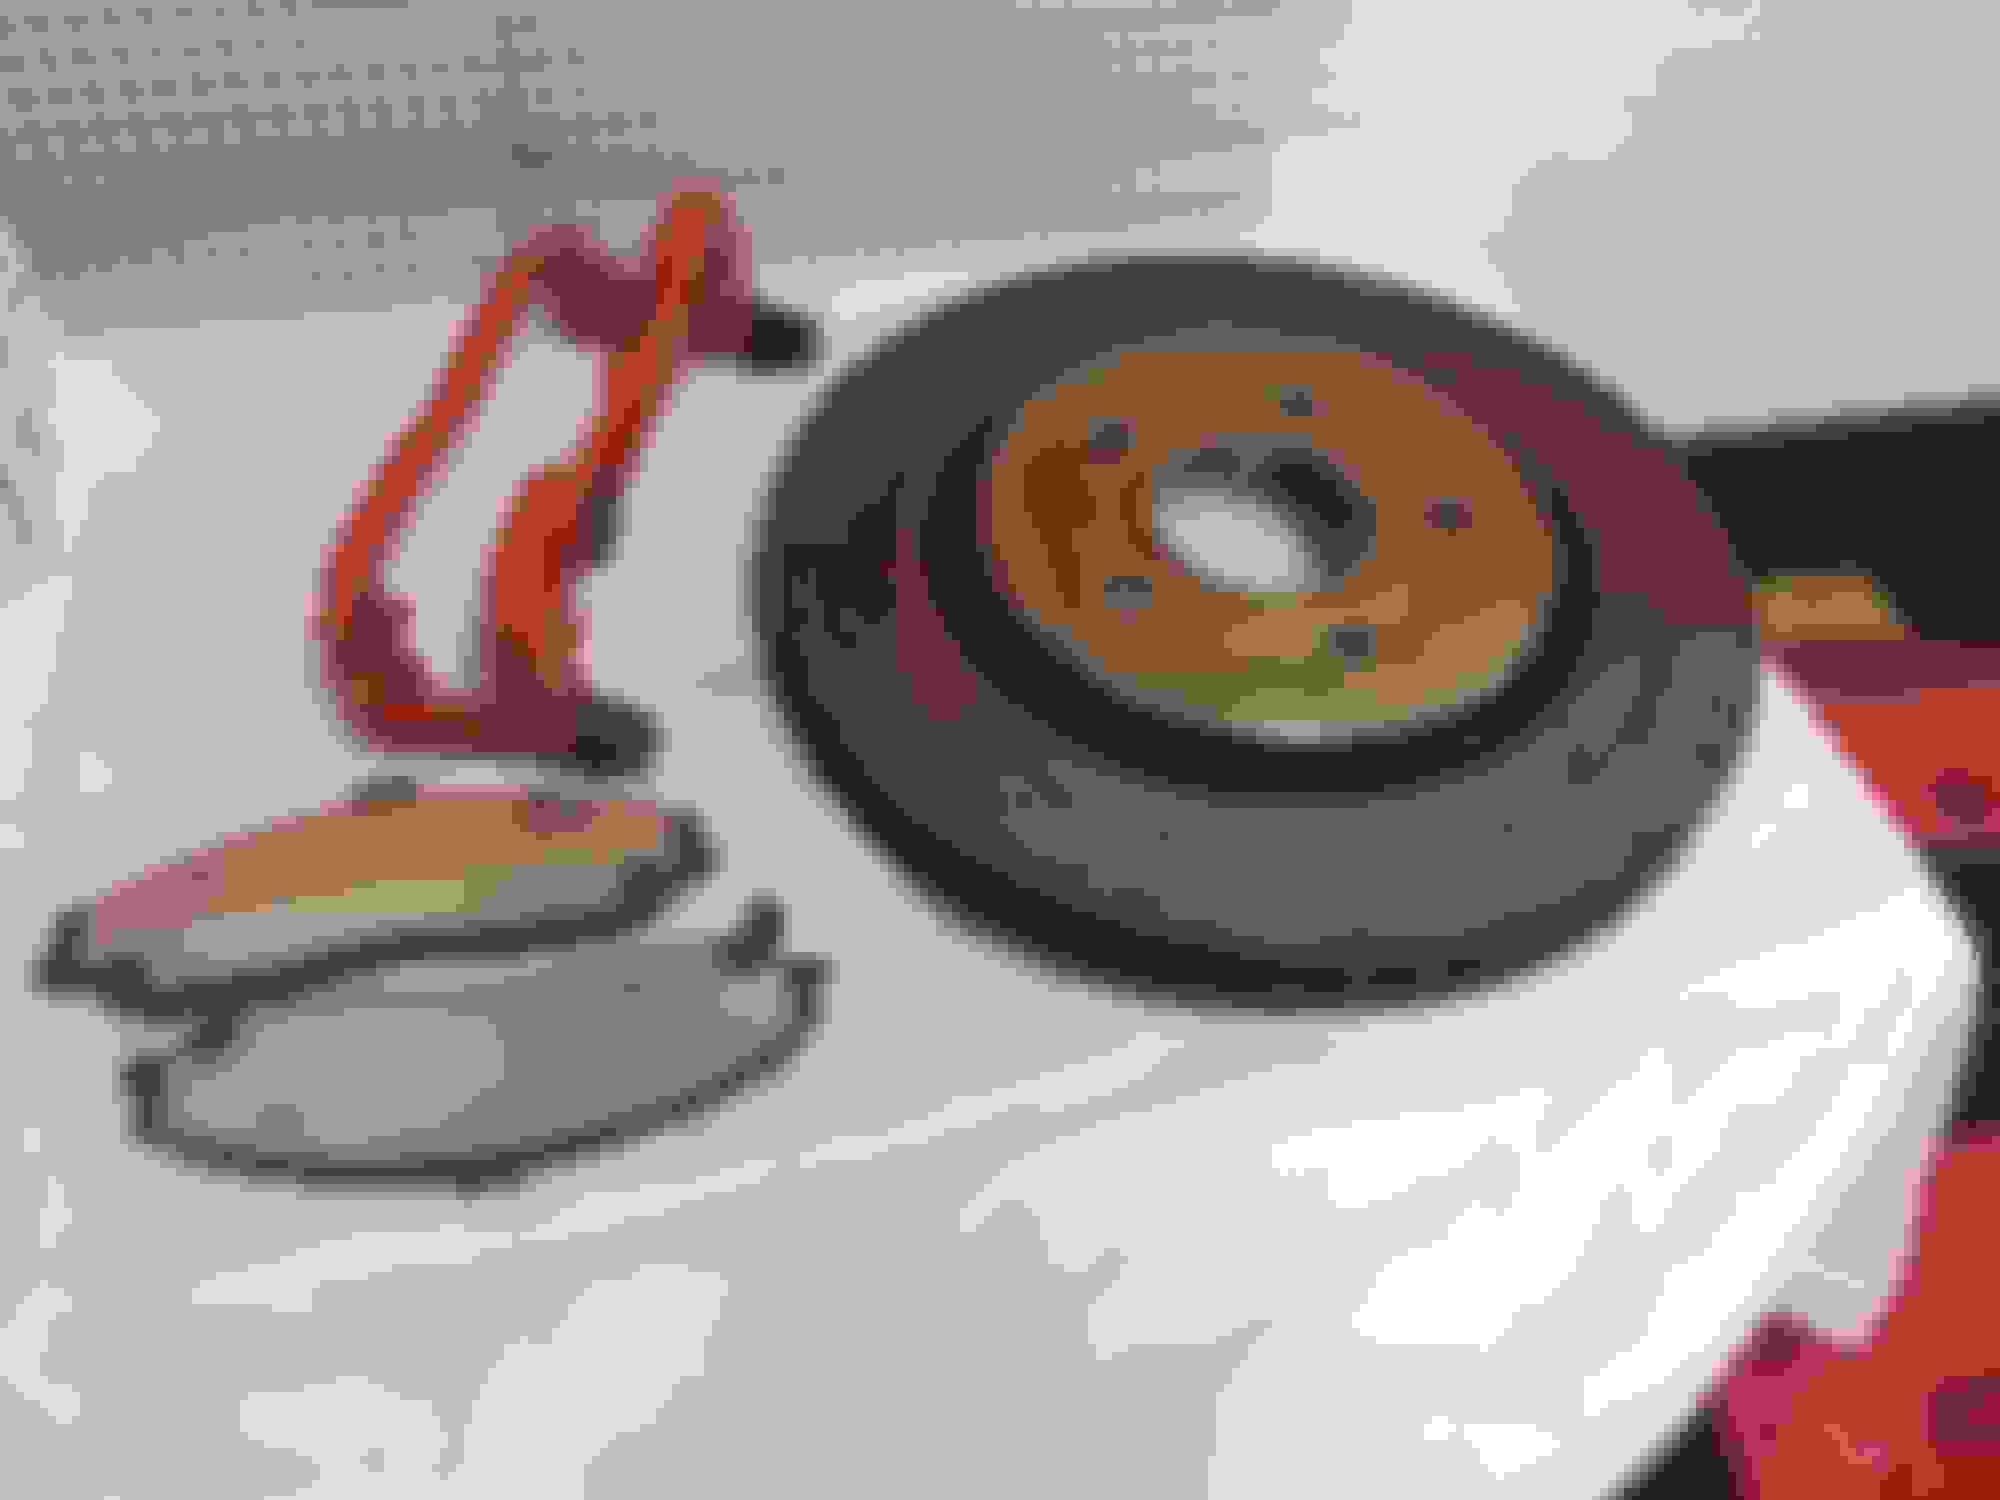
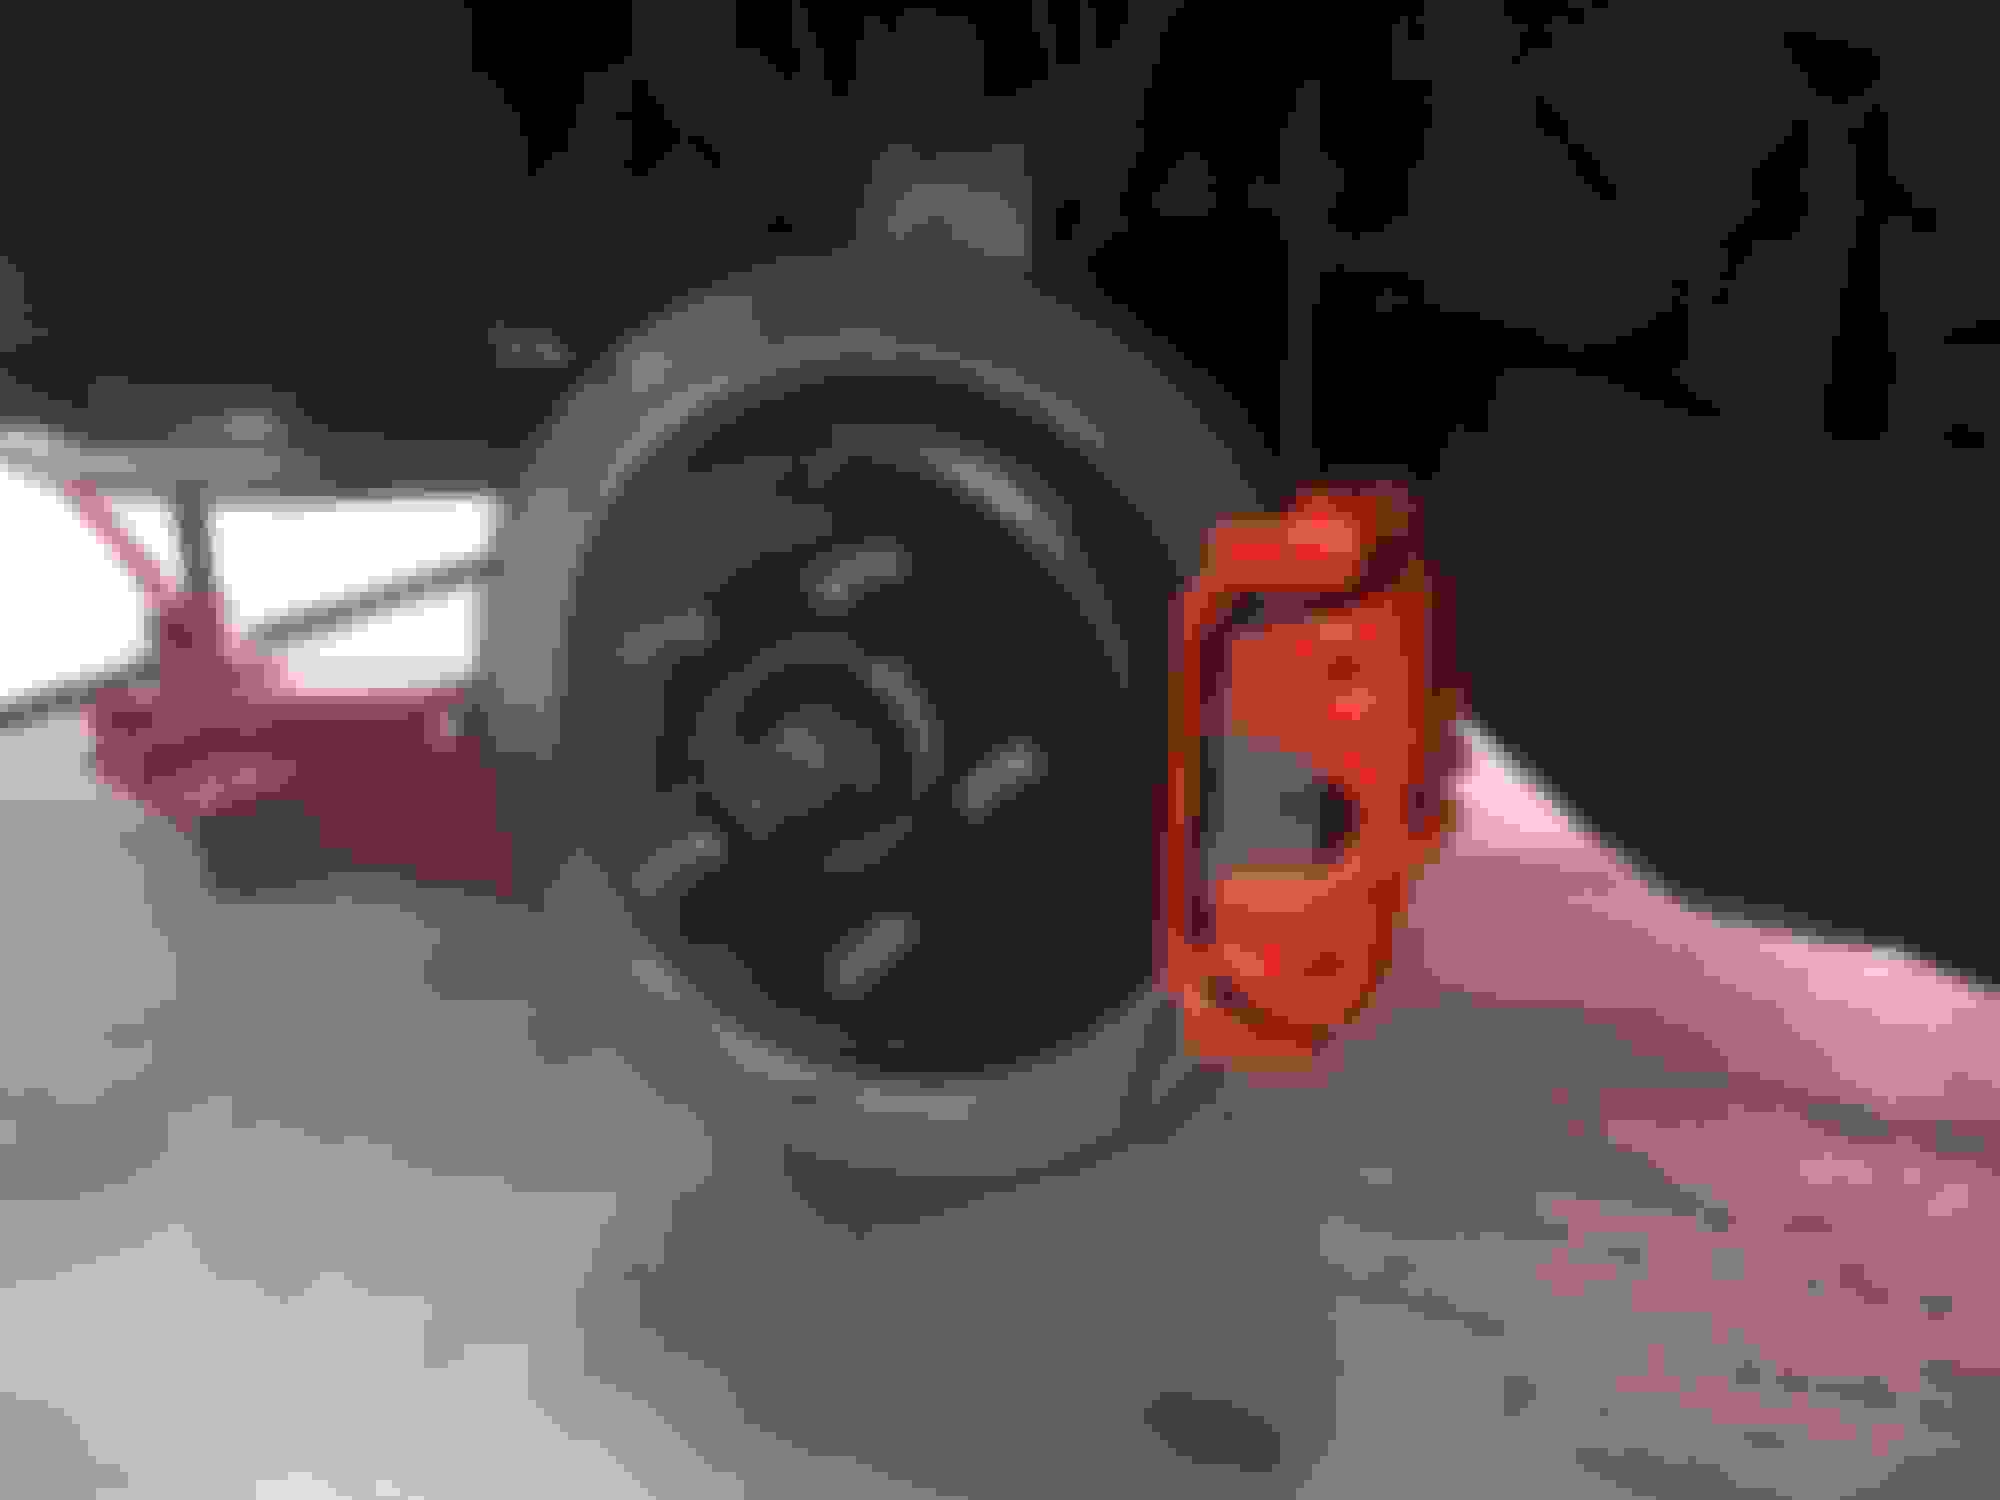
Right now I´m doing the brakes. Previous owner had the front calipers painted black, as the red paint would dis-colour after track days. I love the 2-piece Brake Friction discs - of course they are not "big brakes", but I´ve already experienced that they do brake very well. But the discs were a bit rusty and the pads not as shiny as supposed.
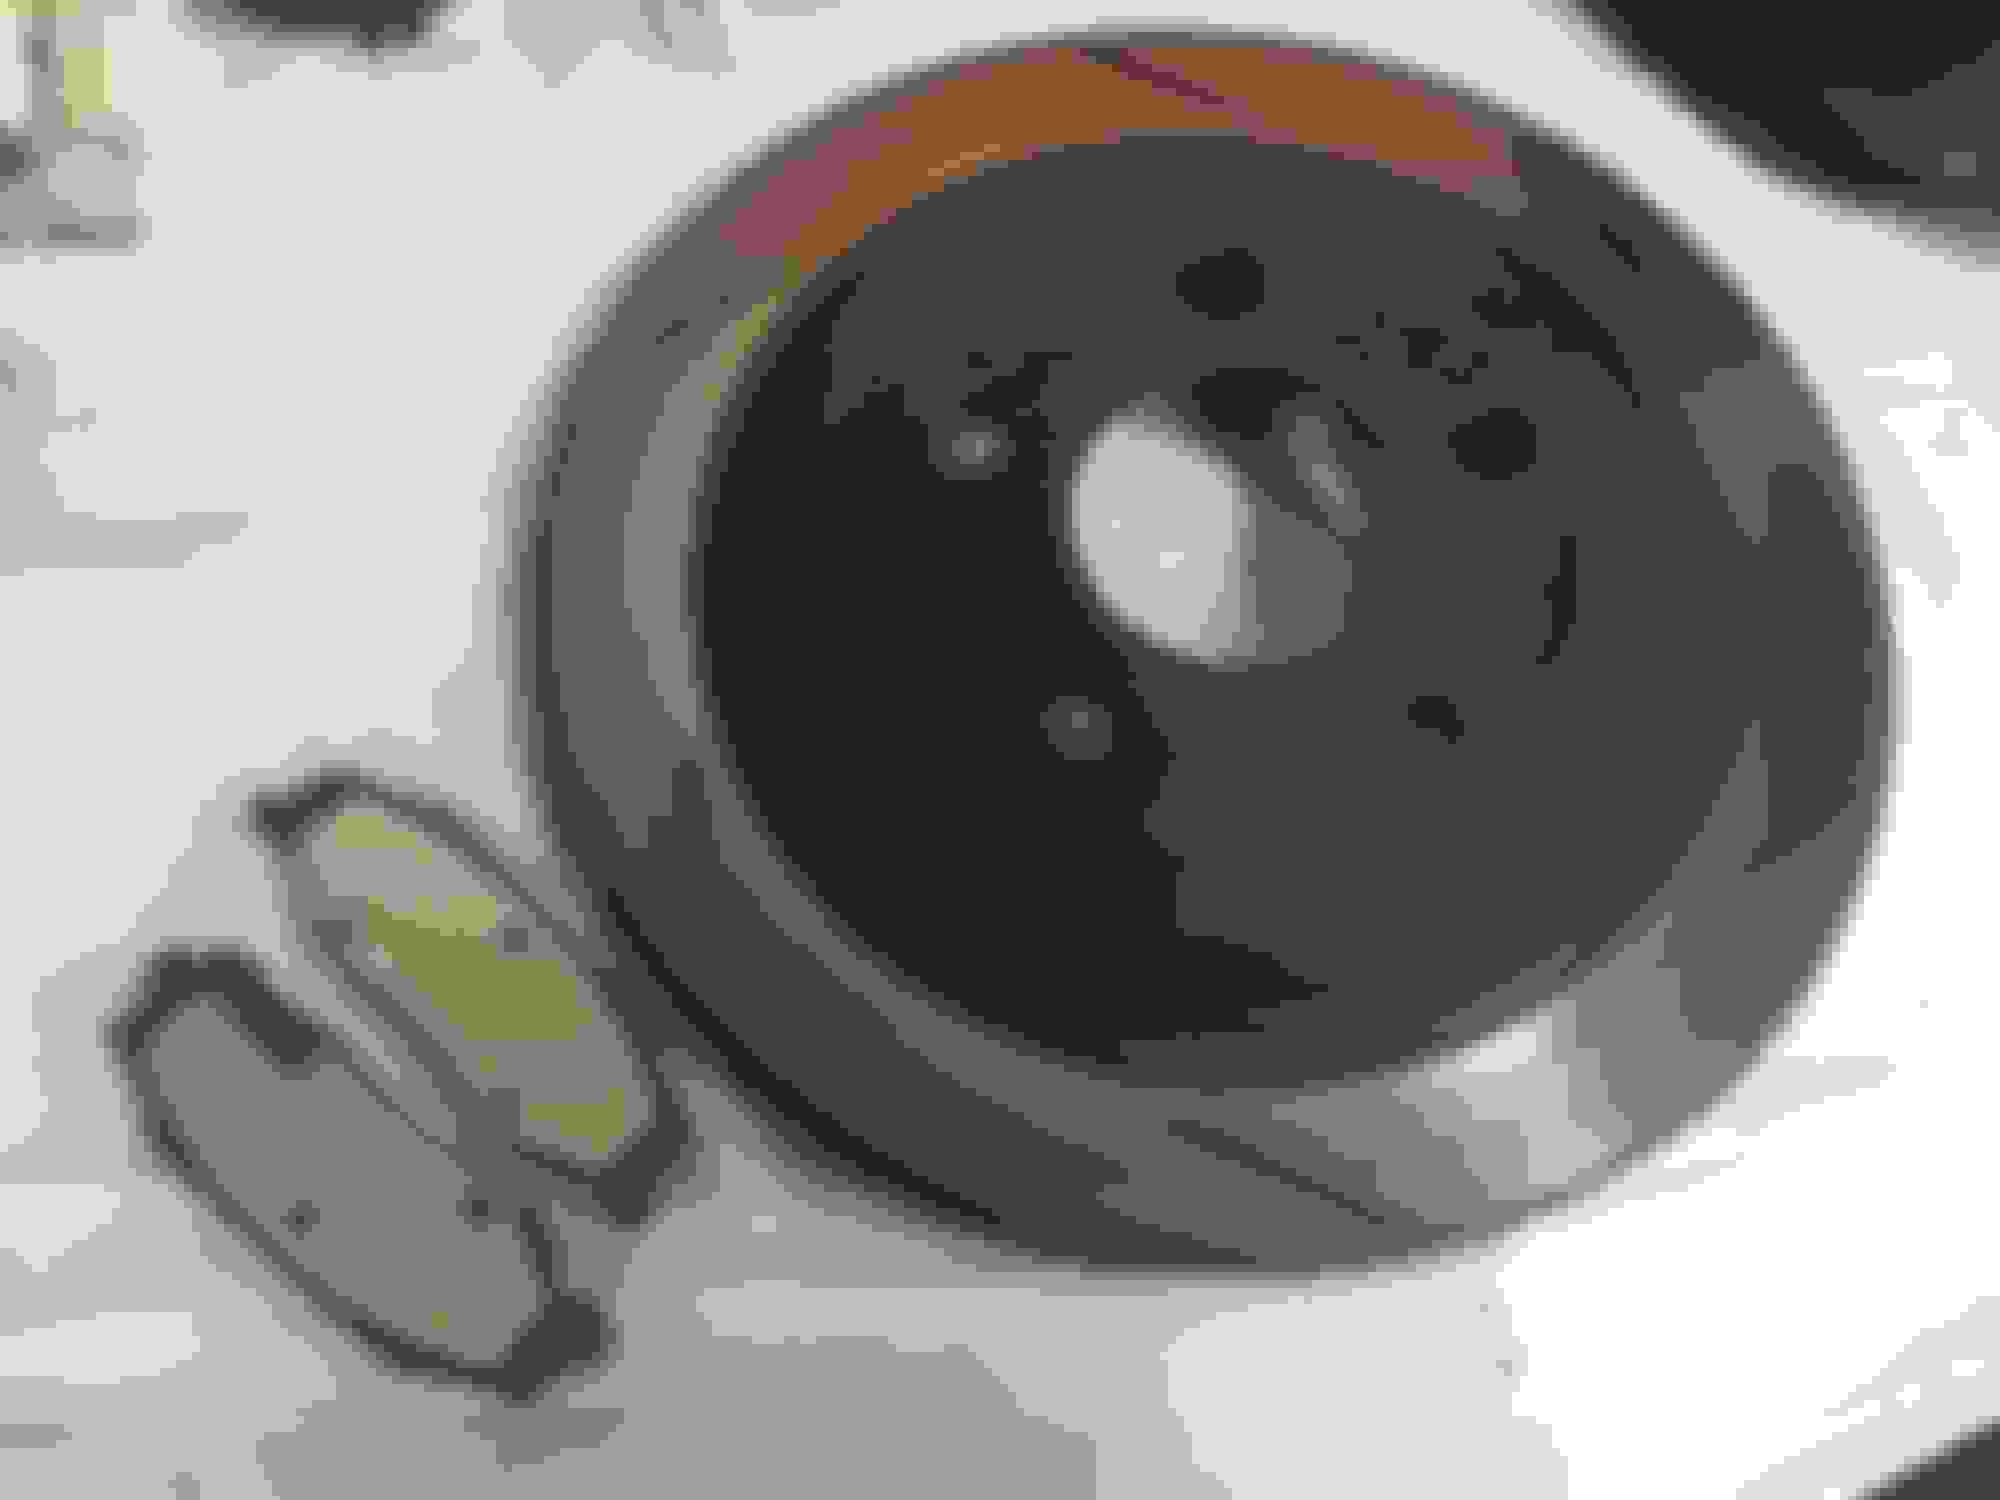
The calipers are now red again - and as instructed from many other CF-users in their threads it is very simple to remove paint from the raised letters using a little knife and then carefully polish. The bracket is also painted red - as I like it to look as "one" unit (was also an opportunity to re-lubricate floating pins in the brackets and inspect all the rubber boots). I polished the plates on the pads - and now everything looks a lot better. Only need to clean the discs again when installing everything.
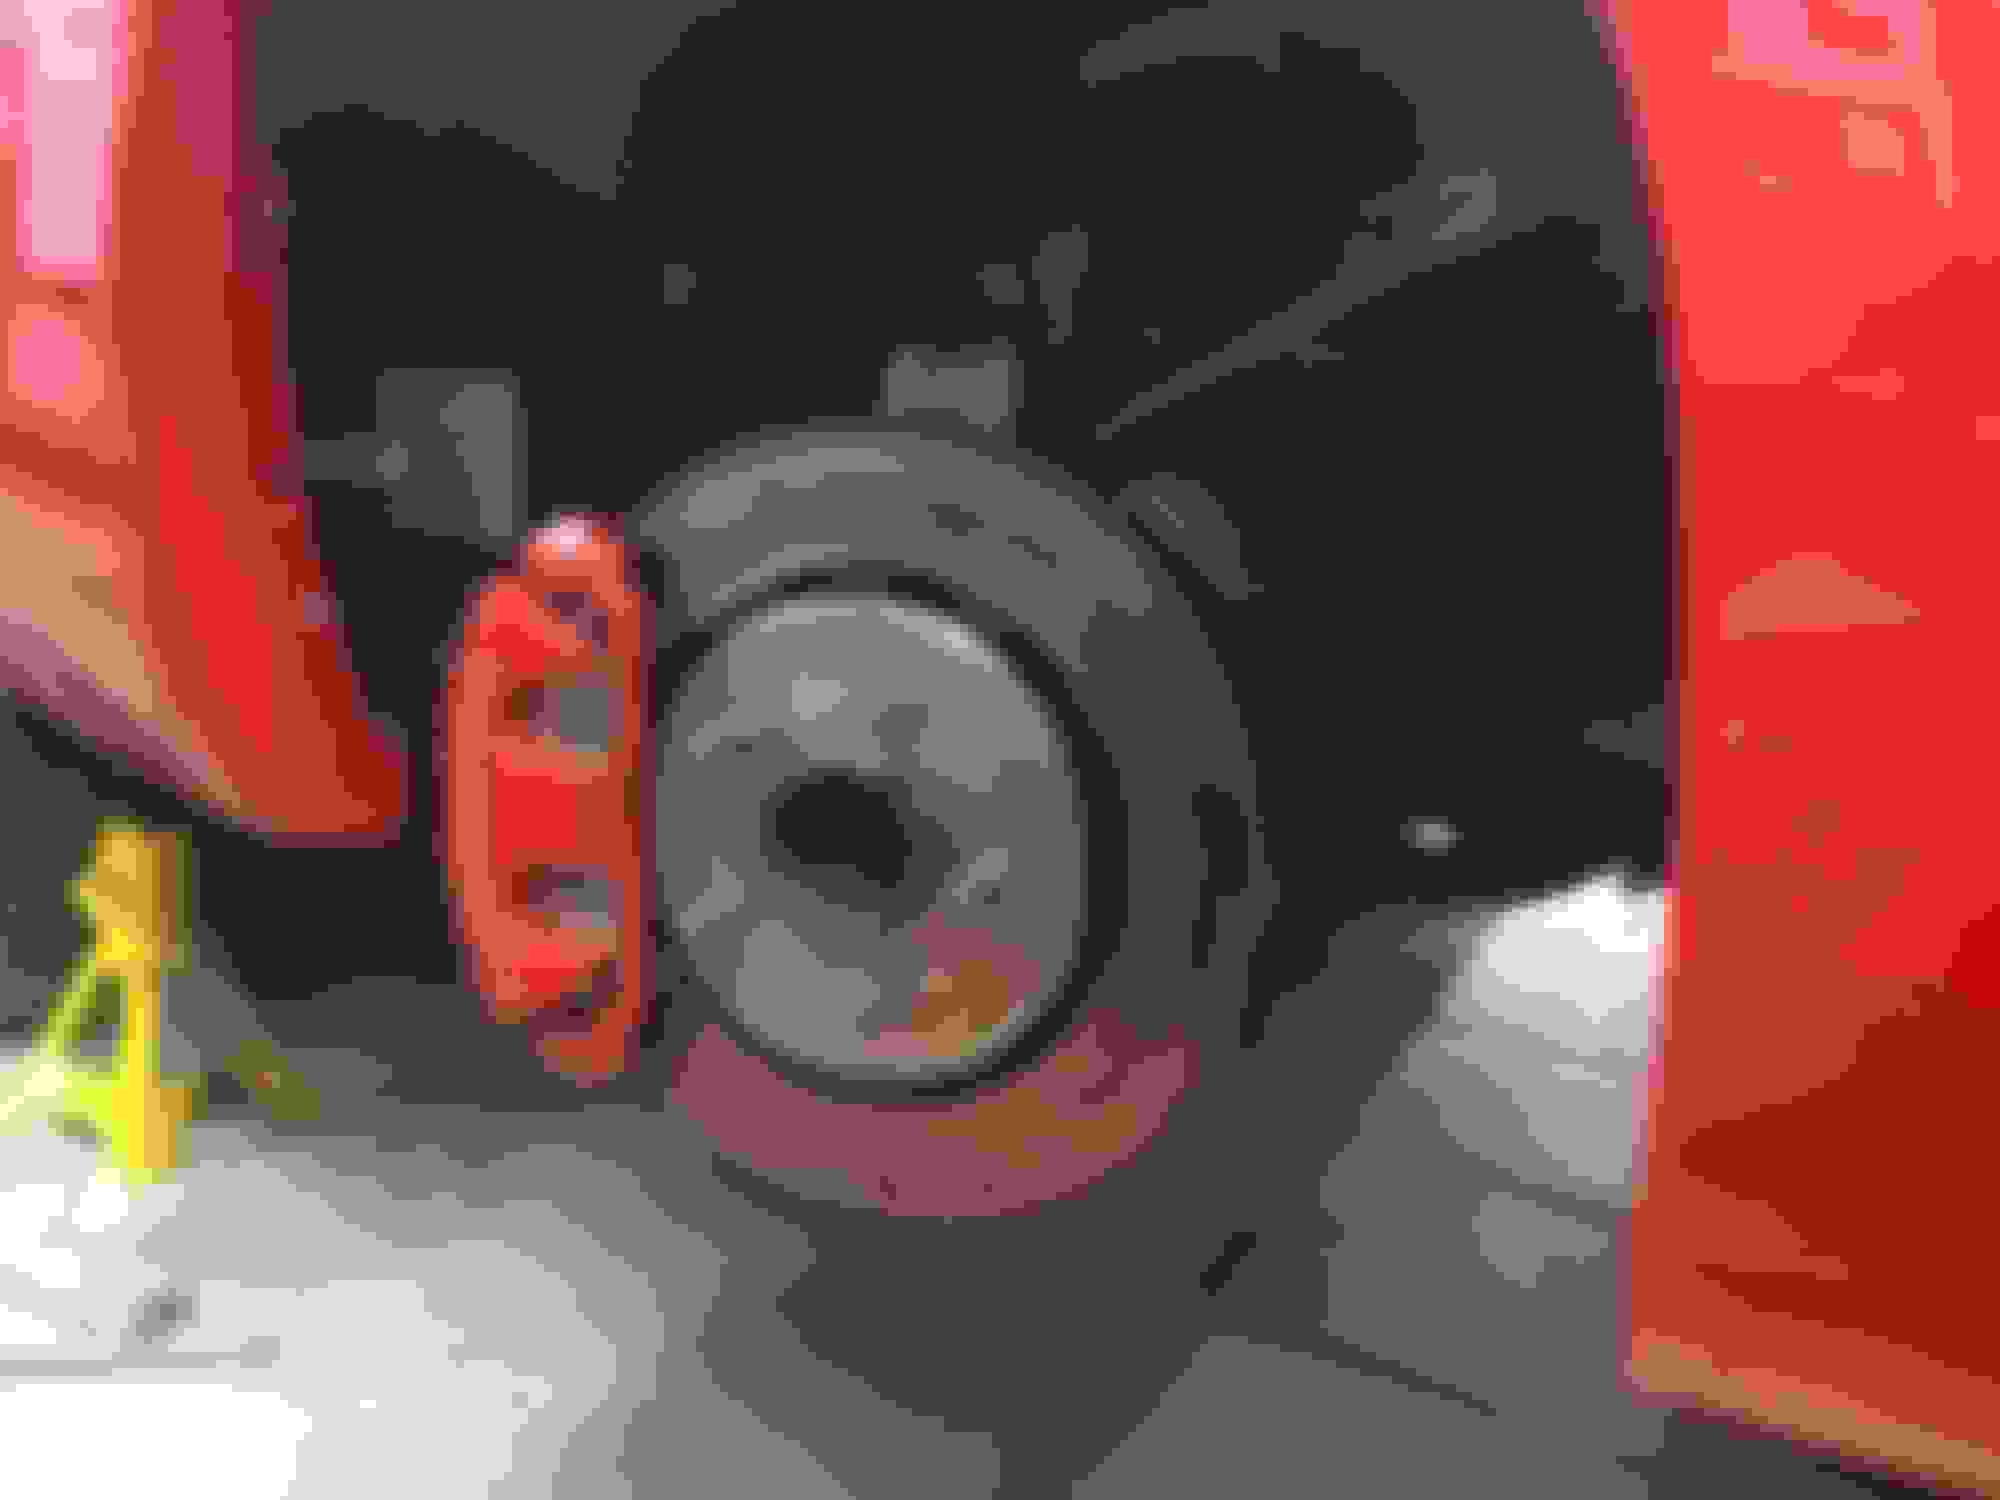
Got the front brakes re-installed - and what a difference! The limited work cleaning and painting is well worth the effort.
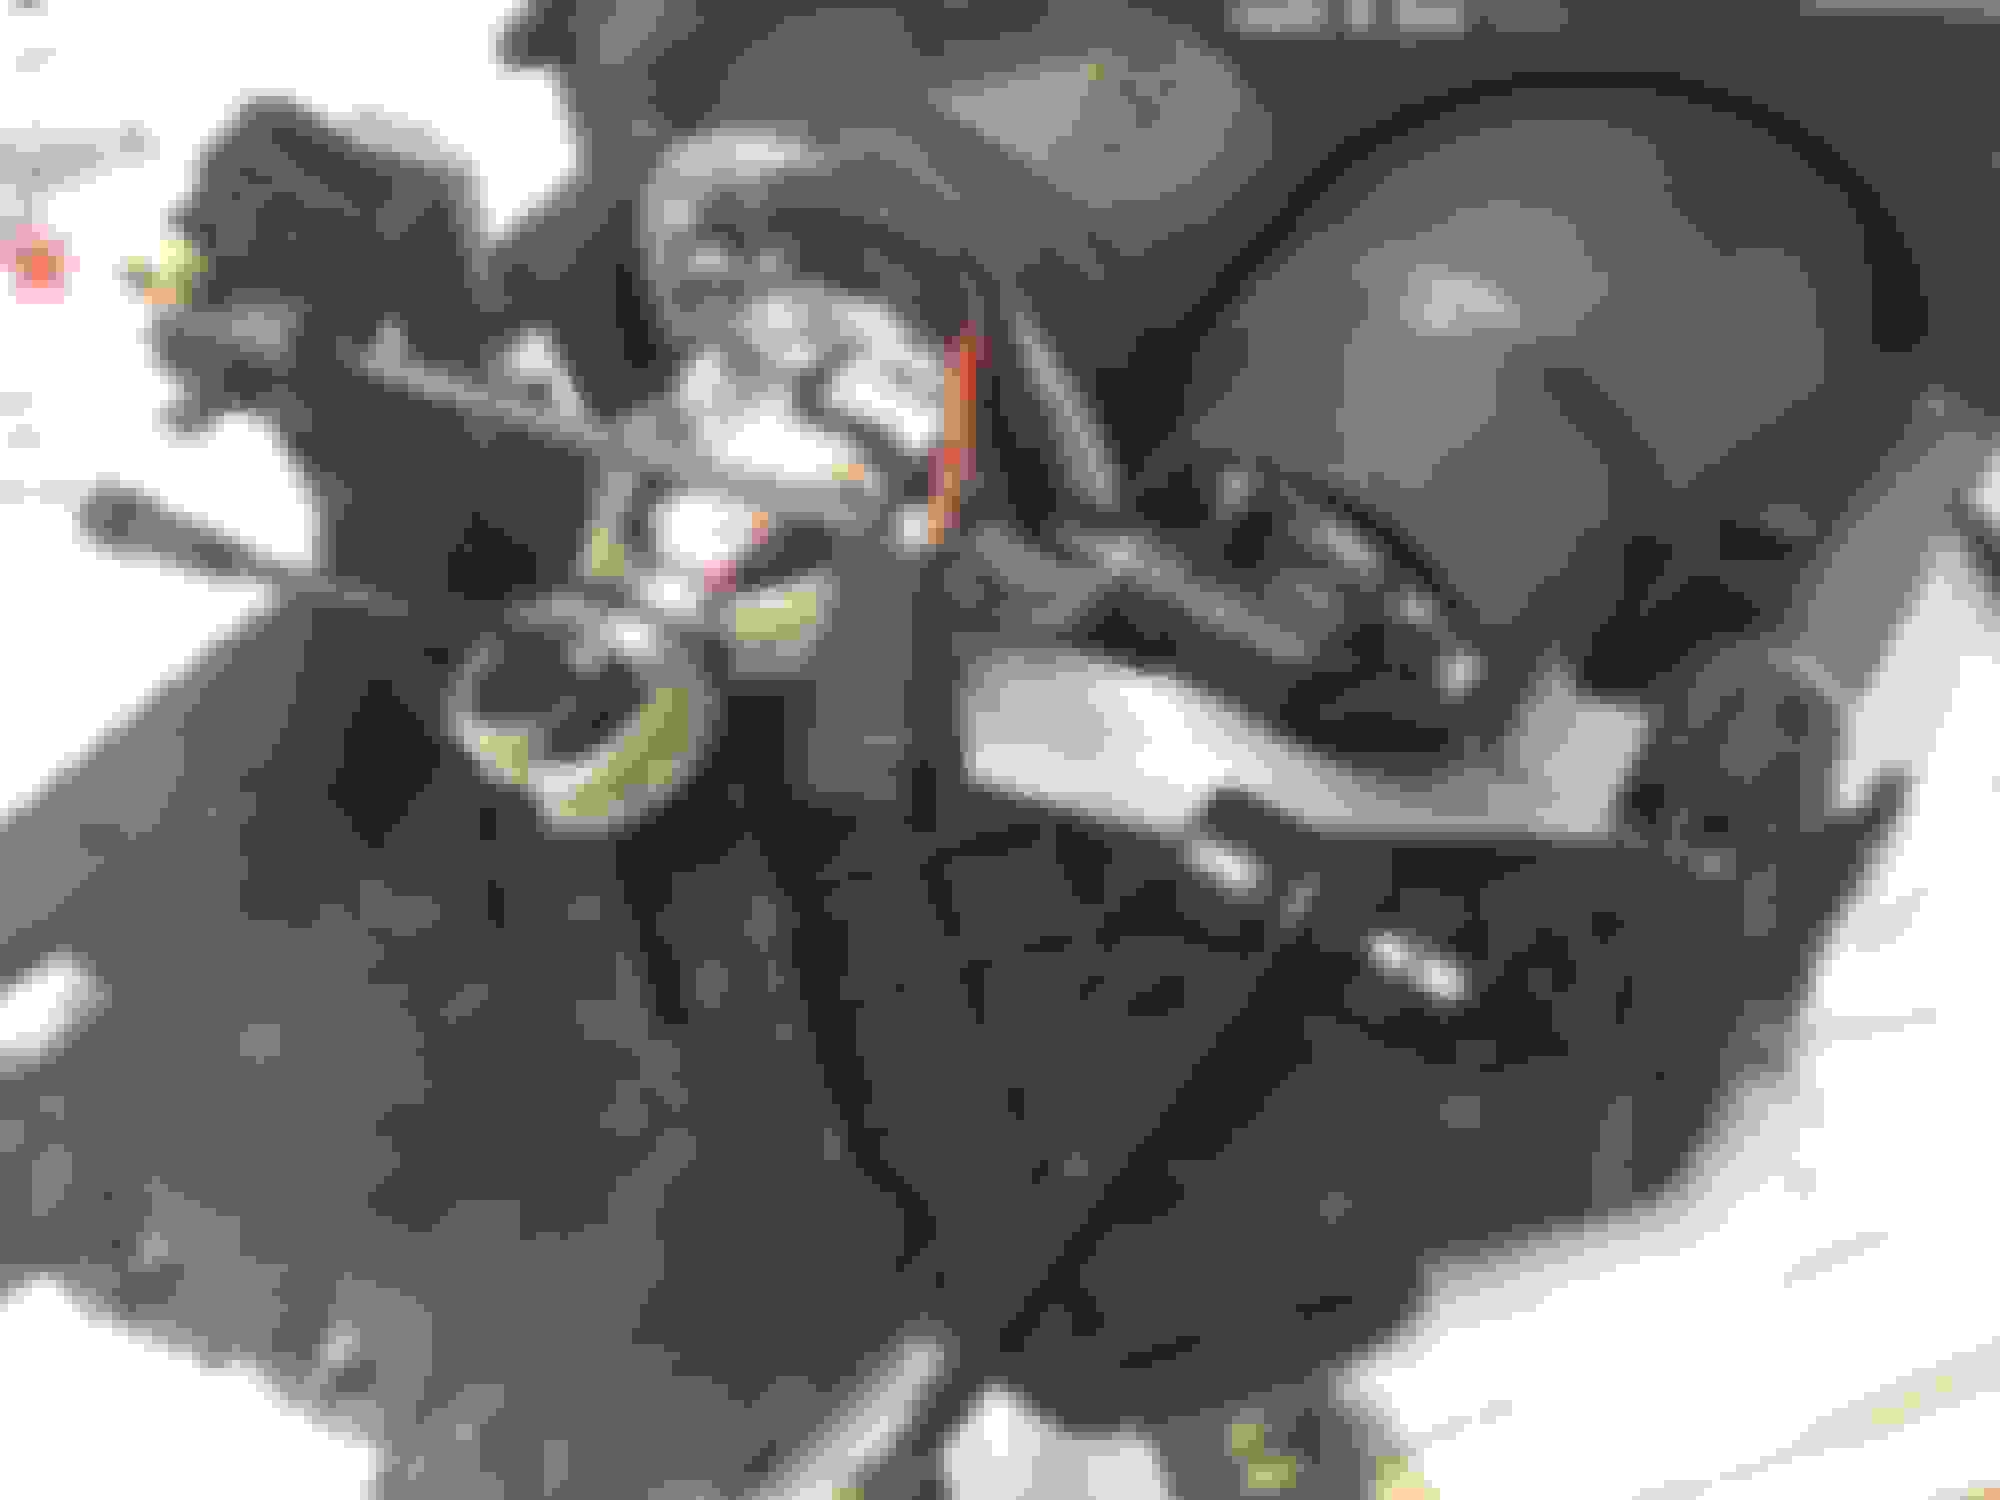
During headlight install I carefully lubricated the adjustment rods - making sure they actually works in every thread. I´m not sure it has ever been done to these headlight assembly´s since production - but now they work as good as new. I installed a small shim to the hinge arm to prevent the common "shakey" headlights when upgrading to projectors and HID/LED. I guess it will solve some of it.
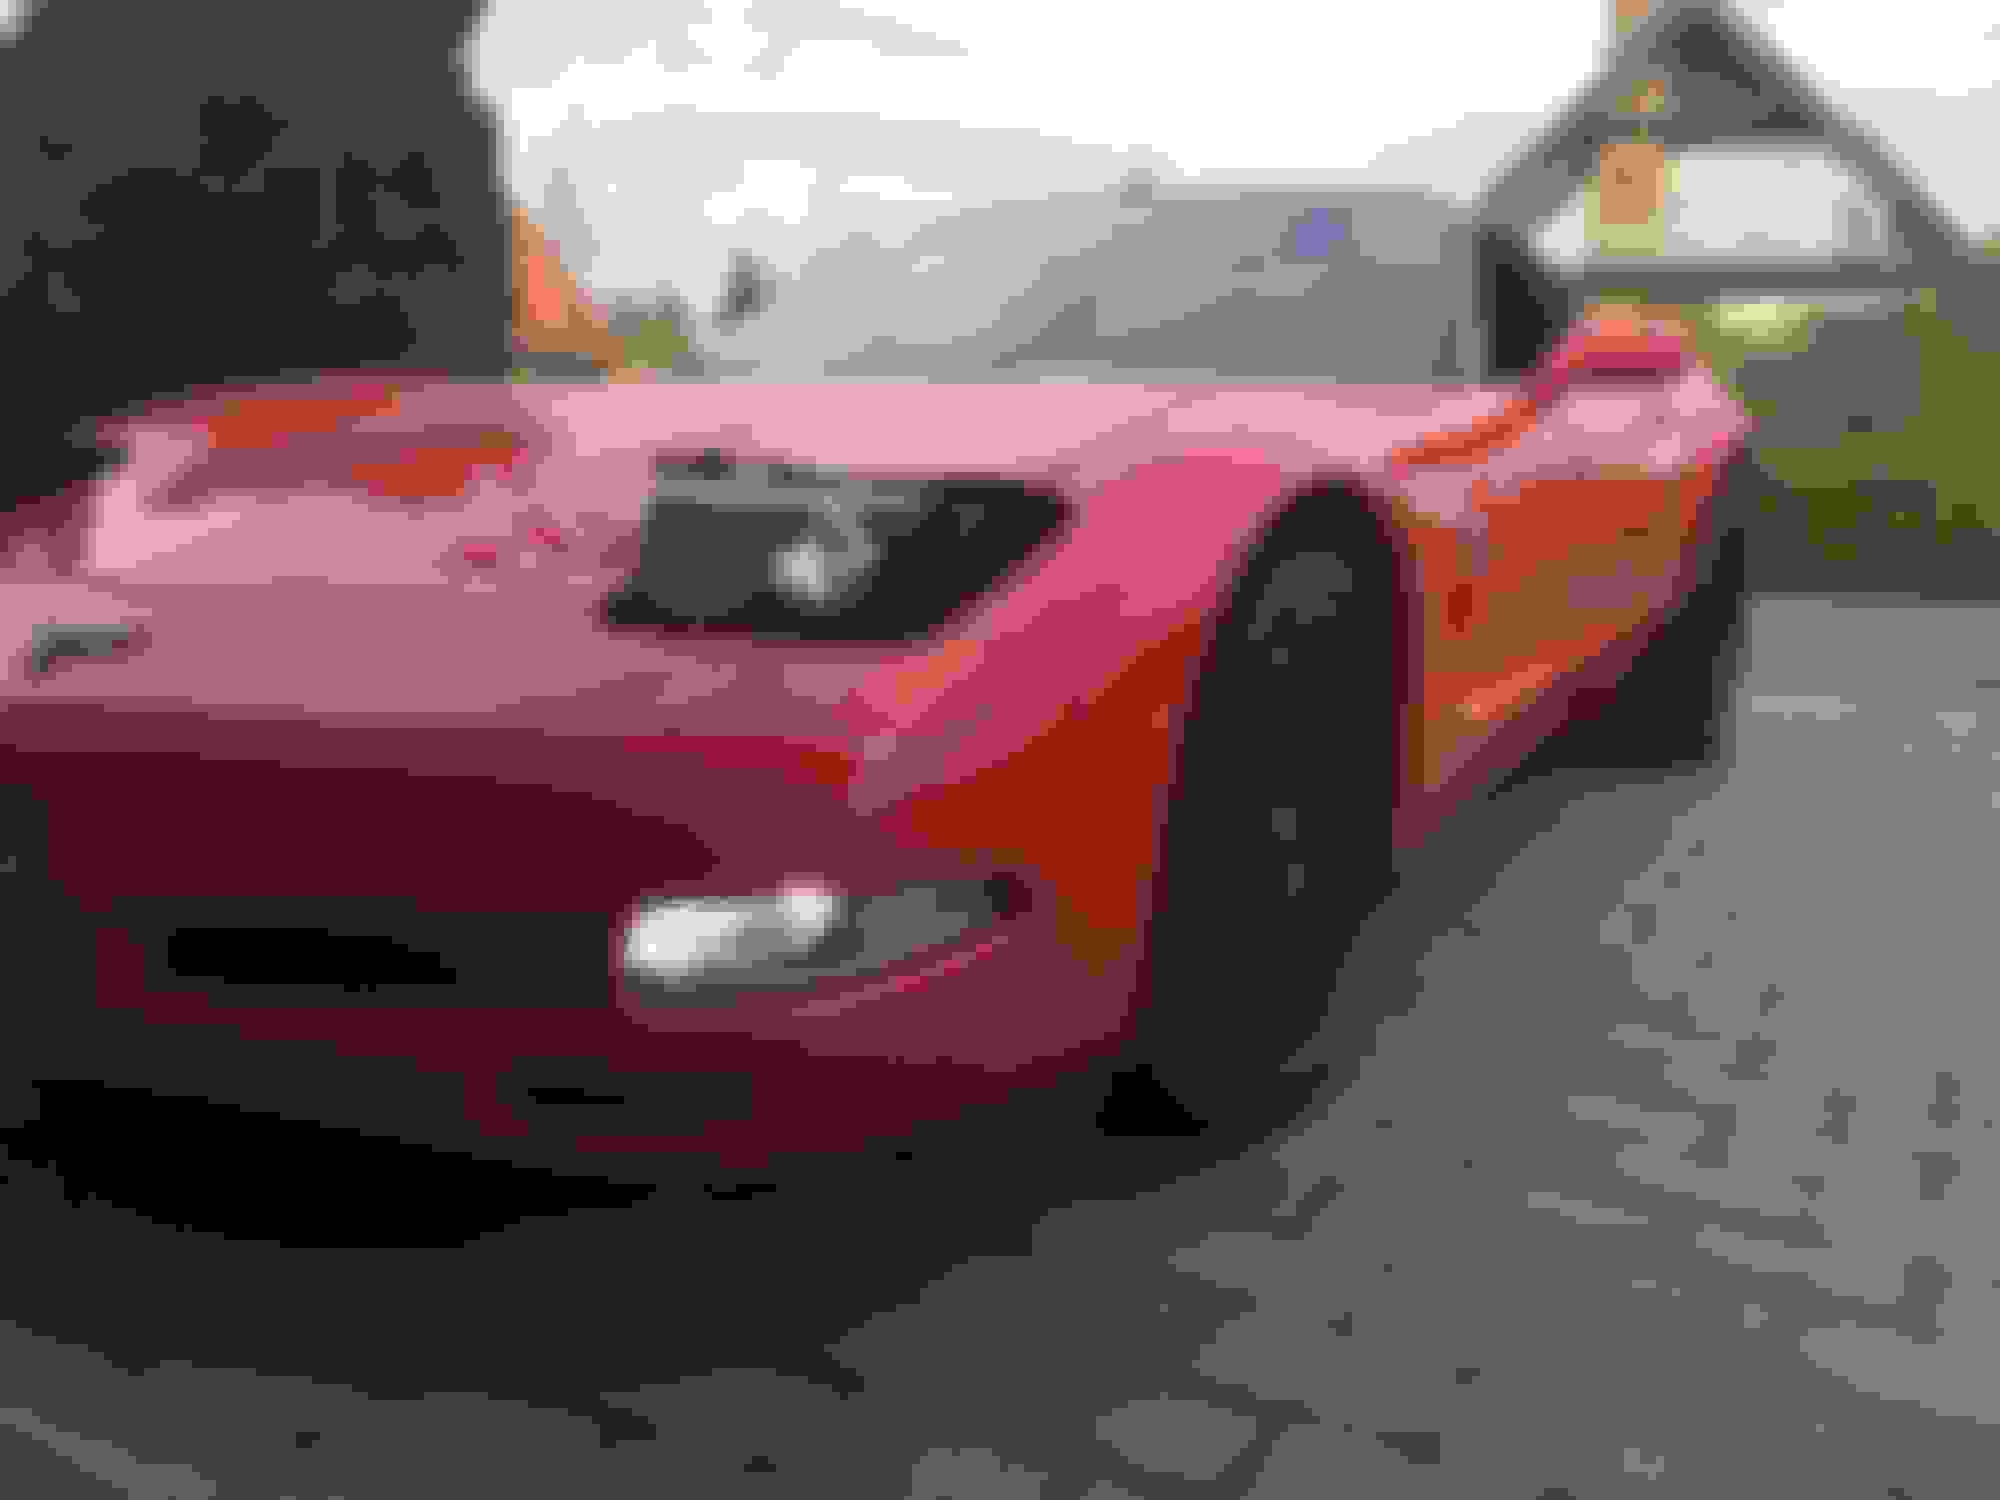
Front is assembled - only need to mount the headlight covers, when I´ve tested and aimed the lights. I really like the look of the black screens, the red color and the side marker lights from Radioflyer
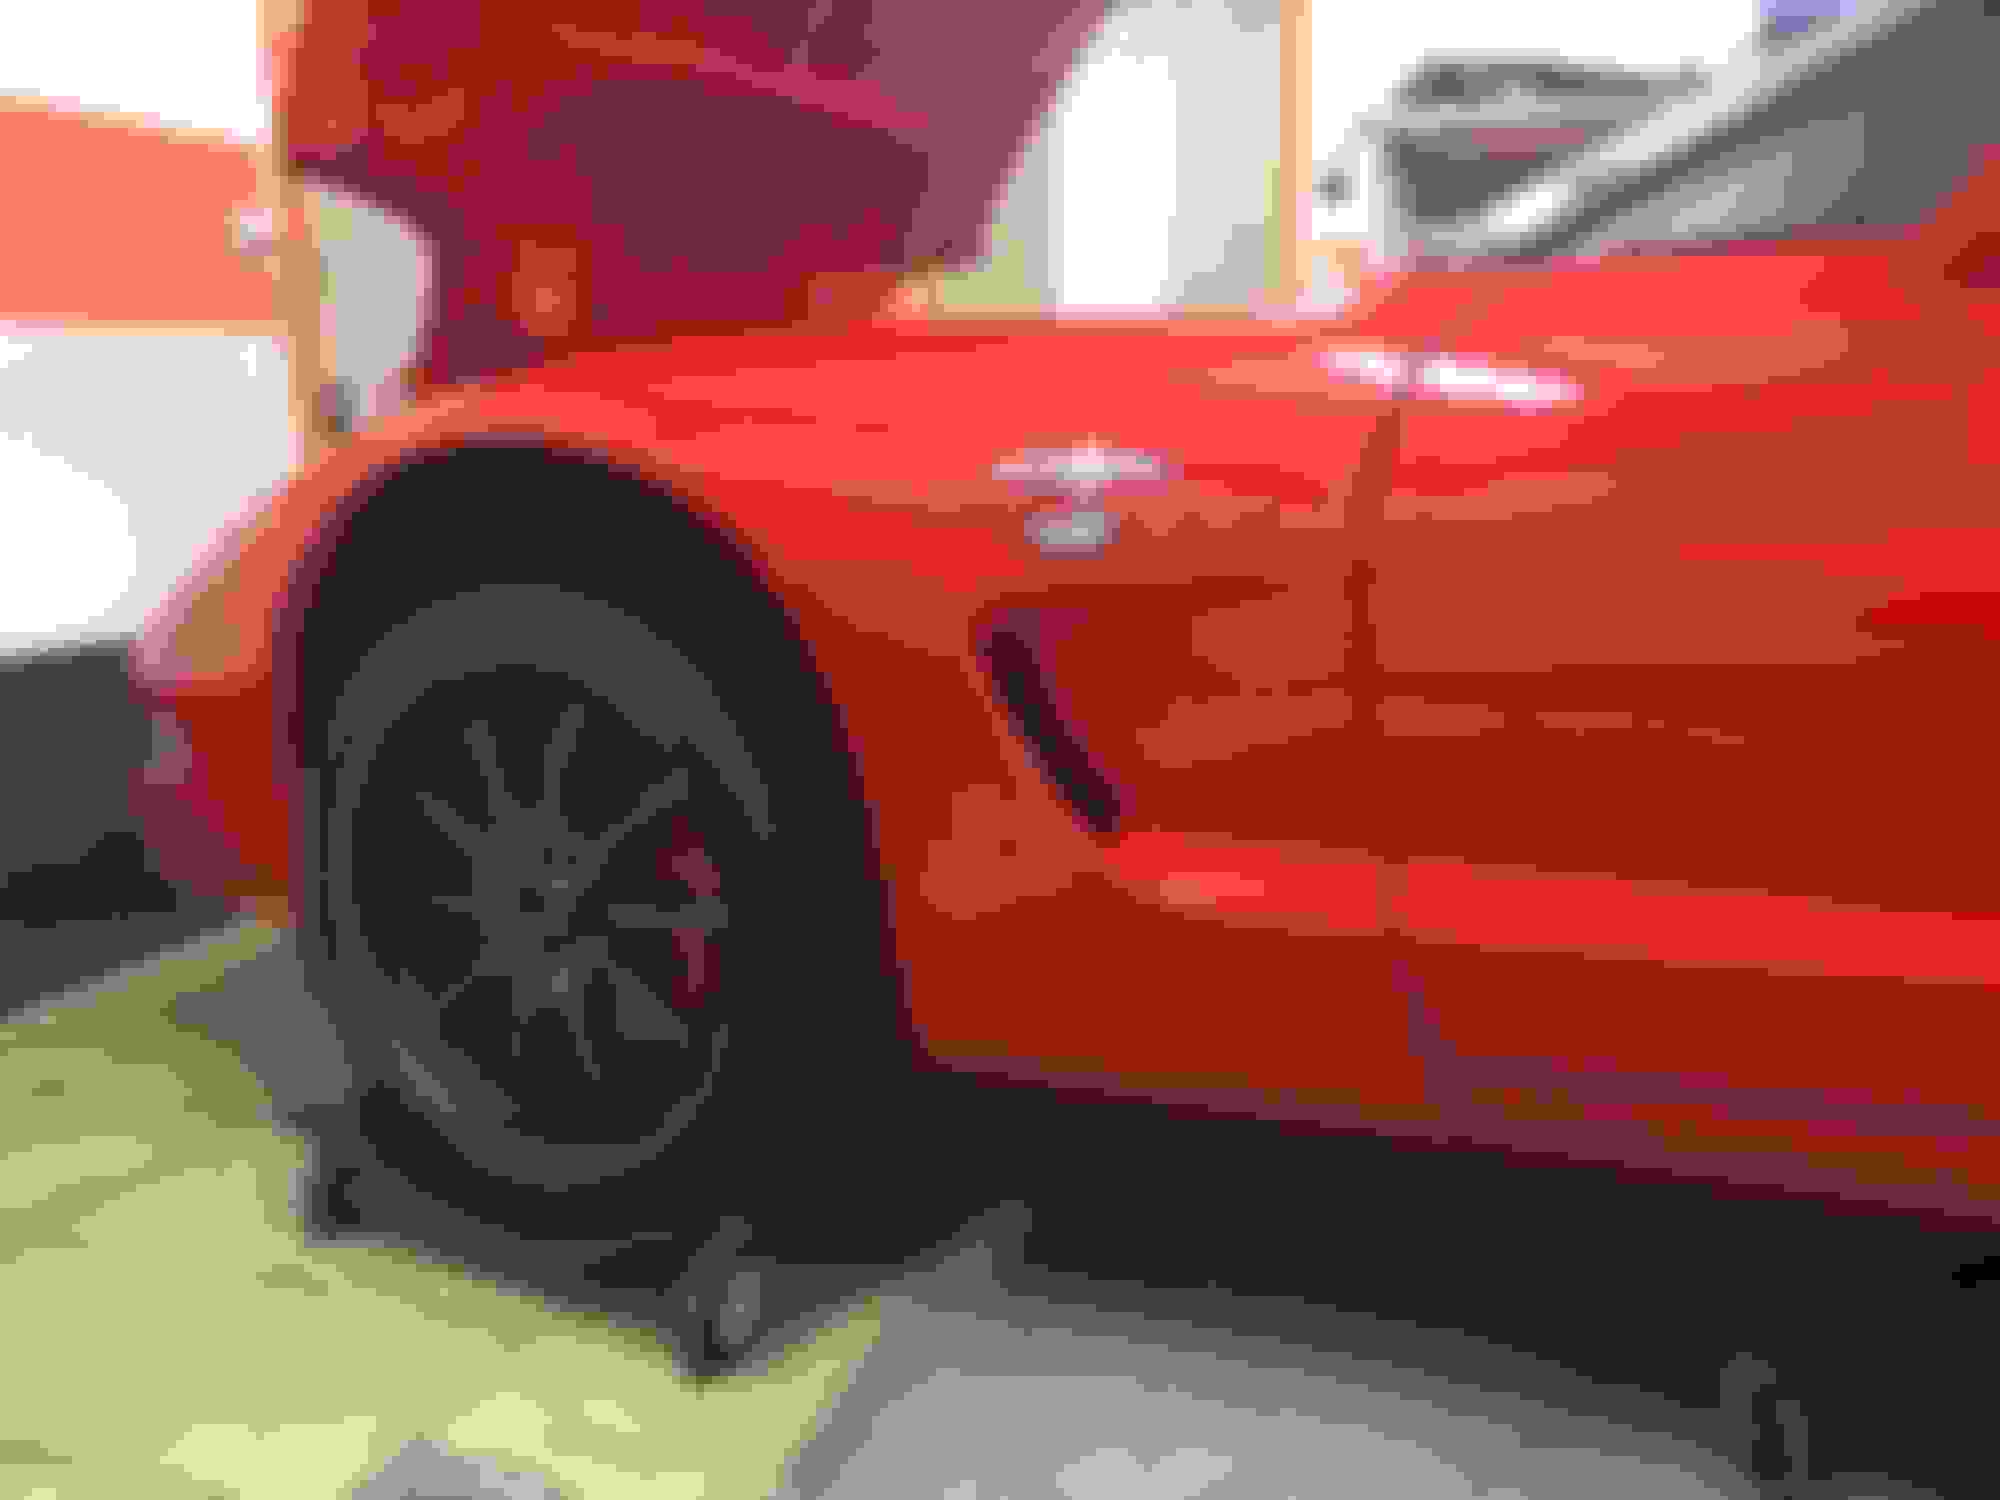
The repeater side turn signals does also blend in very well. Of course it would have been much better to avoid them at all - but then I wouldn´t pass inspection. The LED strips in the turn signal matches the LED strip in the marker lights - and both housings are the clear/black version. The suspension sits pretty high, as its only lowered back on the dolly. It will be lowered much - but it´s already possible to see how the wheels fit the car.
Rear brake calipers painted - and tomorrow they can be assembled.
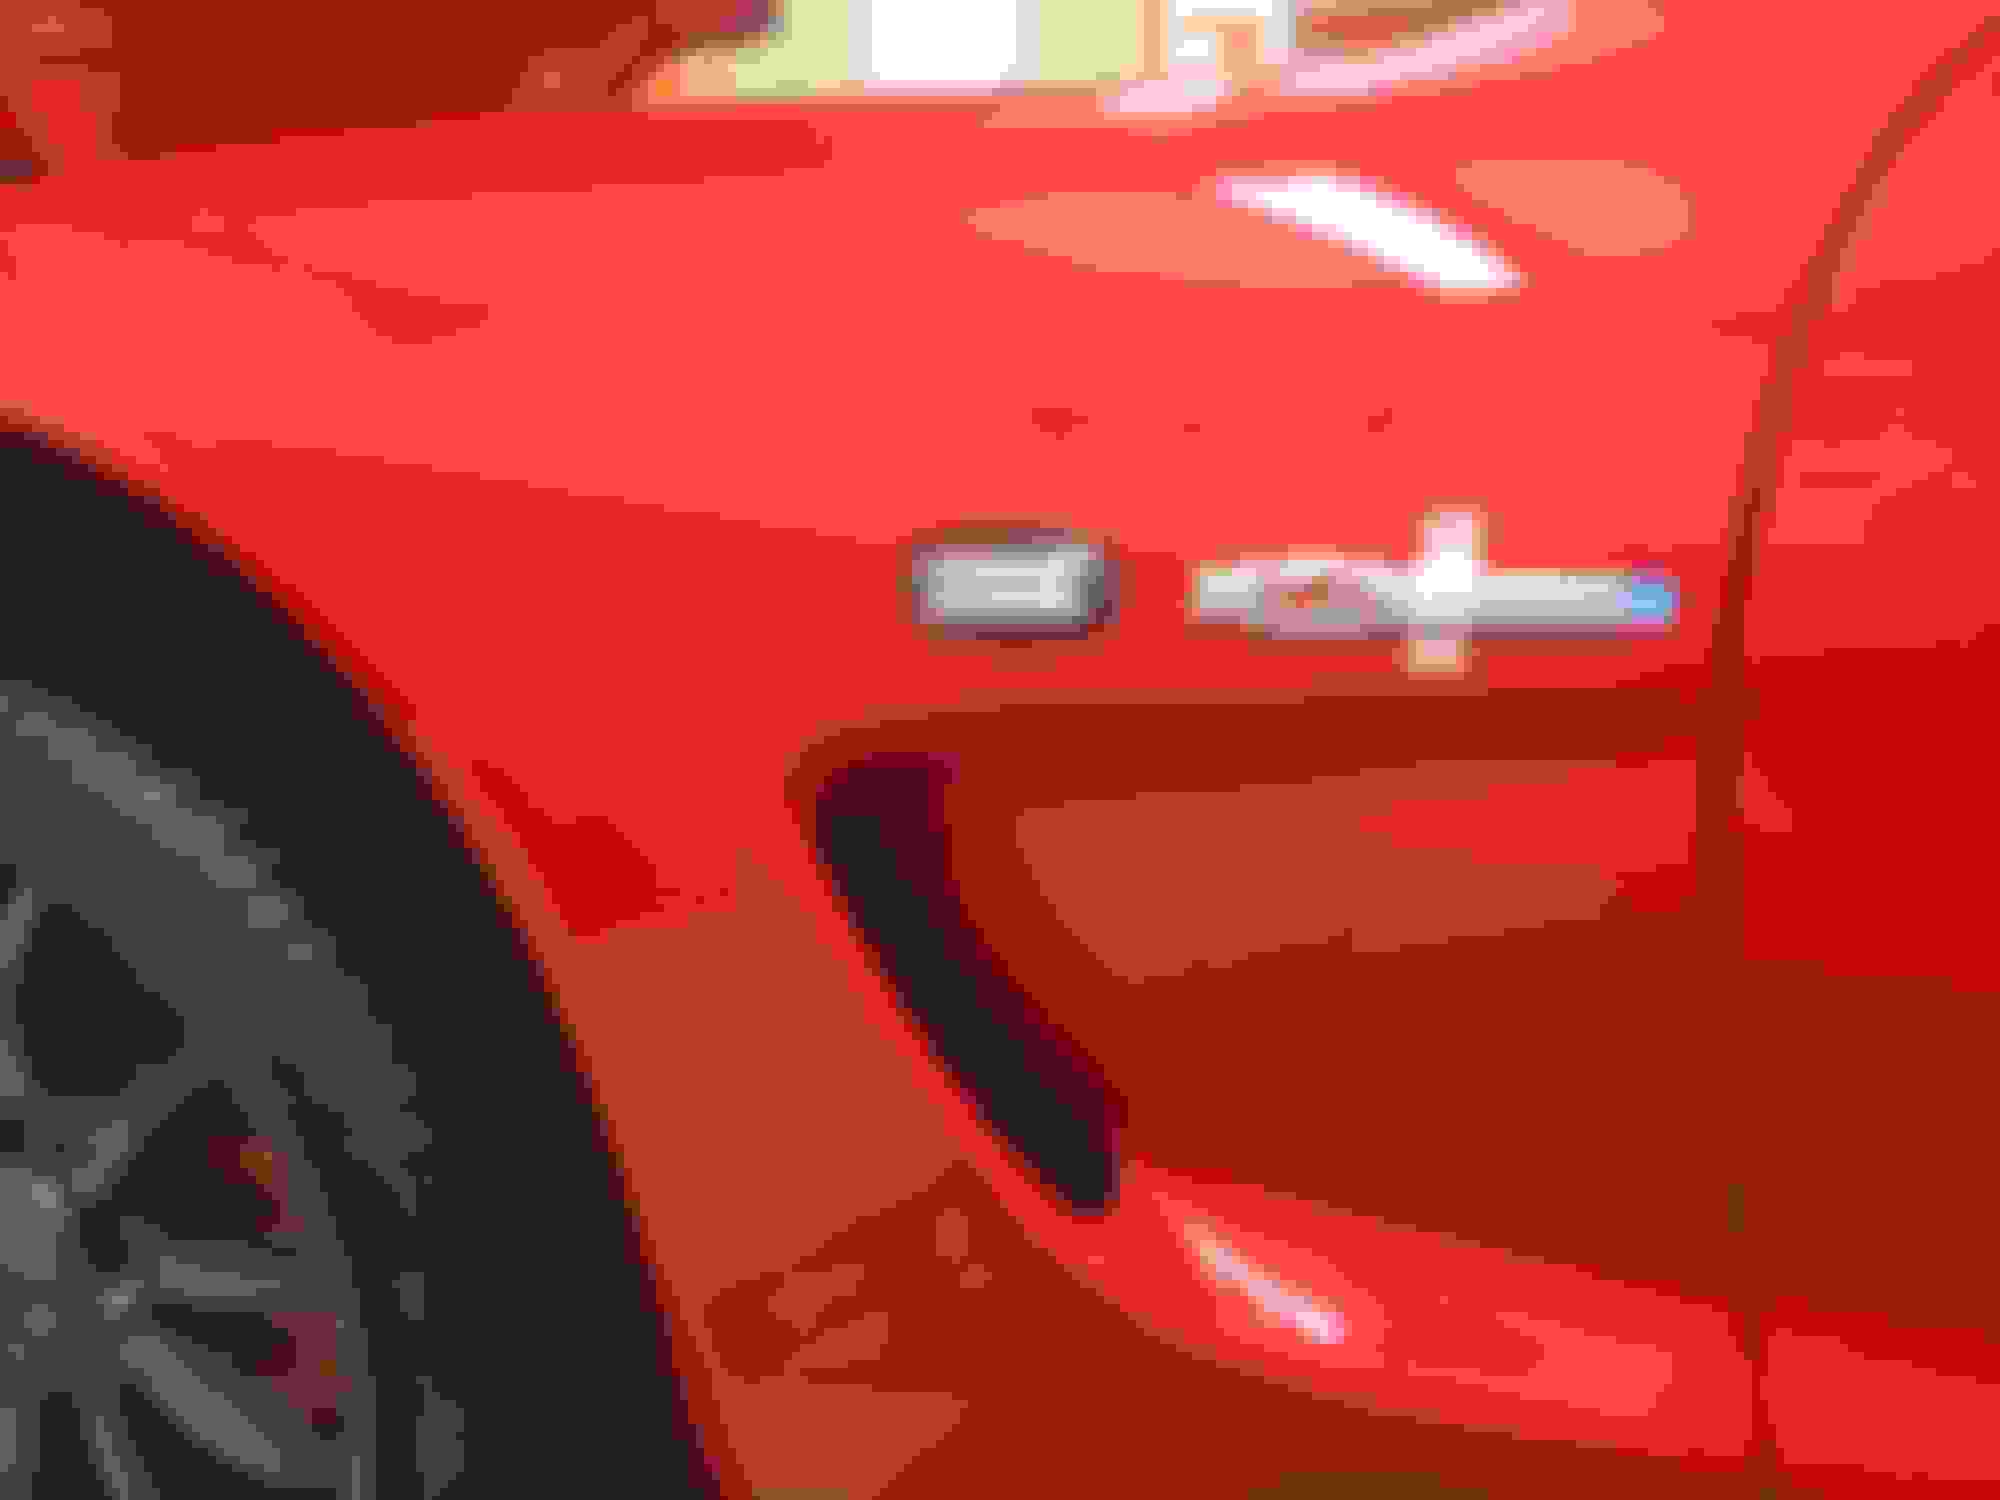
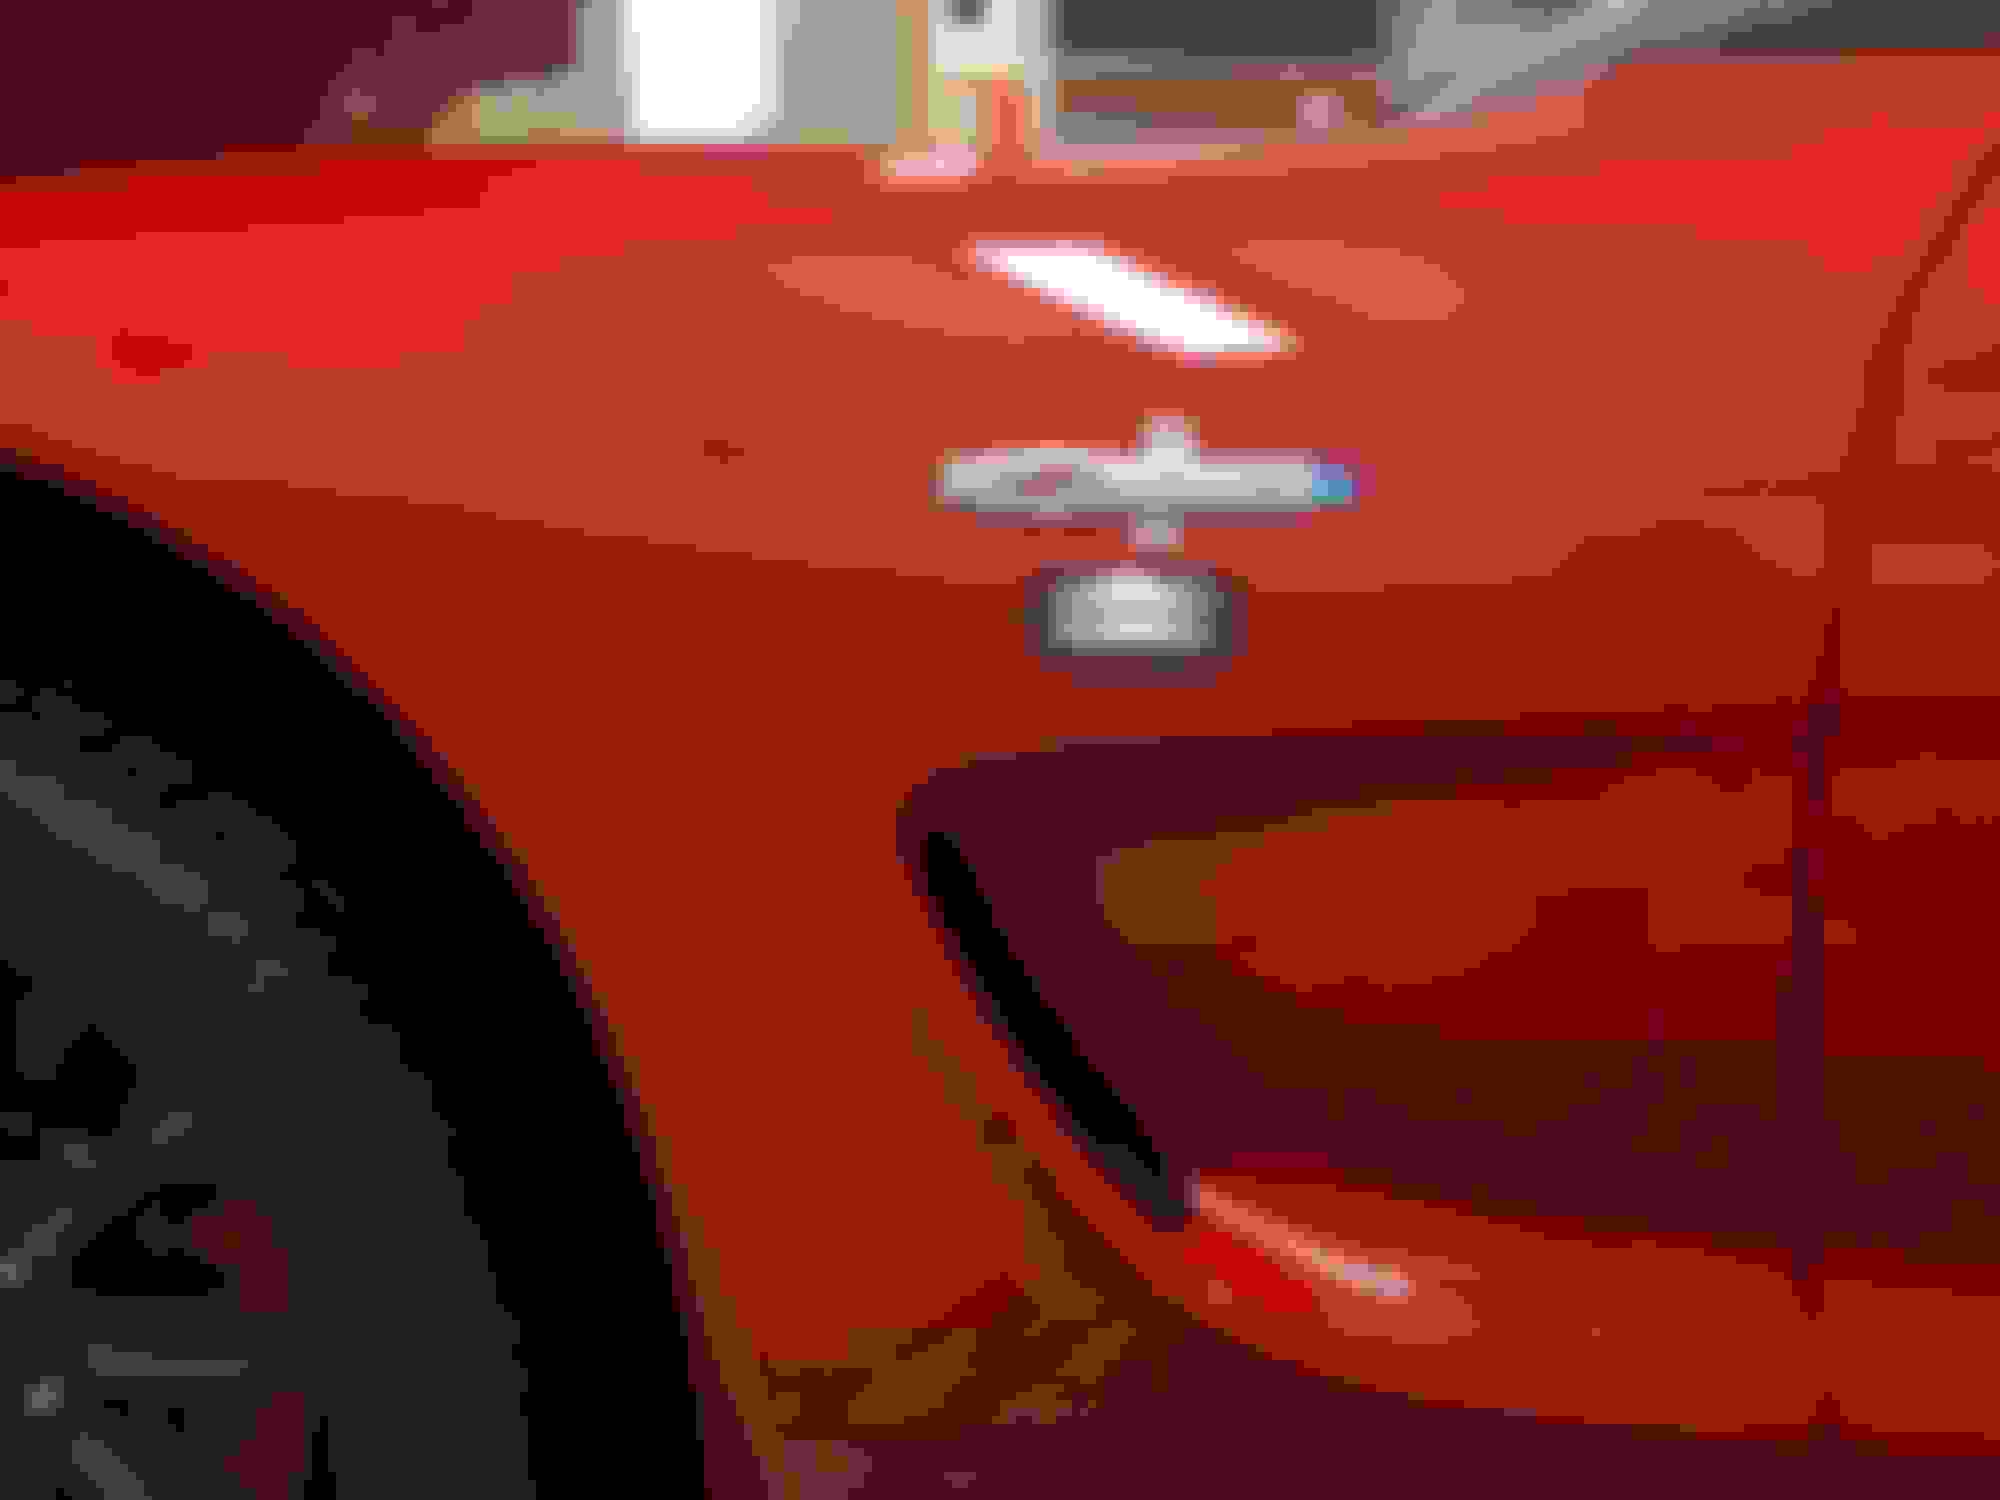
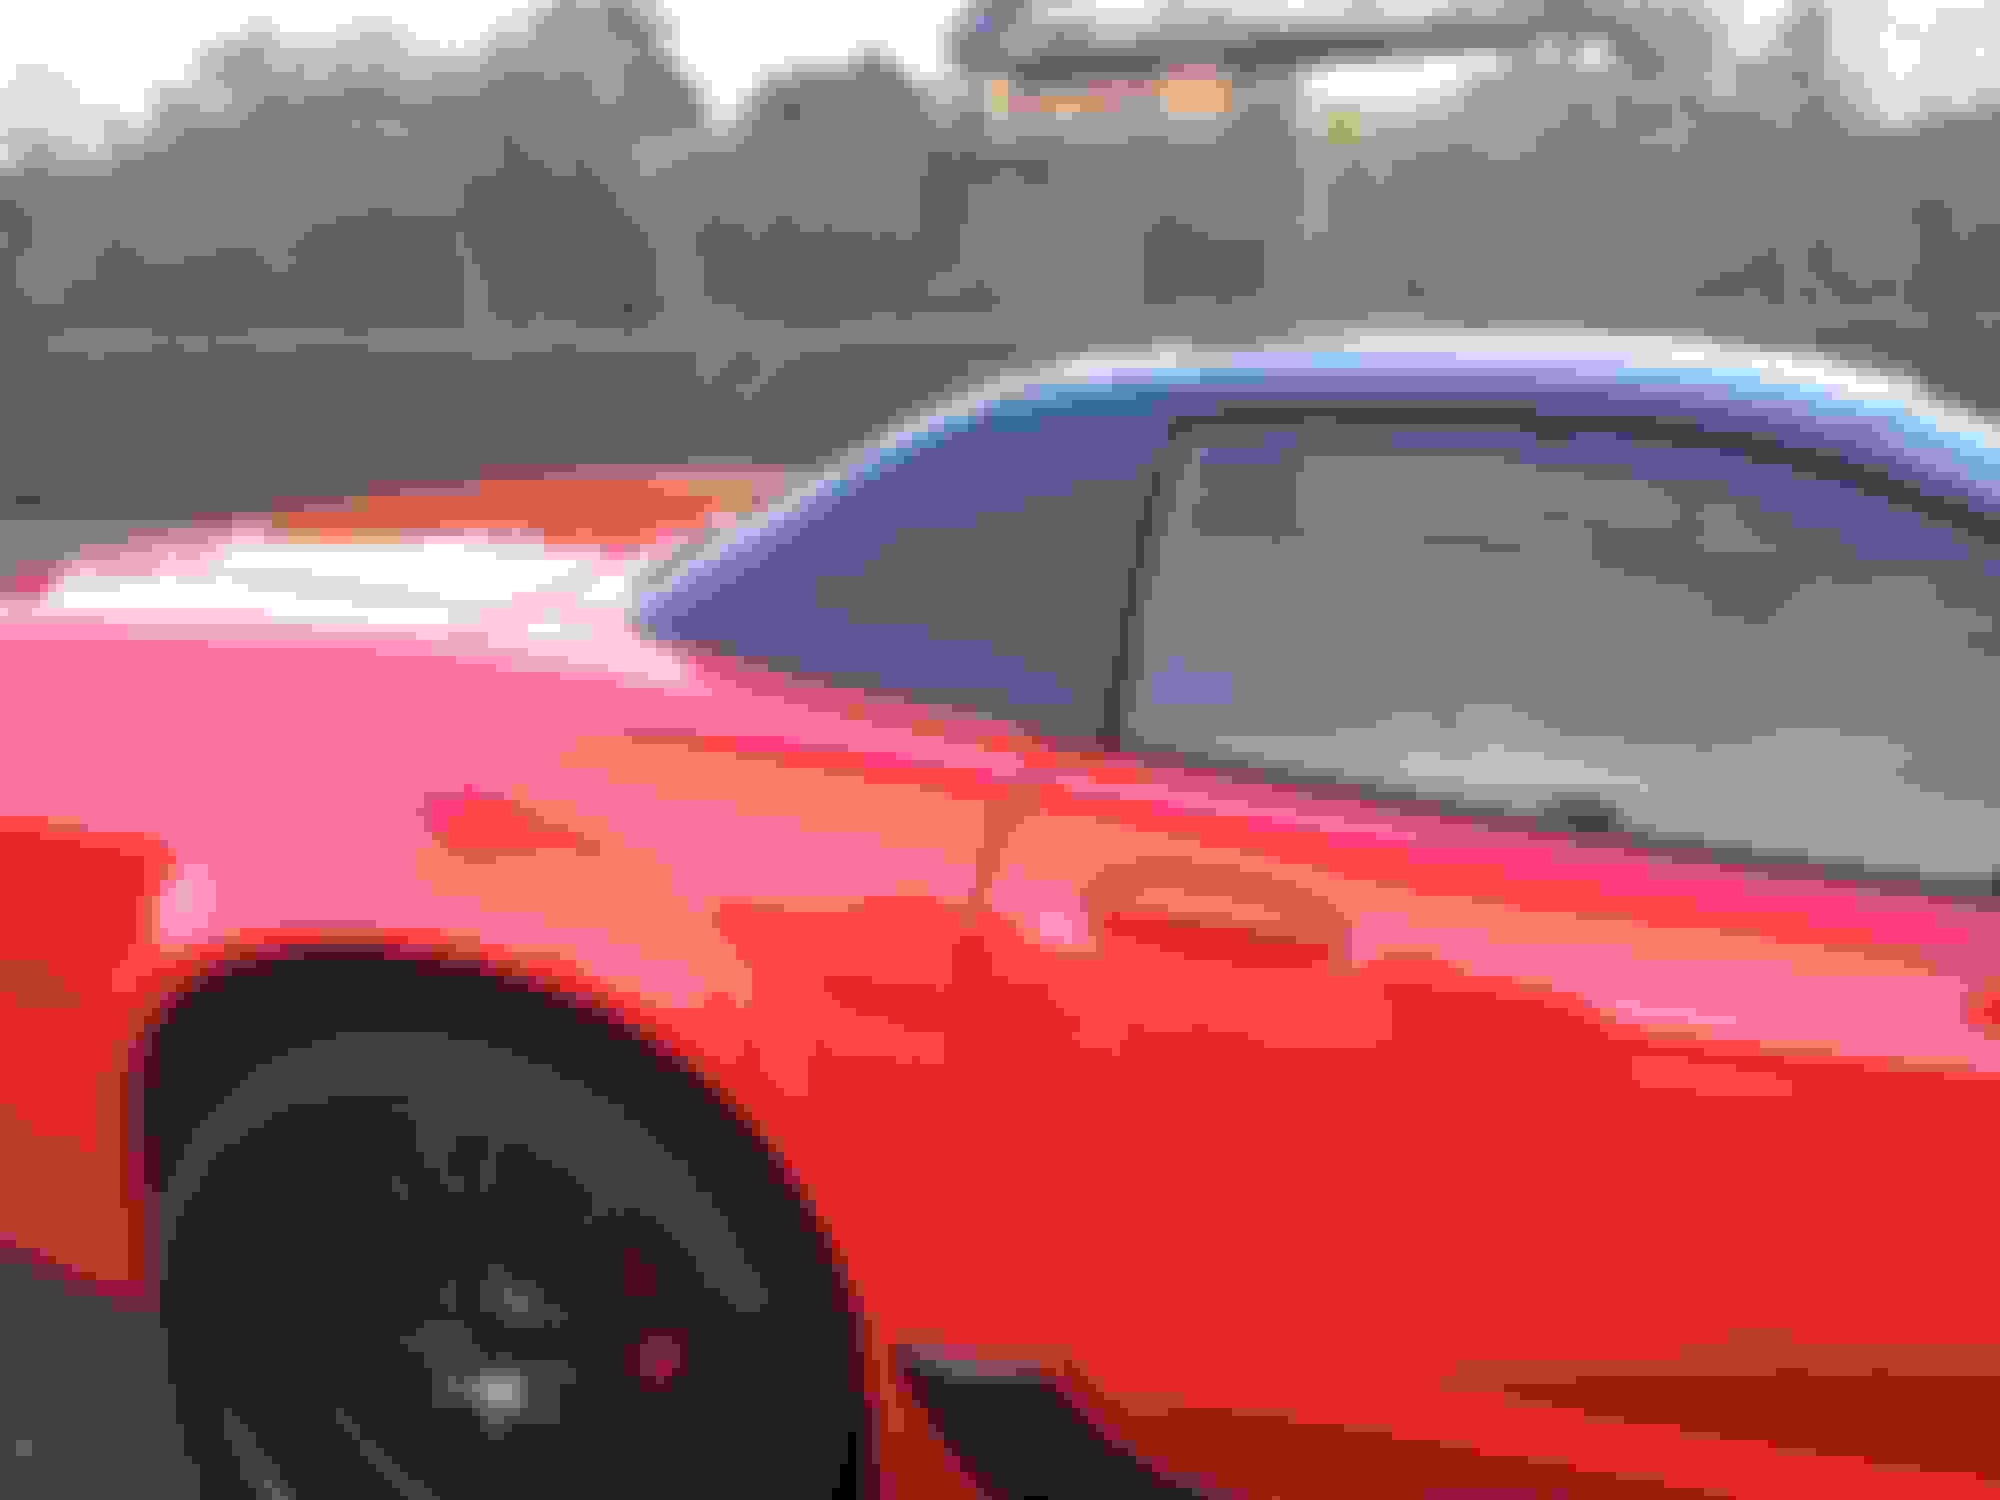
I could use your input regarding the front fender Z06 decal. The repeater turn signal (required by Danish inspection) makes it a bit complicated to decide the position of the decal. I found these two alternatives - where I think the first one is the best.
1:
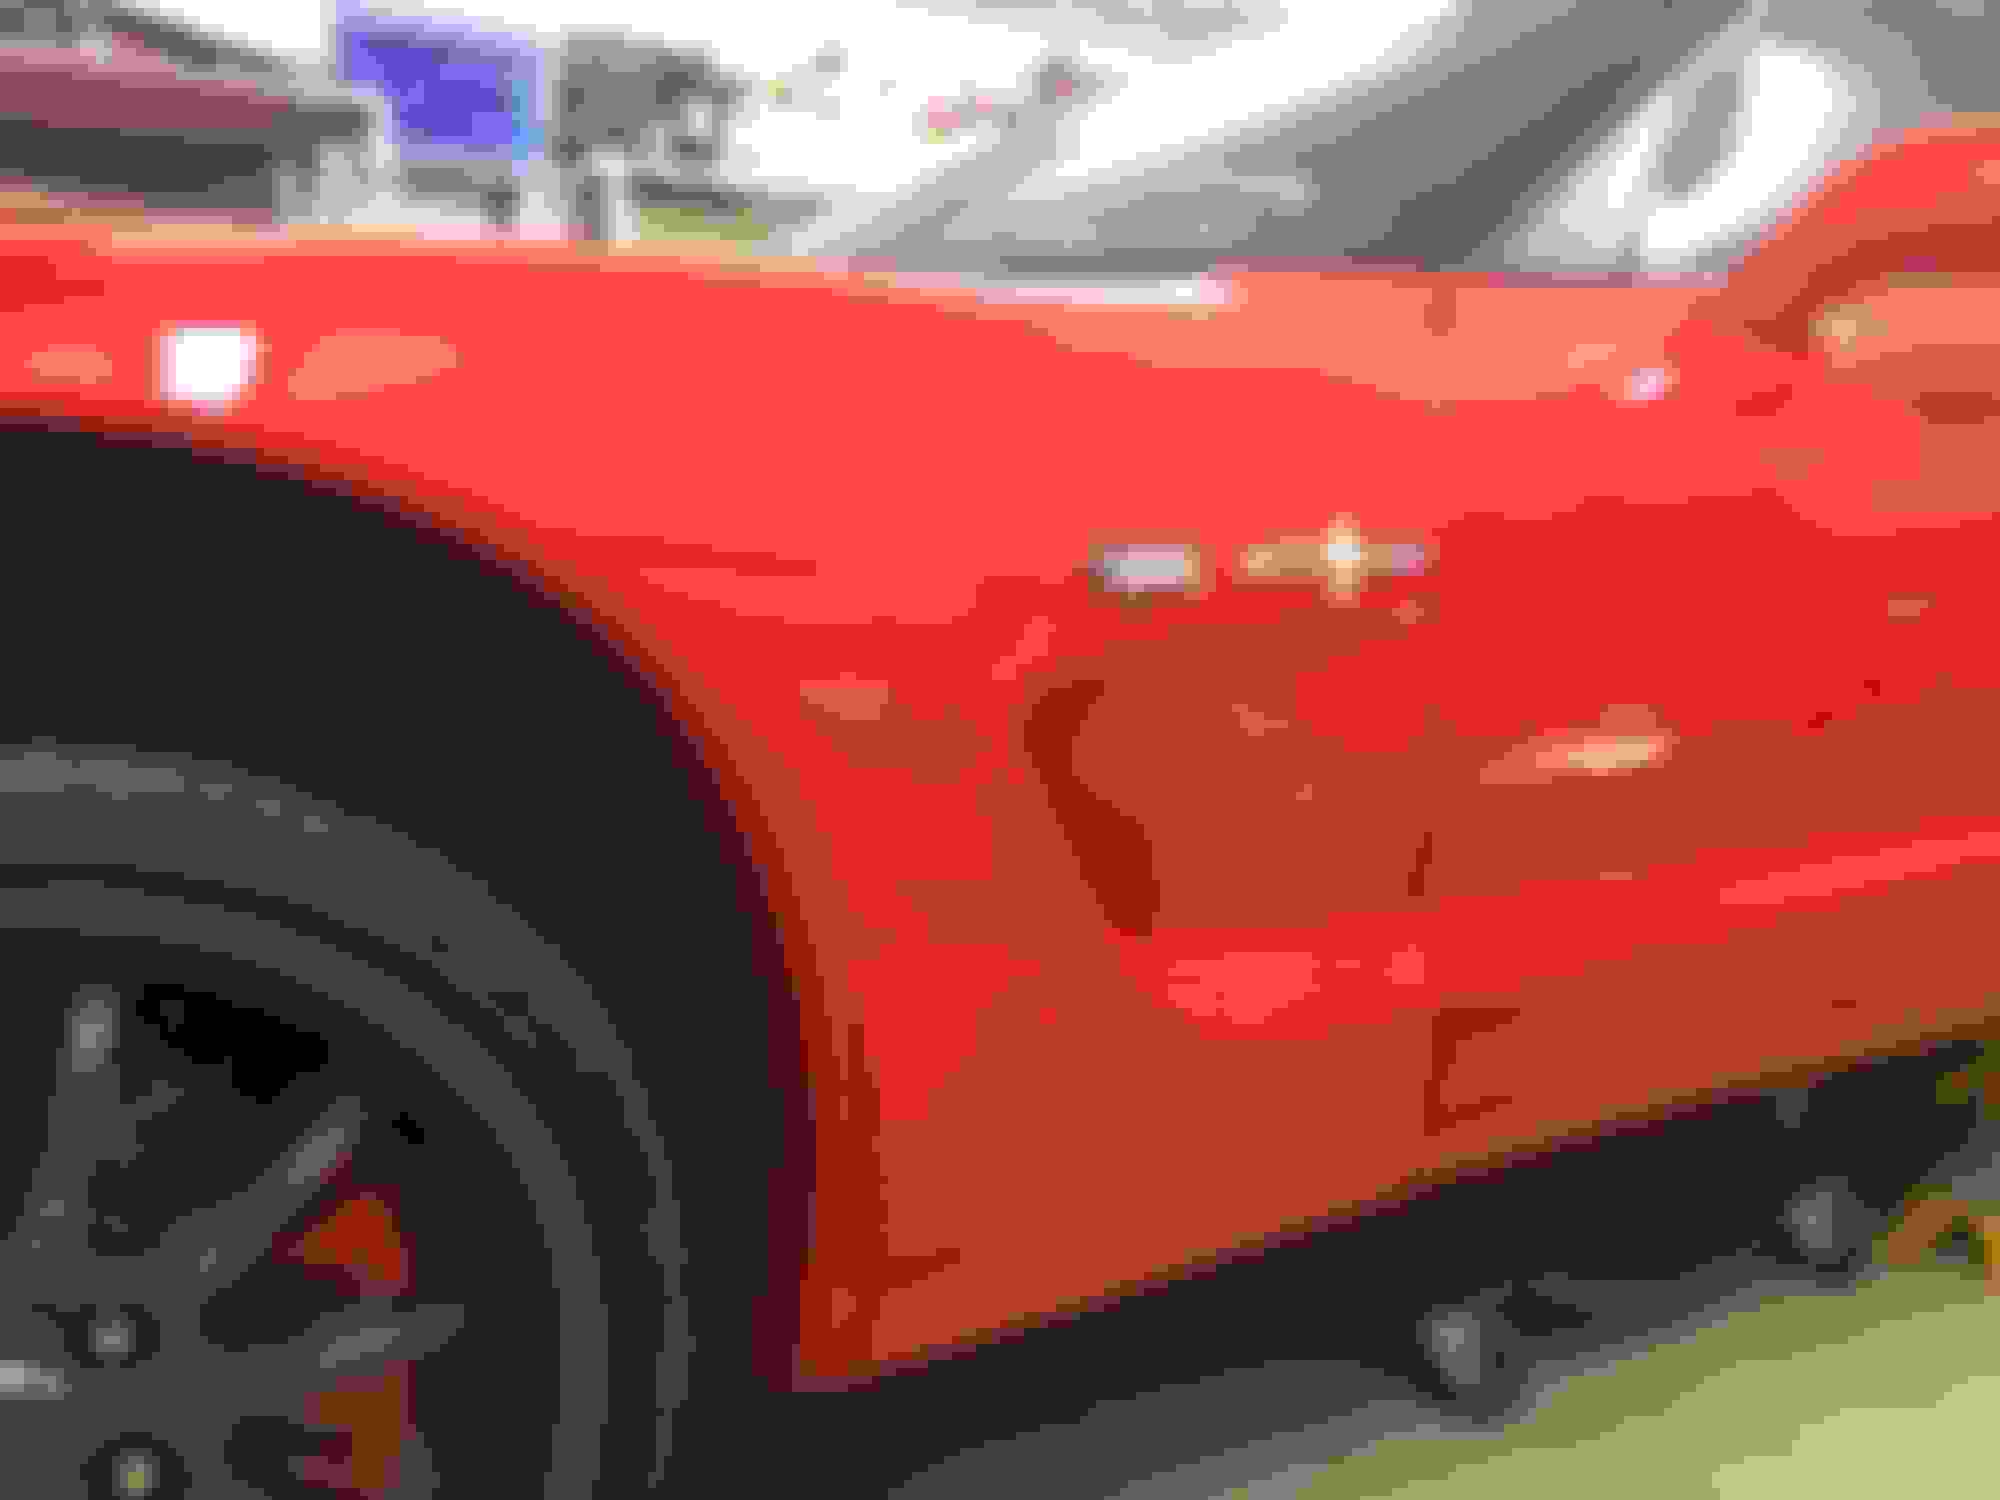
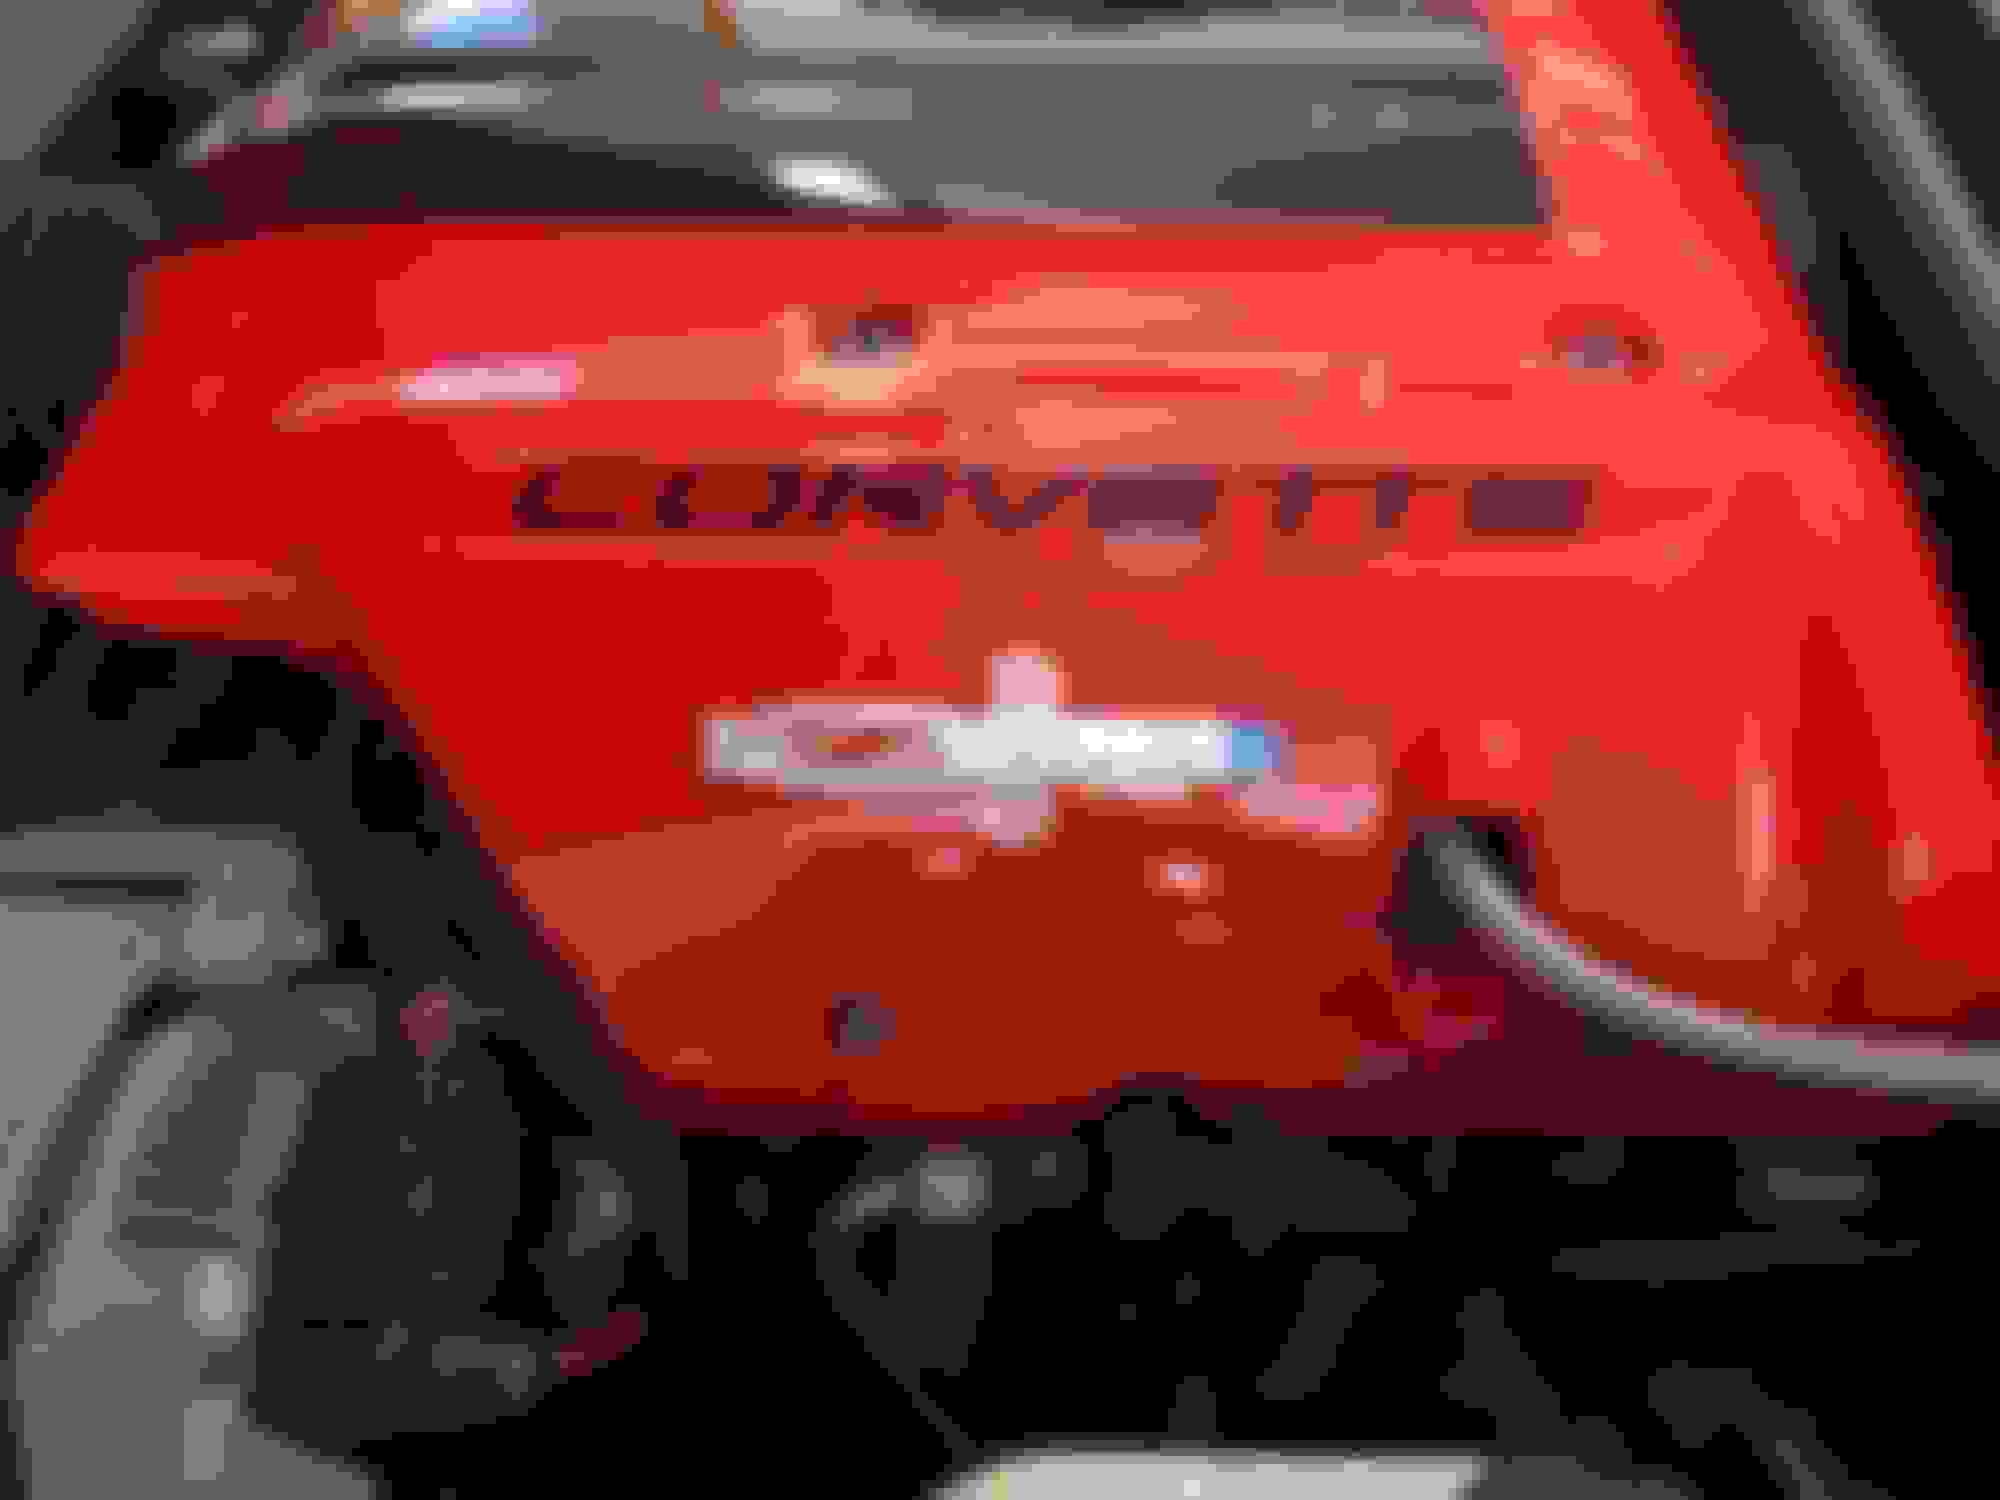
2:
Please chime in with your comments - as I bought brand new OEM decals I do want to move them around once installed.
Nr. 2 is "out" - but Frank ("Jetz") also suggested that the fender will look busy and crowded with both the light and the badge - regardless of the 2 alternatives. So right now I´m also considering not installing the badges.
...or choose another place for the badges...
But this is one of those decisions that can wait a few weeks - better sure before placing it
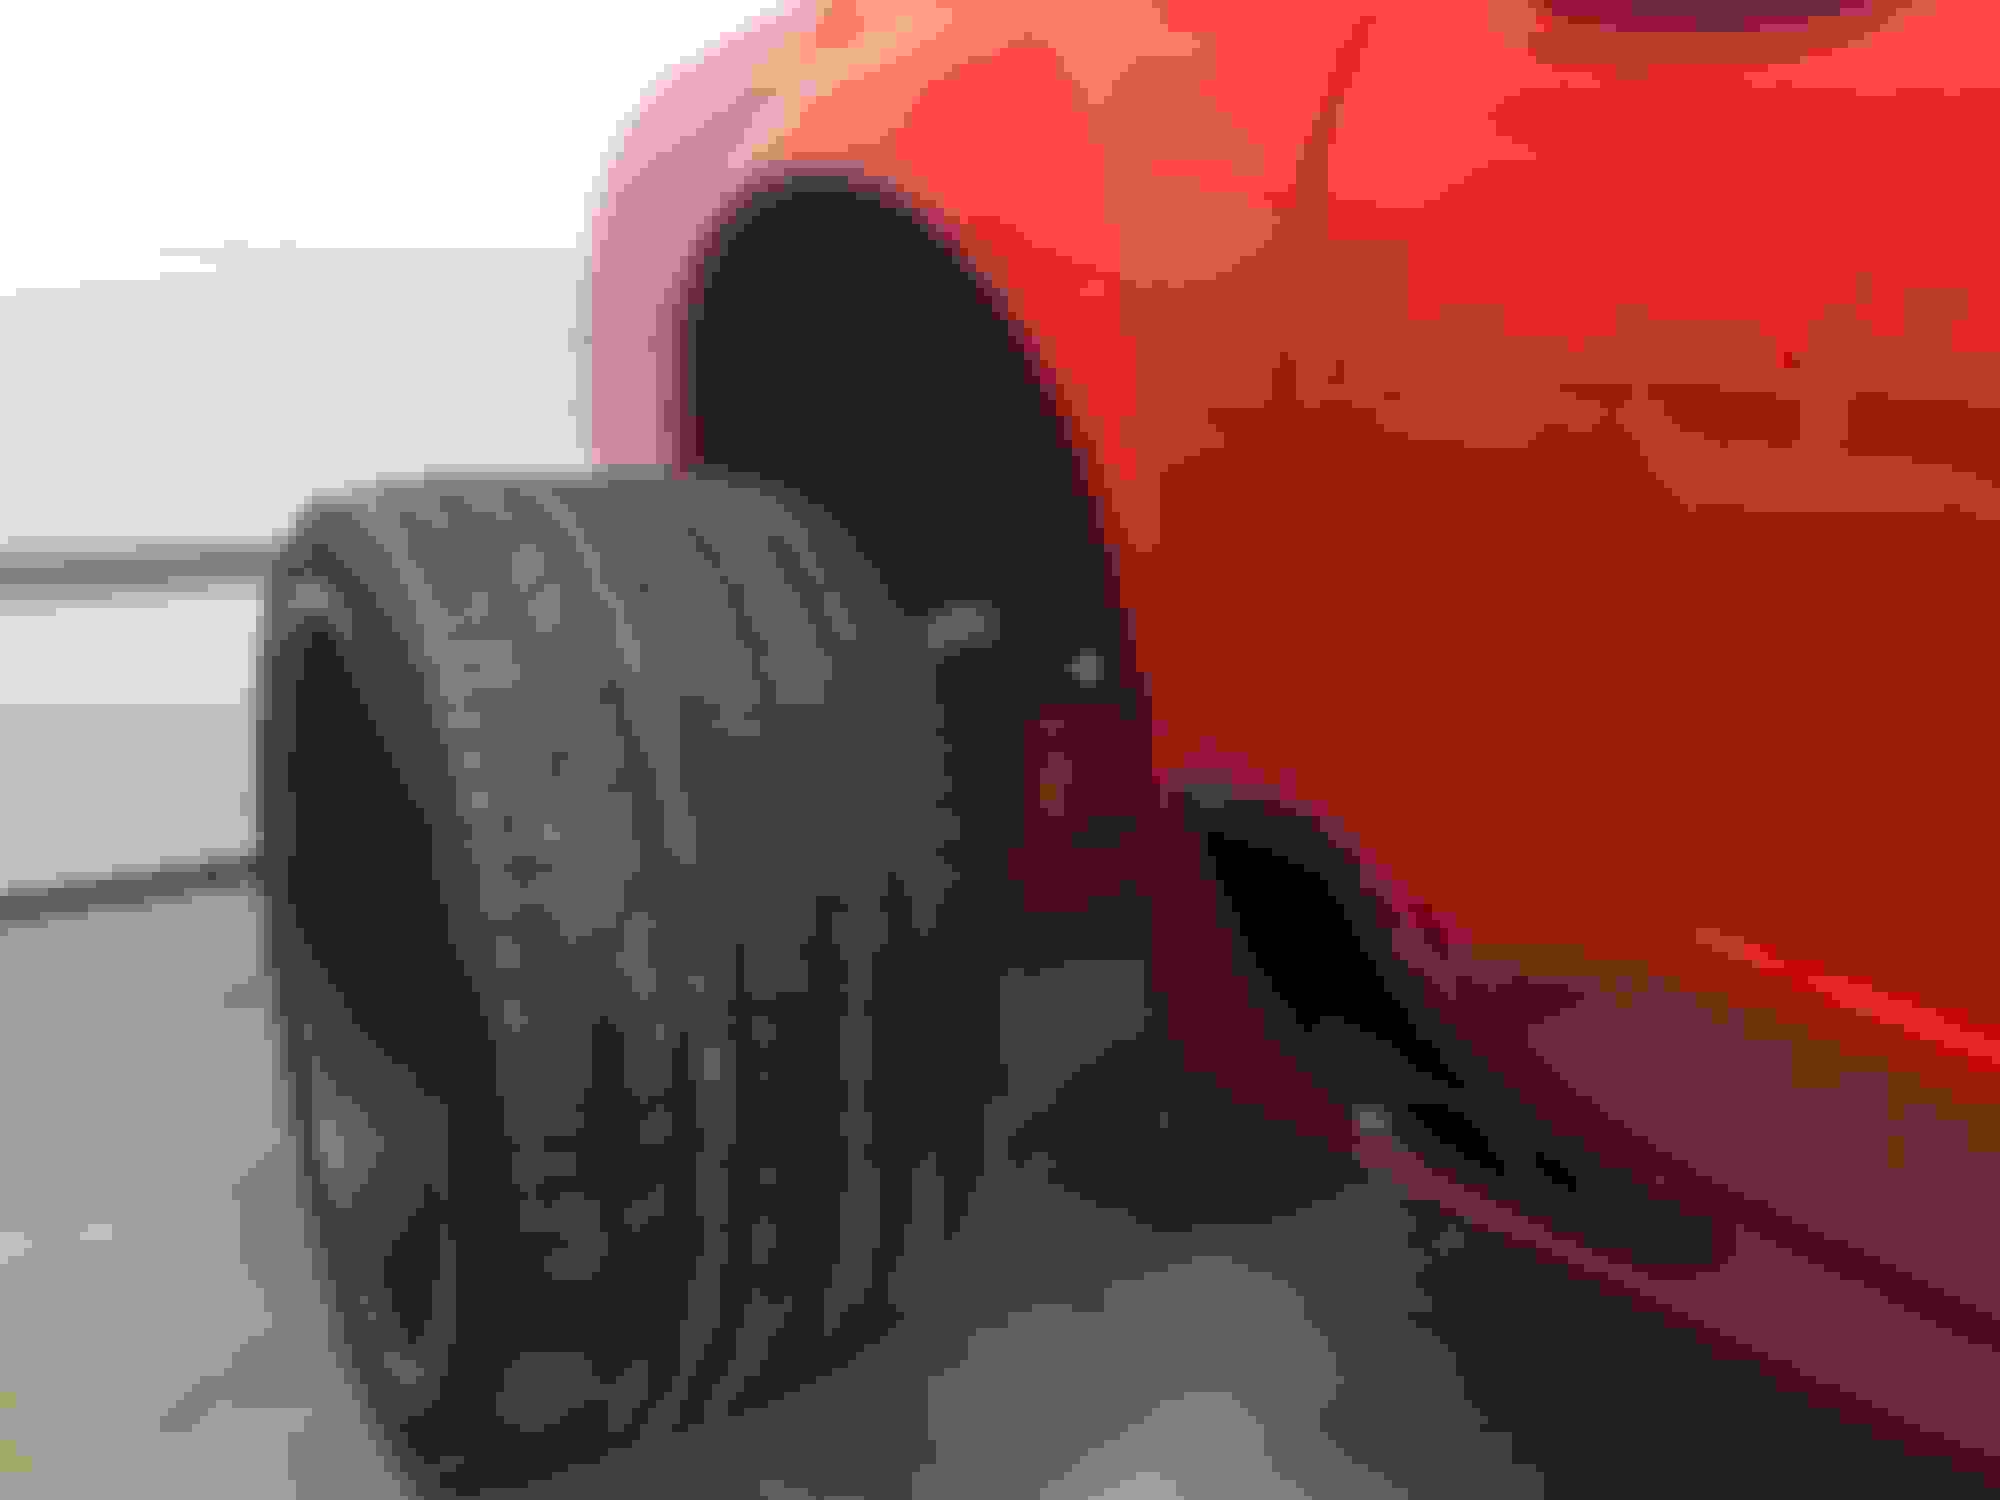
Got the rear brakes assembled today, and was finally able to mount the rear tires. What a joy after more than one years work
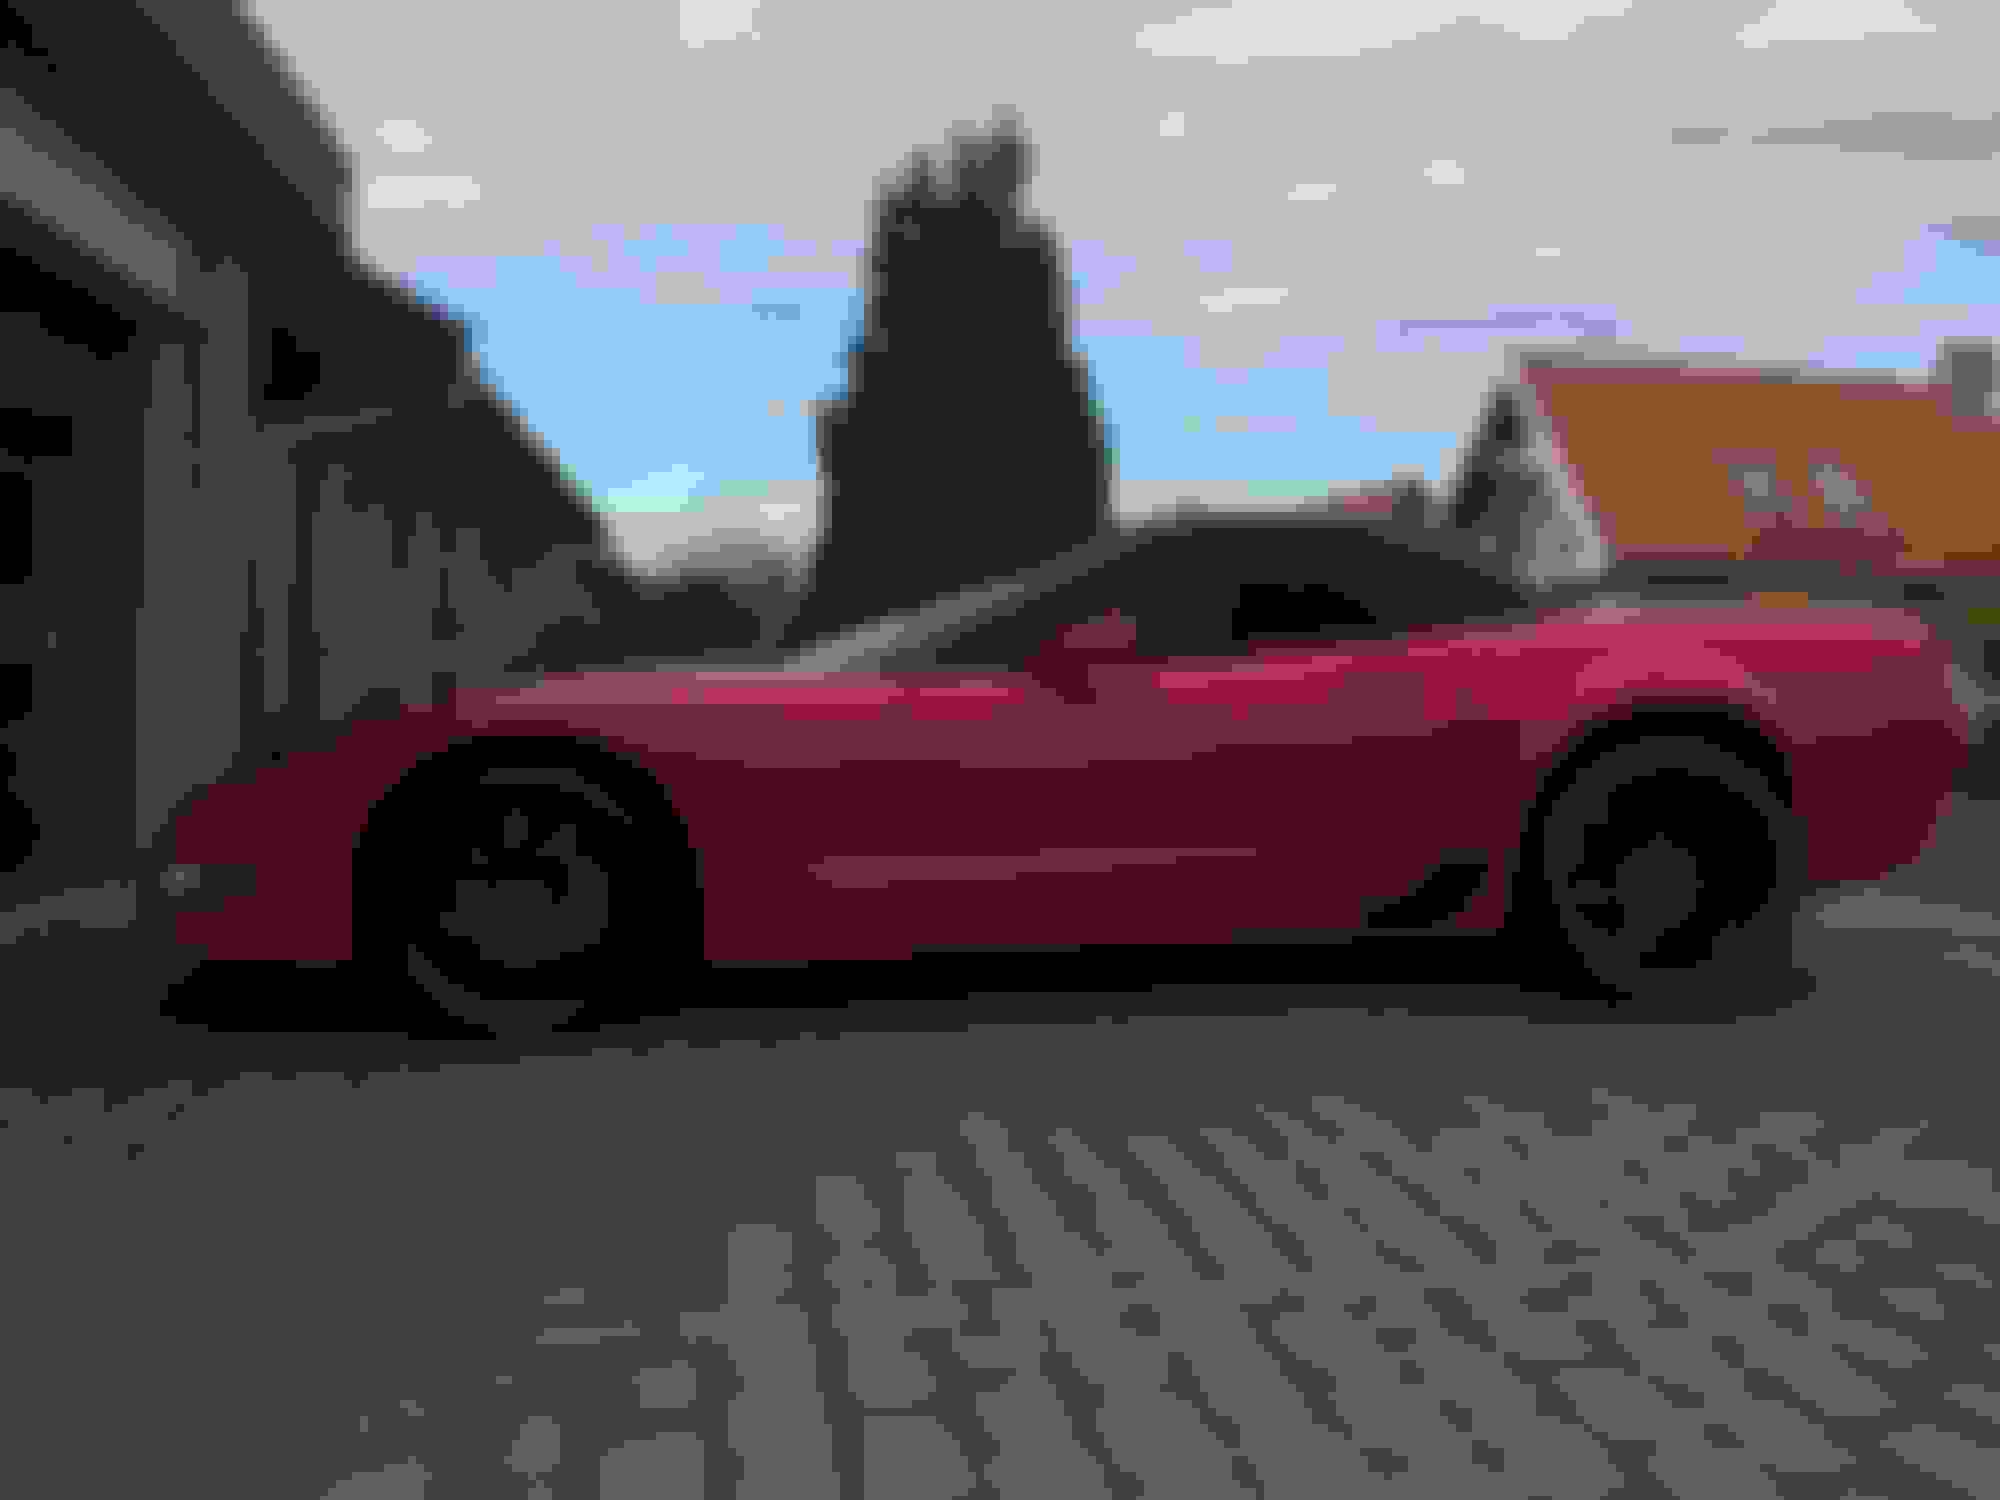
Wired up the battery and tested all my new wirering and the new lights...- and everything works. So now I need to aim the fog lights and head lights, and then mount the head light covers. But first thing will be to wash the car tomorrow - as it is covered in dust from 6 month in the garage. But dust or not - I really like the new colors in the evening sun - the red looks a lot more "rich" than the OEM TR. It still have the high OEM stance, but will be lowered when installing the coil over kit.
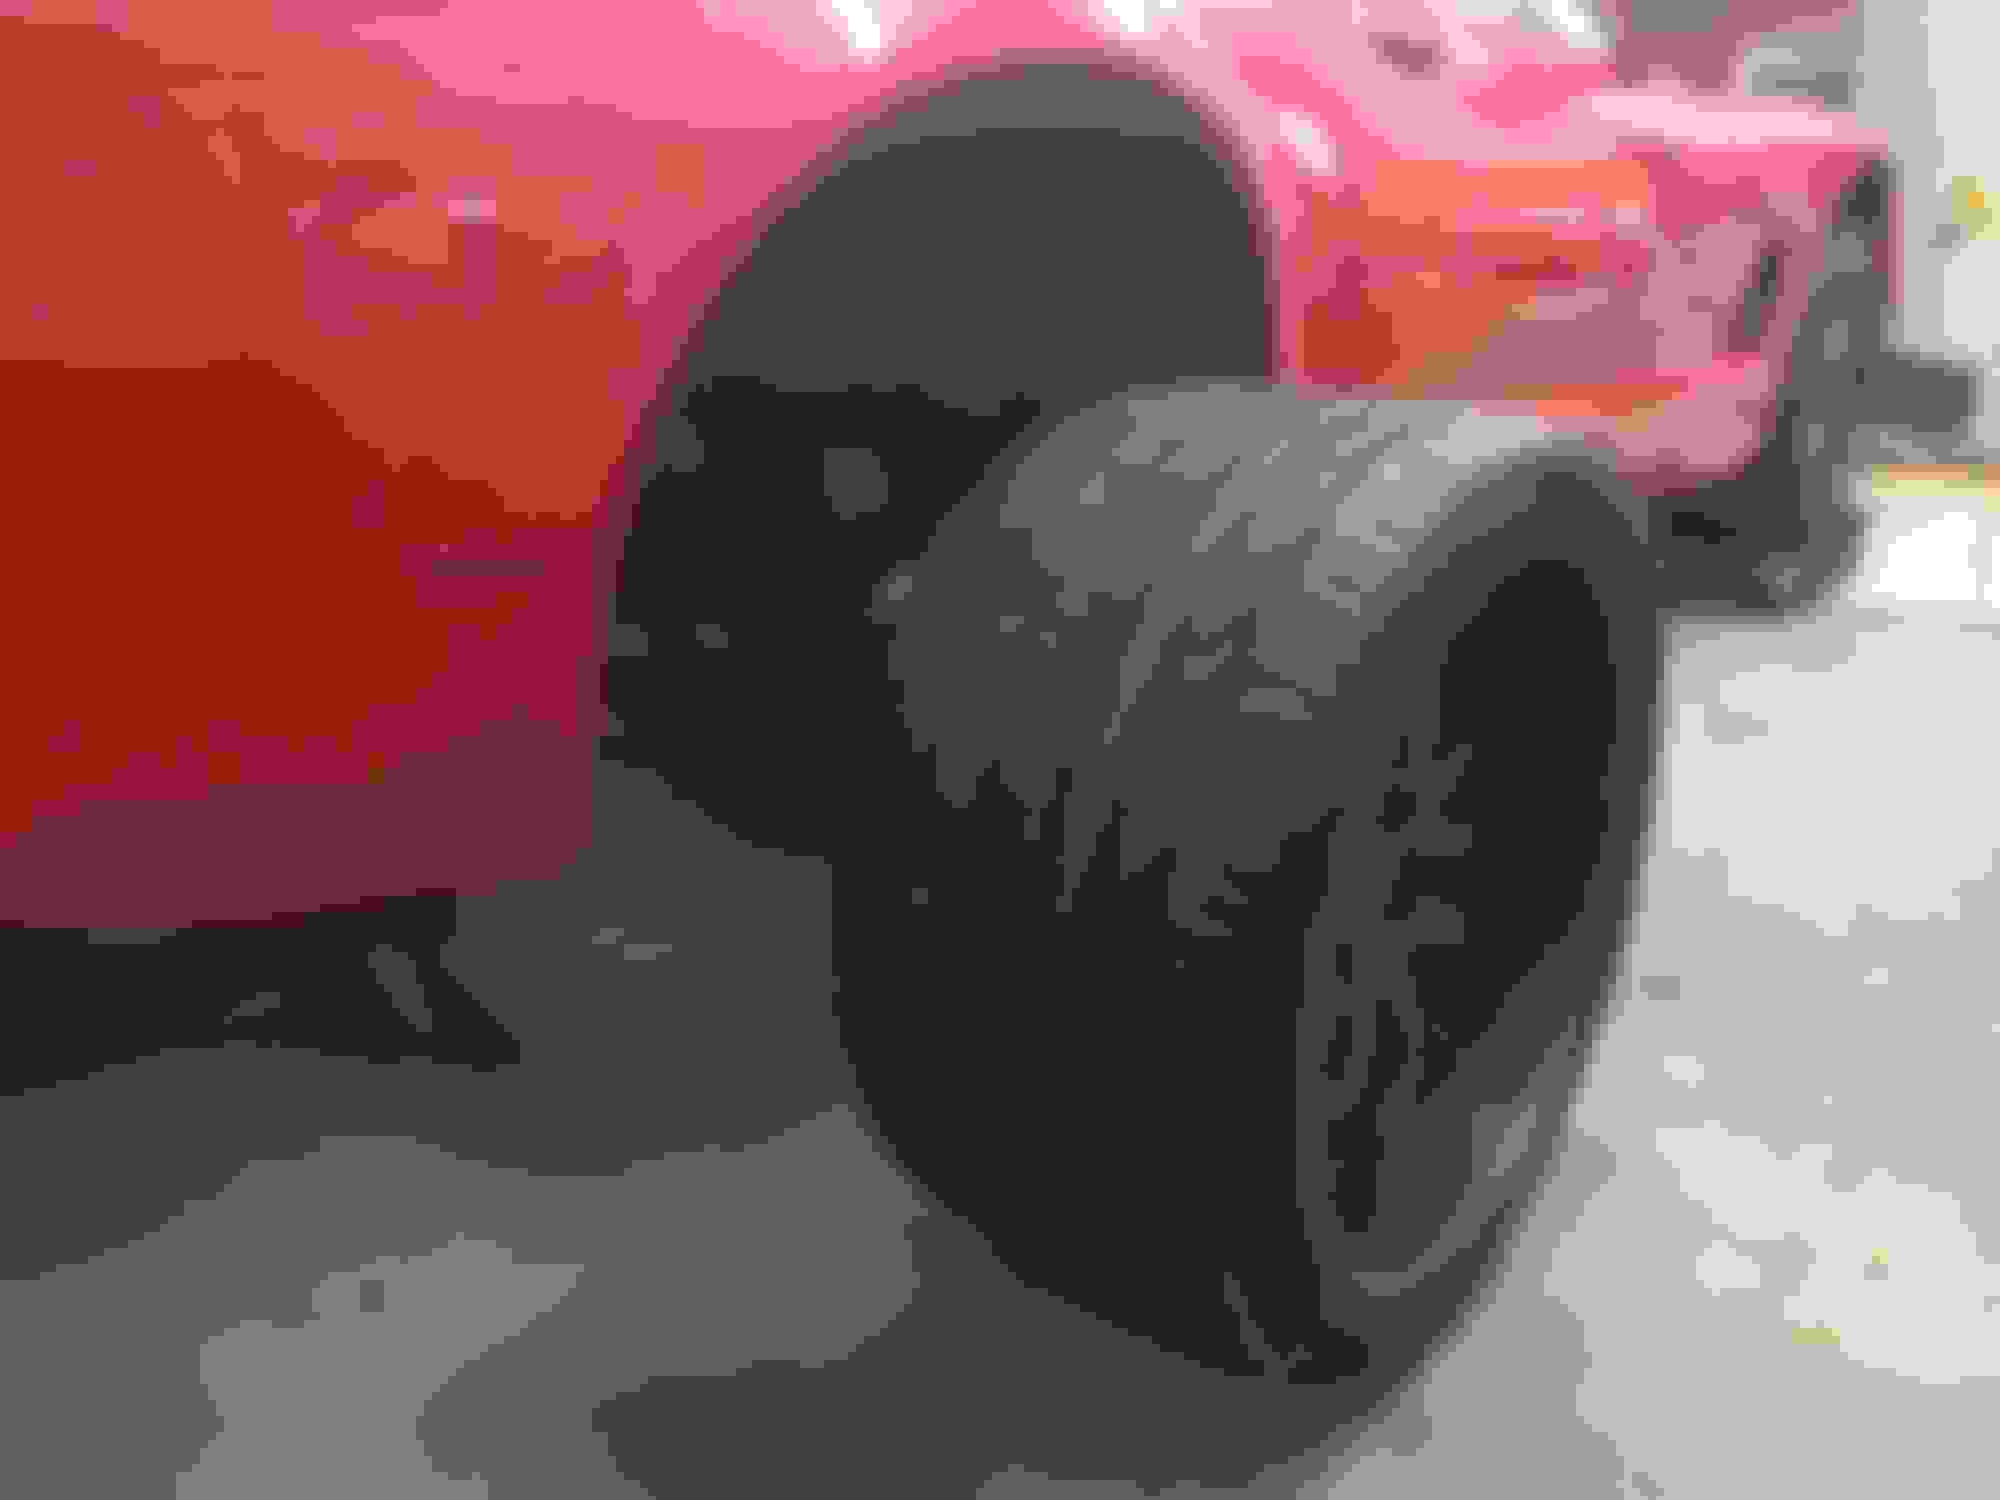
I love the wide body but it is sitting up pretty high. Needs to be lowered at least 3cm if you can get away with it.
Right now it sits on OEM springs adjusted to OEM height - so not lowered at all. I have the Stance coil over kit with 7/10K springs ready to install - but it will be the last stage of my built, as I want to finish up all the other loose ends first
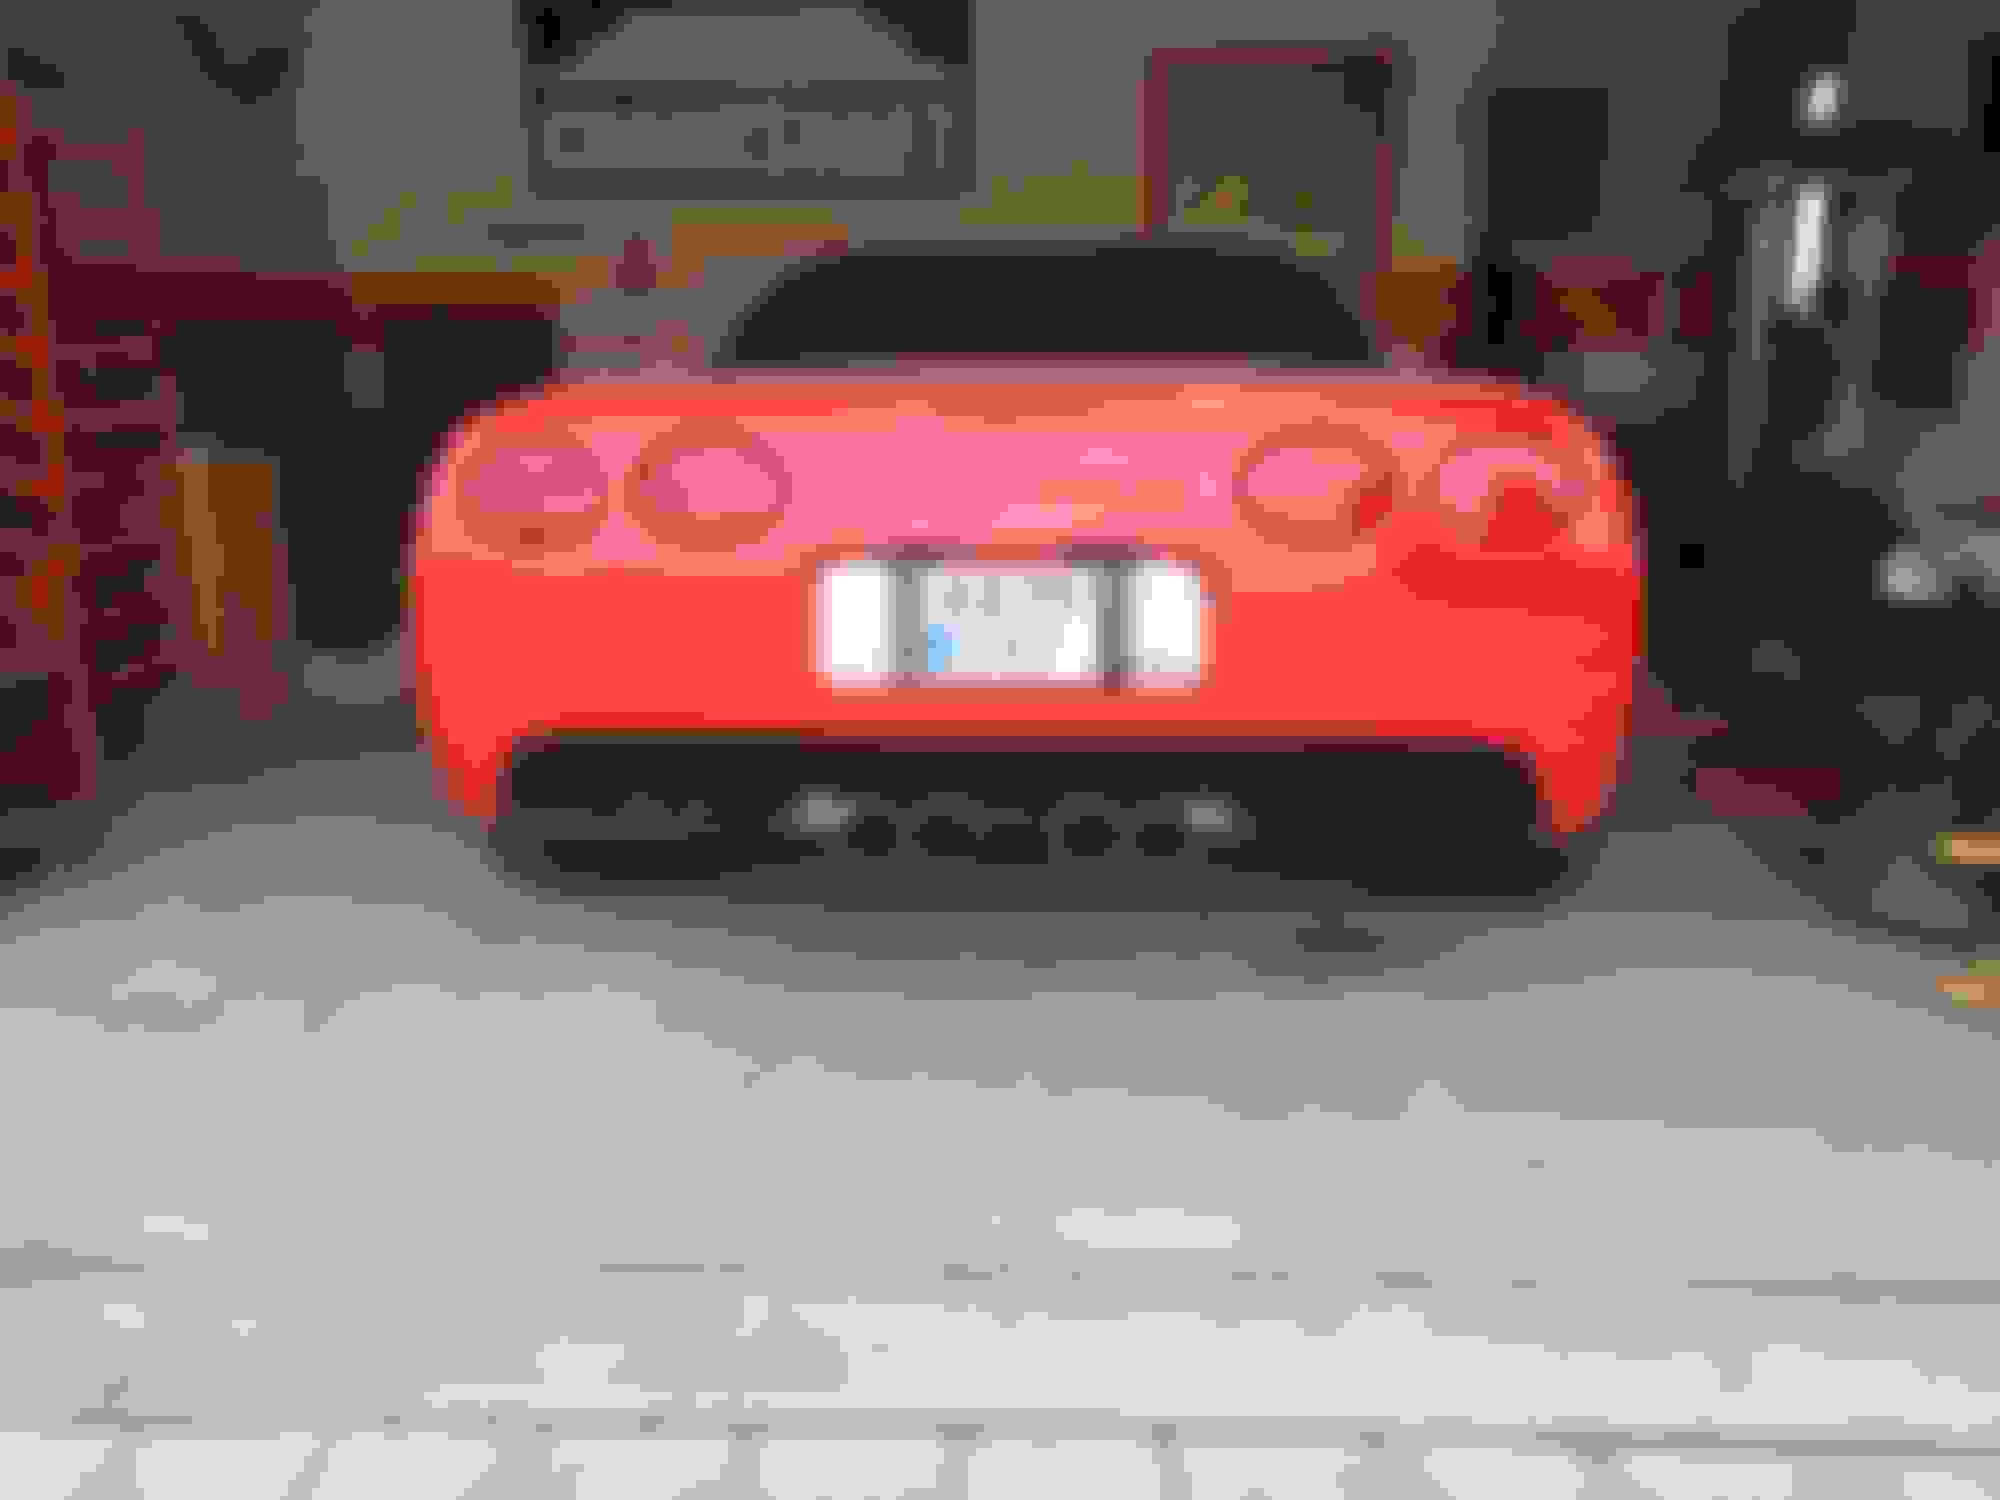
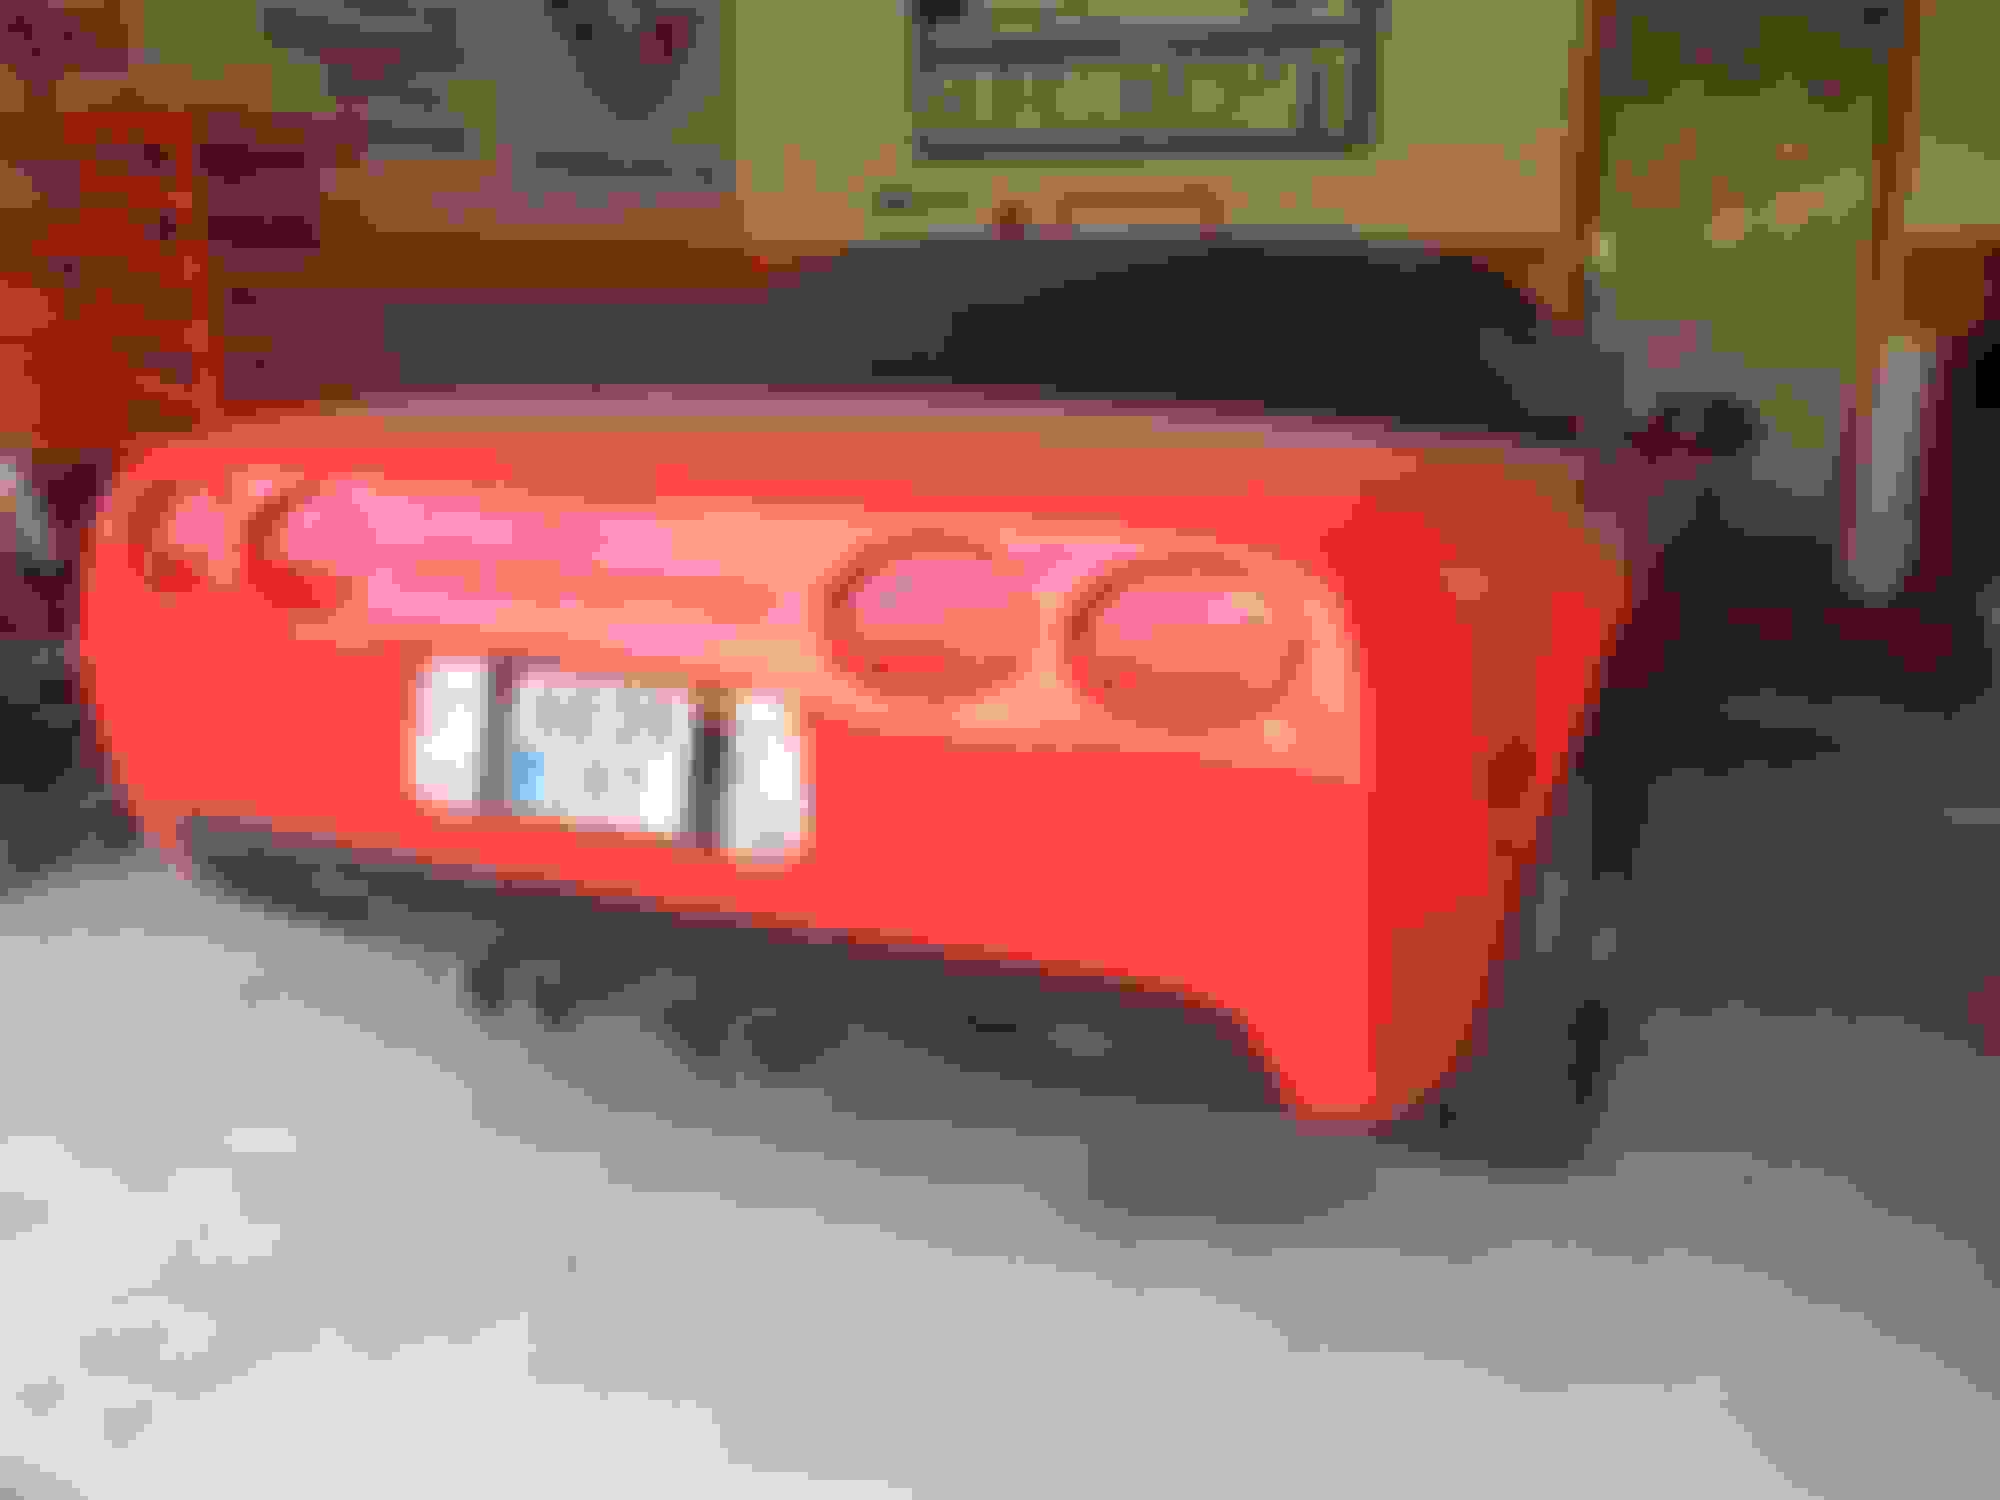
Why the 405hp badges? Personally I like the '01 badges more as they look more simple/clean. They are out of stock so kinda hard to get. If I had an 01 or a heavily modified car I'd pass on the 02 version. I'd reuse the originals, but that's a personal decision.
Why the 405hp badges? Personally I like the '01 badges more as they look more simple/clean. They are out of stock so kinda hard to get. If I had an 01 or a heavily modified car I'd pass on the 02 version. I'd reuse the originals, but that's a personal decision.
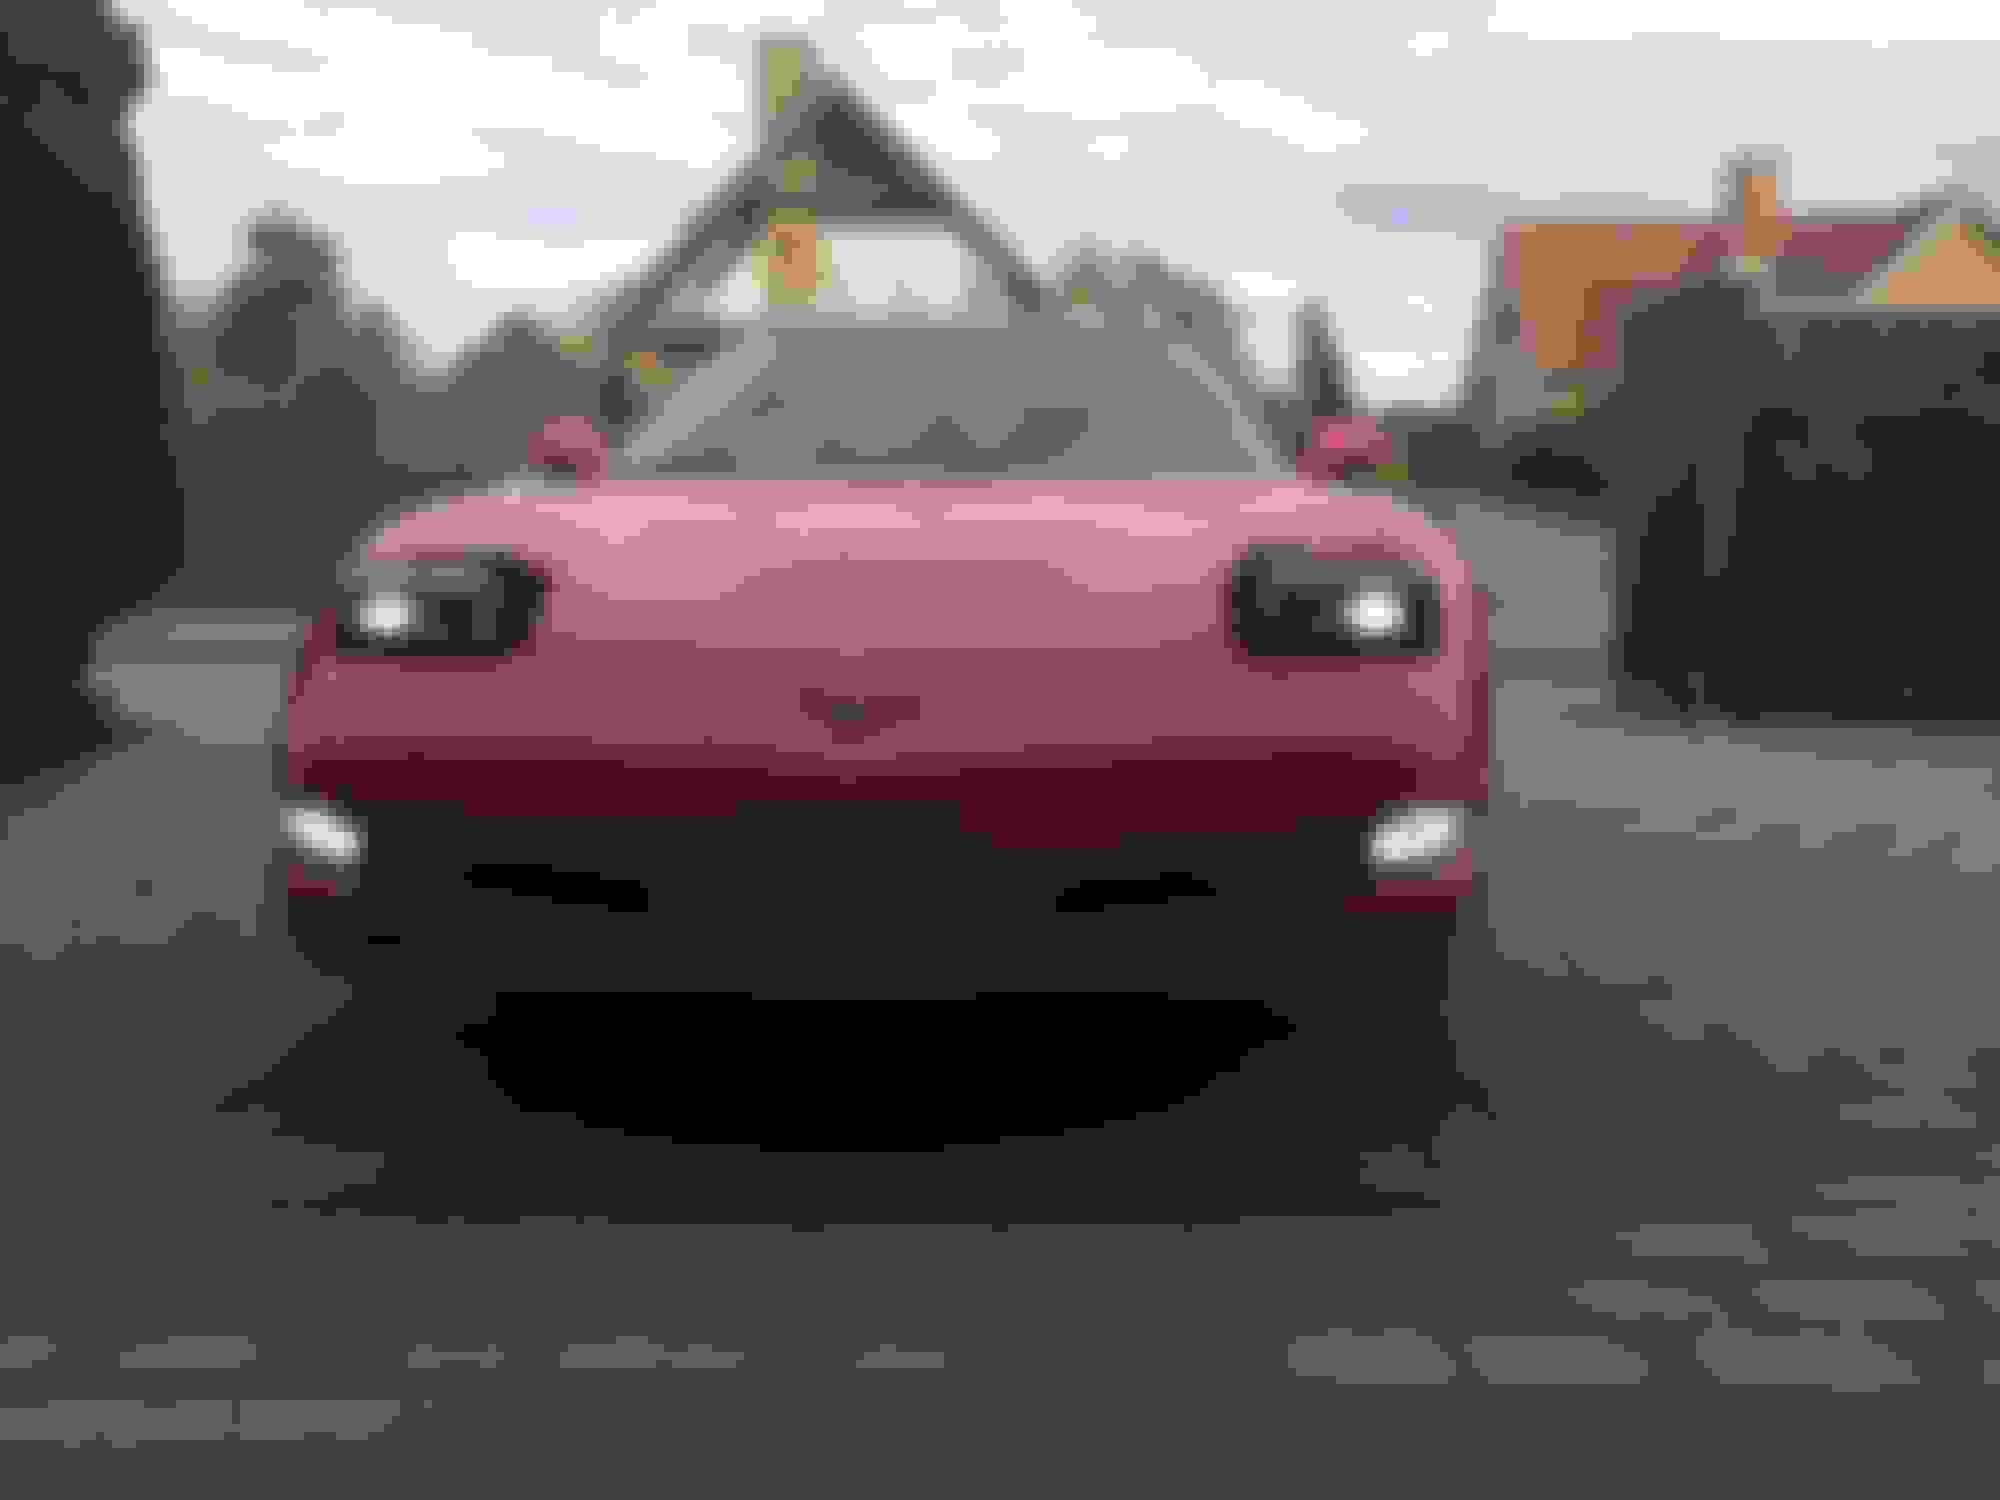
Took this tonight...
I agree - but a previous owner had installed the 02+ version and the car has a some other accessories with the 02+ logo. So planning the built I decided to stay with the 02+ logo, as I at least want all the accessories and badges to match - and I also found out that the 01 badges was out of stock. But I´ll wait and reconsider - maybe the badges will stay in the draw
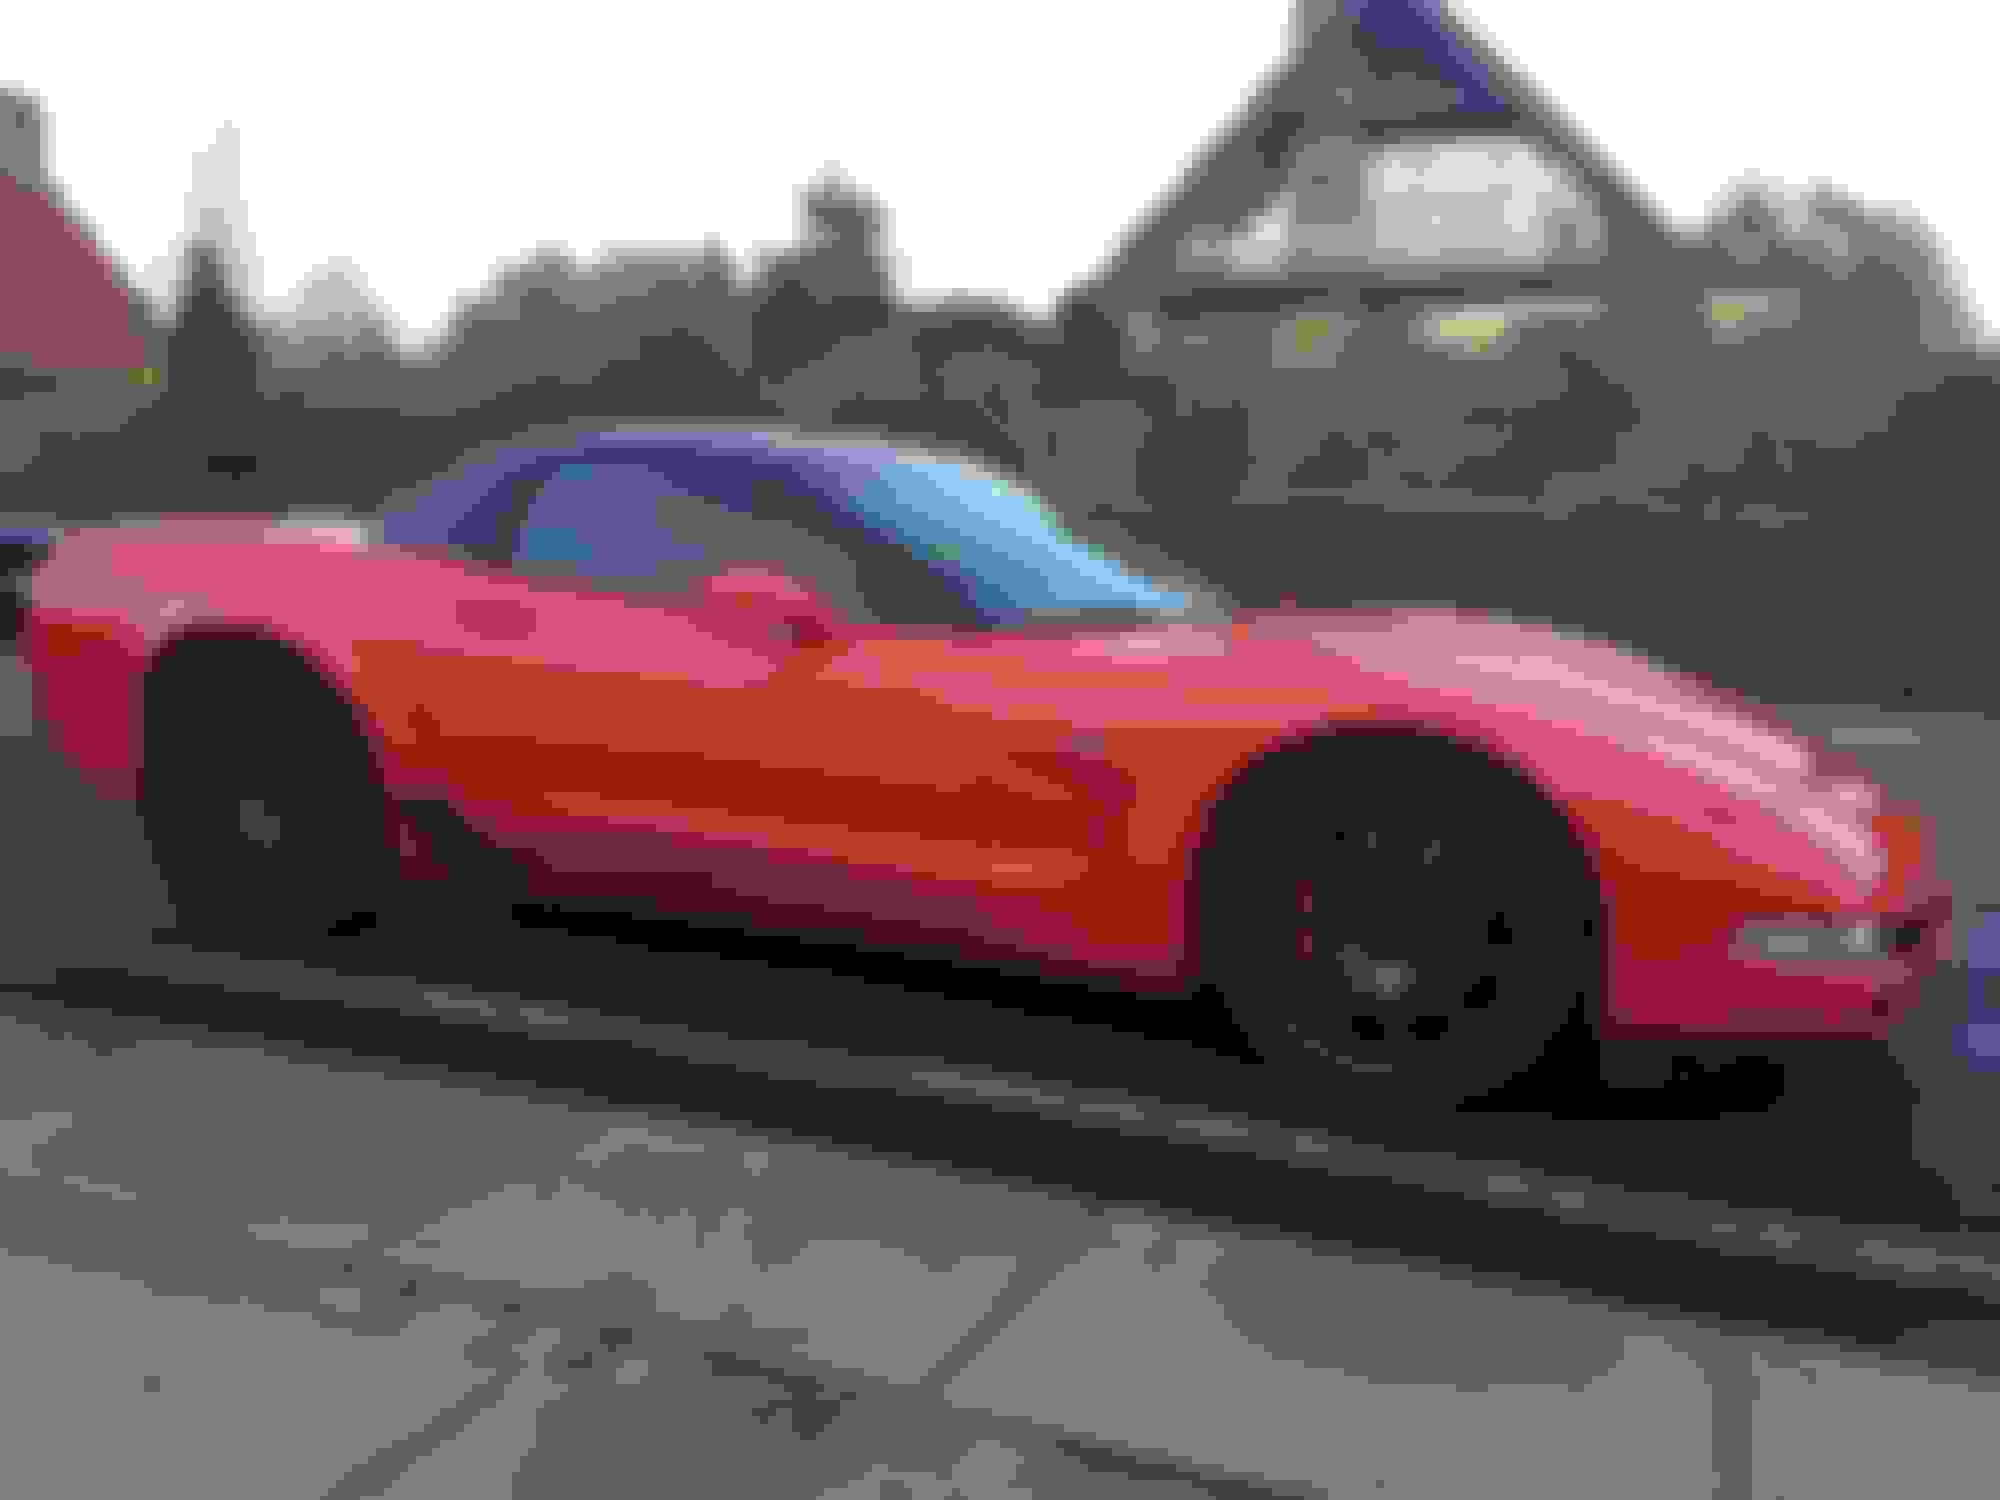
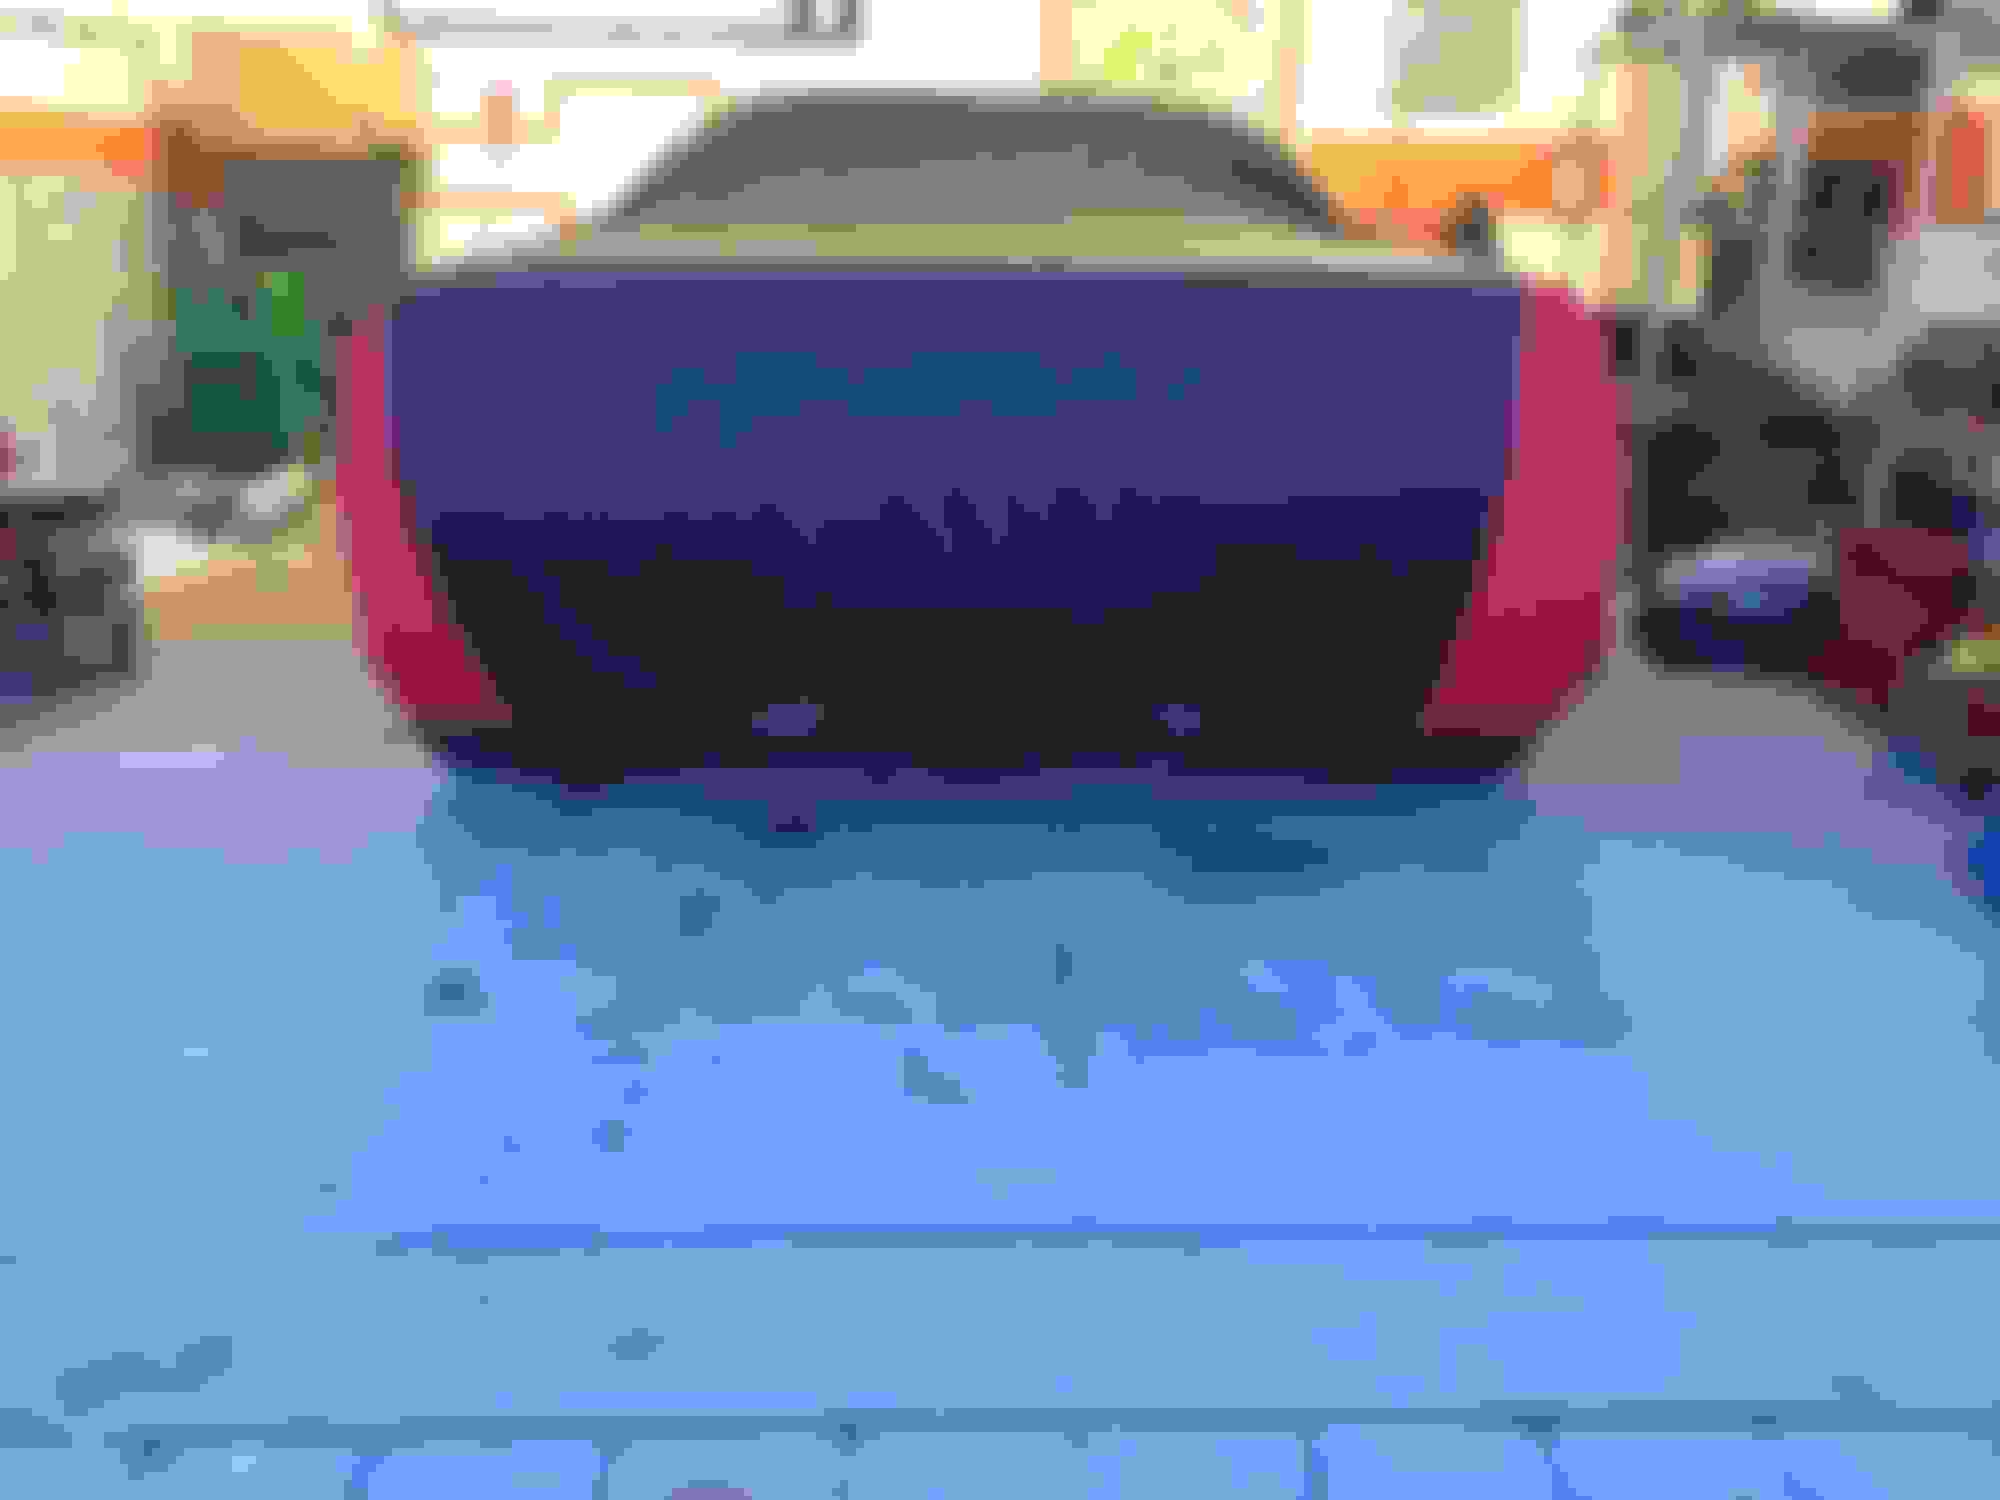
I was finally able to get the vette outside for a quick wash. All the dust from 6 month in the garage needed to be cleaned up...
...and then nicely covered in the garage again
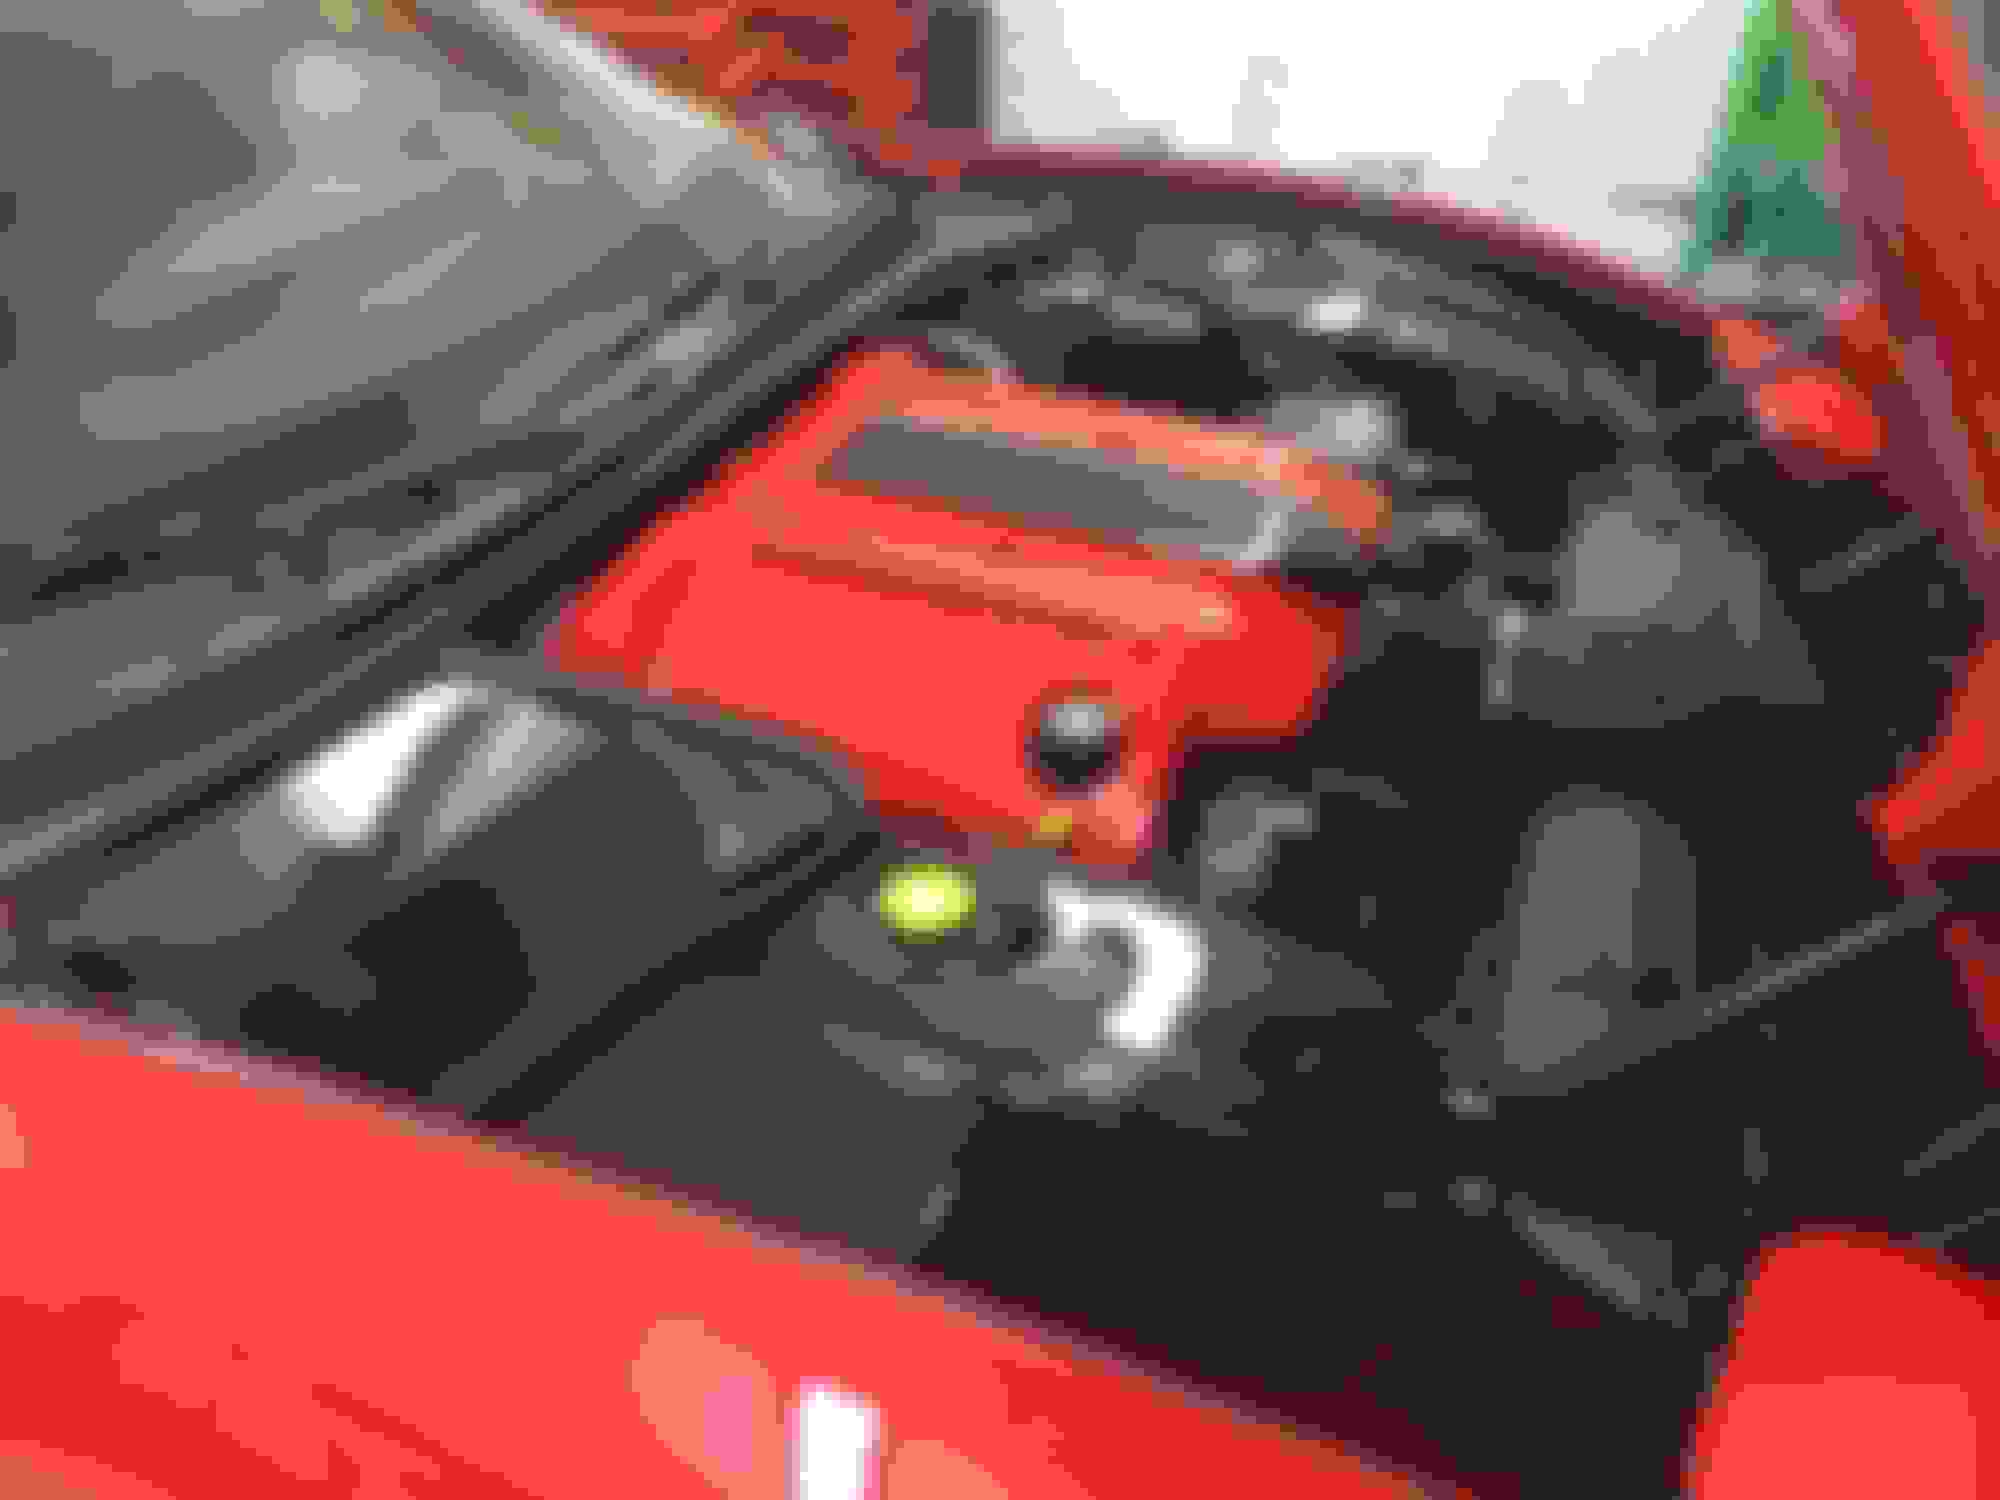
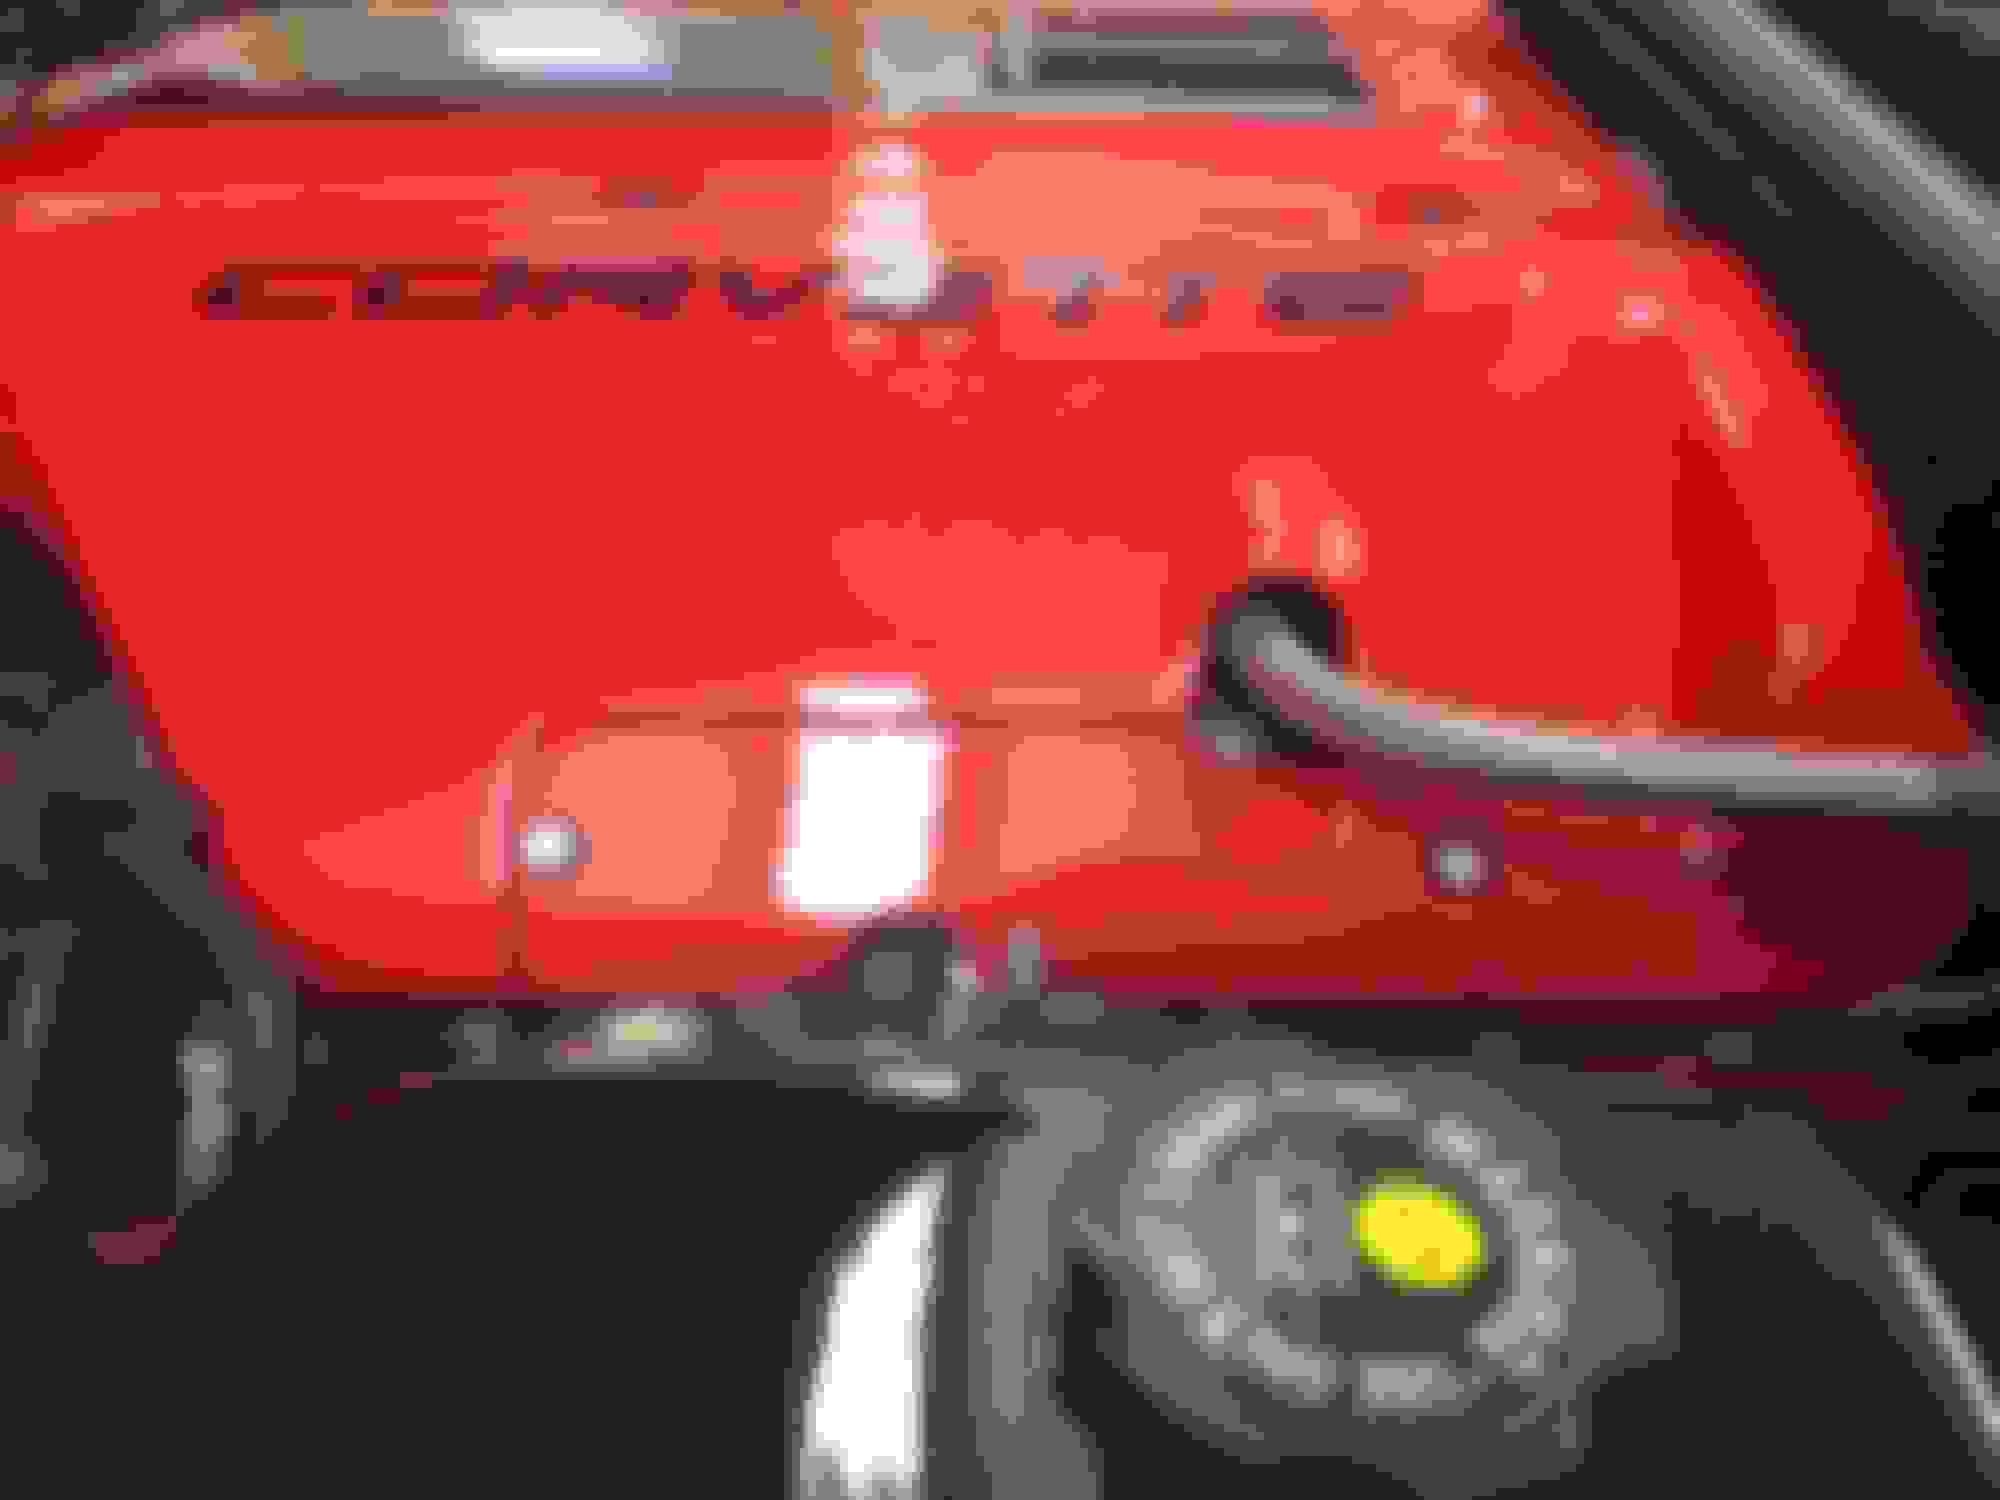
The engine bay covers are installed - and I really like the "simple & clean" look without any chrome or polish. My modifications to covers for the washer tank, coolant and engine turned out real smooth - and I like them a lot better now with the extensions, the better "flow" around the filler necks and the lines around the removable panel on the engine cover.


 03-20-2017, 04:20 PM