When you click on links to various merchants on this site and make a purchase, this can result in this site earning a commission. Affiliate programs and affiliations include, but are not limited to, the eBay Partner Network.
XS Power Ver. 3 header install review... another LOONNG-winded post
First I should acknowledge again how fine the service was between Huron Speed Products and Jet-Hot Coating by referencing my previous drop-ship review: https://www.corvetteforum.com/forums...t-service.html . The service between the two companies was fantastic.
But I'm posting this review because there are lots of pre- "Version 3" header reviews to cull through, and not all the hints/tips and discussions are valid for this install. All the suggestions written by experienced v3 installers aren't collected in one thread (or on one page), and I've written this to try and help those who'd search for installation tips. The "HINTS" I list below are from my experience and collected (as notes that I took) from other threads.
These headers were installed on a 2003 c5 z06. This is my 3rd header install. I've done one on a 1997 WS6 Pontiac Firebird, and a 1983 1/2T Chevy Van. From those experiences, I didn't expect this install to go smoothly even with all the accolades about "this was easy". To quote Superman09 verbatim:
Originally Posted by Superman09
... <SNIPPED>...
These headers have been designed to better the Steering Shaft clearance issues along with the O2 to bellhousing clearance issues...
Check here for customers who have the product and their thoughts along with install input/questions! http://forums.corvetteforum.com/c5-p...er-thread.html -Drivers side header slides right up and in from the bottom.
-Passenger side all that is needed is to drop the starter and it will slide right up and in from the bottom as well!
...<SNIPPED>
Dating back to 2010, I'd guess that an easy 50% of the reviews claim the installation is easy to maybe very mildly frustrating. There was enough decent feedback to encourage me to try these headers. However, there are only a few Version 3 reviews; maybe 15-20, so I knew it would really be a crapshoot; essentially, we're the beta testers, and I accept that by my purchase.
Mine was absolutely no fun; there wasn't enough input/discussion to cover all the problems I'd face mostly because v3 is very recent. Also, a lot of my frustration was caused by GM-OEM and not by XS Power:
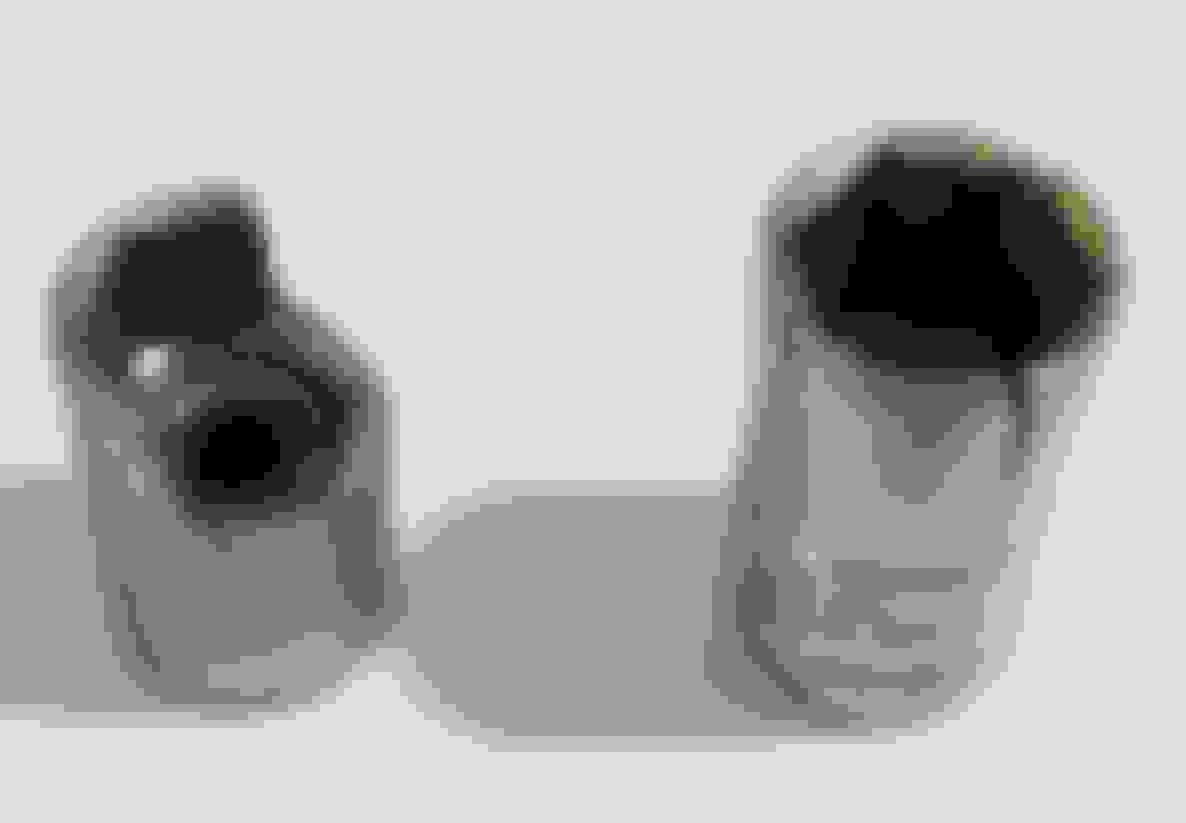
GM vs. "China"... I was lucky nothing I removed stripped inside the head. One of these sockets is a Husky, dating back to the mid-1950's; the other is an off-brand, but a 3/8" drive 10mm Snap-On on a breaker bar got all the remaining manifold bolts.
1) First HINT: if you're gonna loosen manifold bolts that have been on since the car was built, PB Blaster might alleviate some of your challenges. Who knows, it can't hurt.
Unanimously, guys with passenger-side complaints list some problem related to the starter--it's hard to work around, hard to reinstall, hard to rewire, etc. Even with it removed, getting the header to "slide right in" took 45 minutes. I was fortunate enough to have read several discussions on the starter "issue" so I took pictures of the starter's wiring. I rewired mine correctly the first time. That's no small hurdle; a couple guys have stumbled on that and had to go back in and loosen everything to gain access to the starter.
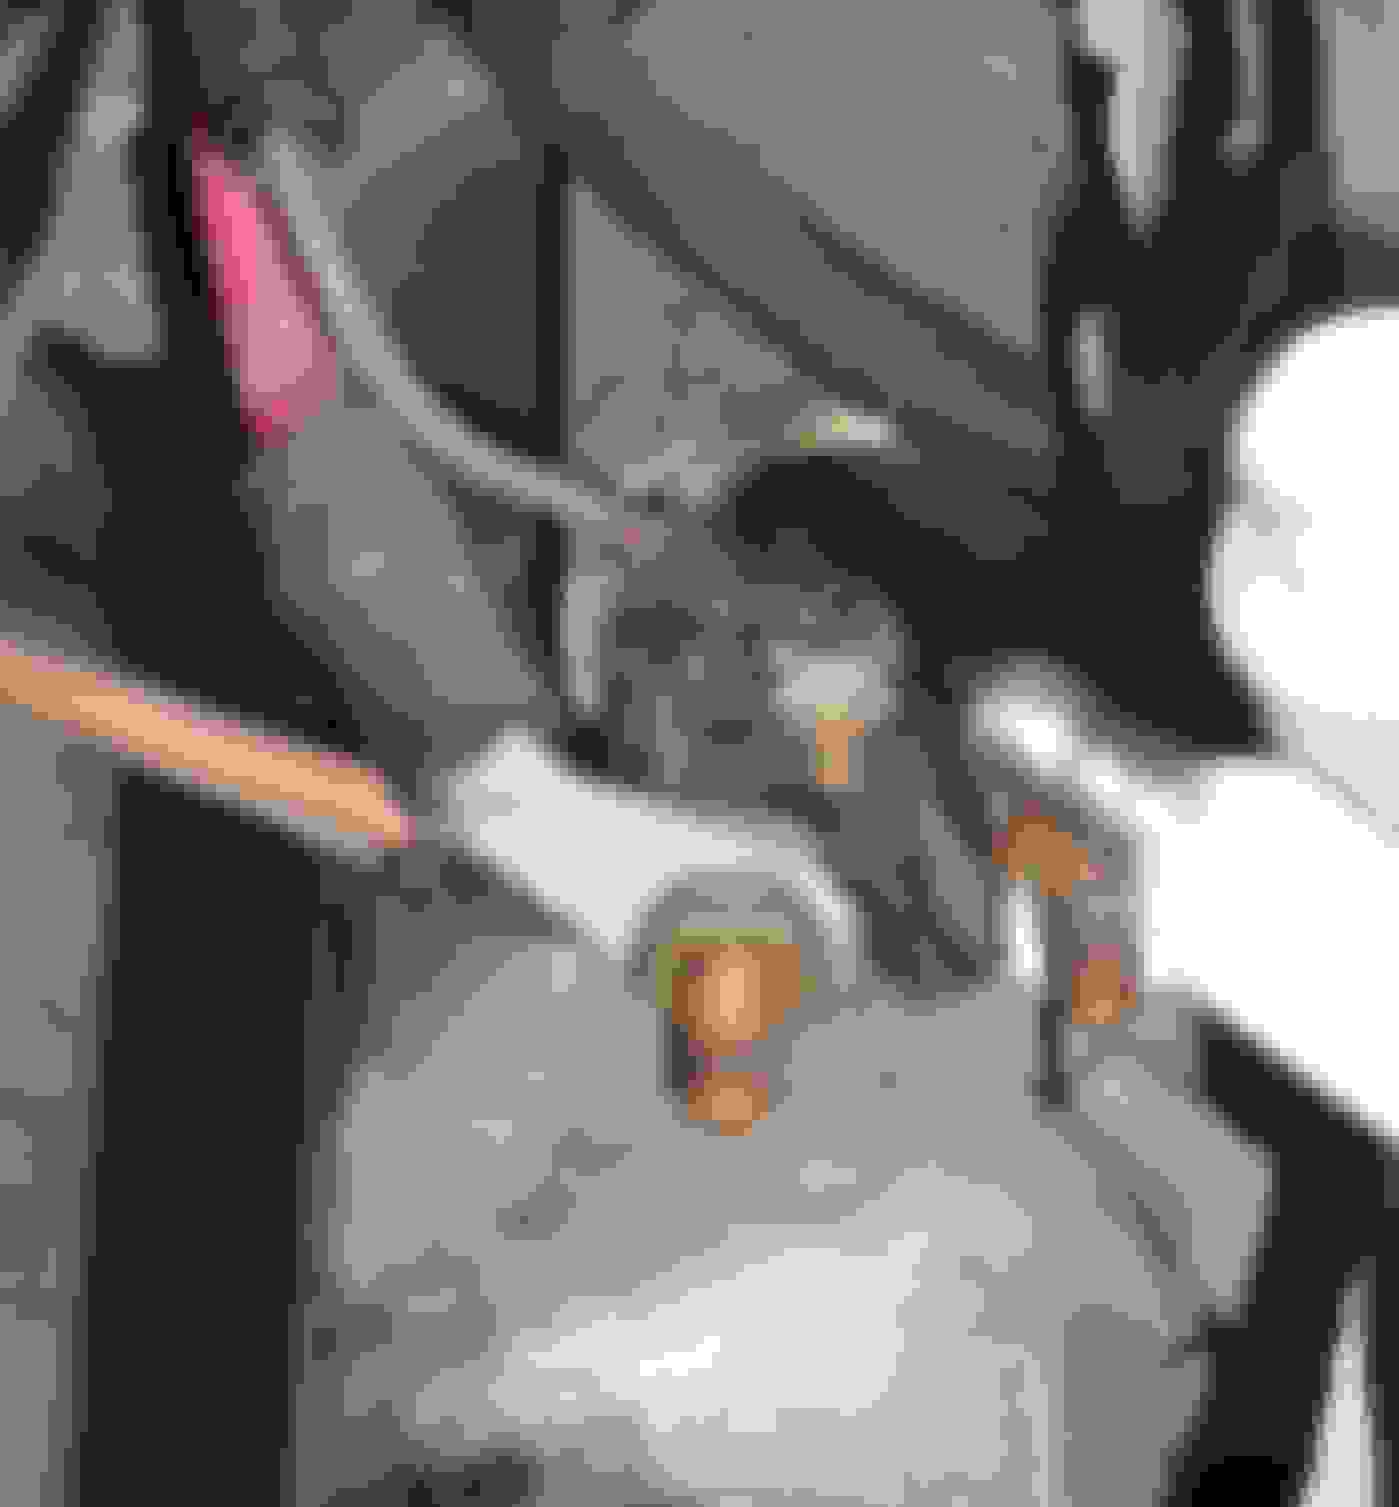
2) Second HINT: This first picture shows the wiring on 3 studs as you'd view the starter from below. Two big studs are at 8 and 3 o'clock; the smaller stud ("8mm" according to HSP instructions) is at 12 o'clock. The purple wire goes to the small stud; the red, gray and orange ALL go to the large stud at 8 o'clock. Do not remove the black wire at 3 o'clock. You can't see where it goes when the starter's mounted on the engine, but it doesn't need removal (HSP instructions don't mention the 3rd stud or the wire colors at all) Somewhere later in a Corvetteforum post, I remember Jon mentions that the 3rd post connects the wire from the starter to the starter solenoid and doesn't need attention, but that's not in the instructions. Leave it alone; just one step's less grief.
This is a picture of the starter wiring from above, standing at the bumper, facing the passenger's windshield. Leave the black wire on the 3 o'clock stud alone.
3) Third HINT: I didn't take a picture of the dipstick tube. It has to come out during this entire process. When you pull it out, it can be tough to see the hole it came out of. I didn't take a picture because the area was so dark I couldn't figure out how to specify in my picture where the hole was (no PhotoShop skills). However, when you're reassembling everything, leave the spark plug wire entirely off the #6 plug (as you face the passenger side of the engine, the 2nd plug from the left). Look through the headers below the #6 piston to the bottom of the engine and with some searching and a flashlight, you'll see the hole for the dipstick. (during disassembly, remove the plug wires early and with a flashlight, you should be able to find the dipstick tube's end)
4) 4th HINT This one's important. There are numerous complaints about the nuts backing off their bolts at the X-pipe -to- collector (header) connection. Buy yourself 4 locking nuts. Not "lock washers", but locking nuts. I didn't read about this problem until after I'd finished installing all the piping. Why is this a BIG deal!? Let's go to the next hint...
5) HINT HSP's instructions #31 states that (after installing the starter): ...install new exhaust manifold gaskets and bolt down the headers reusing stock bolts or new ones. DO NOT DO THIS. Save tightening the header bolts until after ALL the piping is assembled in a correct configuration. If you tighten the headers first, when you go to align the X-pipe, there's a very excellent chance that the center of the openings will not line up. You'll either have to pry-bar your assembly, or loosen the header bolts.
The exception I'd make is, I'd tighten down the driver's side--really TIGHT, to see if the steering linkage will have enough clearance. At least 50% of the v.3 owners state their linkage makes contact despite the claim that these headers are engineered for that clearance. If you can tighten down the header and clear the linkage, I'd do it, and make all X-pipe adjustments on the passenger side--using slop tolerances on the passenger header bolts to guarantee the driver side doesn't pose a problem with the steering linkage.
6) The instructions say to install the O2 sensors on the header pipes while the headers are off the engine. I guess that's a crapshoot. I couldn't clear the bell housing and had to remove them and install them before tightening either side's header bolts.
7) Driver's side installation: I've read all kinds of reviews, from "brainless easy" to:
a) lift the engine
b) trim the batwing on the pan (a.k.a. "use a file to trim away some material" & "make a dimple"--verbatim from the instructions) the "trim" will require a cut-off wheel from everything I've read and my own experience (you'll cut >3/8" off the wing)
c) remove the lower A-arm after lifting the engine (I would have done this only because the bolt's head prevented me from sliding the headers "right in" if I avoided the batwing, so I cut the batwing instead)
I used methods a) and b) together to get the driver's side header into place. A few insist that lifting the engine isn't required, but there's nothing to it; it takes less time than to type about it, and it might just solve your fitment issues. Also, on the driver's side, I had to remove the oil filter to get to some kind of electrical (sending?) unit and remove the 2 bolts that held it in place. Removing that unit's metal housing really allowed me to twist the flange past the bottom of the engine. (don' lose its' gasket when you reinstall!)
It was suggested that ASP header bolts would be a great convenience, though of course, not absolutely necessary. At ~$104, they're certainly a luxury, but I can't envision this project (or later head/clutch or lower drivetrain work without them. With 12-point heads, they made tightening the headers in a really tight space very tolerable.
All that said, this install was a "10" of a bicht if the WS6 Firebird was an "8"; however, the SOTP reaction is that it was worth it. Price-wise, with the quality seemingly as good as Kooks or like vendors, I'm satisfied enough to forgive the flaws. (that's not saying I'd do it again, but I could shave off a coupla hours 'next' time)
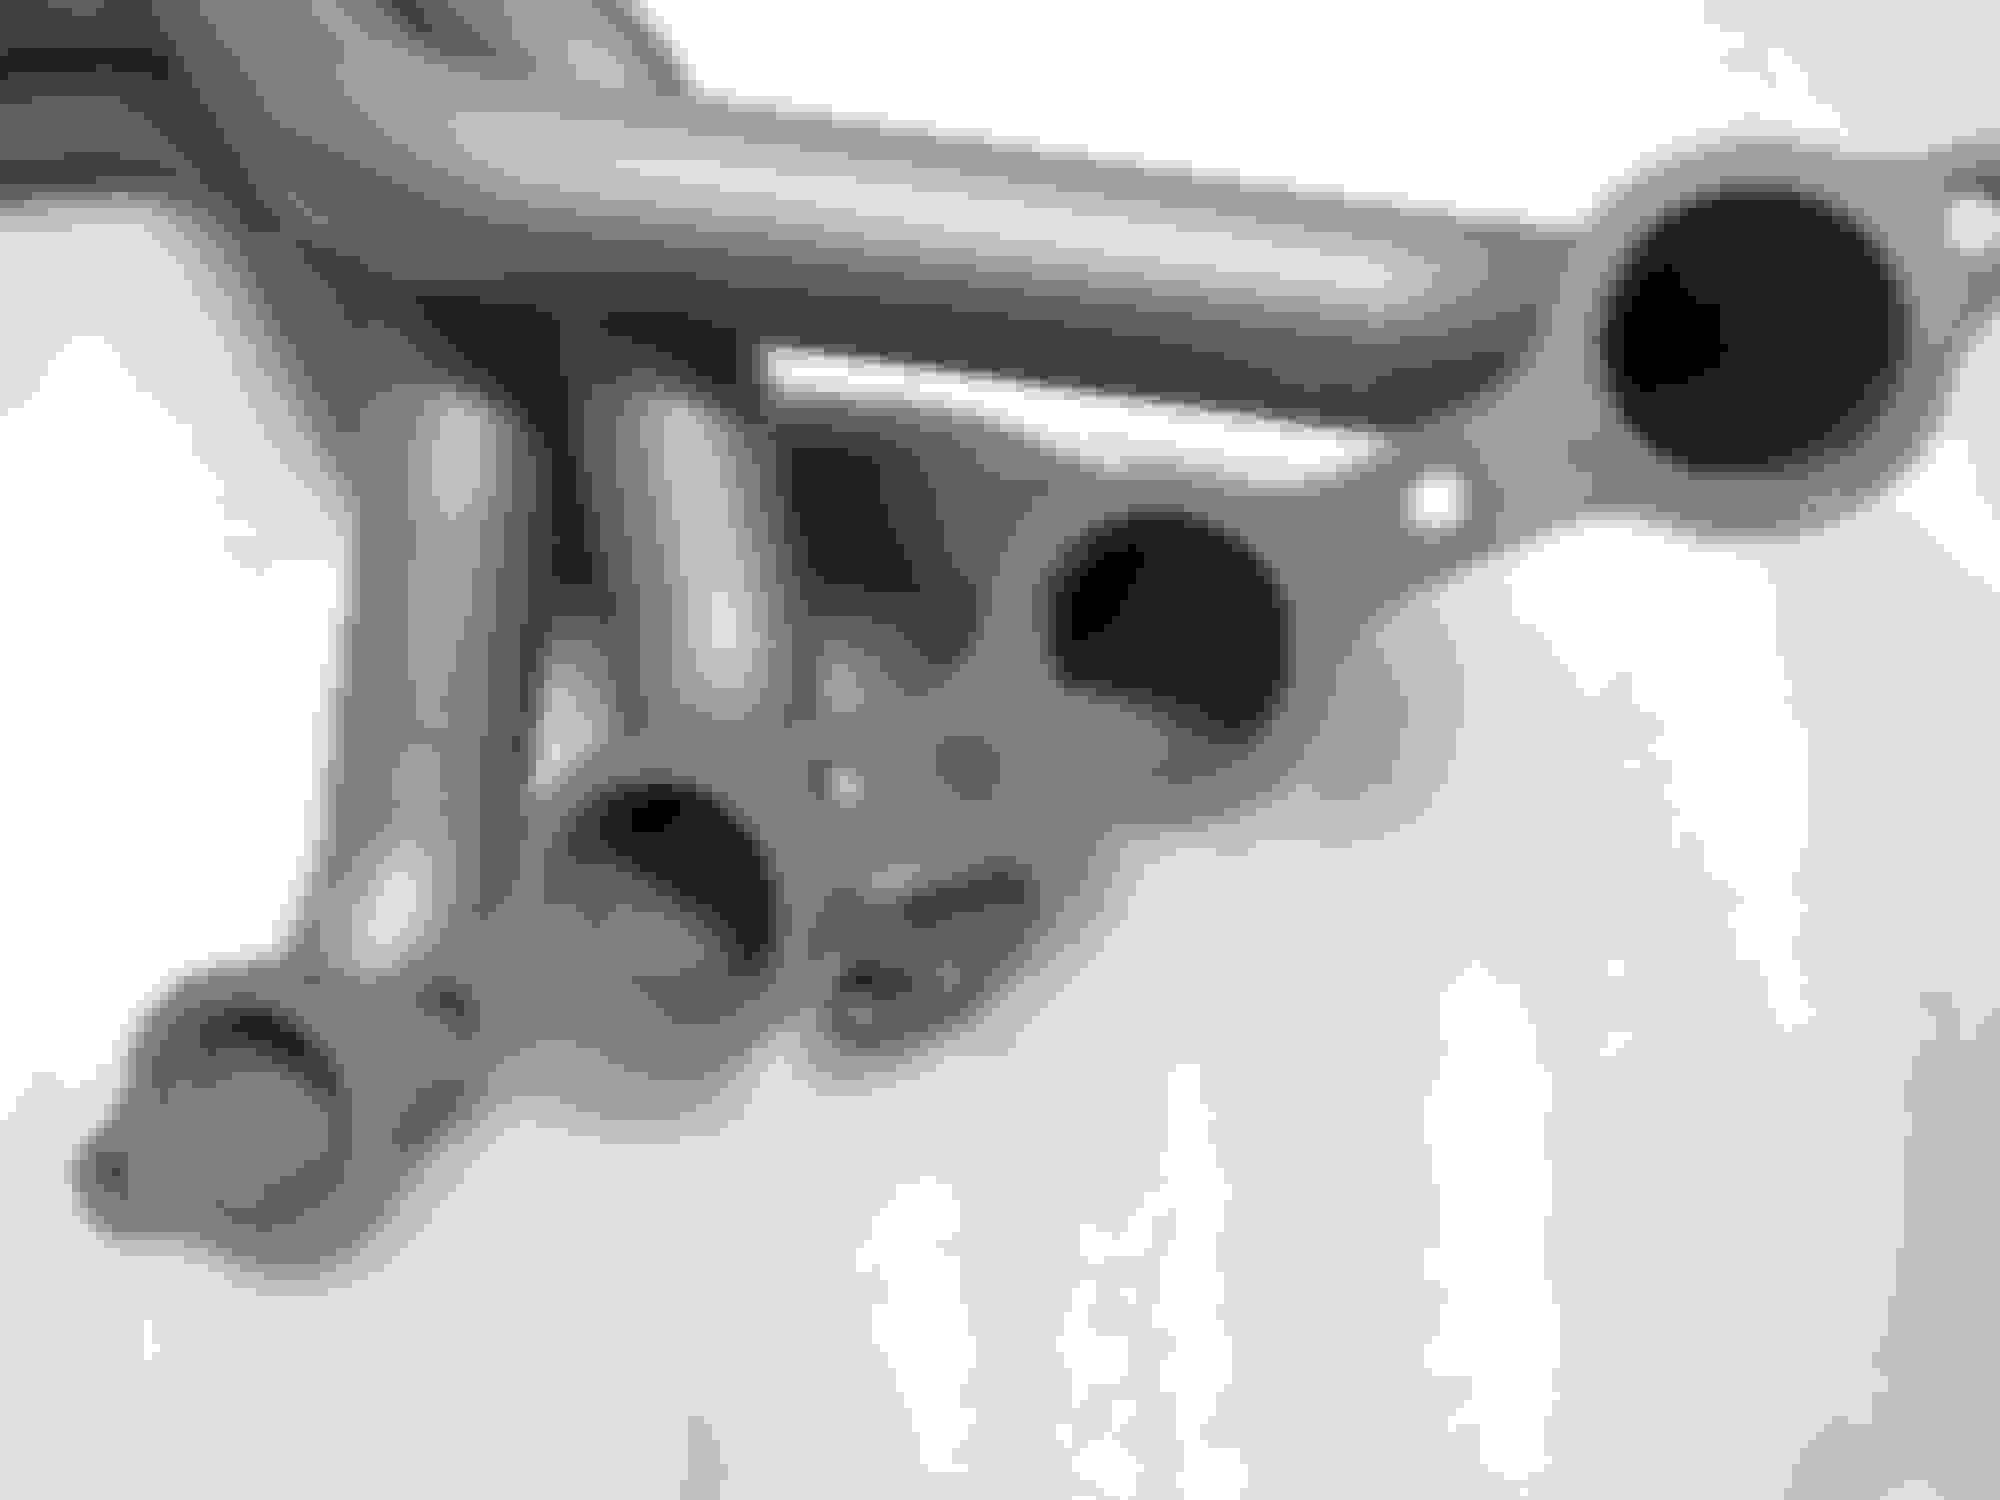
Here's what they looked like after Jet-Hot:
I guess the coating works. After shutting down the engine with readings of 201* oil temp and 196* water temp, I immediately got out of the car, popped the hood and touched the driver's header with the back of my hand. I got "scalded" enough to withdraw, but 5 hours later, my finger is not burned, blistered, nor tender. Obviously I didn't linger, but it seems the heat was not enough to hurt the skin.
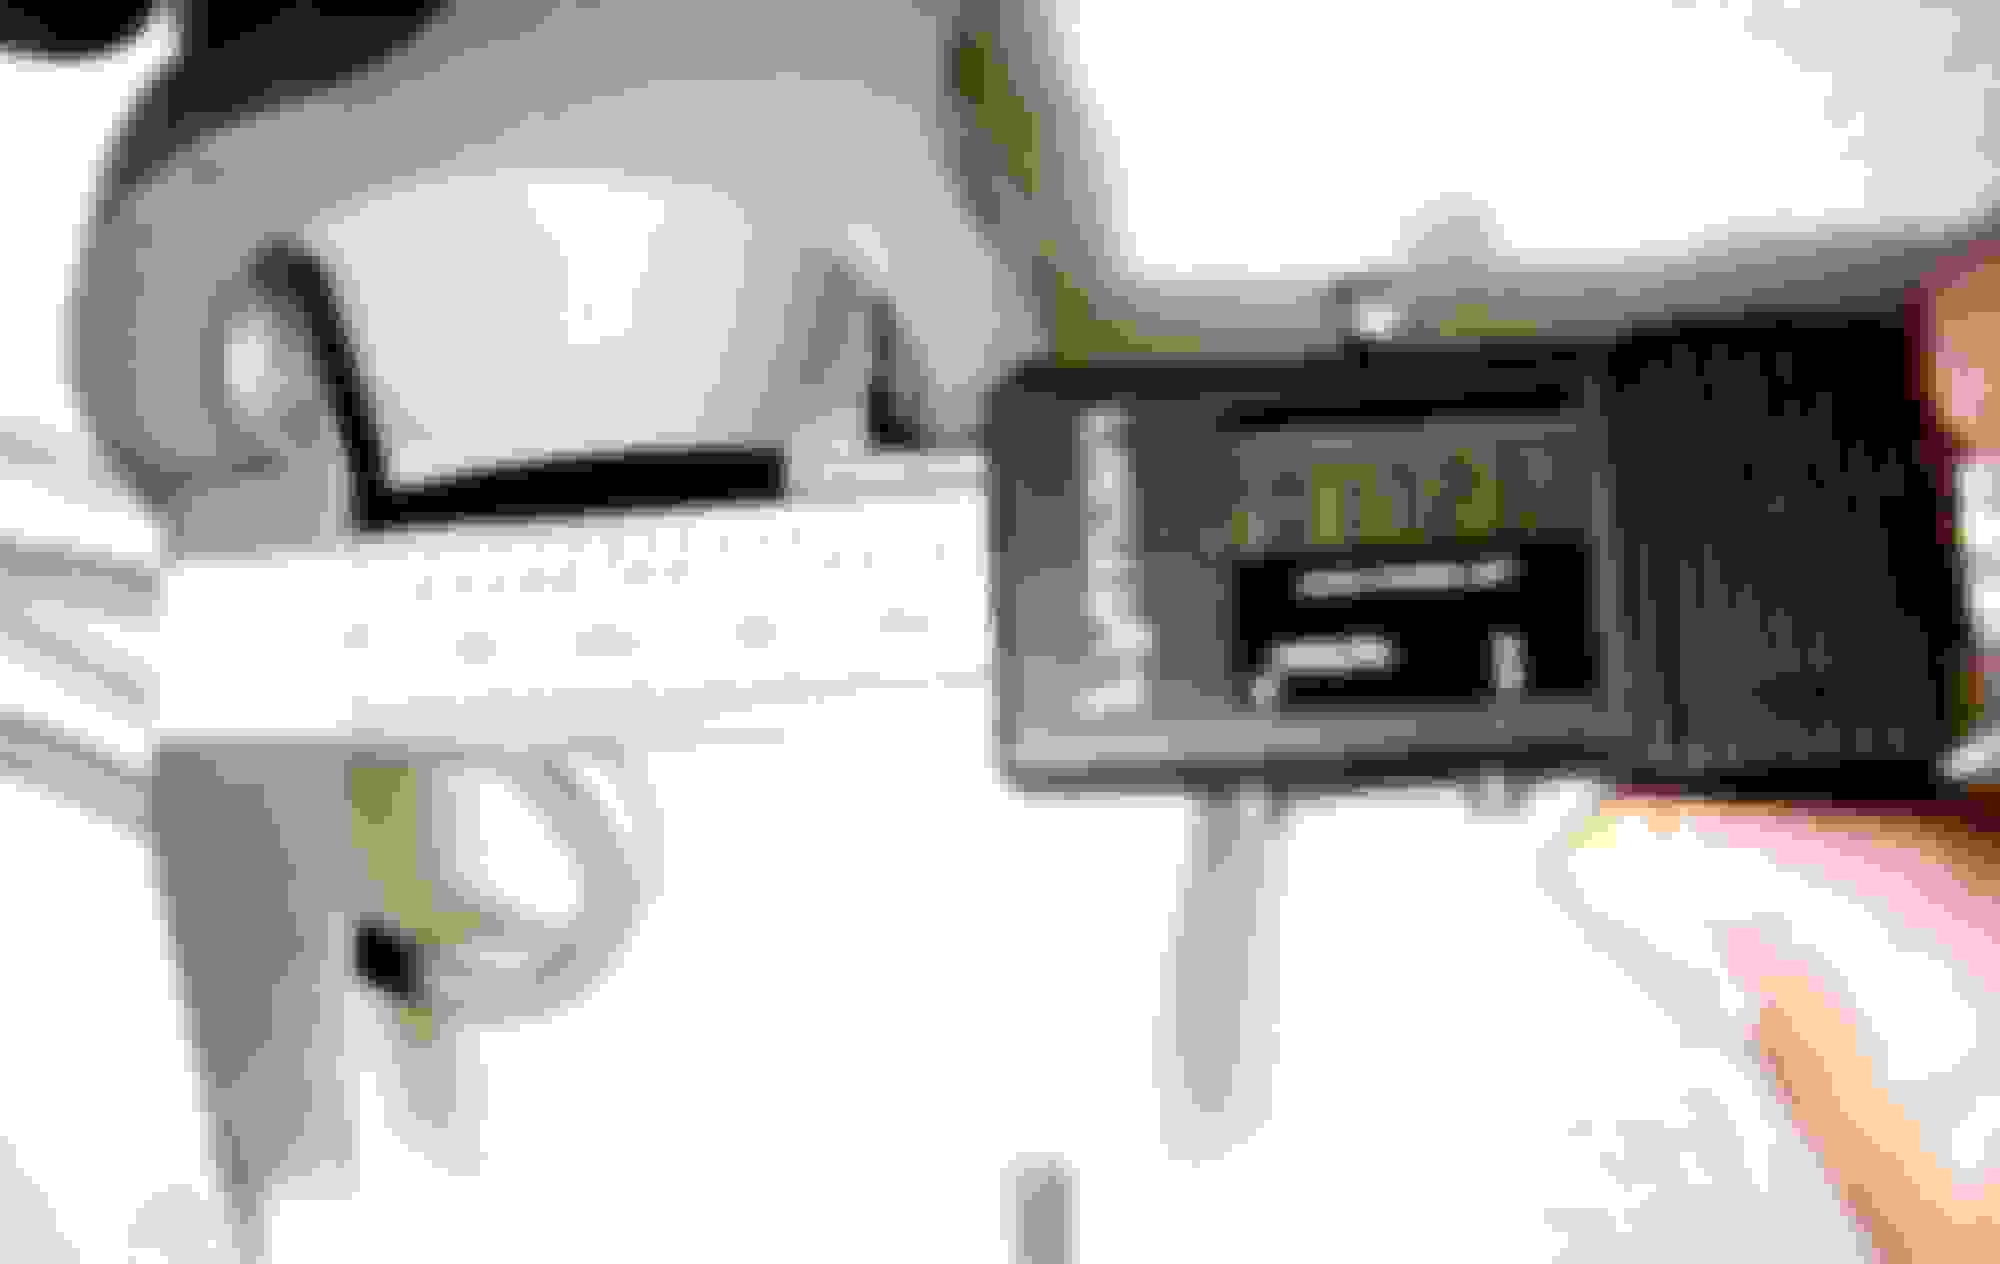
There's been some discussion about the pipe dimensions. At the welds, I miked them to be probably 1-3/4" ID pipes. I thought the welds were fantastic, and was surprised actually, at that quality.
Lastly, fitment. Aside from the 'usual' installation woes, everything seems to fit well; I have probably 3/8" clearance from the steering linkage, and 1/2" from the AC lines. All the O2 sensors and their wiring have adequate clearance. As to concerns for lowered vehicles--the collectors do not fit as well as the OEM manifolds. I have the rocker panel guards on my car; the collectors hang an inch below that--two inches below the 'floor' (underneath the car). I'll have to be careful at RR crossings and the like, and if speed bumps were an obstacle before, they're definitely a hazard now.
Though there was plenty of "Chinese puzzle" frustration over what should get tightened first or when, I think there's enough in my review and other discussion to cover the sparse details in the instructions. I hope this has been of some help to those trying to decide on a brand. The best news is, it fired up on the first try with no codes. Oh Happy Day!
Edited to add: some authors have lamented about how tough it was to reattach the driver's side grounding strap to the engine block. (this is a braided steel flat wiring) You can leave the strap attached to the engine and disconnect the other end--it's bolted to the frame just underneath the windshield wiper reservoir and there's plenty of room.
There's nothing "challenging" about the install; frustration can certainly mount, but the job is doable. (after a 2-hour attempt to install the driver's side, there was a time when my only thought was, "others have done it, it must fit because it has to--I don't know a shop around here that'd help for any amount of money.") For me, the biggest challenge and psychological dread was removing the OEM header bolts and spark plugs. The plugs *really* had me worried, because I was afraid of stripping the holes--I had to remove 3 of the plugs with a breaker bar.
I bought a set of the last summer. My ss auto chrome ones cracked at the collector. The shop that put them in had to I think dent of of them to make it clear the steering column. Over all I'm extremely happy with them.

 05-26-2015, 04:15 AM