
How to: Adding painted Fuel Rail Covers (FRC's) by removing the fuel line..
 05-26-2009, 06:20 PM
#1
Burning Brakes

Thread Starter

Here is a "how to" on adding FRC's by removing the fuel line. Let me preface this by saying it may not be the best method but the one I prefer. I know some do the tape and bend method but I tried that and still ended up scratching my freshly painted FRC's. Obviously mine are already installed.
Also, this isn't a very difficult thing to do but please understand that some people don't want to start pulling things off and removing parts from their Vette without knowing what they are getting in to.
IMPORTANT: Let the engine cool completely before removing the fuel line. A little gas may spill out and you don't want it dripping on to a hot engine.
This is the removal tool you will need. I bought it at Autozone but I'm sure you can find it or similar at any auto parts store. You need a 3/8" size.


Let's start with the easy (passenger) side just to see how they go on and off.
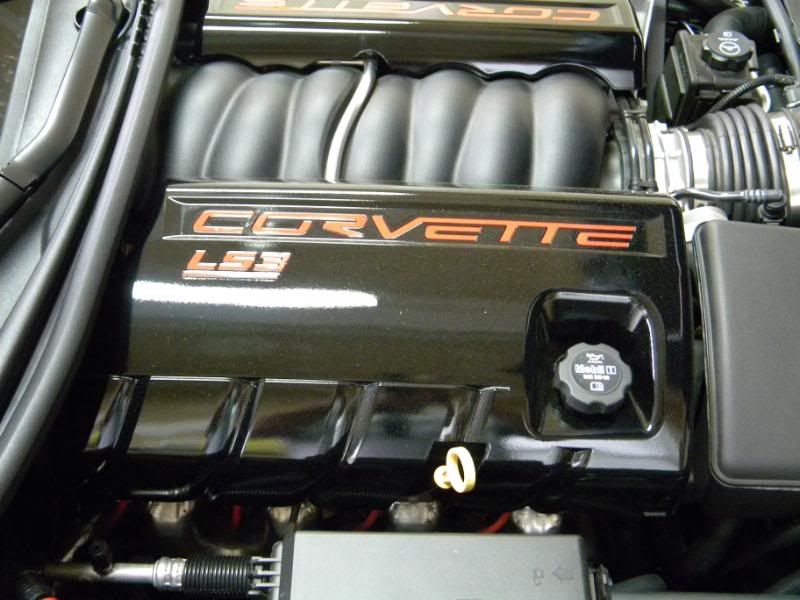
First remove the oil fill cap then simply pull up on the edges of the FRC.


This is what it looks like under there.

The FRC's just snap right on with the clips and posts. Both sides snap on the same way but the fuel line is in the way on the driver's side.


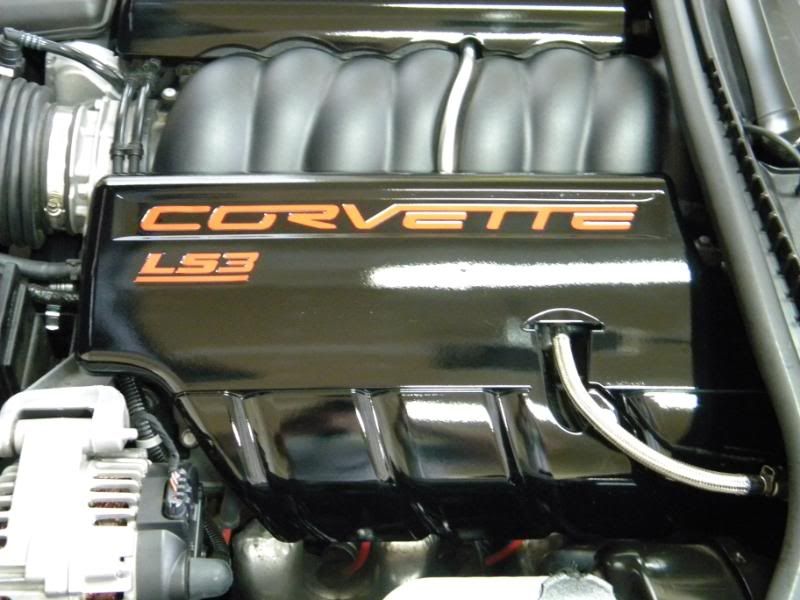
Now on to the driver's side (and fuel line removal).

The fuel line actually connects in two places (under the FRC or at the firewall). You can remove it in either location but I prefer disconnecting it under the FRC.


Pull the FRC off from the top carefully to access the fuel line. (I removed it for the purpose of taking pictures so you can see what is going on. Just follow the steps while the FRC is still on.) It's a little tight under there but just be careful.
Before you remove the fuel line put a towel or rag under it to catch any fuel that leaks out.

There is a locking clip that needs to come off first.

Pull it up on this end then it slides right out.


Next, take the tool with the 3/8" side and place it on the fuel line.


Then you need to push it in to the coupling (arrow shows direction). It takes a little force but as you push it in you just pull the connection apart.

Here it is apart.

Now just slide the stock FRC off and put the painted one on, carefully feeding the fuel line through the hole. (You can use a little blue painter's tape around the hole/slit in the FRC to be extra careful)
Also, this isn't a very difficult thing to do but please understand that some people don't want to start pulling things off and removing parts from their Vette without knowing what they are getting in to.
IMPORTANT: Let the engine cool completely before removing the fuel line. A little gas may spill out and you don't want it dripping on to a hot engine.
This is the removal tool you will need. I bought it at Autozone but I'm sure you can find it or similar at any auto parts store. You need a 3/8" size.
Let's start with the easy (passenger) side just to see how they go on and off.
First remove the oil fill cap then simply pull up on the edges of the FRC.
This is what it looks like under there.
The FRC's just snap right on with the clips and posts. Both sides snap on the same way but the fuel line is in the way on the driver's side.
Now on to the driver's side (and fuel line removal).
The fuel line actually connects in two places (under the FRC or at the firewall). You can remove it in either location but I prefer disconnecting it under the FRC.
Pull the FRC off from the top carefully to access the fuel line. (I removed it for the purpose of taking pictures so you can see what is going on. Just follow the steps while the FRC is still on.) It's a little tight under there but just be careful.
Before you remove the fuel line put a towel or rag under it to catch any fuel that leaks out.
There is a locking clip that needs to come off first.
Pull it up on this end then it slides right out.
Next, take the tool with the 3/8" side and place it on the fuel line.
Then you need to push it in to the coupling (arrow shows direction). It takes a little force but as you push it in you just pull the connection apart.
Here it is apart.
Now just slide the stock FRC off and put the painted one on, carefully feeding the fuel line through the hole. (You can use a little blue painter's tape around the hole/slit in the FRC to be extra careful)
 05-26-2009, 06:20 PM
#2
Burning Brakes
Thread Starter
Now reinstall the fuel line by pushing it back together (arrow shows direction) and you will hear and feel a "click" as it goes back on. Then place the locking clip back by sliding it on and clipping it back down.

Snap the FRC back on and you're finished. Now step back and enjoy !!

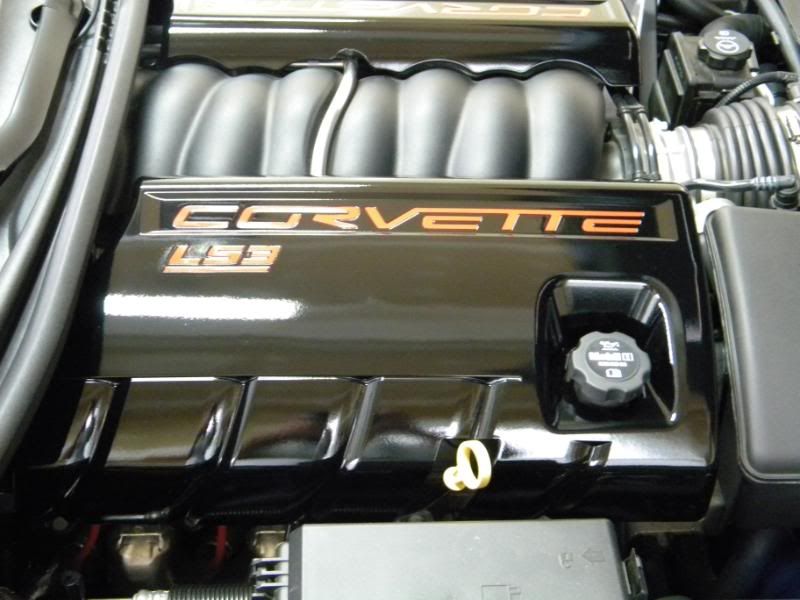
Snap the FRC back on and you're finished. Now step back and enjoy !!
Last edited by BLACK 08; 05-26-2009 at 06:32 PM.
The following users liked this post:
just fly (06-02-2017)
 05-26-2009, 06:39 PM
#4
Team Owner


Well done. Great pictures which always makes the job better for the next person. 

Thanks for taking the time to do the write-up!
If you wouldn't mind I'd like to publish this on my website in the Tech Tips section with credit to you.
Paul
Thanks for taking the time to do the write-up!
If you wouldn't mind I'd like to publish this on my website in the Tech Tips section with credit to you.
Paul
05-26-2009, 06:44 PM
#5
Burning Brakes
Thread Starter


 05-26-2009, 08:08 PM
#9
Race Director

Disconnecting the fuel line is the best way to remove the FRC without damaging the paint on your FRC. Otherwise you will need to use two layers of blue tape around the fuel line opening and bend the FRC to slowly work the fuel line out and hope the rough steel braid doesn't eat through the blue tape and damage the paint finish. Don't try this method if the FRC's are cold they will not bend enough to slip the fuel line through the FRC opening. Just take the line off.
05-26-2009, 09:59 PM
#12
Team Owner
 Thank you that was a very good post. I will be using it pretty soon so it came at the right time

 05-26-2009, 11:33 PM
#17
CF Senior Member

Member Since: Feb 2006
Location: Tucson Arizona
Posts: 23,313
Likes: 0
Received 19 Likes
on
18 Posts
Well done!
I appreciate your efforts in putting the instructions together...it will help a lot of fellow Corvette owners. It's definitely destined for the C6 FAQ's section. Thanks!
I appreciate your efforts in putting the instructions together...it will help a lot of fellow Corvette owners. It's definitely destined for the C6 FAQ's section. Thanks!
05-27-2009, 05:49 PM
#20


The factory manual says to release the pressure by depressing the schrader valve at the end of the rail (under the black cap). I am surprised some gas did not spray out a bit when you disconnected the line. Great directions though. I was thinking of painting my covers and this is a great way to keep them from getting messed up. Thanks!
Steve
Steve