

 02-20-2015, 05:52 PM
Last edit by: IB Advertising
See related guides and technical advice from our community experts:
Browse all: Engine and Powertrain
- How to Install Methanol Injection
Step by step instructions for do-it-yourselfers.
Browse all: Engine and Powertrain

AIS Methanol Injection Install with Pictures
06-21-2013, 05:09 PM
#1
Cruising

Thread Starter

Well I was always wanting to add a Meth kit to my A&A SC Install. With 91 octane gas being mostly what I can get here in California it made sense to maximize Performance and Safety. I looked at most of the kits on the market but many seemed pretty labor intensive to install and expensive for what you get. I really liked the design of the AIS kit because I didn't want to use my windshield washer tank and I didn't want a big Meth tank in the back of my car. The AIS Kit uses a pre-molded tank that holds 1.7 gals and its pretty stealth since the entire tank fits in one of the compartments in the cargo area. I didn't see any write up for an install so I decided I would document in pictures my install from opening the box to the finished installation. All the pictures are on my Flickr Account if you want to see them all in one place. If you have any questions please feel free to ask me. So here goes with the write up. I figure it's going to take me some time to add the most pertinent pictures so please bare with me as I upload them to the thread.
Opening the Box;
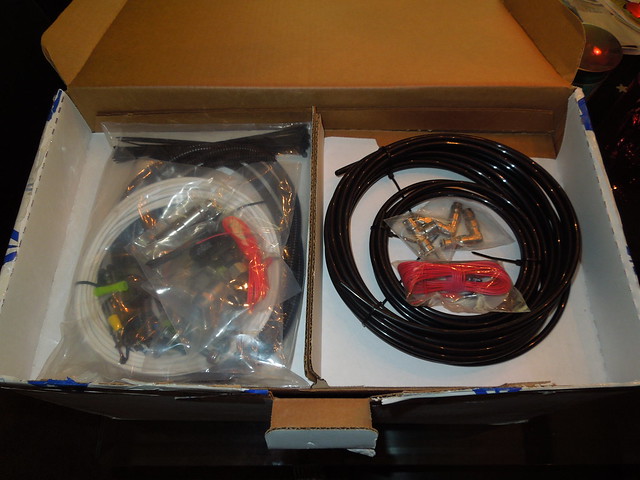
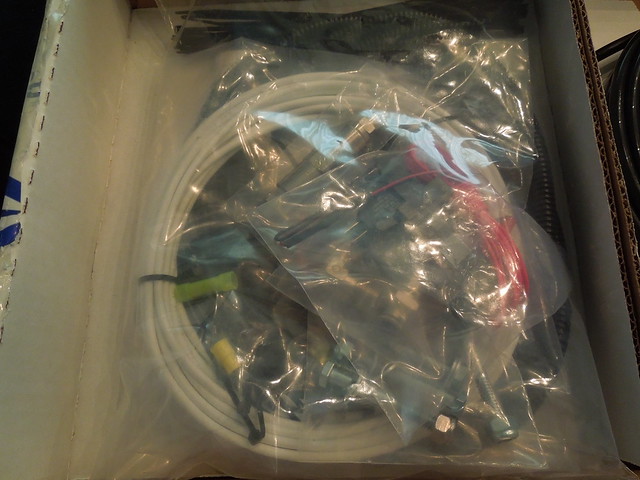
Opening the Box;
 06-21-2013, 05:20 PM
#2
Cruising
Thread Starter
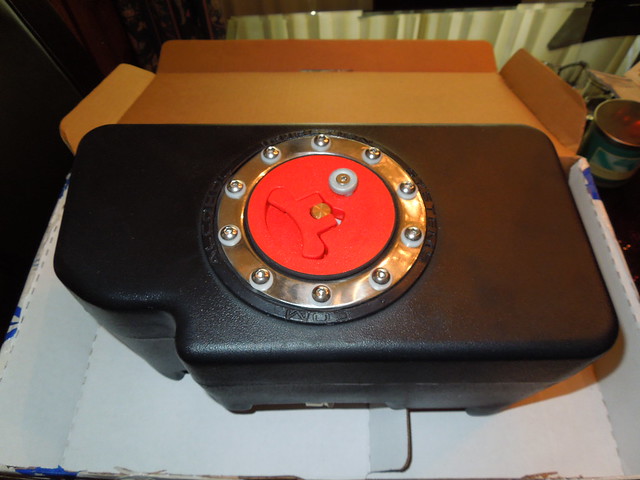
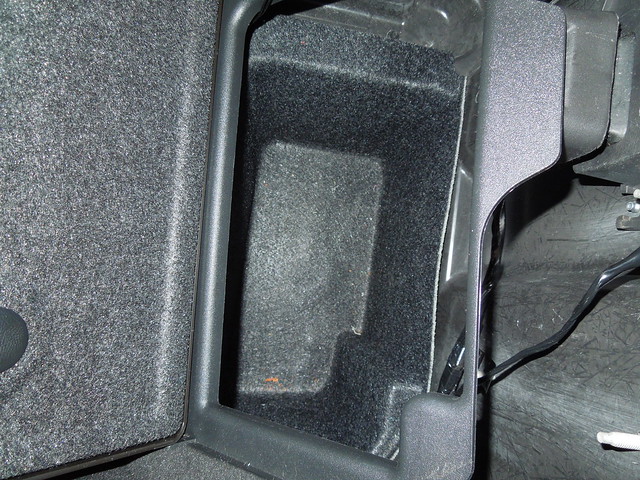
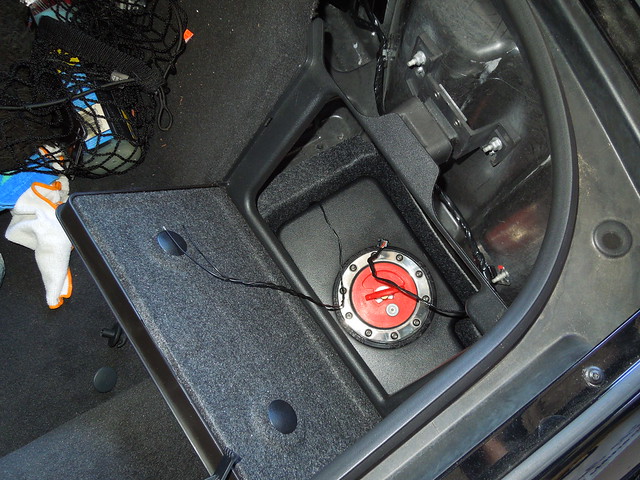
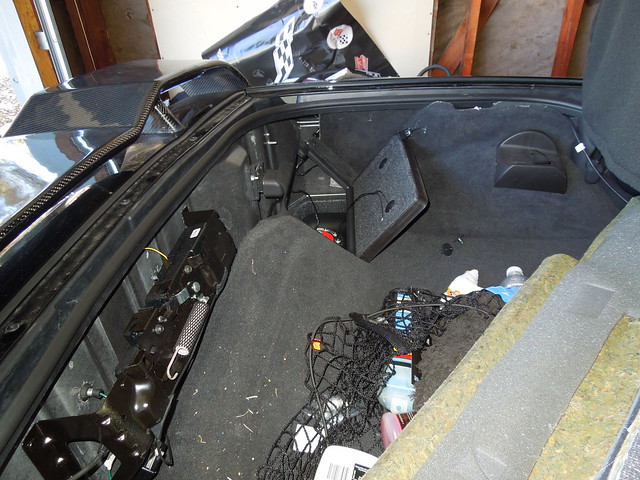
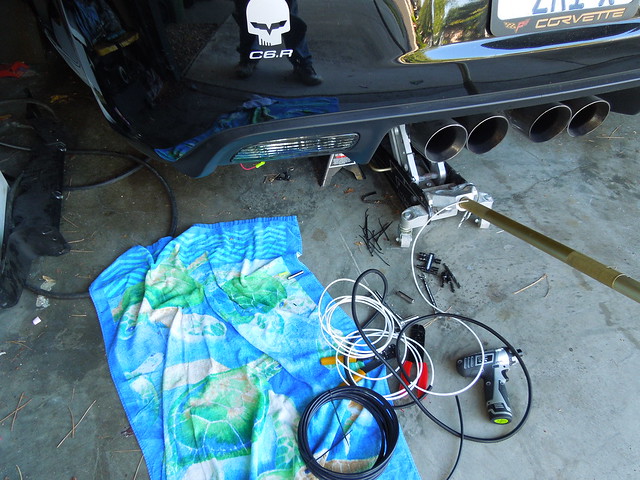
Installing the tank in the Rear Compartment in the drivers side. For anyone who is wondering this is a 2008 C6 Corvette, 6 Speed with LS3 Engine and A&A V3Si Centrifugal Supercharger.
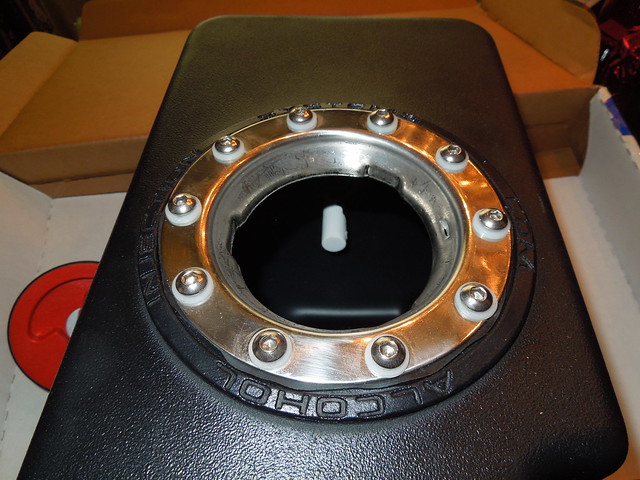
The tank fit perfectly. No extra room and the top closes perfectly. With the top closed you would not even know there was a meth kit installed.
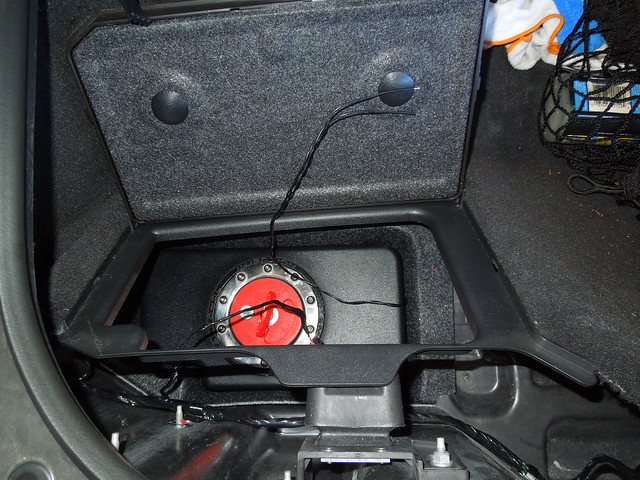
The tank fit perfectly. No extra room and the top closes perfectly. With the top closed you would not even know there was a meth kit installed.
06-21-2013, 05:35 PM
#3
Cruising
Thread Starter
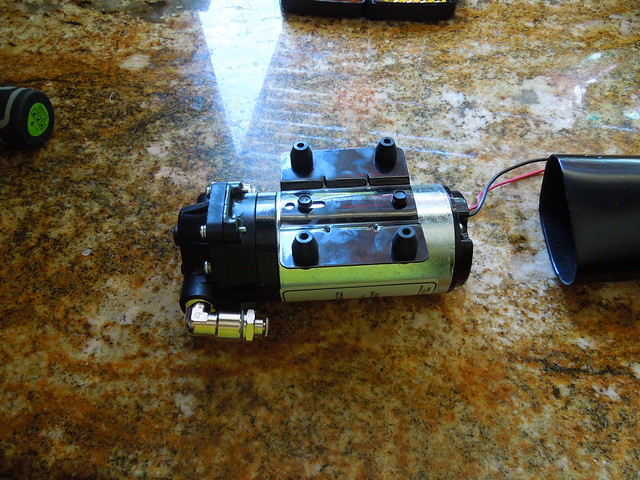
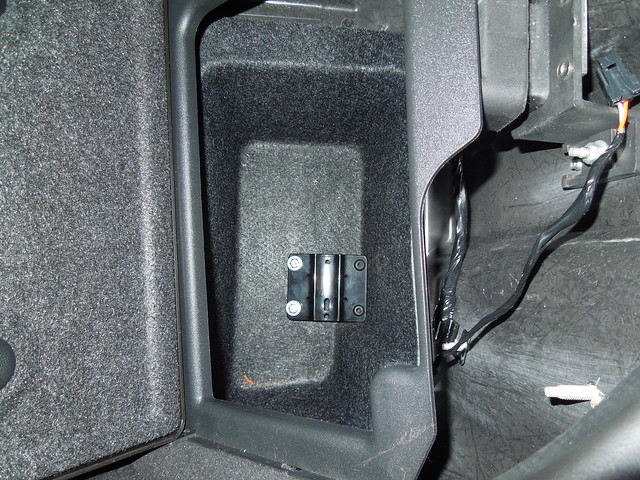
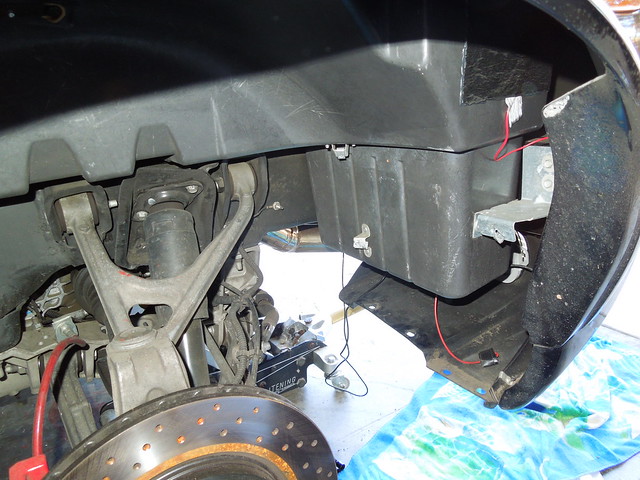
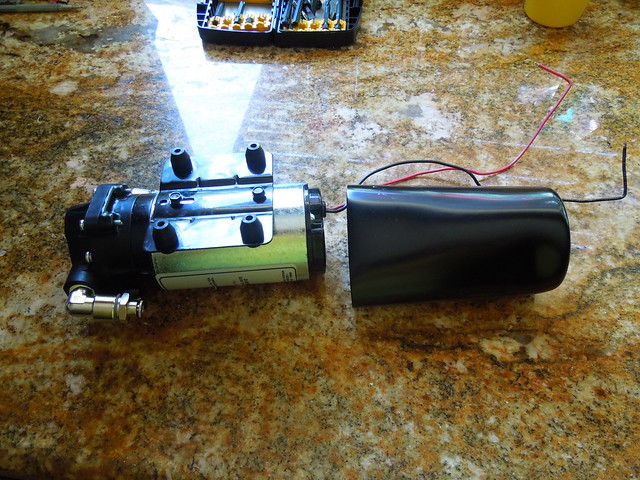
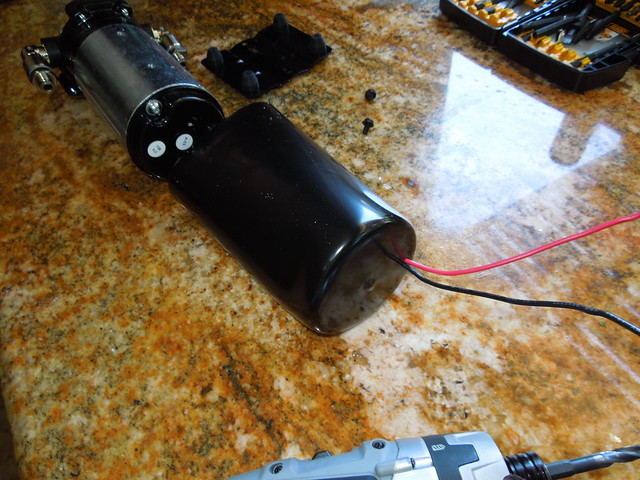
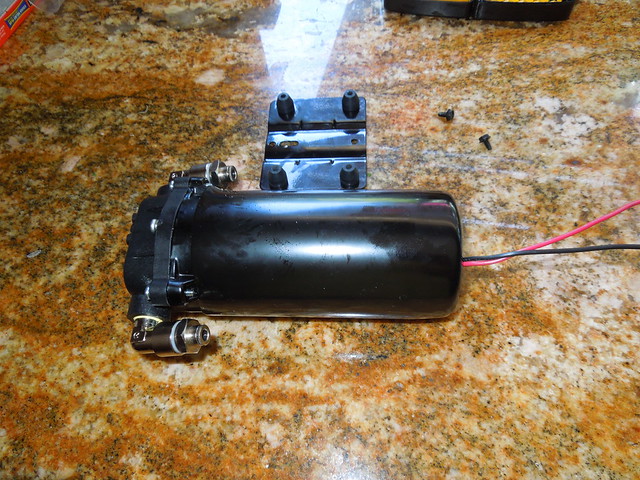
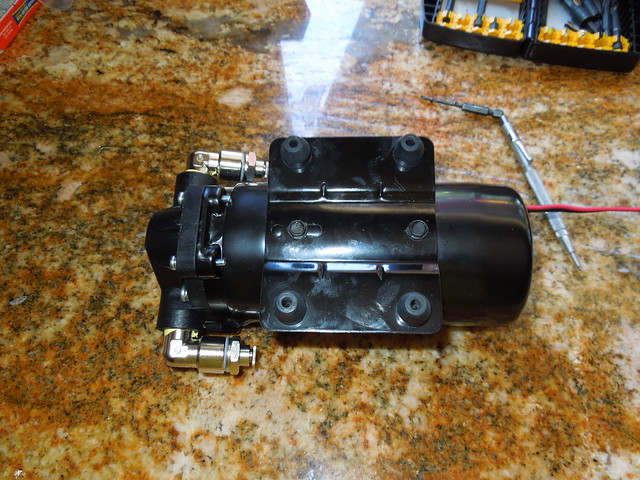
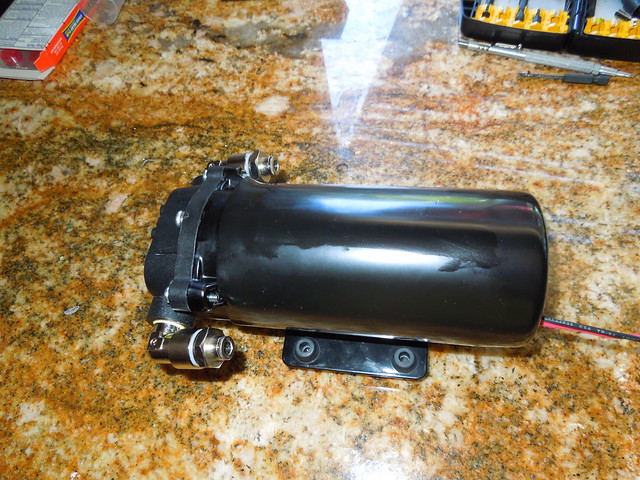
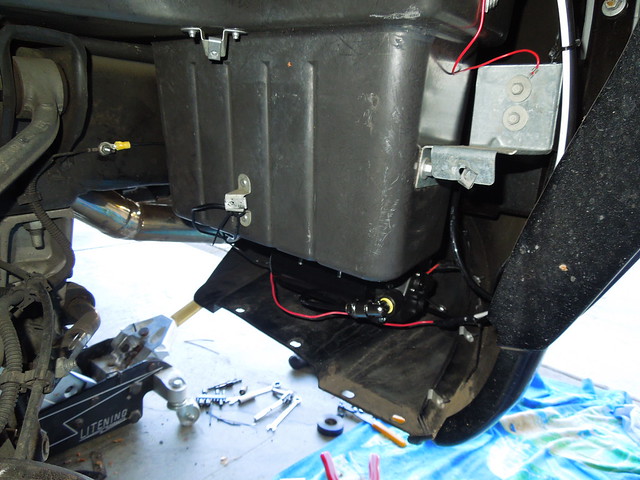
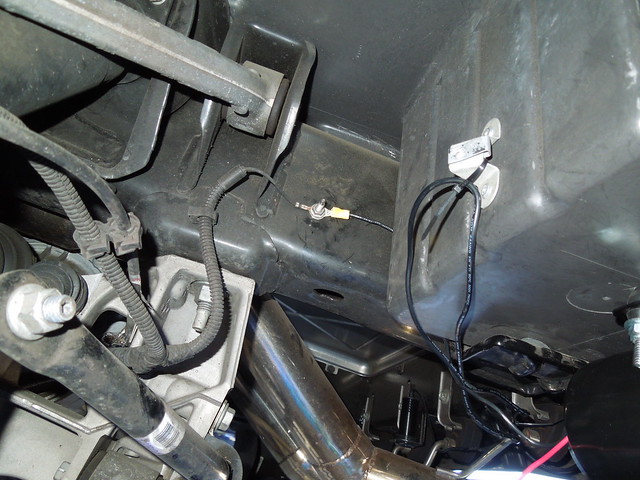
I spent a lot of time trying to figure out where to put the pump. The instruction said to mount it near the tank. But not near exhaust or a place where it would be exposed to the elements. I tried a bunch of different locations but it seemed like a good location was directly under the tank. The pump can be installed in any direction so I found what looked like the perfect spot, measured out the location and drilled some holes for the mounting bracket. The pump is really industrial grade. It also comes with what I liked to call a Pump Condom. It's a tight fitting poly cover that protect the pump from moisture so it doesn't rust out or short out the electrical parts. They recommend putting some grease or silicone on it to seal it completely. I just drilled a hole in the end to route the wires out and put a dab of silicone on it to seal it.
06-21-2013, 05:51 PM
#4
Cruising
Thread Starter
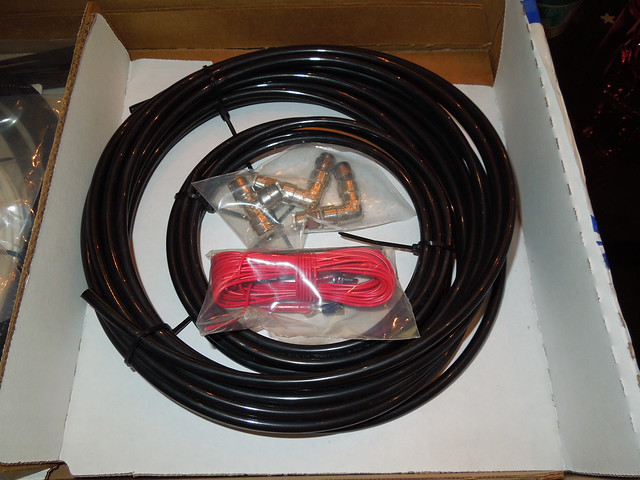
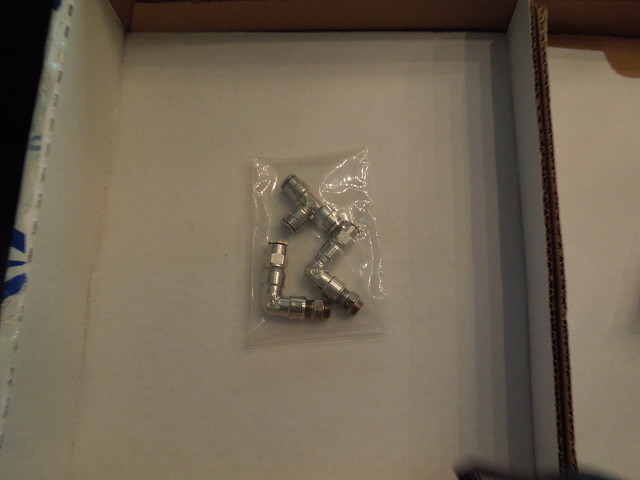
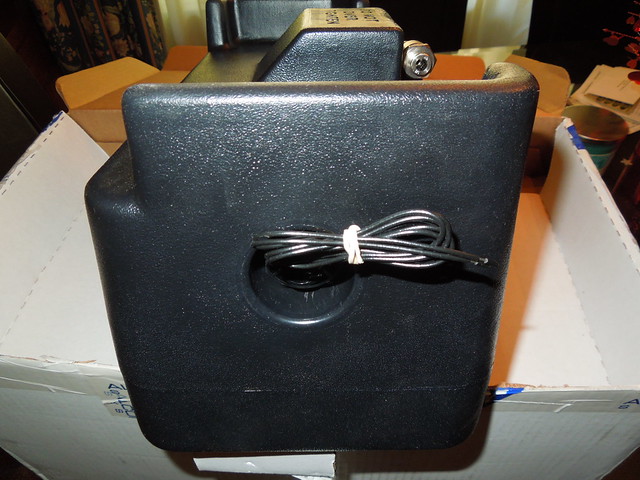
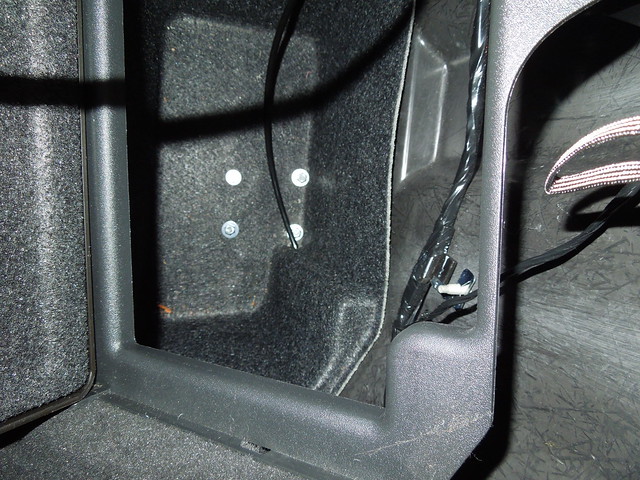
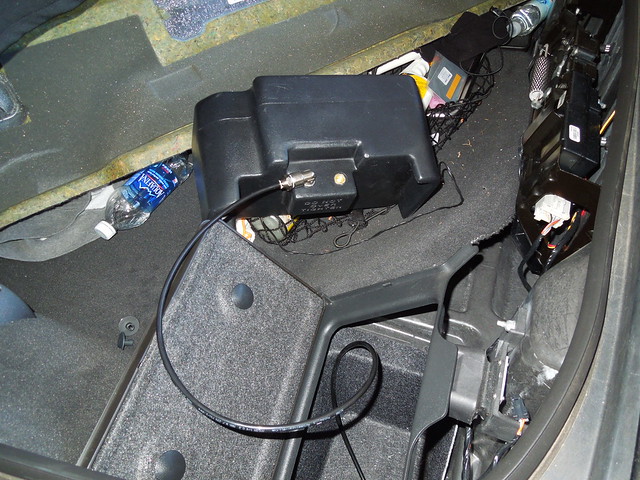
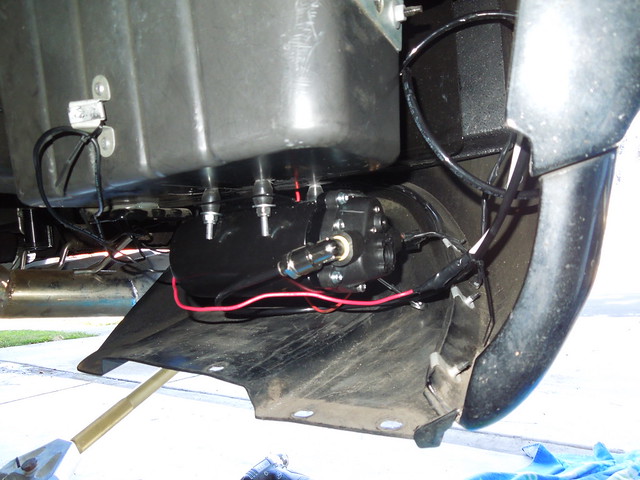
Next task was to mount the pump run the electrical connections and route the Methanol Lines. The Fluid connections all use Push fittings for the supplied 1/4 OD Nylon tubing. You just push the tube in and it locks without any other tightening. If you need to pull it apart you just press down on the fitting ring while pulling on the tube. Made it really easy to test fit lengths and routing the hoses in different ways. Once I got the pump all mounted and the tubes from the tank to the pump installed it was time to hook up the wiring. It's a straight forward two wire set up. Ground and Positive that it gets from the Pressure switch installed in a vacuum line. I used a already existing ground point off the frame rail. The positive wire and the tube I tie wrapped together and ran inside the wheel well top under the wheel well inner liner.

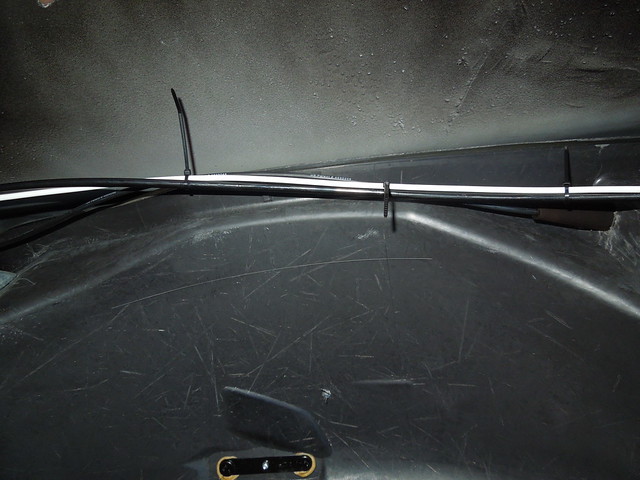
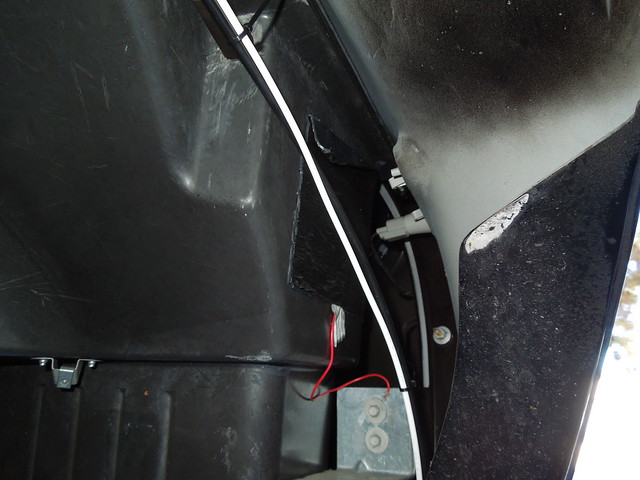
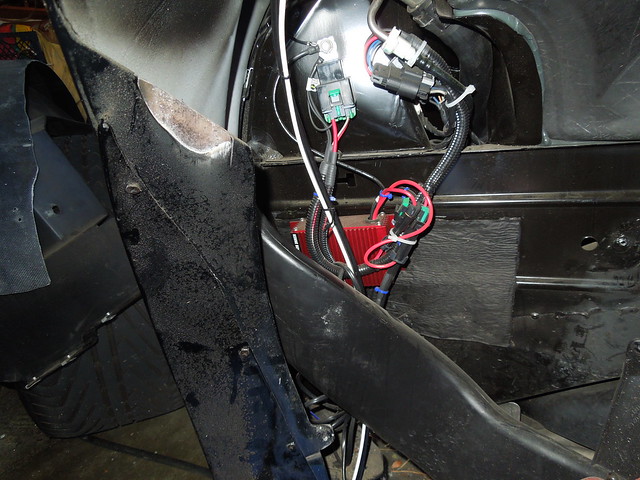
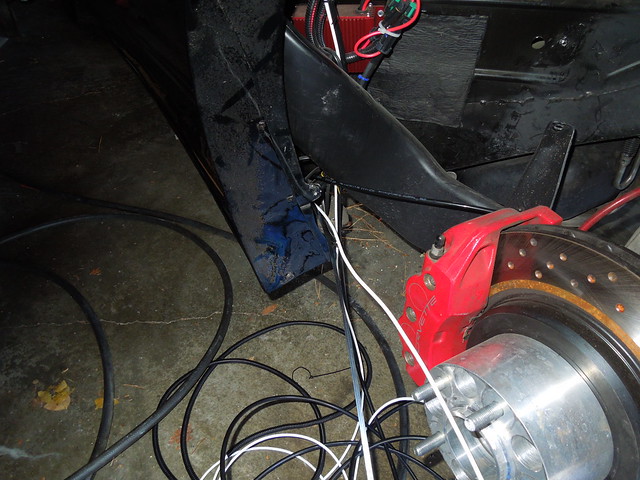
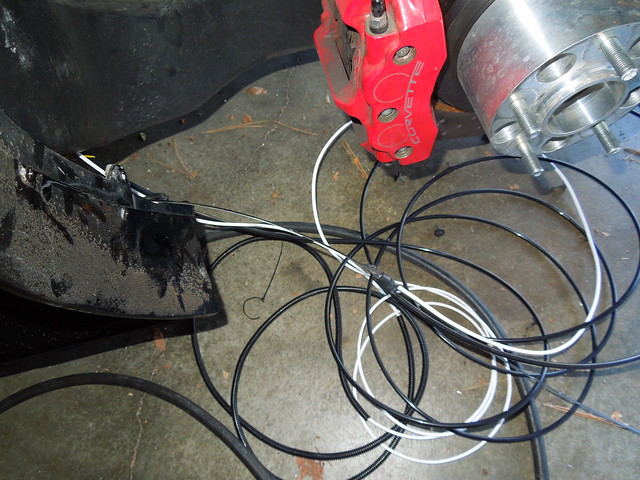
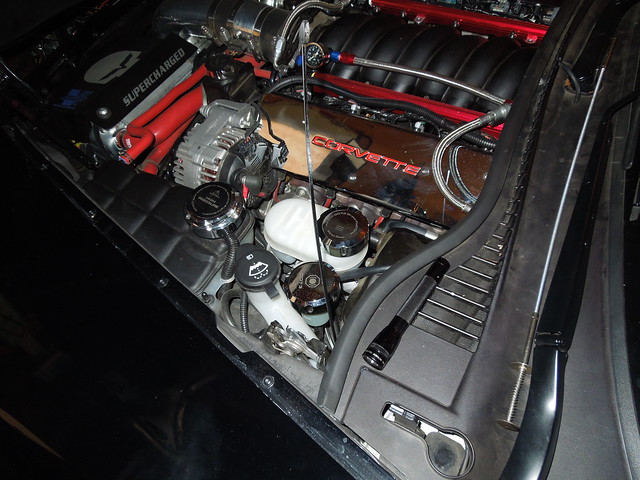
I fished the Power line and the Meth Tuning through the rocker panel to the front of the firewall and then up by the brake booster.
I fished the Power line and the Meth Tuning through the rocker panel to the front of the firewall and then up by the brake booster.
06-21-2013, 07:41 PM
#6
Melting Slicks

 06-21-2013, 08:15 PM
#7
Drifting

 ).
06-22-2013, 02:05 PM
).
06-22-2013, 02:05 PM
#9
Burning Brakes

I'm not a fan of putting the pump in the back of the car. There is probably 10-12 feet of line that the pump will have to pressure up when the car goes into boost before the nozzle will begin spraying properly. Some say that amount of time is negligible because when the pump comes on it is at low boost, but I wouldn't want to chance it.
Not a fan of the poly tubing either. Back of the car alright I could live with that, but not in the engine compartment. Have you ever seen the engine compartment while a boosted car makes a pull. The headers will be glowing red hot. Even if there is no contact that will melt plastic tie wraps and poly tubing if it is in the area.
The natural harmonics of the vehicle will cause the poly tubing to wear on anything that it is touching. Not to mention when the pump is running and the vibrations that will bring.
To the OP. very informative write up and nicely done. Just some things to consider.
06-22-2013, 02:25 PM
#10
Team Owner

I've seen the poly tubing spring so many leaks. I would replace it all with nice SS line.
06-22-2013, 04:42 PM
#11


I'd add a check valve up front, replace the tubing with SS braided line, and make sure you hit the test/prime button everytime you plan to get into the boost.
Nice install.
Jason
Nice install.
Jason
