When you click on links to various merchants on this site and make a purchase, this can result in this site earning a commission. Affiliate programs and affiliations include, but are not limited to, the eBay Partner Network.
One 12"x12" Birch 3mm panel - actually they sell a 6x12 which is all you need, so save yet another $1.
Three 12x12 sheets of self stick felt, but you only need two so you can save yet another $1.
Here is your massive pile of materials required.
The cubby is a bit oddly shaped. The front width is a tad under 6.5", but the rear of the cubby is a bit under 6.25". Depth is slightly under 4.75" The height is about 4" so I made the legs about 1.75 tall.
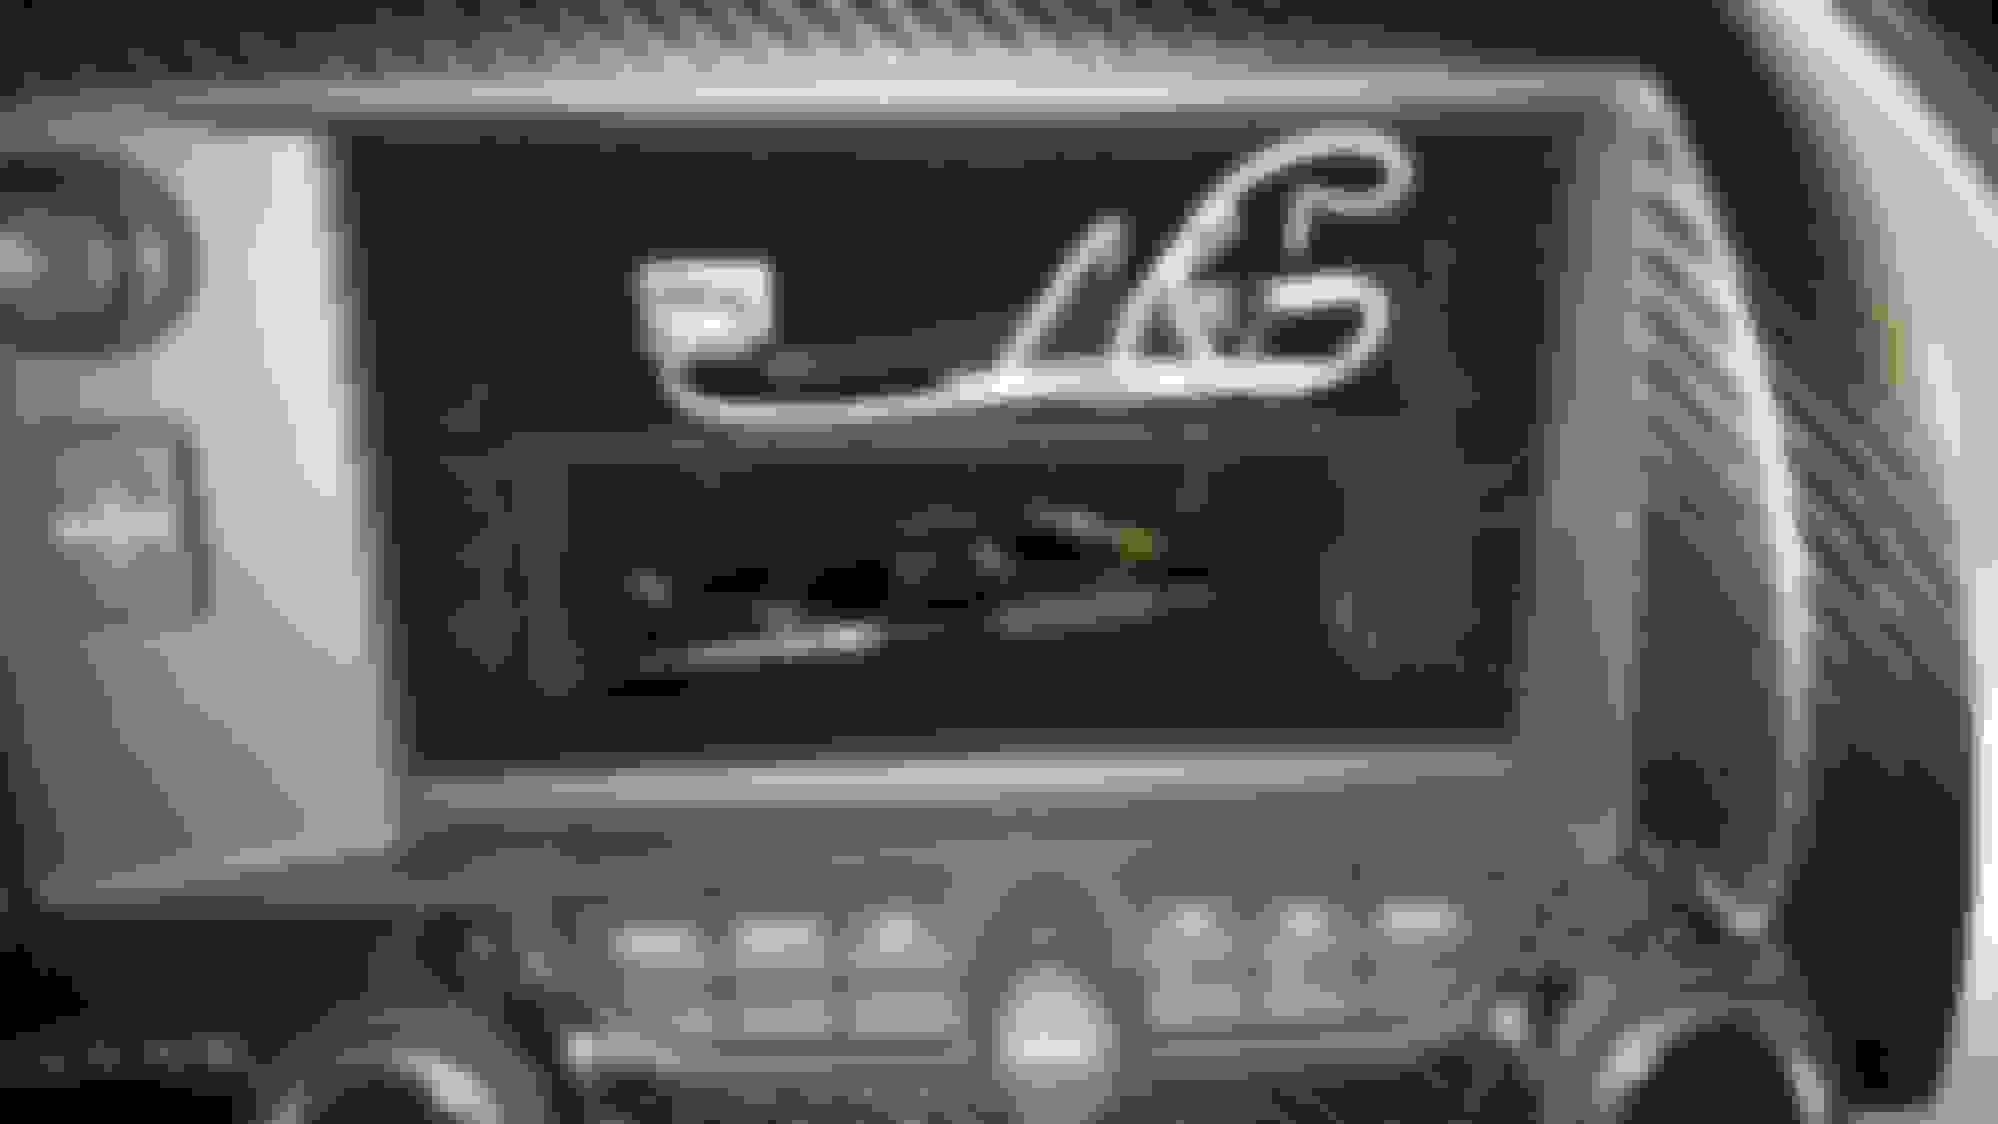
The shelf has to go under the USB port, as the cubby curves around it.
Rip the 12x12 (actually, get the 12x6" panel instead) at 5" and then lay out the cuts for your legs like this:
When I went to middle school, there was none of this nonsense that everyone should go to college, so EVERYONE got to take wood, metal, electrical and and my favorite of all, auto shop! So I know how to cut a board. One of the many problems with "modern" education - BRING BACK SHOP! For those of you that did not have the advantage of shop training in public schools - go spend your $ with the vendor selling these.
Cut the three pieces and fit them individually to make sure they don't interfere with the screen. Then assemble them with a hot glue gun - no need to be fancy.
I cut two small triangle "gussets" and glue them on the back corners so the legs are on good and won't wiggle. Just a tiny triangle on each back corner is good enough.
Then cover them with the felt.
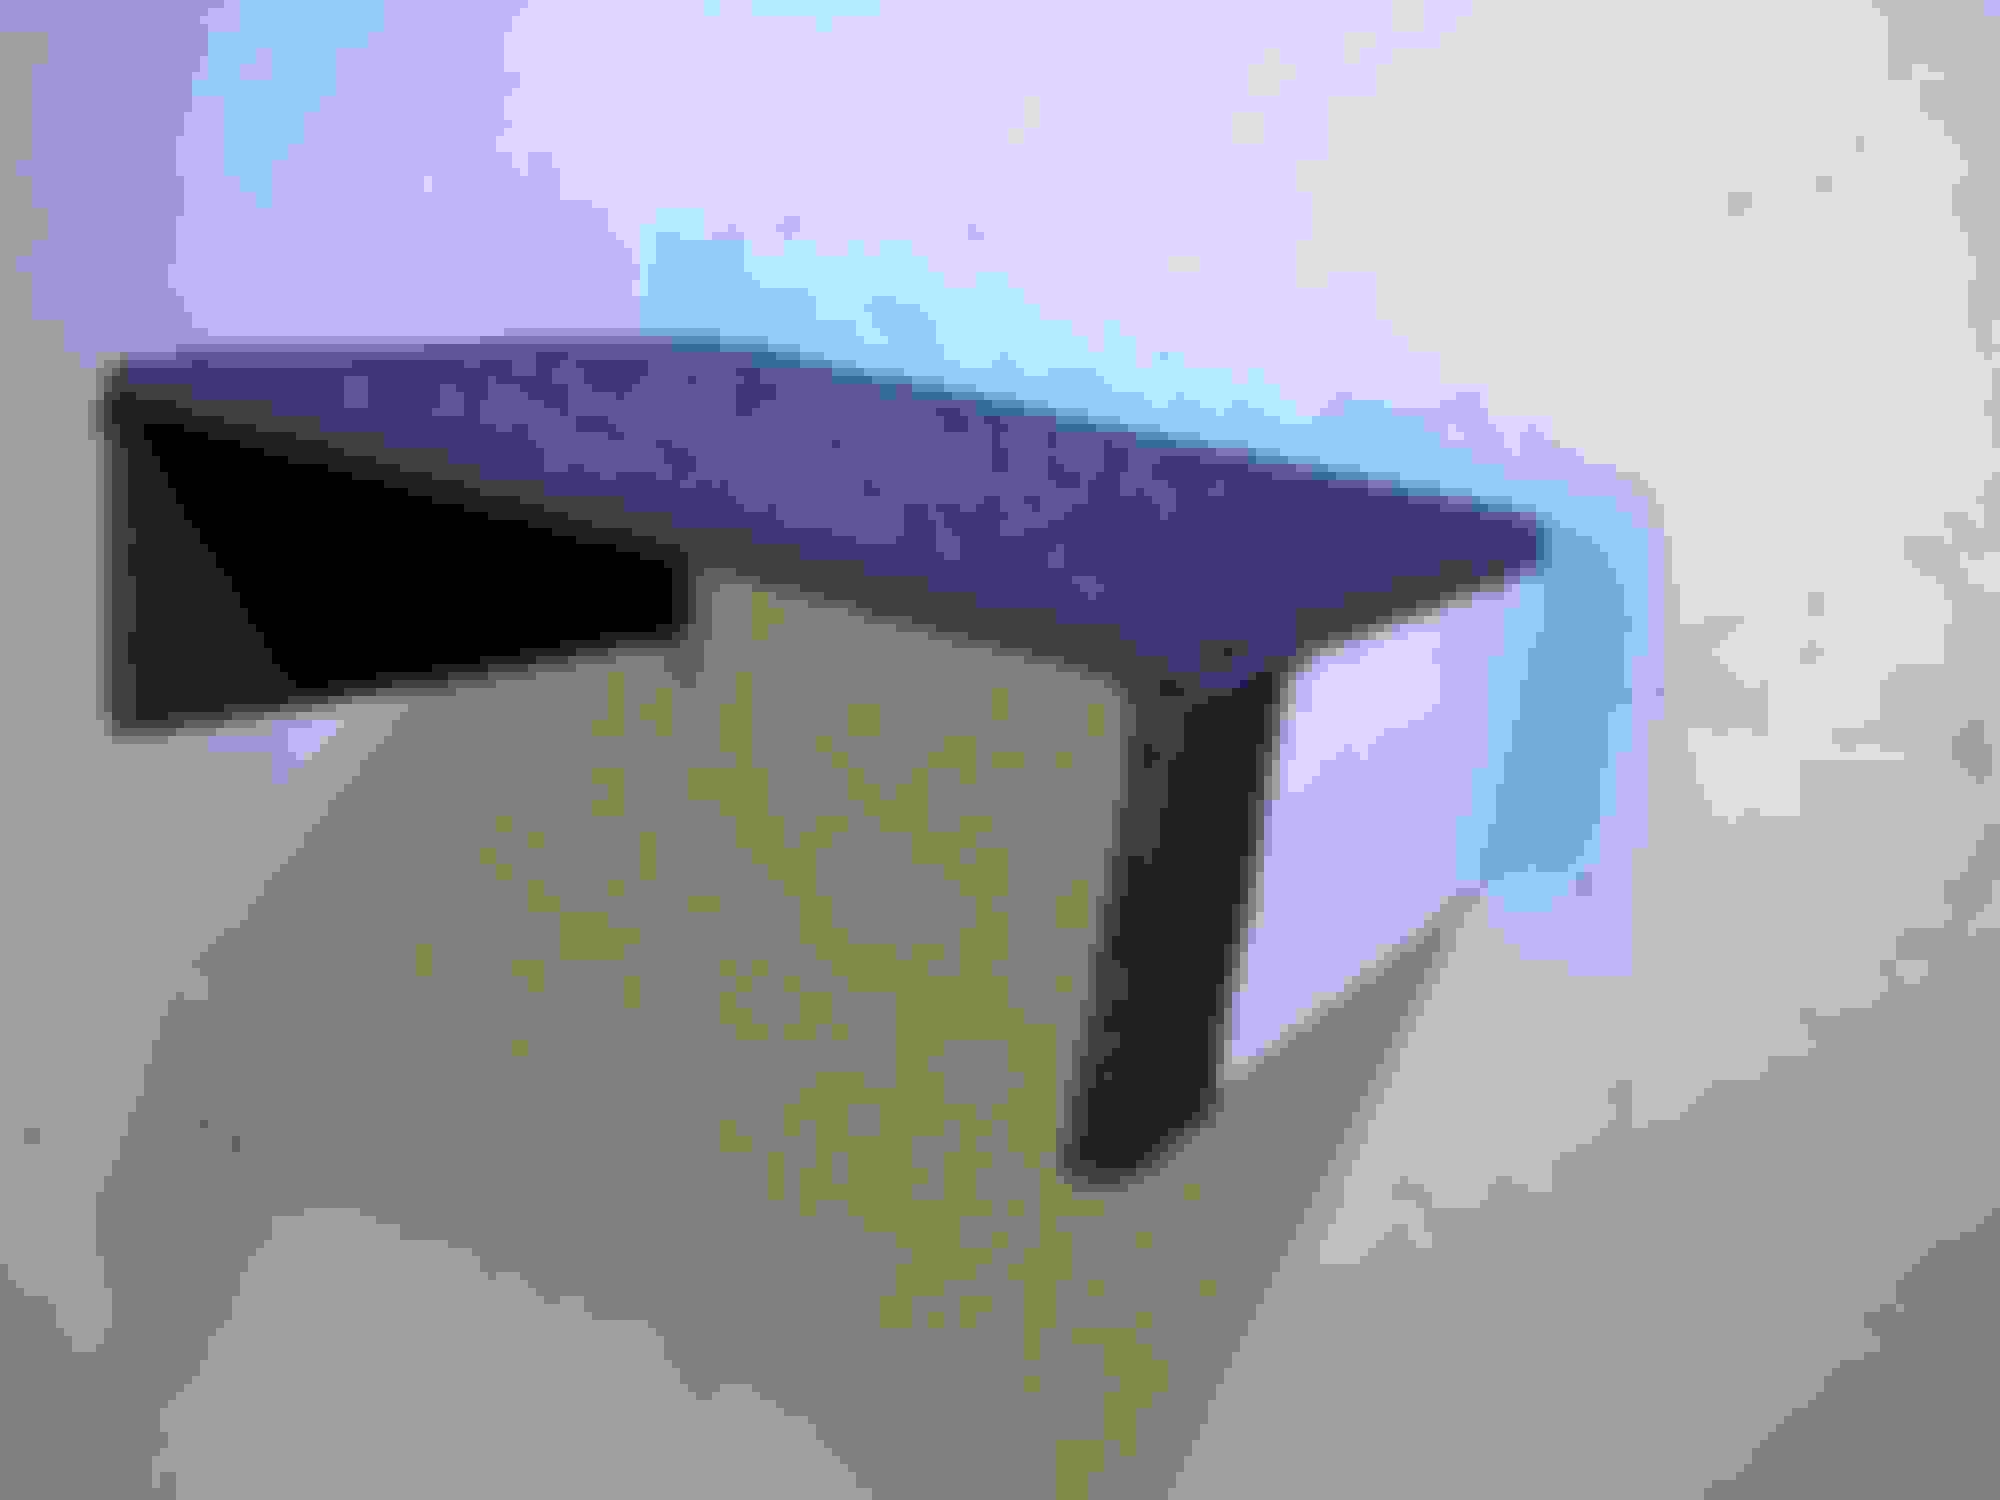
Result.
Have $32 left over to spend on a high class case of beer Sit back and drink several cold one while being satisfied with your work (after removing the hot glue residue).
Lesson #1 - look for any hot glue residue that show up in your pictures and remove it before you take the final picture!
Good work. I like the fact that you covered it in a similar carpeting as opposed to a random hunk of metal. Frankly, I like yours better. A trip to Hobby Lobby/Michael's may be in my future!
I was thinking of making one out of plexiglass, just heat it up with a heat gun and fold the edges.
My first thought was to use some thin sheet aluminum, but given the odd dimensions where the deepest part of the cubby is a bit more narrow than the opening, I decided I could not bend it without a press brake. Plastic was my second choice, but again, I think it would be hard to bend correctly on the first shot. Then I saw this thin birch plywood at Michael's Crafts and I knew that would be forgiving - cut and fit and cut and fit until satisfied.
Flame Red,
Thanks for the great idea! I went to Michaels and purchased one small 3mm Birch sheet and one sheet of felt for a whole $2.76
A few photo's to help with the concept. These measurements bring it up to the bottom of the USB port. 3-7/8" is the width of the birch sheet. It leaves about an inch gap behind the Navi screen. I only ran the felt over the front edge of the outer sides, I was not sure how tight it was going to be. I ran a black magic marker on the front edges in case some of the felt did not cover when wrapping.
Last edited by John Ulrich; 05-03-2016 at 12:28 AM.
I like the vendor selling these but 39 bucks for a bent piece of aluminium is insane. I like this idea better. Thanks for the "How to". Nice work.
In fairness, figure the value of your time (and the design work by the vendor to fit the not-quite-square cubby), and the cost is probably about the same. This is more an alternative for the guy who enjoys doing stuff himself, and as that, it's great!

 05-02-2016, 04:49 PM


 Actually under $6
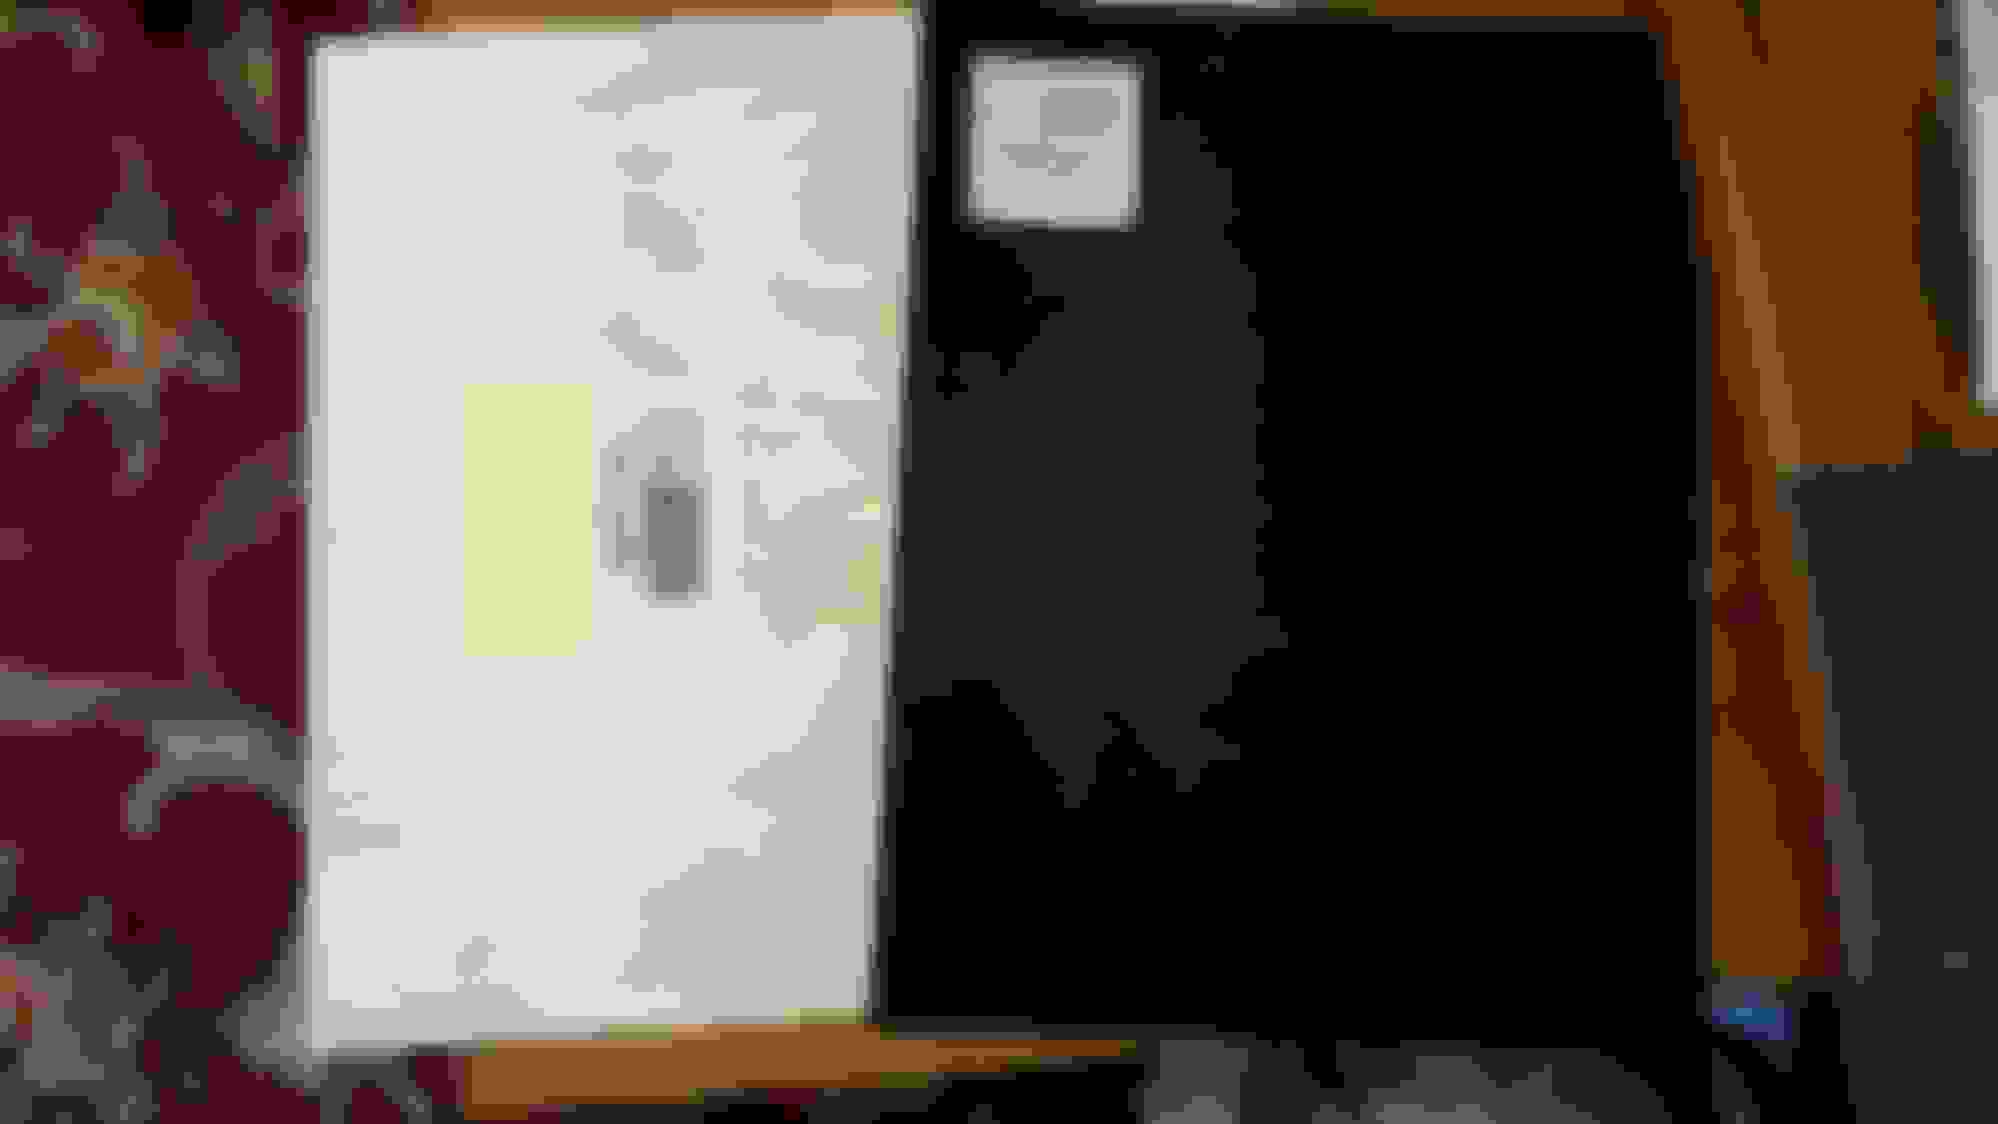

 Sit back and drink several cold one while being satisfied with your work (after removing the hot glue residue).