When you click on links to various merchants on this site and make a purchase, this can result in this site earning a commission. Affiliate programs and affiliations include, but are not limited to, the eBay Partner Network.
I guess I should start by saying that this is my first attempt at doing anything auto body related. My '77 has several layers of paint on it and I'm trying to strip it using the razor blade/heat gun method. I've been holding the heat gun about 2" from the surface and moving it around a 6"x6" area for about a minute before I try to scrape it, and this works ok but the paint still comes off in small pieces. There are still some stubborn areas where I can't get the blade under the paint, and heating it for longer periods of time doesn't seem to make it any easier (this is pretty much only an issue with the black paint on the bottom half of the car).
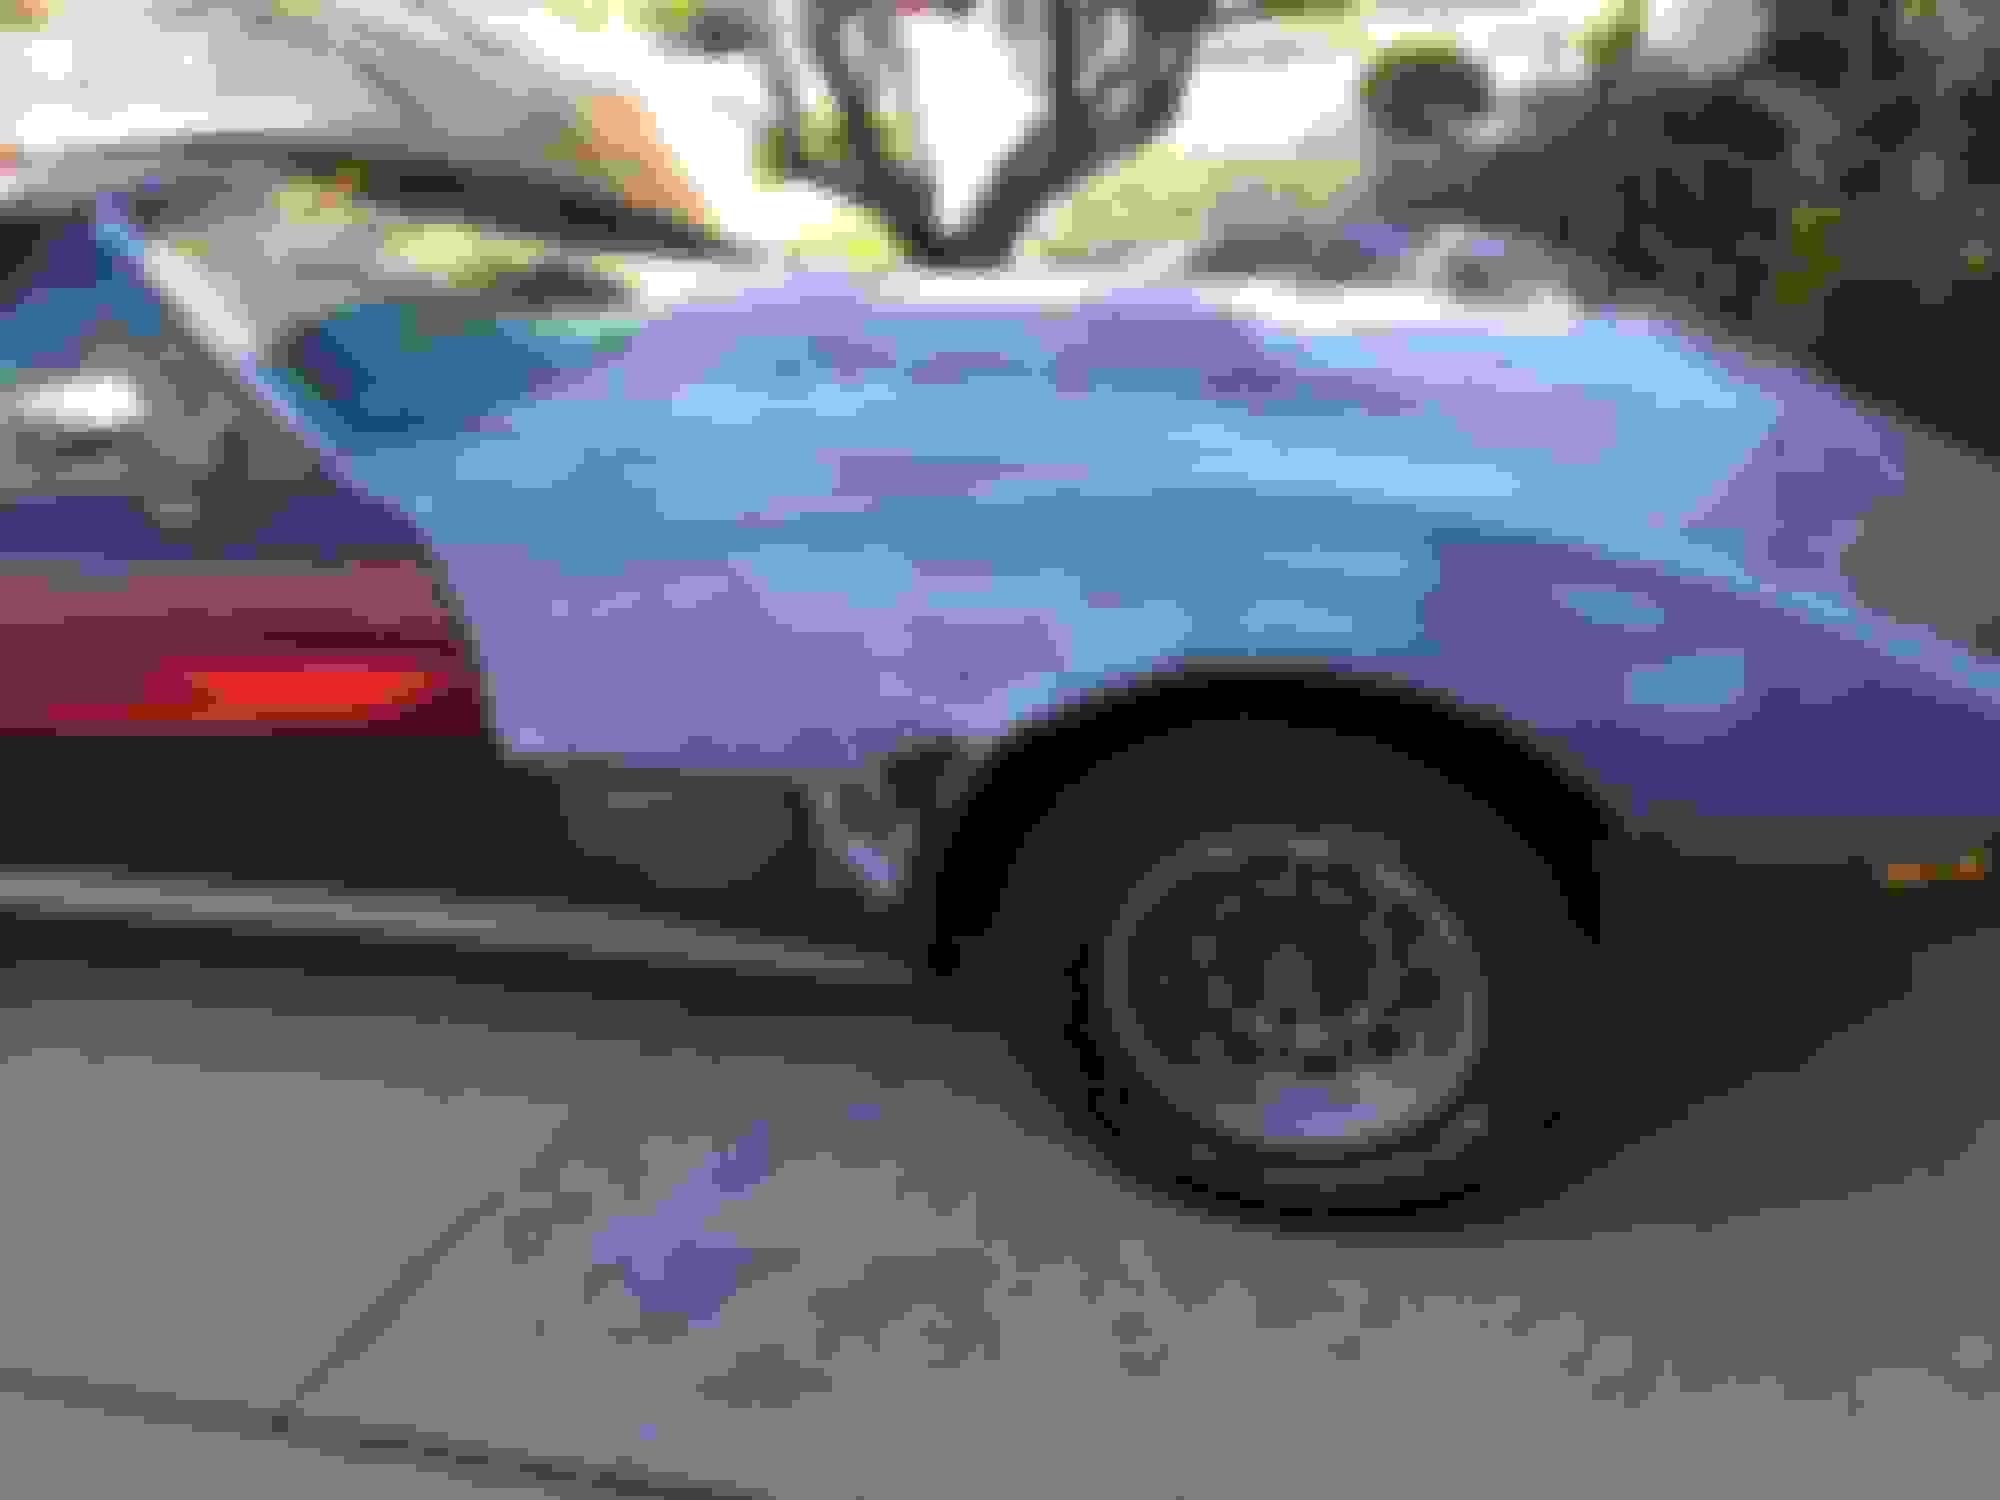
I expected it to be a little quicker/easier than this after seeing other threads about stripping the paint with a razor blade (I've spent between 5 and 6 hours just on the fender in the photo below). A couple people have told me to sand it down with a DA sander, but I'm hesitant to try that because I feel like it would be really easy to damage the body with one of those. I also read about stripping with chemicals but we're in a drought in my area and I would probably be burned at the stake if I was caught using water to rinse the paint stripper off, so I'm trying to avoid that method if possible.
I guess my questions are:
1. Is there an issue with the way I'm doing this that's making it difficult to remove the paint, or is this just the way it's gonna be with this car?
2. Slightly off topic, but I scraped some bondo of the top of the fender and found some gouges in the glass that are pretty deep. Can these be filled with Vette panel adhesive, or do I need to grind it down and repair it with fiberglass mat and resin?
evenly hear an area . does not need to be real hot. paint should come off in strips. it can even be peeled off in sheets. over filler it usually does not release .
find the layer that will release. the lacquer primmer will not release. if you find a hard spot just work around it .
1. Is there an issue with the way I'm doing this that's making it difficult to remove the paint, or is this just the way it's gonna be with this car?
What 'porchdog' wrote will help you. The angle of how you are holding the razor blade tool and the pressure you apply helps. ALSO...burnish the razor blade by CAREFULLY dragging it backwards across your pant leg. AND...if in doubt...install a NEW BLADE.
For me...there is a specific angle and pressure in most cases that when I find it...i can strip a car in no time ( paint permitting)....less the tight areas and nooks and crannies.
Sometimes I do not use heat at all. And have very good results. It all depends on the paint. Some paint jobs are really stubborn to strip using the razor blade method. I mean REALLY STUBBORN.
Originally Posted by rgwoehr
2. Slightly off topic, but I scraped some bondo of the top of the fender and found some gouges in the glass that are pretty deep. Can these be filled with Vette panel adhesive, or do I need to grind it down and repair it with fiberglass mat and resin?
YES...when correctly prepped and applied...the Vette Panel Adhesive can fill in these slight gouges. If the gouges get into the SMC too much...then these might need to be seen so a correct suggestion on what to fill it or them with is needed.
On another note: I chemically strip Corvettes quite often...and I NEVER use water. I use automotive grade lacquer thinner ( priming grade) and NO recycled stuff.
It seems like the top layer of paint is fairly easy to get off in strips with either minimal or no heat, but everything under that is a little more difficult. In some areas, I can heat it up and get it started with the blade and peel it the rest of the way by hand, but some areas I can't even get started with more heat and a new blade. So far, I've found it easiest to not use the scraper for a lot of areas, and just hold the blade with my fingers and get it almost flat against the panel, especially in tight areas. It seems like I have a little more control and it's a little harder to gouge the panel, but I don't think I can use as much pressure without the scraper.
I started with the hood because I figured that would be the easiest panel since the paint was already bubbling and peeling, but that seems to be more stubborn than the other areas I've tried. I'm hoping this bubbling is due to contamination between the factory paint and the newer paint, and not due to contamination in the panel or something.
I'm considering the chemical method now but have a few questions. What product would you recommend? Would it be a waste of time to get off as much as I can with the razor blade, and then use paint stripper? When cleaning up with the lacquer thinner, does this leave a film on the panel?
Here's a photo of the gouges. I'm not sure if the filler was on there to cover these up, or if I did this when scraping it off with the razor. Maybe I should have left this area alone, but it's too late now. I think the photo makes the area look a little more rough than it does in person, but you can see there are some exposed fibers in there.
Another question I have is, the previous owner added a passenger door mirror and installed it with some random wood screws, and I'm not sure that it's even in the correct location. I measured the distance from the front of the driver's door to the front of the mirror, and checked the same measurement on the passenger side mirror but it was about an inch further back. I'm thinking about getting rid of the mirror, so could VPA be used to fill these holes or do I need to use mat and resin?
Just my 2 cents... I think a couple of additional photos would help. That one is great, but one or two from a bit further back to put the size of that area into perspective would be helpful. Also, did that area pop off in big pieces? Reason I ask is because it looks like a lot of filler was used in that area and I think just filling that area in as it sits in the photo would be a future problem. If you haven't already, I feel all of that filler should be removed. If you already knew that I apologize, just wanted to mention it "in case" you weren't aware. Keep up the good work!!!
Just my 2 cents... I think a couple of additional photos would help. That one is great, but one or two from a bit further back to put the size of that area into perspective would be helpful. Also, did that area pop off in big pieces? Reason I ask is because it looks like a lot of filler was used in that area and I think just filling that area in as it sits in the photo would be a future problem. If you haven't already, I feel all of that filler should be removed. If you already knew that I apologize, just wanted to mention it "in case" you weren't aware. Keep up the good work!!!
Thanks. It wasn't too easy to scrape it off but it did come off in big pieces. I wasn't gonna fill the area in as is though, I want to remove the rest of that but it looked like I was doing some damage with the razor blade so I figured I should stop there and sand off the rest. It looked like they threw some fiberglass reinforced bondo on there and based on what I've read, that's not really the ideal filler to use. I have a photo from further back, I guess I forgot to post it earlier.
fir areas with filler sand off paint then use a propane torch. DO NOT heat the filler ! simply pass the flame across the filler a couple of times. this draws out solvents and turns the filler to powder. you can brush it off with a welders wire rush . again you are not heating the filler only drawing out solvent.
blade off the easy areas then work on the hard spots .
Sorry...but I can only deal with one problem at a time. So right now I am more concerned with you getting paint off and not worrying about mirror holes and placement. That can come later. Lets cross this hurdle first.
YES..it is beneficial to get as much paint off BEFORE you plan on using chemical stripper....if you plan on going that route.
And you know by now that trying to get the filler to lift off is doing more harm than good. The photo in post #4 shows how the SMC is being stranded and pulling up. Obviously this can be repaired...but why make more work for yourself. WE all live and learn...so no major problem to worry about.
Implementing 'porchdog's' technique with a propane torch might help you get the old filler out.
Keep this in mind. There is absolutely nothing wrong with taking a sander to your paint. the 'trick' is knowing when to STOP sanding. Especially with as many layers as you have and the fight that it is getting you. AND...knowing where to use the sander and where NOT to use the sander is also important. I come across some Corvettes that have so many coats of paint and so much crappy previous body work that often times I end up sanding it off and or possibly using some chemical stripper in some areas.
The chemical stripper I use is really STOUT and is actually not recommended for fiberglass/SMC....but I have never has an issue with it because I watch what I am doing and I do not do stupid stuff with it. I apply it in test areas and see what it takes to get it to do what I want. ONE THING I do not do is allow it to get into open fibers. I mask these areas off and make a conscience effort to make sure I do not allow it to get into the open fibers, cracks, holes or any abnormality that I can see. IF it does...then I know I need to do a little bit of bodywork int that area to make sure it is out of the fibers and I can fill that area in with VPA in most cases.
If you want to use chemical stripper and want to know what I use and how I use it....PM me and I will give you my shop number and you can call me so I can verbally walk you through the process....versus typing til my fingers bleed.
Thanks guys. I'll have to try the propane torch method on the filler. I'll continue stripping what I can with the razor blade and figure out what I want to do with whatever is left after that.
 09-06-2015, 09:48 PM