When you click on links to various merchants on this site and make a purchase, this can result in this site earning a commission. Affiliate programs and affiliations include, but are not limited to, the eBay Partner Network.
After spending many hours on my vacation reading this forum to get some tips on starting my new "hobby" of restoring Corvettes I decided to write my story here and hoping folks can provide their perspective / guidance / encouragement / or even discouragement where applicable.
My ultimate goal is to build my skills so I can restore many Corvettes in the future (especially C3 and earlier).
I recently purchased a 1989 Corvette as a sort of "practice car". It was cheap. It was solid mechanically (well solid enough), but it is ROUGH both in the interior and paint. I'm gutting the interior and I think I feel the most comfortable about that entire re-do. Now onto the exterior - the actual panels all seem fine (to me), no body damage and no dents. But the paint is a big WTF.
I see "Dub" on this forum a ton and I'm really hoping he sees this and adopts me as his next disciple I've seen him say a number of times something to the effect of "If you want to do it, you will, if you don't want to, don't start". I really want to. I'm invested in building my skills, practicing (so much so I bought a whole C4 to practice on) and I figure if I totally fail and hate this then I won't have too many people too upset with me for further ruining this C4. (Although I'm pretty confident I can't make this car much worse looking).
I'm not in this for the return on investment - I'm in this to enjoy the hobby and the pride of restoring these great cars. This isn't about "saving money" either. I plan to spend much more on restoring this C4 than it could possibly be worth. Again, this is an investment for my SKILLS and if I screw it up, I won't feel to guilty that I ruined a true classic.
So onto my plan:
Shop prep:
I have purchased a DeWalt 60 gal stationary compressor to start for my garage (13.4 CFM at 40 psi and 11.5 CFM at 90 psi). I know eventually I will need bigger but I'm hoping this will do the job until I build my new home and dedicated shop. Then I will have the skills and more knowledge to build a REAL good shop.
I installed 3/4" black iron pipe throughout the garage with multiple ports all with dryers and some with oilers at the ports.
I also purchased a portable 21 Gal compressor ( 5.8 CFM @ 40 PSI, 4.7 CFM @ 90 PSI) that I'm hoping will at least help with sanding and other things.
I bought a 100lb soda blaster (it's a media blaster but it has a soda blast adapter).
I did buy a DA sander and based on everything I read, that will be staying in the box for a while apparently. I also purchased a straight line air sander (17" long).
I have NOT yet purchased my HVLP spray guns yet though. (I feel this will be my most important purchase and have a lot of research to do). I will need advice on this based on my compressor.
I plan to either turn one of my garage bays into my temporary paint booth (starting to think that's a bad idea because it's connected to the house) or I am considering just building one outside with an enclosed "car port" type enclosure with a tarp floor. If I do that, I am going to have to have longer air hose runs out to the car (Thoughts?)
Car prep:
My plan is to:
1) Soda blast the entire car and strip the car down to the fiberglass. My plan was to get the majority of the paint off with the soda blaster and then finish it off with the DA, straight line sander, or hand sand.
2) Remove the hood, front / rear facia, and side louvers and paint these off the car.
3) Remove all the side moldings. I'm sure a few of these need to be replaced as well
Painting the car:
Eastwood has been a good source of information to help me learn about (at least their) primers and paints. I've been reading 4 different books on "painting your car" but they all seem very out of date with respect to paint technology.
So I'm open to other options but much of my paint "vocabulary" is limited to Eastwood's site. I'm VERY open to other options here but again I'm going off of what Eastwood has managed to drill into my head. (I see DUB recommends PPG but I can't seem to figure out the equivalent products or the right layers).
1) I was going to START with Eastwood's Contour polyester primer.
2) I have a 17" straight line air sander that I was going to use to smooth out the primer as well as purchase some "long board" sanders. (Still have to figure out how many passes and with what Grit paper)
3) After the primer I was really hoping to simply do a black metallic paint. I have been looking the Eastwood midnight metallic black basecoat.
4) Finally, I plan to finish it off with clearcoat.
So, after this long novel of a post - how did I do?
If you've made it this far I REALLY appreciate it. Recommendations? Thoughts?
Lastly, here are some specific questions / notes:
1) I do plan to PRACTICE PRACTICE PRACTICE with my new toys.
2) HVLP gun recommendations given my compressor (< 13.4CFM)
3) primer, basecoat, clearcoat product recommendations? Metallic?
4) Thoughts about my paint booth being in my garage attached to the house or keep it remote with longer air hose runs out to it?
5) Soda blast - In terms of stripping the car down, should I try to get the majority of the paint off with that or any tips / cautions there?
6) Looking at the pictures and the paint issues shown, any diagnosis, thoughts on underlying issues that I should be cautious of?
7) Looking at the front end under the corvette emblem - it seems to have gotten pretty "deep" there. Will the poly primer fill that or should I use body filler?
8) What about the front plastic bumpers. They are already a different color (must have been a horrible repaint at some point). How should I prep those this time?
Again , thank you so much if you read this and I really appreciate any constructive input to get me on my way to saving neglected Corvettes for years to come.
Notice the difference in the bumper paint compared to the body. Bad prep on a bad prior repaint???
Sorry for the backlight - see the paint coming off the passenger door under the window.
What the hell happened here? Zoom in and see what I assume is the clear and perhaps even the last repaint peeling off?
More example of the paint just coming off and was this just a bad repaint and it's coming up?
Notice under the corvette logo that it seems like it may have started to get into the fiberglass? Should special care be taken her?
After spending many hours on my vacation reading this forum to get some tips on starting my new "hobby" of restoring Corvettes I decided to write my story here and hoping folks can provide their perspective / guidance / encouragement / or even discouragement where applicable.
My ultimate goal is to build my skills so I can restore many Corvettes in the future (especially C3 and earlier).
I recently purchased a 1989 Corvette as a sort of "practice car". It was cheap. It was solid mechanically (well solid enough), but it is ROUGH both in the interior and paint. I'm gutting the interior and I think I feel the most comfortable about that entire re-do. Now onto the exterior - the actual panels all seem fine (to me), no body damage and no dents. But the paint is a big WTF.
I see "Dub" on this forum a ton and I'm really hoping he sees this and adopts me as his next disciple I've seen him say a number of times something to the effect of "If you want to do it, you will, if you don't want to, don't start". I really want to. I'm invested in building my skills, practicing (so much so I bought a whole C4 to practice on) and I figure if I totally fail and hate this then I won't have too many people too upset with me for further ruining this C4. (Although I'm pretty confident I can't make this car much worse looking).
I'm not in this for the return on investment - I'm in this to enjoy the hobby and the pride of restoring these great cars. This isn't about "saving money" either. I plan to spend much more on restoring this C4 than it could possibly be worth. Again, this is an investment for my SKILLS and if I screw it up, I won't feel to guilty that I ruined a true classic.
You DEFINITELY have your head screwed on CORRECTLY. The COSTS of learning this stuff is going to be somewhat high...but what you get out of it is PRICELESS.
So onto my plan:
Shop prep:
I have purchased a DeWalt 60 gal stationary compressor to start for my garage (13.4 CFM at 40 psi and 11.5 CFM at 90 psi). I know eventually I will need bigger but I'm hoping this will do the job until I build my new home and dedicated shop. Then I will have the skills and more knowledge to build a REAL good shop.
I installed 3/4" black iron pipe throughout the garage with multiple ports all with dryers and some with oilers at the ports.
I also purchased a portable 21 Gal compressor ( 5.8 CFM @ 40 PSI, 4.7 CFM @ 90 PSI) that I'm hoping will at least help with sanding and other things.
I bought a 100lb soda blaster (it's a media blaster but it has a soda blast adapter).
I did buy a DA sander and based on everything I read, that will be staying in the box for a while apparently. I also purchased a straight line air sander (17" long).
I have NOT yet purchased my HVLP spray guns yet though. (I feel this will be my most important purchase and have a lot of research to do). I will need advice on this based on my compressor.
I plan to either turn one of my garage bays into my temporary paint booth (starting to think that's a bad idea because it's connected to the house) or I am considering just building one outside with an enclosed "car port" type enclosure with a tarp floor. If I do that, I am going to have to have longer air hose runs out to the car (Thoughts?)
DO NOT get far ahead of yourself. Not wanting to kill your motivation. You MUST remember...the BEST painter in the world is not worth CRAP if they can not do body work CORRECTLY....OR what they are painting on is total CRAP. So...your FOCUS should be on taking ONE panel at a time and work it to perfection. Start with very small panels FIRST. What this allows is for you to hone your skills and when you get to bigger panels...what happens is your speed increases and you now begin to have an arsenal of knowledge so you begin to figure out what you need to do next, Think of this being like a game of 'Jeopardy'. You and NO squares turned over...so you are starting with a clean slate and NO BAD HABITS. And THAT is in your favor.
Work on getting an area where you can do the body work...and preferably NOT the garage that is attached to the house. The stuff you are going to be using ..you do NOT wan to drag into your house.
As for small space to shoot products safely...that is up to you and your neighbors. And..>DO NOT FORGET THIS....but painting something at night...will cause the fumes and oversprays to stay at ground level due to an inversion of the atmosphere at nighttime. So..any painting should be done during the day. Don't believe me...try it out and see for yourself.
Car prep:
My plan is to:
1) Soda blast the entire car and strip the car down to the fiberglass. My plan was to get the majority of the paint off with the soda blaster and then finish it off with the DA, straight line sander, or hand sand. YOU BETTER look into this soda blasting. SODA BLASTING is kinda know as a BIG NO-NO. Just because it is new and 'they' say it is the way to go...call paint manufacturers and SEE IF they warranty their paint on surfaces that have been soda blasted....it MAY SHOCK YOU! I have done this on ONE PANEL and will NOT do it again.
2) Remove the hood, front / rear facia, and side louvers and paint these off the car.
3) Remove all the side moldings. I'm sure a few of these need to be replaced as well
Painting the car:
Eastwood has been a good source of information to help me learn about (at least their) primers and paints. I've been reading 4 different books on "painting your car" but they all seem very out of date with respect to paint technology.
So I'm open to other options but much of my paint "vocabulary" is limited to Eastwood's site. I'm VERY open to other options here but again I'm going off of what Eastwood has managed to drill into my head. (I see DUB recommends PPG but I can't seem to figure out the equivalent products or the right layers).
ACTUALLY I use NEXA ...which is sold where PPG is sold and PPG has the rights to sell in the North America...just to correct on that.
1) I was going to START with Eastwood's Contour polyester primer.
2) I have a 17" straight line air sander that I was going to use to smooth out the primer as well as purchase some "long board" sanders. (Still have to figure out how many passes and with what Grit paper)
3) After the primer I was really hoping to simply do a black metallic paint. I have been looking the Eastwood midnight metallic black basecoat.
4) Finally, I plan to finish it off with clearcoat.
So, after this long novel of a post - how did I do?
You did very well in writing this....But you are getting deciding on the type of shingles on your house and you have not even poured the footer yet.
We can get to that..in good time...but getting your skill up to par is what you need to focus on. because IF you get ahead of yourself and you want things to go faster...that is when you begin to decide what YOU want to do.... instead of WHAT NEEDS TO BE DONE...and THAT is when PROBLEMS CAN OCCUR....AND BAD HABITS START!
UNLESS..you want to do it all by yourself and show us what you did...which is also fine by me.
If you've made it this far I REALLY appreciate it. Recommendations? Thoughts?
Lastly, here are some specific questions / notes:
1) I do plan to PRACTICE PRACTICE PRACTICE with my new toys.
2) HVLP gun recommendations given my compressor (< 13.4CFM)
3) primer, basecoat, clearcoat product recommendations? Metallic?
4) Thoughts about my paint booth being in my garage attached to the house or keep it remote with longer air hose runs out to it?
5) Soda blast - In terms of stripping the car down, should I try to get the majority of the paint off with that or any tips / cautions there?
6) Looking at the pictures and the paint issues shown, any diagnosis, thoughts on underlying issues that I should be cautious of?
7) Looking at the front end under the corvette emblem - it seems to have gotten pretty "deep" there. Will the poly primer fill that or should I use body filler?
8) What about the front plastic bumpers. They are already a different color (must have been a horrible repaint at some point). How should I prep those this time?
Again , thank you so much if you read this and I really appreciate any constructive input to get me on my way to saving neglected Corvettes for years to come.
All of you concerns will be addressed in time...because taking the time NOW to respond to each and every question you have would take me DAYS to type out....and that is NO JOKE.
Yeah so one step at a time I get it. I am not trying to get ahead of myself, just trying to lay out a rough plan of attack.
Interesting about the soda blasting. I actually got that from reading forums here recommending that over other methods. I hear chemical strippers are bad for Fiberglass and I've seen you say plenty of time one can make a real problem with a DA. I'll investigate that a bit more though.
I'll get the small space setup next and I have a couple of options for that. I like starting with the small panels as well.
Chemical strippers are bad for fiberglass and SMC if they are used by people who have NO CLUE on what they are doing with it.
YES...a D/A sander is dangerous....much like an automobile is to a 16 year old. They just do not have enough time behind the wheel to KNOW all what can happen in every type of traffic condition.
The SAME holds true with a D/A. KNOWING how to use it CORRECTLY can save a person a lot of time. And understanding where and how to use it just takes time and that DOES NOT mean ( much like the accelerator pedal in a car) that a D/A has to be run at full RPMS all the time to work.
Much of this will be done by hand...like if you start on your headlgith bezels.
I can say from experience that the chemical stripper I use is not for fiberglass...even though it works on it without damage...is it just a disclaimer due to idiots using it and NOT knowing what they are doing...and the company is just protecting itself from damage claims....and it being as stout as it is REALLY HAS a hard time getting the factory clearcoat to lift. SO..that is when I sand down the clearcoat and apply it so I can get to the basecoat.
Using singe edge razor blade and a heat gun can help getting some paint off in some cases.
I can understand an 'attack plan'...which is GOOD....so do not get me wrong. But when you get into this really DEEP...you will begin to create your own set of dynamics that YOU know you WILL FOLLOW every time you do a car. And these dynamics WILL CHANGE. Because NOT very car has the exact same amount of damage on it. But at least arming yourself with a strategy that you follow WILL guarantee that your outcome of your work WILL be hopefully consistent. And if you do not implement a preparation step on one job and you have a PROBLEM....THAT is when you will realize that the steps ( a many as they may be) MUST be implemented. Because the downside...is the amount of TIME you wasted and the TIME you NOW have to spend to get it back to where YOU know it should have been at in the FIRST PLACE. And THAT is the KEY to SUCCESS!...and also learning from EXPERIENCE!
I have spent 30+ years honing my process and it just DOES NOT EVER CHANGE in regards to NOT implementing a preparation step or process that I KNOW I need to implement...regardless of how much a pain in the backside it may be. Leave out ONE STEP or PROCESS...paint the car...and only come to find out that it has to be re-done all over again and I have to start from scratch. Strip off all the paint I just applied and do it again. I HAVE BEEN THERE......and I will do all I can so you do not have to KNOW how that feels.
To the OP: I think investing in your skills is a great idea that will pay off in the future.
I am not a paint expert by any means but I have been teaching myself for the last couple years on an off. Here's some tips I have for you based on my limited experience:
1.) Prep is very important, so be sure you go slow and do a good job. Start on small panels and work your way up. If its not perfect in the primer stage it will look worse when you color/clear coat it.
2.) Since you are new to this Always test the paints you are going to be spraying next on some test piece before you start spraying your actual panels, this way if there is a problem with compatibility or mixing of the paint you will find out without ruining anything!
3.) You have to keep not just the surface you are painting but also the space you are painting in CLEAN... otherwise dust becomes a real problem.
4.) Be sure to use actuator that is correct for your heat and humidity conditions, took me a while to figure that out!
5.) If you come across any damage to the fiberglass that needs repaired remember C4's use SMC fiberglass you use the correct products for SMC.
6.) Be Safe, there are some pretty nasty/harmful chemical is paints, primers, strippers, cleaners etc... don't get them on your skin if possible and use a proper respirator, I used to just use a carbon filter face mask (which I did not change often enough!), but after reading about the long term health effects I switched to a supplied air system which is a much better way to go...
Some people will say so don't need supplied air to do one car in your life, but since you are doing this to build your skills I assume it won't be the last one you want to do, so better to invest in the safty equipment now than risk your future health.
I also would avoid doing paint work in an attached garage, the odors and dust are almost certain to get in your house.
To the OP: I think investing in your skills is a great idea that will pay off in the future.
I am not a paint expert by any means but I have been teaching myself for the last couple years on an off. Here's some tips I have for you based on my limited experience:
1.) Prep is very important, so be sure you go slow and do a good job. Start on small panels and work your way up. If its not perfect in the primer stage it will look worse when you color/clear coat it.
2.) Since you are new to this Always test the paints you are going to be spraying next on some test piece before you start spraying your actual panels, this way if there is a problem with compatibility or mixing of the paint you will find out without ruining anything!
3.) You have to keep not just the surface you are painting but also the space you are painting in CLEAN... otherwise dust becomes a real problem.
4.) Be sure to use activator that is correct for your heat and humidity conditions, took me a while to figure that out!
5.) If you come across any damage to the fiberglass that needs repaired remember C4's use SMC fiberglass you use the correct products for SMC.
6.) Be Safe, there are some pretty nasty/harmful chemical is paints, primers, strippers, cleaners etc... don't get them on your skin if possible and use a proper respirator, I used to just use a carbon filter face mask (which I did not change often enough!), but after reading about the long term health effects I switched to a supplied air system which is a much better way to go...
Some people will say so don't need supplied air to do one car in your life, but since you are doing this to build your skills I assume it won't be the last one you want to do, so better to invest in the safty equipment now than risk your future health.
I also would avoid doing paint work in an attached garage, the odors and dust are almost certain to get in your house.
Best of Luck and Have FUN!
for your 'limited skills'...you provided very sound advice.
 05-23-2016, 05:31 PM

 I've seen him say a number of times something to the effect of "If you want to do it, you will, if you don't want to, don't start". I really want to. I'm invested in building my skills, practicing (so much so I bought a whole C4 to practice on) and I figure if I totally fail and hate this then I won't have too many people too upset with me for further ruining this C4. (Although I'm pretty confident I can't make this car much worse looking).
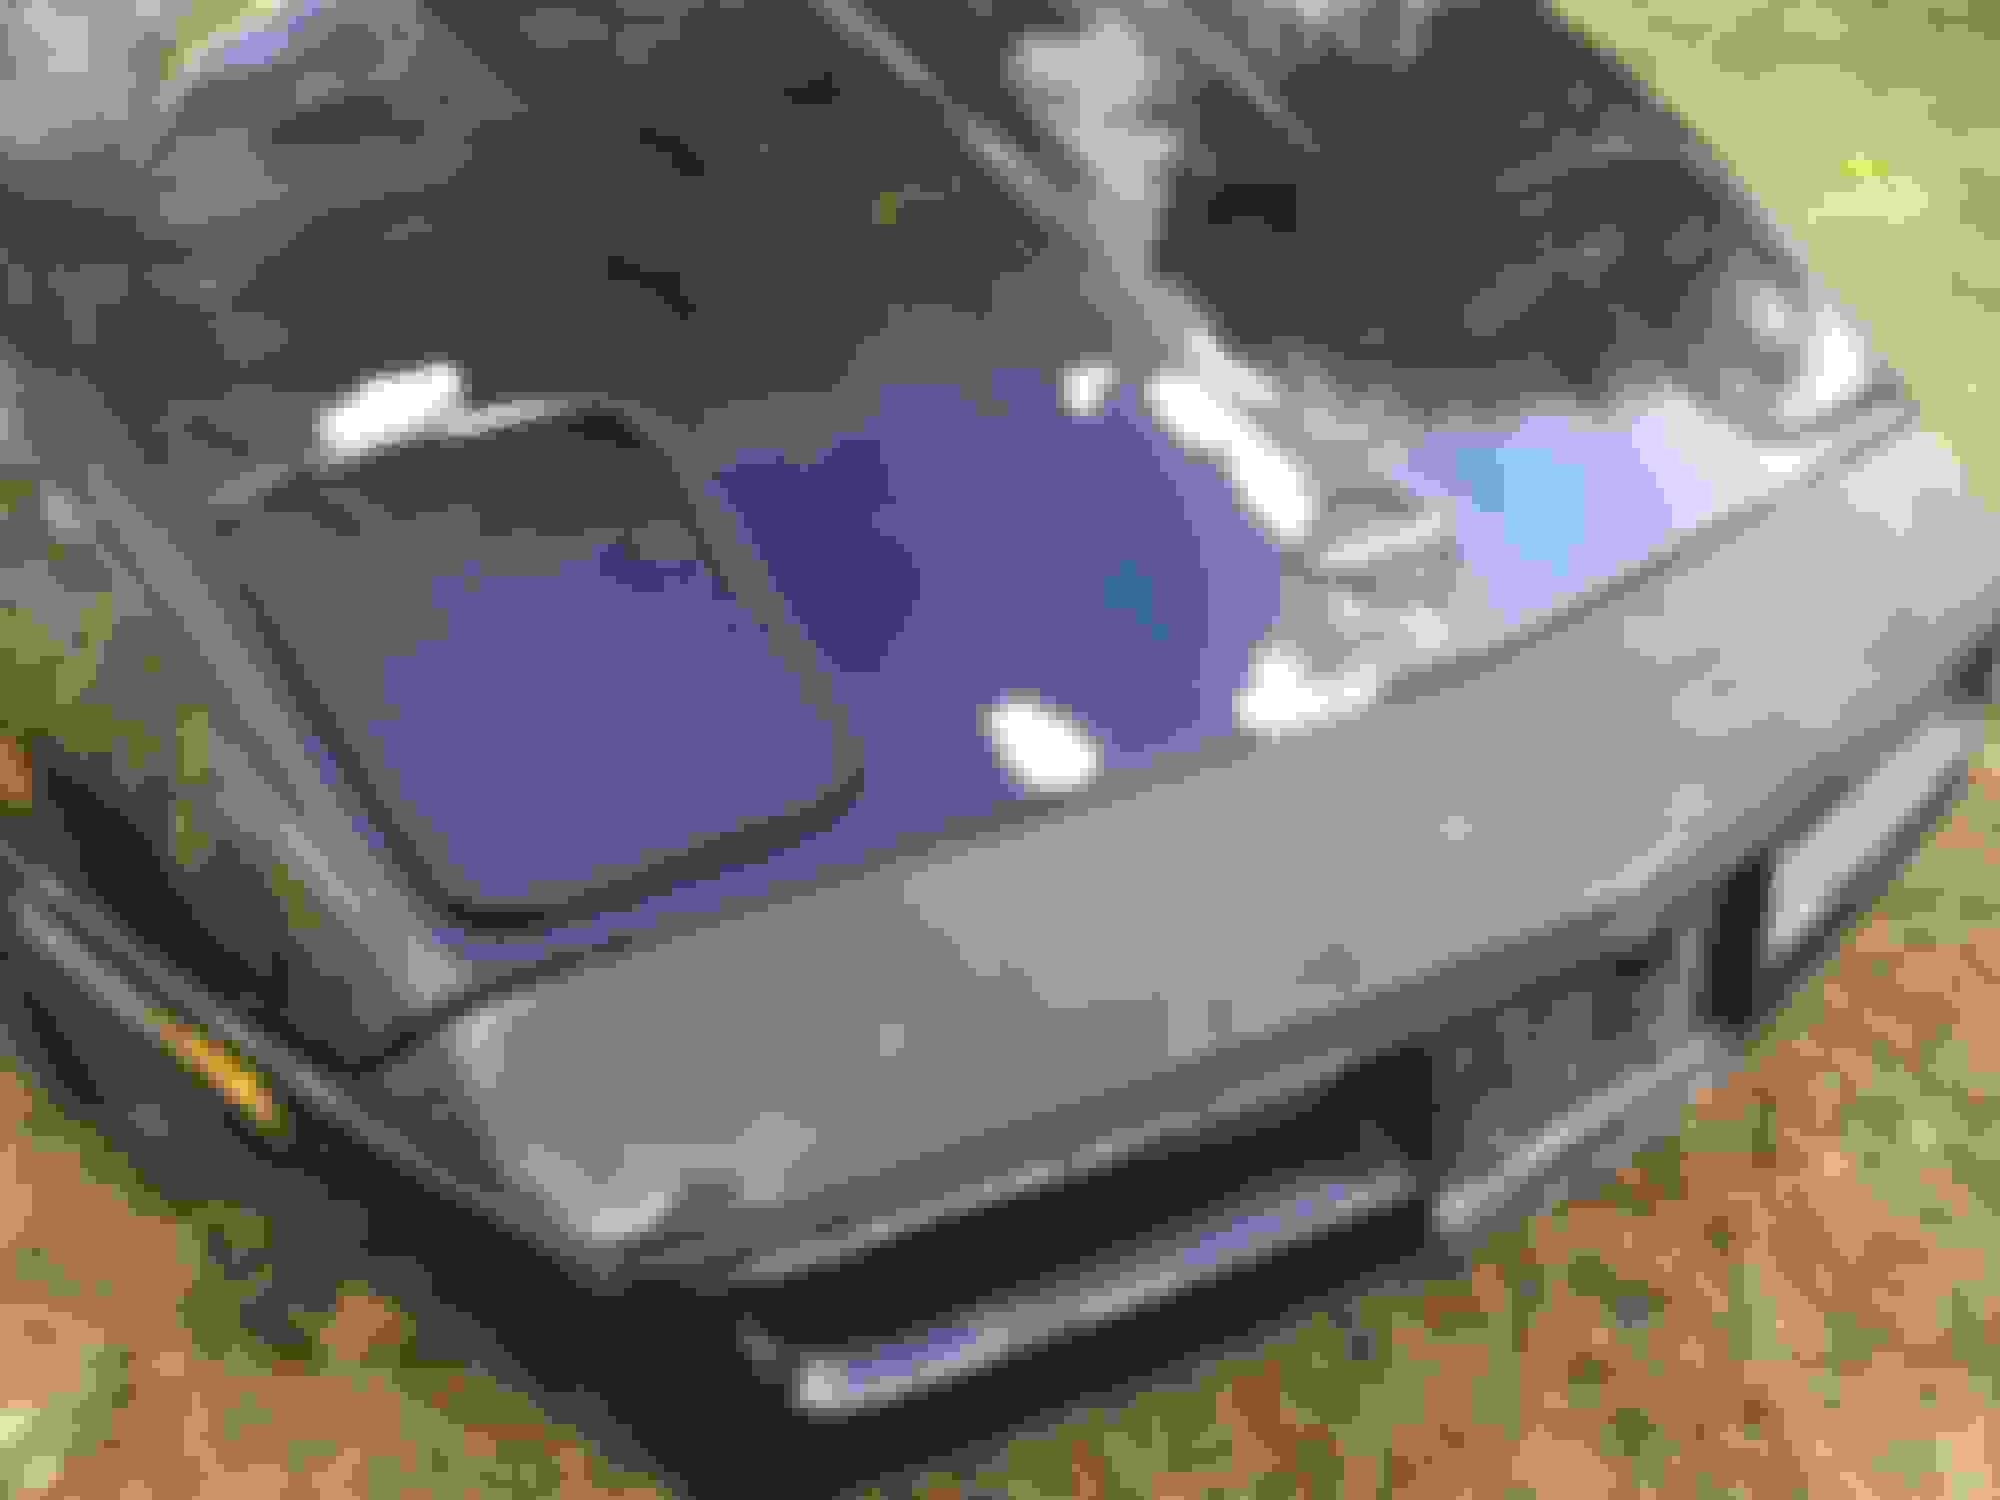


 for your 'limited skills'...you provided very sound advice.