Paint Correction on a Black C5 Convertible
 08-04-2014, 09:02 PM
#1
Safety Car

Thread Starter

I recently had the opportunity to do a paint correction on a newly acquired black C5 convertible. The car is a 2002 with only 50k miles on the clock. I expected the paint to be pretty nice due to the low mileage, but it was pretty hammered to say the least.
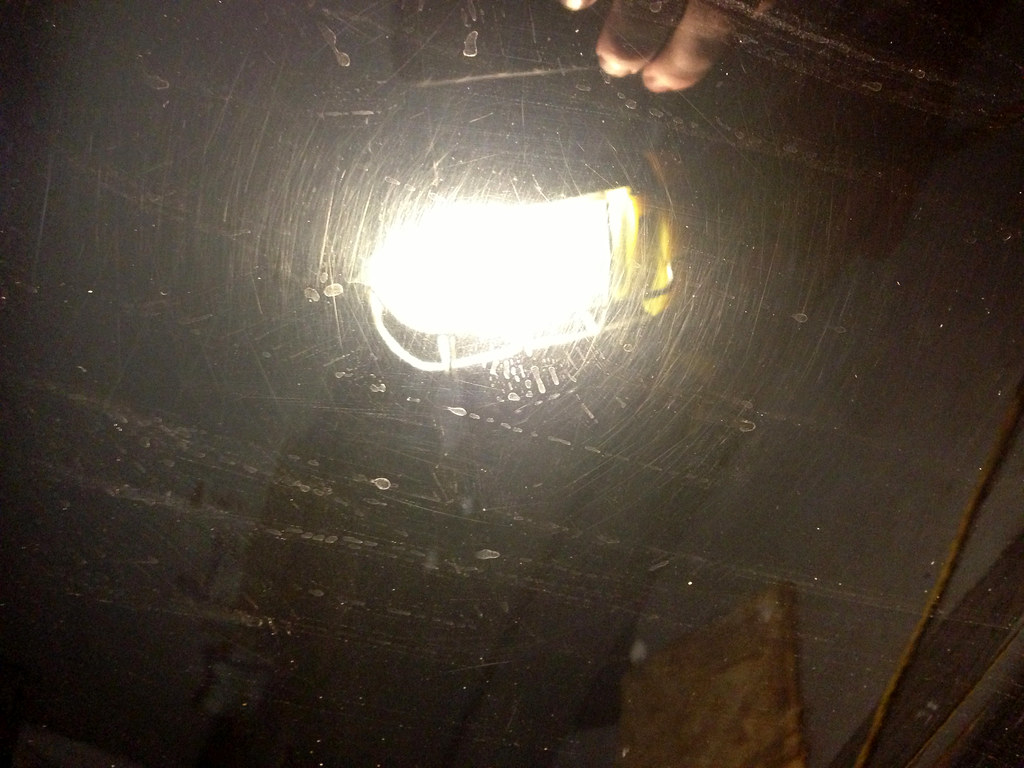
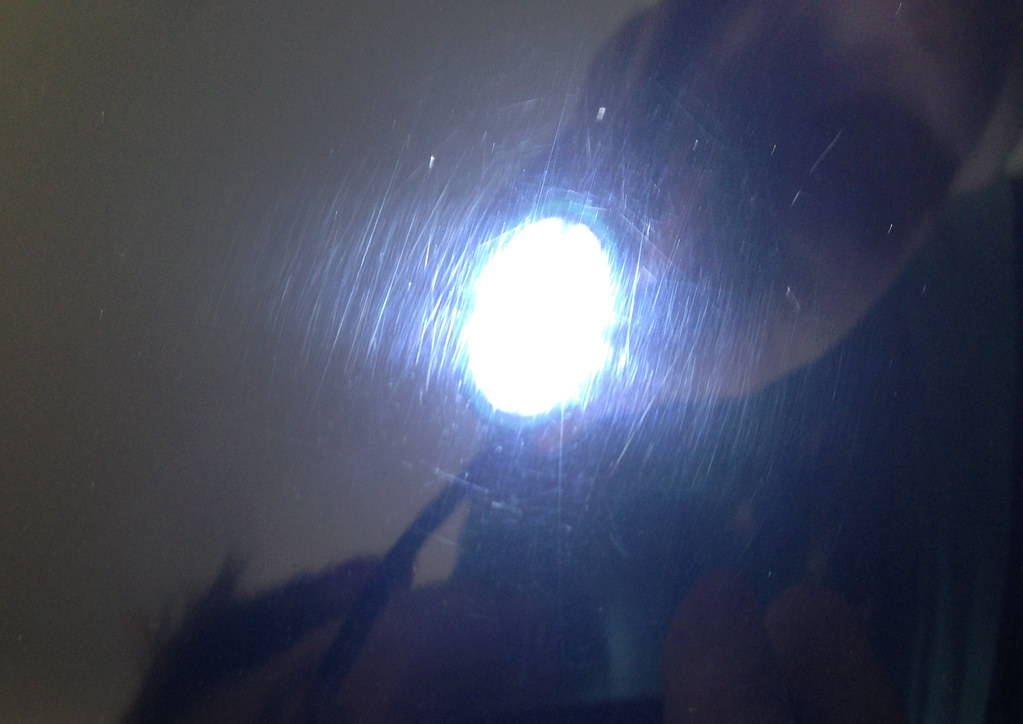
Condition of the paint before starting:

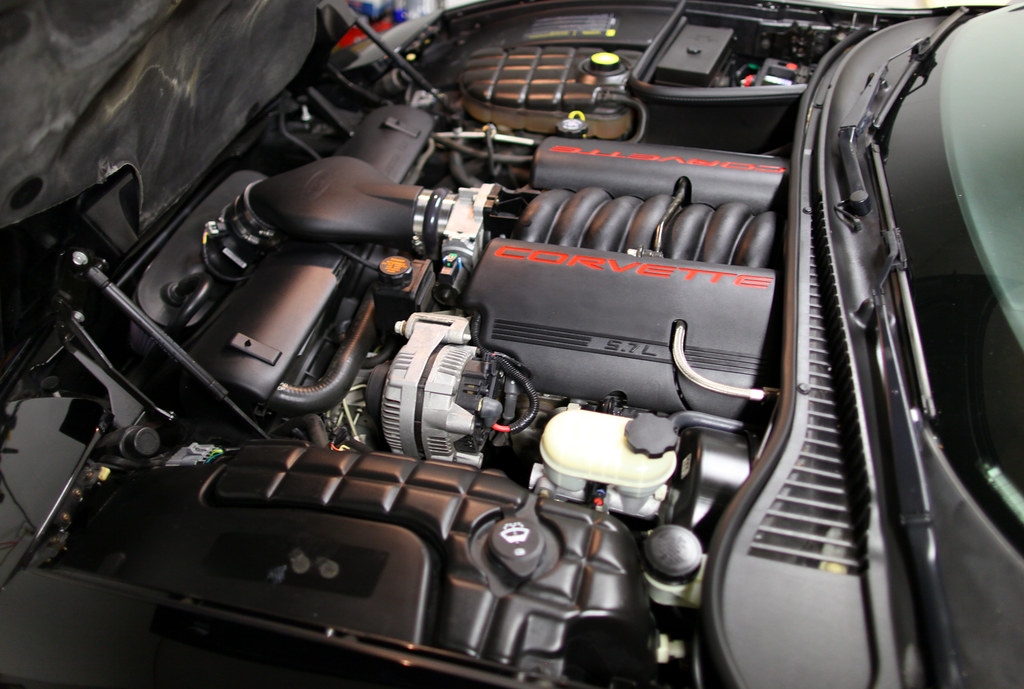
Under hood:
My first step was to go to town on the car with my steam cleaner. I steam cleaned the brake calipers, lug nut openings of the wheels, floor mats, seats, inside the gas cap and various other areas.
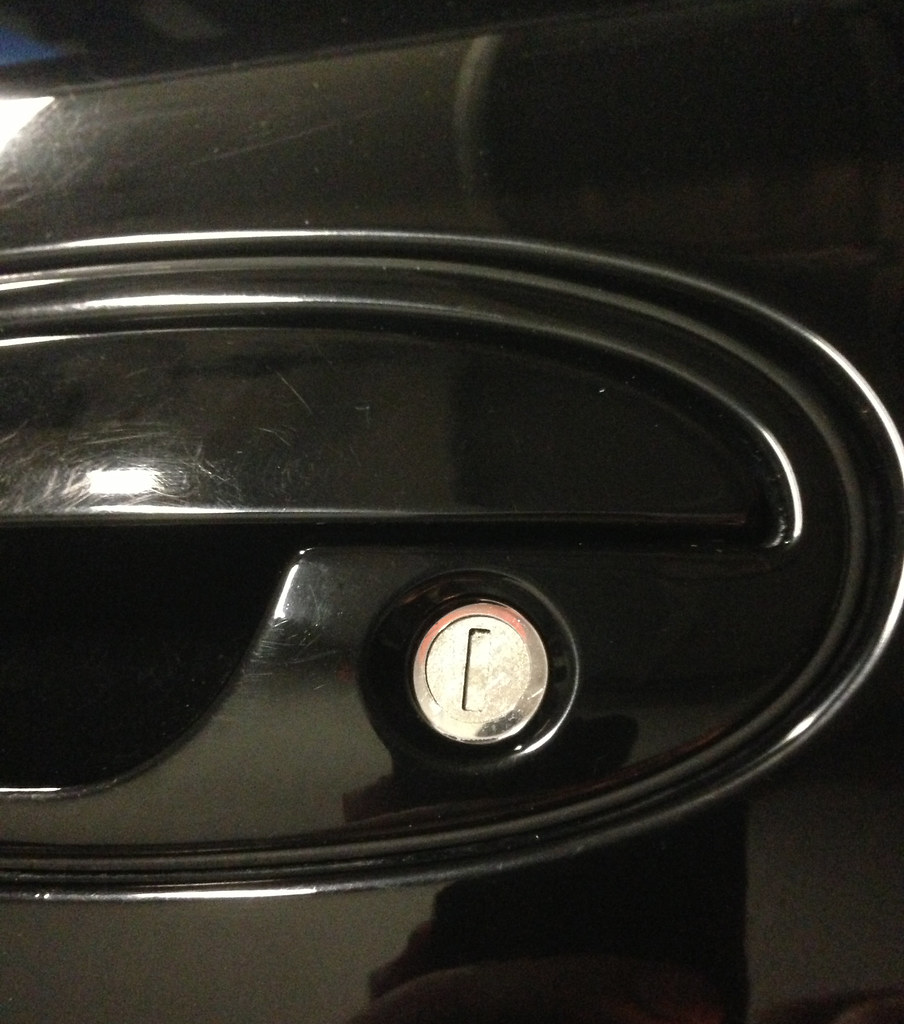
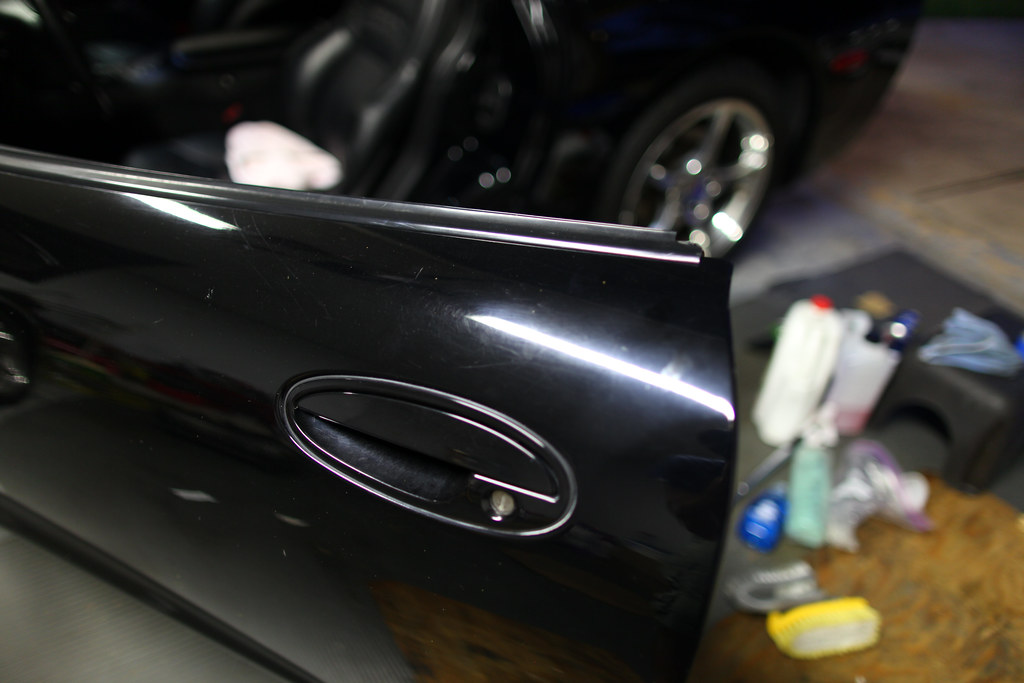
Even cleaned all the gunk out of the key hole on the driver door. Steam is awesome to say the least. Notice the condition of the paint in this close up, pretty rough.
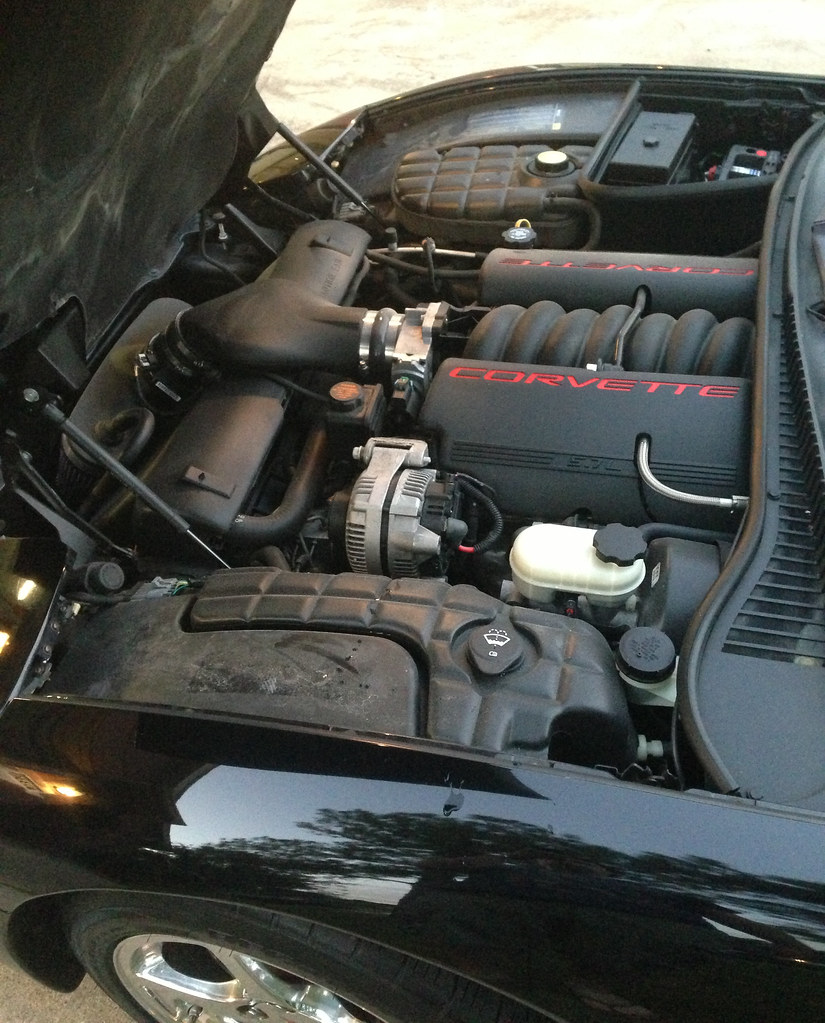
Under hood area after being cleaned and dressed with Adam's In and Out Spray
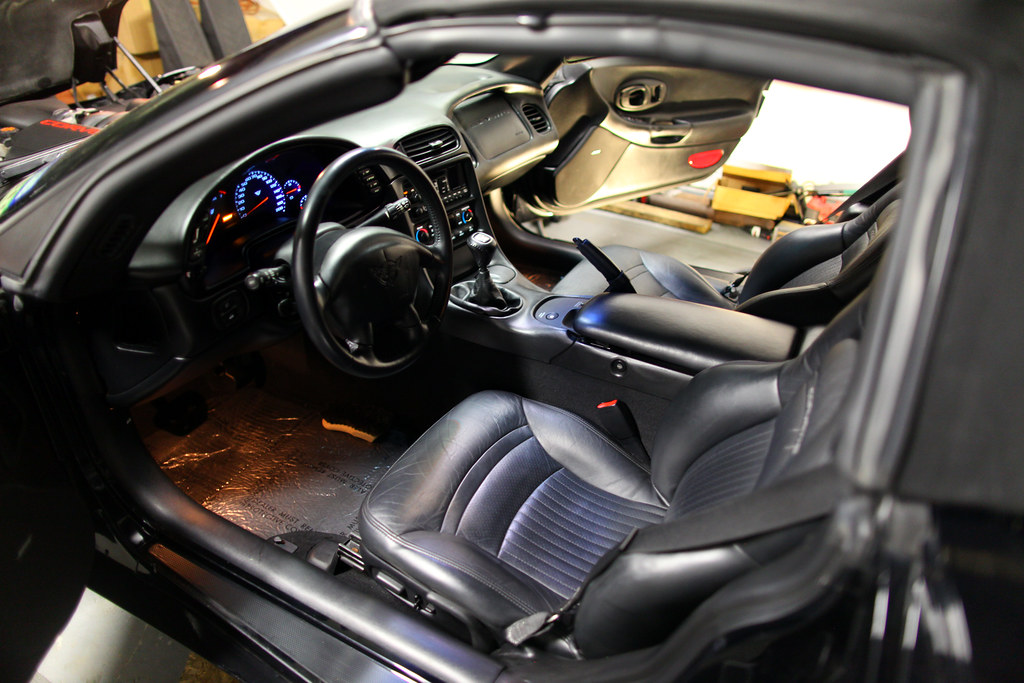
Interior after cleaning. I left the dealership plastic on the carpet as the owner had trimmed it under the mats and I didn't want to disturb it.
As mentioned, this car was recently purchased from a dealership. They all claim to detail their vehicles before delivery but the clay bar doesn't lie
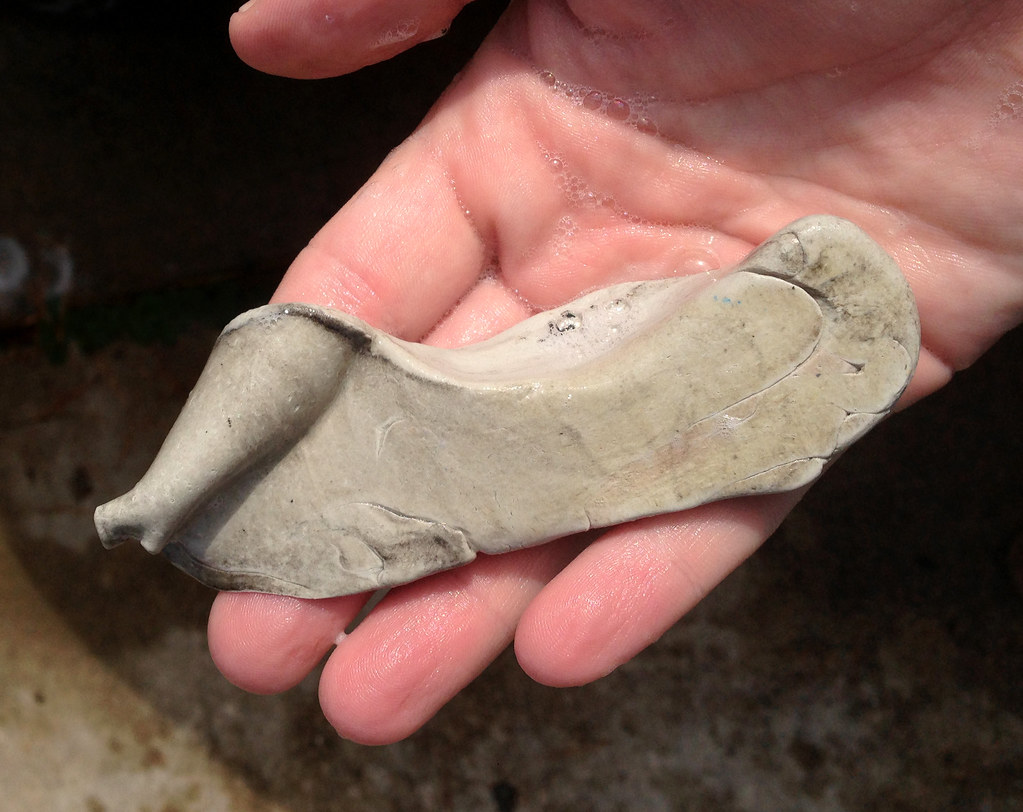
After claying the car, I taped it up and prepared to compound/polish it.
50/50 test shot after one pass. Notice how much deeper the black looks after one measly pass. Ended up making several passes on this car to bring back the depth and shine.

50/50 video to show what can be accomplished with one pass
Once I figured out what worked on the car, I went to work. I made a few passes on each panel to remove as many defects as possible. Many were completely removed while others were greatly improved. Once compounded, the car was polished out and then sealed.
Before:
After:
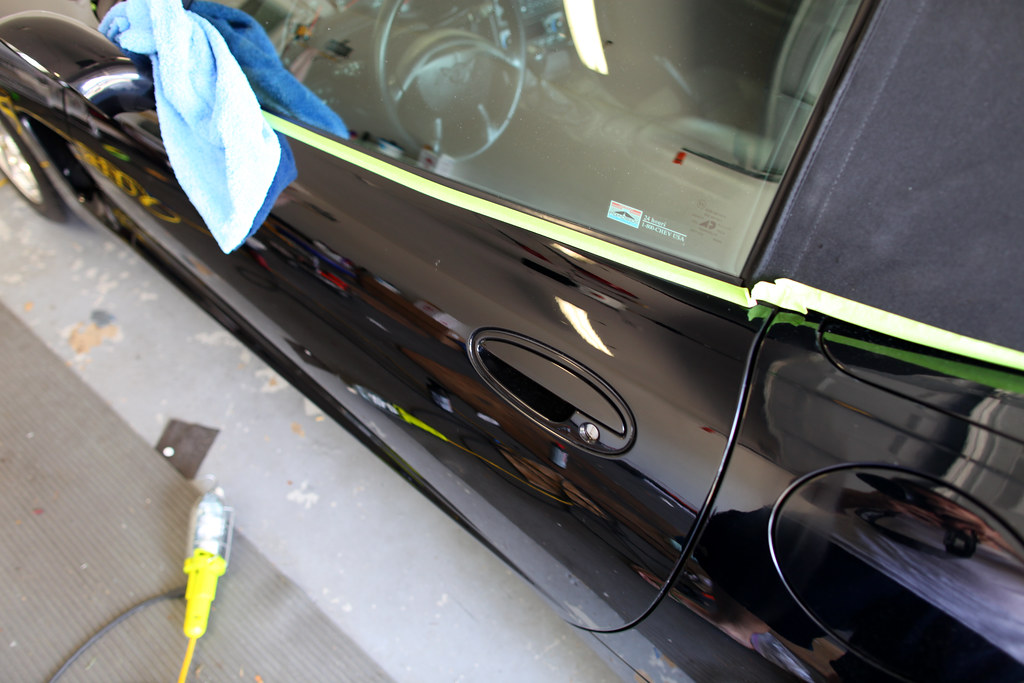
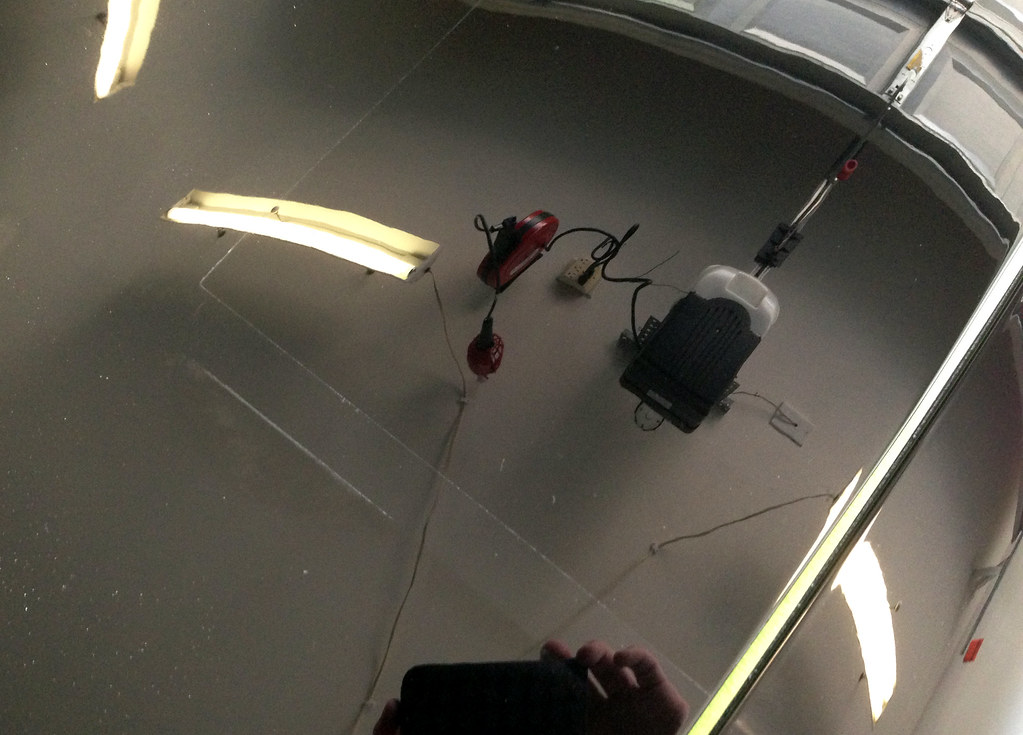
Door reflection after putting in work. Yes, the garage will be cleaned and repainted soon
Hood before. Notice the buffer holograms present:

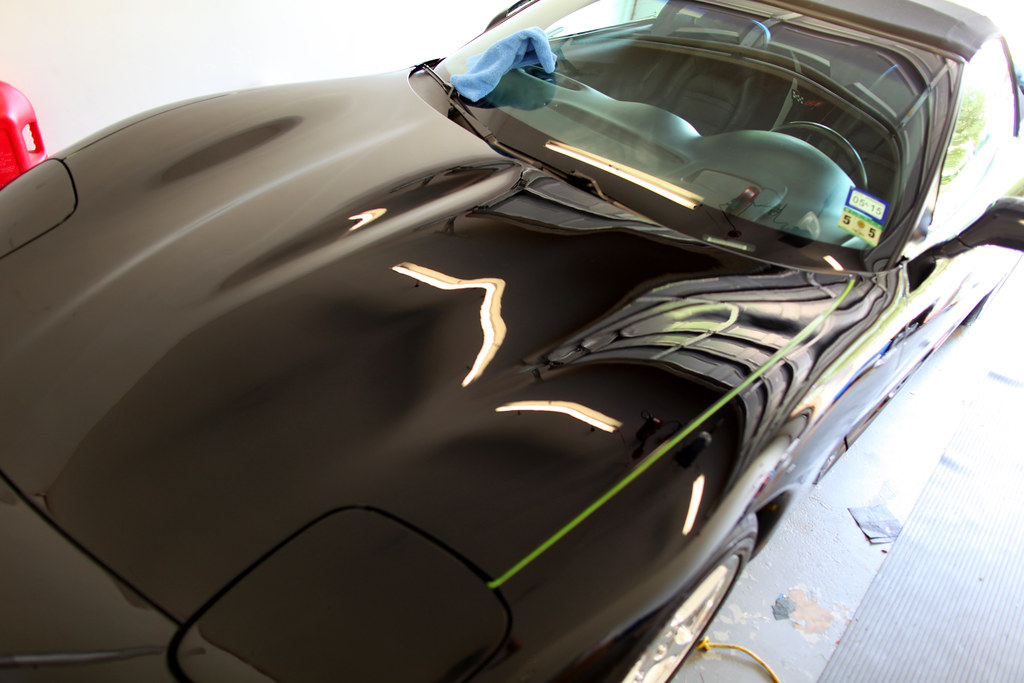
Hood after:
All done!
The owner of the car was extremely pleased and extremely proud to drive it home after the paint was given a new lease on life. With near 100 degree weather, I think I lost about 5 pounds of water polishing this one. Overall, I had a good time and it's always nice to make an "old car" look new again
Condition of the paint before starting:
Under hood:
My first step was to go to town on the car with my steam cleaner. I steam cleaned the brake calipers, lug nut openings of the wheels, floor mats, seats, inside the gas cap and various other areas.
Even cleaned all the gunk out of the key hole on the driver door. Steam is awesome to say the least. Notice the condition of the paint in this close up, pretty rough.
Under hood area after being cleaned and dressed with Adam's In and Out Spray
Interior after cleaning. I left the dealership plastic on the carpet as the owner had trimmed it under the mats and I didn't want to disturb it.
As mentioned, this car was recently purchased from a dealership. They all claim to detail their vehicles before delivery but the clay bar doesn't lie
After claying the car, I taped it up and prepared to compound/polish it.
50/50 test shot after one pass. Notice how much deeper the black looks after one measly pass. Ended up making several passes on this car to bring back the depth and shine.
50/50 video to show what can be accomplished with one pass
Once I figured out what worked on the car, I went to work. I made a few passes on each panel to remove as many defects as possible. Many were completely removed while others were greatly improved. Once compounded, the car was polished out and then sealed.
Before:
After:
Door reflection after putting in work. Yes, the garage will be cleaned and repainted soon
Hood before. Notice the buffer holograms present:
Hood after:
All done!
The owner of the car was extremely pleased and extremely proud to drive it home after the paint was given a new lease on life. With near 100 degree weather, I think I lost about 5 pounds of water polishing this one.
Overall, I had a good time and it's always nice to make an "old car" look new again
 08-04-2014, 09:13 PM
#2
Melting Slicks


Fantastic job as always Steve, I'm trying to figure my seats out before I give you a call. I'll be off between the 15th-26th,hopefully we 3 can meet up for pics. Want to do the car before maybe,thanks. L8R ZFLASH
 08-05-2014, 12:37 PM
#5
Instructor

I recently had the opportunity to do a paint correction on a newly acquired black C5 convertible. The car is a 2002 with only 50k miles on the clock. I expected the paint to be pretty nice due to the low mileage, but it was pretty hammered to say the least.
The owner of the car was extremely pleased and extremely proud to drive it home after the paint was given a new lease on life. With near 100 degree weather, I think I lost about 5 pounds of water polishing this one. Overall, I had a good time and it's always nice to make an "old car" look new again
The owner of the car was extremely pleased and extremely proud to drive it home after the paint was given a new lease on life. With near 100 degree weather, I think I lost about 5 pounds of water polishing this one.
Overall, I had a good time and it's always nice to make an "old car" look new again Maybe I can pick your brain on the process and products.
Nice job!
Mike
 08-05-2014, 01:27 PM
#7
Race Director

I need to do something similar with my paint. It's in good shape and has an amazing shine, but I can see swirl marks in the right light. Luckily Zaino Z5 is great at hiding them.
08-06-2014, 11:12 AM
#8
Safety Car
Thread Starter
Thanks everyone! Anyone who wants to pick my brain on the process is more than welcome to do so.
And yes, you can "hide swirls" but creating a good base to add your protection and glaze/wax layers is the way to go as the corrected base adds a lot more to the overall look of the car. For example, notice how deep and rich the corrected black area looks compared to the uncorrected. Detailing is all about the final 10% of the job and that is what makes one vehicle stand above and beyond the other when side to side.
And yes, you can "hide swirls" but creating a good base to add your protection and glaze/wax layers is the way to go as the corrected base adds a lot more to the overall look of the car. For example, notice how deep and rich the corrected black area looks compared to the uncorrected. Detailing is all about the final 10% of the job and that is what makes one vehicle stand above and beyond the other when side to side.
08-29-2014, 02:21 PM
#9


Can you tell me how you did this or sell me the products? Thanks
.awesome!!
.awesome!!
Thanks everyone! Anyone who wants to pick my brain on the process is more than welcome to do so.
And yes, you can "hide swirls" but creating a good base to add your protection and glaze/wax layers is the way to go as the corrected base adds a lot more to the overall look of the car. For example, notice how deep and rich the corrected black area looks compared to the uncorrected. Detailing is all about the final 10% of the job and that is what makes one vehicle stand above and beyond the other when side to side.
And yes, you can "hide swirls" but creating a good base to add your protection and glaze/wax layers is the way to go as the corrected base adds a lot more to the overall look of the car. For example, notice how deep and rich the corrected black area looks compared to the uncorrected. Detailing is all about the final 10% of the job and that is what makes one vehicle stand above and beyond the other when side to side.
09-01-2014, 11:32 PM
#10
Safety Car
Thread Starter