C6 Corvette: How to Add AUX to NAV
You should always enjoy every moment in your Corvette. If your sweet ride doesn't give you the option of listening to your favorite tunes and you don't want to buy a new NAV system, learn how to modify your factory system by either accessing the XM or CD changer module or installing an AUX/iPod wire harness.
This article applies to the C6 Corvette (2005-2013).
A car as nice as a Corvette should have a built in AUX hookup for your MP3 player. Unfortunately, GM left out that option on the C6 and earlier models, which leaves you with one of two options: installing an AUX hookup to your NAV or replacing your system with a new aftermarket radio that comes with it. While the aftermarket radio is probably the simplest route, it ruins the factory look of your car. By installing a AUX hookup, you can keep the factory look while introducing new technology into an older Corvette.

Materials Needed
- Wire strippers
- Drill
- Torx driver
- Socket and socket set
Decide How You Want to Integrate
There are two main ways you can add an AUX hookup to your car. The first option applies only if you have the factory XM radio or 6 Disc CD changer module. The second way is to purchase an AUX/iPod wire harness, which will tap into the back of your radio to provide you with connection. For those with the NAV radio, this will allow you to control the iPod from the screen, but all other MP3 players will need to be controlled right from the device. The first option is inexpensive, but will require you to route a wire from the trunk to wherever you want to plug in your device. The second option costs more, but provides a more plug and play install.
Method 1 – Using the XM or CD changer module
Purchase about 15 to 20 ft of 3.5mm AUX extension cord. That should be enough length to route the cord through the car.
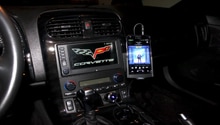
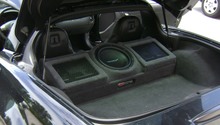
- Route the male end of the cable from the trunk of the car to wherever the auxiliary device will be. (Figure 1)
-
Pull out the XM of CD changer module from the trunk to access its wire harness. (Figure 2)
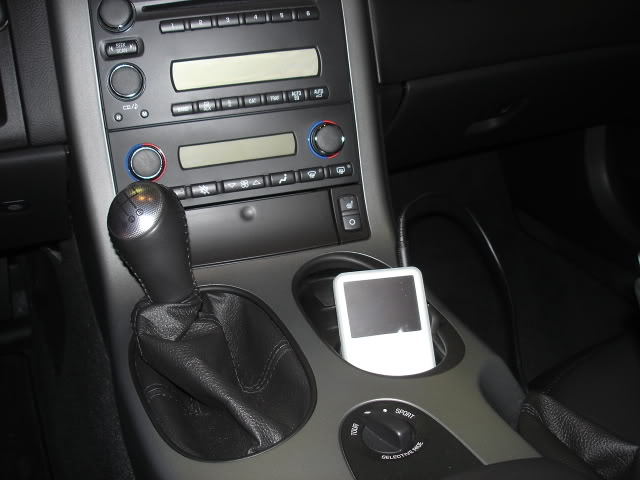
Figure 1. AUX cord routed. 
Figure 2. XM module pulled out. - Strip off the end of the three wires from the 3.5mm extension cord. Inside, there'll be two shielded wires (right and left audio) and one bare wire (common).
- For the XM radio module, attach the right audio wire to the green/white wire on the wire harness. Attach the left audio to the brown/white wire. (Figure 3)
- Attach the common wire to the tan/white wire. (Figure 4)
-
Finally, test auxiliary input before re-installing.

Figure 3. Left and right audio wires. 
Figure 4. Common wire.
Pro Tips
- If you hear a low humming sound when turning it on, you'll need to also attach a wire from the common to the metal casing on the module.
- If you have an active XM subscription, go to channel 0. If not, simply go to XM or CD option on your radio to access the auxiliary input.
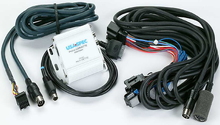
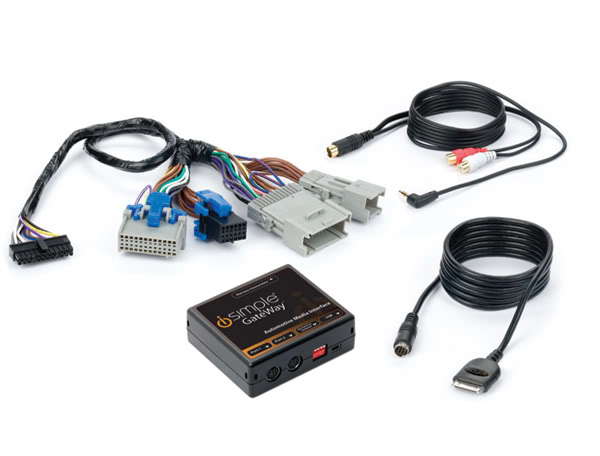
Method 2 – Using a wire integration harness
Several different companies are building integration harnesses with widely differing feature sets. PAC audio makes a couple different ones with the flagship model, which offers iPod and an AUX hookup. The install for this will require you to remove the radio and trim pieces around it. Otherwise, it's a direct plug and play install. The exception would be to route the cord to the inside of the console, which will require you to drill a hole.
Step 1 – Radio removal
- If the car is an automatic, move the gear lever into drive and set the emergency brake.
- Remove the four torx screws holding the center console lid. (Figure 6)
- By prying up gently from the rear, remove the trim plate housing the airbag warning light. Then, disconnect the wiring harness from the air bag light.
- Remove the two bolts underneath that trim piece. (Figure 7)
- Disconnect the emergency brake boot. It's clipped on, so pulling it straight up and wiggling it a little will un-clip it.
- Remove the two bolts that were covered by the brake boot. (Figure 8)
- Next, remove the center trim. Starting from the rear, begin pulling it slowly disconnecting the six electrical connections once you get to them.
- Remove the two bolts on either side of the climate control, then pull it forward some and let it rest there.
-
Remove the four bolts around the NAV radio unit.
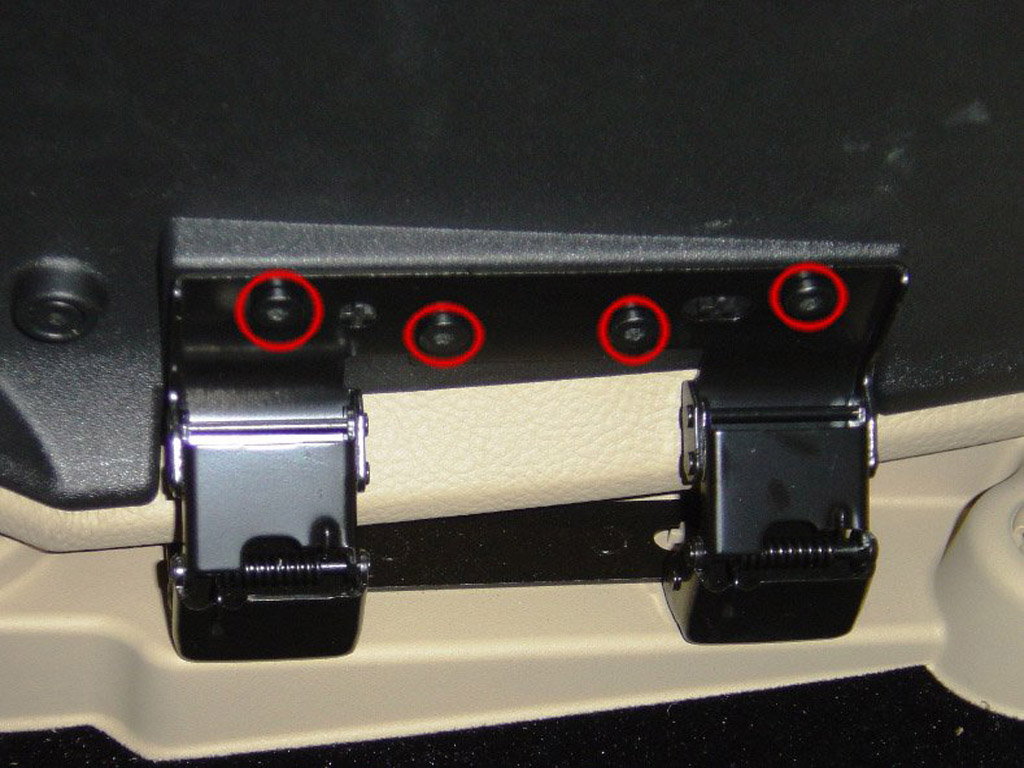
Figure 6. Lid torx bolts. 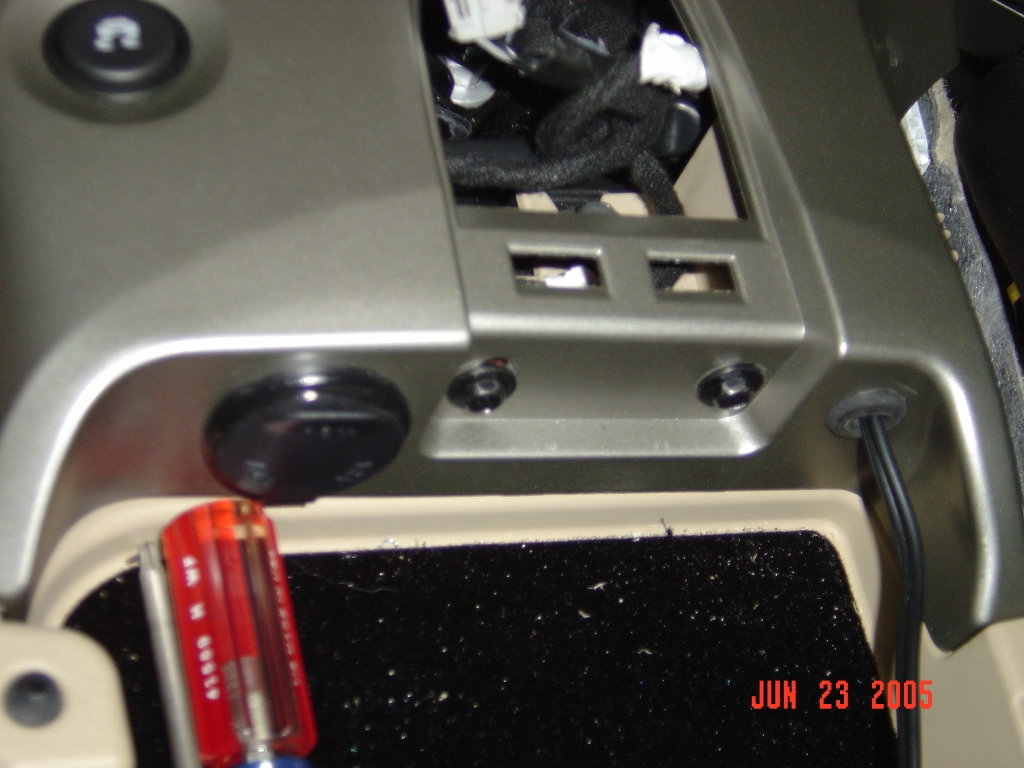
Figure 7. Bolts under trim piece. 
Figure 8. Bolts behind brake boot.
Step 2 – Install
- Now that the bolts around the NAV unit have been removed, pull out the radio. Do it slowly and be mindful of the screen.
- Once it's partially out, disconnect all the wiring harnesses from the rear of it. (Figure 9)
- Connect the new wiring harness into the factory one. Then, route the AUX/iPod hookup under the climate controls.
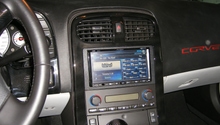
- Now, you can hook your radio back up and re-install the screws for both it and the climate controls. (Figure 10)
- Decide where you want to route the wire. For the center console, you can run it around the shifter and then drill a hole to allow it to pass through. (Figure 11)
-
Finally, test the auxiliary input before re-installing the trim.

Figure 9. Radio pulled out. 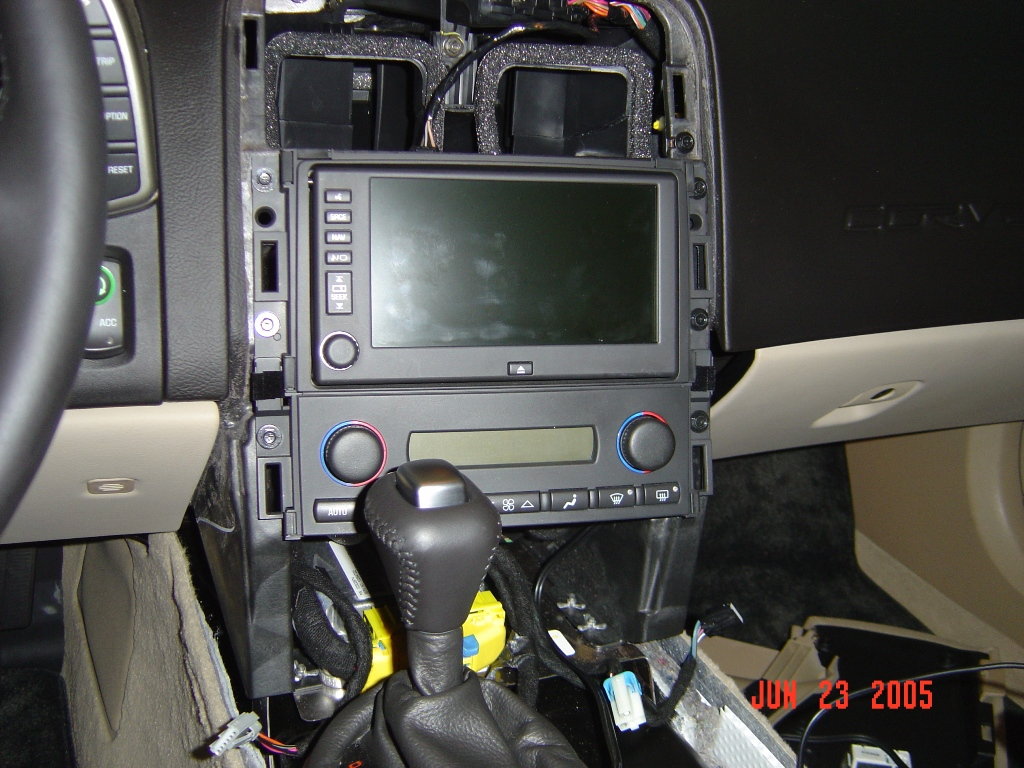
Figure 10. Radio re-installed and cords routed. 
Figure 11. Wire routed into center console.
Related Discussions
- Step-by-Step Auxiliary Input Added to Navigation - CorvetteForum.com
- Auxiliary Input For OEM Head Unit - CorvetteForum.com
- DIY Auxiliary Input iPhone On XM Equipped C6 Corvette - CorvetteForum.com