
Hard Bar with Extenders Install in a C5 Z06
 07-28-2011, 07:26 PM
#1
Melting Slicks


Thread Starter
Member Since: Sep 2003
Location: Northville Michigan
Posts: 2,458
Likes: 0
Received 102 Likes
on
56 Posts

Last summer I purchased a Hard Bar from Gary. The Hard Bar was originally designed to be installed using the holes that Corvette uses to attach the OEM shoulder belt sliders to. If you use these bolt holes, you will not be able to move the seat back rearward to its fullest extent. Taller drivers are penalized by mounting the bar in this location.

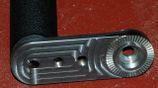
I also received a pair of Gary's Extenders to use in the installation. Please note that the Extenders have four holes in them. The hole on the right is made to go over the threaded pedestal that is used to attached the shoulder belt slider. The other three bolts are used to place the Hard Bar in a more rearward position. The entire Extender was designed to be installed under the plastic trim panels that close out the shoulder harness mount and the rear radio speakers.
In 2009 I encouraged Gary to make an extender available for taller drivers in Corvettes. We passed design ideas back and forth, and the Extenders became reality. Thanks Gary!
Once I received my Hard Bar and Extenders, I phoned and e-mailed Gary several times asking for some sort of installation instructions. After an over-the-winter wait, with no response, I decided to proceed with the install.
Here goes:
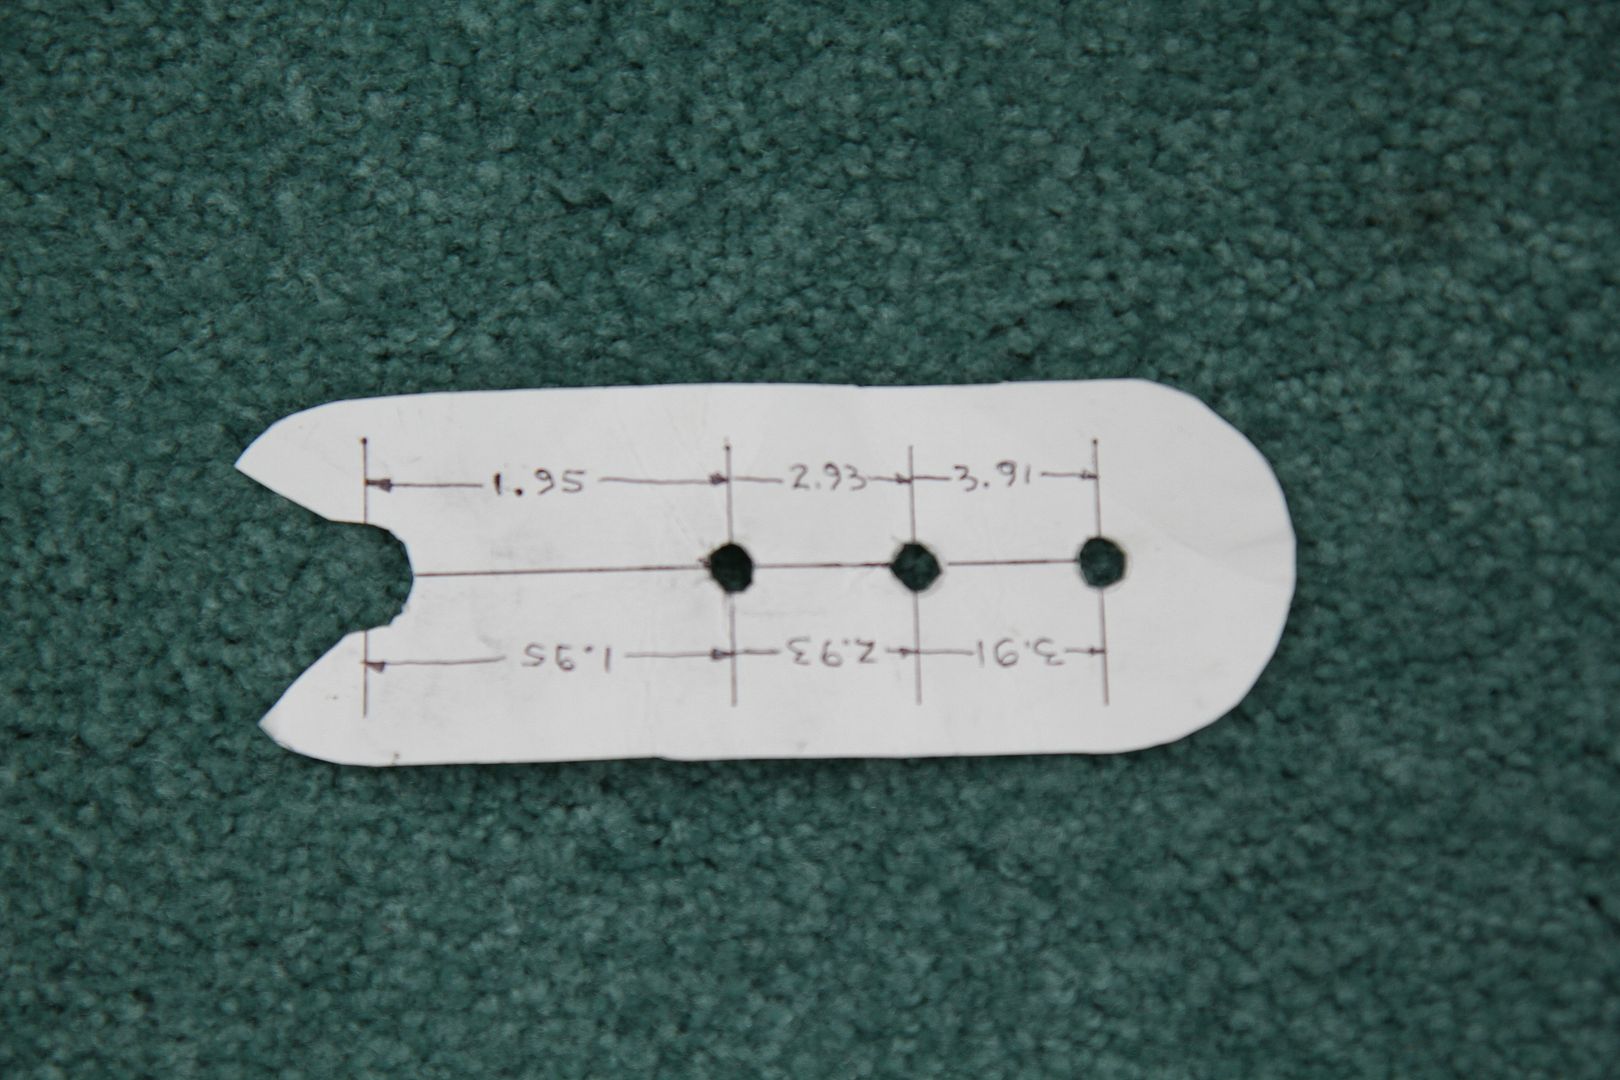
- Before you start with the installation, make a Drilling Template of the hole spacing in the Extenders using some heavy cardstock.
- The first thing you will need to do is remove the two bolts that attach the upper shoulder belt slider to the Z06's halo.
- After you remove these bolts, you will need to remove the plastic trim panels on each side that closes out the rear speakers and the shoulder belt attaching point.
- Once you have removed the plastic panels you will find that there is an attaching clip directly under where you are going to need to drill a hole.
- Take a grinding or cutting tool and cut off the plastic pedestal that holds the attaching clip and grind it flat with the inner surface of the panel. Do the same for both sides.
- Next, reattach the plastic panel except for its forward edge near the door window.
- For the next step it is necessary to have someone assist you, unless you have three hands.
- Place the Extender over the threaded shoulder belt steel pillar, while keeping the extension portion of the Extender parallel to the ground.
- Install the shoulder mount attaching bolt through the slider and torque it to the GM specification.
- From there you need to take the drilling template and use it to locate where the 1st and 3rd extension bolt holes are.
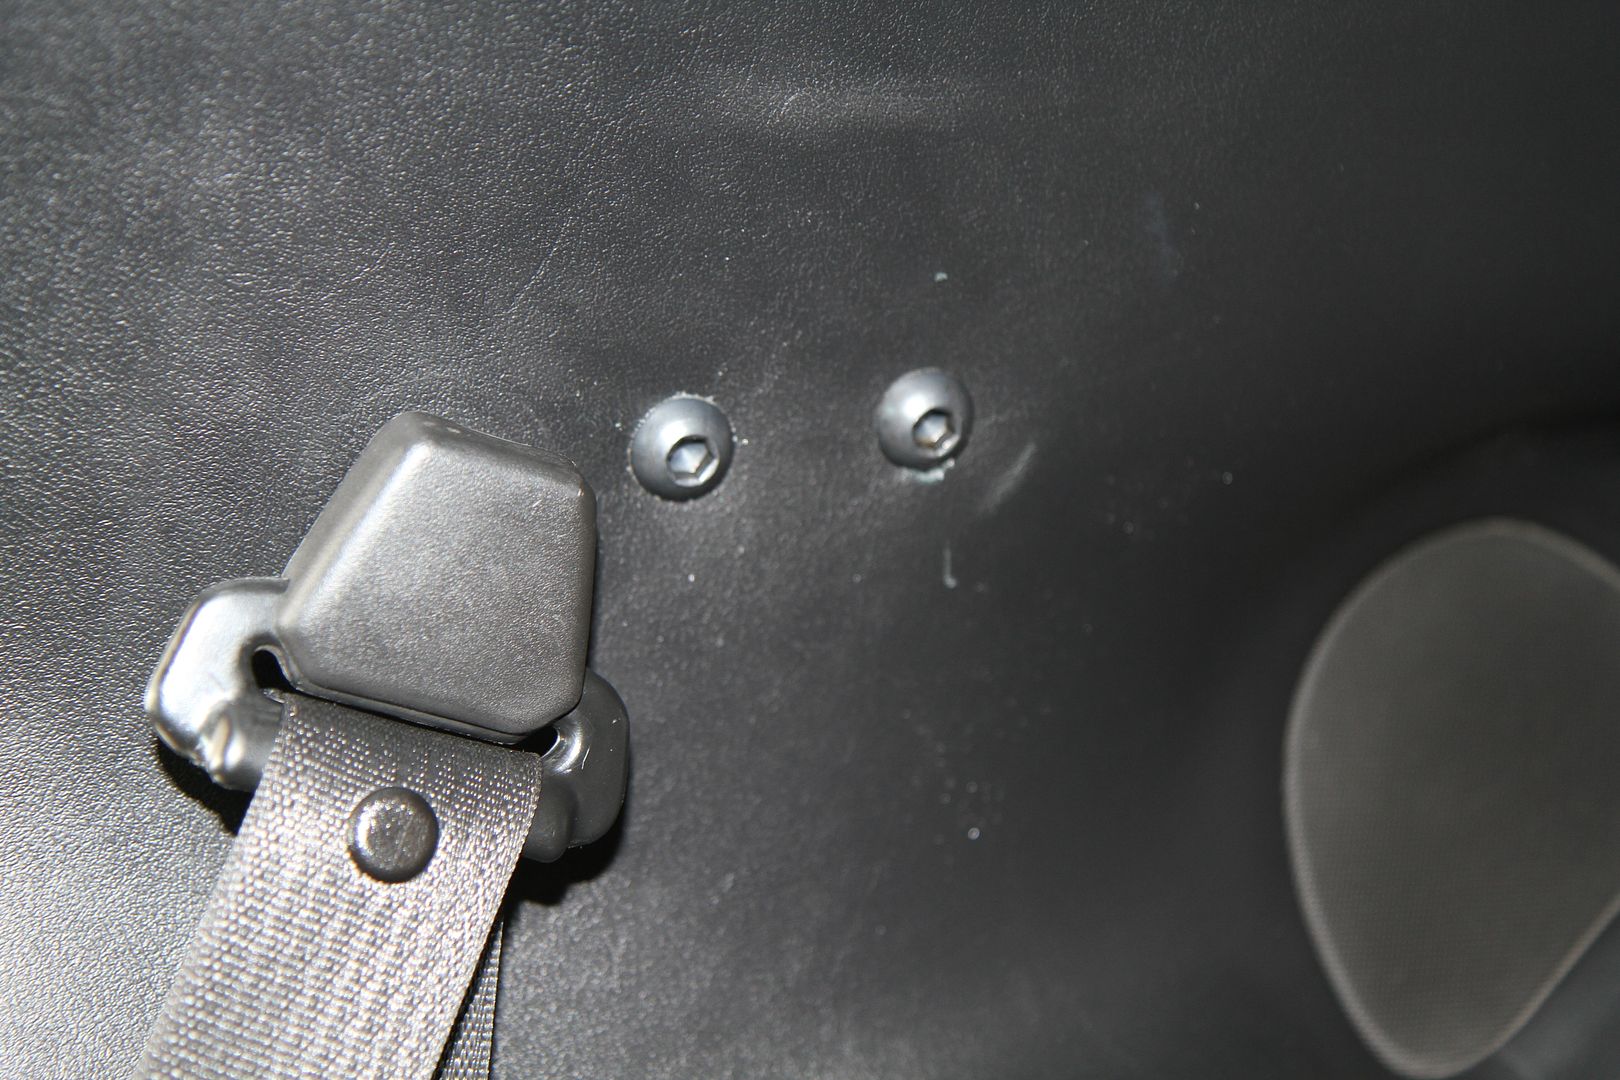
- I used a Dremel tool and a small pointed plastic cutting bit to make the two holes. Fortunately, I came through in the center of both holes on each side of the car. Here is a picture of the finished hole locations:

Even though the Extenders have a number of sharp serrations that are designed to bite into the steel of the halo, I decided to add another anti-rotation feature in my installation. The hole closest to the shoulder harness is that additional anti-rotation feature. Once you cut through the plastic you will see that the steel of the halo is directly behind the threaded hole in the Extender. Taking a .125 inch drill, I drilled through the steel plate. Next, I took a .397 inch drill and enlarged the hole. As I installed the M12 x 1.75 round head cap screw in the threaded hole in the Extender, I continued to turn it so the nose of the bolt would cut a thread in the steel sheet metal. The result is a much stonger anti-rotation feature for the Extender.
- The second hole is where I will attach the Hard Bar on both sides. When I am not using the bar, I install another M12 x 1.75 round head cap screw as a finishing fastener.
- Once you have gotten this far, the easy part is over.
- Next you will find that the Hard Bar itself is too long to fit between the plastic panels at the rear Extender holes. The reason is that all cars are designed with Plan-View Sweep. That means that as you move rearward in the vehicle, generally from somewhere on the Green House, the car starts to get narrower.
- Because I don't own a band-saw or a vertical mill, I had to use a Hacksaw to remove 1/8 inch at a time from each end of the Hard Bar until it fit between the plastic panels. My bar is now 3/4 inch narrower when it arrived.
- Here are two pictures of the finished installation:
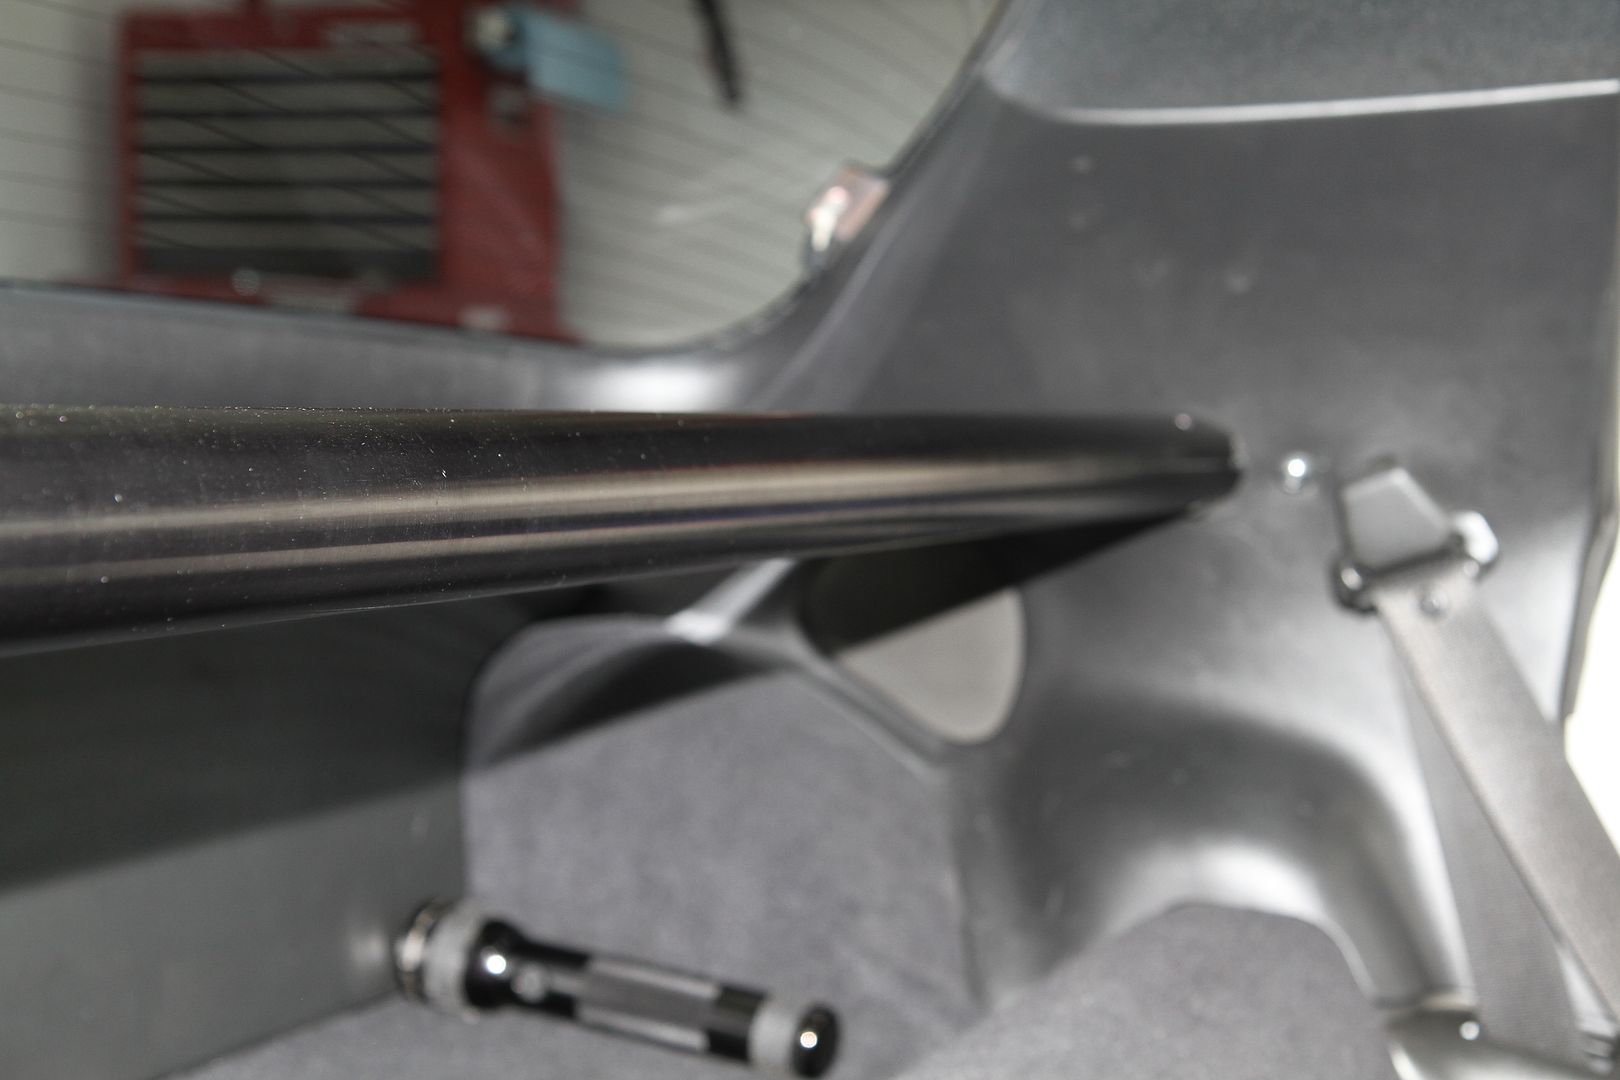
Driver's Side
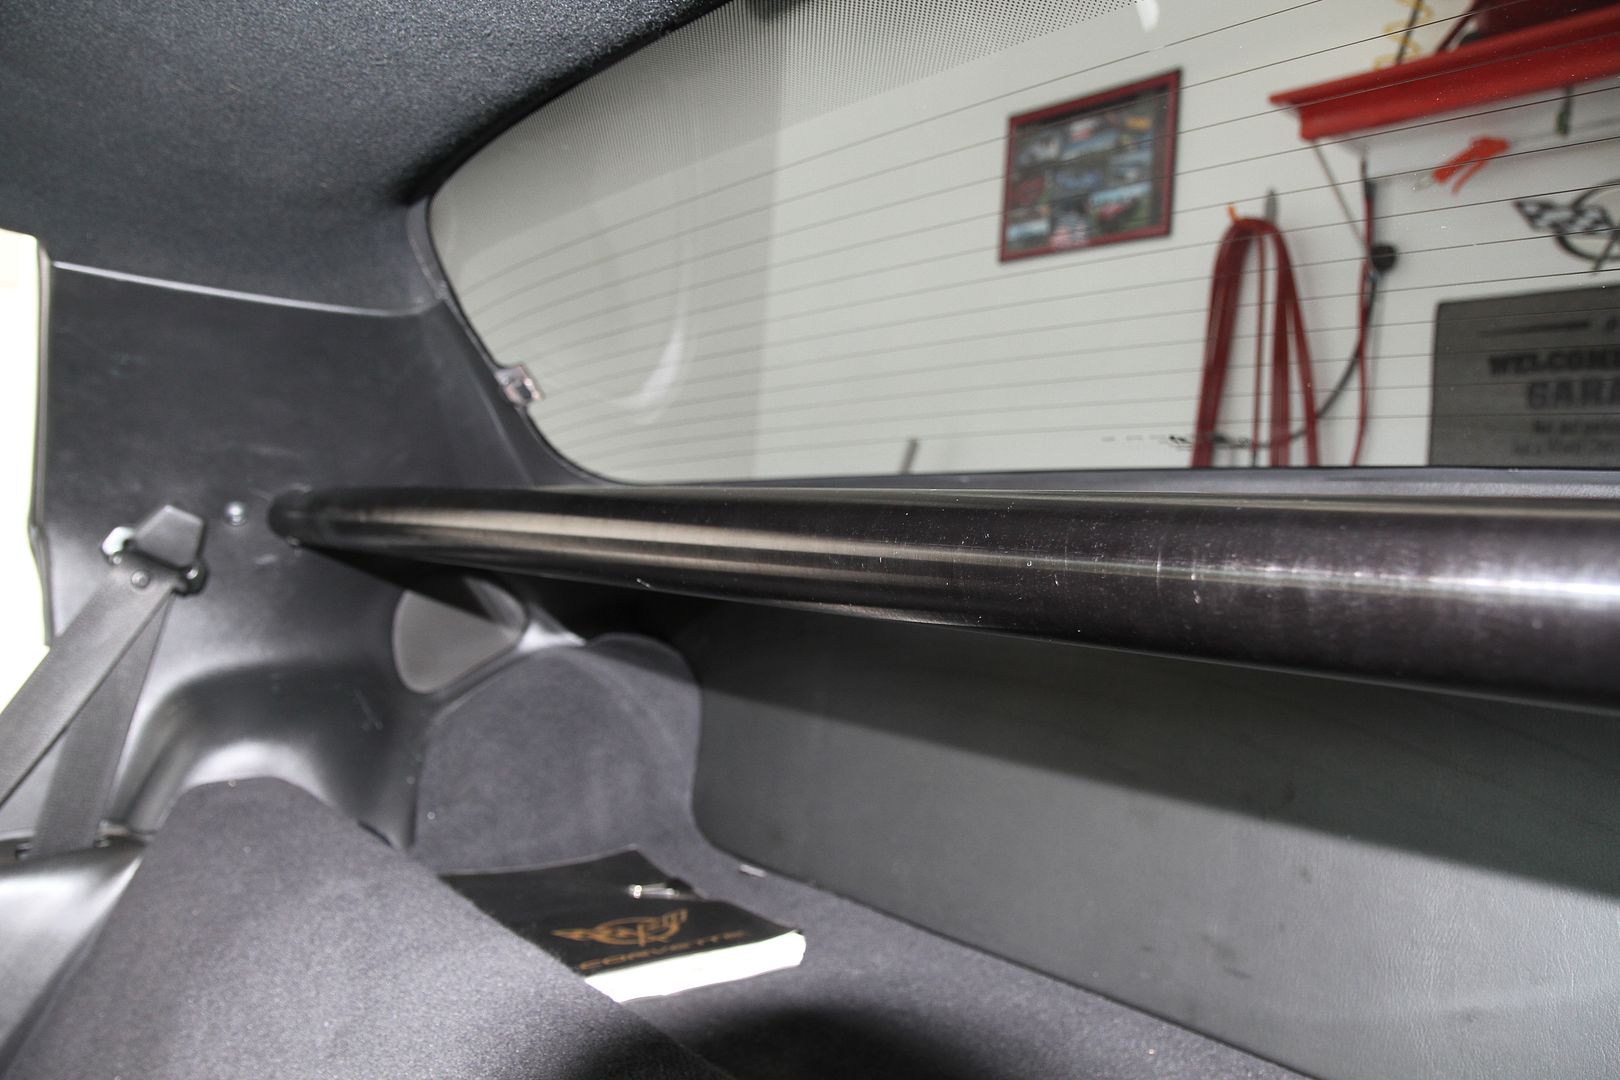
Passenger's Side
I used two fasteners for the installation:
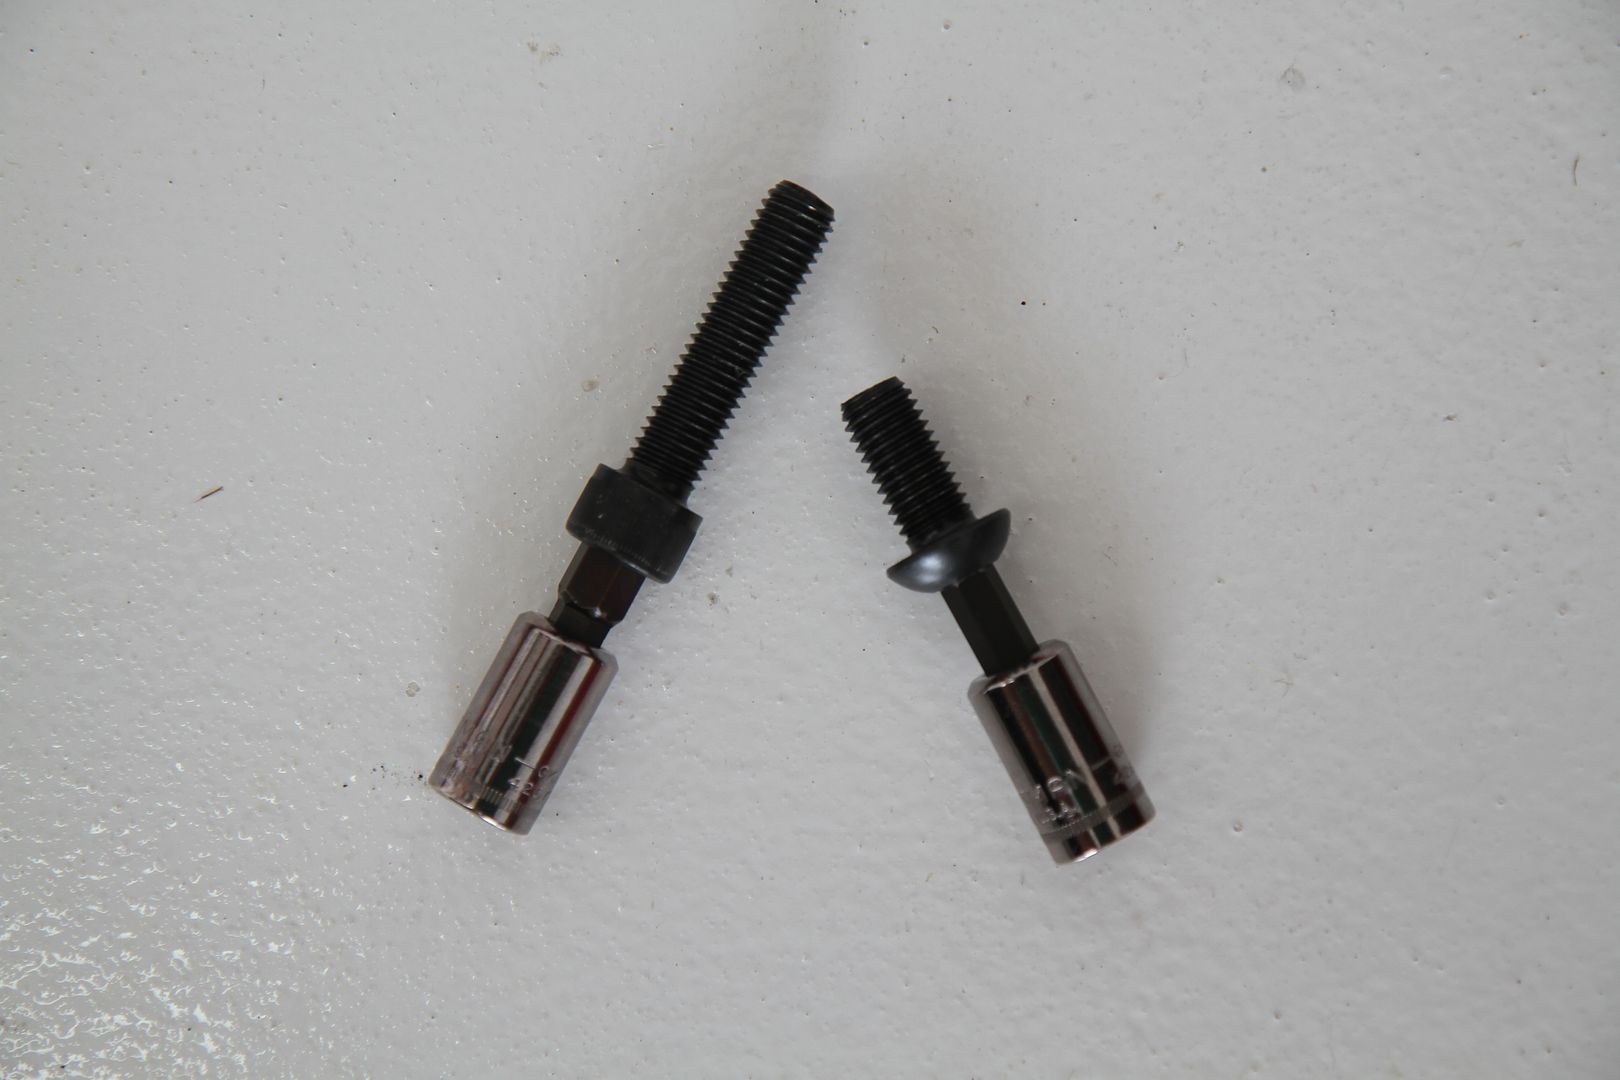
The fastener on the left is a M12 x 1.75 x 50mm cap screw. It takes a 10mm Allen socket to install. Two of these are required and they attach the Hard Bar to the Extender.
The fastener on the right is a M12 x 1.75 x 25mm round head cap screw. It takes a 8mm Allen socket to install. Four of these are required and they are used as the anti-rotation hole fasteners and as the two closeout finishing fasteners when the Hard Bar is not in your Corvette.
The bar is in, it can be quickly removed and installed for Track Days, and the original shoulder harness location is not changed.
I hope this is useful to other Z06 and FRC owners.
-
I also received a pair of Gary's Extenders to use in the installation. Please note that the Extenders have four holes in them. The hole on the right is made to go over the threaded pedestal that is used to attached the shoulder belt slider. The other three bolts are used to place the Hard Bar in a more rearward position. The entire Extender was designed to be installed under the plastic trim panels that close out the shoulder harness mount and the rear radio speakers.
In 2009 I encouraged Gary to make an extender available for taller drivers in Corvettes. We passed design ideas back and forth, and the Extenders became reality. Thanks Gary!
Once I received my Hard Bar and Extenders, I phoned and e-mailed Gary several times asking for some sort of installation instructions. After an over-the-winter wait, with no response, I decided to proceed with the install.
Here goes:
- Before you start with the installation, make a Drilling Template of the hole spacing in the Extenders using some heavy cardstock.
- The first thing you will need to do is remove the two bolts that attach the upper shoulder belt slider to the Z06's halo.
- After you remove these bolts, you will need to remove the plastic trim panels on each side that closes out the rear speakers and the shoulder belt attaching point.
- Once you have removed the plastic panels you will find that there is an attaching clip directly under where you are going to need to drill a hole.
- Take a grinding or cutting tool and cut off the plastic pedestal that holds the attaching clip and grind it flat with the inner surface of the panel. Do the same for both sides.
- Next, reattach the plastic panel except for its forward edge near the door window.
- For the next step it is necessary to have someone assist you, unless you have three hands.
- Place the Extender over the threaded shoulder belt steel pillar, while keeping the extension portion of the Extender parallel to the ground.
- Install the shoulder mount attaching bolt through the slider and torque it to the GM specification.
- From there you need to take the drilling template and use it to locate where the 1st and 3rd extension bolt holes are.
- I used a Dremel tool and a small pointed plastic cutting bit to make the two holes. Fortunately, I came through in the center of both holes on each side of the car. Here is a picture of the finished hole locations:
Even though the Extenders have a number of sharp serrations that are designed to bite into the steel of the halo, I decided to add another anti-rotation feature in my installation. The hole closest to the shoulder harness is that additional anti-rotation feature. Once you cut through the plastic you will see that the steel of the halo is directly behind the threaded hole in the Extender. Taking a .125 inch drill, I drilled through the steel plate. Next, I took a .397 inch drill and enlarged the hole. As I installed the M12 x 1.75 round head cap screw in the threaded hole in the Extender, I continued to turn it so the nose of the bolt would cut a thread in the steel sheet metal. The result is a much stonger anti-rotation feature for the Extender.
- The second hole is where I will attach the Hard Bar on both sides. When I am not using the bar, I install another M12 x 1.75 round head cap screw as a finishing fastener.
- Once you have gotten this far, the easy part is over.
- Next you will find that the Hard Bar itself is too long to fit between the plastic panels at the rear Extender holes. The reason is that all cars are designed with Plan-View Sweep. That means that as you move rearward in the vehicle, generally from somewhere on the Green House, the car starts to get narrower.
- Because I don't own a band-saw or a vertical mill, I had to use a Hacksaw to remove 1/8 inch at a time from each end of the Hard Bar until it fit between the plastic panels. My bar is now 3/4 inch narrower when it arrived.
- Here are two pictures of the finished installation:
Driver's Side
Passenger's Side
I used two fasteners for the installation:
The fastener on the left is a M12 x 1.75 x 50mm cap screw. It takes a 10mm Allen socket to install. Two of these are required and they attach the Hard Bar to the Extender.
The fastener on the right is a M12 x 1.75 x 25mm round head cap screw. It takes a 8mm Allen socket to install. Four of these are required and they are used as the anti-rotation hole fasteners and as the two closeout finishing fasteners when the Hard Bar is not in your Corvette.
The bar is in, it can be quickly removed and installed for Track Days, and the original shoulder harness location is not changed.
I hope this is useful to other Z06 and FRC owners.
-
Last edited by Pumba; 11-28-2013 at 10:57 AM.
 07-28-2011, 08:21 PM
#2
Le Mans Master

I did the exact same thing on my car a couple of weeks ago. However, my Hardbar was not too long so there was no need to cut anything. It shouldn't make a difference but I rotated my extender 20 degrees in order to lower the bar height and get more belt contact on my Hans.
07-29-2011, 07:23 AM
#3
Melting Slicks
Thread Starter
Member Since: Sep 2003
Location: Northville Michigan
Posts: 2,458
Likes: 0
Received 102 Likes
on
56 Posts
I did the exact same thing on my car a couple of weeks ago. However, my Hardbar was not too long so there was no need to cut anything. It shouldn't make a difference but I rotated my extender 20 degrees in order to lower the bar height and get more belt contact on my Hans.
Matt,
Thanks for the comments. See your PMs.
-
