63 Split Window Restomod SRIII Build Thread
 08-22-2013, 09:44 PM
#61
Burning Brakes

I love this thread and had to chime in!
For the center console in my 64 Corvette, I used this one from Volunteer as it provides the right height to rest my arm, provides ample storage as well as 2 cup holders! It is an OEM part (Volvo) that fits perfectly with no modifications.

Here is a picture of it in my Restomod

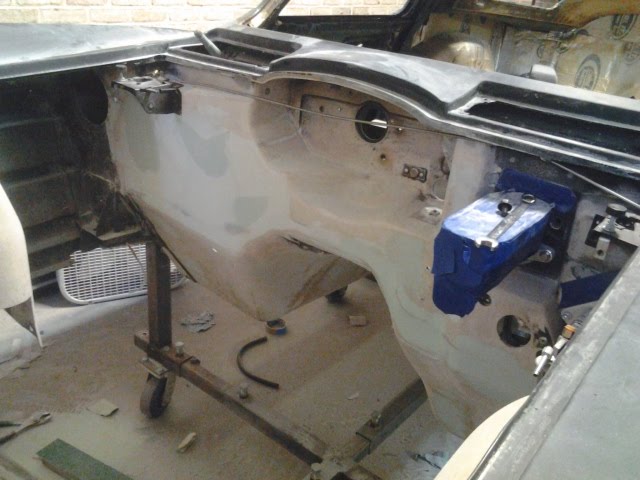
In regards to the hydraulic clutch, I fully concur - it is the only way to go. With my set up, we reinforced the firewall from both sides to handle the stress. The inside cabin firewall has the larger plate covering a larger surface area. I used the American Power Train set up. Here is a picture mid installation.

And here is the final install:

For the center console in my 64 Corvette, I used this one from Volunteer as it provides the right height to rest my arm, provides ample storage as well as 2 cup holders! It is an OEM part (Volvo) that fits perfectly with no modifications.
Here is a picture of it in my Restomod
In regards to the hydraulic clutch, I fully concur - it is the only way to go. With my set up, we reinforced the firewall from both sides to handle the stress. The inside cabin firewall has the larger plate covering a larger surface area. I used the American Power Train set up. Here is a picture mid installation.
And here is the final install:
Last edited by dcaggiani; 08-24-2013 at 11:41 AM.
 09-02-2013, 06:08 PM
#64
Safety Car

Thread Starter

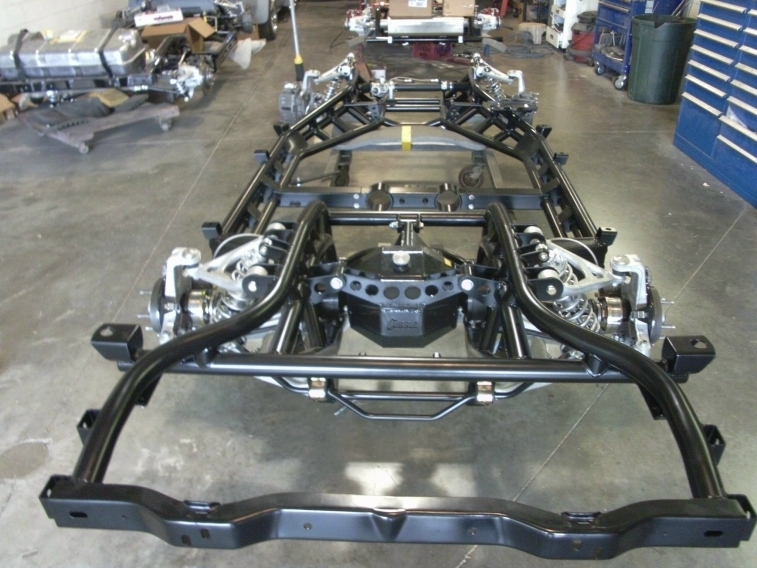
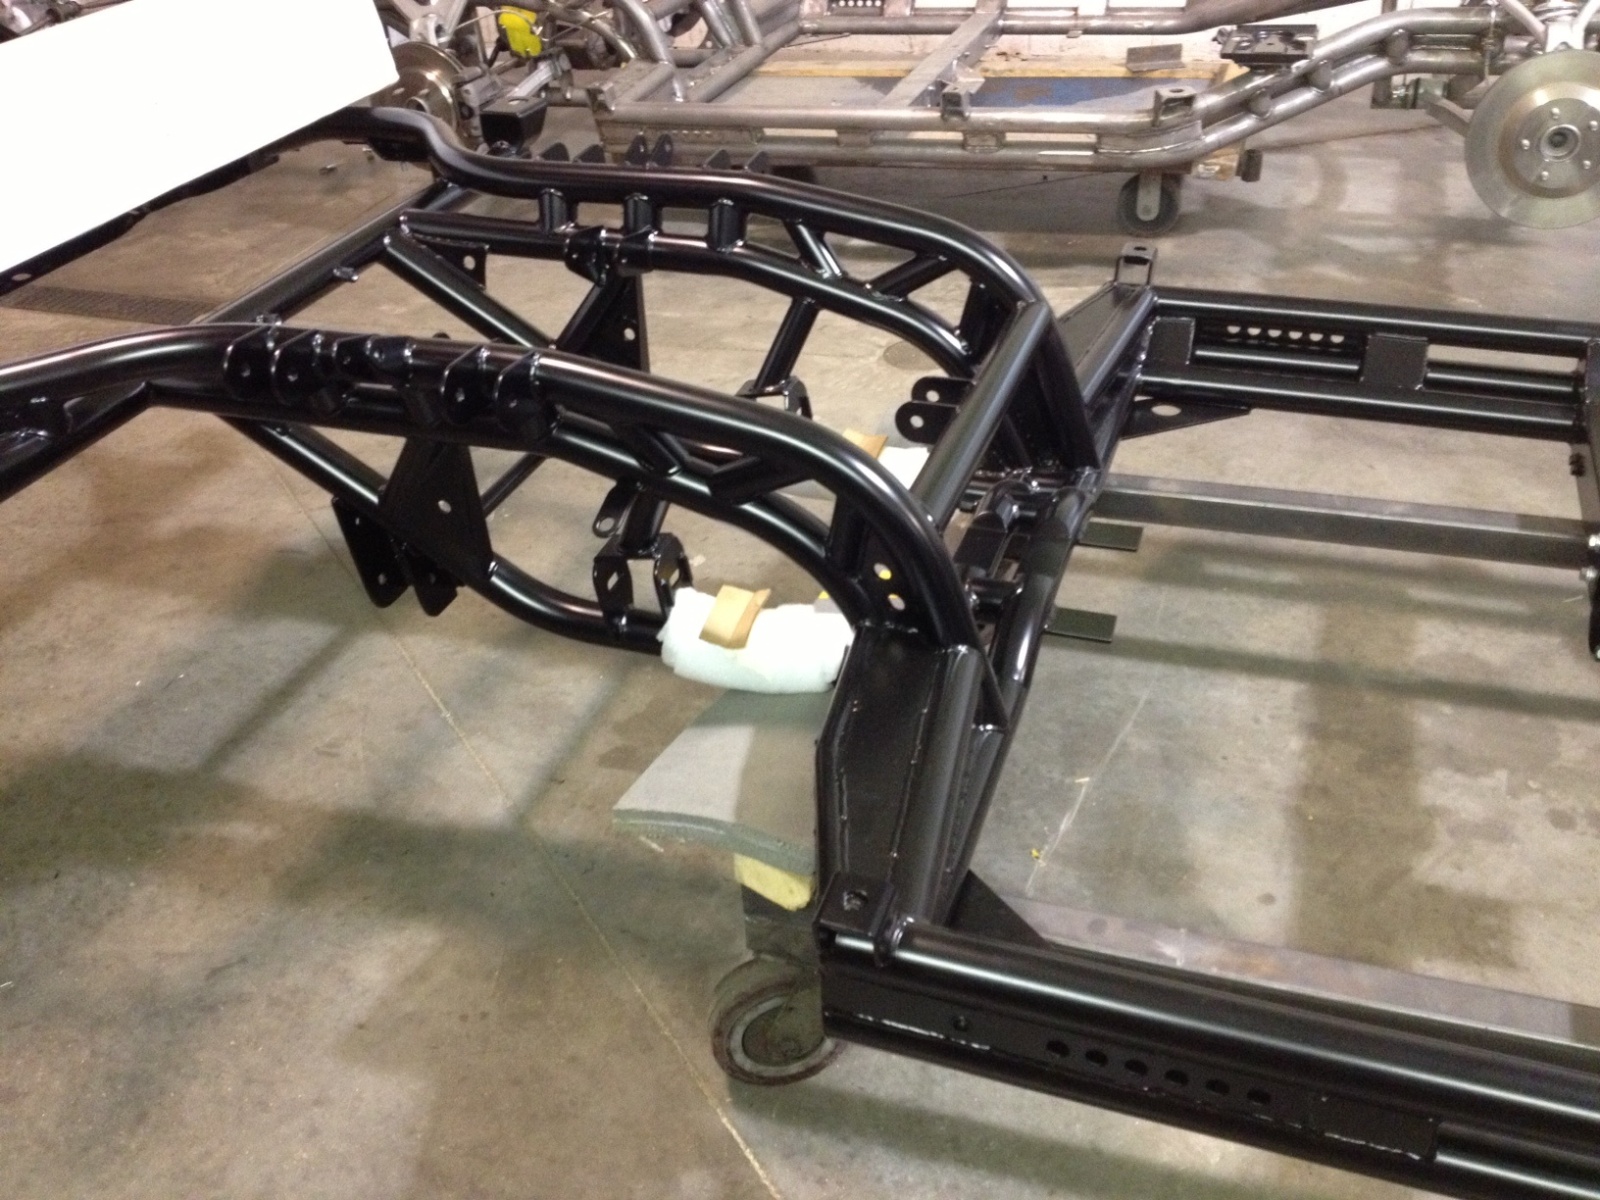
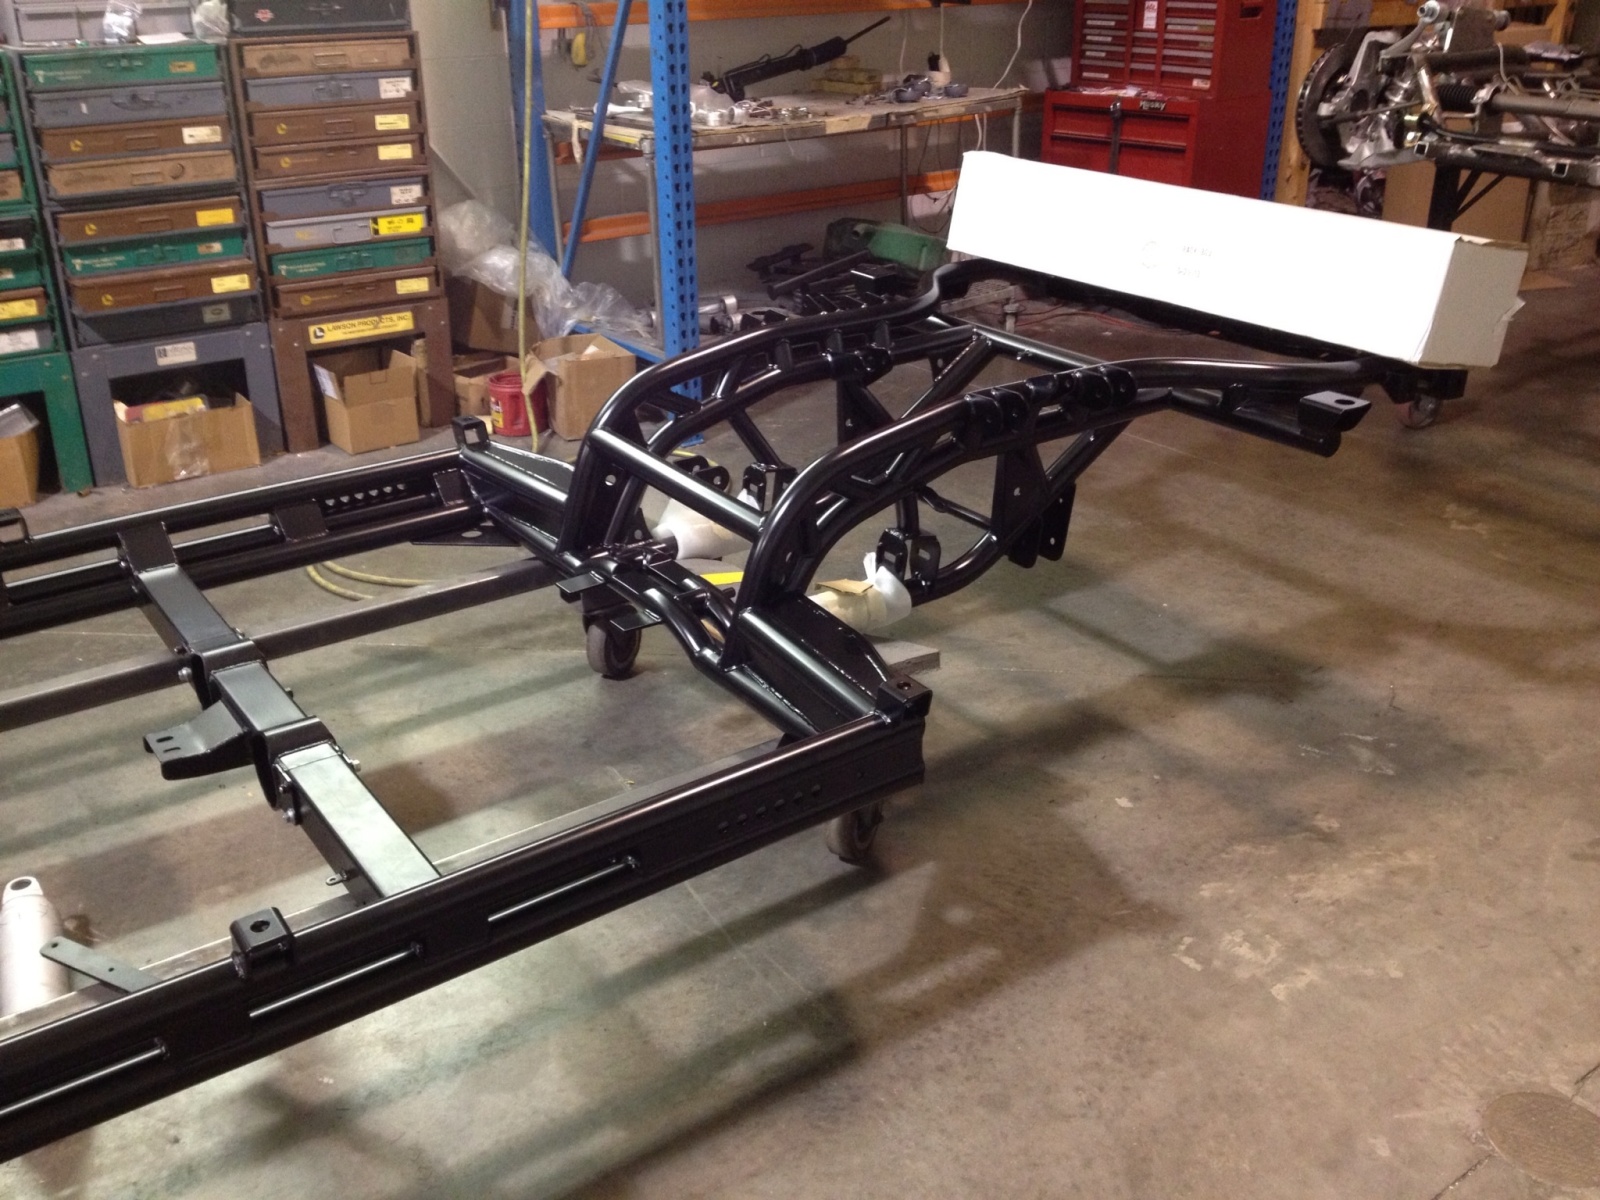
Another member was nice enough to send me pictures of my frame.
Fresh back from the powder-coaters. I went with the satin finish. From my experience with other chassis', I've found that the gloss finish scratches too easily, even when simply wiping it off with a towel.
I know some people prefer a more "stock" looking frame, even though the rectangular frames with upgraded suspension look nothing like the original units, but in my opinion, the tubular frame is so much more appealing and down right sexy.
09-02-2013, 06:28 PM
#65
Team Owner


Member Since: Oct 1999
Location: Land of Thunder
Posts: 33,596
Received 217 Likes
on
160 Posts
2018 C2 of Year Finalist
St. Jude Donor '12-'13-'14-'15, '19

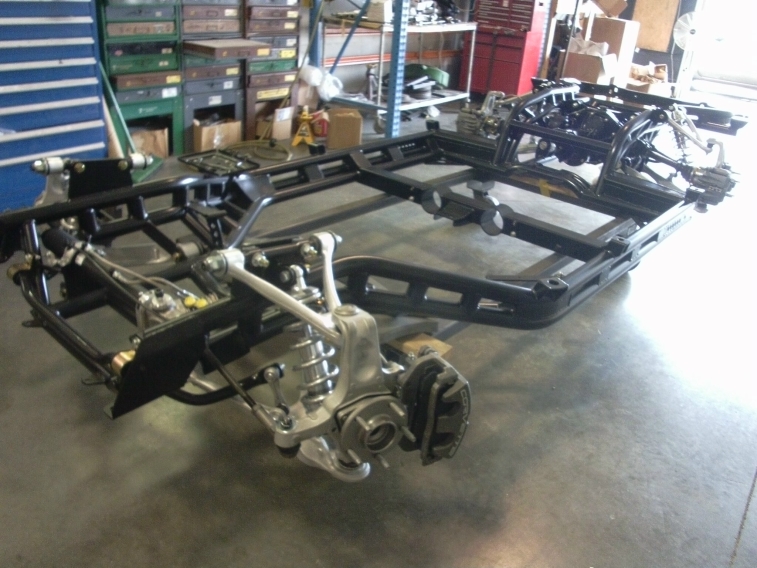
Another member was nice enough to send me pictures of my frame.
Fresh back from the powder-coaters. I went with the satin finish. From my experience with other chassis', I've found that the gloss finish scratches too easily, even when simply wiping it off with a towel.
I know some people prefer a more "stock" looking frame, even though the rectangular frames with upgraded suspension look nothing like the original units, but in my opinion, the tubular frame is so much more appealing and down right sexy.
Fresh back from the powder-coaters. I went with the satin finish. From my experience with other chassis', I've found that the gloss finish scratches too easily, even when simply wiping it off with a towel.
I know some people prefer a more "stock" looking frame, even though the rectangular frames with upgraded suspension look nothing like the original units, but in my opinion, the tubular frame is so much more appealing and down right sexy.
 09-03-2013, 08:39 PM
#66
Safety Car
Thread Starter
70 hours
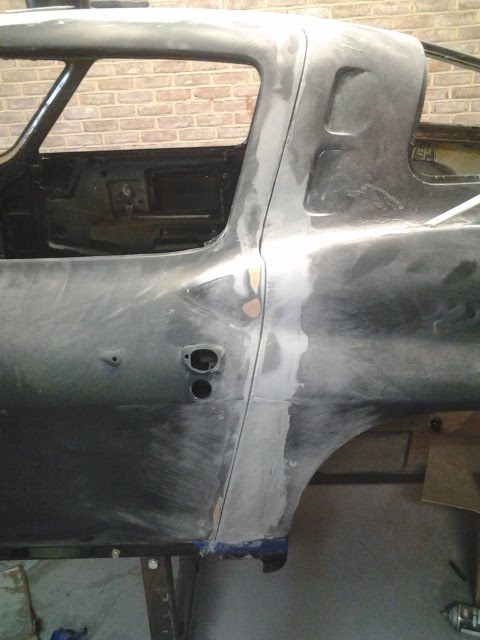
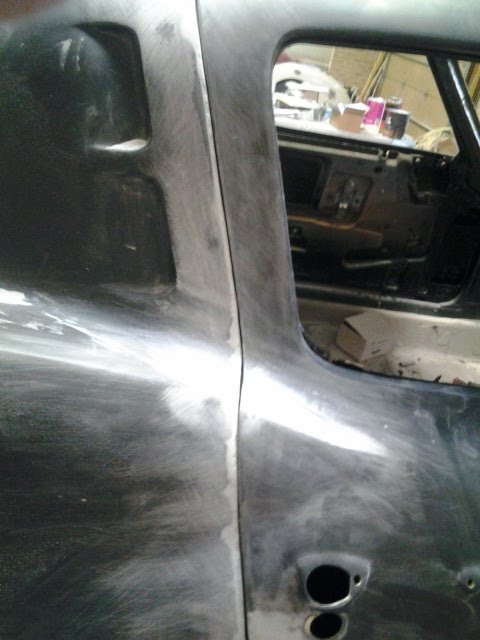
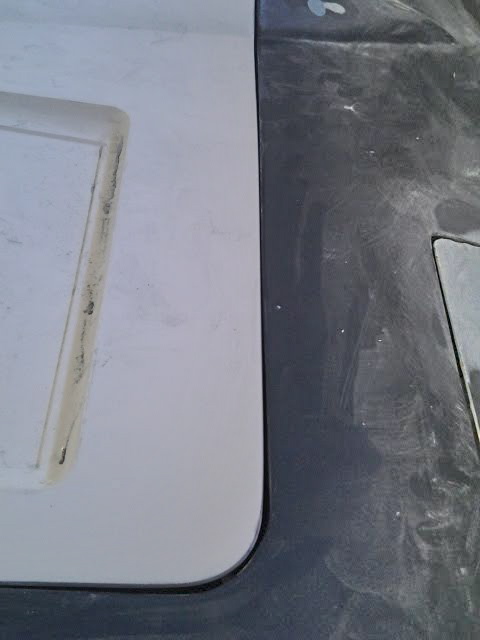
I really did not want to get this far into bodywork, but the door gaps on this car were massive at the front and rear and I just couldn't leave them that way.
Before
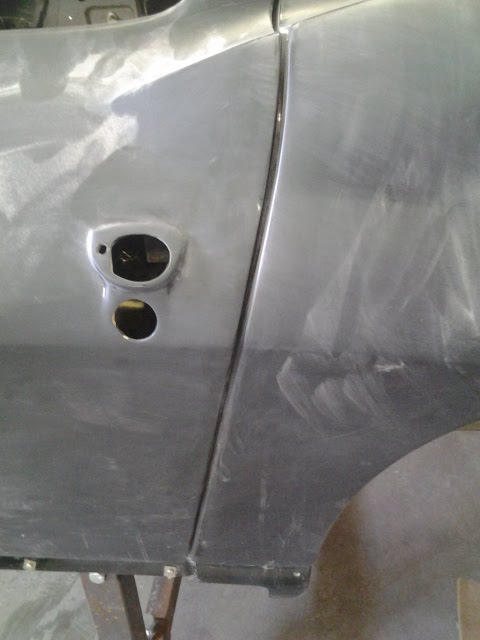
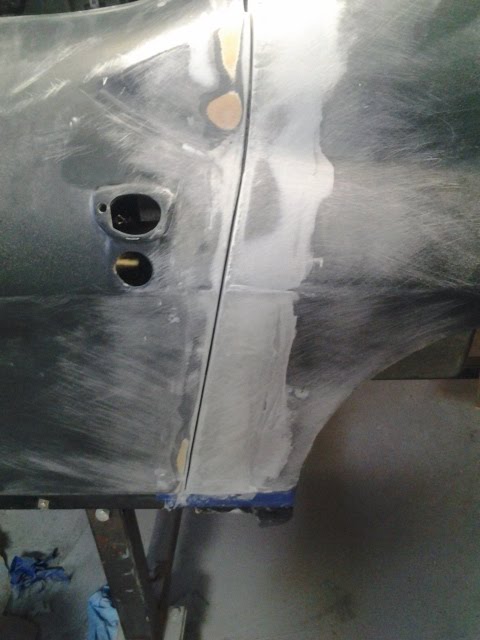
After
Still a lot of work to do on the jambs, but i should be able to work both doors and the new hood in by the end of the week.
Firewall only needs one more round of light sanding. I must say, smoothing it out took a lot longer than i initially thought it would, but it will be worth it in the end.
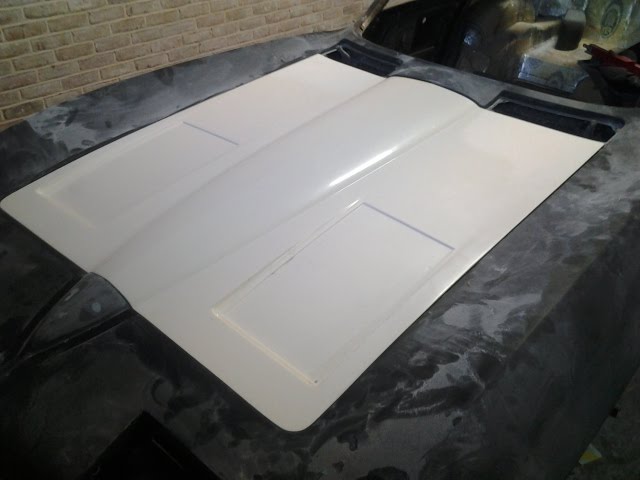
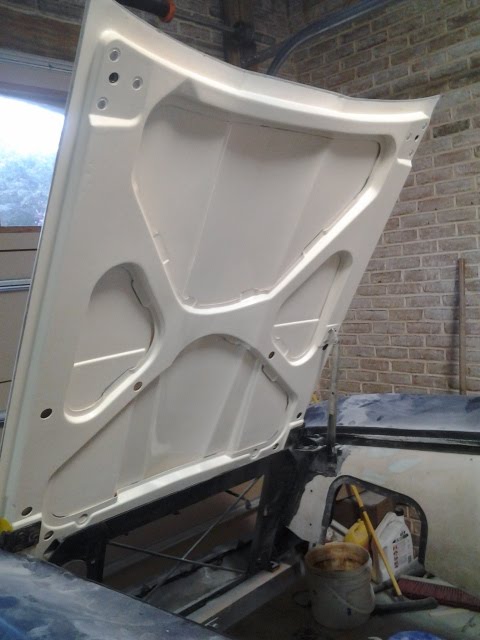
And after what seems like an eternity, all of 12 weeks, the hood finally was finished and arrived today. Bolting it on made me realize that the hood surround is wavy from previous bodywork, so that is next on the list.
I really did not want to get this far into bodywork, but the door gaps on this car were massive at the front and rear and I just couldn't leave them that way.
Before
After
Still a lot of work to do on the jambs, but i should be able to work both doors and the new hood in by the end of the week.
Firewall only needs one more round of light sanding. I must say, smoothing it out took a lot longer than i initially thought it would, but it will be worth it in the end.
And after what seems like an eternity, all of 12 weeks, the hood finally was finished and arrived today. Bolting it on made me realize that the hood surround is wavy from previous bodywork, so that is next on the list.
09-04-2013, 10:38 PM
#67
Safety Car
Thread Starter
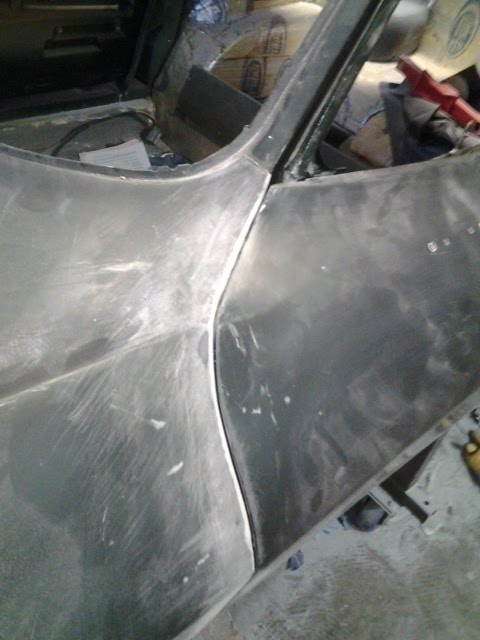
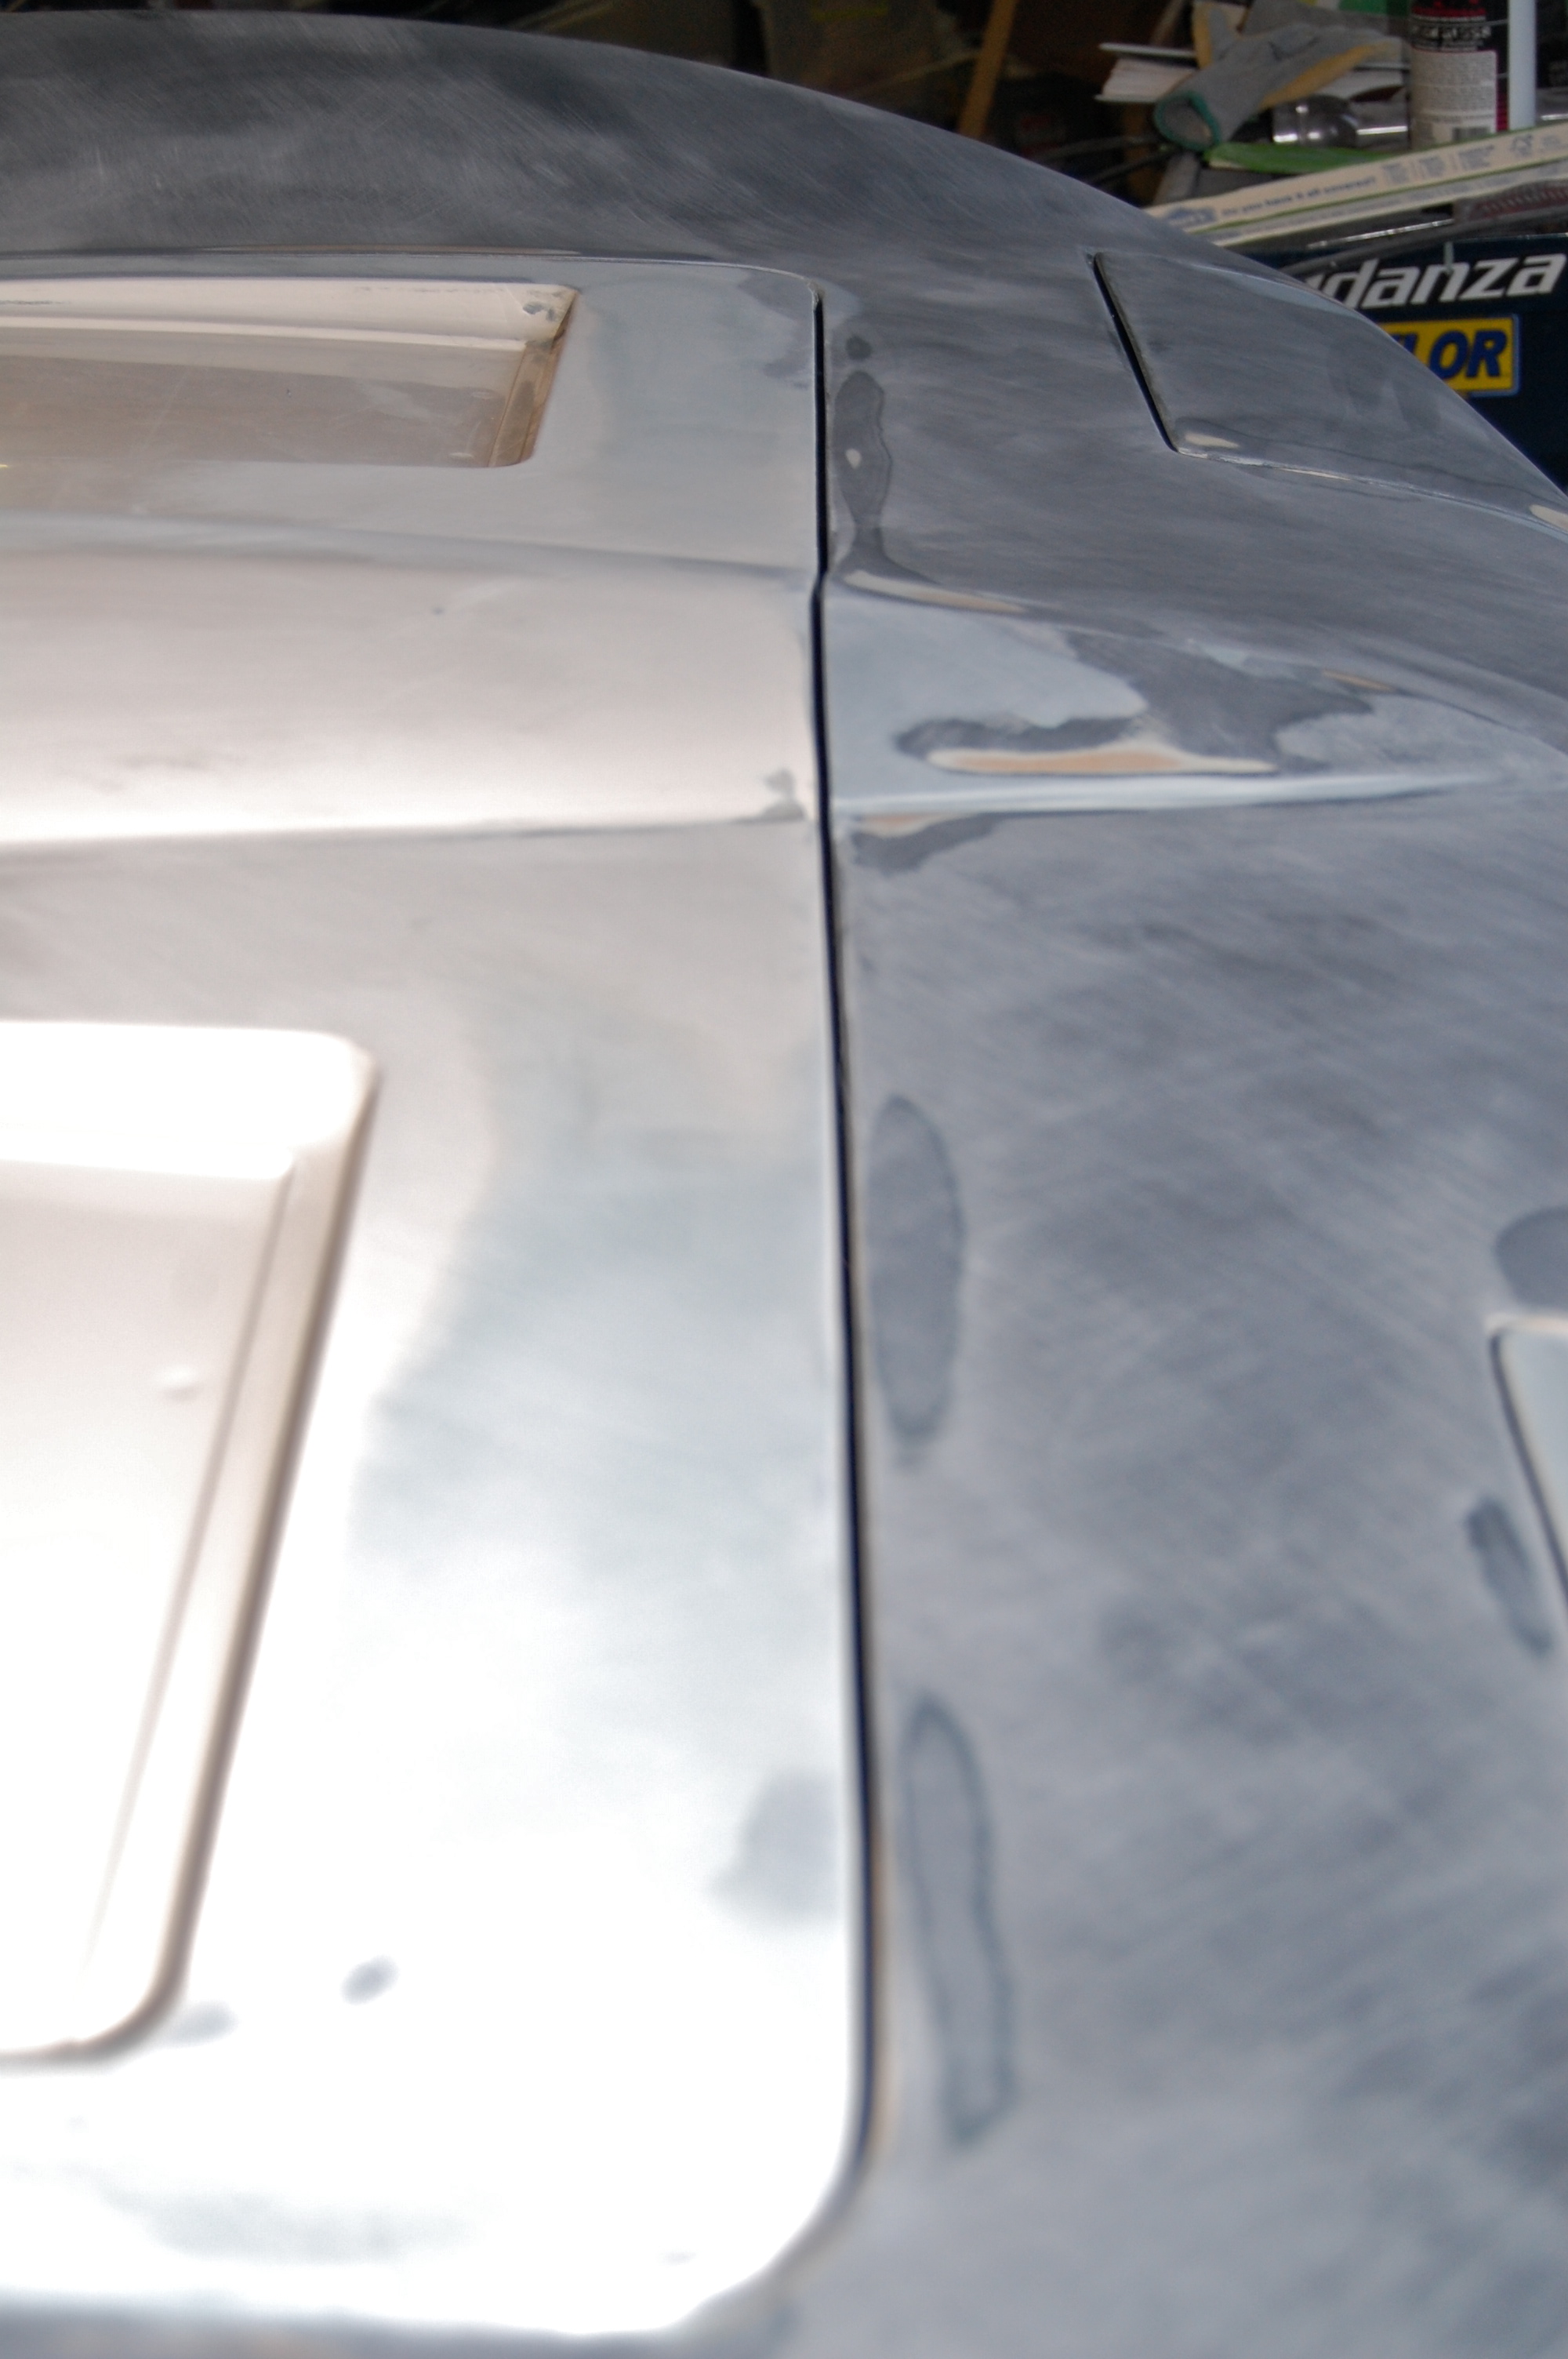
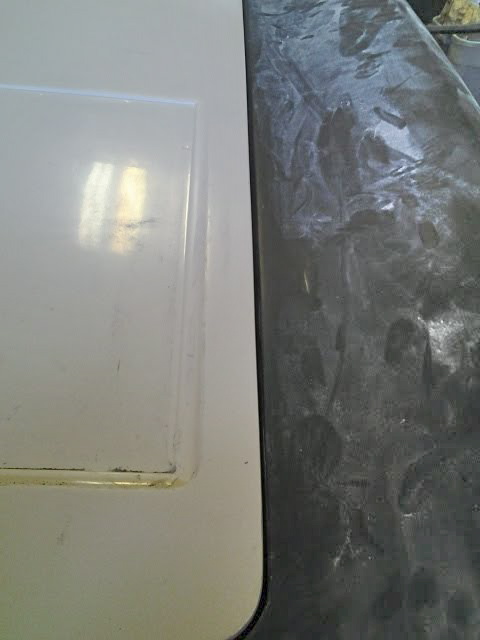
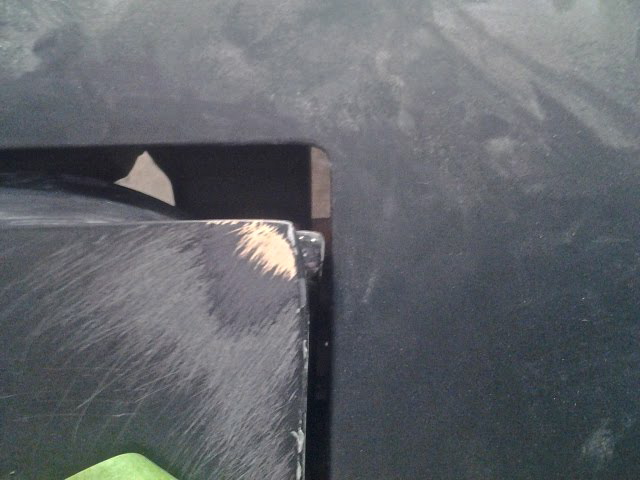
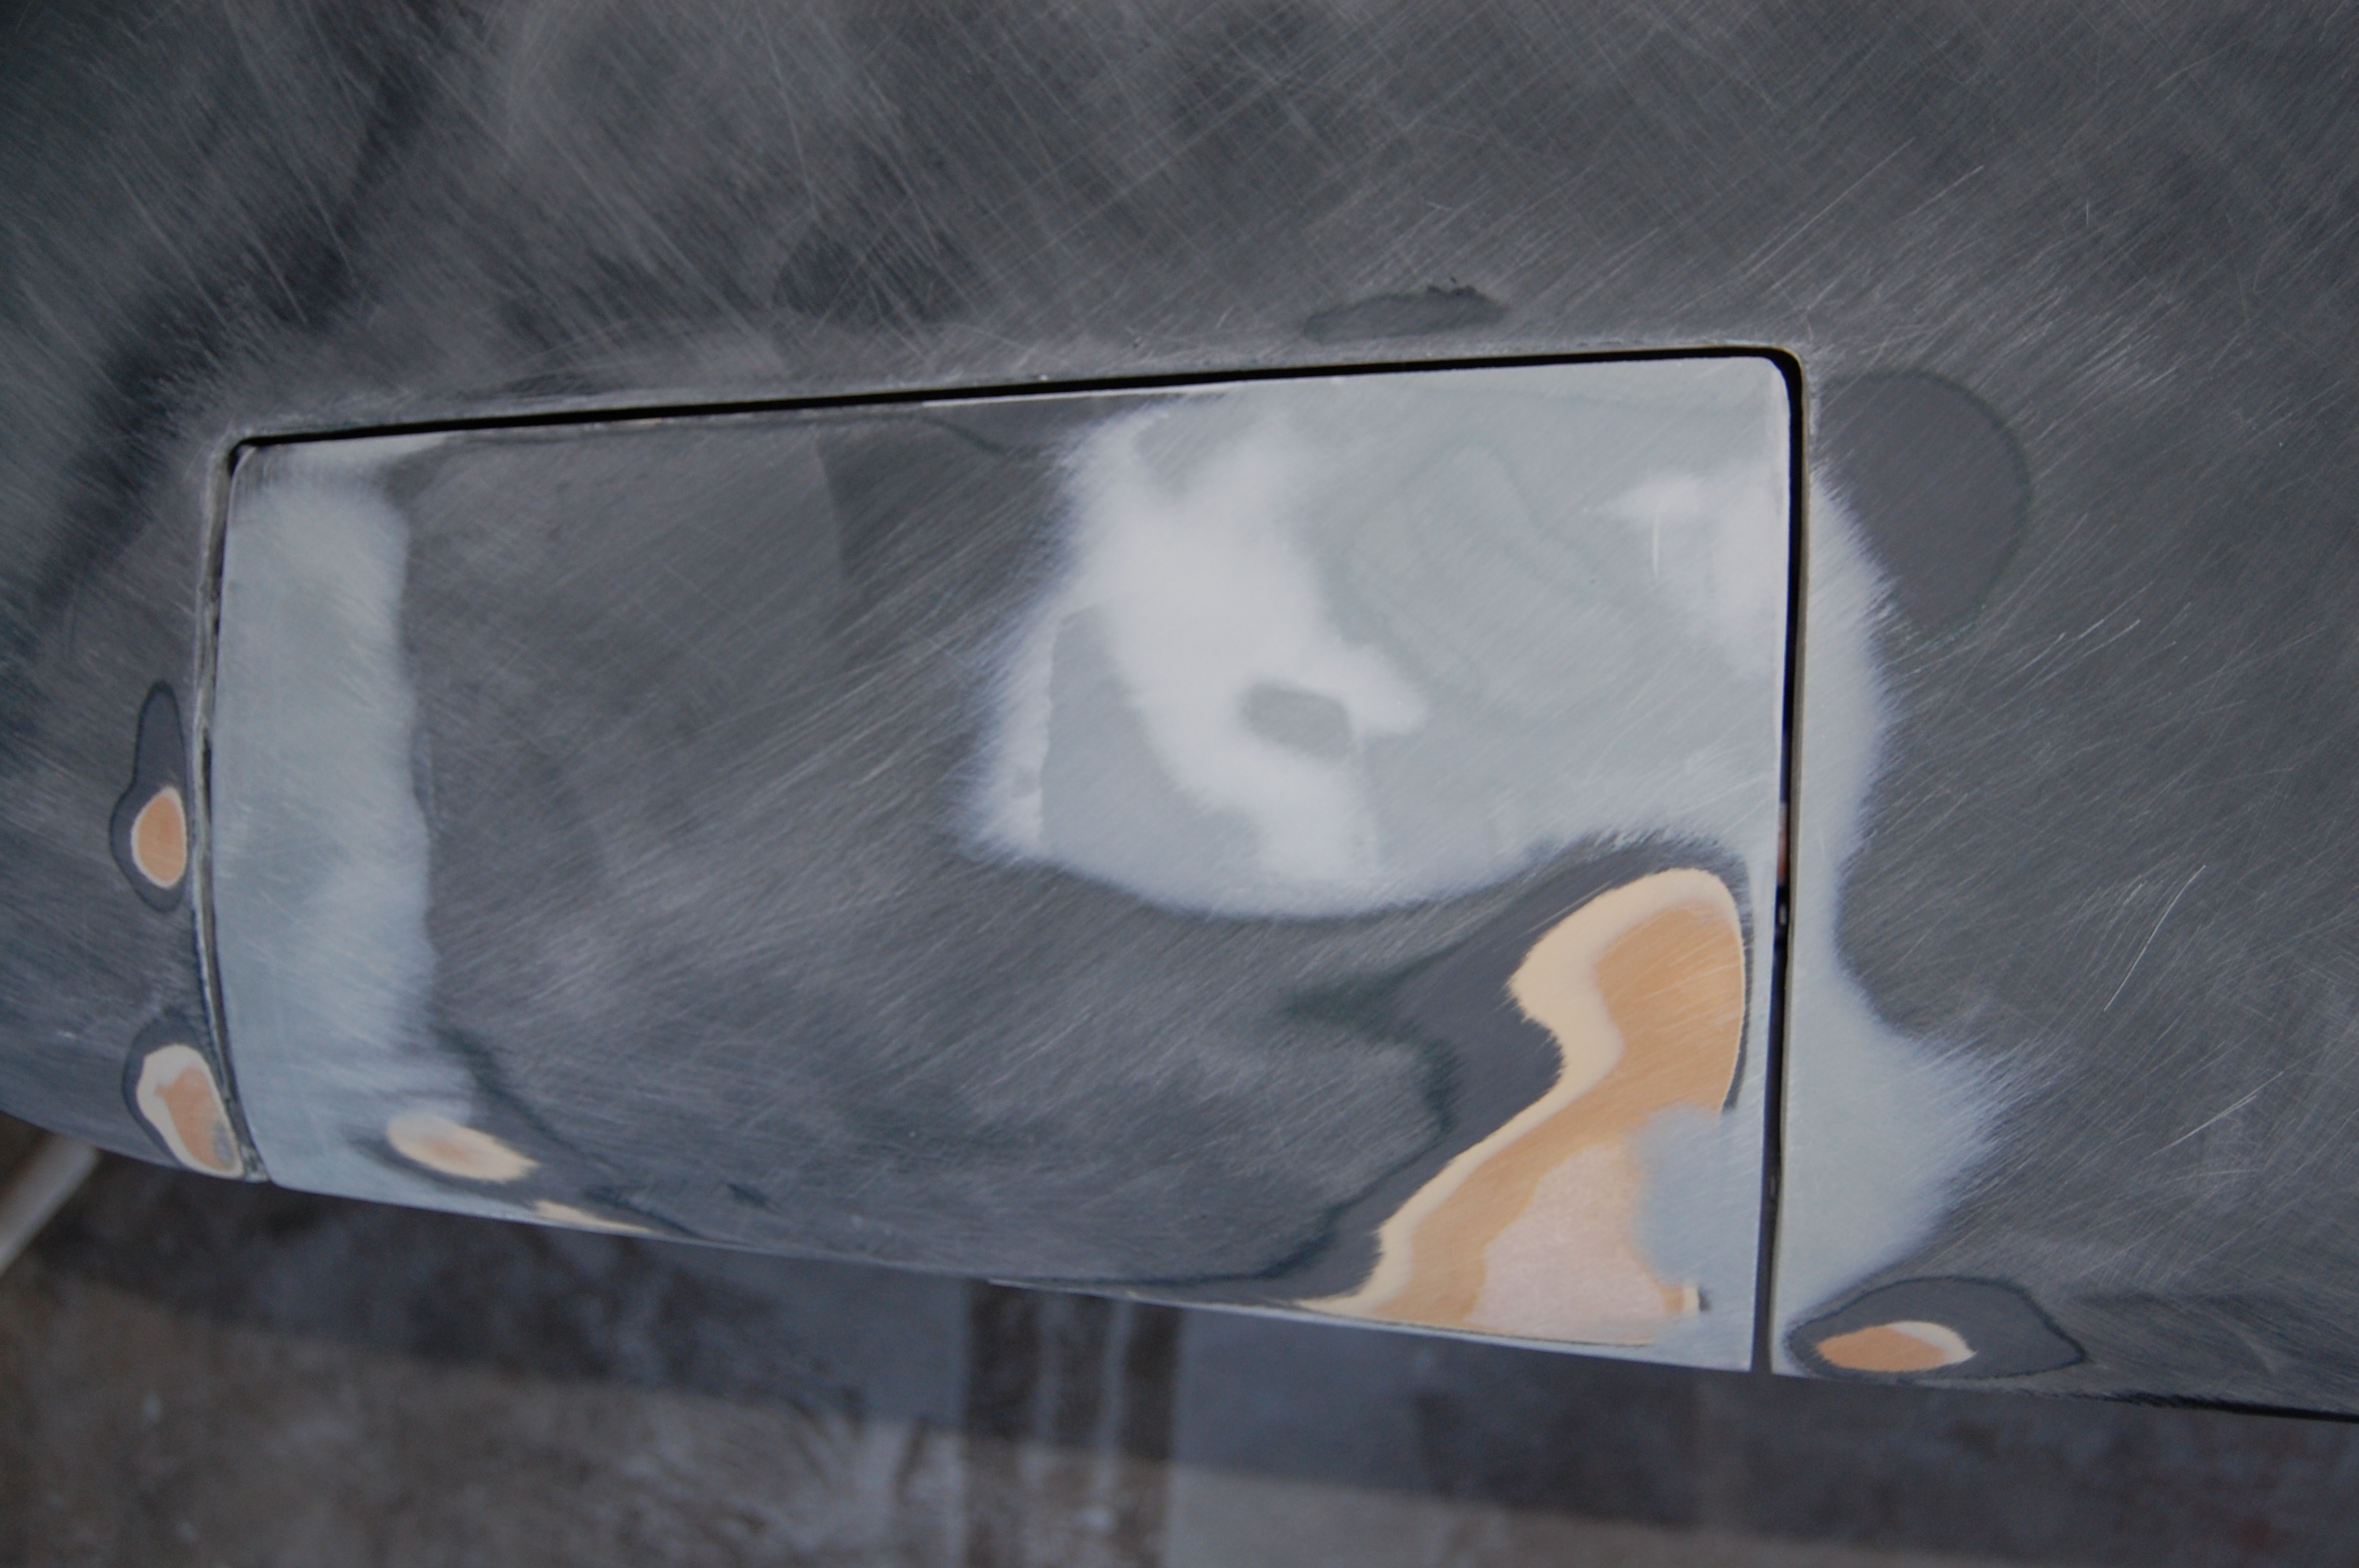
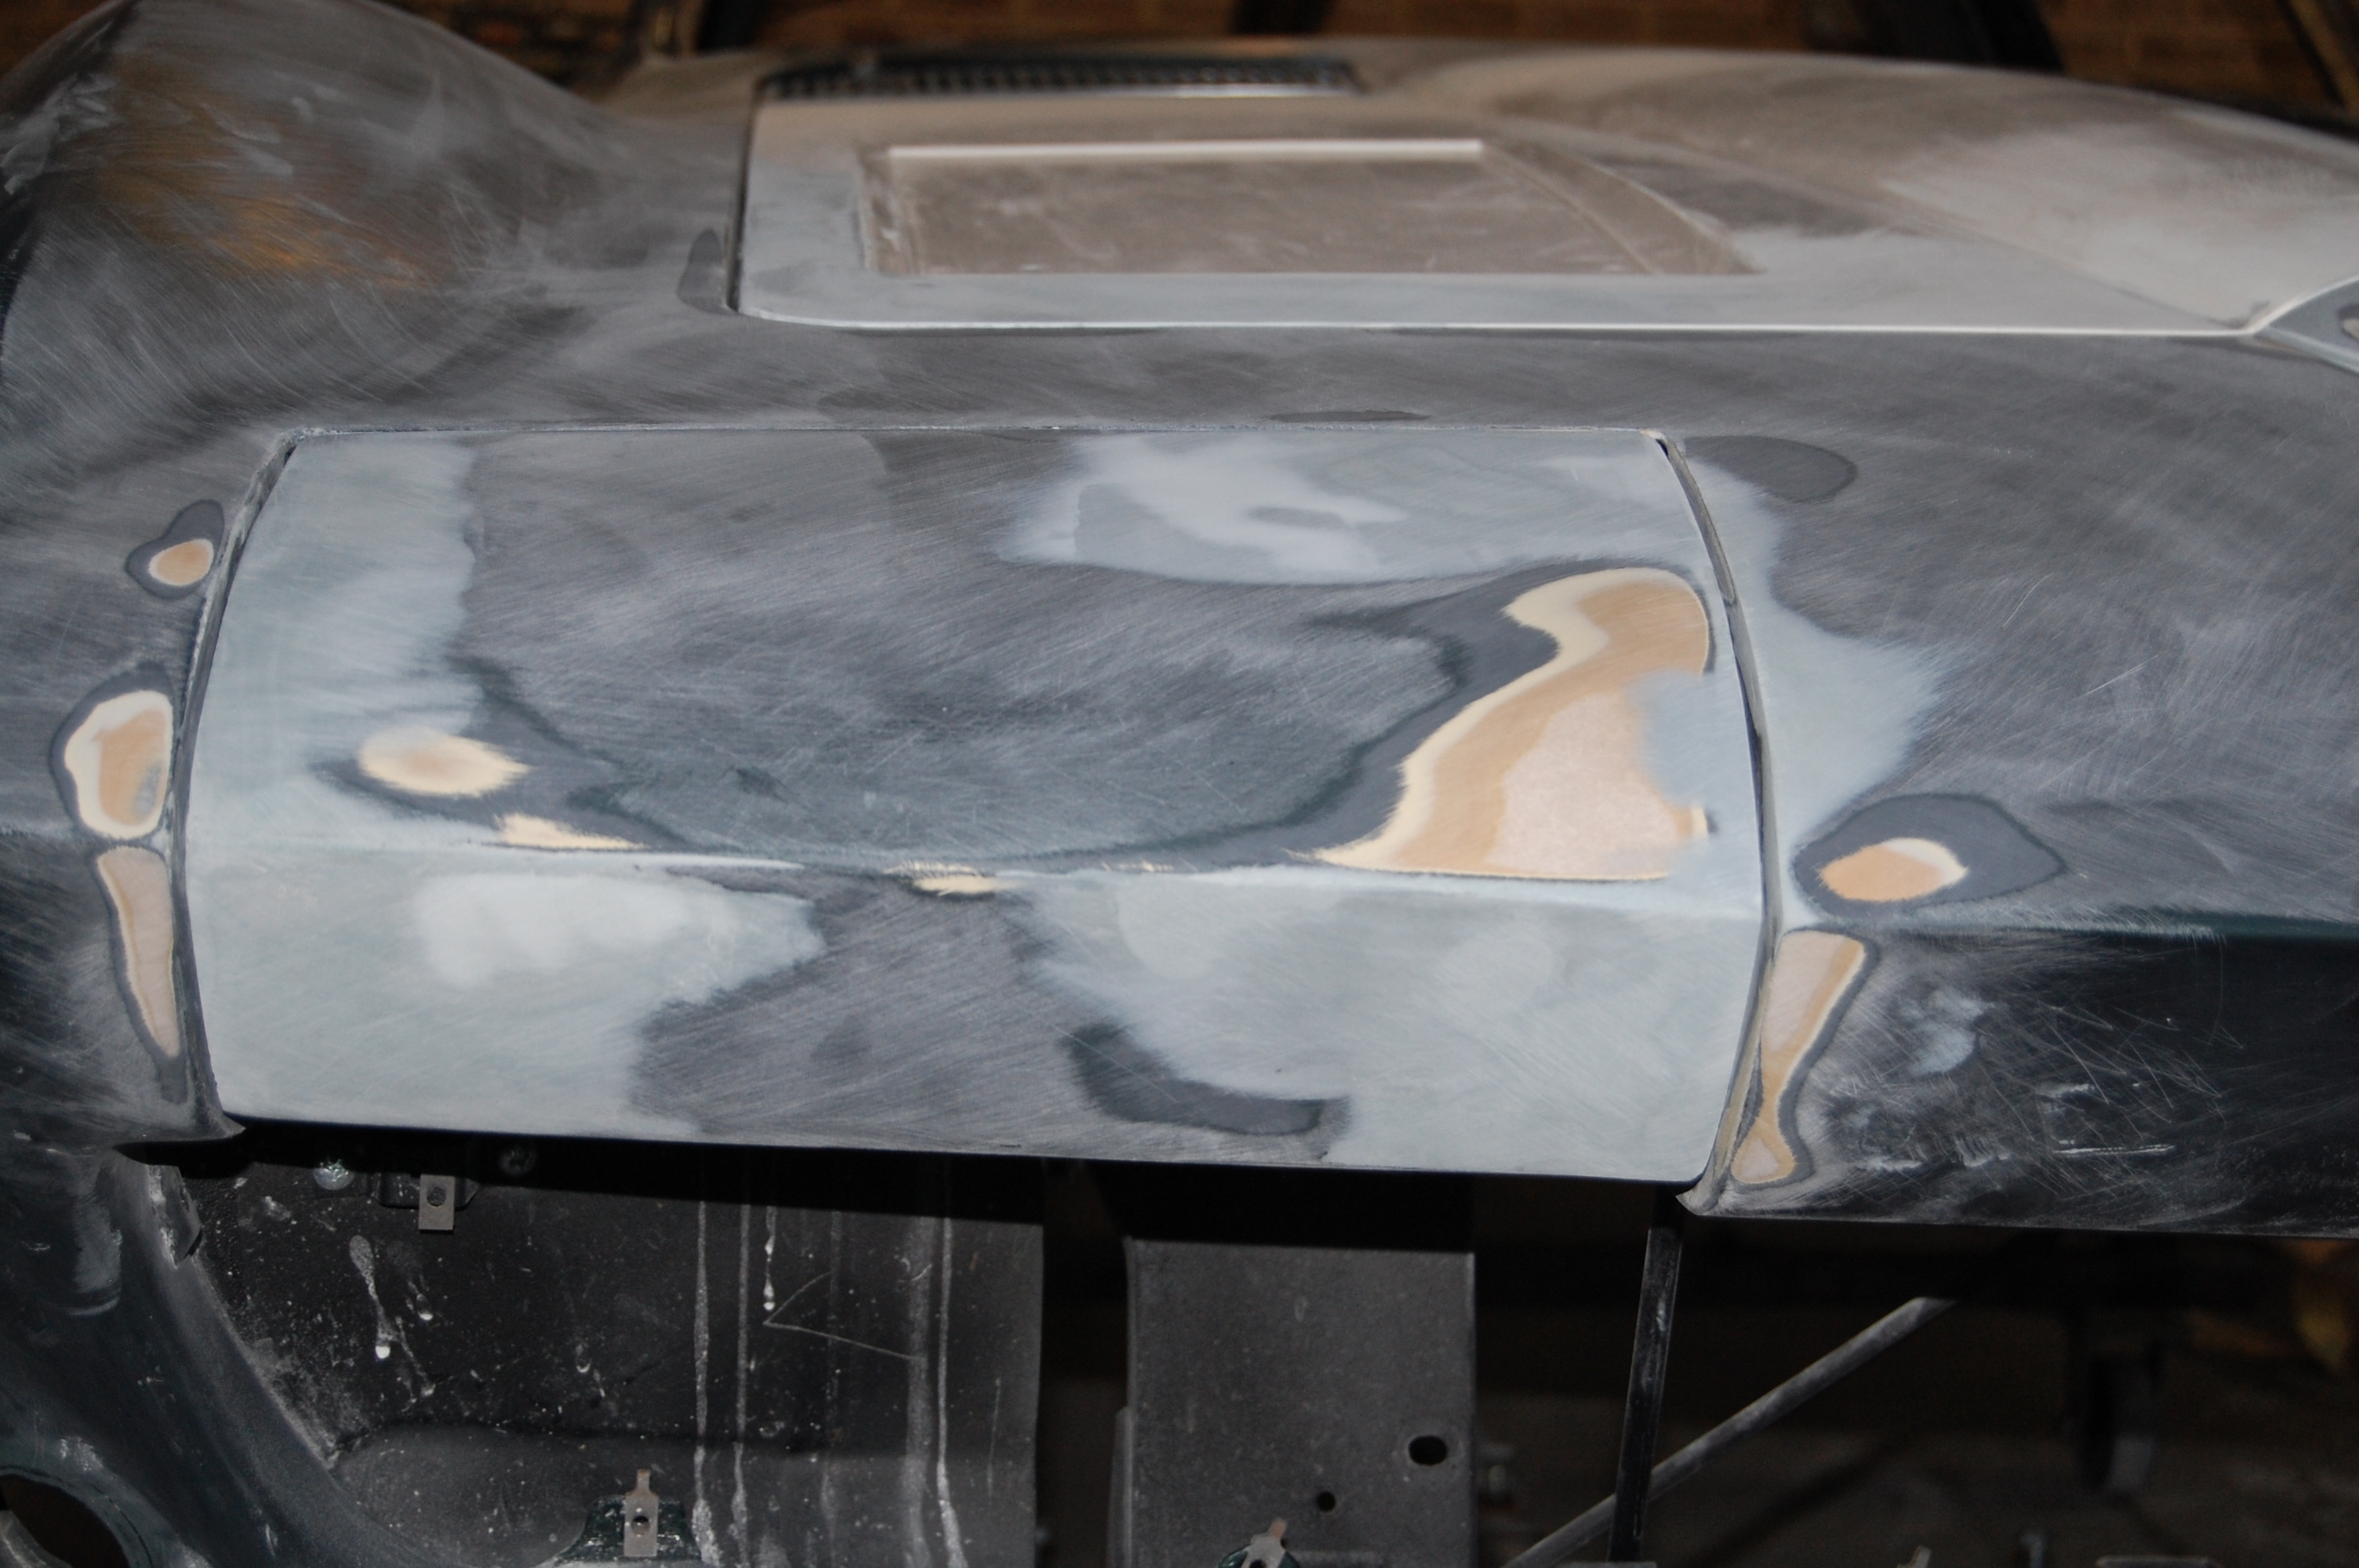
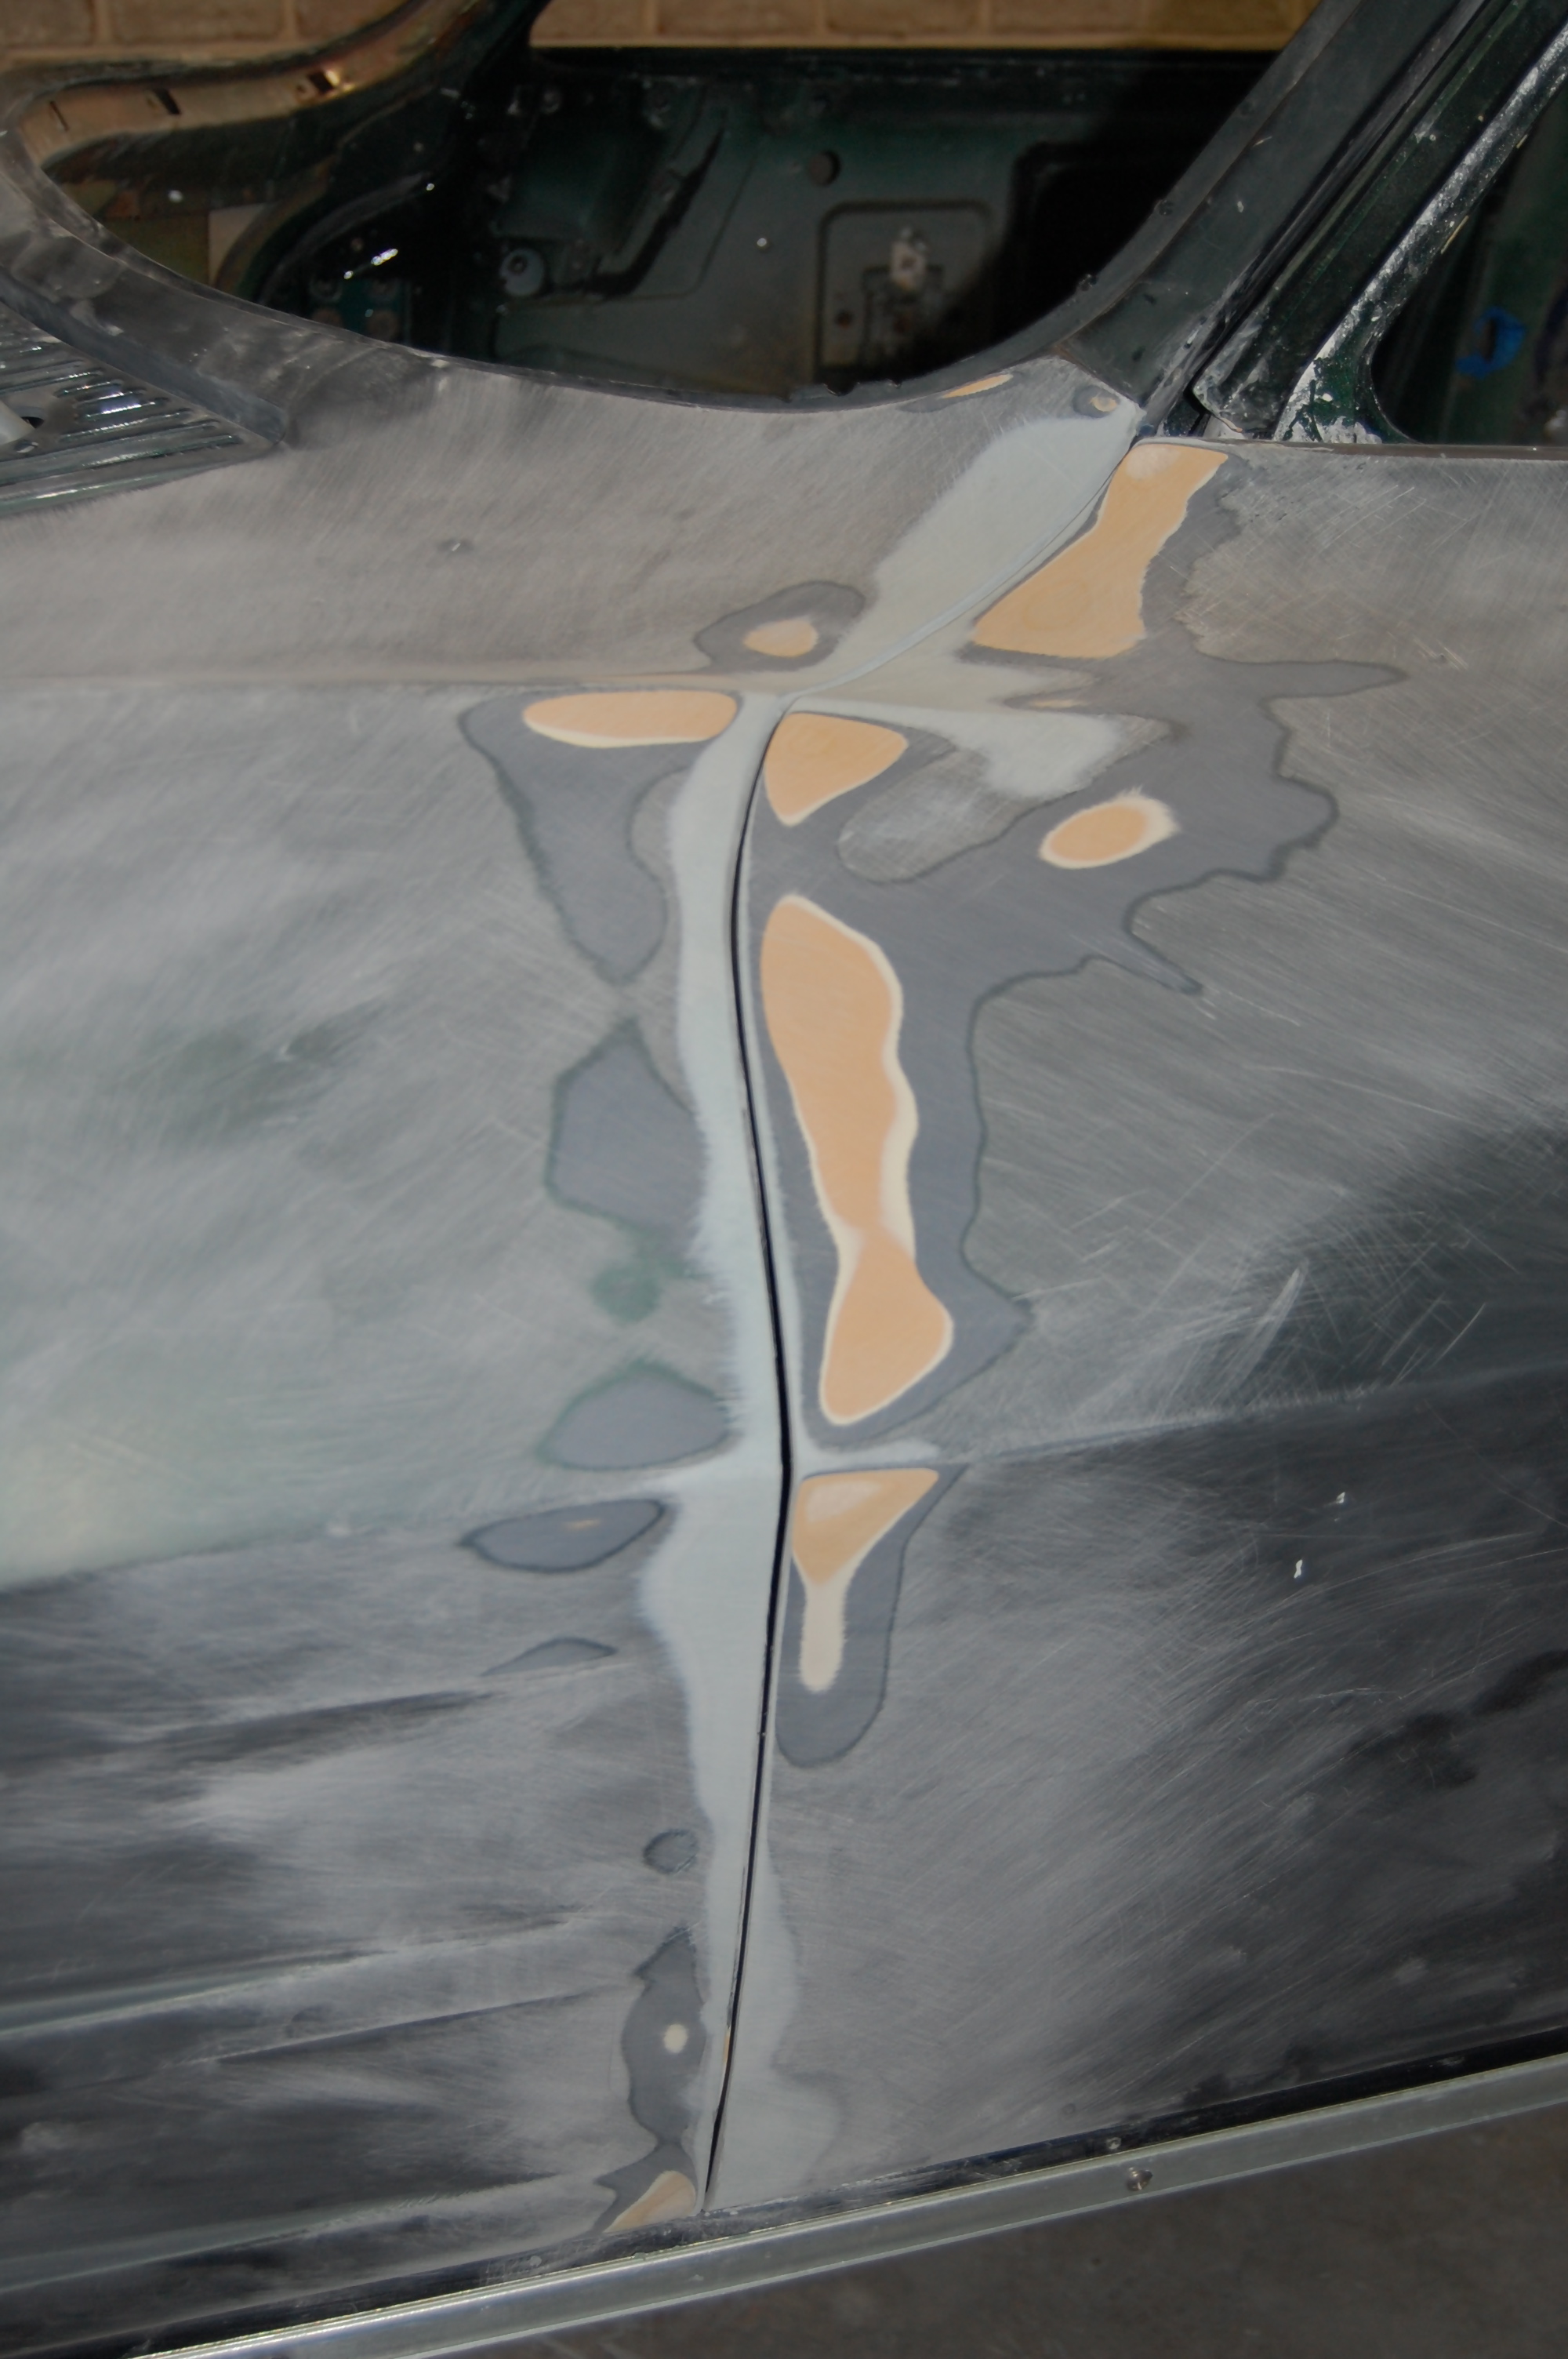
Finished narrowing the gap on the driver's side door and fitting the door to the roof, quarter, and fender. That only took 9 hours total. This is the first time i have narrowed the gaps on a Corvette body, so I'm pretty proud. The passenger side is not nearly as bad, so it shouldn't take quite as long.
The door stuck out past the roof panel just in front of the indentations previously , but that problem is now resolved.
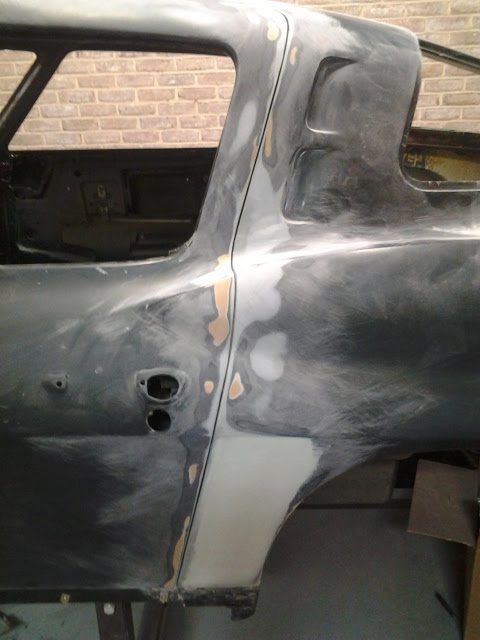
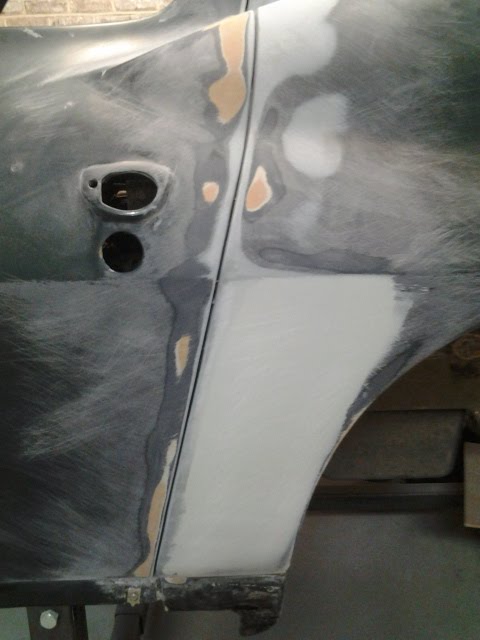
The door had a dipped down at the rear corner and sat lower than the body. It wasn't terrible, but it needed to be addressed.
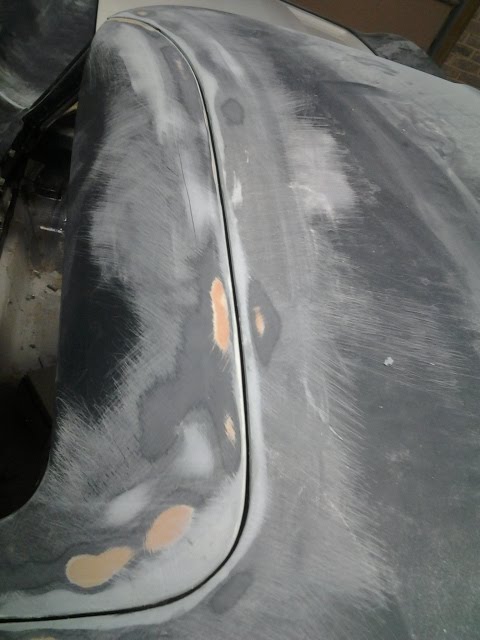
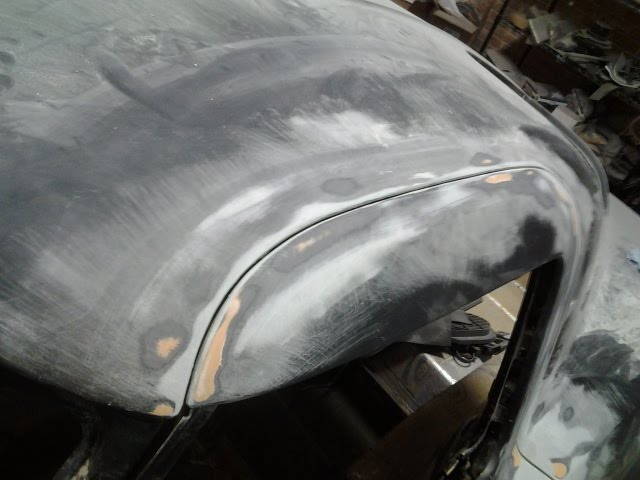
Front of door Before
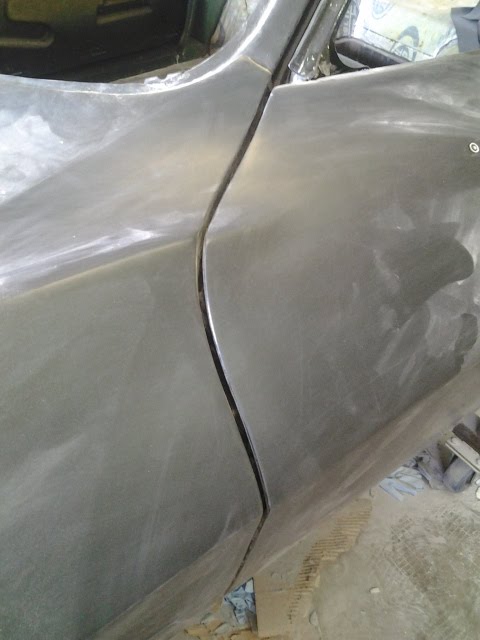
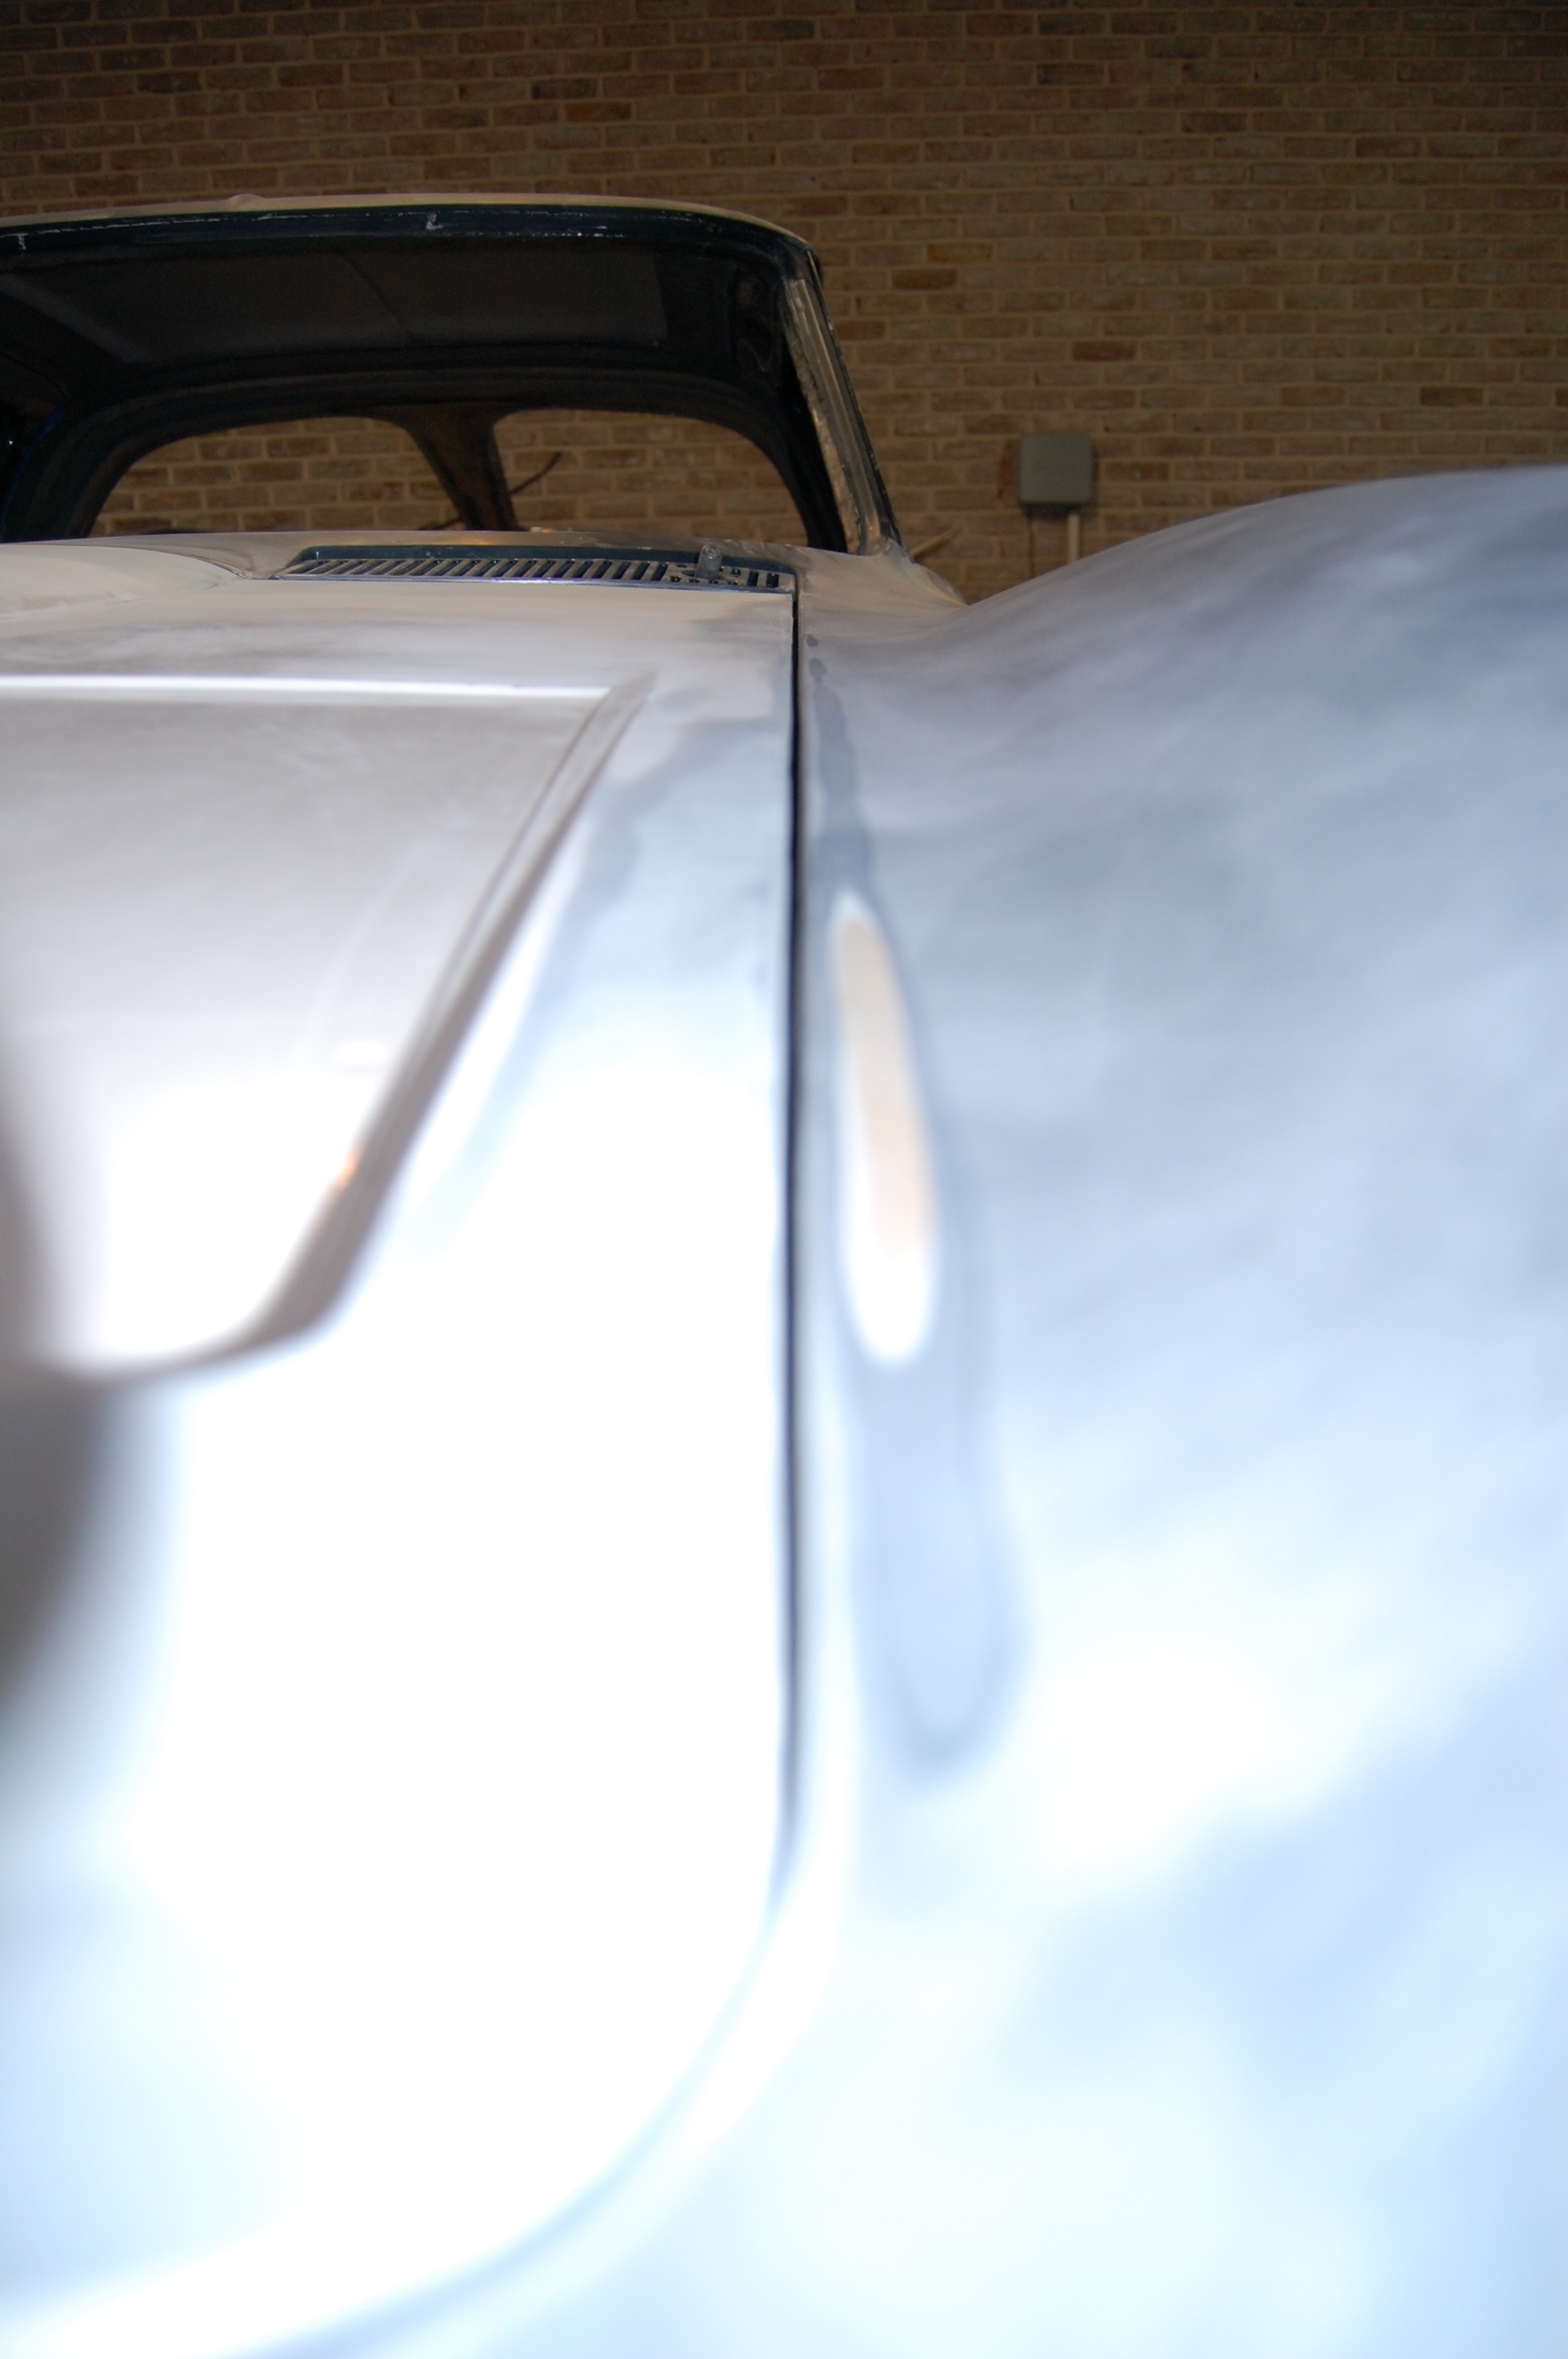
Front of door After. I will need to remove the door to finish smoothing things out.
Still a good bit of filling and smoothing to do on the passenger door, but the gap is already nice and tight after building up the jamb with evercoat vette panel filler.
The door stuck out past the roof panel just in front of the indentations previously , but that problem is now resolved.
The door had a dipped down at the rear corner and sat lower than the body. It wasn't terrible, but it needed to be addressed.
Front of door Before
Front of door After. I will need to remove the door to finish smoothing things out.
Still a good bit of filling and smoothing to do on the passenger door, but the gap is already nice and tight after building up the jamb with evercoat vette panel filler.
Last edited by 65silververt; 09-04-2013 at 10:42 PM.
09-07-2013, 08:19 PM
#68
Intermediate

Member Since: Jun 2006
Location: Pahrump NV
Posts: 29
Likes: 0
Received 0 Likes
on
0 Posts

I am thinking that I would like a center console coming off the stock one. Oh, a 63 Coupe. I want to get rid of the shift lever and replace it with either a paddle shifter, or pushbuttons. (Shades of my 57 Chrysler 300).
Has anyone tried this, or even thought about it? John??
Marty McDonough
Pahrump, NV
Has anyone tried this, or even thought about it? John??
Marty McDonough
Pahrump, NV

 09-07-2013, 09:03 PM
#70
Le Mans Master

Nice work on the door gaps. Just a word of caution, having done this before. Be very careful of too tight of a gap.....unless you have new body mounts currently installed and you are doing this "on the frame" now.
Even at that, body mounts change over time as they deteriorate. This may cause your gaps to tighten up over time.
Just sayin'
Great job BTW
Even at that, body mounts change over time as they deteriorate. This may cause your gaps to tighten up over time.
Just sayin'
Great job BTW

 09-08-2013, 11:16 AM
#74
Safety Car
Thread Starter
Sand and shape more. 18 hours in one door. Good times! I had the weatherstrip in the door, but did not have the upper strips in because they were temporarily hiding in my attic.
09-12-2013, 08:58 PM
#75
Safety Car
Thread Starter
119 hours Oh yes, i am starting to have a whole new appreciation for people that do body work day in and day out. Miserable!!! I have a vicious case of tennis elbow from fitting the hood! A lot more sanding ahead and then i need to finish fitting the passenger door. After that, the car will sit inside for 3 days to let the fillers completely cure under normal heat conditions. Then it will be time for it to go out in the sun for 3 days before the car is sprayed with Epoxy primer.
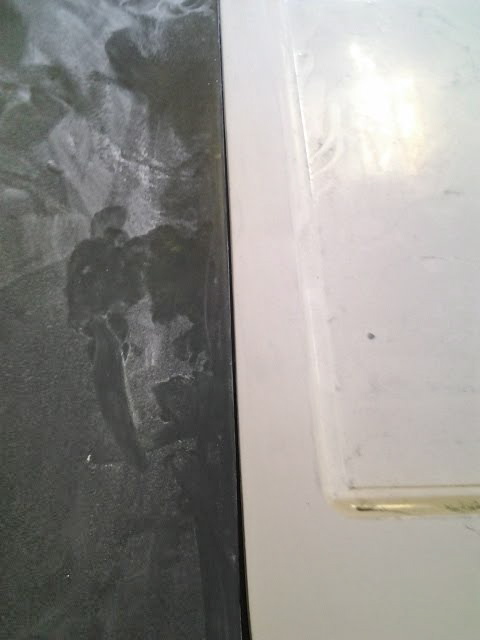
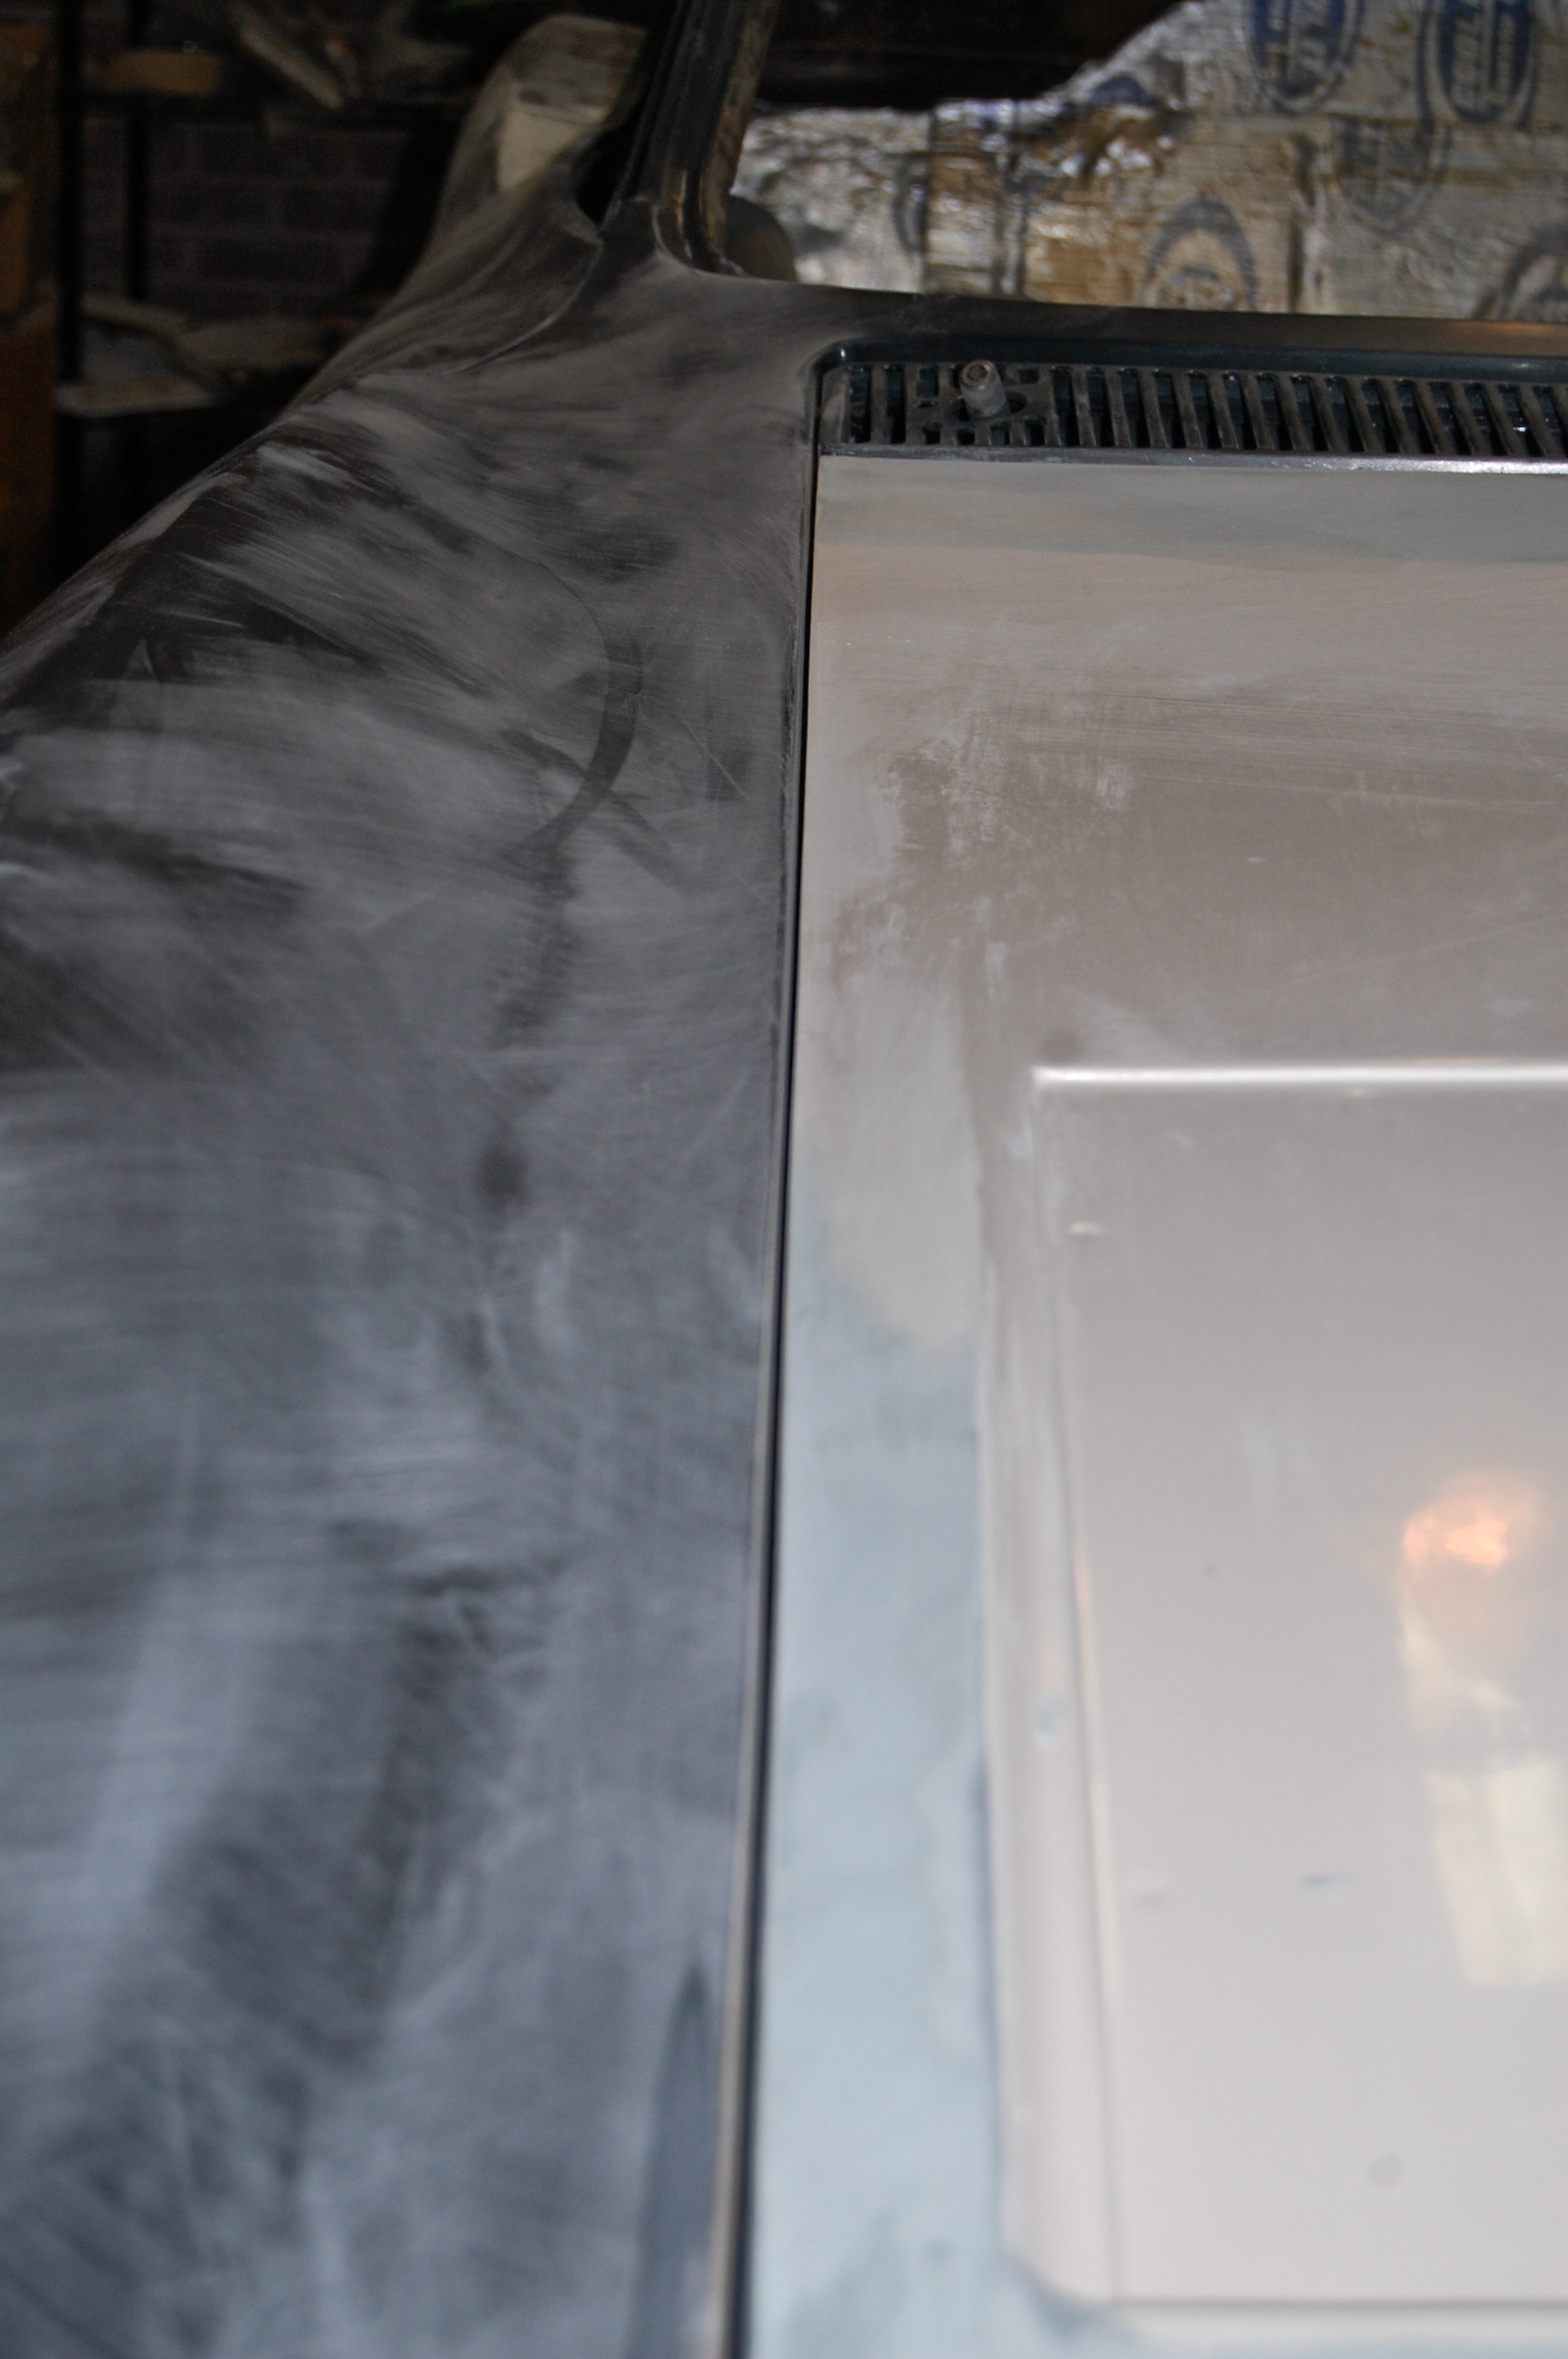
IF you purchase a new hood, order it in two pieces and bond it together yourself with 3m panel bond.
This was the worst fitting spot on the hood. This was not a low quality hood either, it is from sermersheim.
Before
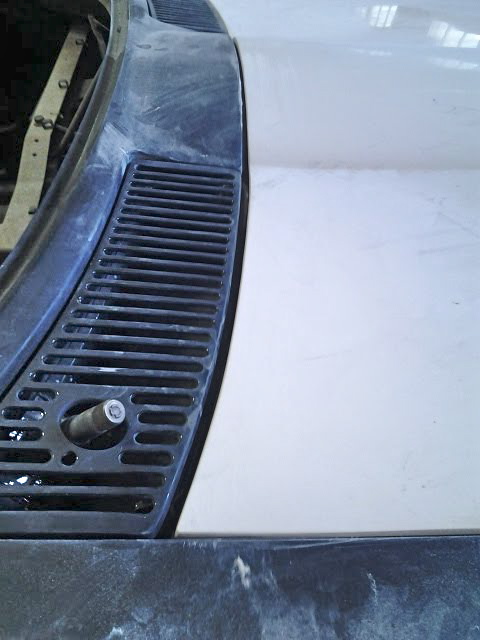
After
Before-Zero space on passenger side
After
Front Before-No space and sat way too low at front edges.
After
Driver's side before-too wide
Driver's side after
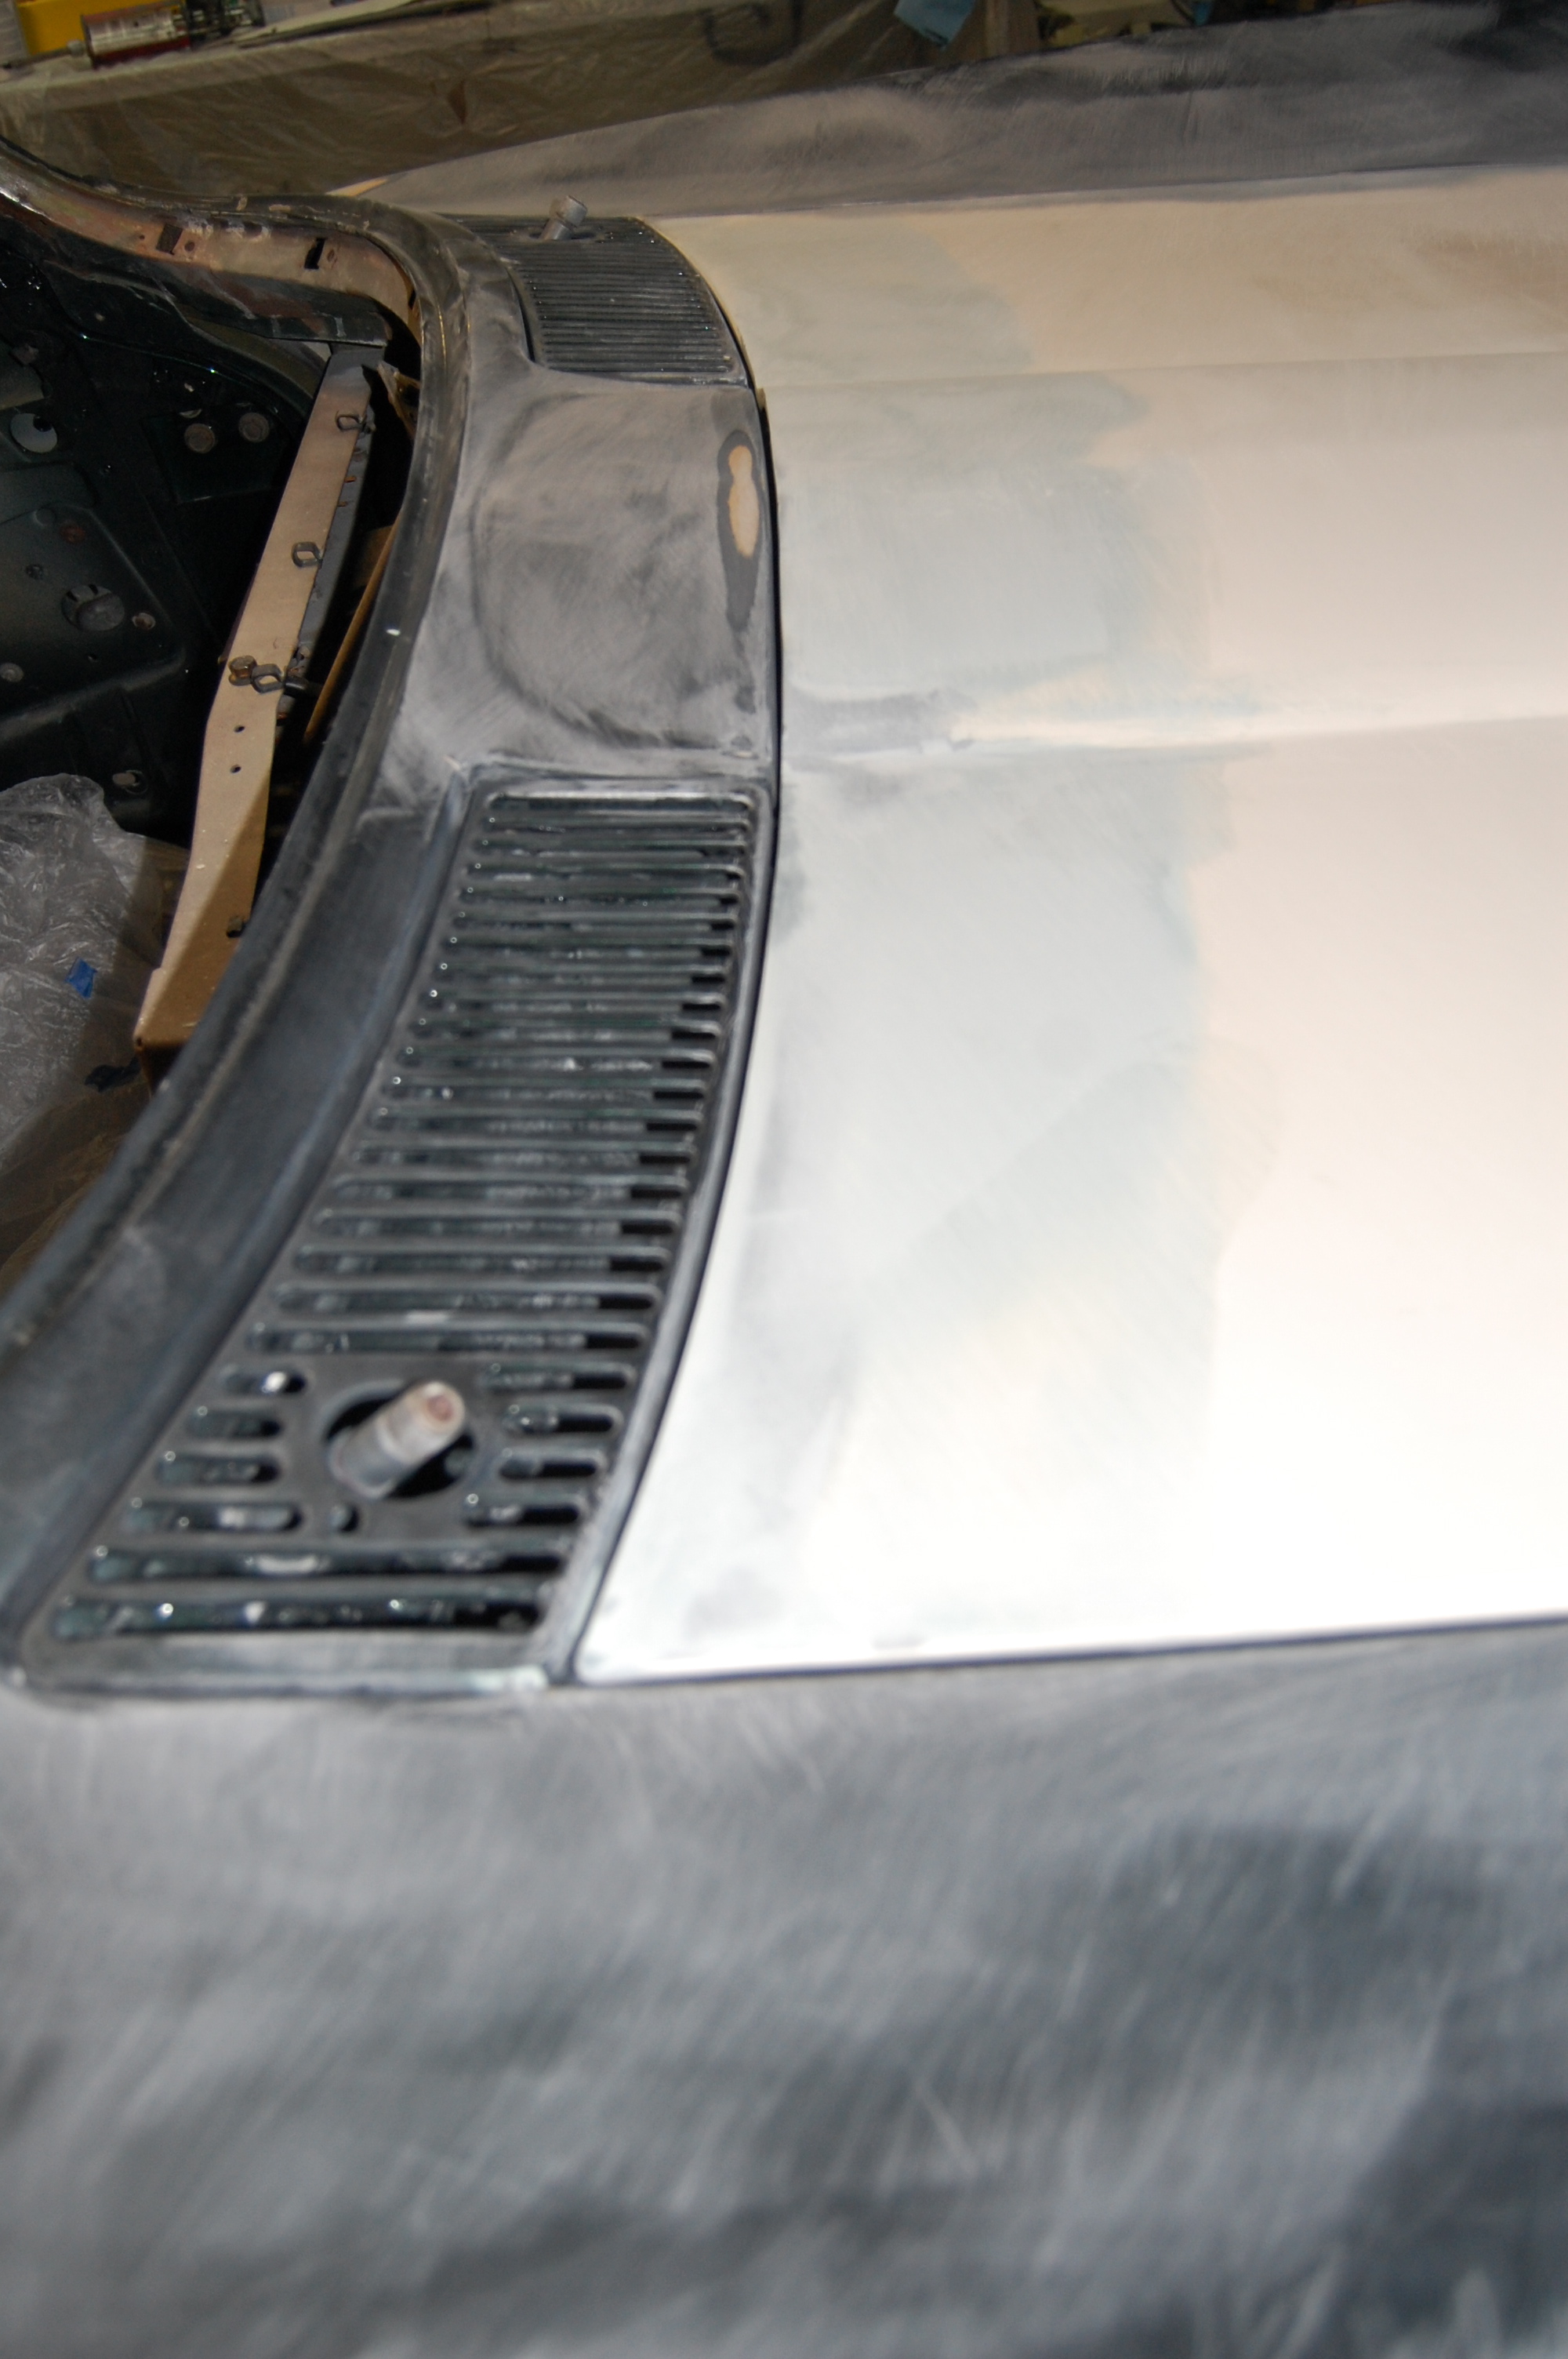
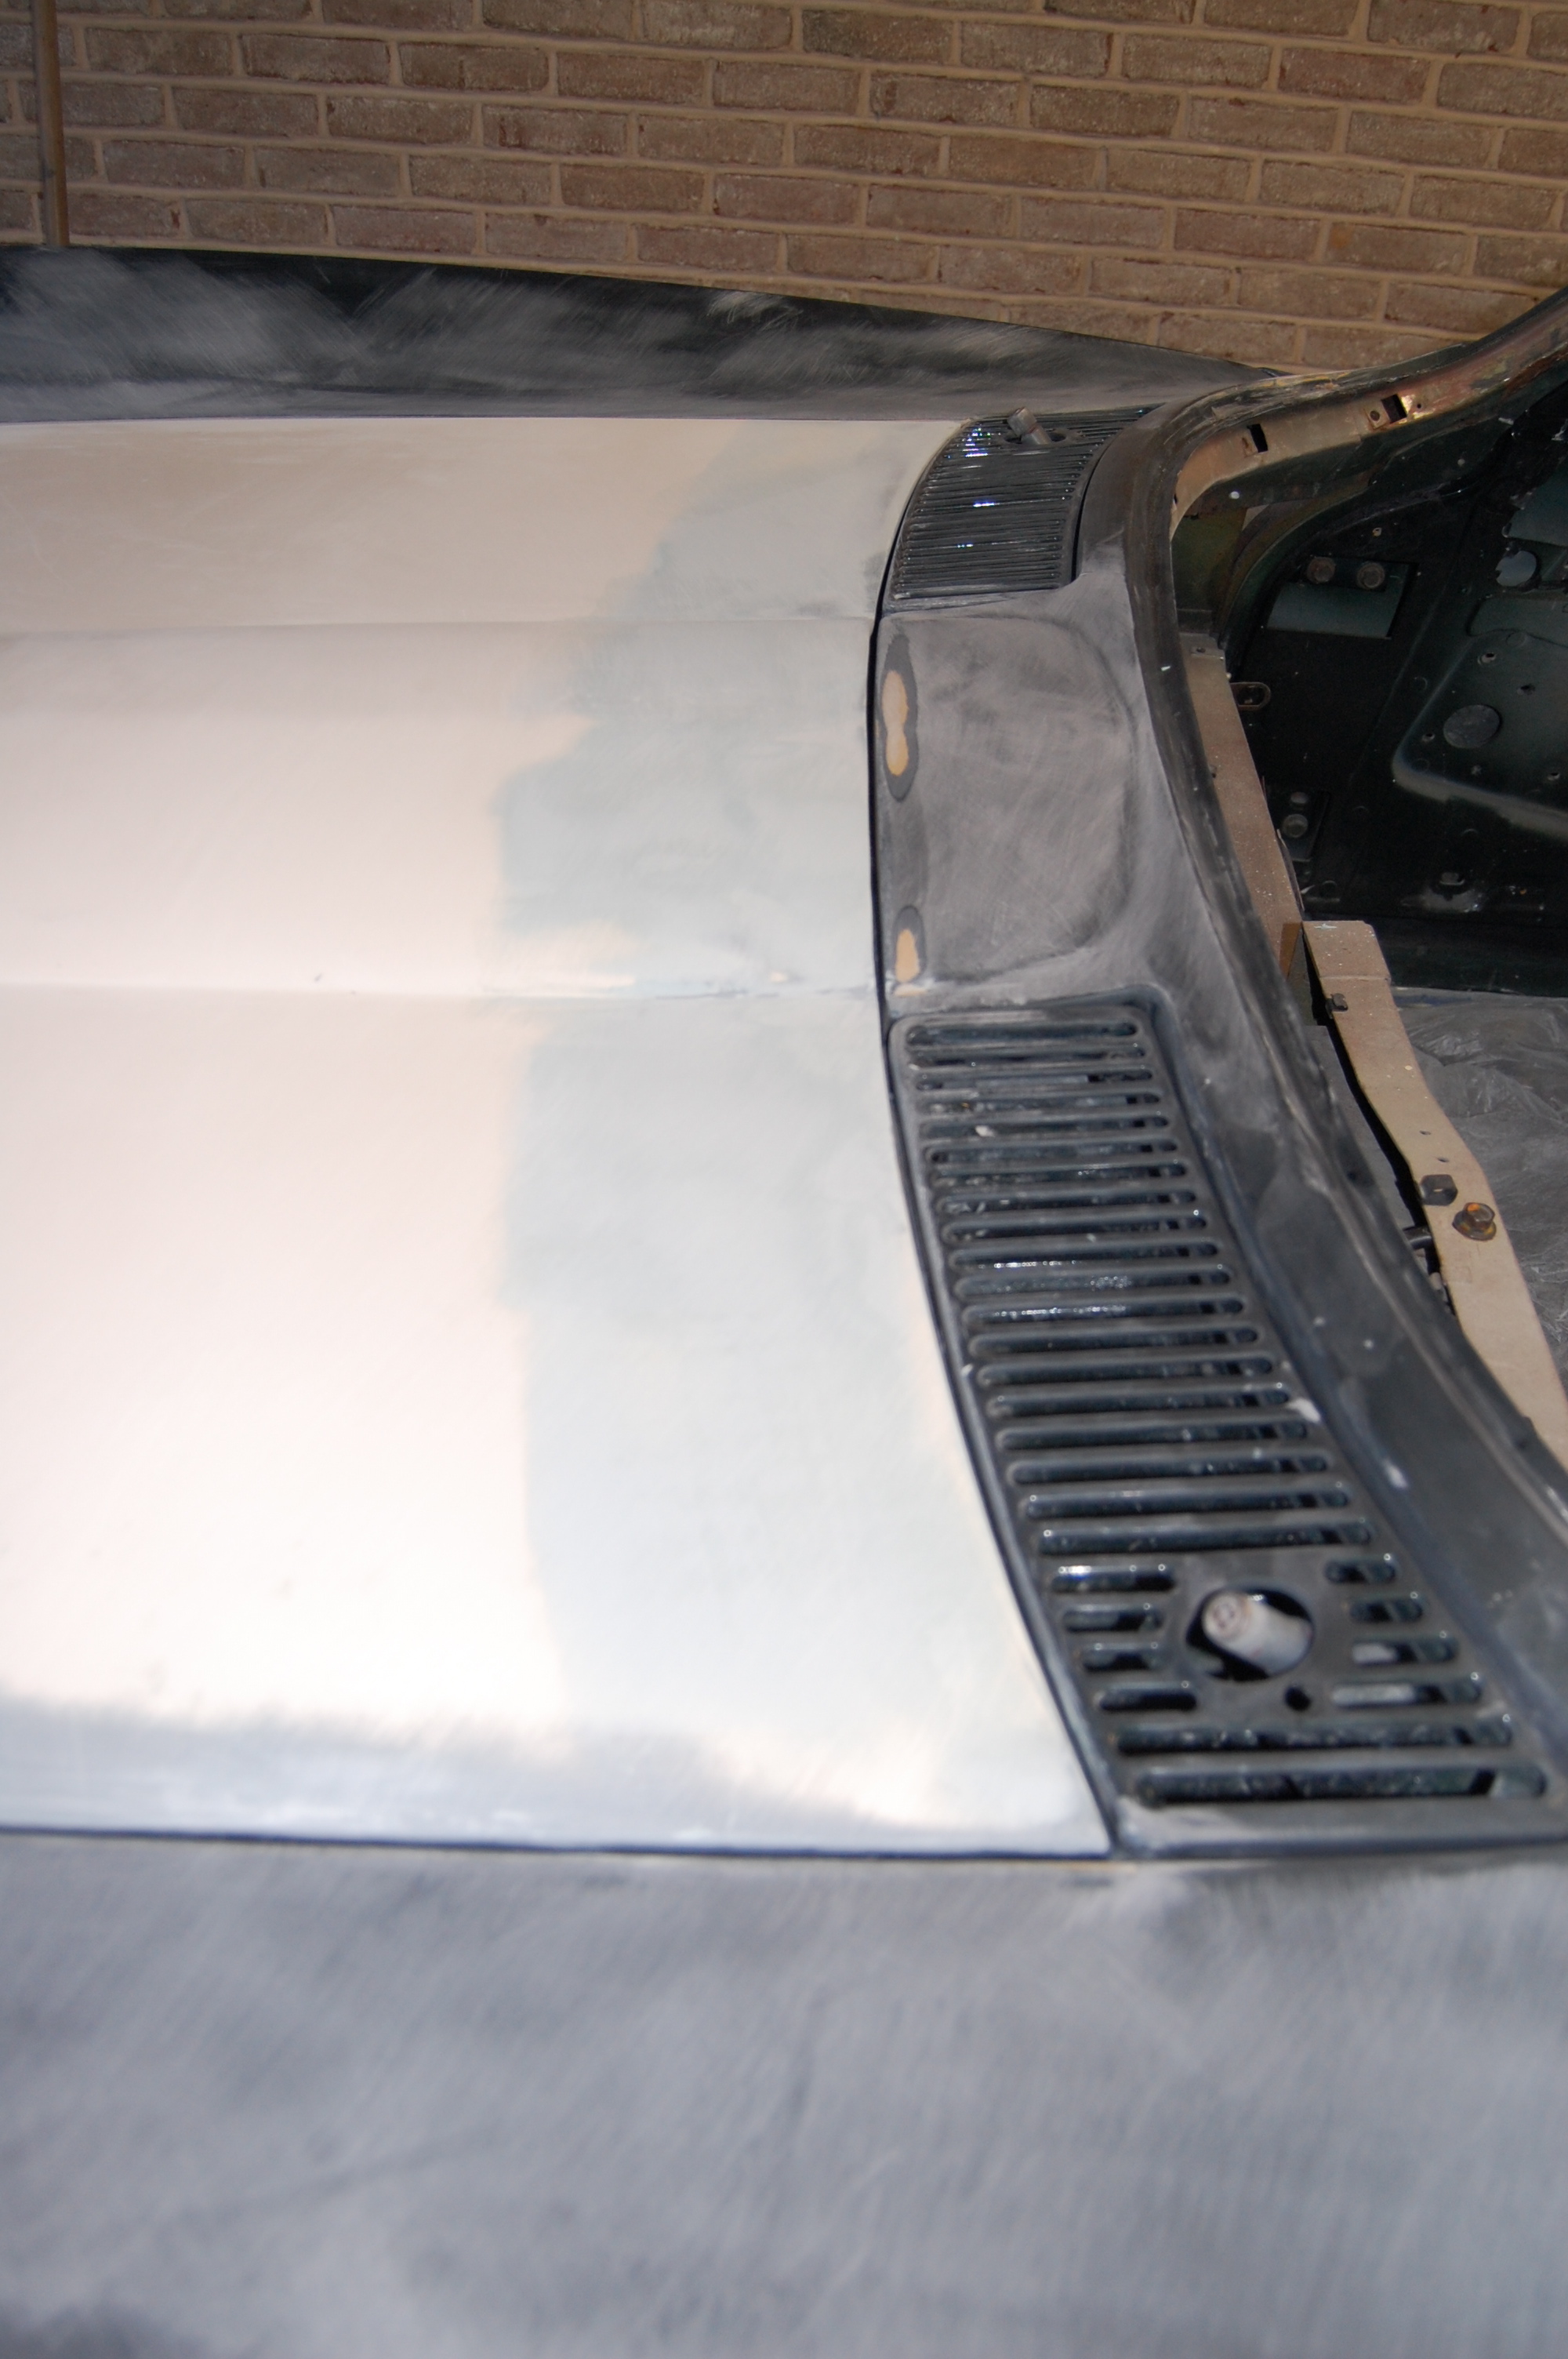
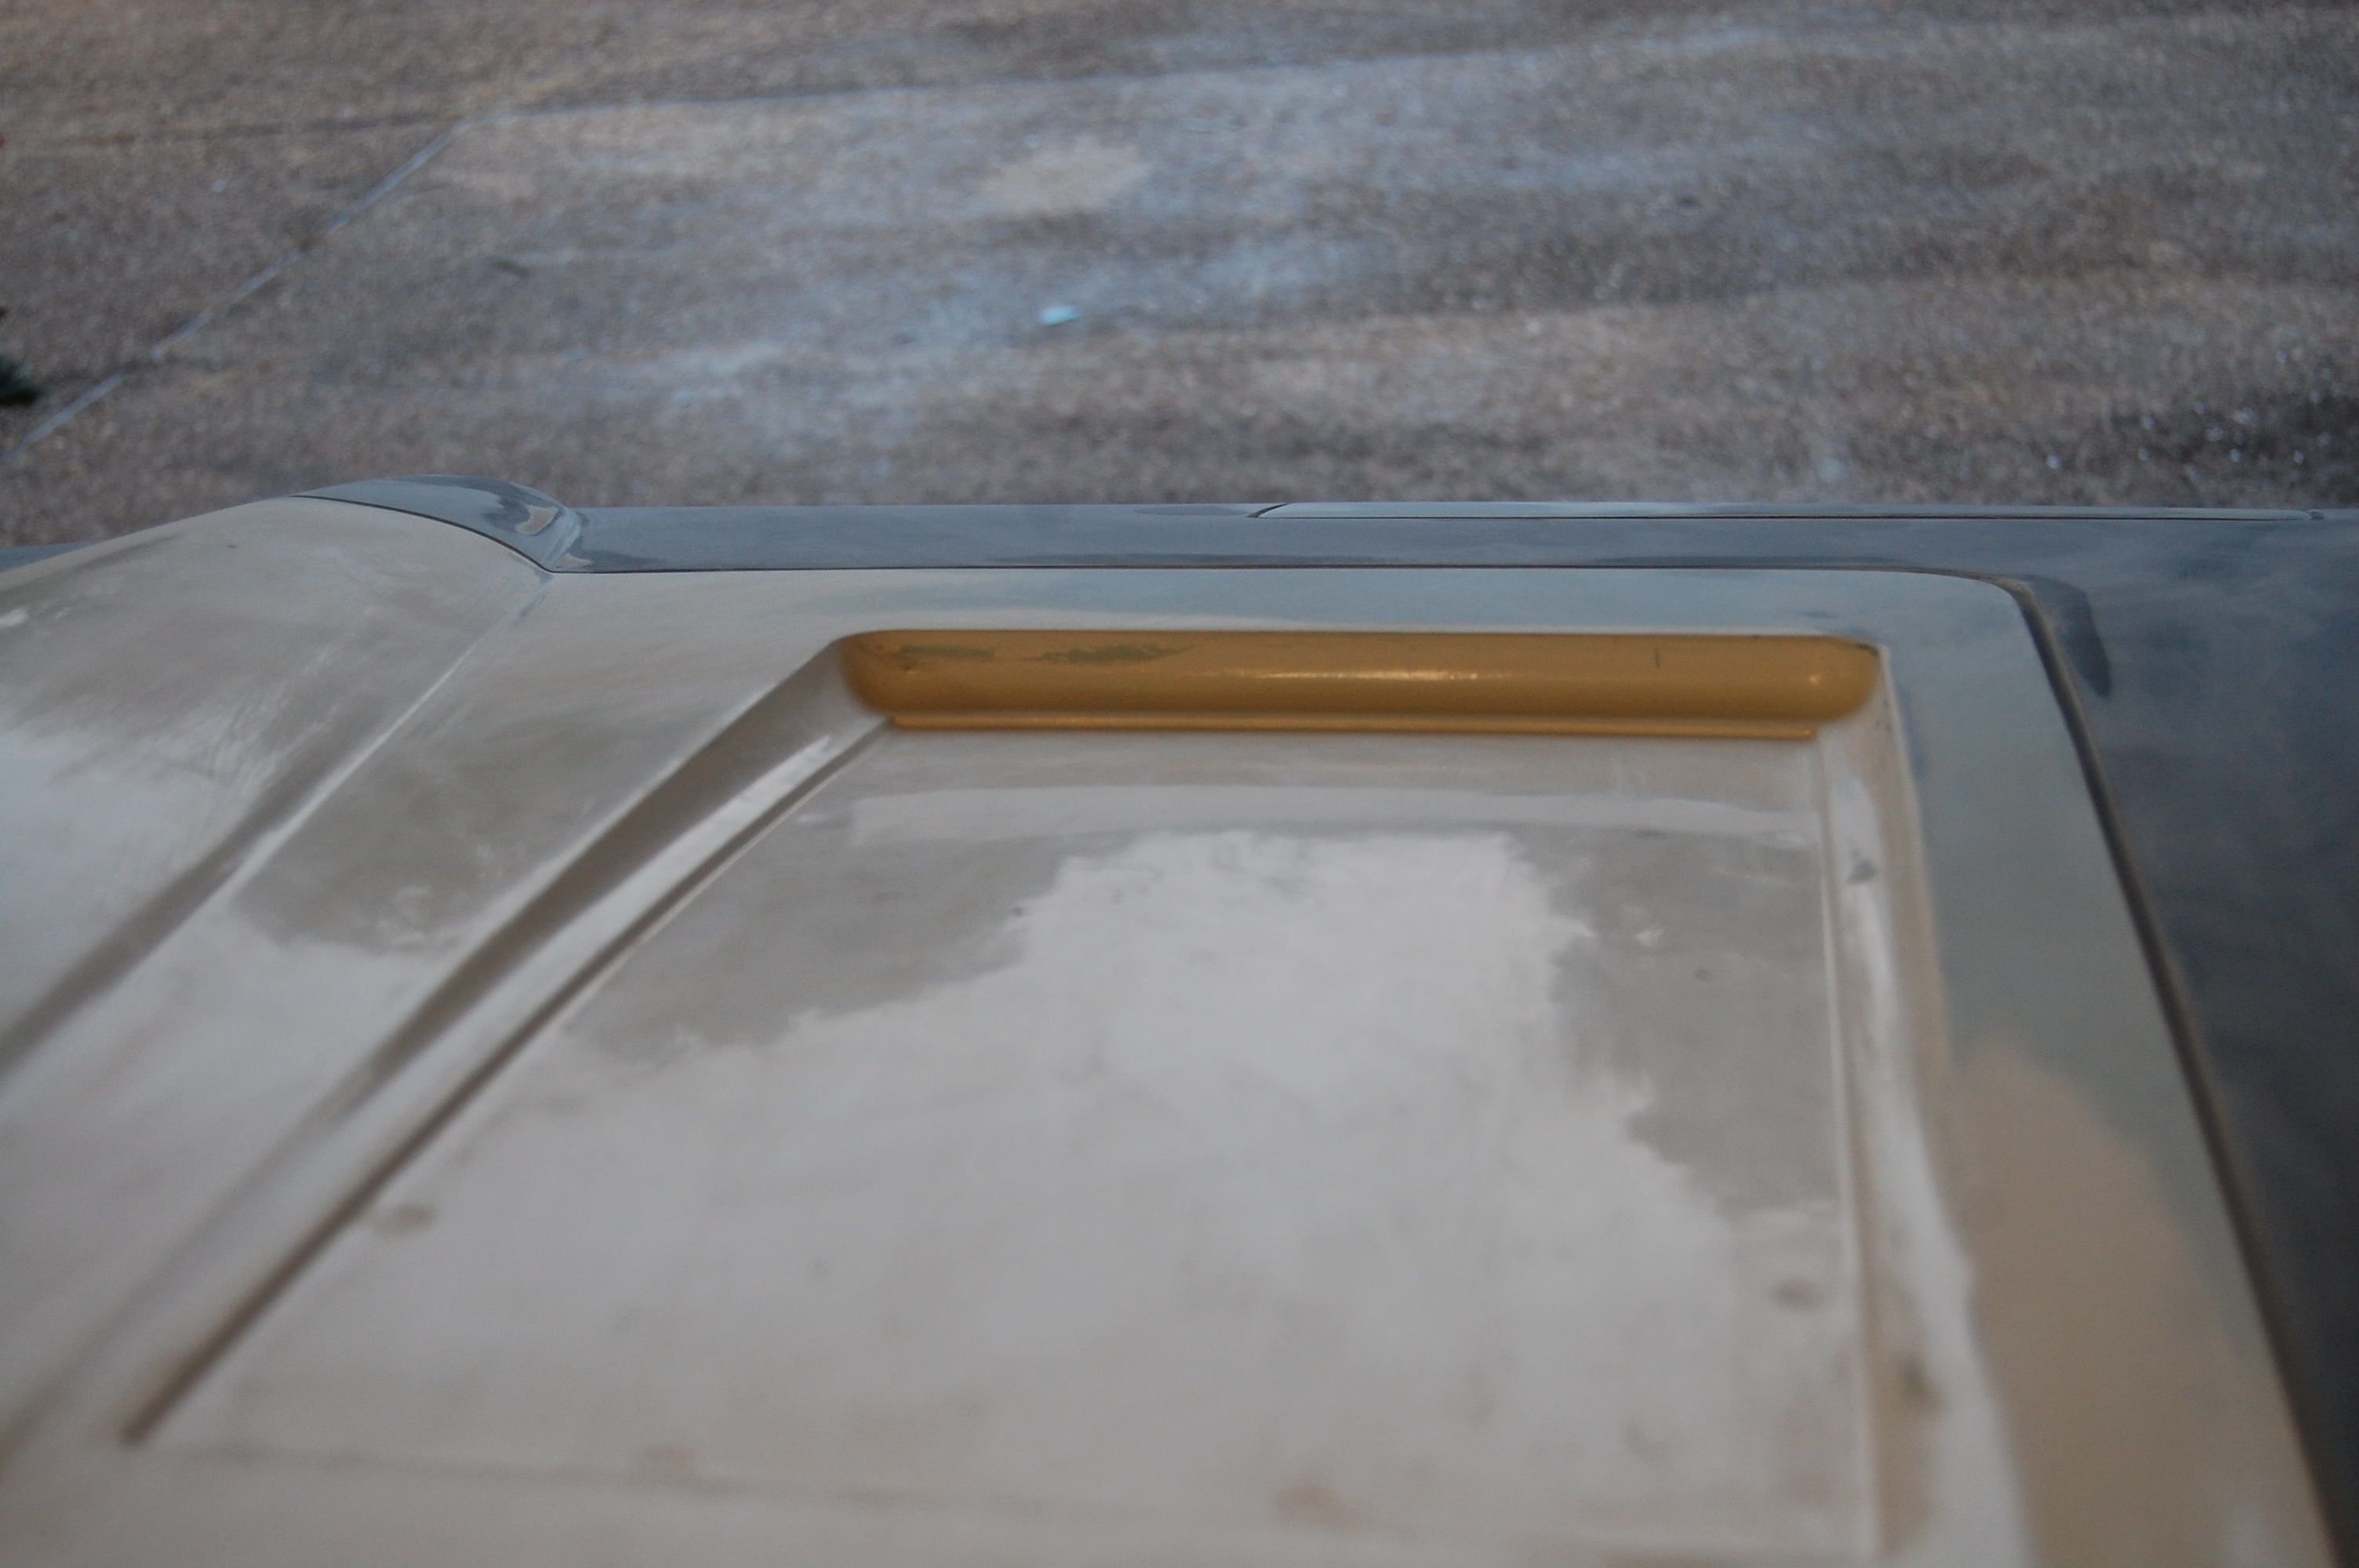
Had an issue with the headlamp bucket...the casing was too narrow and the bezel was to wide. So, i has to shave the edge of the bezel and build up the casing. Once i had it properly aligned, i had to build up the inboard corner and the front of the casing at the lower nose portion of the surround.
Before
After
Both Required attention, but the driver's side was not nearly as bad.

Front of driver's door is finally finished
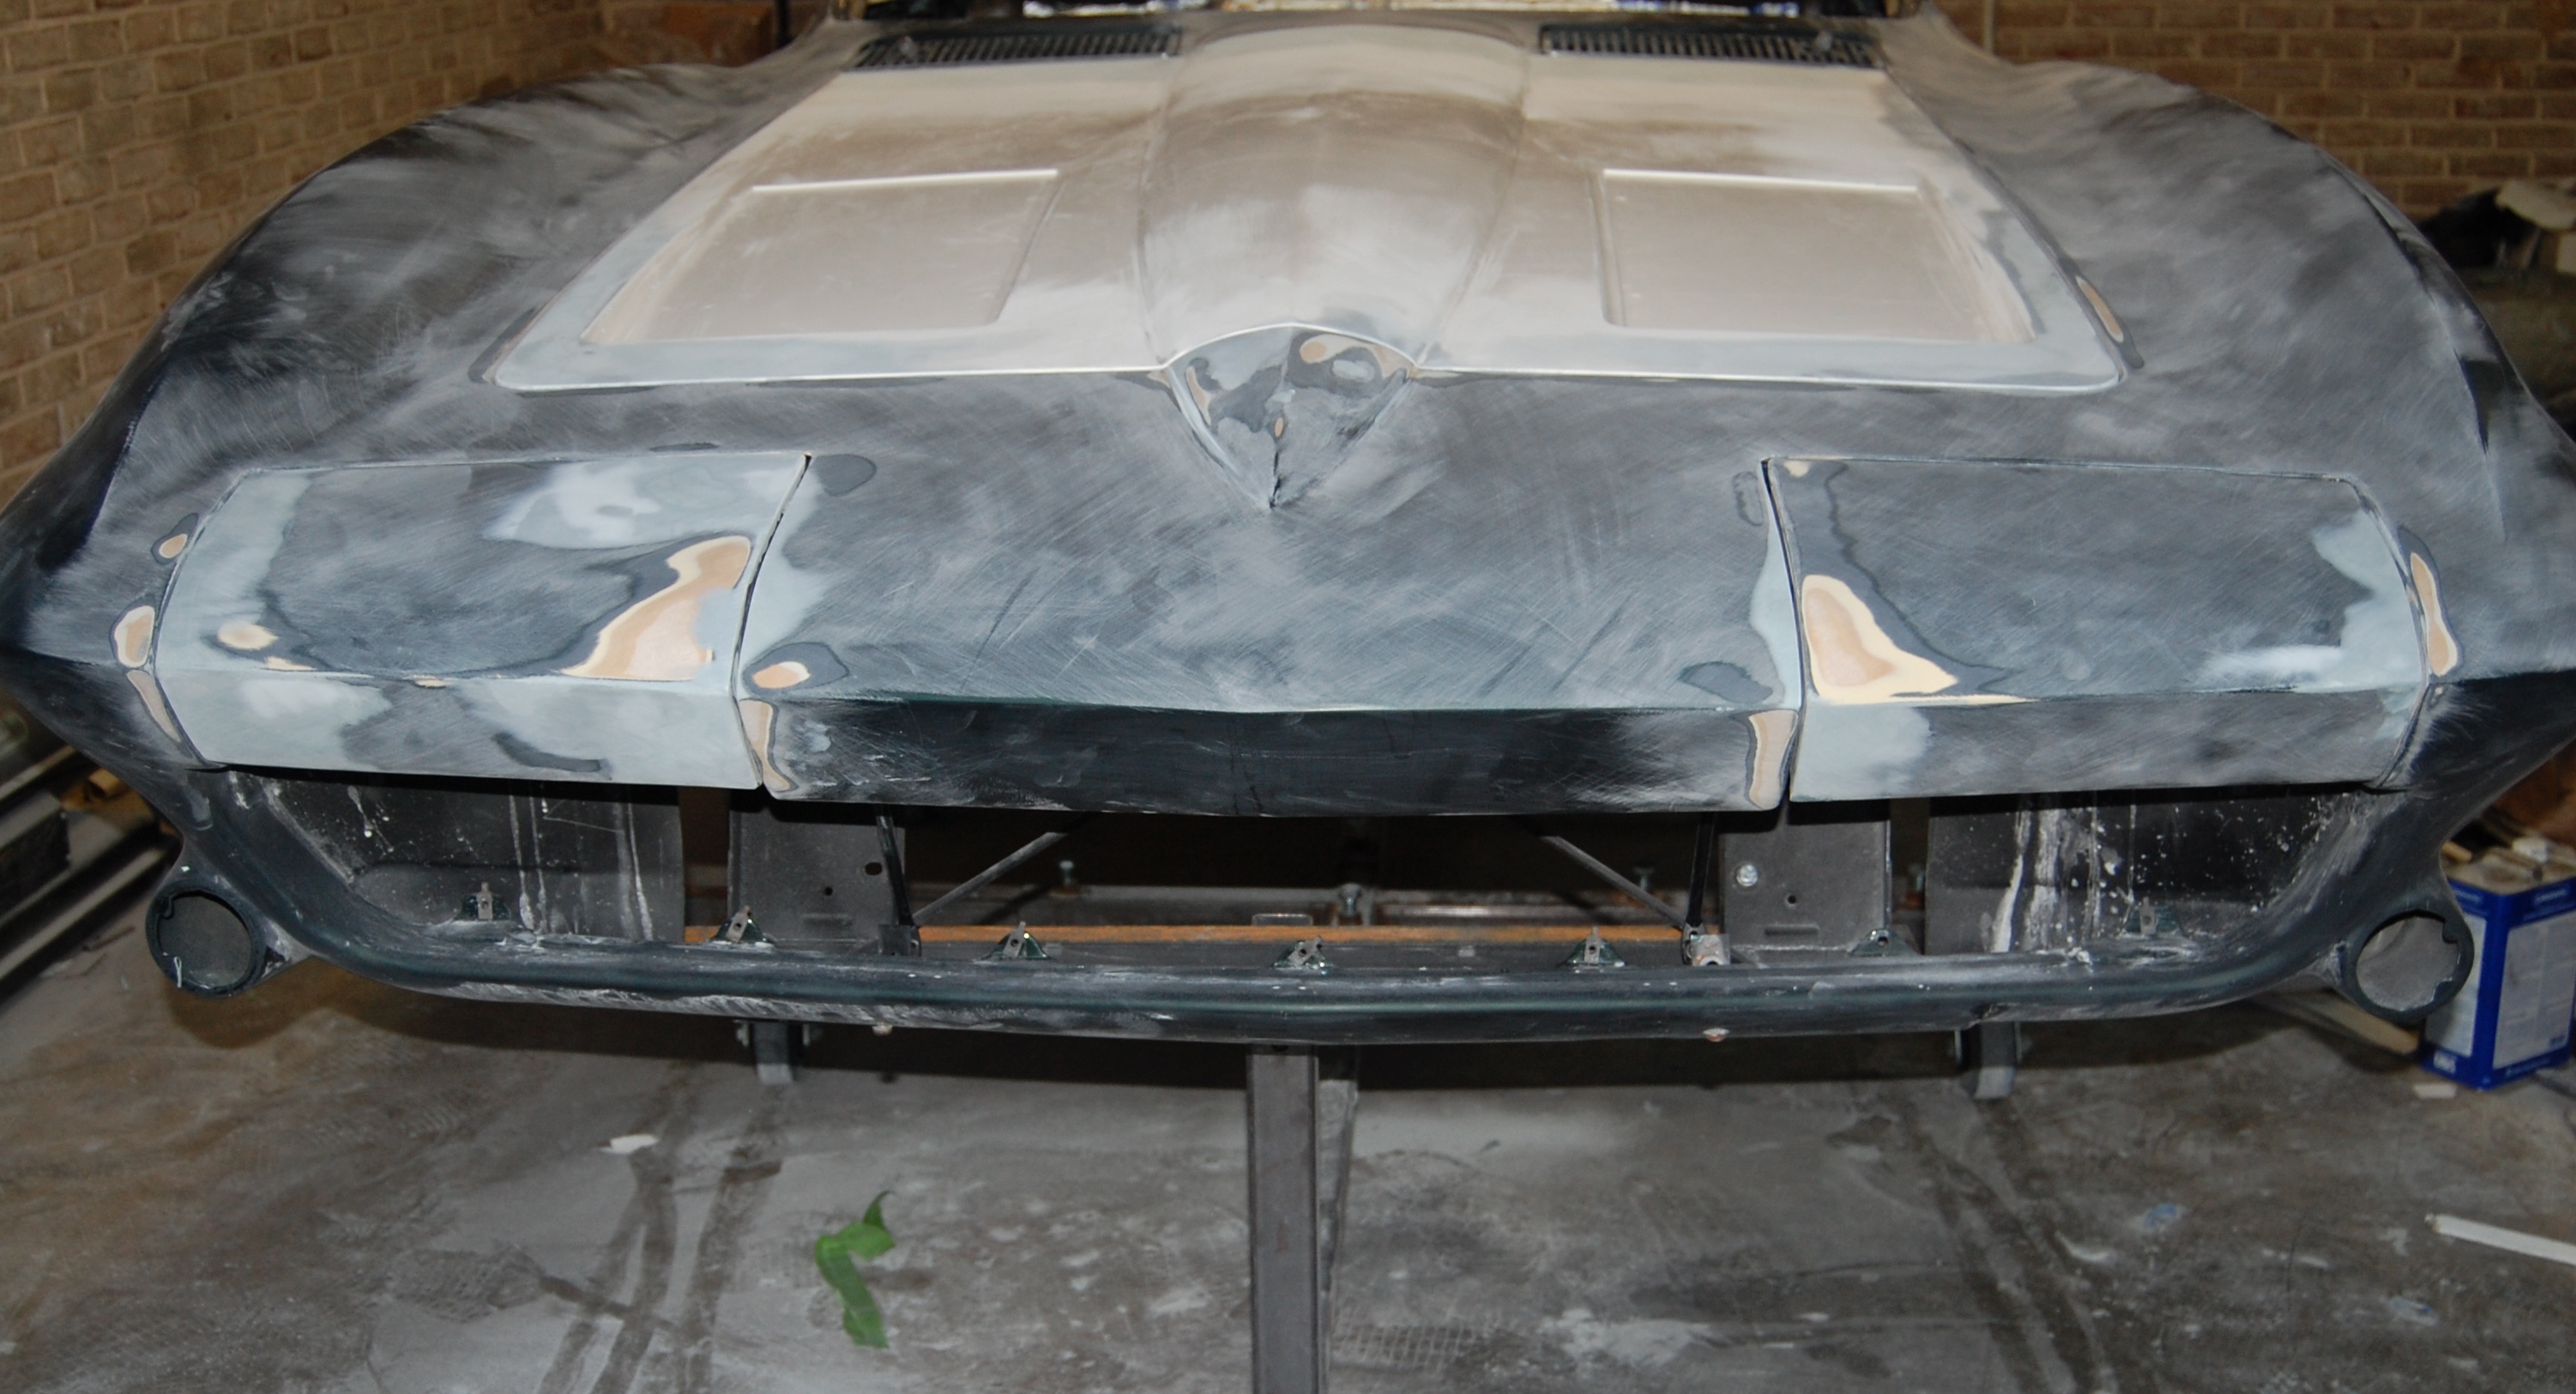
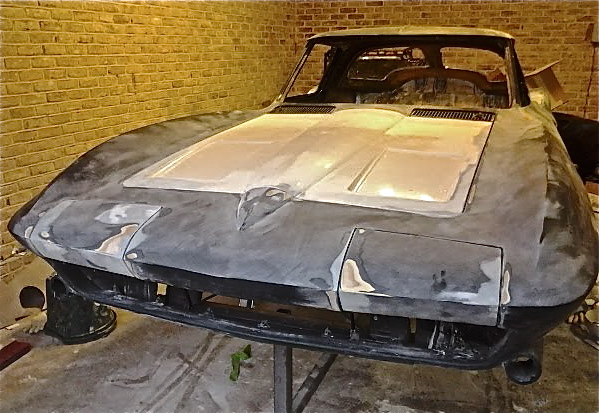
And a few more of the front end and hood fitment.

IF you purchase a new hood, order it in two pieces and bond it together yourself with 3m panel bond.
This was the worst fitting spot on the hood. This was not a low quality hood either, it is from sermersheim.
Before
After
Before-Zero space on passenger side
After
Front Before-No space and sat way too low at front edges.
After
Driver's side before-too wide
Driver's side after
Had an issue with the headlamp bucket...the casing was too narrow and the bezel was to wide. So, i has to shave the edge of the bezel and build up the casing. Once i had it properly aligned, i had to build up the inboard corner and the front of the casing at the lower nose portion of the surround.
Before
After
Both Required attention, but the driver's side was not nearly as bad.
Front of driver's door is finally finished
And a few more of the front end and hood fitment.
Last edited by 65silververt; 09-12-2013 at 09:03 PM.
09-12-2013, 11:11 PM
#76
Melting Slicks

Great Job! I feel your pain with all the bodywork. Wait until you cut the rear floors and tub the wells. Are you installing wider rear quarters?
 09-13-2013, 01:14 AM
#77
Safety Car
Thread Starter
Im sticking with the stock quarters. Hopefully glassing in the new rear floor sections will be pretty uneventful, but I am sure it will be more involved than I anticipate. At least they don't need to be anywhere near perfectly smooth!!!
09-19-2013, 01:34 PM
#78
Safety Car
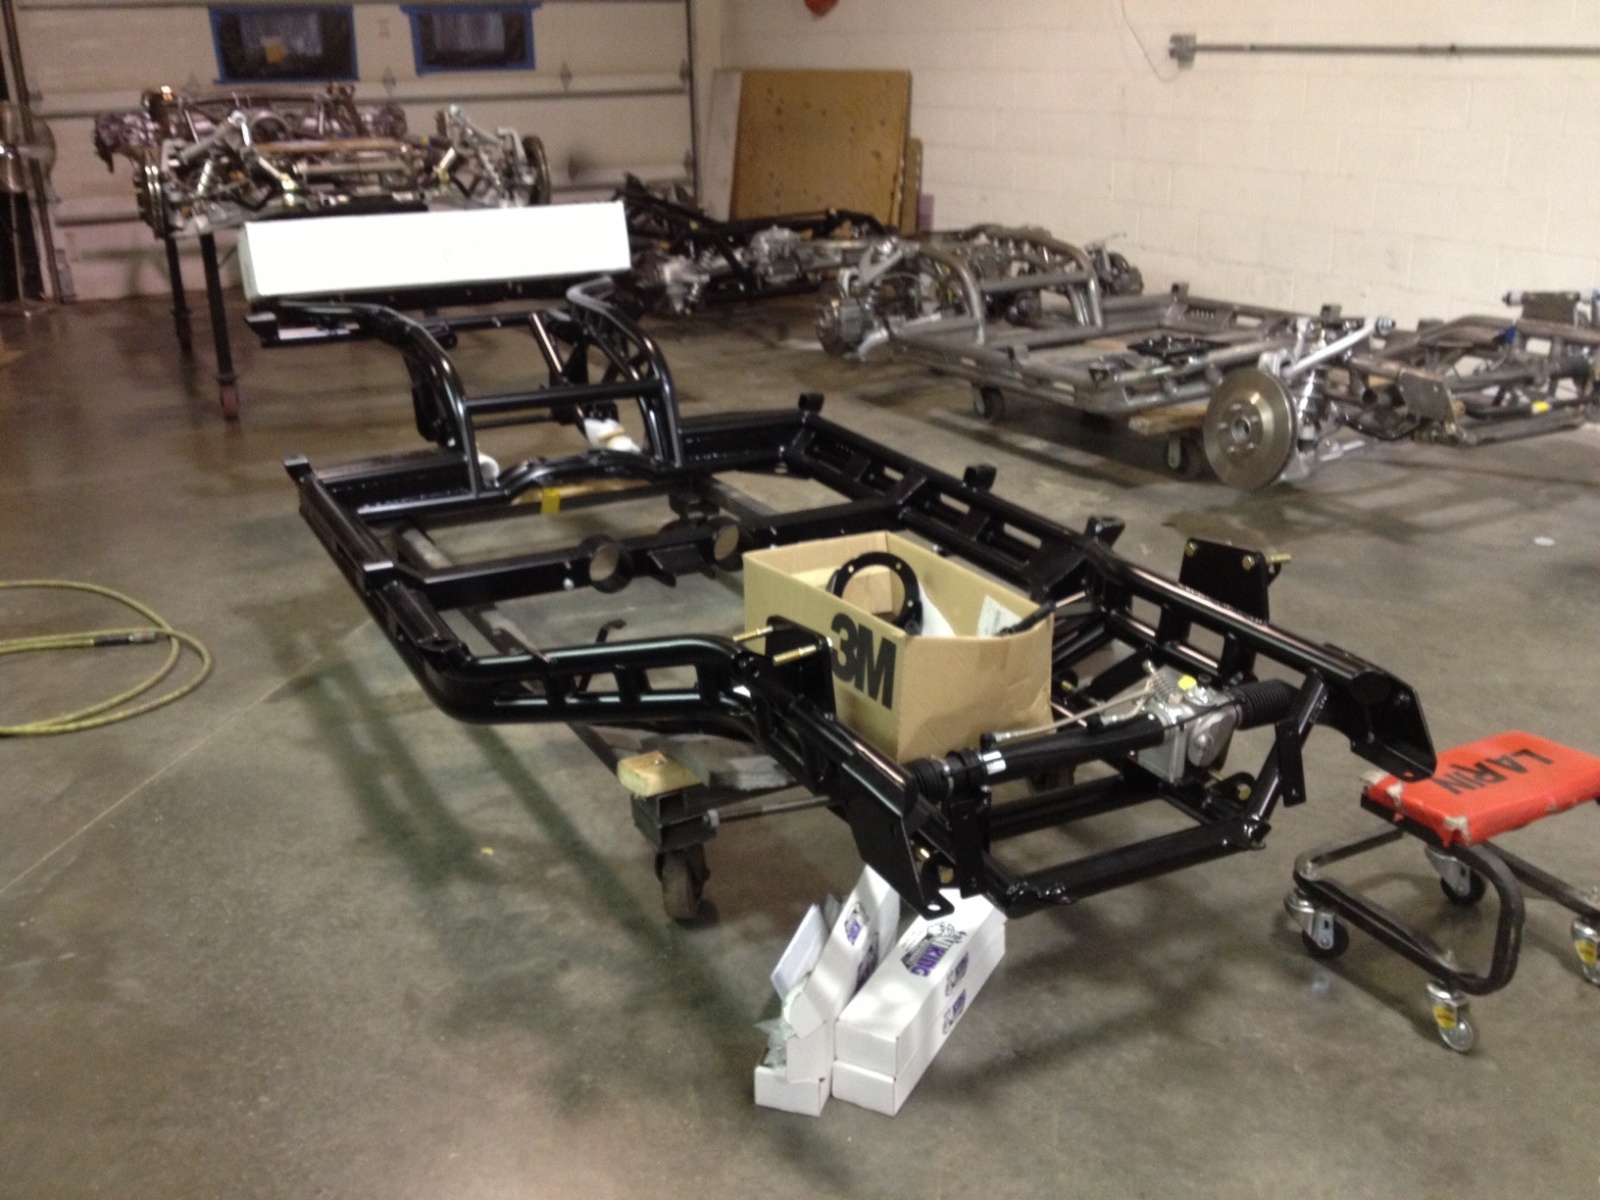
Thread Starter
Mike just sent an email to inform me that the SRiii chassis is ready. Looks like it still needs the stainless tank and rotors installed, but damn, that is a sexy looking chassis!!! Can't wait to see this work of art in person!