1966 clutch linkage geometry question
#1
Instructor


Thread Starter
Member Since: Sep 2012
Location: memphis tennessee
Posts: 104
Likes: 0
Received 0 Likes
on
0 Posts
Why did the push rods and z-bar change mid 1966 on small blocks? Is there a advantage? I do not like how I have to push the clutch in ALL the way to the floor to disengage. It's a late 1966 327.
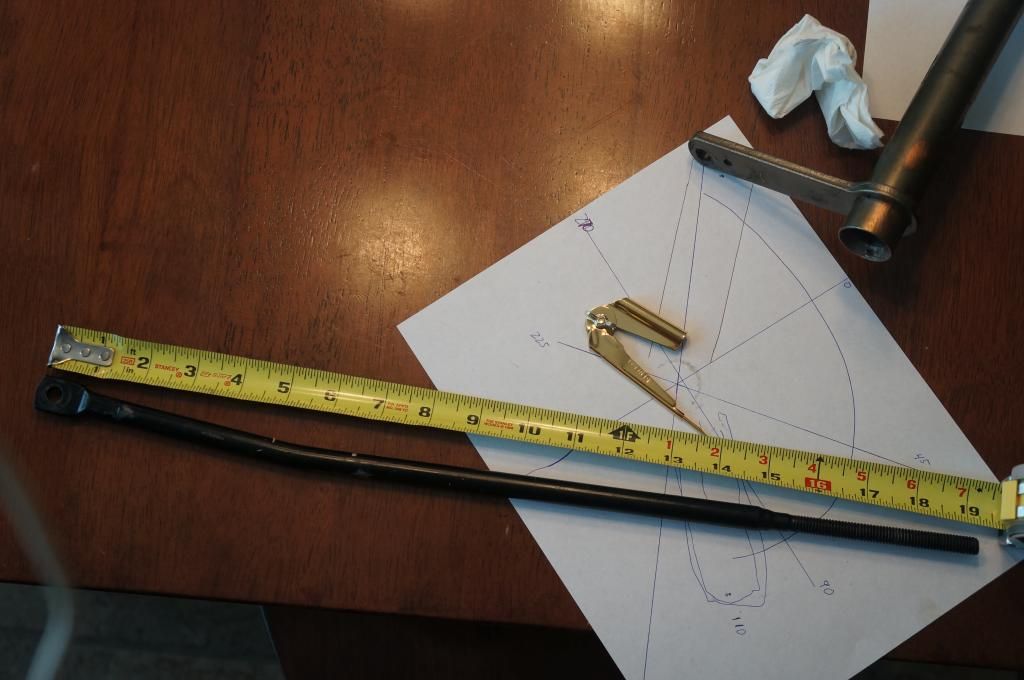
I have a 19.5" pedal push rod with plenty of adjustment left. The "correct" cross shaft/z-bar (for big blocks and late 66-67 sb's) and the 9.5" fork push rod. The clutch kit installed is luk 04-021 with the correct TO bearing, and pivot ball stud. Bell housing 3858403.
The clutch pedal bracket was NOT changed. I know theres a difference between small block and big block, but would that make a difference?? The fork wasn't changed either (should be correct). I also have JUST enough free play so my TO bearing does not ride on the fingers. I would like to have more! Would it be better just to go to the previous 327 pushrod/z-bar set up for 64 to-early 66? Or is there a reason why it went that route? Help needed

#2
Race Director


My BB is pretty much the same way. I have very little free play at top and it engages not too far off the floor. However, in addition to the rubber bumper on the pedal box I have a bolt through the lip of the pedal arm that hits the rubber bumper. I could get a bit more travel by removing that bolt but then the pedal would be higher and it's already a bit tight getting my foot up on top of the pedal at 6'2".
If you could live with a slightly higher pedal you could look at shaving the stock bumper down a little to allow a bit more travel. But, in spite of all the different rod lengths and Z-bar combinations that could be pieced together, I don't think any of them are going to affect the length of travel for clutch engagement significantly, given a stock clutch plate.
The fast release adjustment on the pedal is an option at the risk of increased pedal pressure and having to be more careful in takeoffs to prevent stalling.
#4
Race Director


The grease fitting (or plug for it) should be down on the bottom.
#5
Instructor


Thread Starter
Member Since: Sep 2012
Location: memphis tennessee
Posts: 104
Likes: 0
Received 0 Likes
on
0 Posts
Zerk is down...thanks..
here's my question: let's say my clutch pedal bracket installed is wrong (I really don't know the difference between the sb bb, I know the 67 is different) maybe the geometry is different?...the websites (zip, lic, paragon) can be confusing...it just seems having a 66 small block makes it difficult to know exactly what you need.
Did they just decide in 66 that all small blocks and big blocks would have the same linkage to cut down on confusion? Is the distance from the pivot stud in the block to the fork different from big to small block? Maybe its just best to go to the early set up = small block cross shaft, 18" pedal rod, and 11.5" fork rod.
Last edited by timmah22; 08-02-2014 at 01:13 PM.
#6
Team Owner


Member Since: Oct 2000
Location: Washington Michigan
Posts: 38,899
Received 1,858 Likes
on
1,101 Posts


#7
Team Owner


Member Since: Oct 2000
Location: Washington Michigan
Posts: 38,899
Received 1,858 Likes
on
1,101 Posts

Did they just decide in 66 that all small blocks and big blocks would have the same linkage to cut down on confusion? Is the distance from the pivot stud in the block to the fork different from big to small block? Maybe its just best to go to the early set up = small block cross shaft, 18" pedal rod, and 11.5" fork rod.
If you use the parts shown in my file below, the system works.

The following users liked this post:
cam30era (04-12-2017)
#8
Instructor


Thread Starter
Member Since: Sep 2012
Location: memphis tennessee
Posts: 104
Likes: 0
Received 0 Likes
on
0 Posts
Chevrolet didn't spend money to change anything unless there was a good reason to do so, especially if it was a running change that had to be coordinated with multiple parts. They probably made the changes due to dealer complaints about difficult clutch linkage adjustments - this system is VERY sensitive to having all of the correct components in place so they work together.
If you use the parts shown in my file below, the system works.
If you use the parts shown in my file below, the system works.

Now the question is...is the old set up for the small block better when it comes to leverage and feel?
I've tried both "quick release" and normal settings. I know i can go the route and get the adjustable fork rod too.
Next step is experiment with buying another pedal bracket (no idea if it's correct) to hopefully the other one. I believe the previous owner bought it from zip and it calls for all 63-66 327's to have the same bracket.
http://www.zip-corvette.com/catalog/...h-rod-bracket/
it probably needs to be this one
http://www.zip-corvette.com/catalog/...h-rod-bracket/
Maybe the holes line up differently? IDK
Then the next step is to buy another fork...maybe mine is bent or shot...didn't think to change that when i changed the clutch. Appeared original. TO bearing installed correctly
#9
Race Director


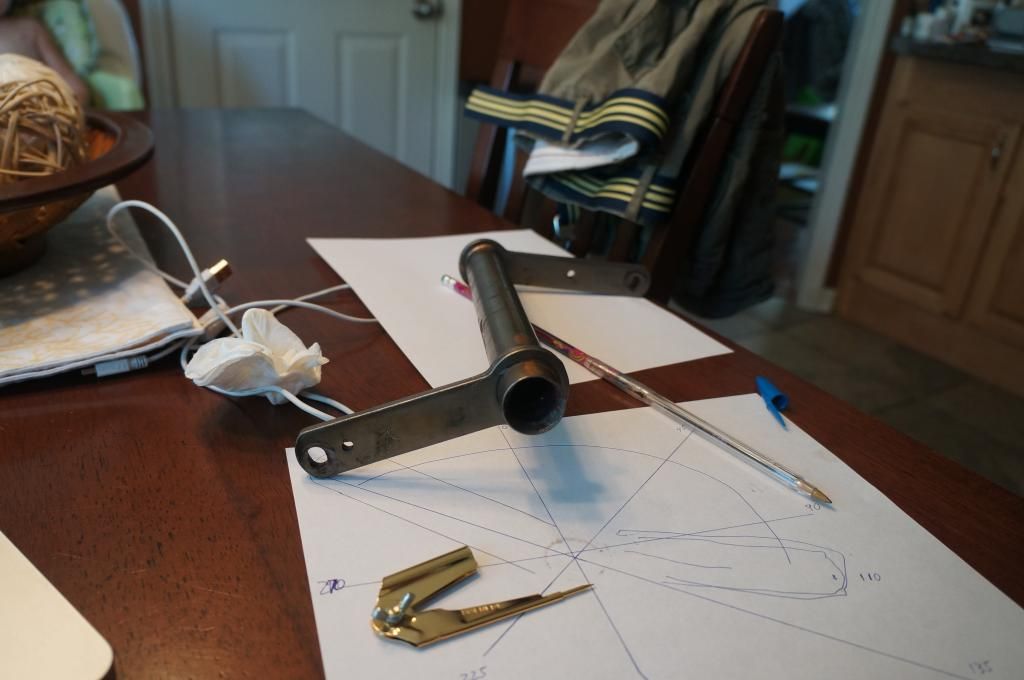
I would draw it all out on paper and study it to see if what you are trying to achieve is possible. A bell-crank system is not linear in operation. The clutch fork moves in roughly a horizontal movement component. But the Z-bar arms move in horizontal and vertical components as it rotates and that modifies the action through the rods.
Pretty much everyone I have seen has the upper Z-bar lever at a slightly over-center position (forward to the car) with the clutch out and it pushes further over-center as the clutch is pushed in. This results in fairly quick disengagement as the clutch is first pushed in but as it goes further over-center, the horizontal component of movement for the rod decreases per degree of Z-bar rotation. I'm pretty sure that GM does it this way so that intial disengagement is pretty quick at the top of the pedal to minimize throw, but at the bottom of the pedal, clutch disengagement is slower to allow easier feathering of the clutch to ease take offs without stalling.
Howver the Z-bar levers are not 180 degrees apart and the position of the lower arm on the Z-bar has to be looked at also as it's position and horizontal/vertical movement components translated to the lower fork rod will be different and modify the overall action. On my BB car the lower Z-bar arm rests slightly forward of bottom-center with the clutch out and it moves considerably over center as the clutch is pushed in.
So basically if I wanted to shorten the overall clutch action I would probably have a slighly longer lower rod to the fork fitted which would move the lower arm slightly more under-center and make the full stroke more even on both sides of bottom center. That would maximize the total fork movement achieved by Z-bar rotation over the entire throw. This would move the upper arm back towards top-center and possibly just a bit under-center - which might adjust out or might take a shorter upper rod.
Much more than that and the Z-bar will have to be modified to move the arms. As JohnZ said, it's a sensitive system and GM engineers had to balance out pedal throw, clutch release action, pedal effort and so forth so it's a bunch of compromises. But drawing it out and studying the position of the Z-bar arms might give you a clue where to go from here.
#10
Team Owner


Member Since: Oct 2000
Location: Washington Michigan
Posts: 38,899
Received 1,858 Likes
on
1,101 Posts

I don't have the drawings handy, but the clutch pedal brackets differ as follows - the 396/427 bracket has the pin for the pushrod located about 1/2" higher than the small-block bracket; otherwise they're identical (I couldn't see that in the photos from the Zip catalog - too dark). Chart below shows the angular and linear differences between the various Z-bars if you're making a geometry layout. 

#11
Race Director


I don't have the drawings handy, but the clutch pedal brackets differ as follows - the 396/427 bracket has the pin for the pushrod located about 1/2" higher than the small-block bracket; otherwise they're identical (I couldn't see that in the photos from the Zip catalog - too dark). Chart below shows the angular and linear differences between the various Z-bars if you're making a geometry layout. 

#12
Instructor


Thread Starter
Member Since: Sep 2012
Location: memphis tennessee
Posts: 104
Likes: 0
Received 0 Likes
on
0 Posts
I don't have the drawings handy, but the clutch pedal brackets differ as follows - the 396/427 bracket has the pin for the pushrod located about 1/2" higher than the small-block bracket; otherwise they're identical (I couldn't see that in the photos from the Zip catalog - too dark). Chart below shows the angular and linear differences between the various Z-bars if you're making a geometry layout. 

#13
Instructor


Thread Starter
Member Since: Sep 2012
Location: memphis tennessee
Posts: 104
Likes: 0
Received 0 Likes
on
0 Posts
Chevrolet didn't spend money to change anything unless there was a good reason to do so, especially if it was a running change that had to be coordinated with multiple parts. They probably made the changes due to dealer complaints about difficult clutch linkage adjustments - this system is VERY sensitive to having all of the correct components in place so they work together.
If you use the parts shown in my file below, the system works.
If you use the parts shown in my file below, the system works.

 [/QUOTE]
ClutchLinkageTech.doc
After redoing my research, owning a late 66 small block has been rough. this document is telling me to use :
this crossshaft 3888279(this is the old one and my new one installed has the same angle 155 degrees)
19 1/4 pushrod 3888213
9 inch fork rod 3872960 (no pic avail)
and the pedal bracket I had in there was the one that all the websites say is for a 327 but i just changed it to the pedal bracket -3872963 that is used for 65-66 427 and 1966 small block (one up top)....Maybe this was one of the key problems I had that no one addresses. It changed everything when I replaced the old one.
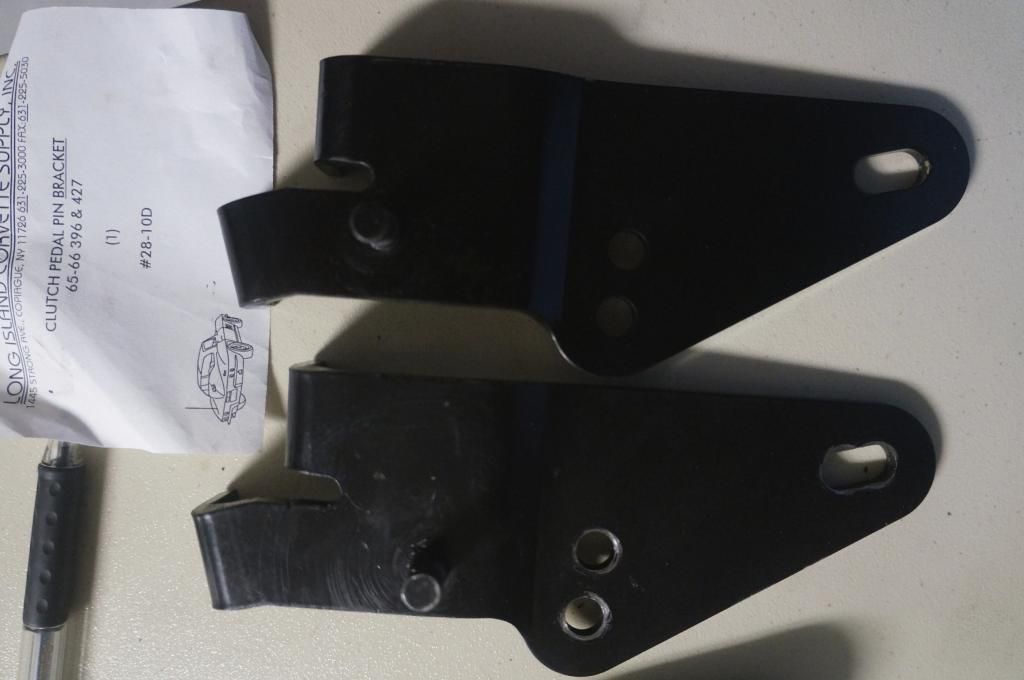
basically a late '66 small block has the same total setup as a big block, but it seems now i have some issues:
THE PROBLEM NOW
With 1.5 inch of free play at the top, I'm not getting the pedal all the way to the floor. Bracket is in the "normal position" (bolt on the right and down), apex of rod is down.
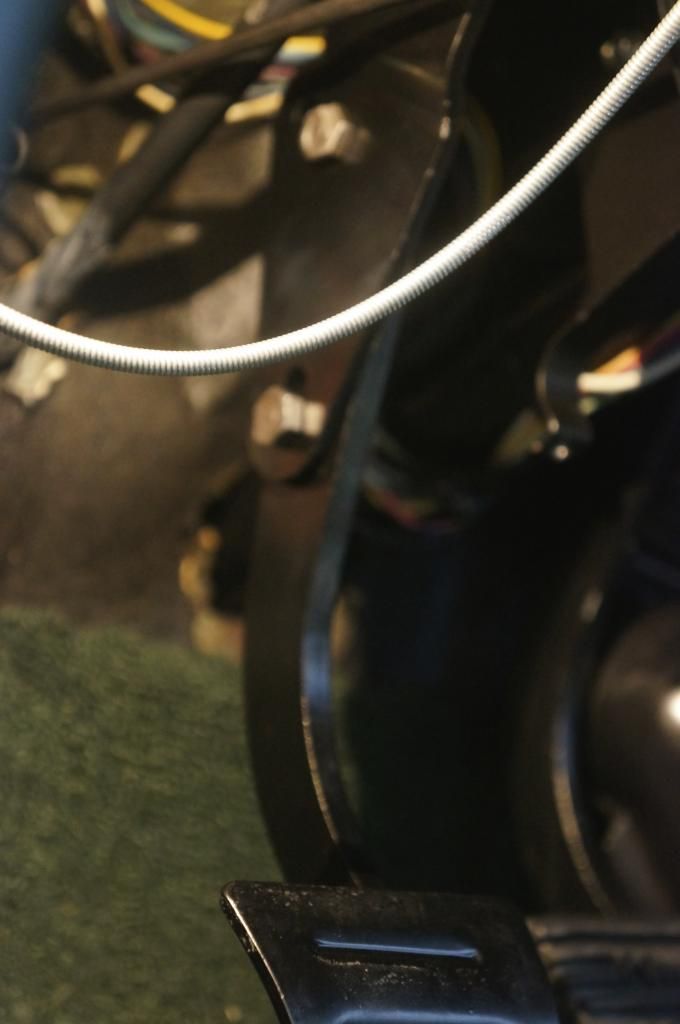
This is how much adjustment I have left
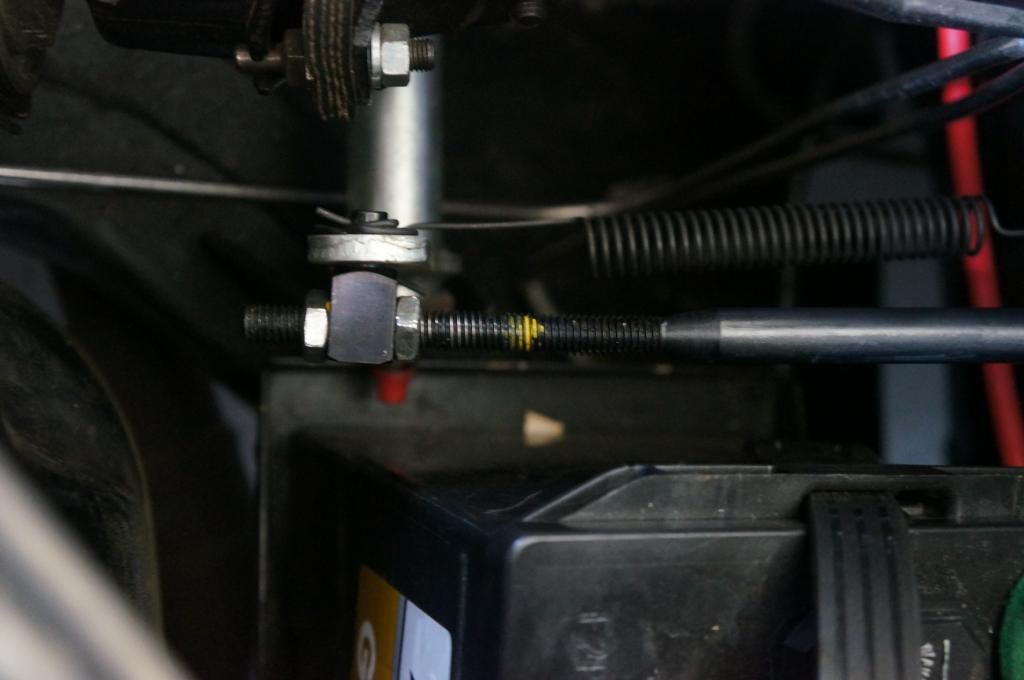
The pedal won't go all the way to the floor?. It just stops before hitting the carpet.
....fork looks 90 degrees to the bell housing when up against the fingers. What gives? After doing the adjustment procedure, I have around .38 of an inch adjustment at right bolt and sleeve swivel with the bearing up against the fingers and pedal up against bumper.
fork and ball stud used
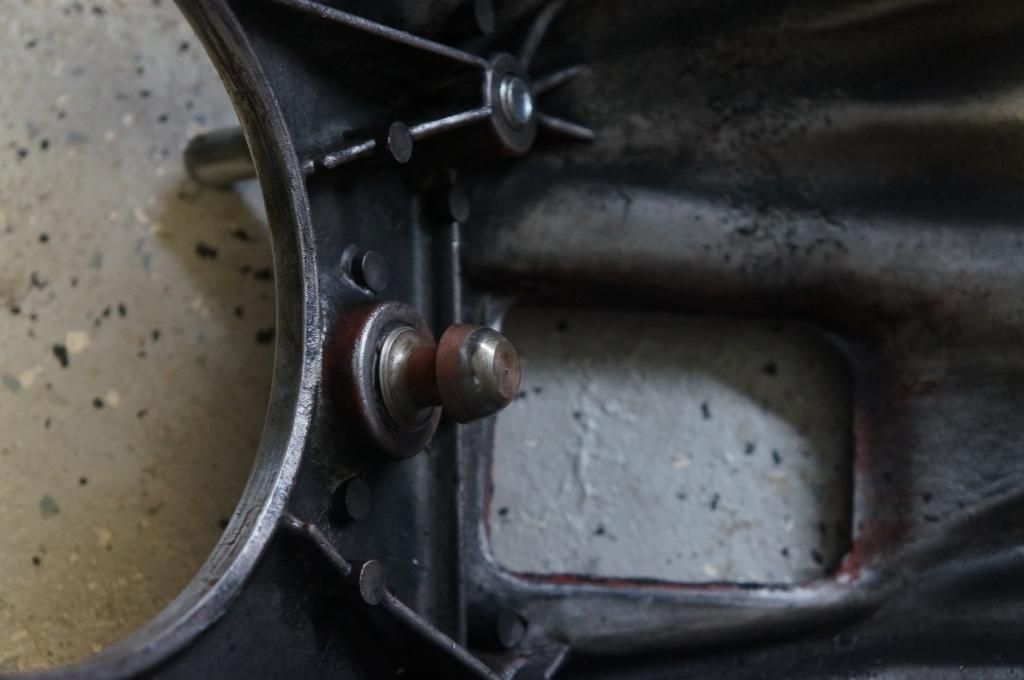
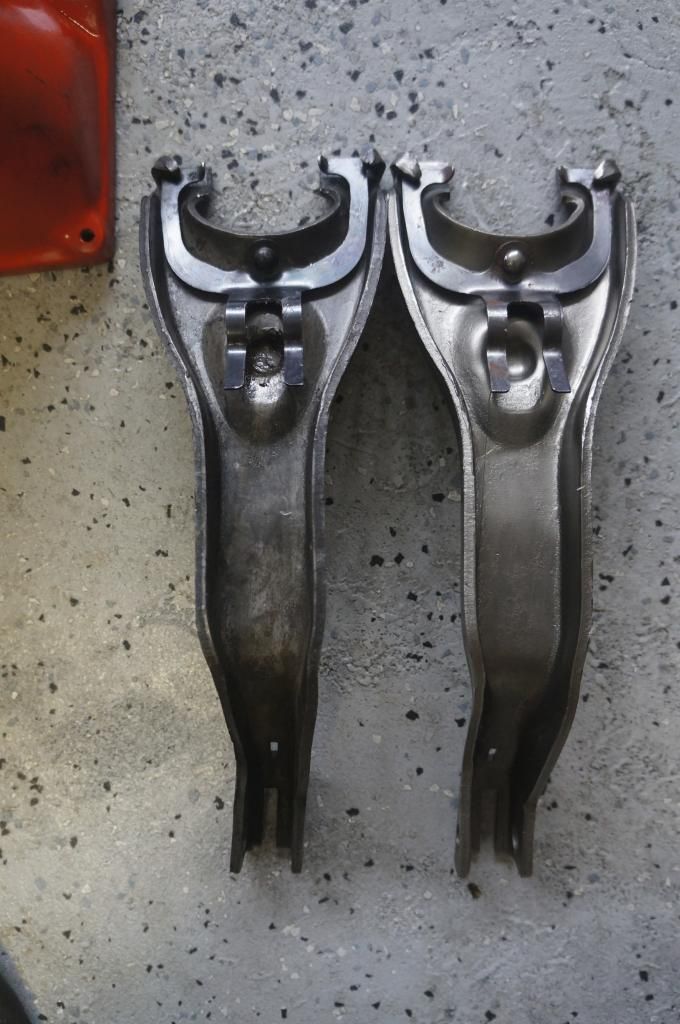
I know I'm forgetting some stuff and I'll be waiting and responding..Man this would be a lot easier with any other midyear but a late 66 small block. All parts suppliers are off one way or another.
Last edited by timmah22; 08-22-2014 at 06:04 PM.
#14
Burning Brakes


Bill
#15
Team Owner


Member Since: Oct 2000
Location: Washington Michigan
Posts: 38,899
Received 1,858 Likes
on
1,101 Posts

#16
Race Director


You don't need 1.5 inches of free play at top either. IMO an inch is more than sufficient. The main thing is that the clutch releases sufficiently to be able to shift cleanly.
#17
Instructor


Thread Starter
Member Since: Sep 2012
Location: memphis tennessee
Posts: 104
Likes: 0
Received 0 Likes
on
0 Posts
So the pedal not touching all the way to the floor is ok too? It just stops like a half inch before. With the old bracket I had in there, you had to jam it in the floor...want to make sure it's ok before I take it off the jack stands...I've been adjusting the shifting linkage with that nifty tool and cleaning up! Kinda nervous...
#18
Burning Brakes


Member Since: Jan 2002
Location: Redondo Beach CA
Posts: 1,200
Received 61 Likes
on
50 Posts
C2 of Year Finalist (performance mods) 2019

What about an adjustable clutch ball stud? I had some issues when I put my clutch and transmission back together and the shop I took it to used one of these to fix the issue.
#19
Instructor


Thread Starter
Member Since: Sep 2012
Location: memphis tennessee
Posts: 104
Likes: 0
Received 0 Likes
on
0 Posts
If I have any less free play the pedal will be an inch from hitting the floor when engaged! Way different than with the old (not correct) bracket..Chances are, people who purchase a new bracket for a late 66 small block will be incorrect. The vendors are all over the place for a late 66 small block. 1964-1966 small blocks should all be the same. If I had to do it over, I would of went with the earlier set up.
#20
If I have any less free play the pedal will be an inch from hitting the floor when engaged! Way different than with the old (not correct) bracket..Chances are, people who purchase a new bracket for a late 66 small block will be incorrect. The vendors are all over the place for a late 66 small block. 1964-1966 small blocks should all be the same. If I had to do it over, I would of went with the earlier set up.
The linkage just looked Mickey mouse. I removed it all. The first problem was that they used the SB Z-bar (135deg). While waiting for the correct Z-bar to arrive, I decided to experiment with the original one. I cut it and changed the angle between arms to 170deg. More is always better, RIGHT ? I bought tubing, bungs and heim joints. I cut and welded to make my own linkage. I eliminated the link at the fork, connecting the fork directly to the lower Z-bar arm. Everything was in alignment. I left the clutch pedal bracket in the "long throw" position. The clutch can be adjusted from either push rod.
The result was better that I ever expected. I have it adjusted where it grabs an inch and a half off the floor with an inch,maybe a little more free play. It can be adjusted however with more free play or grab at the floor, my choice. Pedal pressure is comfortable. I can hold the clutch at a traffic light with no problem. It grabs smooth and releases quickly.
I never expected it to work as well as it does. Got lucky with this one !
Hope it helps


