When you click on links to various merchants on this site and make a purchase, this can result in this site earning a commission. Affiliate programs and affiliations include, but are not limited to, the eBay Partner Network.
It may be simply that the **** is turned to off to dim the dash lights. Try turning the **** in both directions. If that's not it....
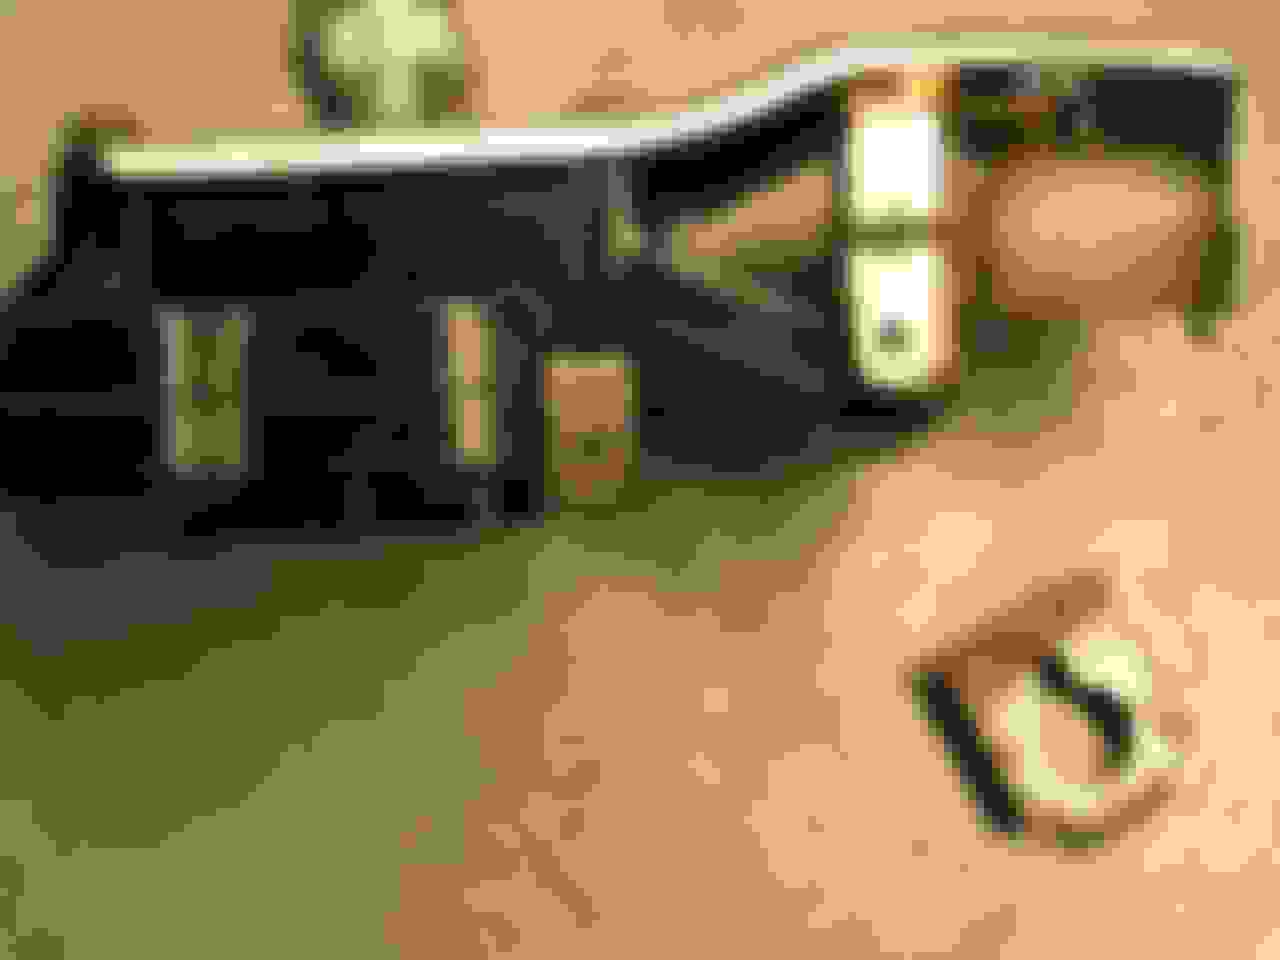
Your headlight switch is a unique design. Within it is a small fuse which powers the dash lights. The fuse may be blown, or a common problem is that the contacts for the fuse become loose or corroded.
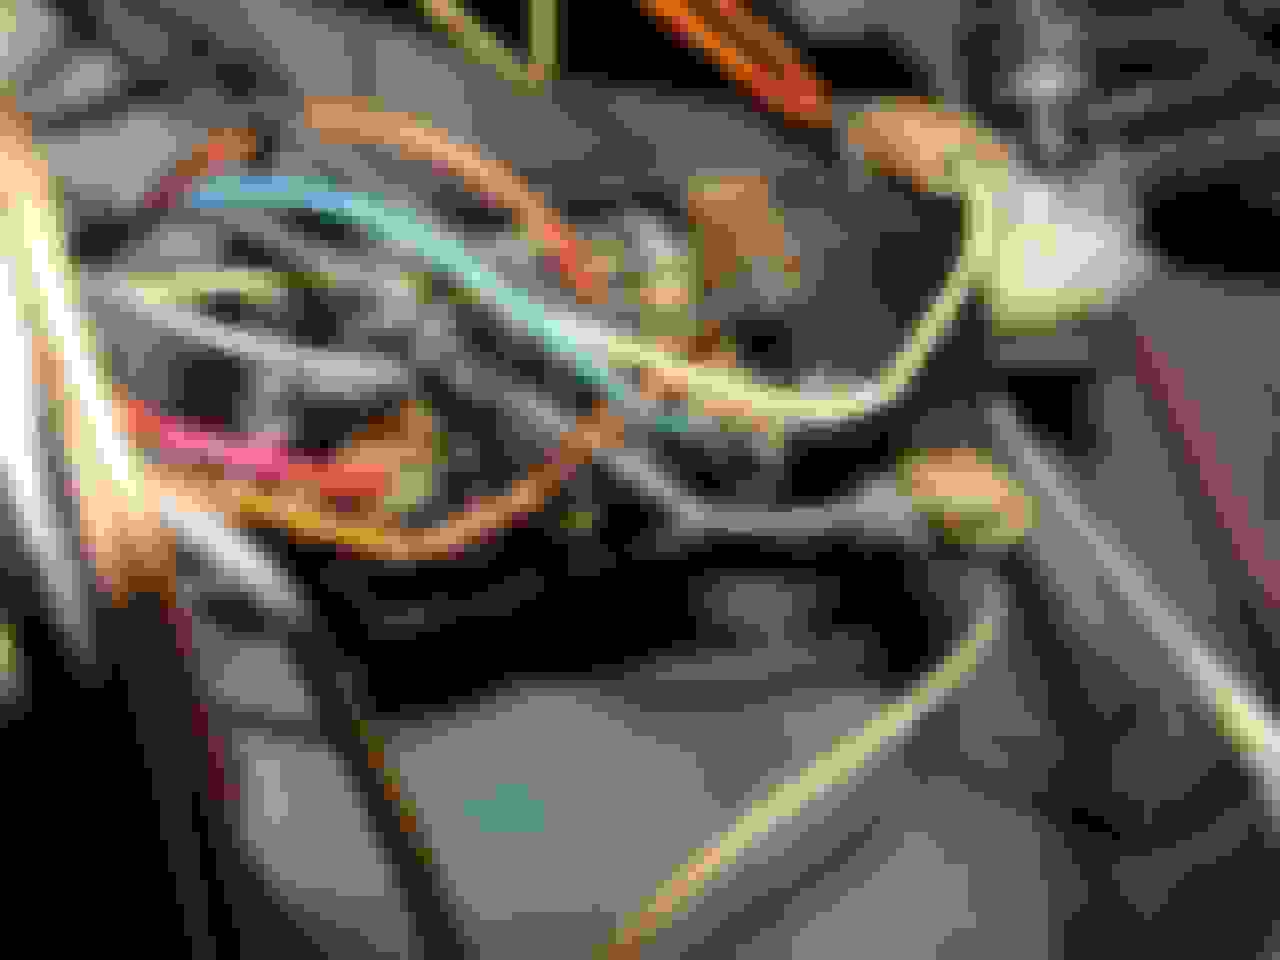
Here a re a few photos of your switch...if yours is the original type.
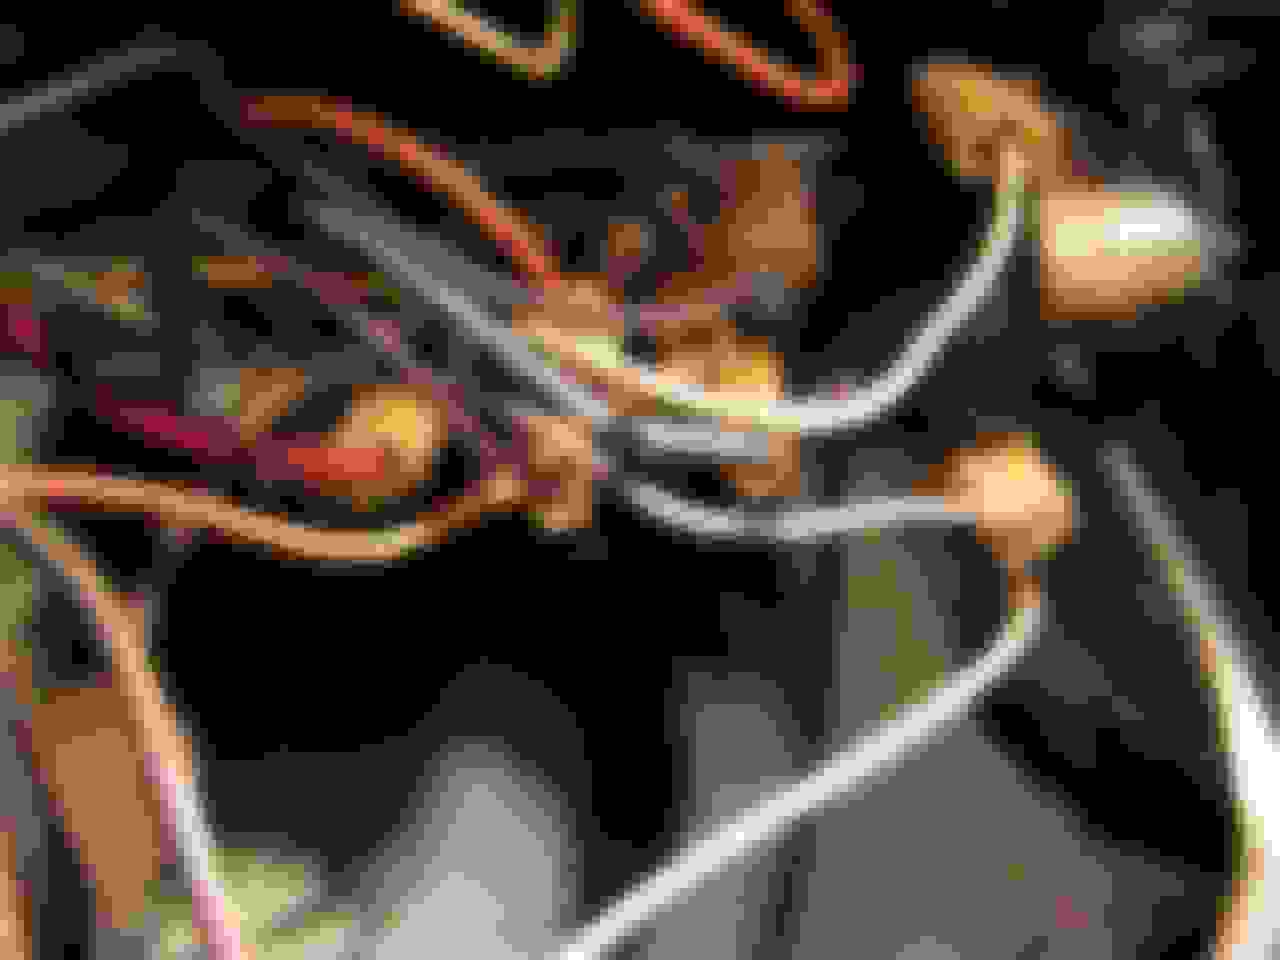
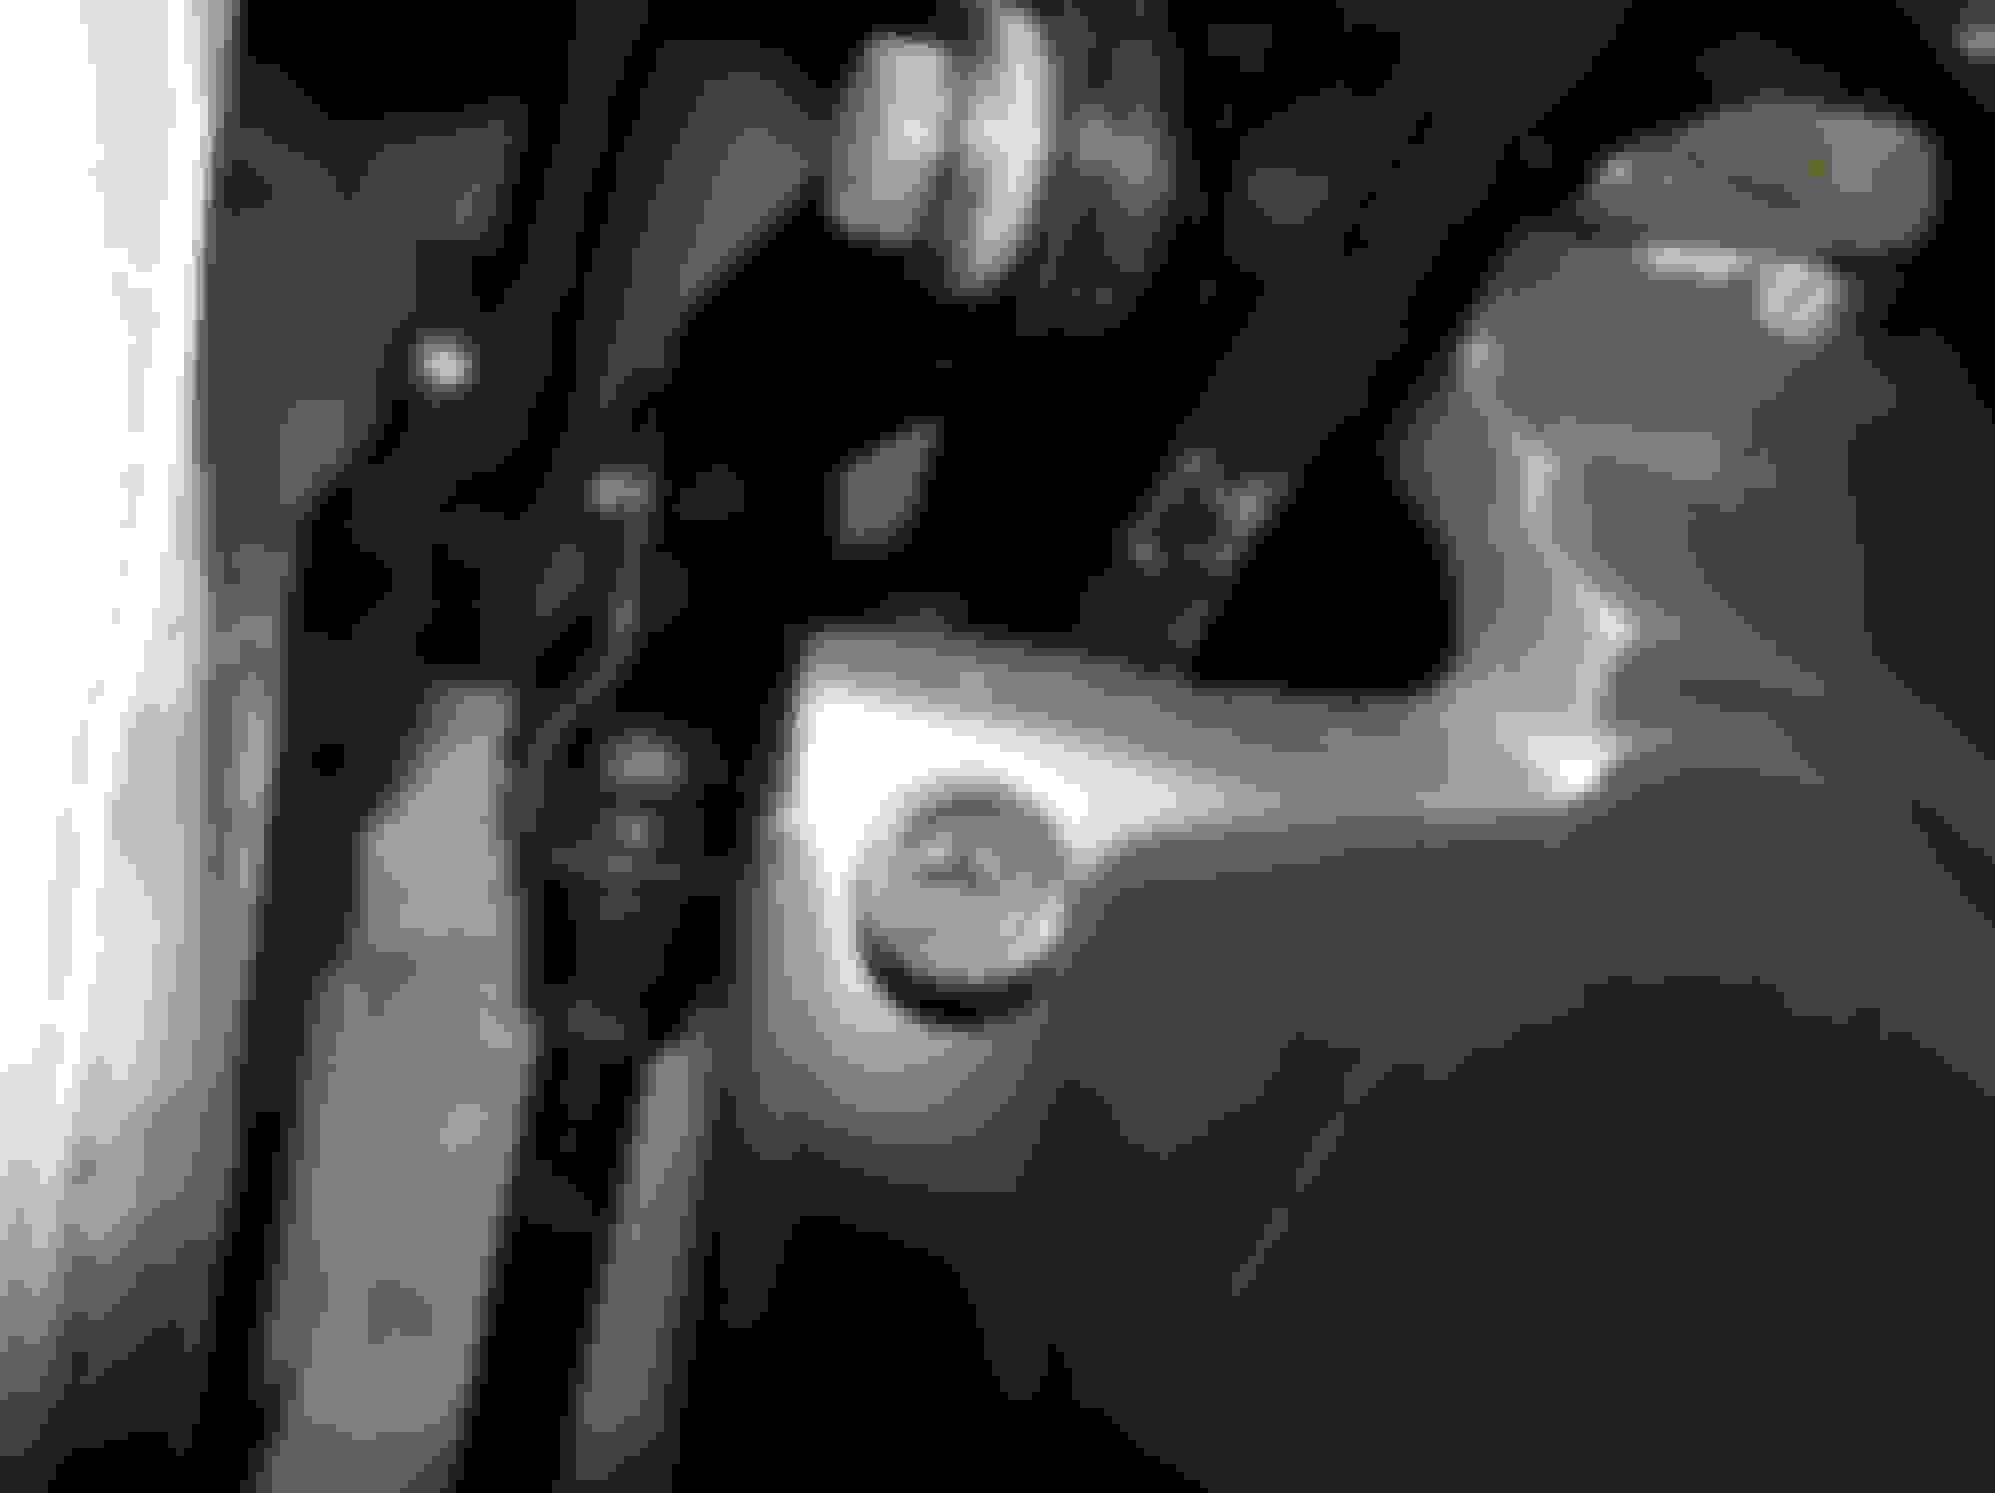
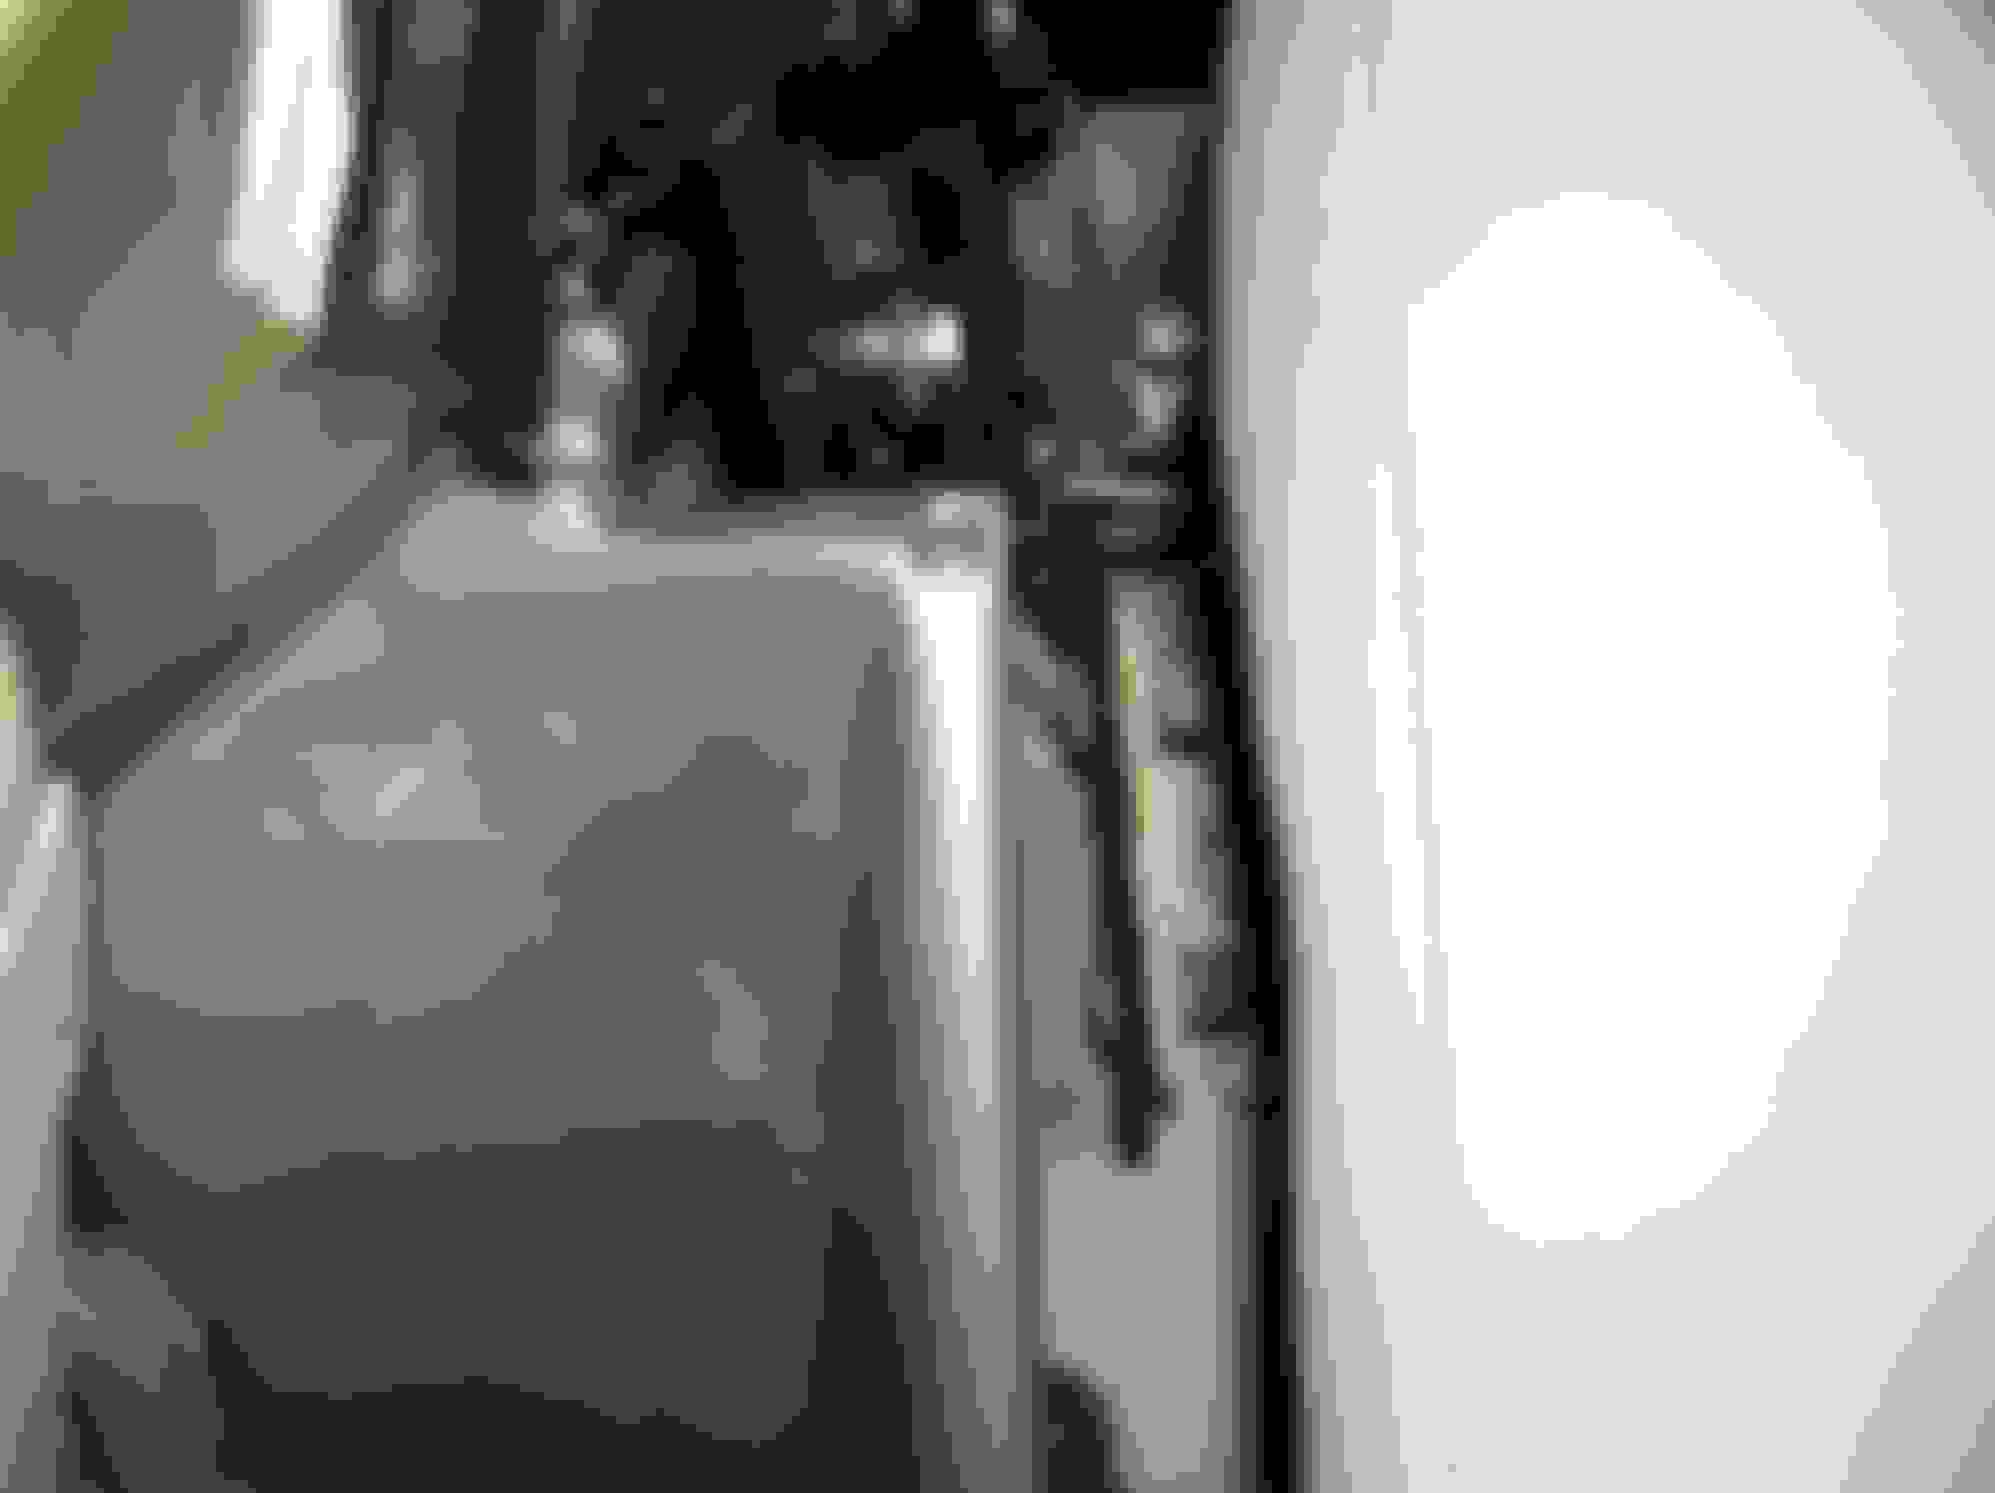
This is a view from under the dash after removing the **** and the nut to secure it. The wires normally face up(the sky). This view is to show the wiring. The connector with the Gray wire is to the dash lights. The source is the bottom of the fuse, then goes to that round connector rivet, then inside the switch through the rheostat, then to the terminal for the Gray wire.
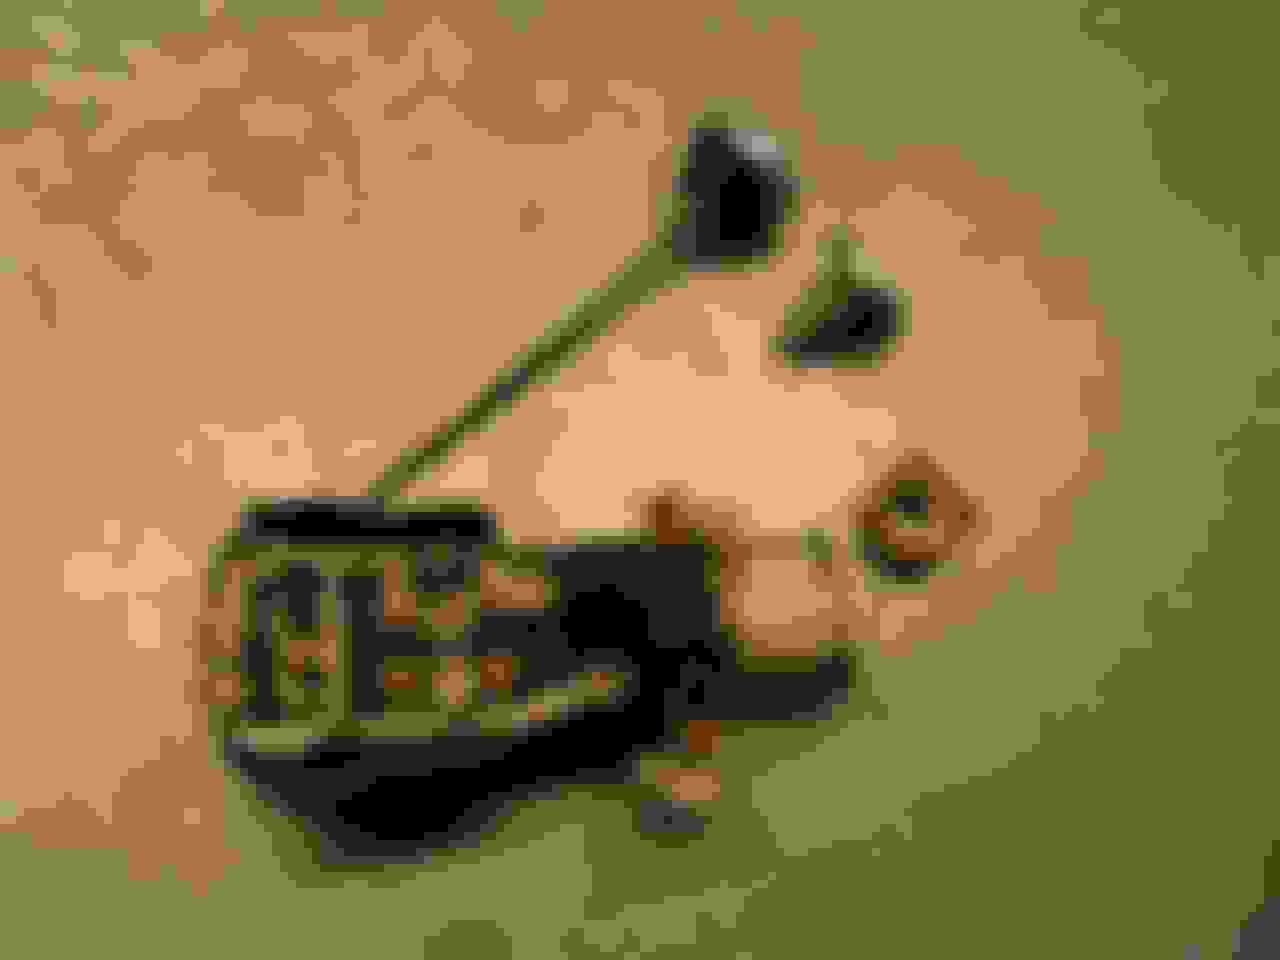
Here you can see the fuse on the left.
If you have a Test Light, you can probe both sides of the fuse to see if power is there. Turn on the light switch to either the first detent(for Park Lights), or 2nd detent(for Headlights). Probe the fuse to verify.
If no power is going to the fuse, check that the contacts are clean. If you need to remove the switch, beneath the switch is a spring loaded button. Pull the **** out fully, then press the button to pull the **** out completely. Then using a tool, remove the round nut holding the switch. Take care not to loose the special spacer.
edit.....Added the enclosed 1956 wiring diagram which may help. It's a downloadable pdf.
Rich
Last edited by rich5962; Sep 21, 2014 at 04:56 PM.
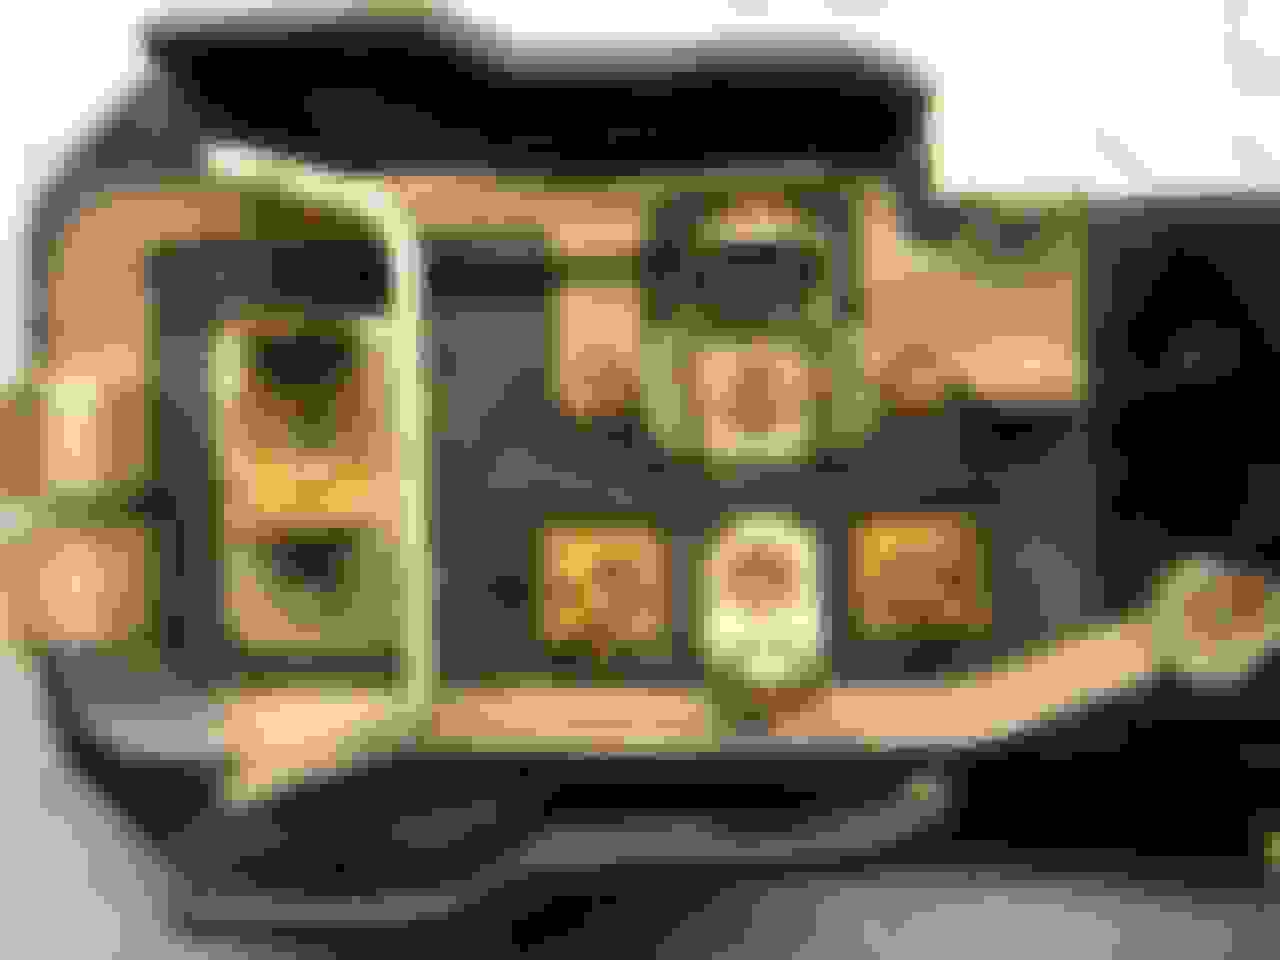
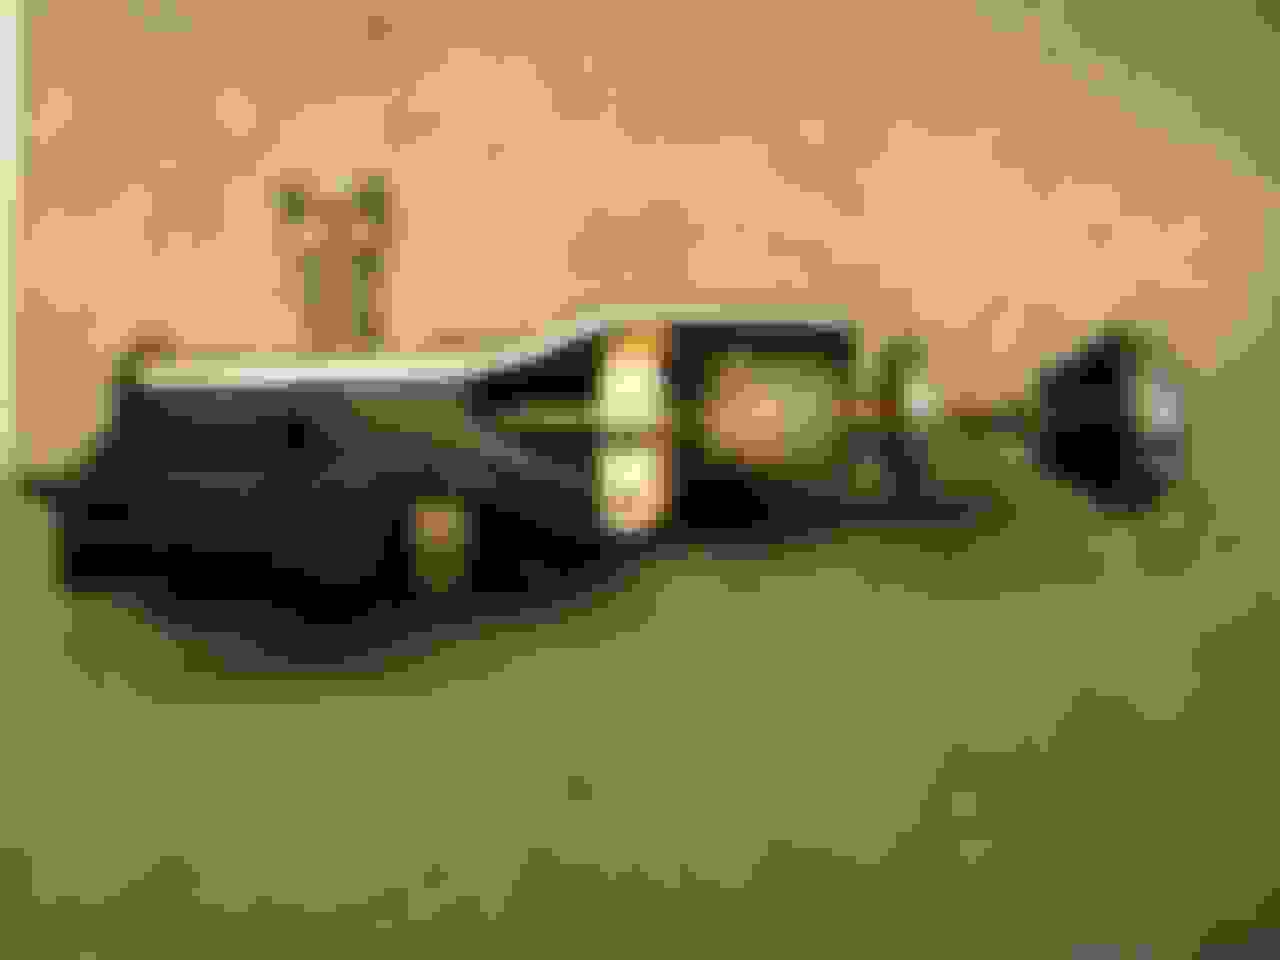
Your welcome Santosh, BTW, the "dimmer" is the rheostat inside the plastic part. See arrows. It's simply a resistor to vary the voltage to the dash lights.
Santosh, No not that part. That's a spacer for the front of the switch. It goes between the front of the switch and the dash.
BTW, it's hard to get that back together. I use double-stick tape and tape it to the switch face, then hold the switch to the dash, then screw in the escutcheon(threaded chrome screw).
See the new photo with the procedure for the ****. Once you do it once.....it'll be easy.
Also.....it seems like you need some books. You should buy the 1953-1962 ST-12 Corvette Service Guide. Hardcopy is available from many suppliers. Until then, there is a online version available here....... http://chevy.oldcarmanualproject.com...csg/index.html
It has most of what you need to service your '56. You should also get the 1961 Chevrolet Service Manual. This has information not found in the ST-12 which is general to the cars, like engine, fuel systems, other electrical, mechanical etc. This one can help with some items though.... http://chevy.oldcarmanualproject.com...9_60/index.htm
Direct link here...... http://home.comcast.net/~richmz/onli...ombinedOCR.pdf
It's quite large so you'll see a long download time. Note it's a 1957 AIM. The 1956 AIM is unavailable, the '57 is mostly good for '56 but has some differences.
Section 12 Sheets 11 & 12 show your headlight switch and wiring. The switch in the AIM is slightly different as it's the '57 version, with no fuse. I think was changed to a circuit breaker inside the switch, I forget.
thank you again for your very good and informative instructions for me as a corvette newbie (with Studebaker I can help you a little). The problem of my headlight switch is the dimmer, the fuse is ok. So I ordered a new switch, which is even in Germany not that problem.
thank you again for your very good and informative instructions for me as a corvette newbie (with Studebaker I can help you a little). The problem of my headlight switch is the dimmer, the fuse is ok. So I ordered a new switch, which is even in Germany not that problem.
Best regards from Munich
Santosh
Santosh, The rheostat wire is broken? If yes, that's usually how they fail. But it could be a bad connection on the fuse socket rivets or the interconnect rivet where the contact buss goes into the rheostat. It may be repairable.
Be careful of the reproduction Headlight switches. There has been extensive research and testing done on them. The internal circuit breakers are often not built to spec, and they can fail at a inopportune time........at night on a dark road!
If your switch is repairable I would do that. If not I would pay the extra for a NOS Delco. Just want to make you aware of the repro problems. Many of us have had the problem with the repro '58-'63 switches, so now I only use restored/repaired originals or NOS.
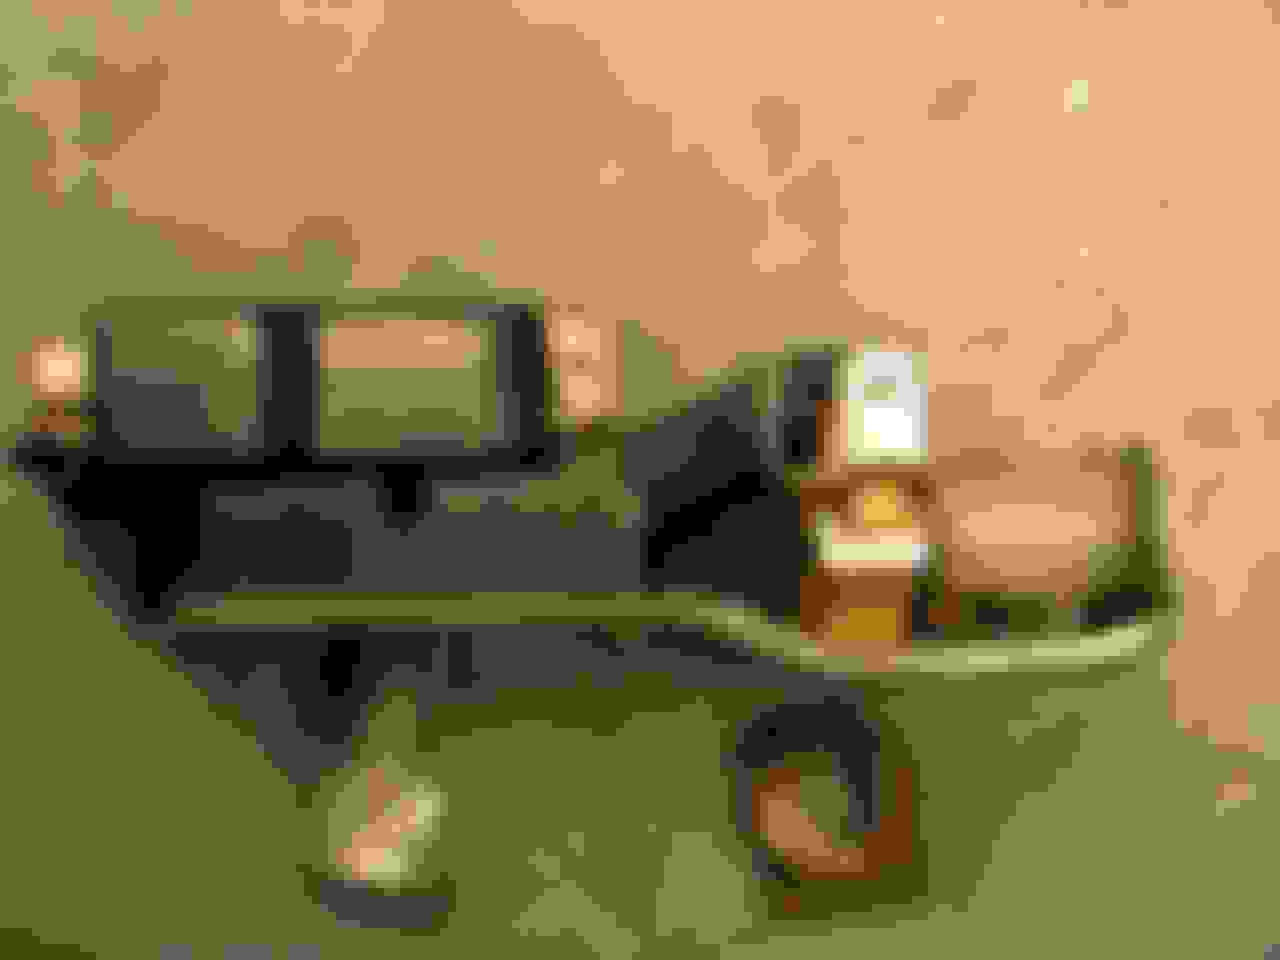
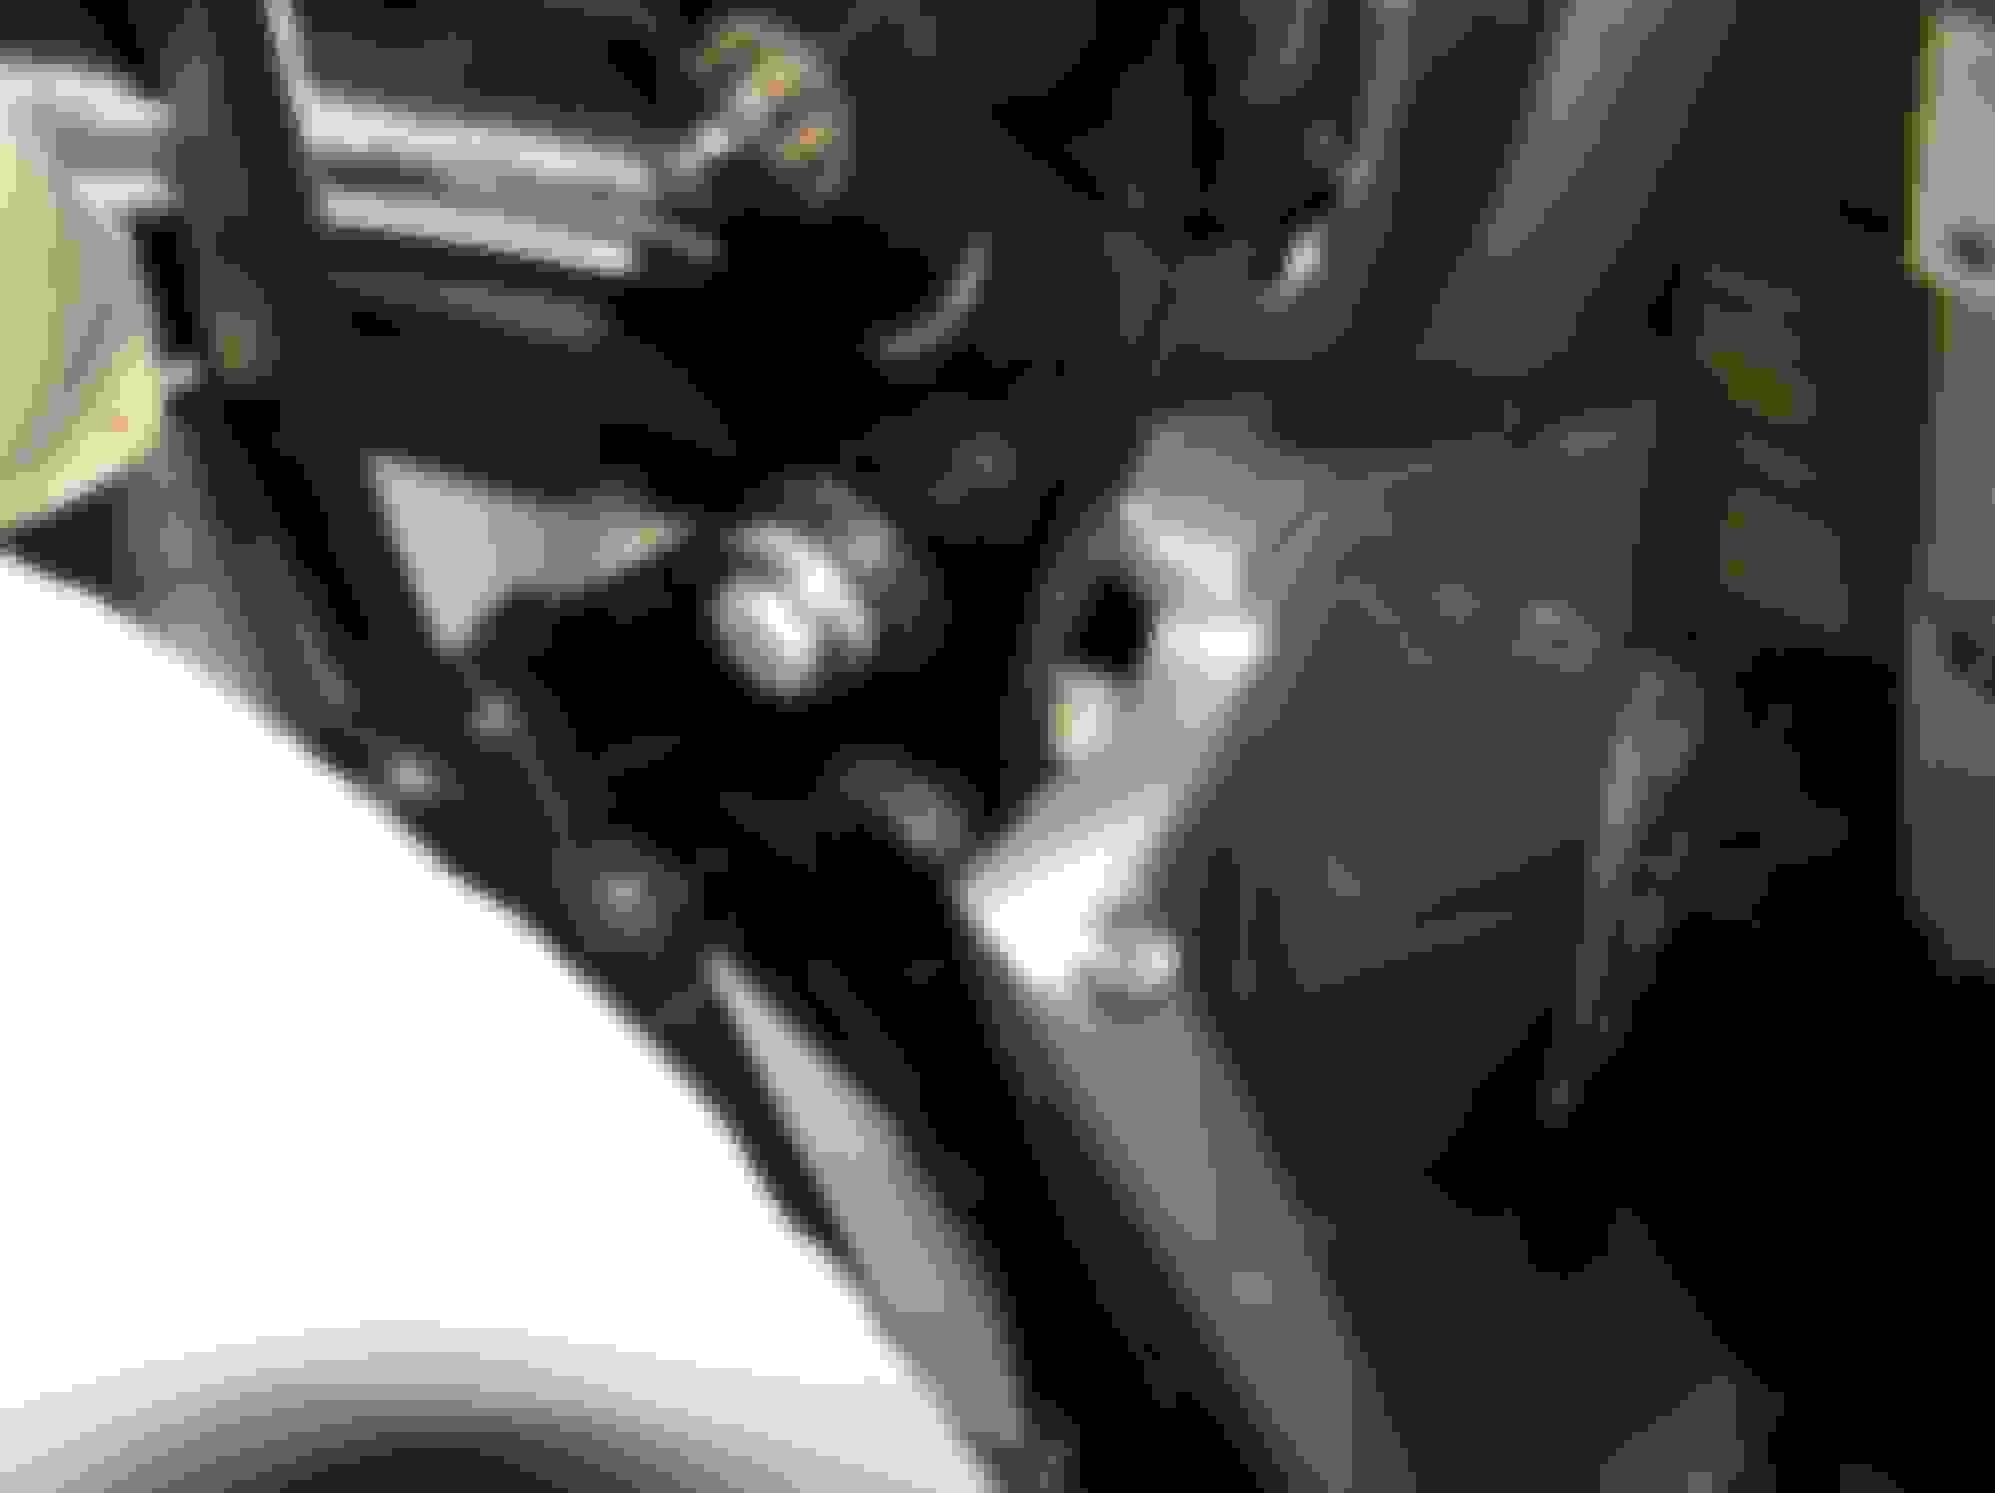
Also, your footwell lights, or Courtesy Lights as they are called, was a option. There should be a pushbutton switch on each hinge pillar up high near the windshield. When doors are closed, the lights can also be switched on by turning the headlight switch **** CCW to it's max. A noticeable "click" in the switch mechanism can be heard.
If equipped, the lights are located just under the windshield pillar underdash ends. Also note the door switch.
The headlight switch switches Ground to turn on those lights, so it's important that the switch is grounded with the small black wire with the ring terminal, to the back of the switch under one of the round head slotted screws.
Rich
Last edited by rich5962; Sep 24, 2014 at 07:36 AM.
Yes - the repro switches are dicey. The one I put in my '61 began to 'strobe' the headlights at night within a week of installation...meaning the thermal cutout had activated. I put relays in the car so that the switch is now just that, a low current signal switch to activate relays.
The headlight switch switches Ground to turn on those lights, so it's important that the switch is grounded with the small black wire with the ring terminal, to the back of the switch under one of the round head slotted screws.
Rich
So this could be the reason why it is still not working.
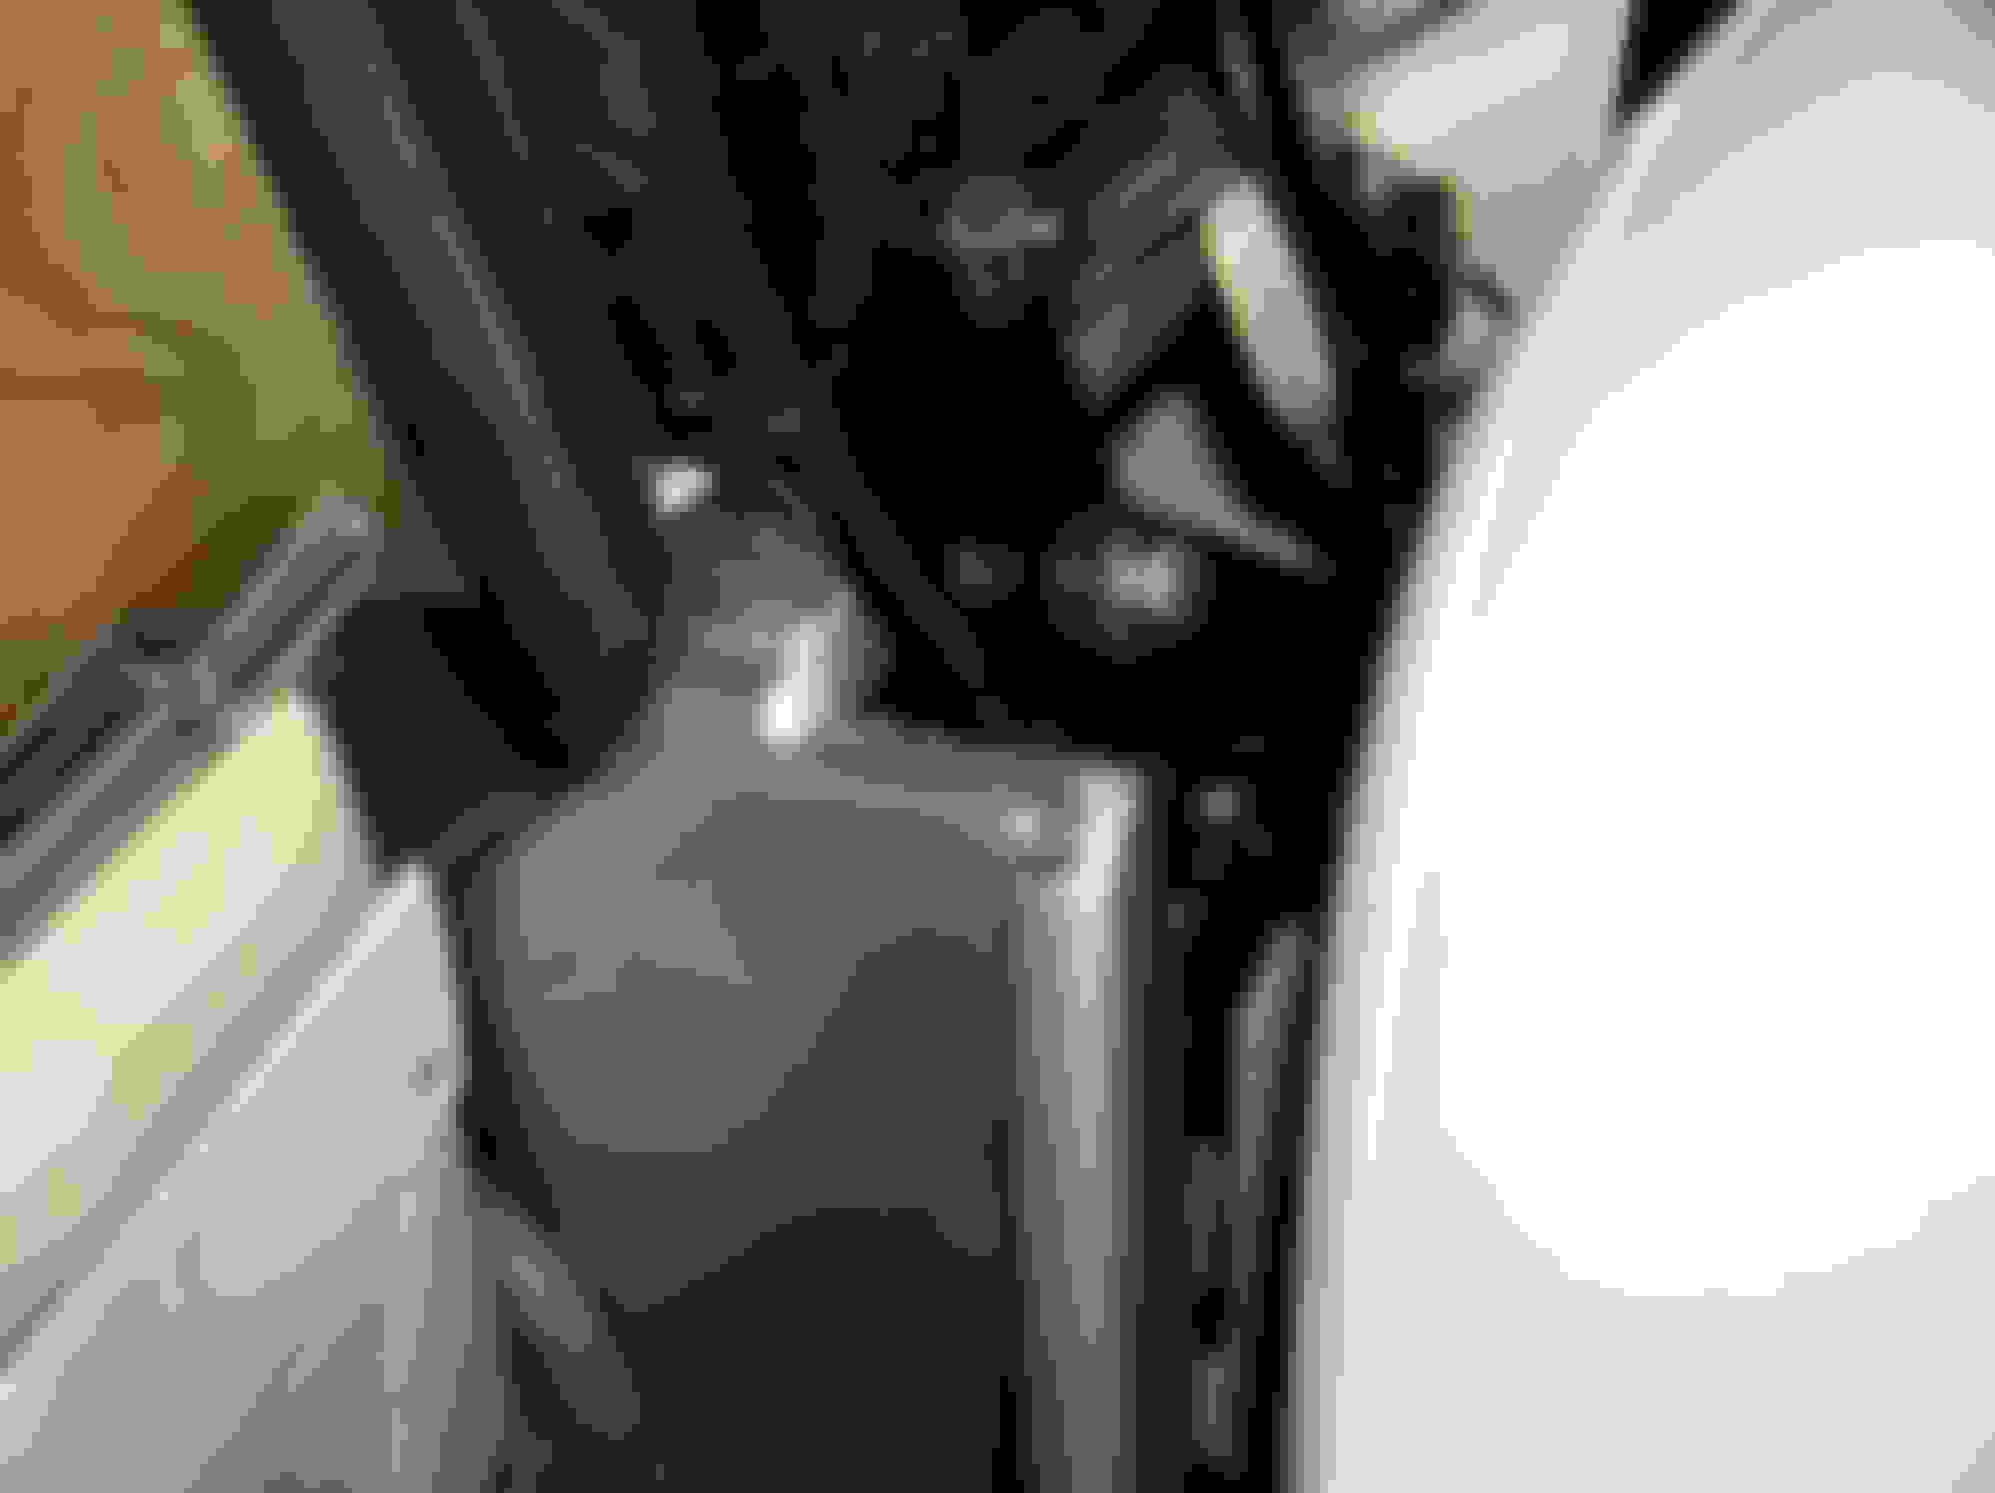
My footwell lights are diffent from yours:
The door switches are missing (only holes) and the light sockets also. I will find them.
This is all good if all of your wiring is there. Since it was a option there is a separate harness that goes between the headlight switch and to each switch and lamp. BTW, the lamps should be on both sides with a switch at each door pillar.
Rich
p.s. BTW, a friend in Austria said he got on the GCF and you had issues with inspection regarding the tail light & directional light requirements. Did you get that resolved?
he bought a '63 from me a few years ago and it was easy for him to convert to Austria required amber directionals on those as there are 2 lamps each side. More difficult to do on a '56 though. Does Germany require that Amber lamp too?
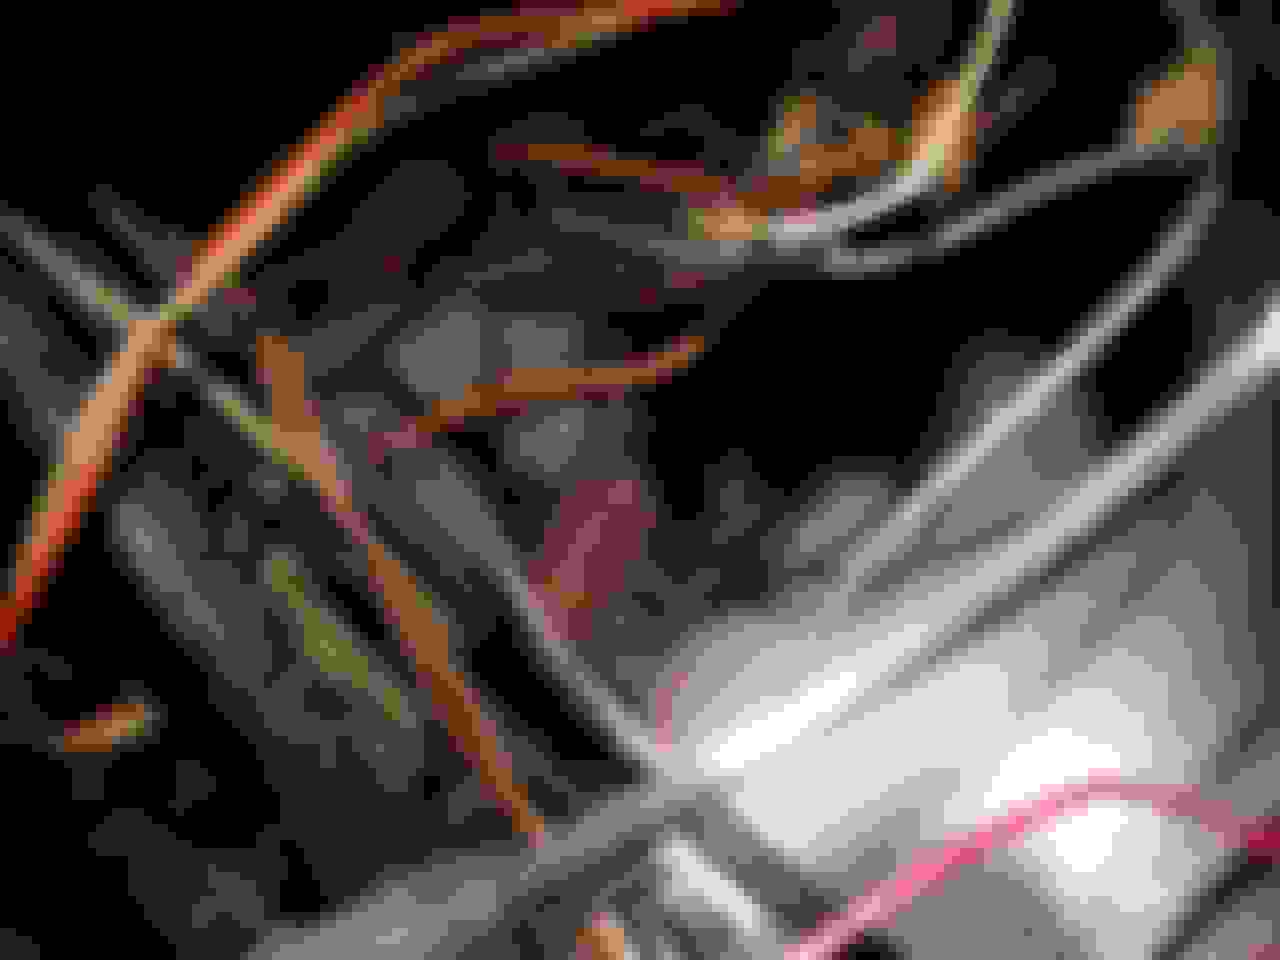
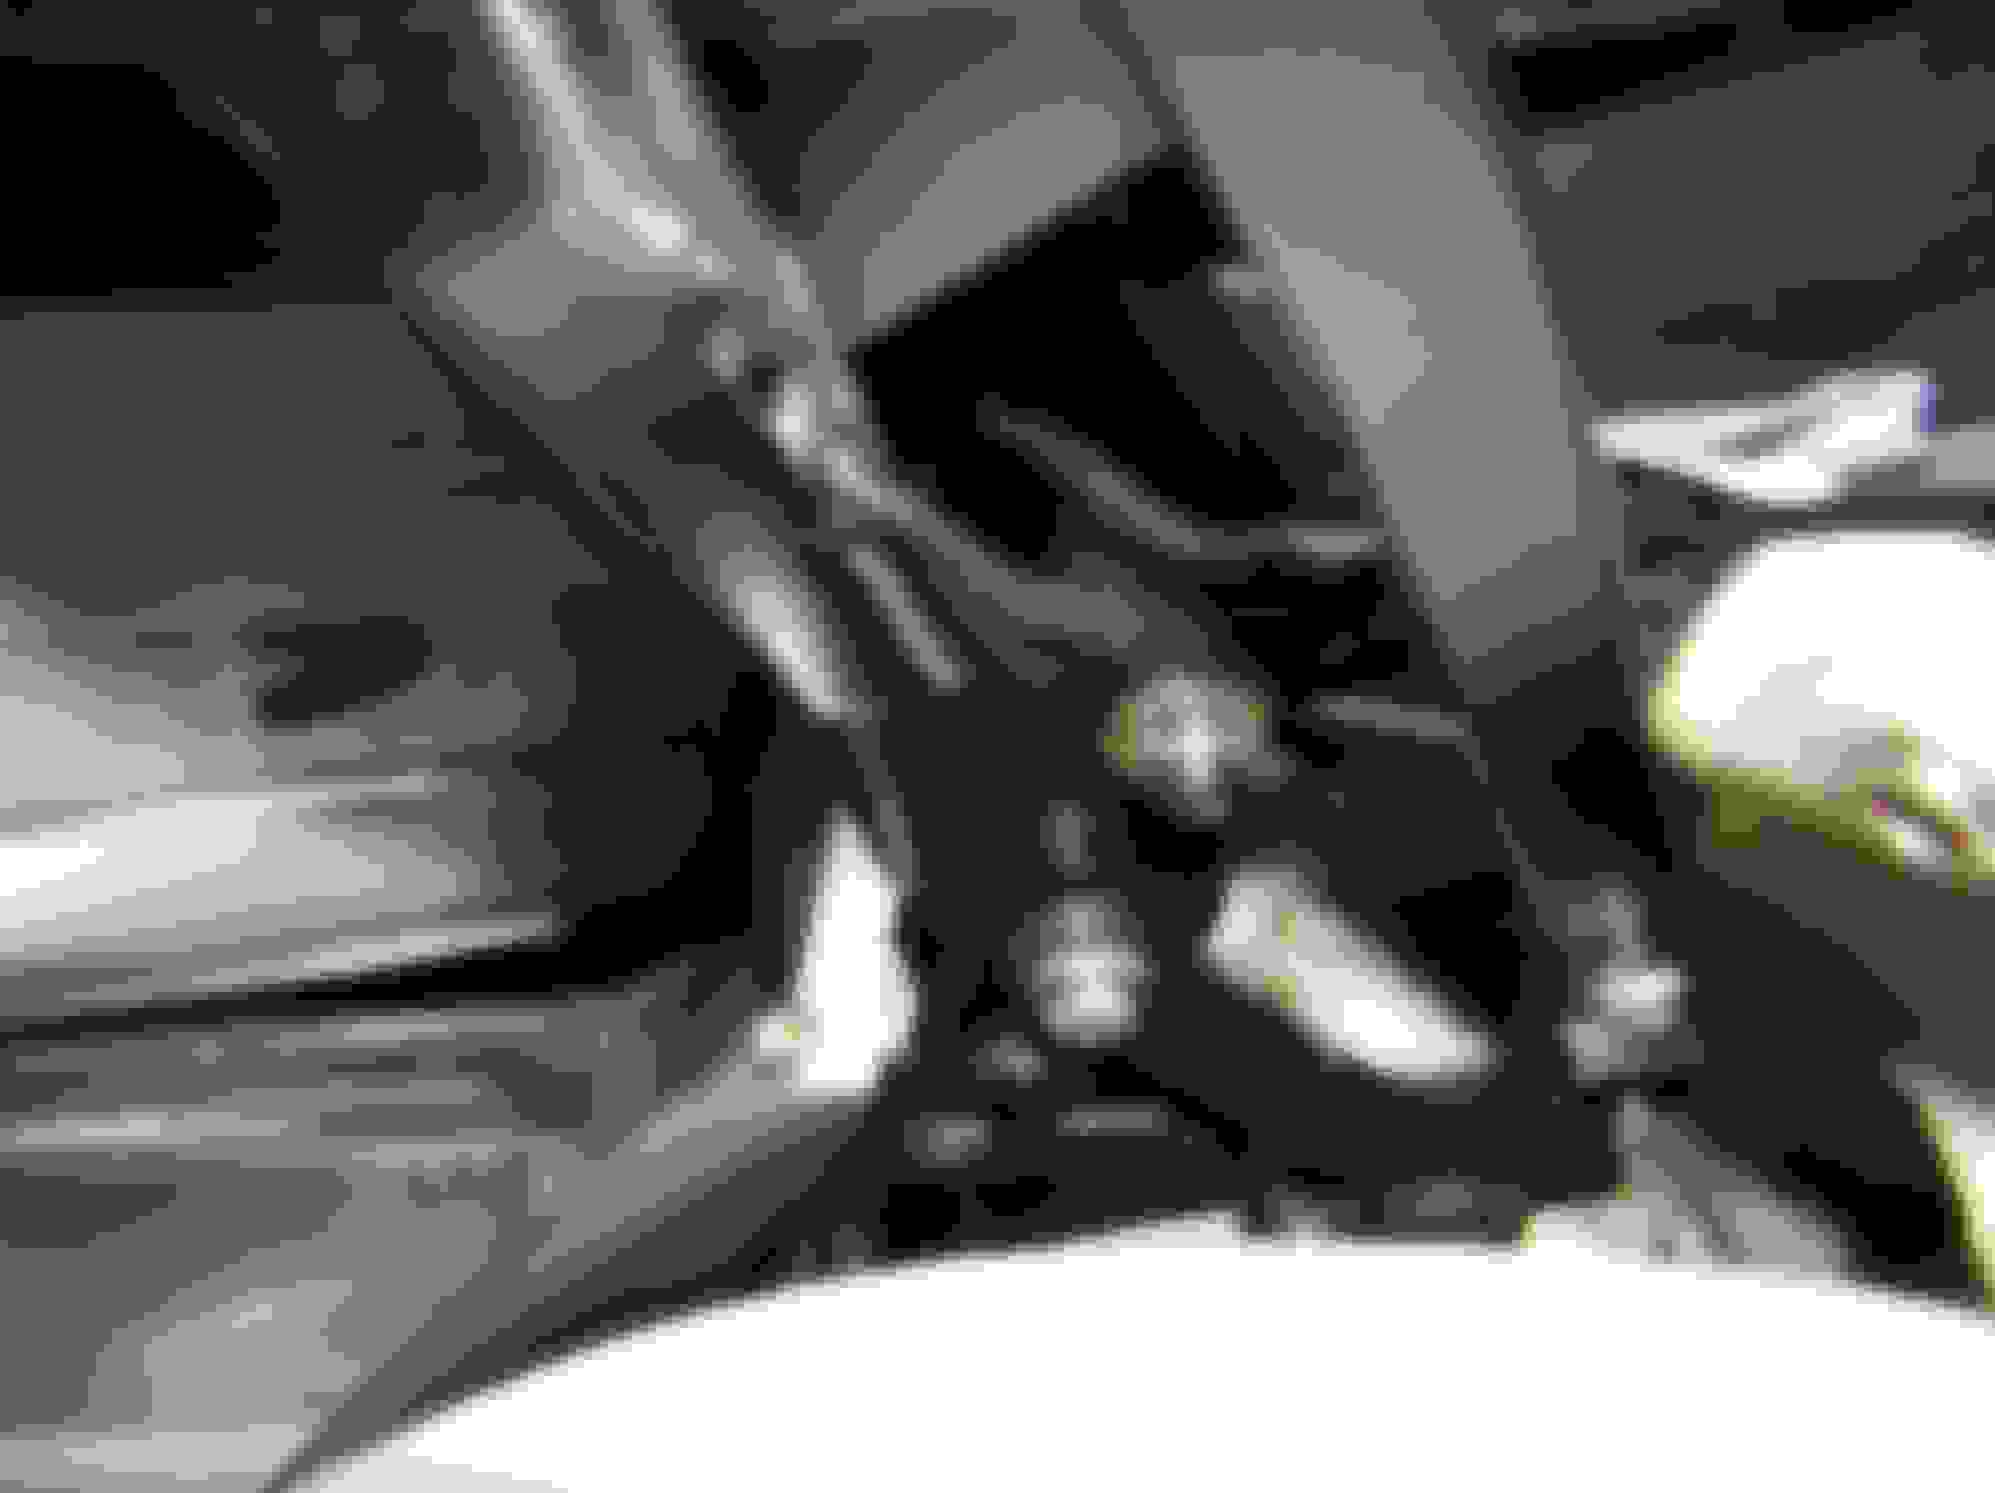
Yes.......That is the Radio Noise Suppression capacitor. Cars with optional radios had special capacitors at various locations to keep audible engine noise separated from the generator circuit, gauges, ignition system, etc.
It connects to ground....the Ring terminal end. That end is connected to the ground bolt to the left of the switch under the dash reinforcement.
The female blade terminal end connects to the extra light switch male terminal where the Red wire also connects.
It's shown on Sheet FOA 102 Sheet 2.00 in the AIM that I linked earlier, along with locations of other capacitors and grounds straps to eliminate "most" noise through to the speaker. These are unnecessary if your radio is not used or not operational.
FOA is Factory Optional Accessory.
Rich
Last edited by rich5962; Sep 29, 2014 at 01:02 PM.
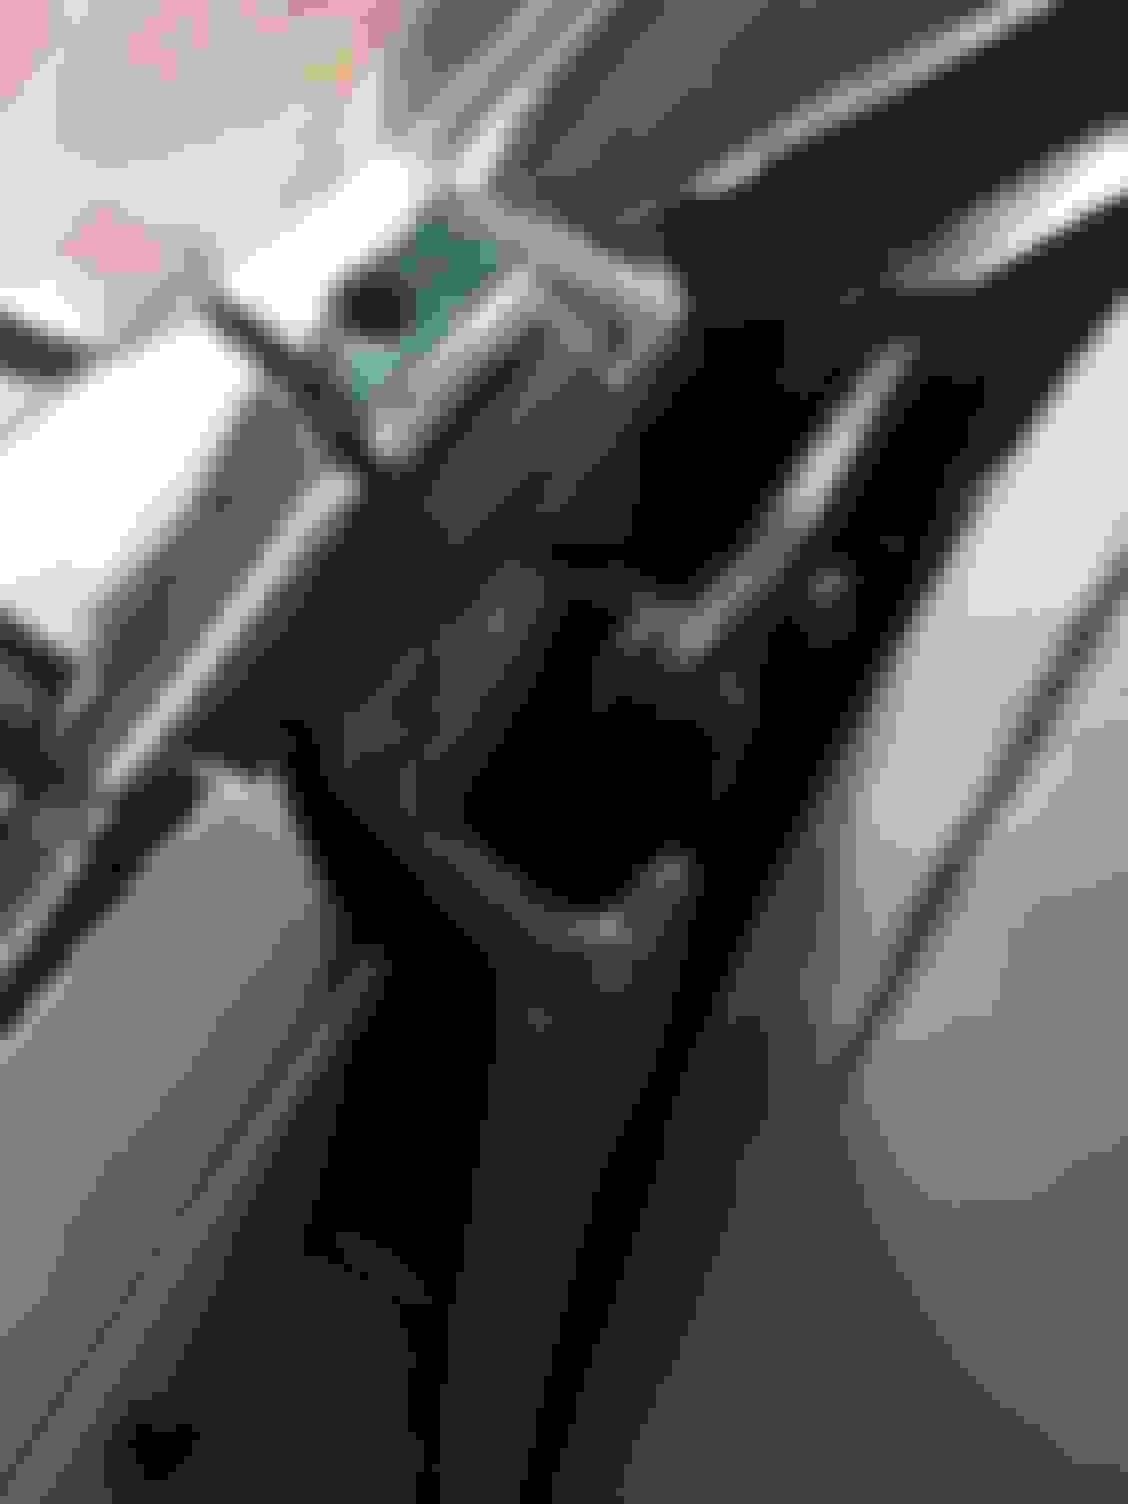
That heater valve appears to be stuck open. You can see the end of the lever and the slot in the bracket. Be VERY careful with this valve. If you damage it..... very costly to replace. You may want to remove the engine coolant lower than the valve, and remove it to free it up on the workbench. Protect the carpets, etc if you decide to remove it.
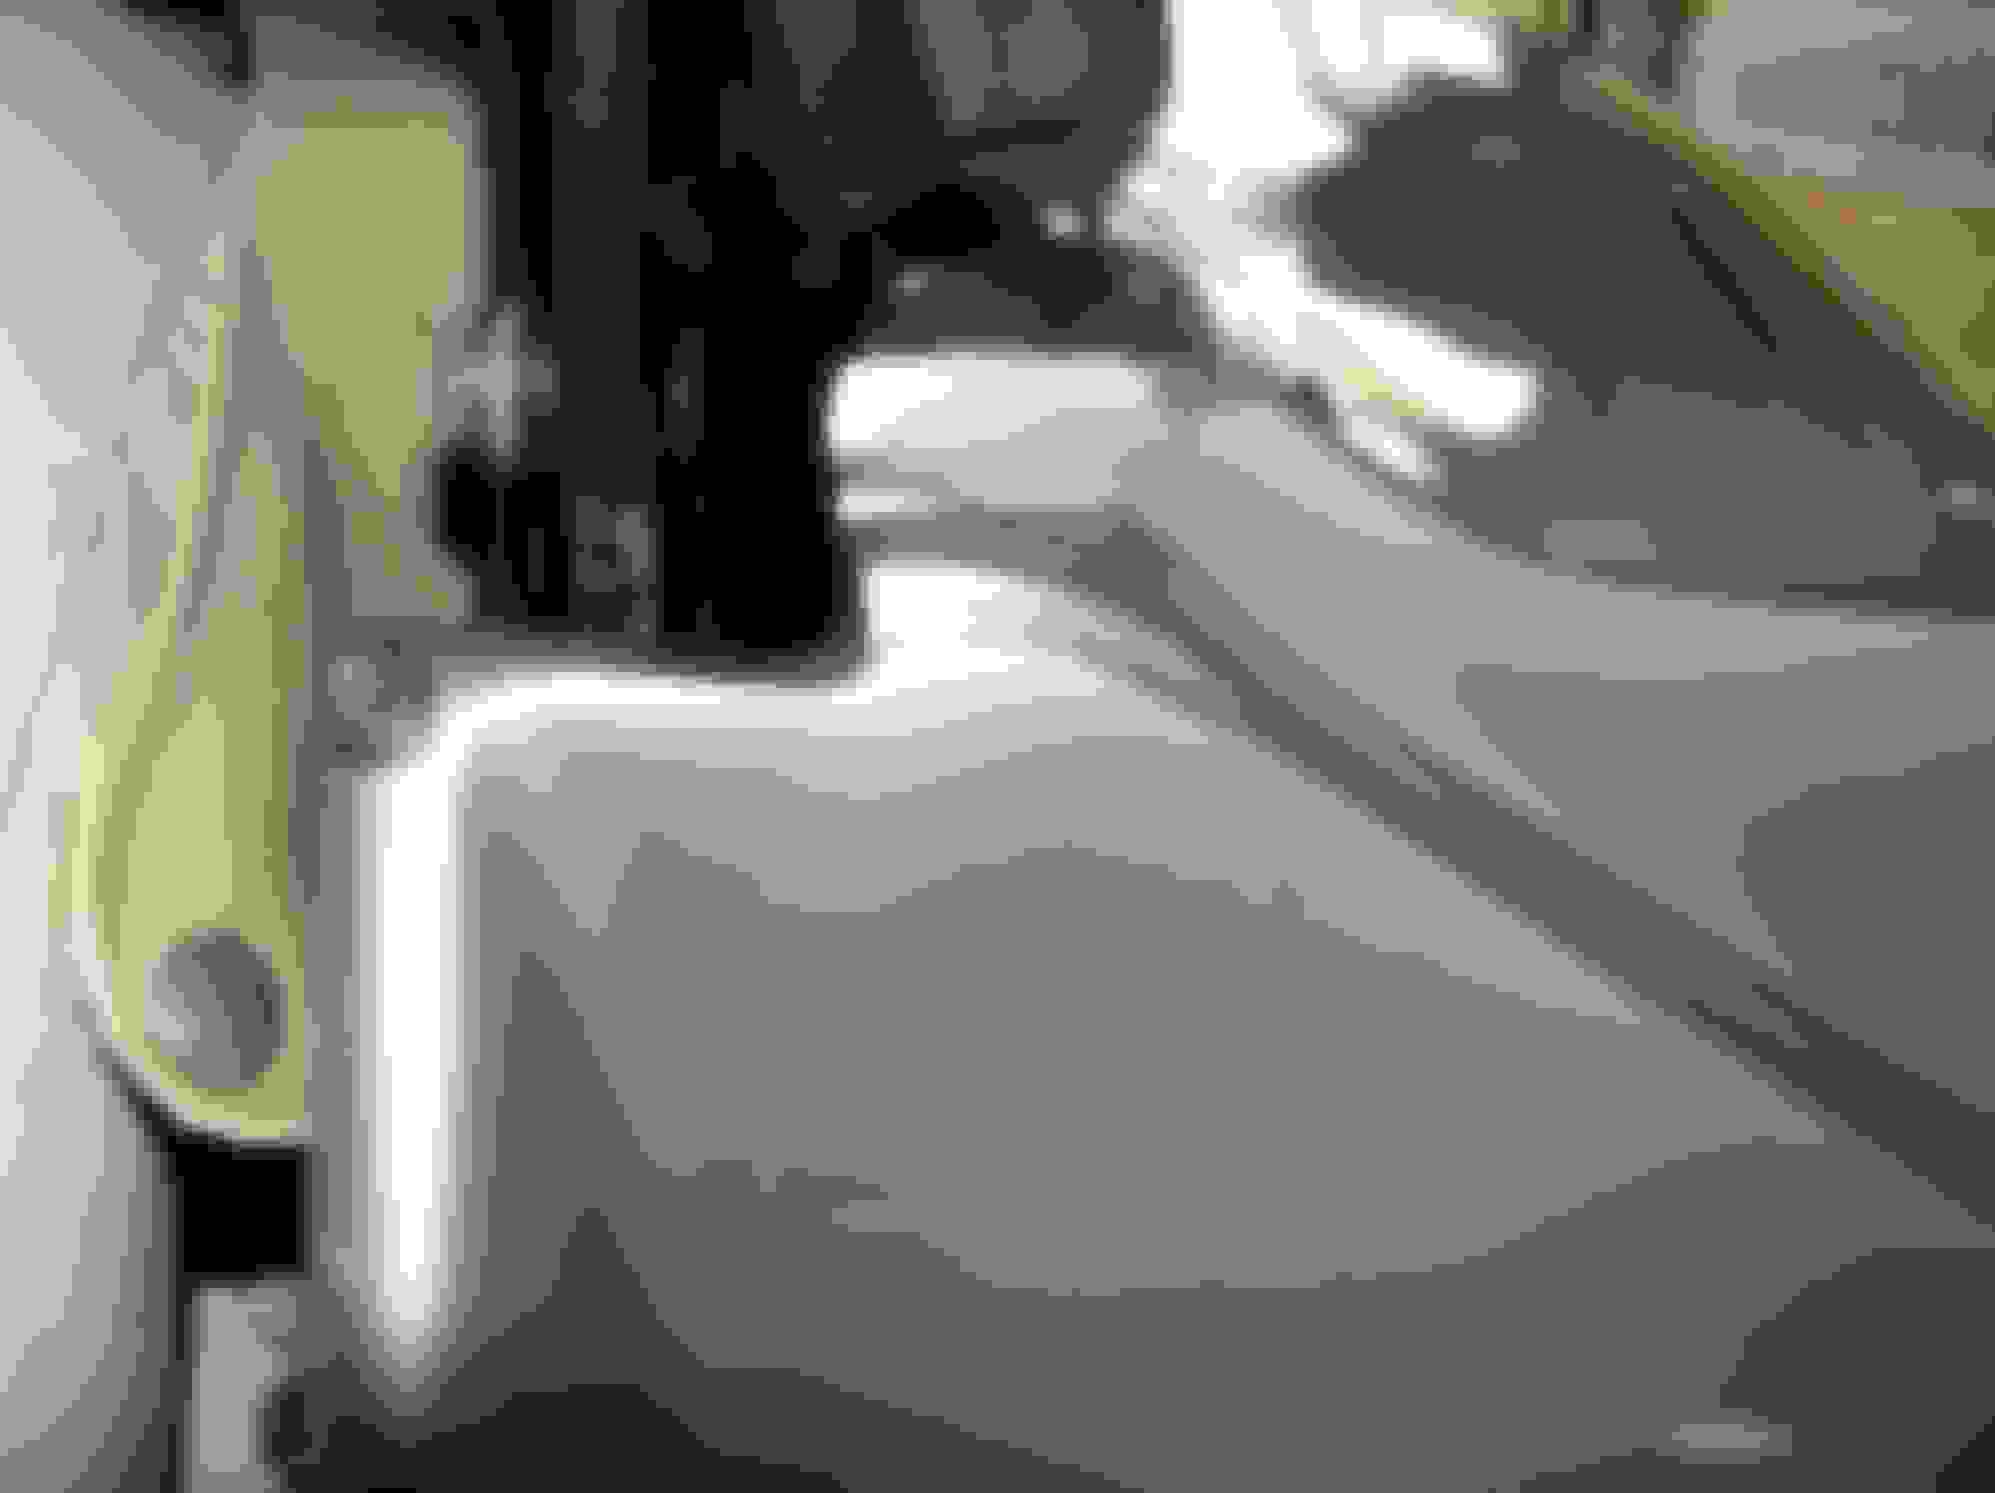
Your door pillar looks normal to me. That chrome piece with the hole in it is called a "Hardtop Receiver". The optional hardtop has locating pins on each side of the frame, and they fit into those holes in the receivers.You can see them in this photo, near the edge of the rear window channels sticking through the rubber weatherstrips.
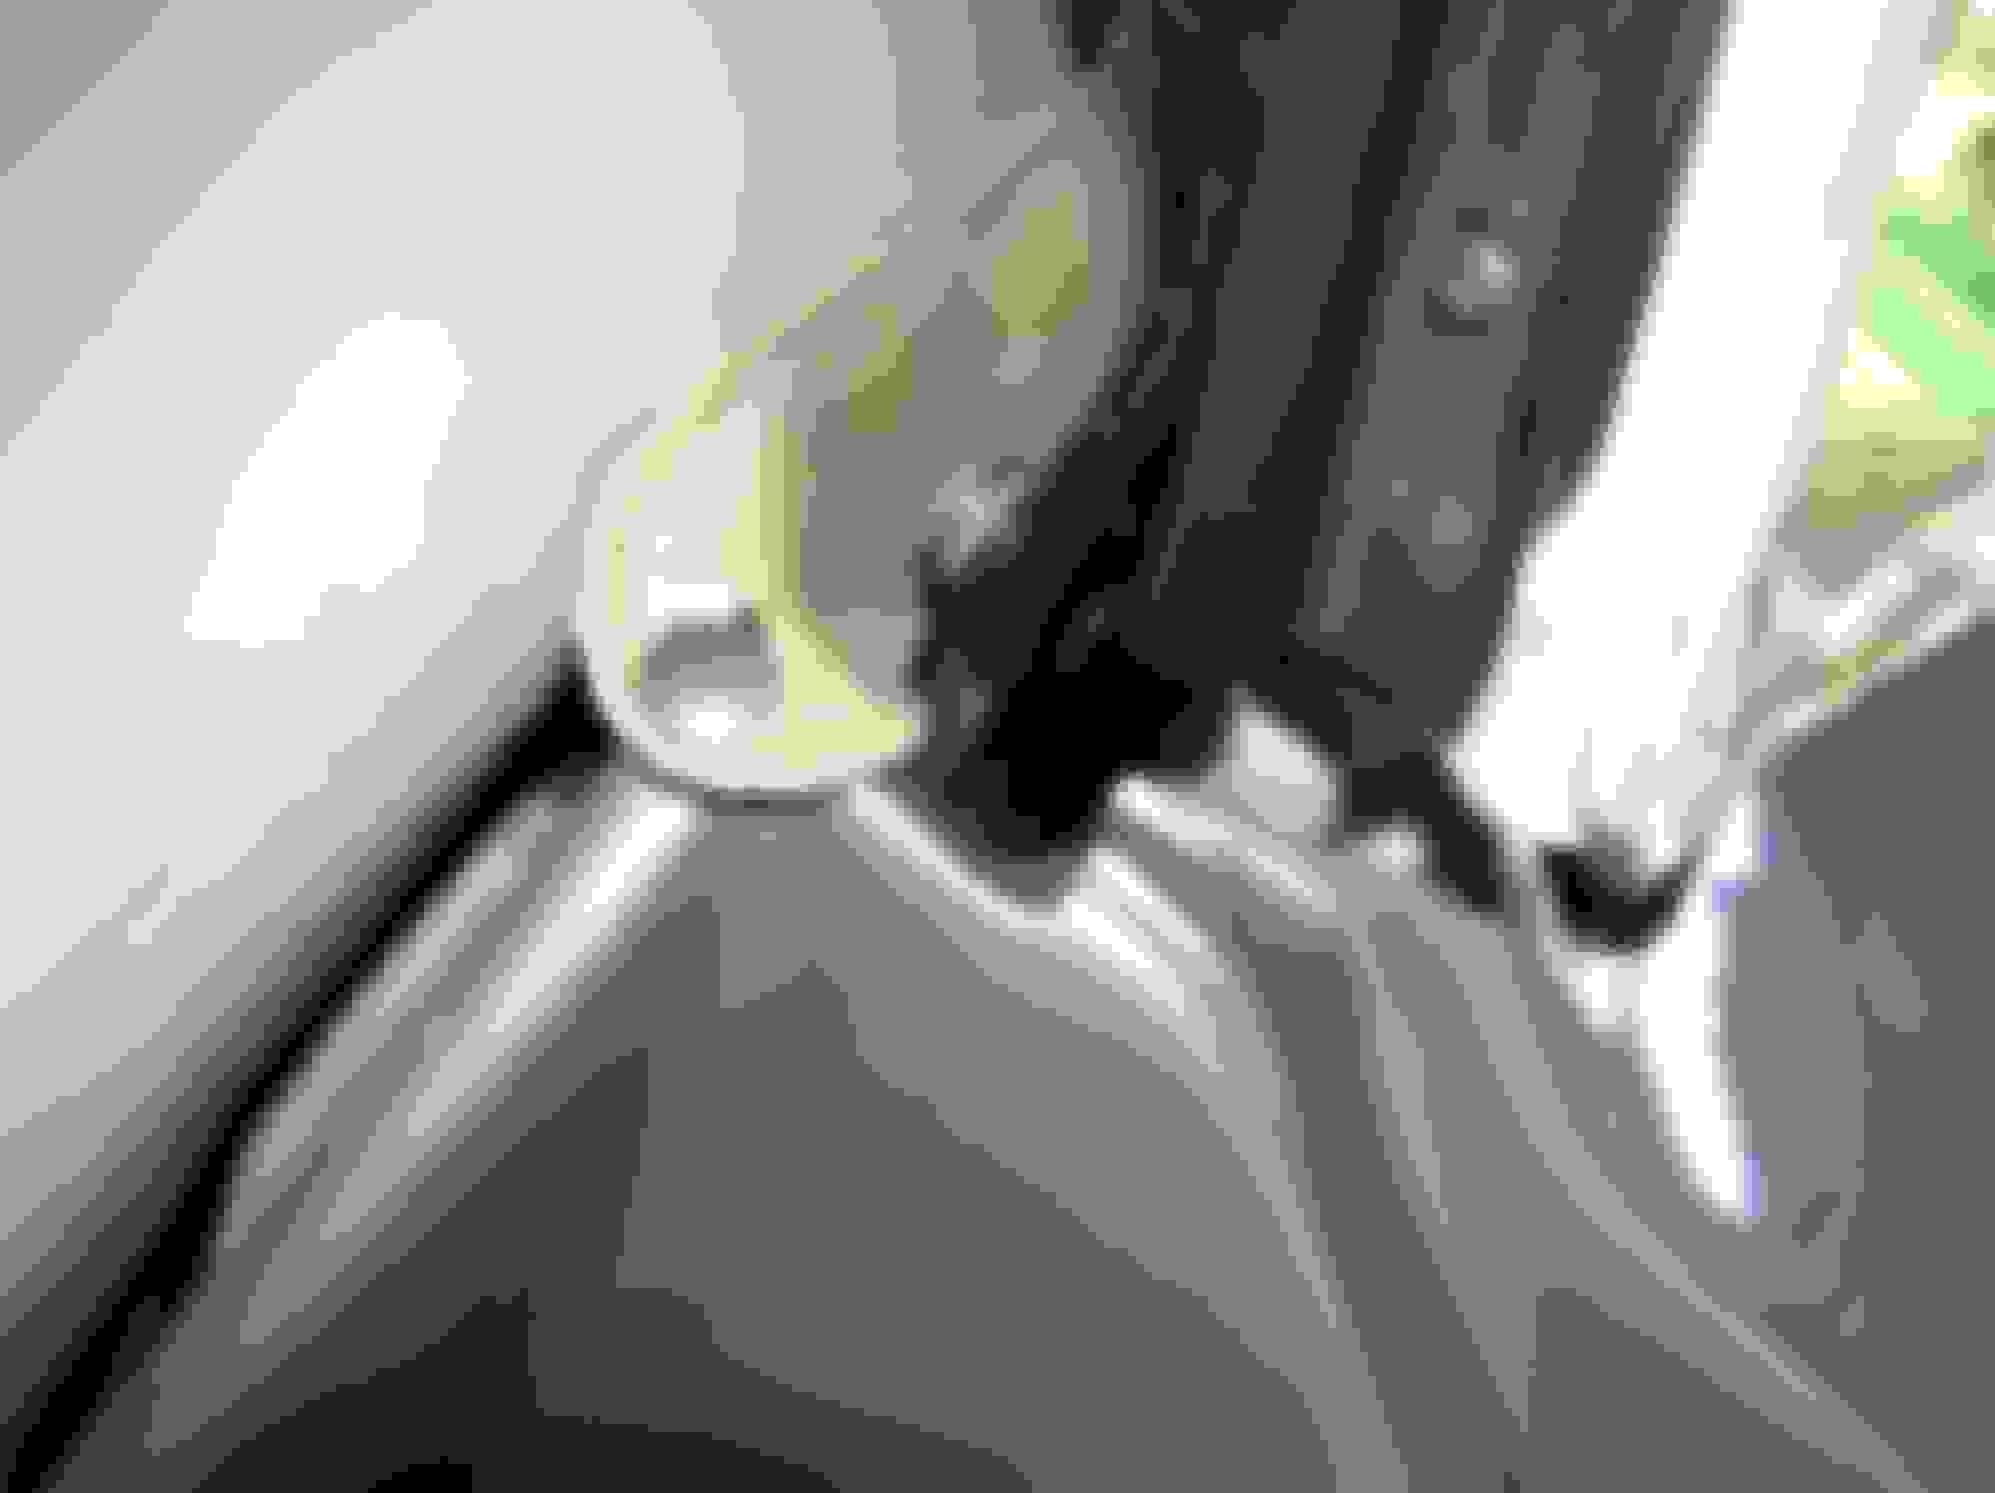
edit.....You do seem to be missing something after another look though. Not major, but missing the soft top strap button male snap. It's made to hold the "Convertible Top Tabs". These are the small straps that are attached to the decklid and have a female button snap. This snap snaps over the male button on the fiberglass corner. These were designed to cover the soft top mechanism when it's either raised or lowered.
There is a large hole in your pillar which shouldn't be there that low. I'm not sure what that's for.
Designer Imagines A Corvette That Looks More Like a Corvette Than the Corvette
Slideshow: A Jaguar designer's personal project imagines what a modern front-engined Corvette might look like if Chevrolet revisited the golden age of the Stingray.