When you click on links to various merchants on this site and make a purchase, this can result in this site earning a commission. Affiliate programs and affiliations include, but are not limited to, the eBay Partner Network.
I have used a few of these and only put RTV silicone at the corners. IMO no other sealer is necessary and extra sealers prevents the reuse of the gasket.
I have used a few of these and only put RTV silicone at the corners. IMO no other sealer is necessary and extra sealers prevents the reuse of the gasket.
Phil
That would be at the sharp corners where the gasket goes over the main caps.
Tom
I know the Fel-Pro instructions are to apply RTV to the four corners. With that said, you are going to run into variation with old Gen I engines. It took me four attempts (over the course of a year) to seal my lower engine with the original thin front pan seal.
First, I installed a new rear main seal (Fel-Pro 2912) and one-piece pan gasket (OS-34509T). The rear main was dry but it still leaked at the front corners and top and bottom of the timing cover front radius.
Second, I installed a new balancer seal, timing cover gasket (Fel-Pro 2335) and another one-piece pan gasket (OS-34509T). It was better this time, but still seeped at top and bottom of the front timing cover radius. I only used RTV in the four corners as recommended in the first two attempts.
Third, I installed a new one-piece pan gasket (this time a Fel-Pro 1885) applying RTV to bottom radius of the timing cover (top side of gasket). It was better again, but I still had a small seep below the gasket at the front radius. The 1885 is identical to the OS-34509T except it doesn’t come with fasteners and snap-ups.
Fourth, I installed a new one-piece pan gasket (1885) with RTV applied to bottom of timing cover radius and top of oil pan at the front radius (both sides of gasket). After the fourth attempt, it has been dry for almost two years.
The Fel-Pro one-piece gaskets are great products. But in my case, in addition to the four corners, I had to apply RTV to both sides of the gasket at the timing cover radius to get a seal. I have a 3892657 block, an original pan (2 �” radius) and an original timing cover (roller welded sealing flange).
From reading your re-do efforts, it sounds like you may not have trued up the gasket surfaces of the timing cover and pan. Trued up meaning removing the dimpled bolt holes caused by over tightening. I hope this is not the case. Dennis
From reading your re-do efforts, it sounds like you may not have trued up the gasket surfaces of the timing cover and pan. Trued up meaning removing the dimpled bolt holes caused by over tightening. I hope this is not the case. Dennis
You bring up a good point, the OP should make sure the pan surface is flat especially at the bolt hole locations. This can be done by carefully using a flat faced hammer and a thin block of wood supporting the bottom flange surface.
Yes, I did true up all my sheet metal surfaces but still had a seep at the front pan radius (pic below) which was not acceptable to me (being a bit ****). I guess the point I was trying to make to the OP was there are many sources of leaks and tracking them can be frustrating. In my case, due to tolerance stack up or whatever, to get a complete seal I had to use a little extra RTV at the front radius.
I agree with the recommendation to start dry with RTV in the four corners and proceed from there. It can be a trial and error process!
FYI everyone................................ .....there IS a difference in oil pans. The best way to determine which gasket you need is to measure your oil pan with a straight edge...... lay a straight edge across the oil pan rails and measure the distance from the bottom of the straightedge down to the semi circle area at the front of the oil pan that fits against the bottom of the timing cover. If this distance is 2 1/4 inches it is an early pan (1955 thru 1974) and will need the "thin" seal. If it measures 2 3/8 it is the later pan (1975 and up) and will need the "thick seal". Fel Pro's # for the thick front seal is OS34510T. The thin front seal is OS34509T. Hope this helps.
FYI everyone................................ .....there IS a difference in oil pans. The best way to determine which one you need is to measure your oil pan with a straight edge...... lay a straight edge across the oil pan rails and measure the distance from the bottom of the straightedge down to the semi circle area at the front of the oil pan that fits against the bottom of the timing cover. If this distance is 2 1/4 inches it is an early pan (1955 thru 1974) and will need the "thin" seal. If it measures 2 3/8 it is the later pan (1975 and up) and will need the "thick seal". Fel Pro's # for the thick front seal is OS34510T. The thin front seal is OS34509T. Hope this helps.
But doesn't the Timing cover matter also on whether thick/thin front seal is used..?
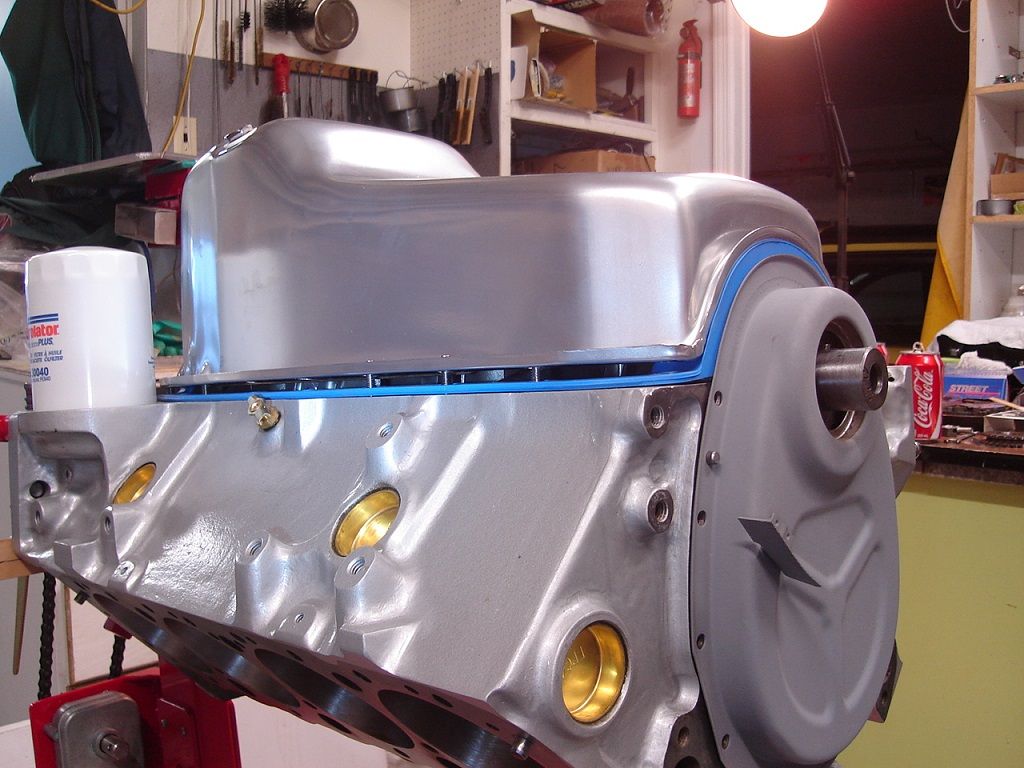
stratplus, if you would be so kind to let me know how your install goes, it would be much appreciated. I attempted to install one but as you can see in the photos below, it was a no go.
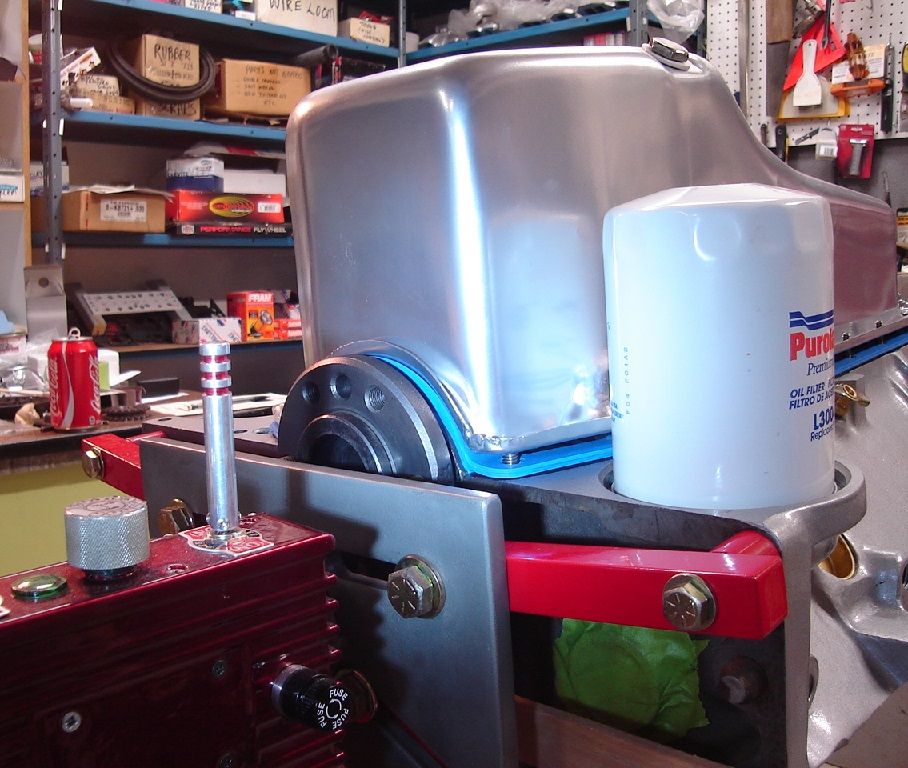
Front of pan is seated firmly on the timing chain cover, but the gap at the side rails is huge.
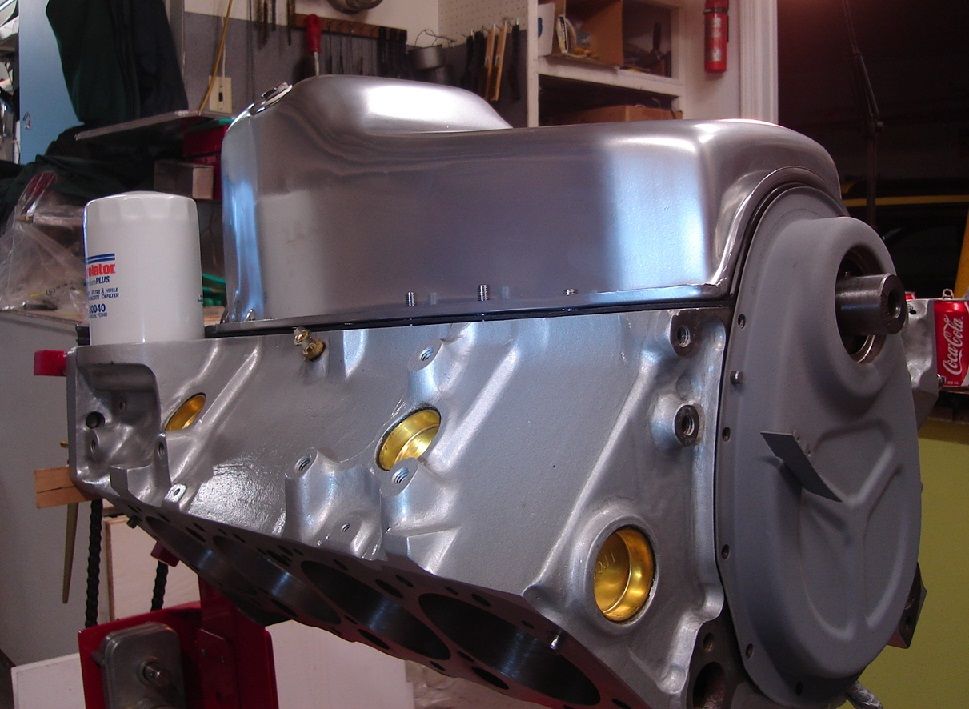
Same deal at the back:
I tried snugging down the nuts ( I'm using studs ), but it was obvious I was only going to bend the pan. For a sanity check I went and bought the old 4 piece gasket set. Looks like this will work.
I did a search on the Interweb and apparently I'm the only person in the world to have encountered this problem
stratplus, if you would be so kind to let me know how your install goes, it would be much appreciated. I attempted to install one but as you can see in the photos below, it was a no go.
Front of pan is seated firmly on the timing chain cover, but the gap at the side rails is huge.
Same deal at the back:
I tried snugging down the nuts ( I'm using studs ), but it was obvious I was only going to bend the pan. For a sanity check I went and bought the old 4 piece gasket set. Looks like this will work.
I did a search on the Interweb and apparently I'm the only person in the world to have encountered this problem
I had the same problem on mine. I measured the pan and it called for the "thick" gasket. No freakin way the pan was going on. It looked just like yours. I put a "thin" gasket on and it does not leak. I don't have the gasket part numbers but they were both the blue Felpro. I suggest taking the measurement shown in the other post. It you have the short measurement use the "thin" gasket. If you have the tall measurement I would still try the "thin". JMHO
buns - the gasket in your top pic looks like a thick front seal gasket with a thin front seal pan???
All SB's through 1974 had the 2-1/4" seal radius with an 0.22"-thick front seal; it changed to 2-3/8" in 1975, with an 0.41"-thick front seal. The larger front seal radius and "thick" front seal also applied to all GM Service replacement pans manufactured after 1975, regardless of their application.
Don't guess, accurately measure the depth of the front radius of your oil pan as shown in the pic (2-1/4" = thin seal, 2-3/8" = thick seal).
Here are the most common Fel-Pro one-piece gasket numbers:
OS-34509T – One piece, thin front seal, left side dipstick, with longer bolts, washers and snap-ups
OS-34510T – One piece, thick front seal, left and right dipstick, with longer bolts, washers and snap-ups
1880 – One piece, thick front seal, left side dipstick, no hardware
1885 – One piece, thin front seal, left side dipstick, no hardware
1886 – One piece, thick front seal, right side dipstick, no hardware
Thanks for the help, guys. I should have mentioned this is a 1985 block with the passenger side dipstick, so only one choice for a gasket. The block and pan are new to me so I have no history with either piece.
I measured the 1 piece gasket and although the front and rear seals are thicker, the side rail portion is also thicker by an equal amount (compared to the 4 piece).
Could be the pans fault. It's a cheap Summitt pan, but it's the only stock replacement type I could find that had a sump depth comparable to the original. It's only 1/4" deeper than the stock one. I didn't want the oil pan sump to be the lowest point on the car since I lowered the chassis.
I don't know what block you have, but see the Federal-Mogul (Fel-Pro) catalog calls out the OS-34510T gasket set for an '85 Corvette.
But I would still measure the front pan radius. I suspect from your pic that it will measure 2-1/4" - not a match for your block. If so, you will need a thin front seal gasket. The variable is the location of your dipstick. All of the thin seal gaskets I listed are for left side dipsticks. If you need one with a right side dipstick, you will need to check with Summit to see if they sell a one-piece, thin front seal with a right side dipstick?
I forgot to follow up on the oil pan gasket install.
I made sure that the oil pan was straight. The one piece gasket goes on real easy with the temporary plastic corner bolts that they provide to hold up the pan on the 4 corners.
I put a dab of RTV on the ends as suggested by the manufacturer. It was dry everywhere except in the back of the engine I had a small leak. I took the pan off and put a little extra RTV and it still leaked.
I pulled the pan off again and loaded up everywhere with Permatex 2. It has been about 900 miles and it is dry as a bone.
 01-25-2015, 05:56 PM


 ... I too installed one the way Jim describes, and have never had a leak.


 Dennis