When you click on links to various merchants on this site and make a purchase, this can result in this site earning a commission. Affiliate programs and affiliations include, but are not limited to, the eBay Partner Network.
I just finished two Corvette tach drive distributors. One was a 71 small block and the other was a 427 390hp.
Here is how I went about the process. If anyone has any comments please make them constructive.
I am also putting this in a Word document and I will convert it to a PDF at a latter date. It takes some time so be patient. If I am being too descriptive please say so. You will notice I used pictures from both distributors.
Joe
This is the process that I use when I recondition a distributor. This is done on a distributor that does not need the bushings replaced. If the bushings need replacement, they normally have to be reamed to put the upper and lower bushing into alignment.
Begin by inspecting all components for wear or damage and check for excessive play in the upper and lower bushings.
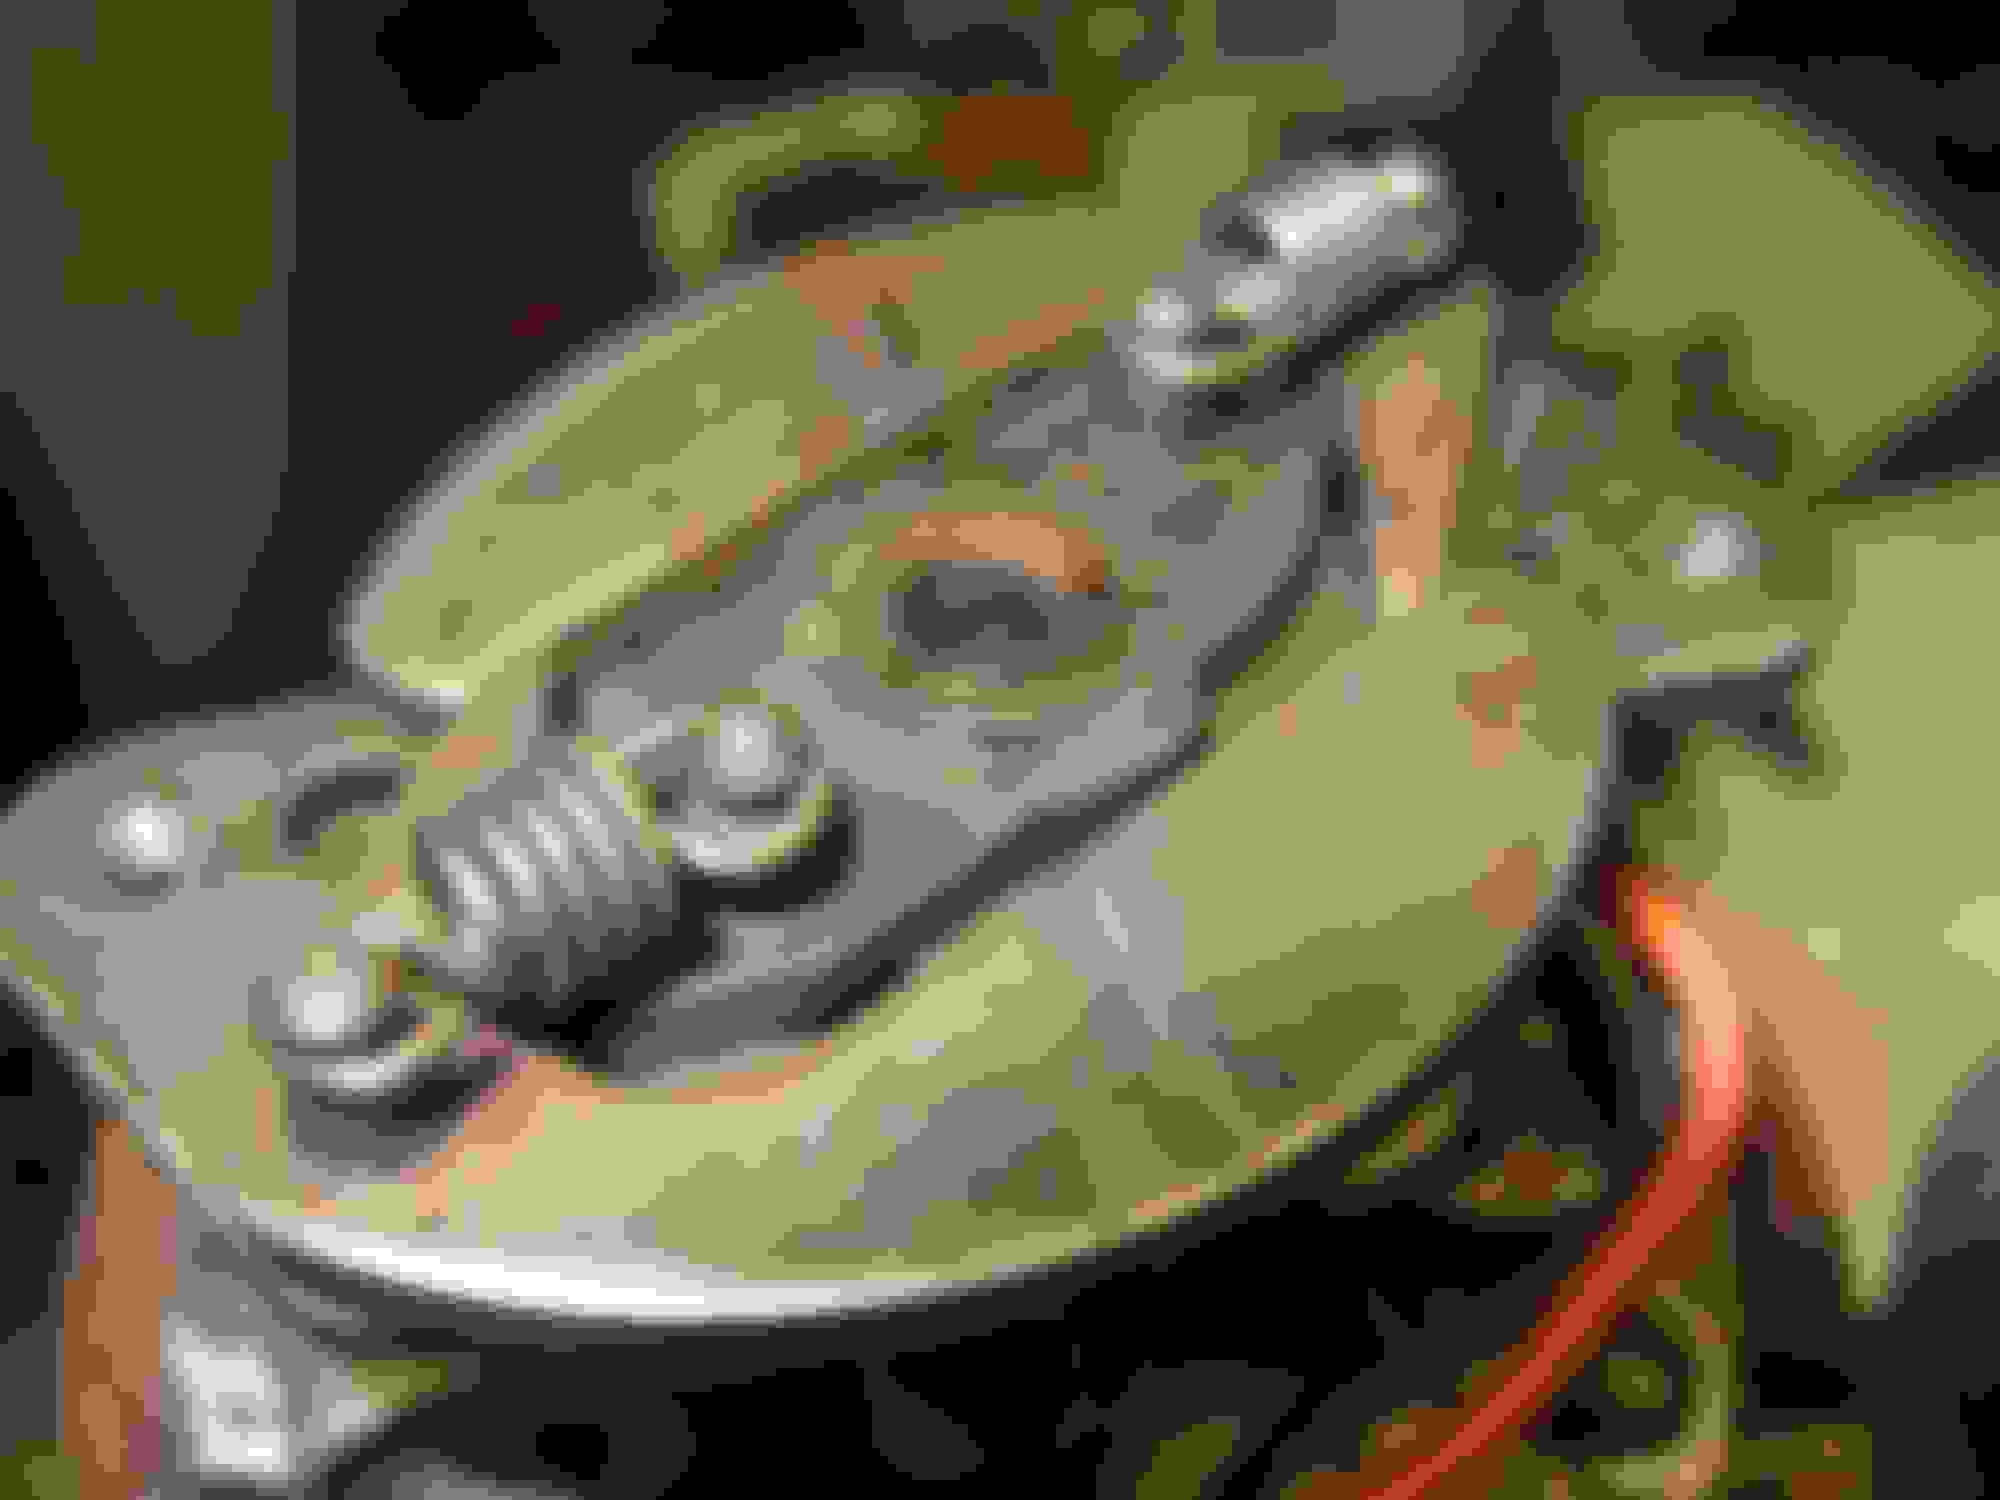
Remove springs and centrifugal weights and inspect the pivot pins for wear. Notice heavy springs.
Using a large flat screw driver remove the cross shaft gear support, I reconfigured a socket I had in my tool box.
This distributor had an end play of .074�.
Drive the 3/16 roll pin from the drive gear noting the dimple to rotor tip relationship, more on this later.
Before I pull the shaft out I de-bur the end where it drives the oil pump. If the shaft does not want come out I spray penetrating oil or carburetor cleaner to dissolve the varnish that might have accumulated on the shaft. Spray on the shaft and work it up and down and repeat as necessary until it comes out.
Once the shaft is out, clean and inspect for wear, the lower bushing area and the tachometer and cross shaft gears. This distributor needed a new shaft and cross gear
Remove the points and condenser.
Remove the screw closest to the vacuum chamber, red arrow, which holds the ground wire, it will be easier if you apply vacuum to chamber to allow access to the screw. If the advance is bad just use a flat blade screwdriver to move the plate over.
Remove the small wave retainer clip holding the breaker plate down, yellow arrow.
Now remove the breaker plate.
Remove the remaining screw holding the vacuum advance on and remove the chamber.
Remove the grommet and primary lead.
Remove the felt washer.
Carefully remove the plastic well cover, I use a sharp pick.
Note the saw dust looking stuff under the cover, it must be dried up grease the factory used.
Thoroughly clean the chamber and make sure the oil hole/holes in the bushing are clean.
Clean the rest of the distributor parts and inspect.
This is some of the parts from the big block distributor. Notice the broken upper bushing, the damaged vacuum chamber, the modified weights and the missing ground wire on the breaker plate.
LICS #48-04A and 48-04B are one source of supply. I am sure Paragon and others also offer them.
There have been reports of the top football being either incorrect or brazed on backward.................so you need to shop carefully and even then may need to revise or verify with a SUN machine or dial back timing light.
Good to know - my 63 dizzy was rebuilt by Lars and my '61 runs a Pertronix dizzy with vac advance. I've been toying with rebuilding the 61s original dual-point, no vac advance distributor -- shouldn't be too bad as it doesn't drive the tach in dual quad form...
Frank,
I purchased the kit from Wilcox Corvette.
Here is a picture of the kit. I didn't use the brass bushing and I ordered the nylon one because that is what the 71 distributor already had.
Joe
First thing I do before tear down (if possible) is to put in a set of quality points, and check it on the Sun Machine to check the cent. and vac. advance profiles, and to verify that all 8 cylinders are "firing" (especially at high RPM) and at the same number of advance degrees. If the points cam is worn, some of the cylinders may not fire at elevated RPM, or may be firing at a different degree location.
Checking the cent. advance profile before hand, gives you a ref. point if the shaft (and football) have to be changed, amongst other items......don't be too surprised if the generic replacement shaft & football advance is a "little" off (in both total degrees and advance profile)!
Plasticman
Last edited by Plasticman; May 31, 2016 at 10:29 PM.
I understand what you are saying but most people do not have access to a distributor machine.
My intent here is to show people what is involved doing a basic reconditioning.
Later I will show the distributor on my machine running at idle and full RPM.
Joe
You also posted - "I've been fighting an intermittent miss on my stock 1963. Finally figured it out. The ground wire on the breaker plate was corroded and holding on by two copper strands. Had to pull the distributor and go thru everything this morning".
Which "story" is true and which one is B.S.? Inquiring minds want to know. Still waiting for an answer.