
1969 Side Louvers (Gills) and Seat Cushion
 10-25-2010, 11:10 AM
#21
Team Owner


Member Since: Jun 2000
Location: Southbound
Posts: 38,928
Likes: 0
Received 1,469 Likes
on
1,248 Posts
Cruise-In II Veteran

Purchase the 1969 assembly instruction manual (AIM); it shows the installation of the optional vent trim.
You will need the louvers and a hardware kit. You will need to drill a couple of holes at each opening on the fender to mount the trim.
Your seats will swap. If the driver's seat cushion is a little flat, swap driver's and passenger's seats.

You will need the louvers and a hardware kit. You will need to drill a couple of holes at each opening on the fender to mount the trim.
Your seats will swap. If the driver's seat cushion is a little flat, swap driver's and passenger's seats.

 08-21-2011, 10:00 PM
#24
Melting Slicks

Member Since: May 2005
Location: Montgomery Alabama
Posts: 2,209
Likes: 0
Received 12 Likes
on
3 Posts
Cruise-In VII Veteran
St. Jude Donor '06

Its tricky to get the holes drilled in teh correct place if your car did not come with them. Be extremely careful, especially on teh 4th louver when you push your drill through the fender.
The rubber well nits are great. You can put all of tehm on teh louvers, then put them in place and tighten them up.
The louvers should float freely away from the paint.
The $25 ones look as good as the $99 ones, especially if you are adding them to a car that did not come with them.
The paint scratches easliy off because of the chrome, so be careful. Tape can even pull the paint off the chrome.
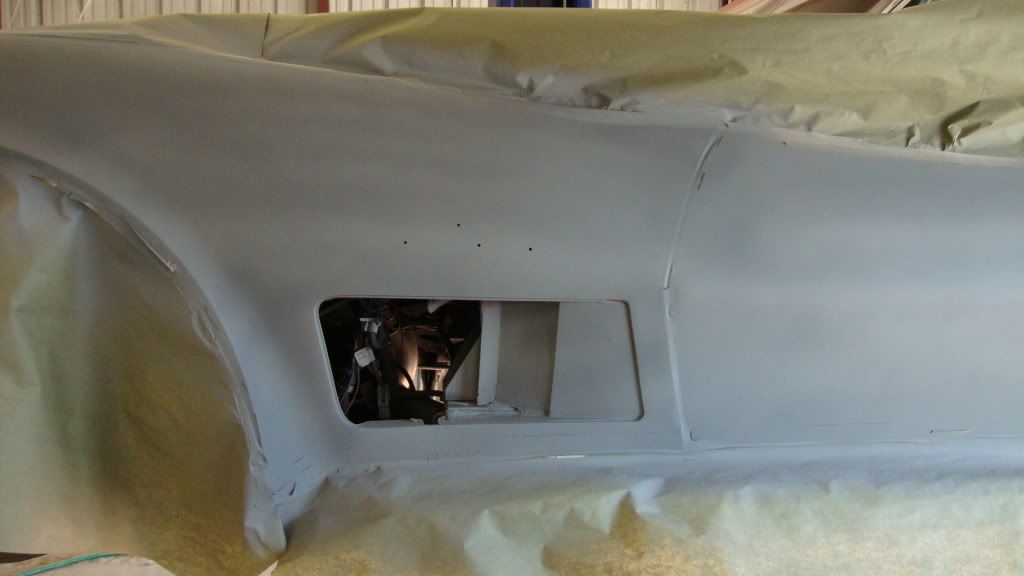
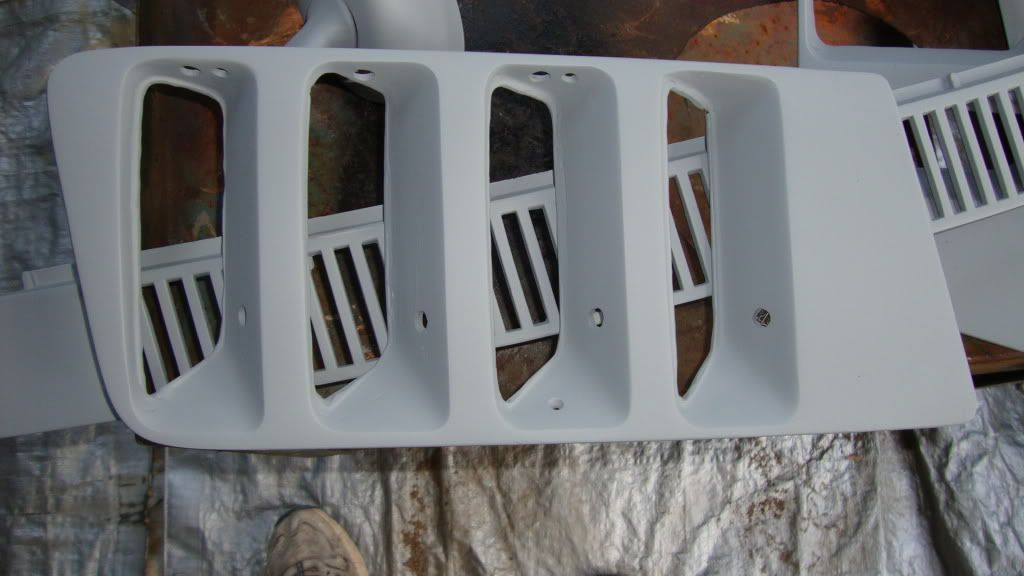
These are some in-progress shots of my 69 gills install on my 72.

The rubber well nits are great. You can put all of tehm on teh louvers, then put them in place and tighten them up.
The louvers should float freely away from the paint.
The $25 ones look as good as the $99 ones, especially if you are adding them to a car that did not come with them.
The paint scratches easliy off because of the chrome, so be careful. Tape can even pull the paint off the chrome.
These are some in-progress shots of my 69 gills install on my 72.
Last edited by Curby; 08-21-2011 at 10:06 PM.
08-30-2013, 12:40 PM
#25
Instructor


I just bought the Side Louver nut in body kit fro CC. The install from the out side, making it very simply in install. The shoulders on the ones I received were 3/16 of an inch thick. That is two thick for the louver to fit. The should should be about 1/16 or 1/8 at the most.
CC is checking the size.
333076 1968-1969 Side Louver Nut in Body
this is the party number, $17.95 for both sides.
Much easier.
Max
CC is checking the size.
333076 1968-1969 Side Louver Nut in Body
this is the party number, $17.95 for both sides.
Much easier.
Max
 04-28-2018, 09:10 PM
#27

Breathing more new life into this thread, after a 4 1/2 year sleep.
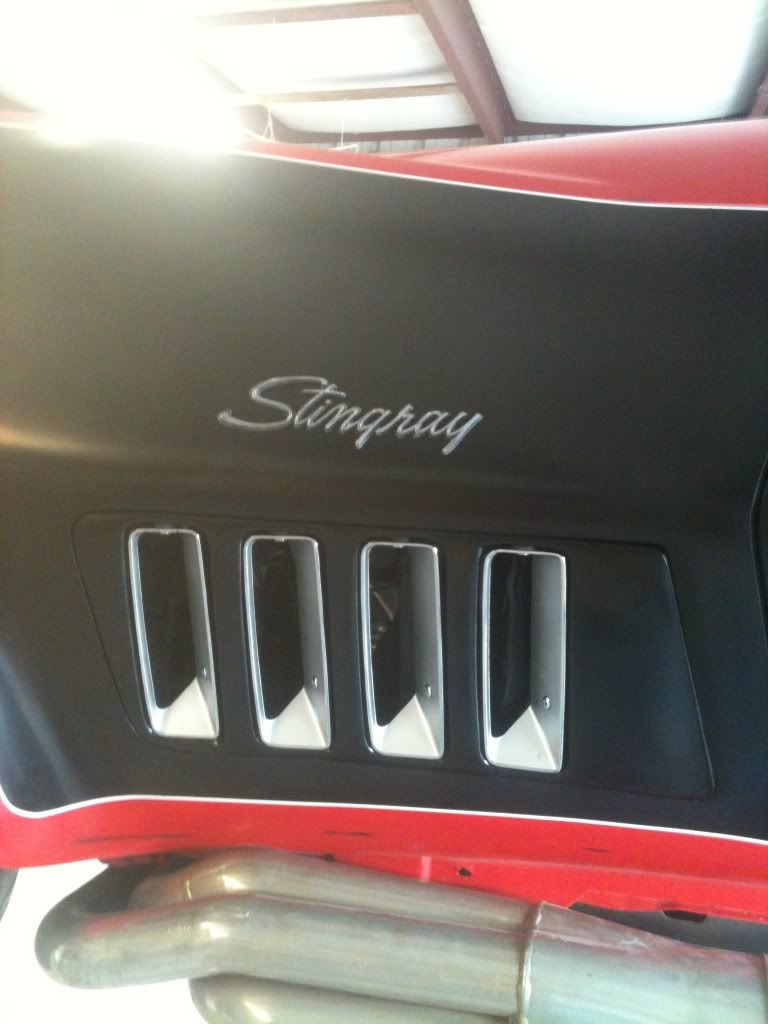
I put new louver trim on my '69 Coupe today, and I am very happy with the install and the look.
Wanted to share my learnings on how I did the hole locating and drilling (I was very nervous about drilling into the fiberglass!).
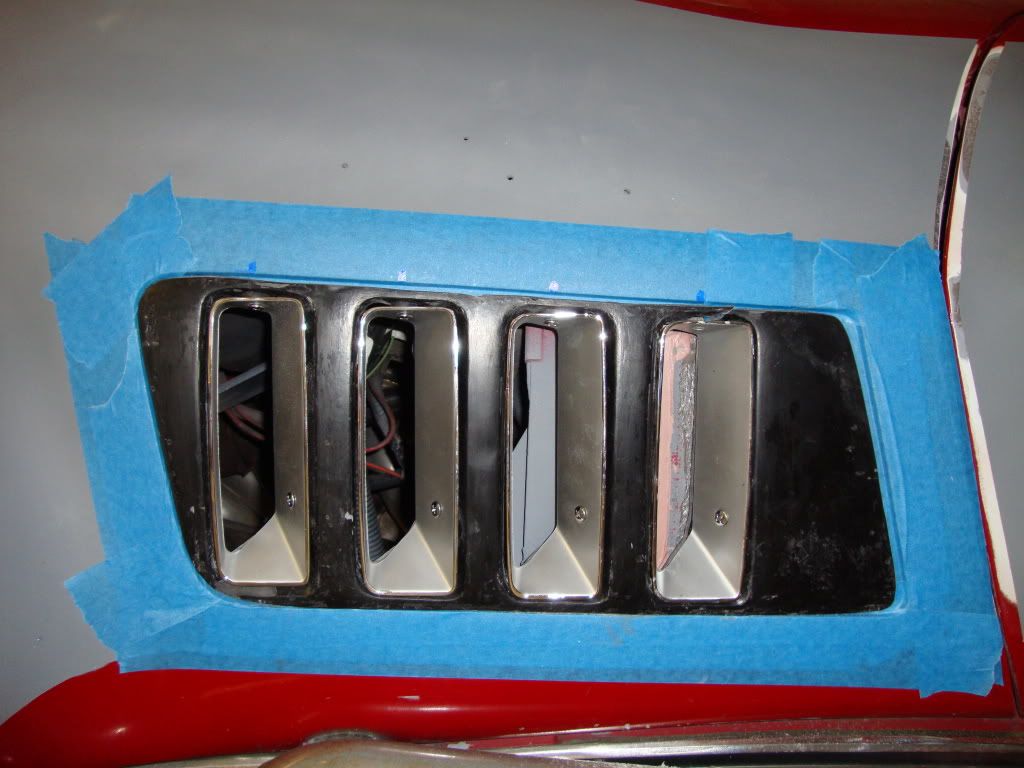
There were no instructions that came with the trim rings, or the hardware, so I needed to use the advice from this forum, and added one further point here:
There are 2 holes on each trim ring, one at the top and one on the side. If you use the actual trim ring to mark both hole locations at the same time, and drill both holes, the side hole will end up being not high enough. I learned this on the first one, and made a bit of an adjustment.
Reason for this is the compression of the rubber well nut on the top will actually suck the trim higher in the opening as you torque down the top screw.
The shoulder on the well nuts are also made to compress and act as spacers between the trim and body, as the back side of the rubber also squashes to hold the part on.
So - My advice, is to first mark the top hole, drill the hole, insert the well nut and screw the trim ring on tightly - THEN mark the location for the side hole. Remove the top screw and the trim ring, drill the side hole, install the side well nut, and then install the whole thing for good!
After I figured this out, the other 7 installs went smoothly.
Final product shown here.
I put new louver trim on my '69 Coupe today, and I am very happy with the install and the look.
Wanted to share my learnings on how I did the hole locating and drilling (I was very nervous about drilling into the fiberglass!).
There were no instructions that came with the trim rings, or the hardware, so I needed to use the advice from this forum, and added one further point here:
There are 2 holes on each trim ring, one at the top and one on the side. If you use the actual trim ring to mark both hole locations at the same time, and drill both holes, the side hole will end up being not high enough. I learned this on the first one, and made a bit of an adjustment.
Reason for this is the compression of the rubber well nut on the top will actually suck the trim higher in the opening as you torque down the top screw.
The shoulder on the well nuts are also made to compress and act as spacers between the trim and body, as the back side of the rubber also squashes to hold the part on.
So - My advice, is to first mark the top hole, drill the hole, insert the well nut and screw the trim ring on tightly - THEN mark the location for the side hole. Remove the top screw and the trim ring, drill the side hole, install the side well nut, and then install the whole thing for good!
After I figured this out, the other 7 installs went smoothly.
Final product shown here.
Last edited by Bergerboy; 04-28-2018 at 09:17 PM.
The following users liked this post:
Priya (04-29-2018)

 10-16-2018, 08:37 AM
#30
There was no need to remove any panels to do the install. Each louver required 2 holes to be drilled, one at the top, and one at the side, and both are drilled from outside the car, so it was very straightforward.
The only challenge (aside from mustering the courage to drill into my baby) was in the sequencing of the hole drilling.
But I describe that fully in the above post from the Spring.
Thanks and good luck - send photos!
10-18-2018, 11:25 AM
#31
Burning Brakes

I'll add a little trick to this install.
A dab of silicone caulk on the backsides on the areas where you don't have screws will help keep the trims from rattling around, moving, or coming loose. Same thing for the door mirrors.
A dab of silicone caulk on the backsides on the areas where you don't have screws will help keep the trims from rattling around, moving, or coming loose. Same thing for the door mirrors.
