


77 Interior Restoration Complete
Thread Starter
Racer


Joined: Mar 2005
Posts: 288
Likes: 1
From: Maple Ridge British Columbia
Hi folks,
I've completed my interior restoration/color change project on my 1977 coupe. All I have left is the recover the Fiero seats I bought with the custom seat covers from Mr. Mike's. I want to thank all the people on the forum who helped me with technical questions and gave me advice. I know it's been said before, but this forum rocks!
Wen I bought the car last September, it was in really great shape mechanically and had almost zero rust on the frame and birdcage. This is what I wanted as I knew I could do the interior myself and get the body/paint done at a local shop. After buying the car, there just wasn't enough free cash to do body and paint until next year. So, I decided to tackle the interior first as this fit in the budget for this year
The original interior was royal blue and other than the upper dash pad and door panels, it was in decent shape. I've always been a fan of black interiors, so I decided to completely gut the interior and paint all the pieces black using the SEM Color Coat paint. The process was time consuming and labor intensive, but overall quite easy to do. The nice thing about removing the interior is that you get to see exactly what's under there, so there are no surprises.
Here's some pics of the original interior.
[IMG]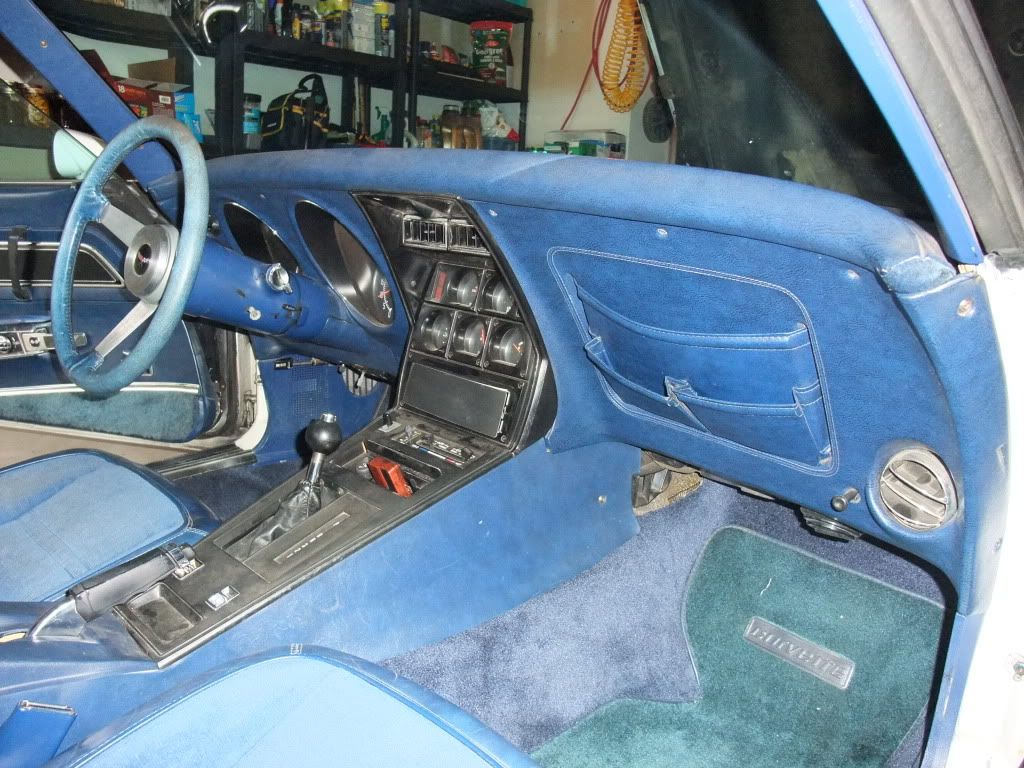 [/IMG]
[IMG]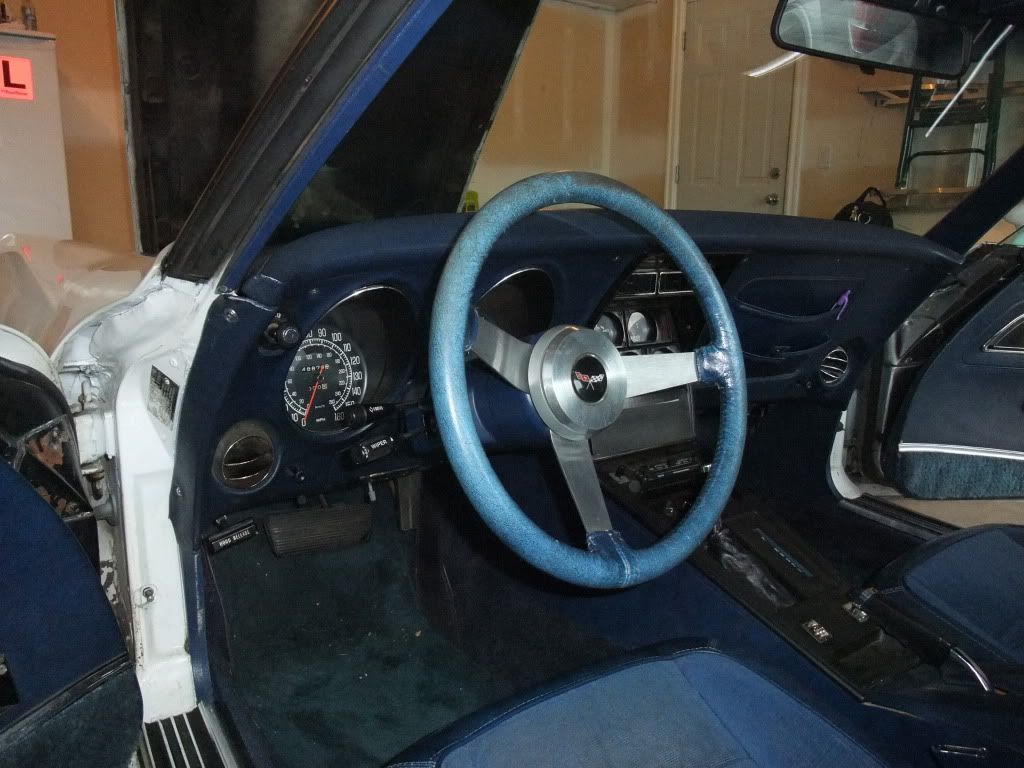 [/IMG]
Here's what it looked like after I removed the interior. I remember thinking, wow, what have I done
[IMG]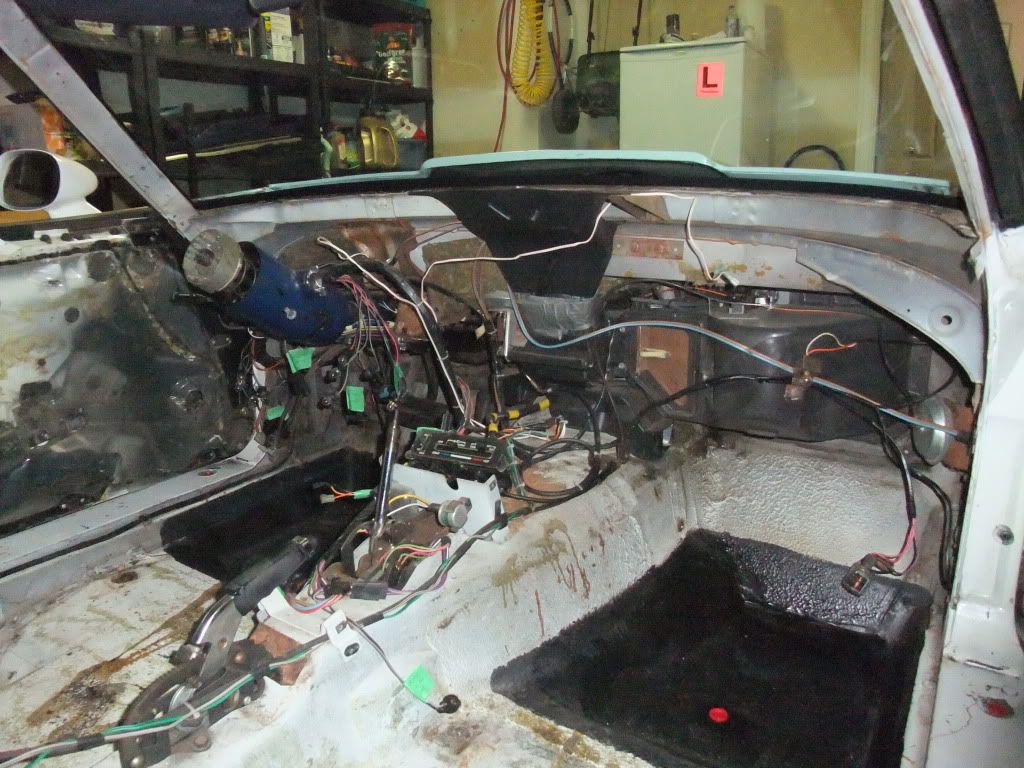 [/IMG]
[IMG]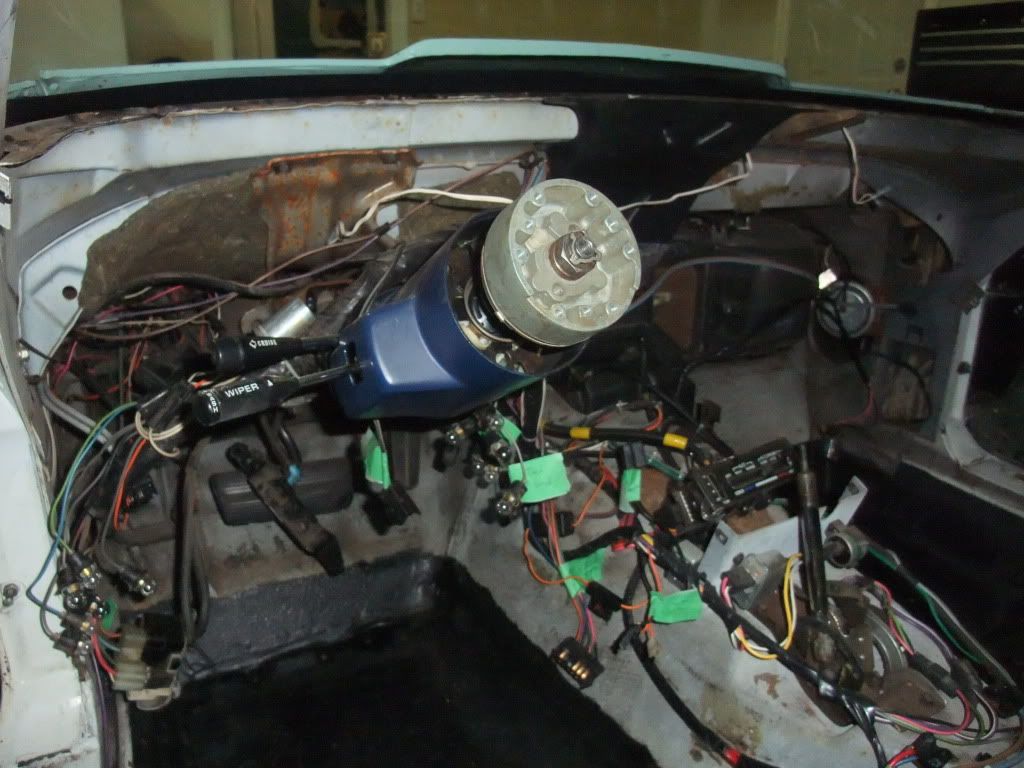 [/IMG]
Here's some pics of the new interior. I bought a new dash pad, door panels, carpet and seat belts. All the other pieces are repainted black. I also installed a new Alpine head unit with JX360/4 amp driving Alpine 4x6 speakers in the dash pad and 6.5" components in the kick panels with the tweeters mounted in the sail panels near the upper seat belt mounts. The subwoofer is a Bazooka 6.5" bass tube. I also installed white face gauge overlays which I think look awesome with the black interior.
[IMG]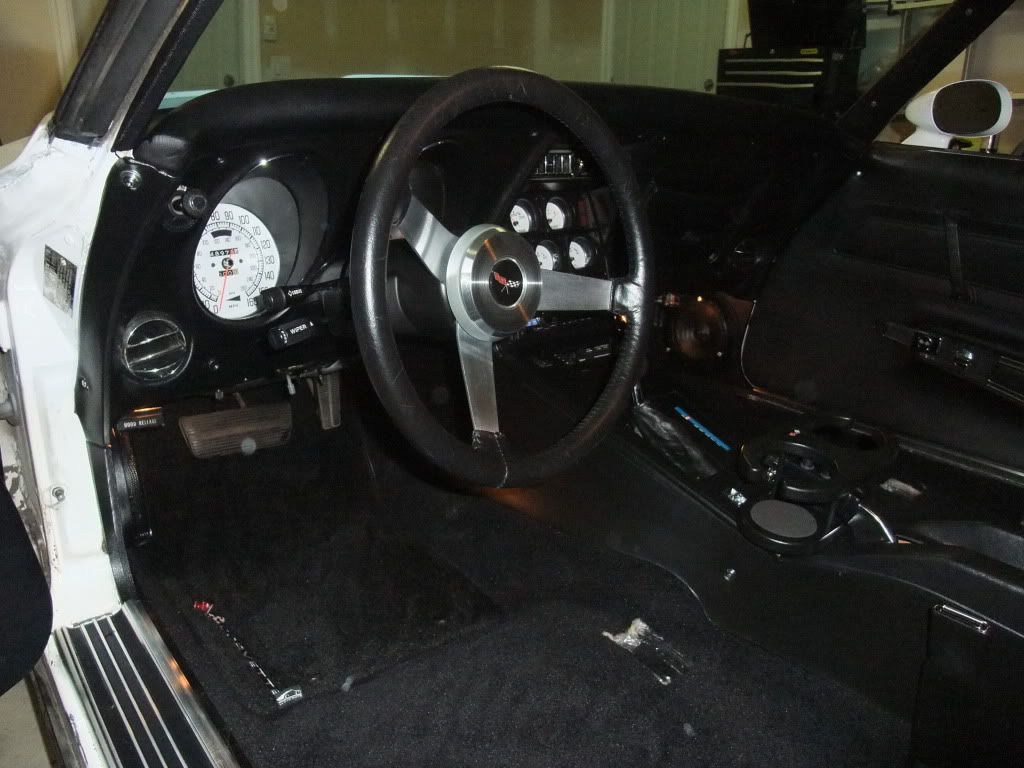 [/IMG]
[IMG]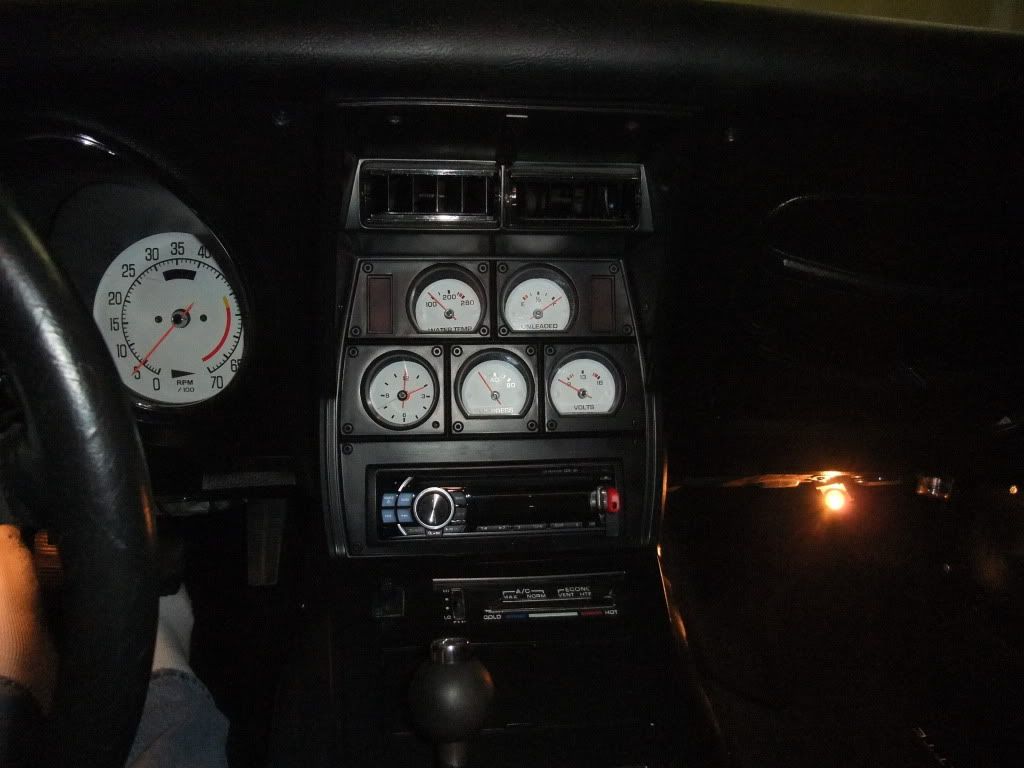 [/IMG]
[IMG]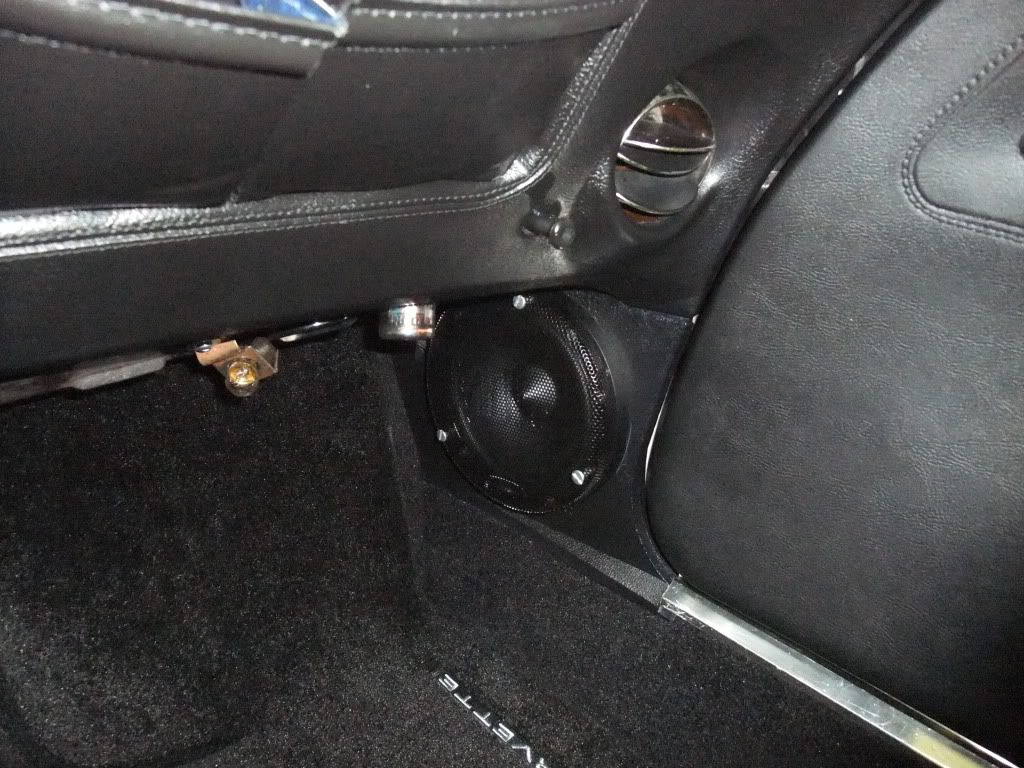 [/IMG][IMG]
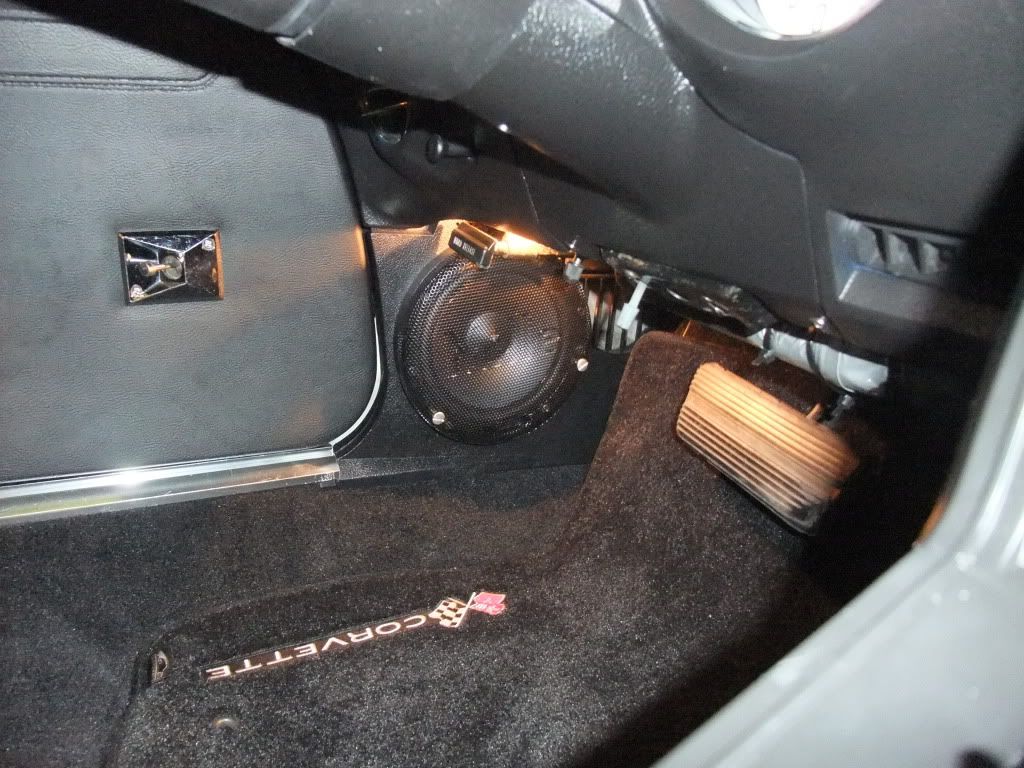 [/IMG]
[IMG] [/IMG]
[IMG]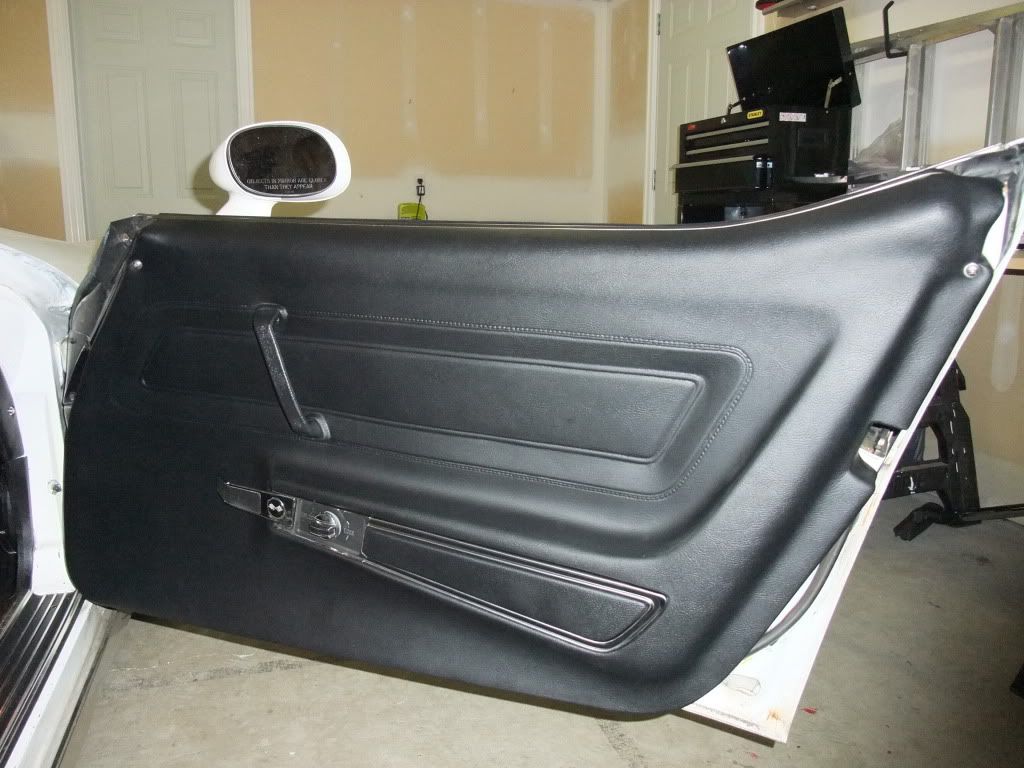 [/IMG]
[IMG]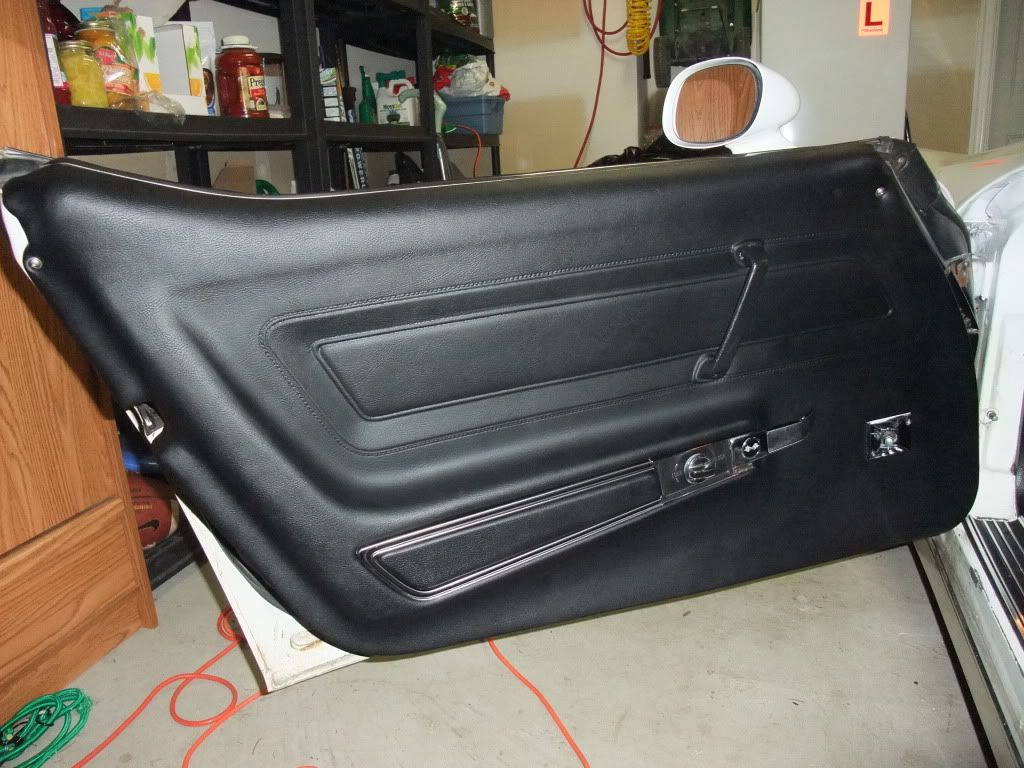 [/IMG]
[IMG] [/IMG]
[IMG]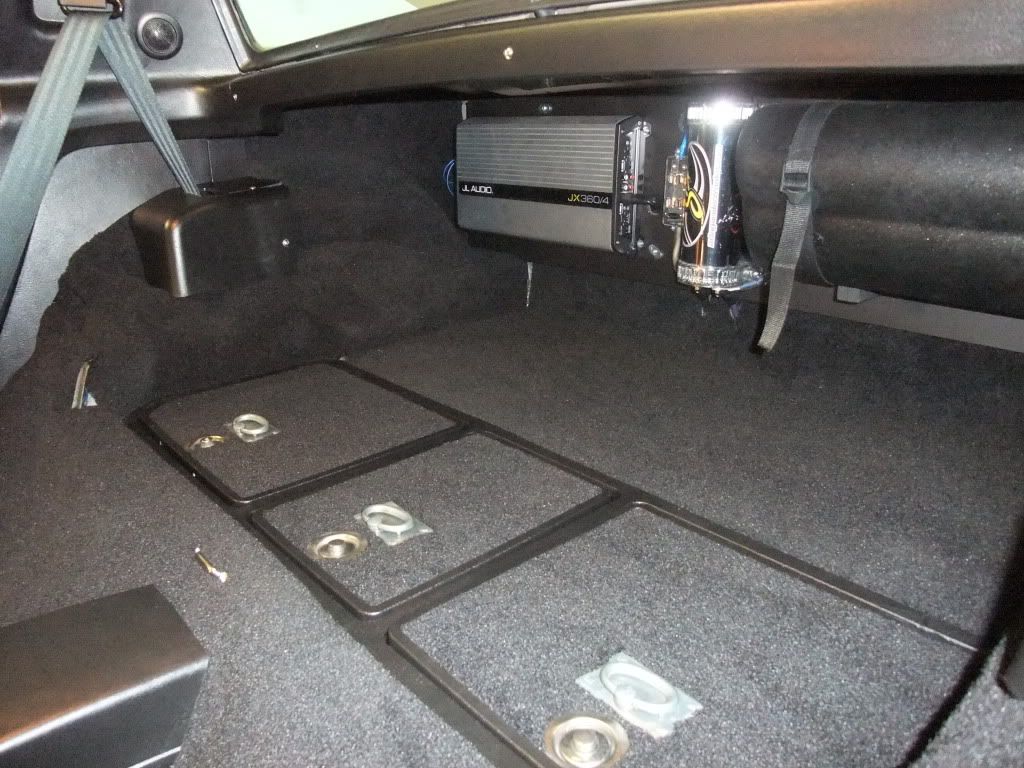 [/IMG]
[IMG]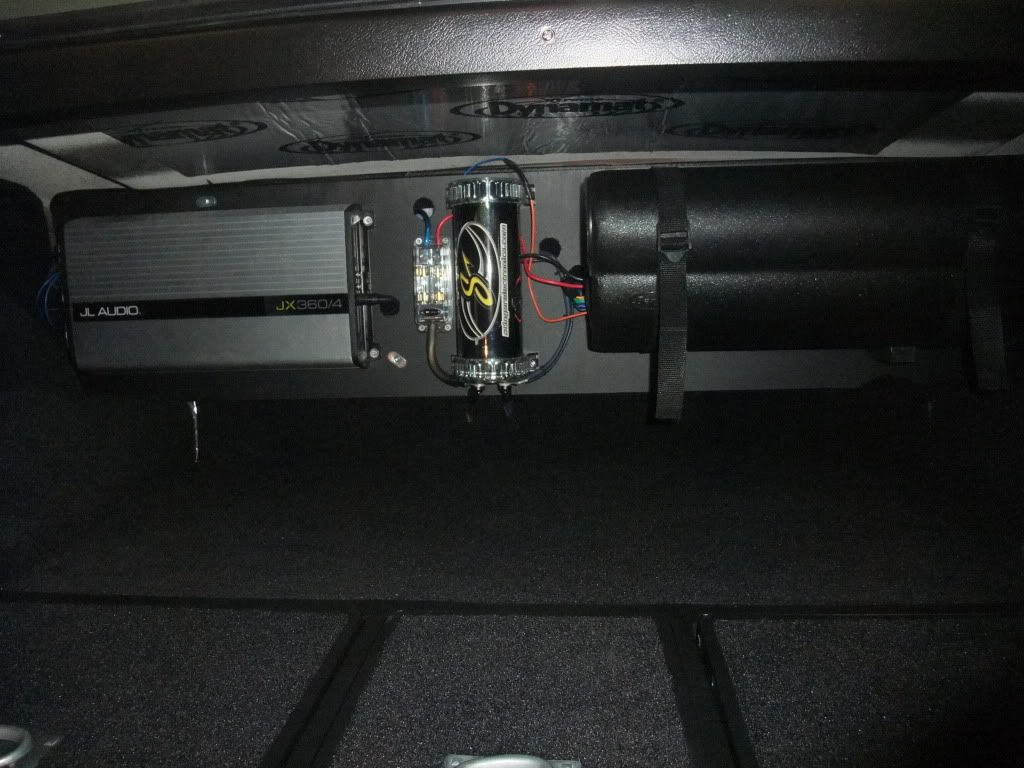 [/IMG]
Overall, I'm happy with the result and I learned a ton about my vette while doing the project
I've completed my interior restoration/color change project on my 1977 coupe. All I have left is the recover the Fiero seats I bought with the custom seat covers from Mr. Mike's. I want to thank all the people on the forum who helped me with technical questions and gave me advice. I know it's been said before, but this forum rocks!
Wen I bought the car last September, it was in really great shape mechanically and had almost zero rust on the frame and birdcage. This is what I wanted as I knew I could do the interior myself and get the body/paint done at a local shop. After buying the car, there just wasn't enough free cash to do body and paint until next year. So, I decided to tackle the interior first as this fit in the budget for this year
The original interior was royal blue and other than the upper dash pad and door panels, it was in decent shape. I've always been a fan of black interiors, so I decided to completely gut the interior and paint all the pieces black using the SEM Color Coat paint. The process was time consuming and labor intensive, but overall quite easy to do. The nice thing about removing the interior is that you get to see exactly what's under there, so there are no surprises.
Here's some pics of the original interior.
[IMG]
[/IMG][IMG]
[/IMG]Here's what it looked like after I removed the interior. I remember thinking, wow, what have I done
[IMG]
[/IMG][IMG]
[/IMG]Here's some pics of the new interior. I bought a new dash pad, door panels, carpet and seat belts. All the other pieces are repainted black. I also installed a new Alpine head unit with JX360/4 amp driving Alpine 4x6 speakers in the dash pad and 6.5" components in the kick panels with the tweeters mounted in the sail panels near the upper seat belt mounts. The subwoofer is a Bazooka 6.5" bass tube. I also installed white face gauge overlays which I think look awesome with the black interior.
[IMG]
[/IMG][IMG]
[/IMG][IMG]
[/IMG][IMG][/IMG][IMG]
[/IMG][IMG]
[/IMG][IMG]
[/IMG][IMG]
[/IMG][IMG]
[/IMG][IMG]
[/IMG]Overall, I'm happy with the result and I learned a ton about my vette while doing the project
Last edited by MacVette86; Mar 4, 2012 at 03:56 PM.
Drifting


Joined: Jun 2011
Posts: 1,541
Likes: 268
From: iowa city iowa
2020 Corvette of the Year Finalist (appearance mods)
C3 of Year Winner (appearance mods) 2019
Yea, that looks a little better :-)
Nice job, I bet you are loving that! You had a ton of different shades of yuck going on before you took that on.
Nice job, I bet you are loving that! You had a ton of different shades of yuck going on before you took that on.
Thread Starter
Racer
Joined: Mar 2005
Posts: 288
Likes: 1
From: Maple Ridge British Columbia
markids77, I was worried about the stereo drawing too much power, but I had the car running at idle with the stereo cranked right up and I was still charging fine according to my multi meter. Maybe a previous owner already upgraded the alternator? Anyway, it's always nice to get a good surprise with these cars!
Corvette Stories
The Best of Corvette for Corvette Enthusiasts

Corvette & Porsche 911: How Two Icons Conquered the Last 25 Years
Joe Kucinski
2027 Chevrolet Silverado 1500 First Look: Everything You NEED to Know!
Michael S. Palmer
5 Best & 5 Worst Corvette Daily Drivers
Joe Kucinski
The Headlights of Every Corvette Generation Explained
Joe Kucinski
5 Best & 5 Most Overrated Corvette Track Packages of All Time!
Joe Kucinski
Every 2027 Corvette Engine Explained
Joe Kucinski
Designer Imagines A Corvette That Looks More Like a Corvette Than the Corvette
Verdad Gallardo
10 Ugly Corvettes That We Still Kinda Love
Joe Kucinski
Top 10 Most Expensive Corvettes Ever Sold on Bring A Trailer
Brett FooteDrifting


Joined: Dec 2009
Posts: 1,351
Likes: 305
From: Feeding Hills, MA
[IMG][/IMG]
Interior looks really good. Black looks good with the white exterior. I just started on my '77 a couple of weeks ago. Quick question, did you have to remove the steering column to get the lower left dashpad out? How difficult was it to get this pad removed?
[/IMG]Interior looks really good. Black looks good with the white exterior. I just started on my '77 a couple of weeks ago. Quick question, did you have to remove the steering column to get the lower left dashpad out? How difficult was it to get this pad removed?
Thread Starter
Racer
Joined: Mar 2005
Posts: 288
Likes: 1
From: Maple Ridge British Columbia
slopoke17, I did not remove the steering column to take the drivers side lower dash pad off. I just loosened the two bolts under the lower steering column cover. This allowed the column to drop enough so I could get the dash pad out. However, after reading a lot of advice on the forum, I decided to remove the steering column to reinstall the dash pad. I'm glad I did, as it was quite a handful putting the dash pad back in as it was! It also made it much easier to paint the steering column once it was out of the car.