
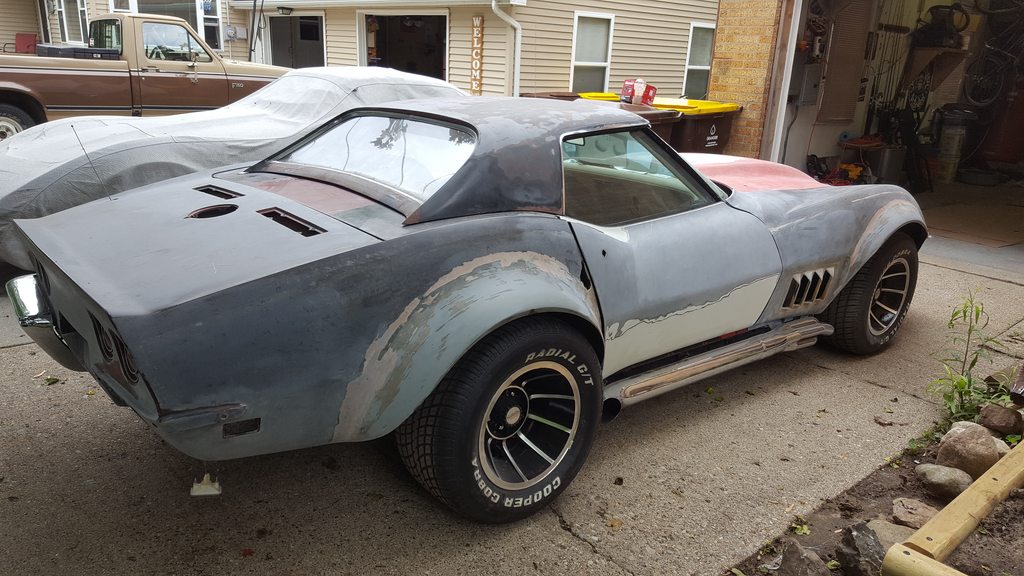
Chazde3's '68 Vette Project
 05-25-2019, 01:34 AM
#901
Melting Slicks

Those wheels and tires are spot on Chuck! Looking GREAT!! Keep it up!
 05-28-2019, 09:57 AM
#902
Drifting

Thread Starter
Thank you!
Thanks Andy! Hope all is going well on your end.
Hope everyone reading had a great Memorial day weekend. Unfortunately I didn't get to spend any time working on the '68 this weekend. Friday was spent at Discount Tire getting new tires on my Pontiac G8 followed by installing new front rotors and brake pads when I got home. Saturday I ended up power washing some of the house along with the entire driveway and sidewalk. I always love how the driveway looks after it gets power washed. I ended up wearing a good amount of the dirt and grime from the driveway as seen below.

After that we took off to my in-laws cottage for the rest of the weekend for a much needed break.


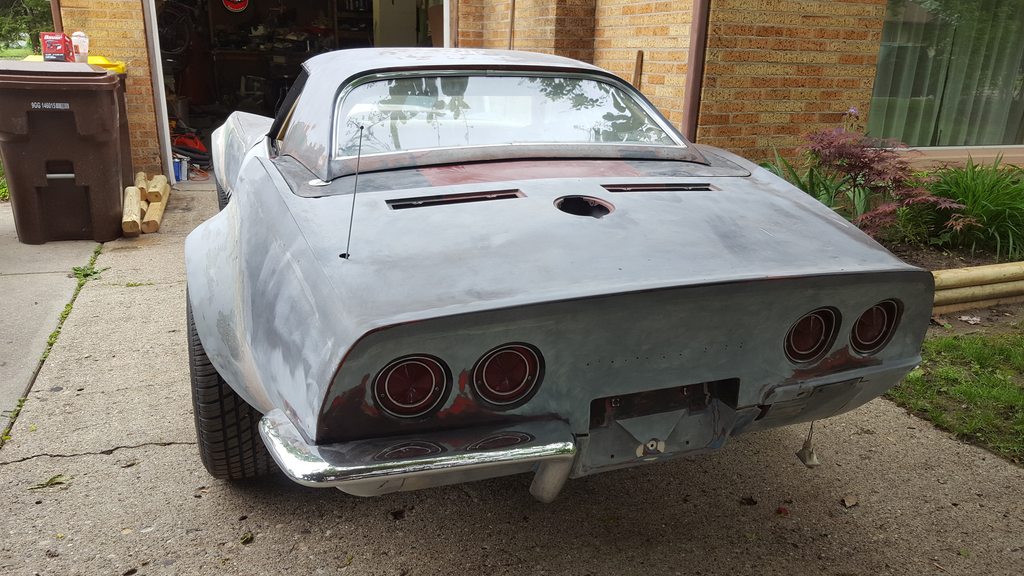
Back to reality and the '68 vette today.
 looking perfect so far
Hope everyone reading had a great Memorial day weekend. Unfortunately I didn't get to spend any time working on the '68 this weekend. Friday was spent at Discount Tire getting new tires on my Pontiac G8 followed by installing new front rotors and brake pads when I got home. Saturday I ended up power washing some of the house along with the entire driveway and sidewalk. I always love how the driveway looks after it gets power washed. I ended up wearing a good amount of the dirt and grime from the driveway as seen below.
After that we took off to my in-laws cottage for the rest of the weekend for a much needed break.
Back to reality and the '68 vette today.
Last edited by chazde3; 05-28-2019 at 09:57 AM.
The following users liked this post:
doorgunner (05-28-2019)
05-28-2019, 10:37 AM
#903


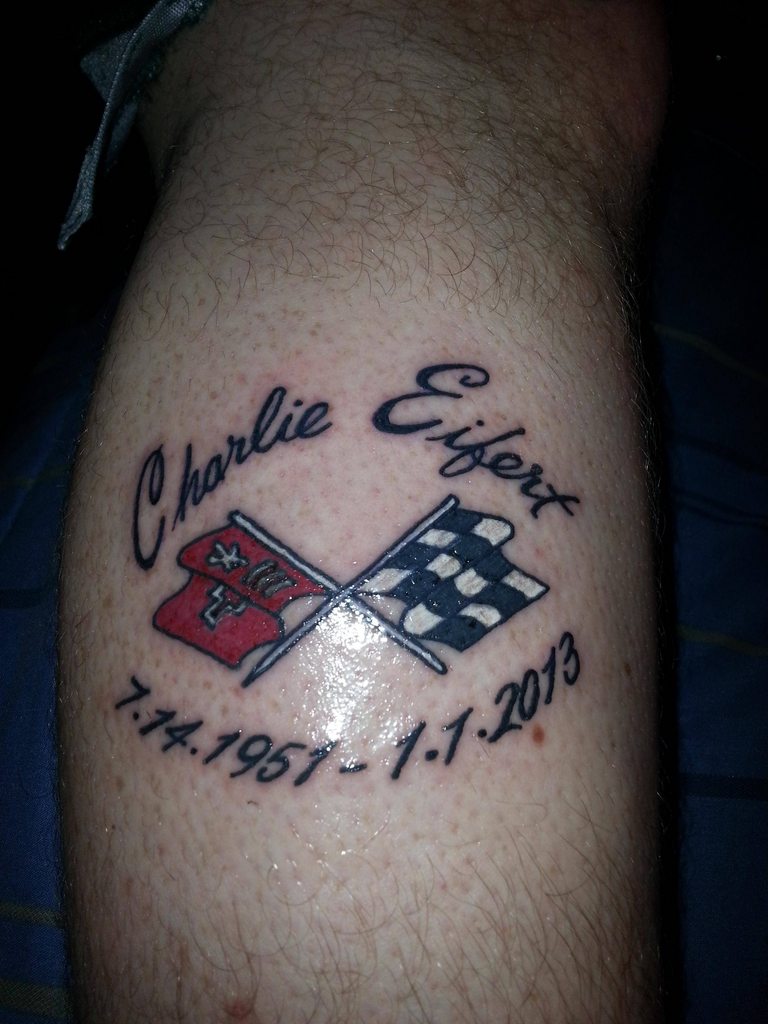
Hey Chuck at a quick glance I thought you got some tattoos on your legs! HA
05-28-2019, 04:21 PM
#904
Drifting
Thread Starter
 05-30-2019, 10:49 AM
#905
[QUOTE=chazde3;1586014846]Not entirely confirmed until we get the engine out to rebuild. Every sign about the car days the engine is an L88 but the engine stamp pad is blank which leads me to believe that it's a crate engine. Time will tell.
The block may have been decked wiping out the numbers.
Does the car have a BB Vin?
The block may have been decked wiping out the numbers.
Does the car have a BB Vin?
05-30-2019, 12:22 PM
#906
Drifting
Thread Starter
Unfortunately the 1968 vin code does not have a letter designation for what engine came with the car originally. My tank sticker was also long gone. Oh well.
06-01-2019, 12:07 AM
#907
Drifting
Thread Starter
Another installment of fun with fiberglass, mosquito edition.
Adding some glass to low spots from my last work
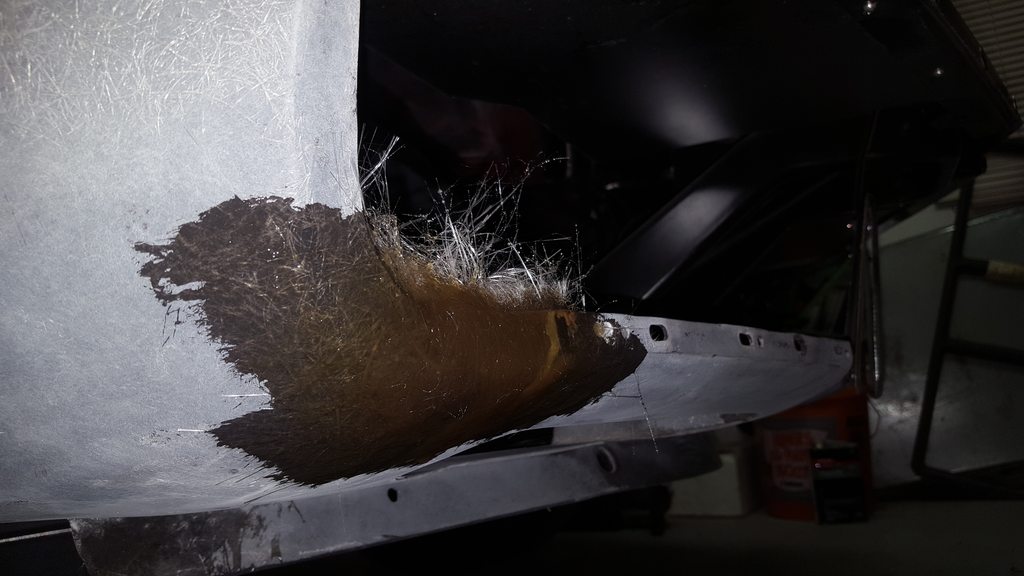
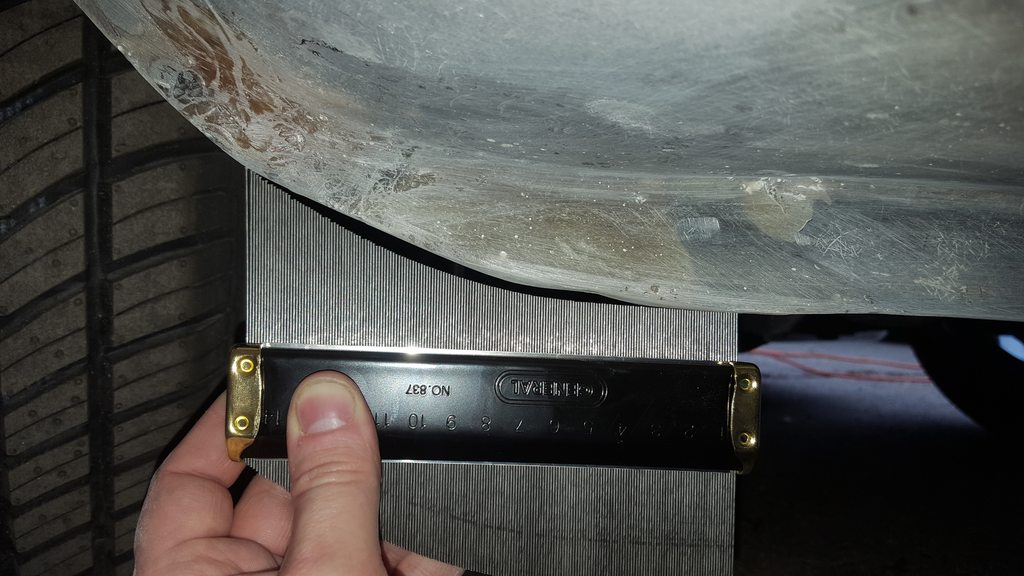
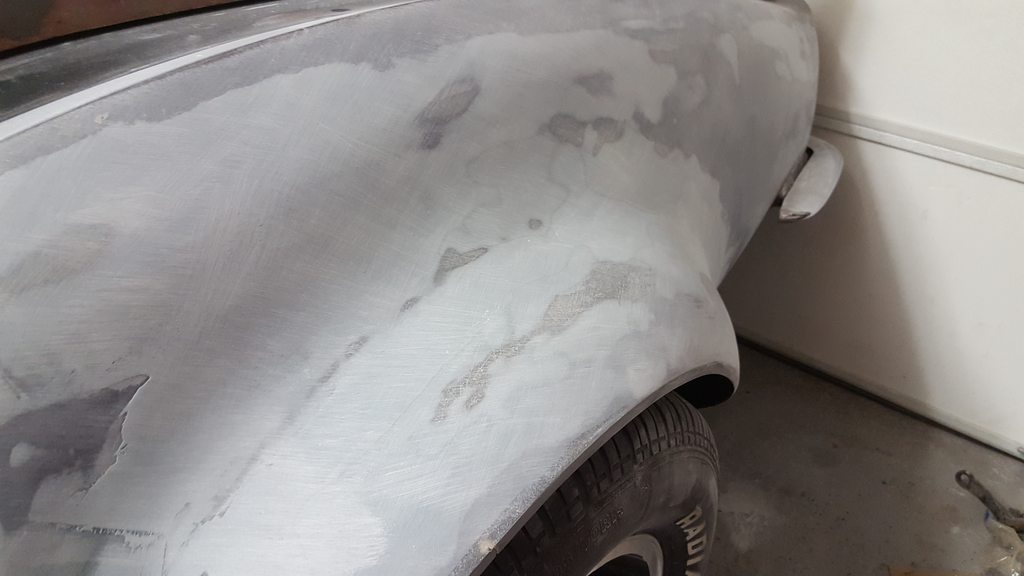
Driver's side lip waiting to be sanded down. Looks pretty good.
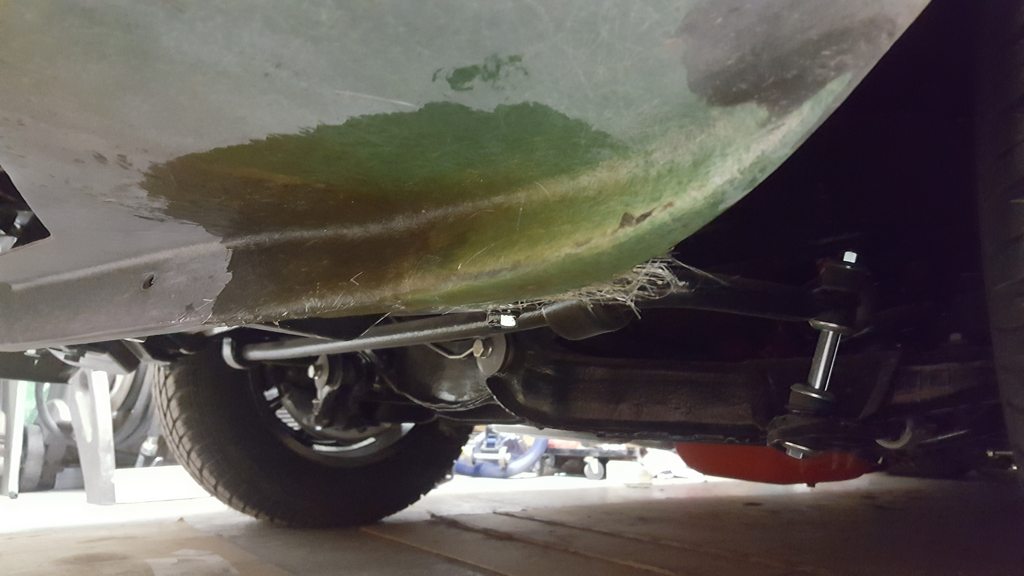
Passenger's side lip ready for rebuilding.
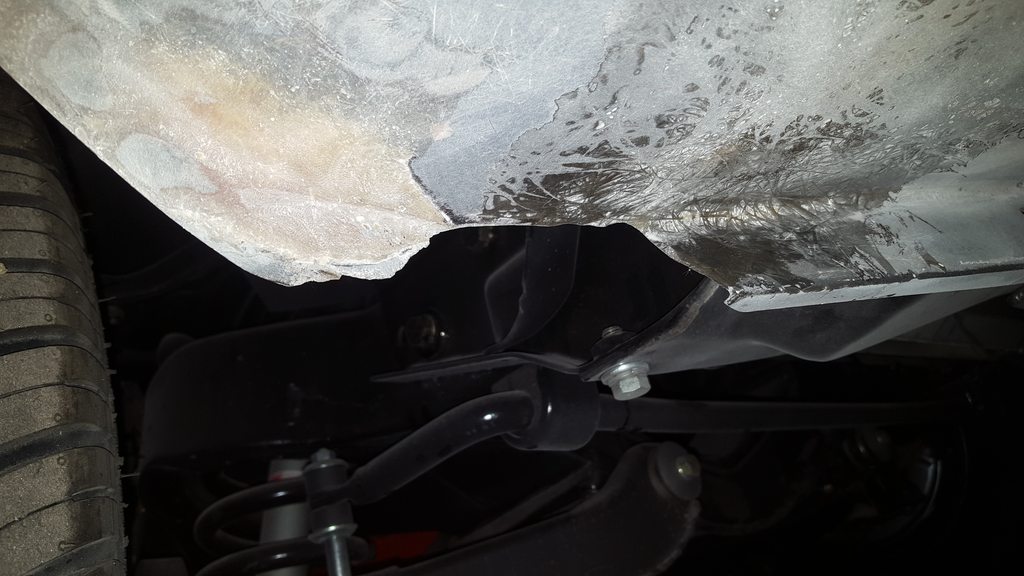
Backing in place
First layers in place, not perfect but that's what a sander is for.
Adding some glass to low spots from my last work
Driver's side lip waiting to be sanded down. Looks pretty good.
Passenger's side lip ready for rebuilding.
Backing in place
First layers in place, not perfect but that's what a sander is for.

The following 2 users liked this post by chazde3:
doorgunner (06-02-2019),
Rescue Rogers (06-02-2019)

 06-04-2019, 11:38 PM
#911
Drifting
Thread Starter
Passenger's lip with the guage off of the driver's side.
I added a few layers of fiberglass to fill in the gaps, will need to sand down the excess and see where I'm at tomorrow or Thursday.
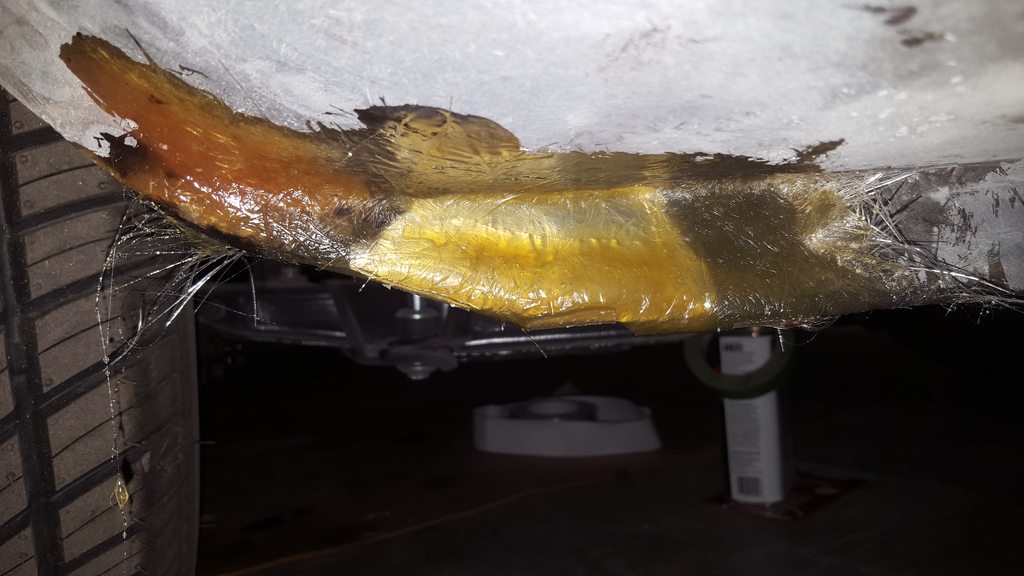
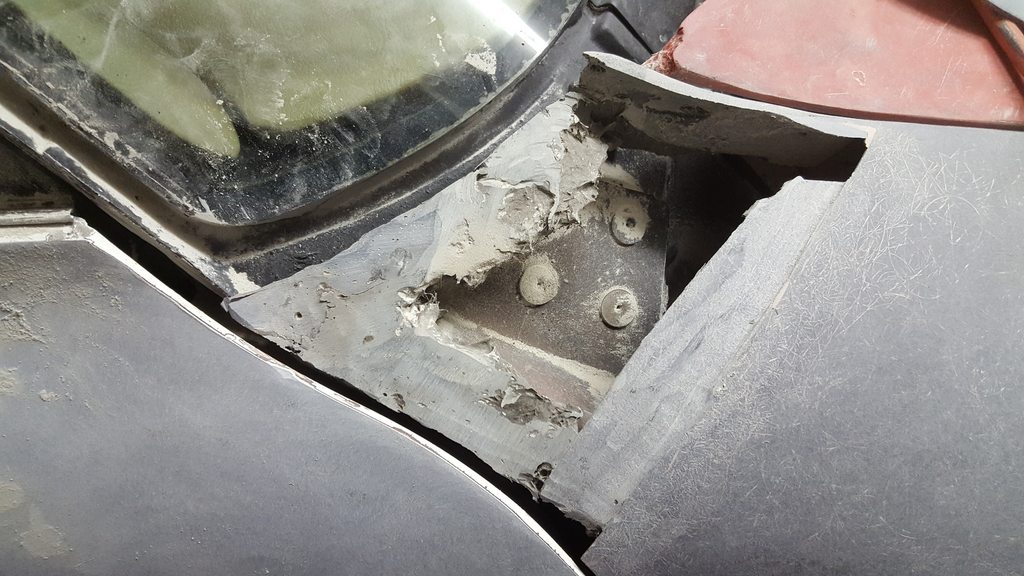
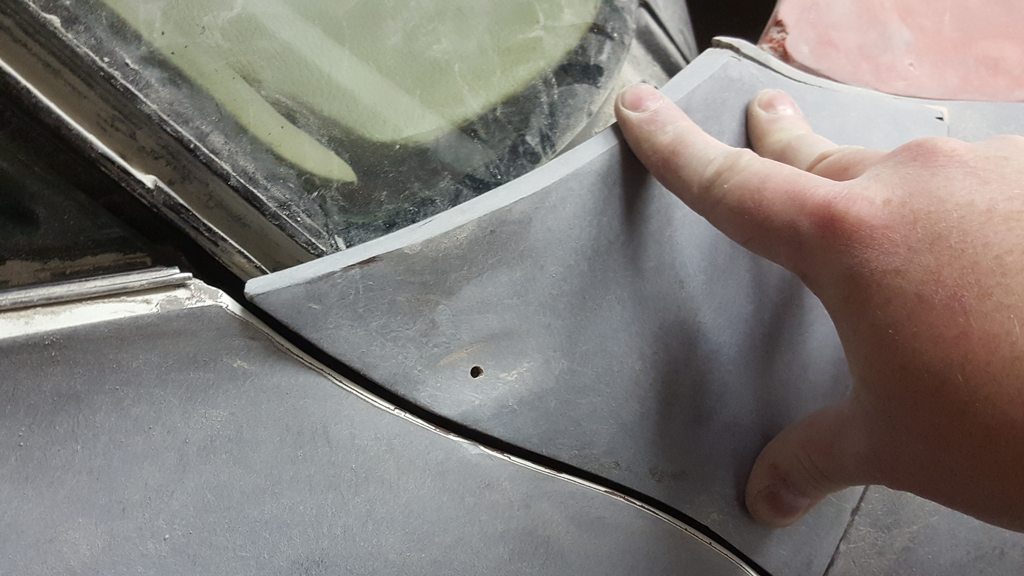
I also started working on the top rear fender corner on the passenger's side that wasn't lining up with the door.
Before
Attachment 48347429
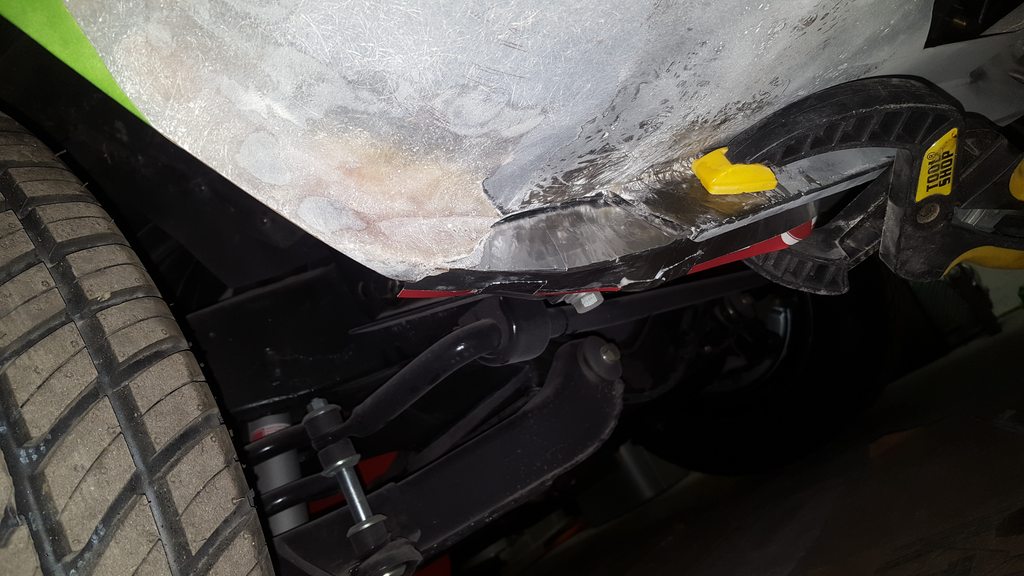
After I heated up the adhesive and pulled the corner off and ground down the excess bonding strip.
The corner sitting roughly where it will be after bonding it back on. It lines up much better now.
I added a few layers of fiberglass to fill in the gaps, will need to sand down the excess and see where I'm at tomorrow or Thursday.
I also started working on the top rear fender corner on the passenger's side that wasn't lining up with the door.
Before
Attachment 48347429
After I heated up the adhesive and pulled the corner off and ground down the excess bonding strip.
The corner sitting roughly where it will be after bonding it back on. It lines up much better now.
06-05-2019, 10:01 AM
#912
Nam Labrat


Member Since: Sep 2013
Location: New Orleans Loo-z-anna
Posts: 33,898
Received 4,178 Likes
on
2,738 Posts

It looks good. My passenger corner needs the same repair.
06-05-2019, 04:38 PM
#914
Drifting
Thread Starter
Seeing some of your other work, that shouldn't be an issue for you. I tried clamping it down to pull the corner in, which worked on the driver's side, but no luck on the passenger's side.
Won't publish the exact numbers because the vin could be derived completely from it, but will say it is in the mid 27,xxx range.
Won't publish the exact numbers because the vin could be derived completely from it, but will say it is in the mid 27,xxx range.
06-07-2019, 09:14 AM
#916
Drifting
Thread Starter
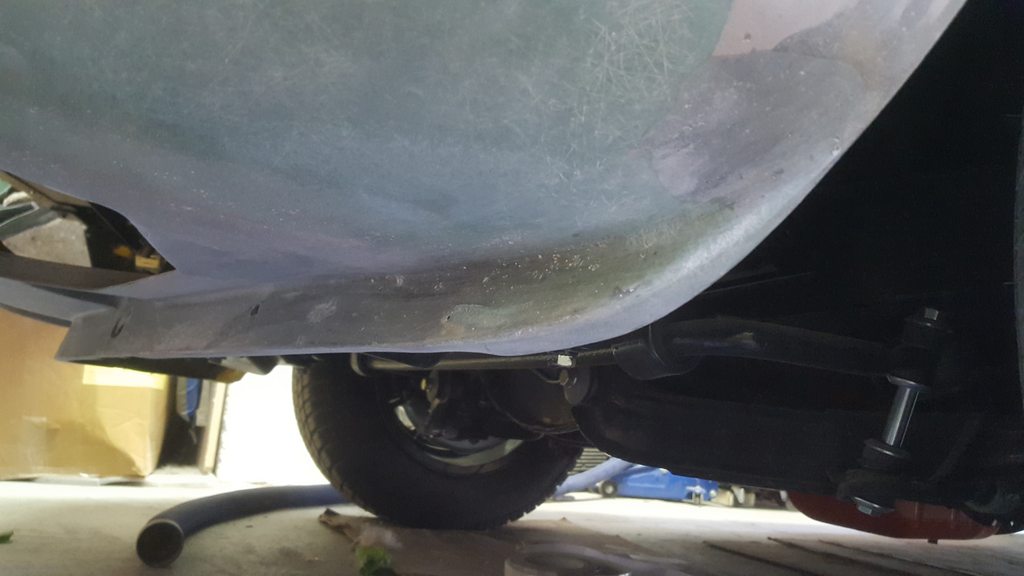
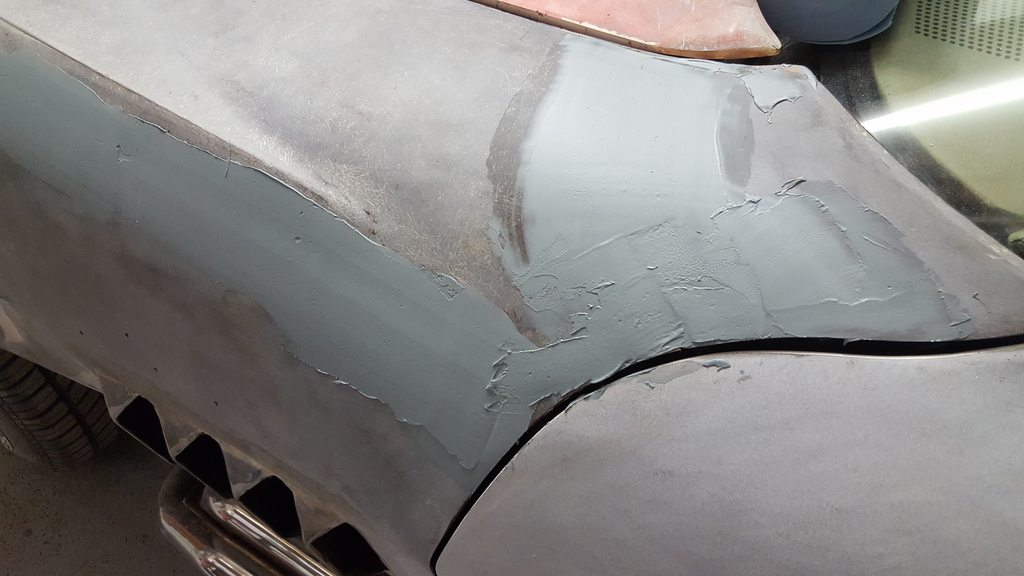
Last night I used VPA to bond down the fender corner and also started filling in low spots with it as well. Not the worst stuff to work with, but not the easiest to mix up in the can and a pretty quick flash time to get it put down. The screw holes were also already there for those opposed to using screws for body panel bonding.
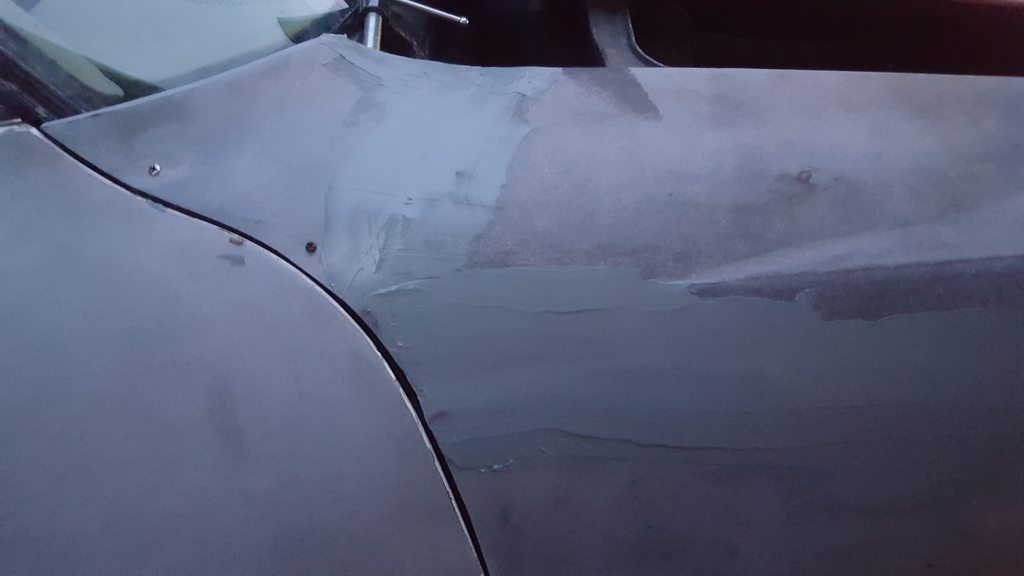
The body line looks great lined up with the door now.
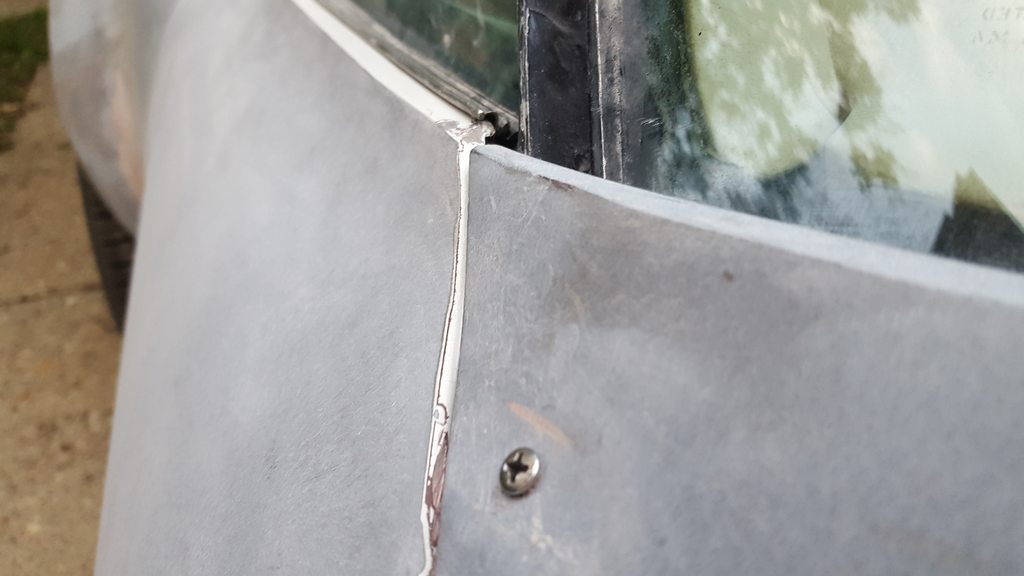
Hopefully I get some time tonight to sand down the spots I filled in to see how it is looking.
The body line looks great lined up with the door now.
Hopefully I get some time tonight to sand down the spots I filled in to see how it is looking.
Last edited by chazde3; 06-07-2019 at 09:25 AM.
06-09-2019, 12:57 AM
#917
Drifting
Thread Starter
Worked on sanding out old body work and filling in with new.
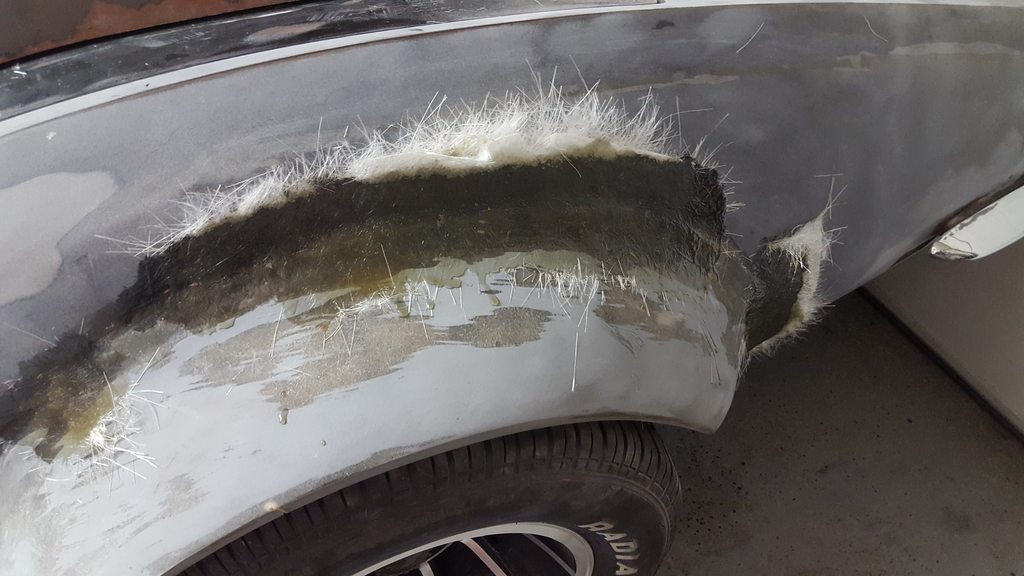
Before starting. You can see the fiberglass around the rear fender flare looks very light colored. This glass ended up not being well saturated in resin. I ground it all out and removed the screws that held on the fender flare decades ago when it was mounted.
Attachment 48344988
Rear quarter after I ground all the bad glass and old bondo out
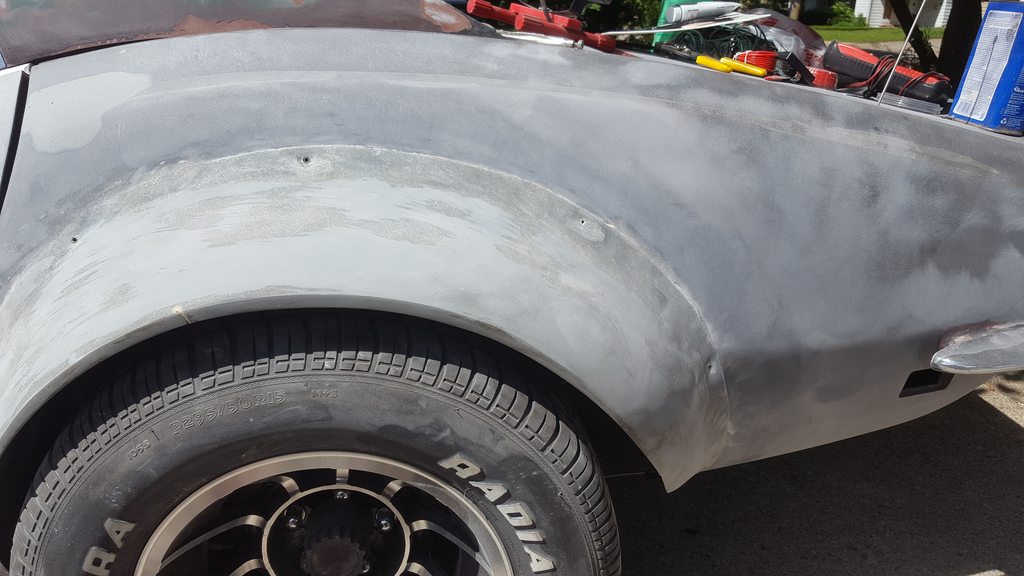
Starting to reglass the seam and fill in the old screw holes. I wanted to add some extra strength to the front seam instead of just filling it with VPA. Lots of additional sanding and glassing needed here and the other rear flare.
Also added the first layer of VPA to the driver'sside front fender and flare.
Before starting. You can see the fiberglass around the rear fender flare looks very light colored. This glass ended up not being well saturated in resin. I ground it all out and removed the screws that held on the fender flare decades ago when it was mounted.
Attachment 48344988
Rear quarter after I ground all the bad glass and old bondo out
Starting to reglass the seam and fill in the old screw holes. I wanted to add some extra strength to the front seam instead of just filling it with VPA. Lots of additional sanding and glassing needed here and the other rear flare.
Also added the first layer of VPA to the driver'sside front fender and flare.

 06-10-2019, 12:40 PM
#919
Drifting
Thread Starter
I'm using a combination of a da sander and a set of Dura blocks. I do need something with a larger diameter than the round Dura block though. A radiator hose would be a good dive actually.
06-11-2019, 10:28 AM
#920
Drifting
Thread Starter
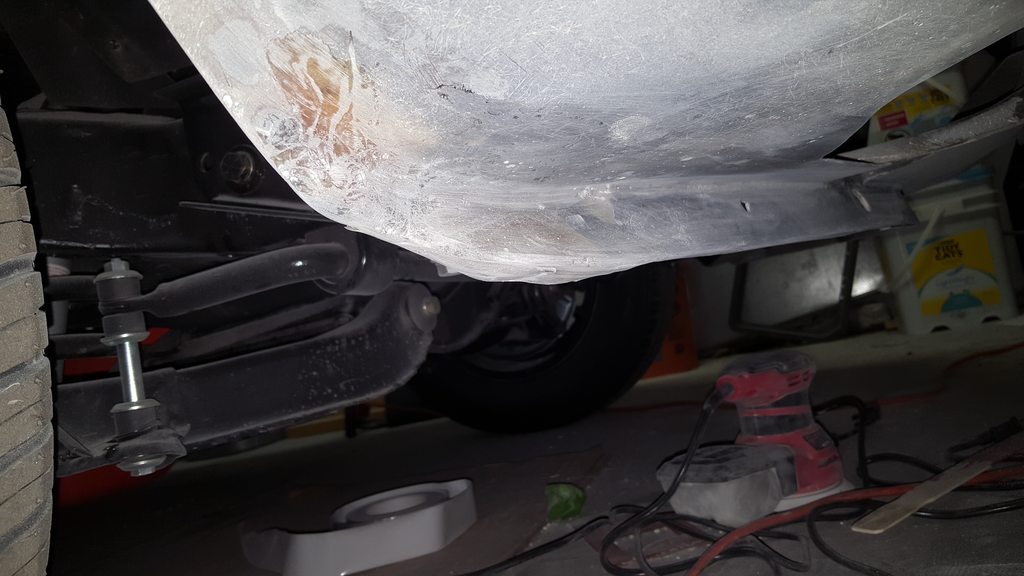
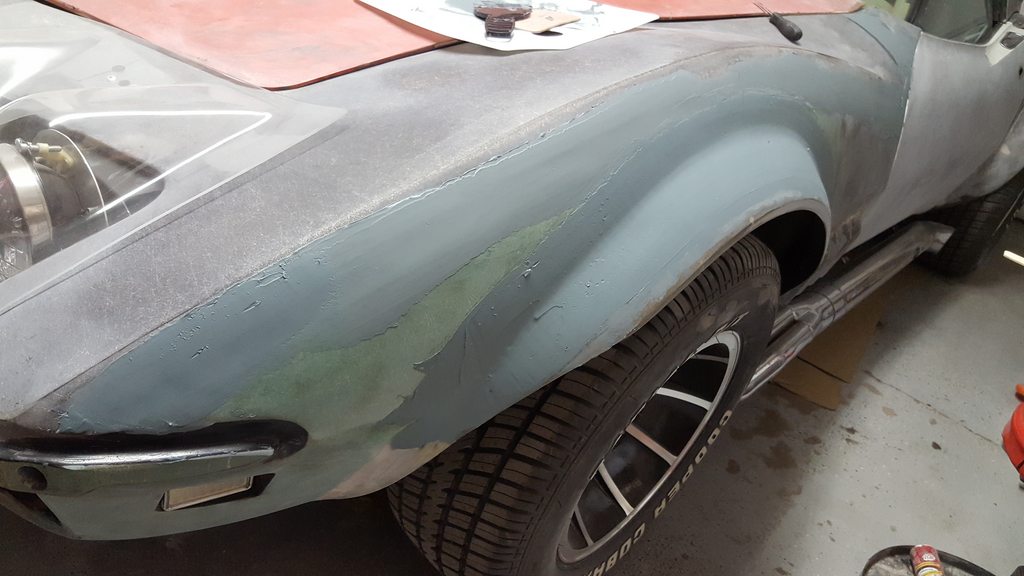
Driver's side fenders coming along nicely.
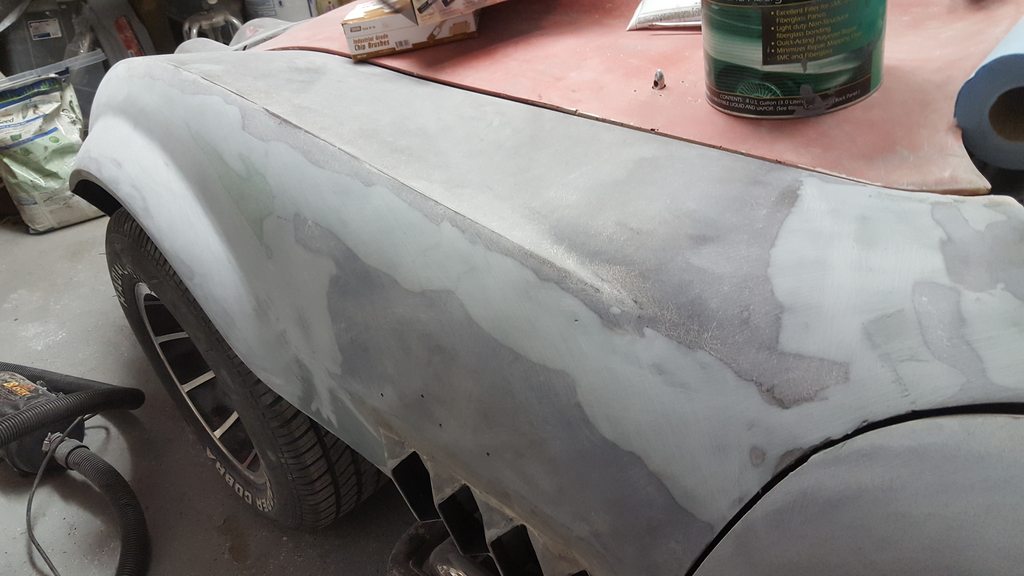
I need to re-bond the bottom edge of the driver's door that came unbonded at some point in it's history. Then I can start blending the doors and the fenders together,
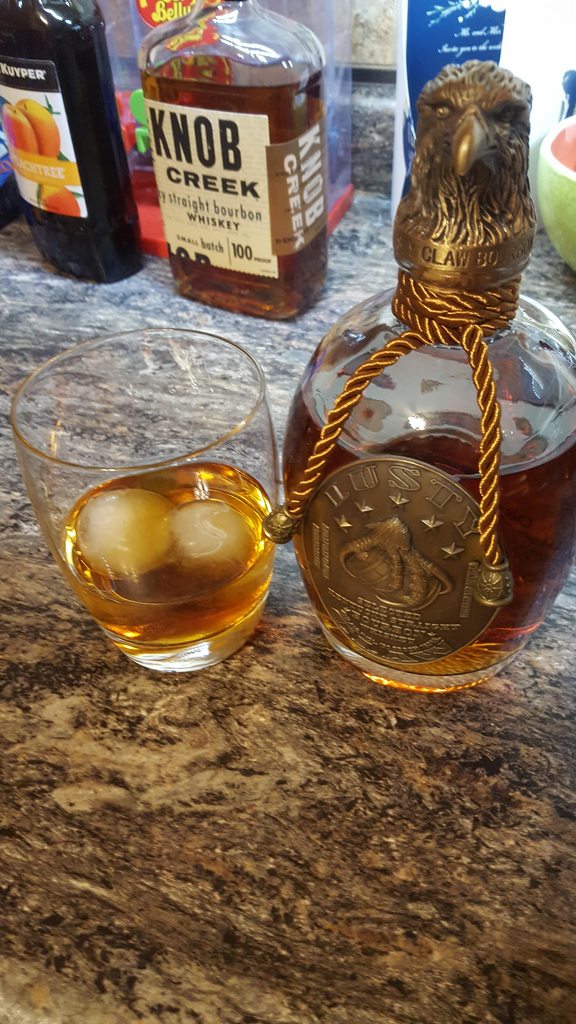
Yesterday also marked 31 years of me floating around the sun with the rest of you guys. After a day of working on the car, mowing and a great dinner with my family, I capped off the evening with a glass of Lusty Claw Bourban, Not too bad, very smooth,
I need to re-bond the bottom edge of the driver's door that came unbonded at some point in it's history. Then I can start blending the doors and the fenders together,
Yesterday also marked 31 years of me floating around the sun with the rest of you guys. After a day of working on the car, mowing and a great dinner with my family, I capped off the evening with a glass of Lusty Claw Bourban, Not too bad, very smooth,
The following users liked this post:
Rescue Rogers (06-11-2019)