When you click on links to various merchants on this site and make a purchase, this can result in this site earning a commission. Affiliate programs and affiliations include, but are not limited to, the eBay Partner Network.
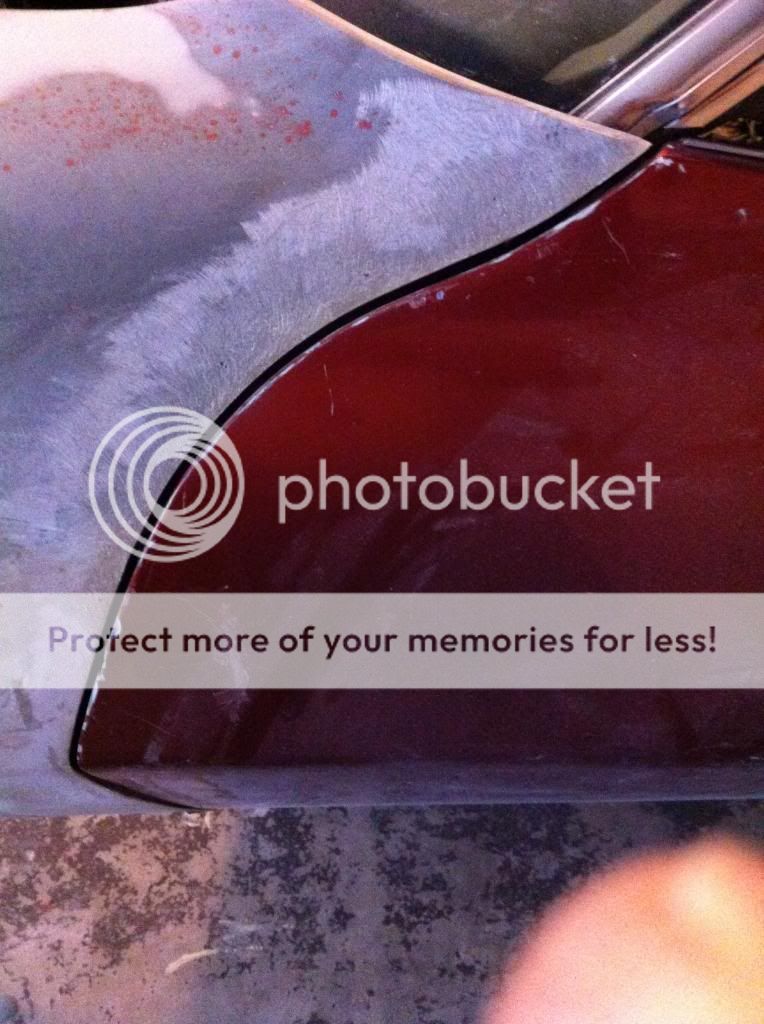
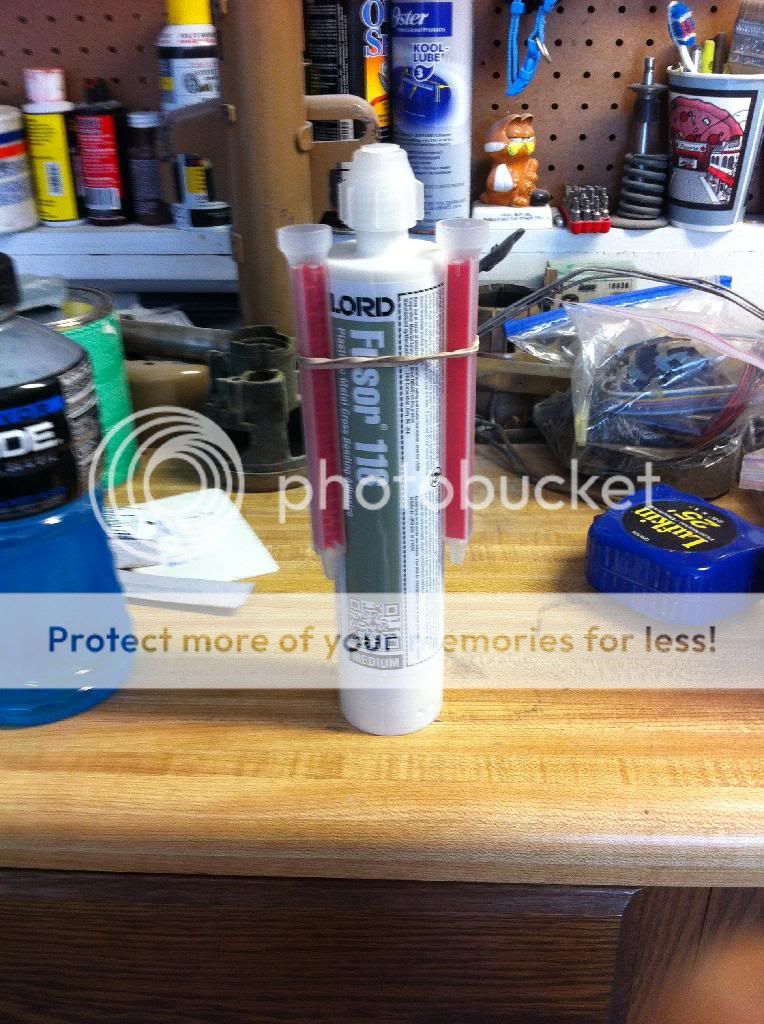
I managed to get a little more done today on my car. Here I am getting ready to build the end of the fender with the VPA.
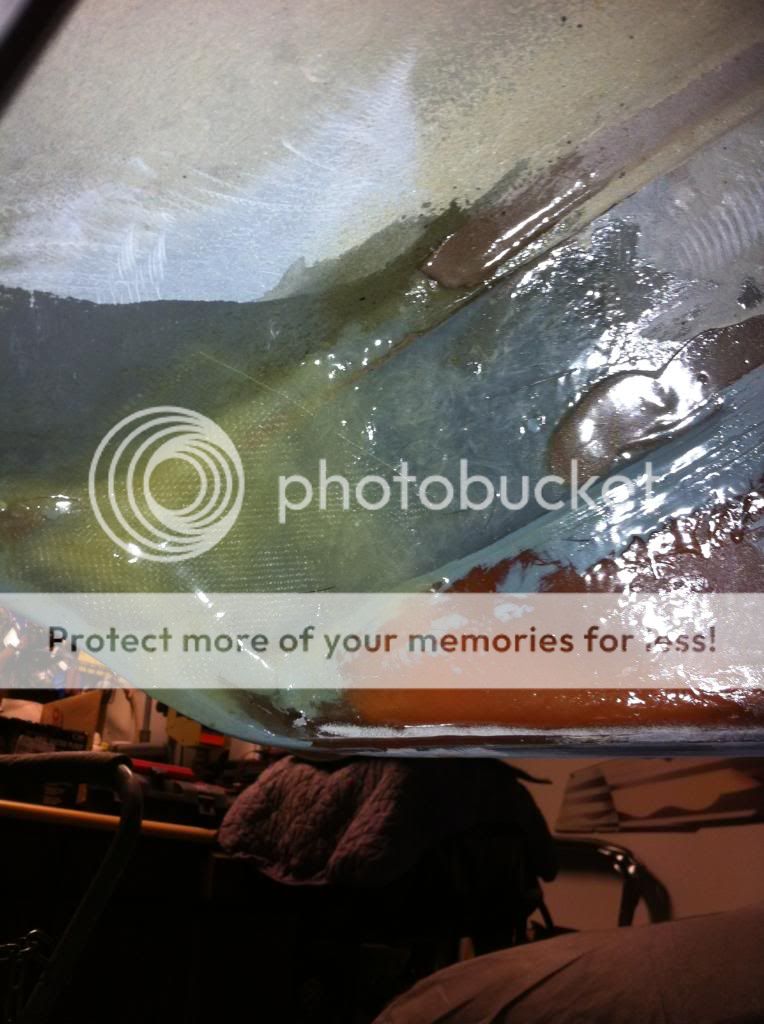
Wow what a mess! This stuff is really runny.
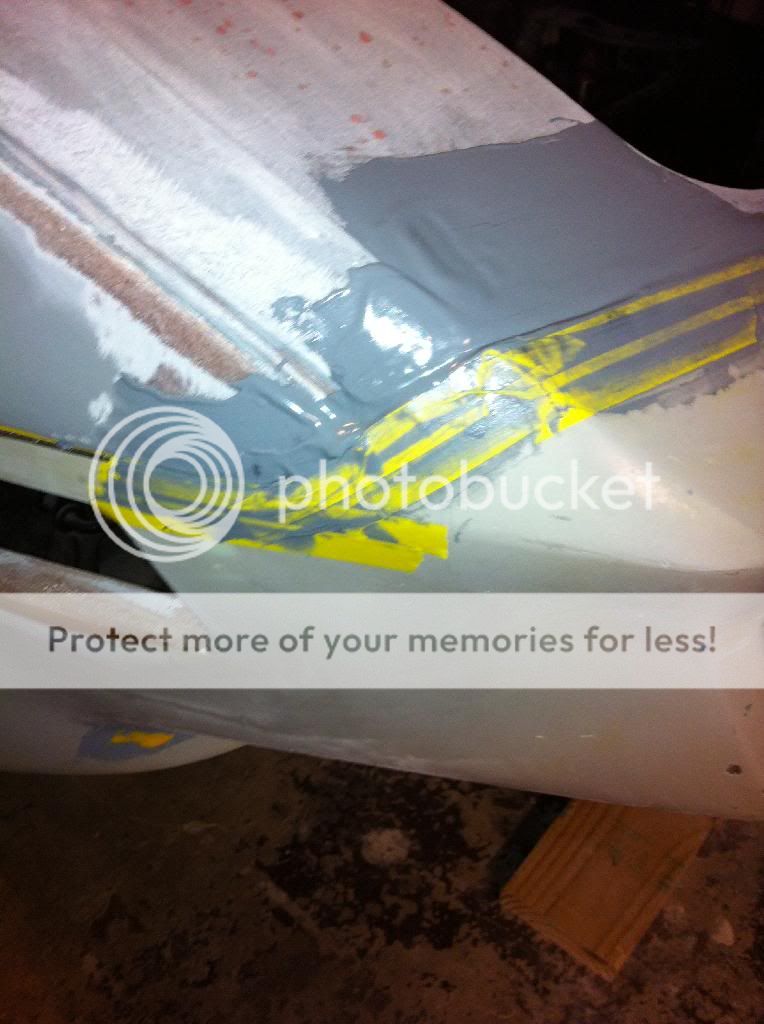
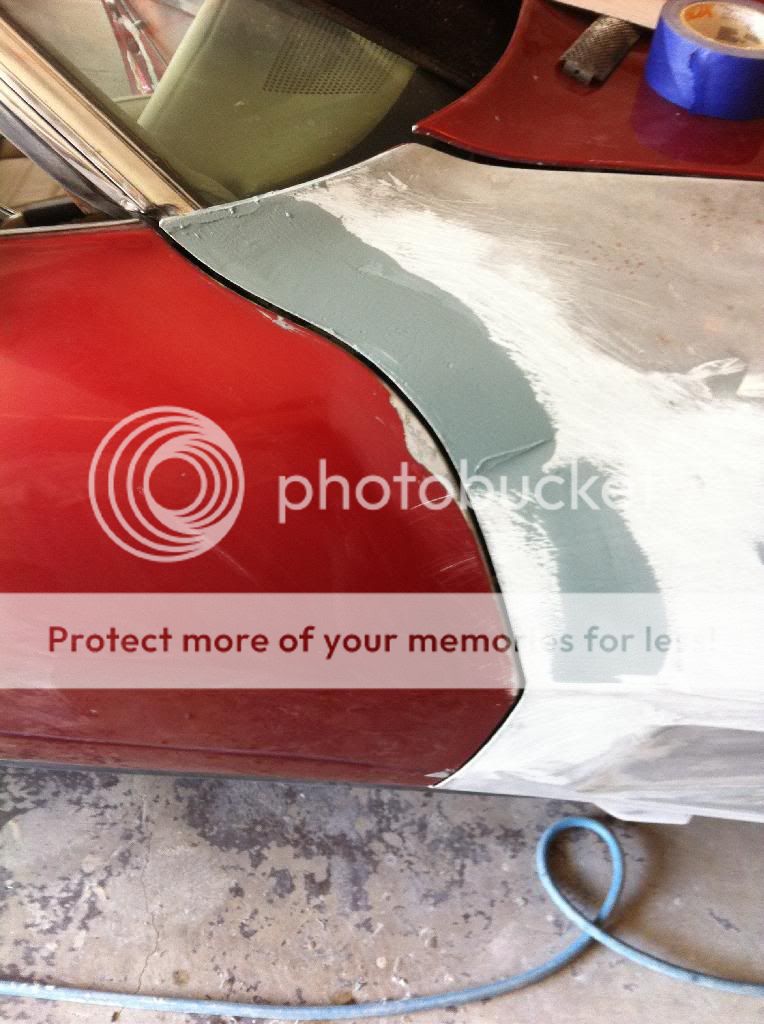
I built it up in steps till I got the right build. All that red and white stuff is being removed as I go along. I am working on just bare SMC
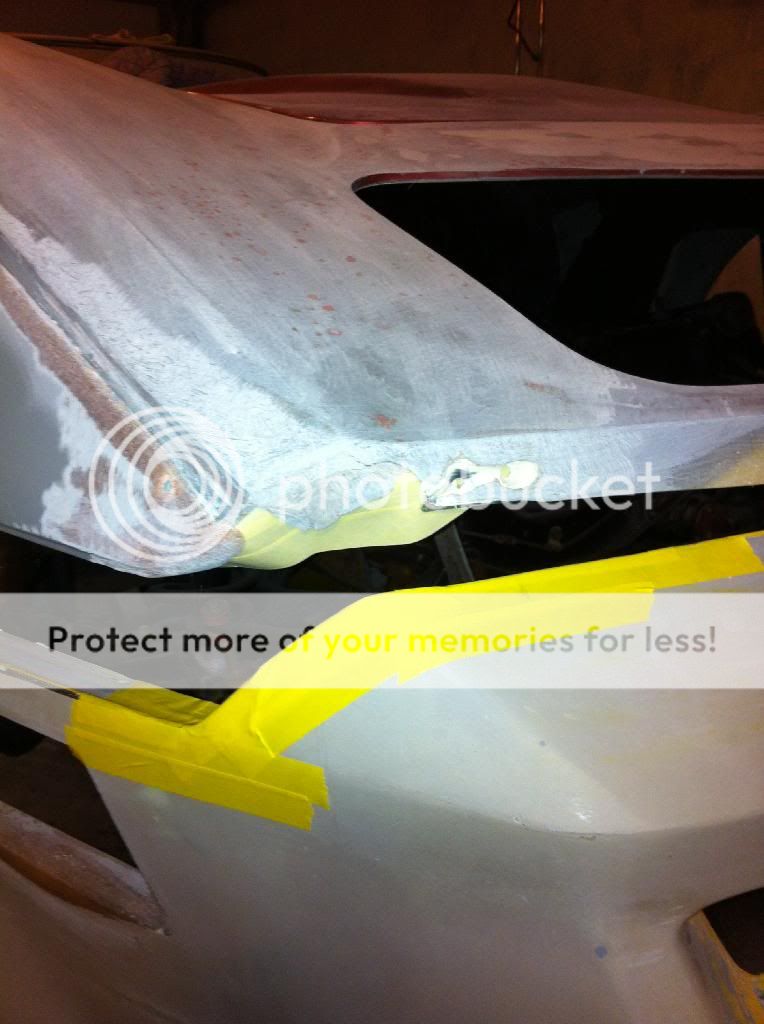
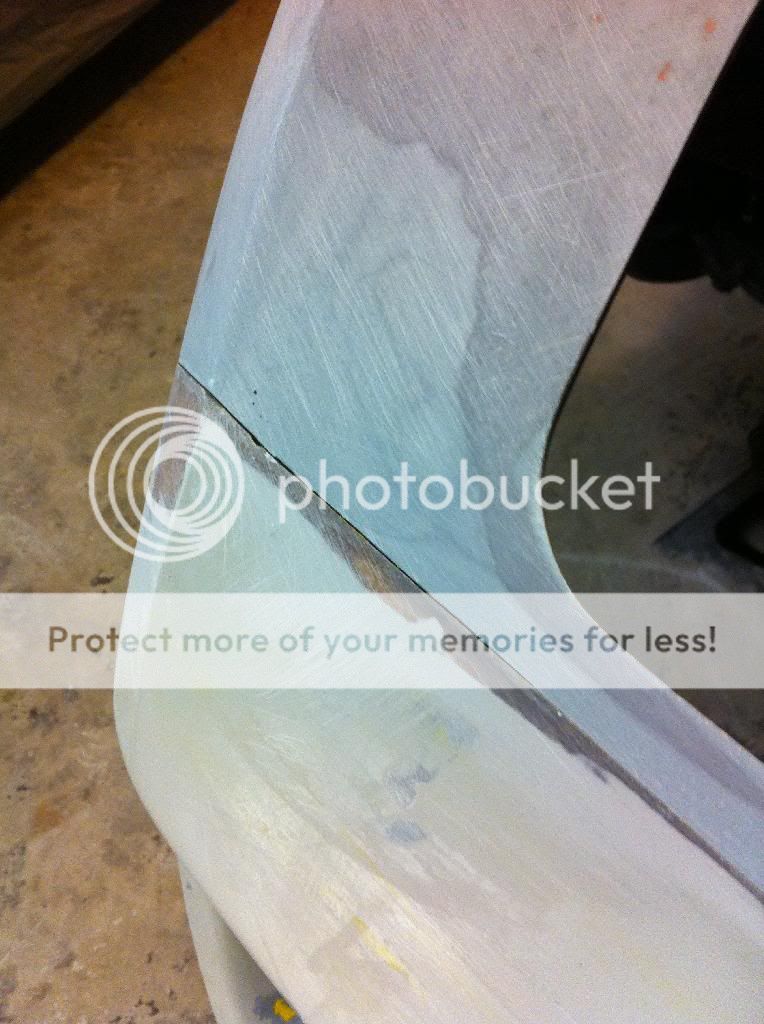
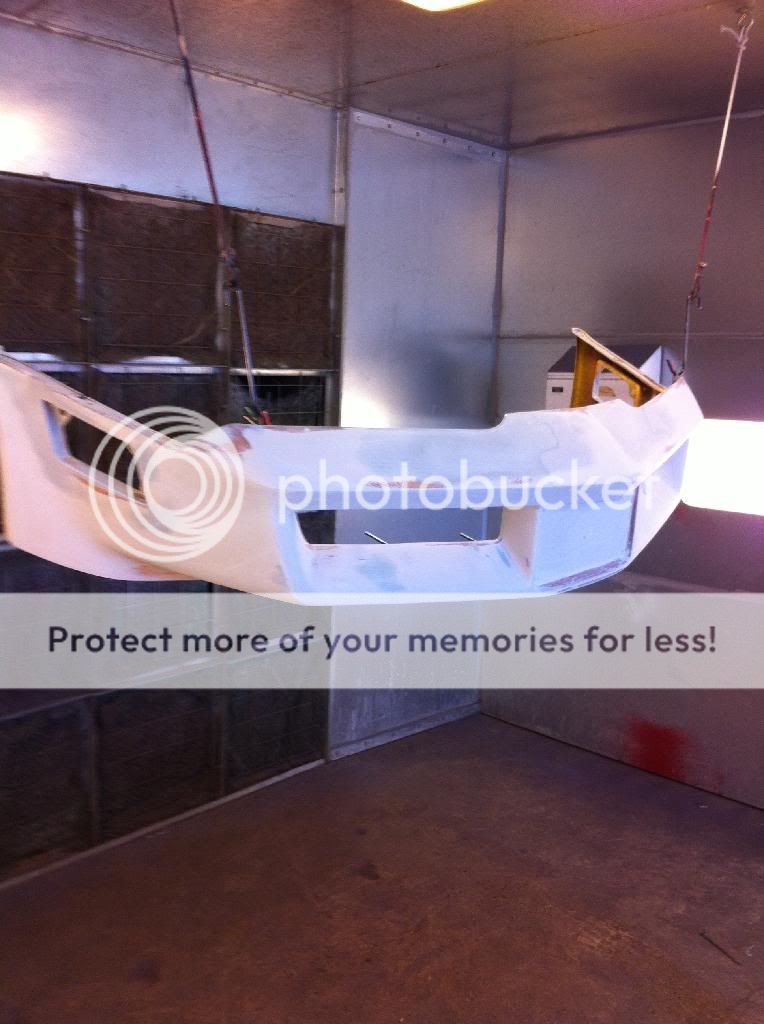
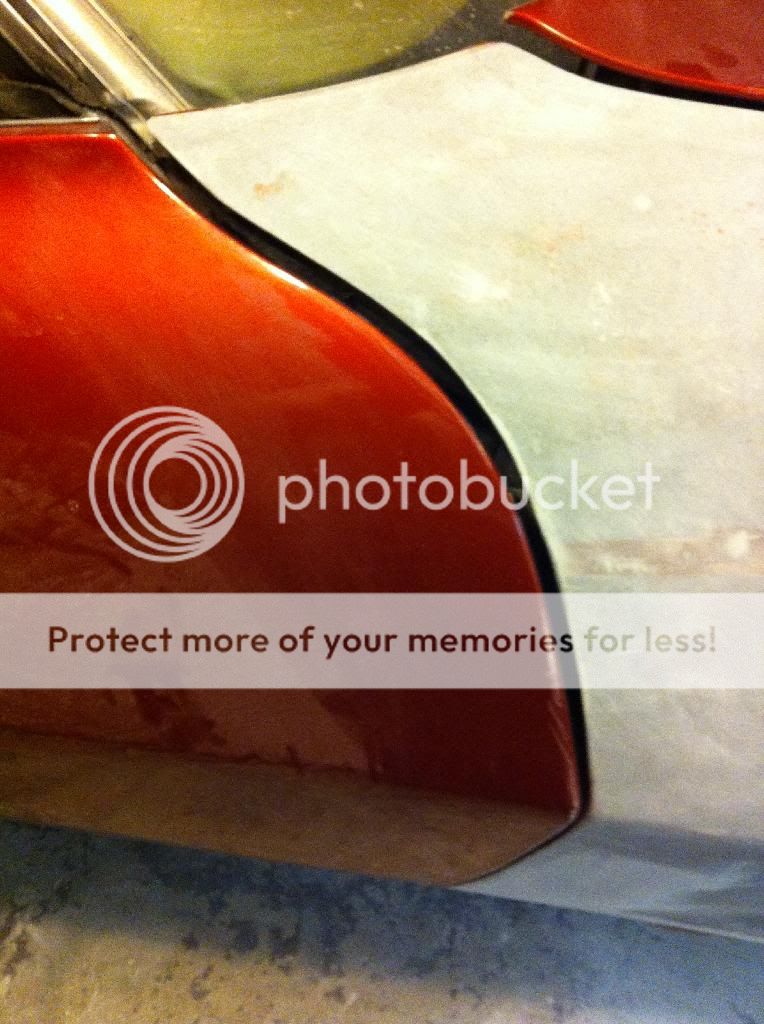
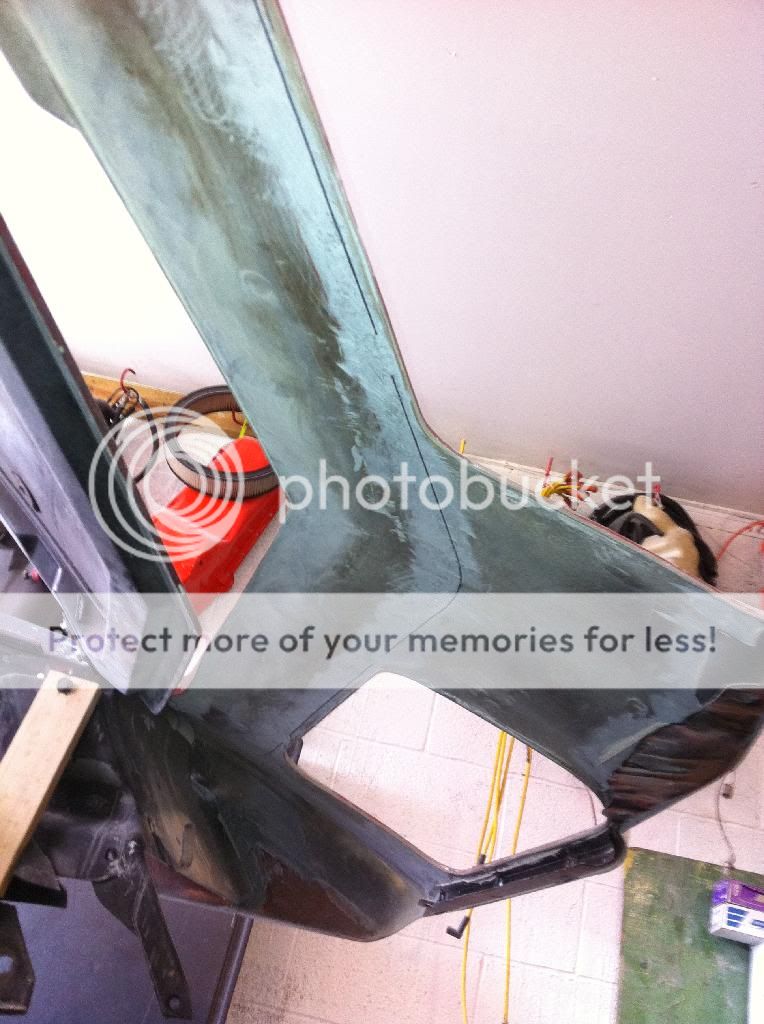
And after a bunch of install and remove the bumper I finally have a proper end on the fender.
I laminated the inside front to give it strength and a finished look.
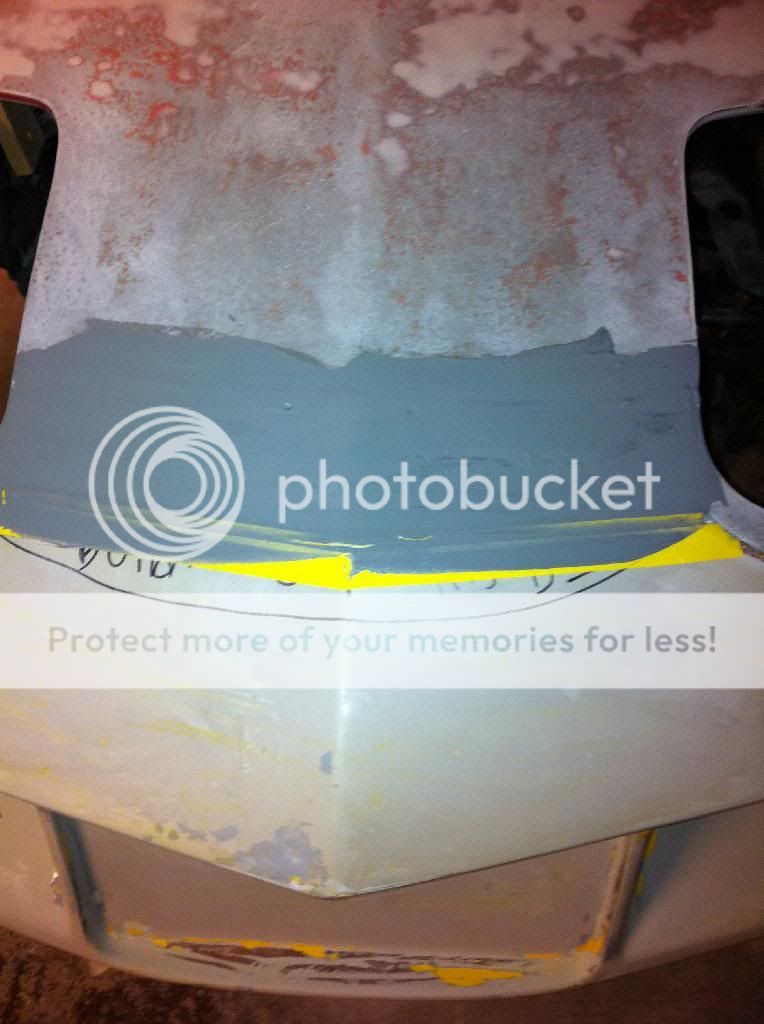
the bumper is now perfectly matched to the car. A few pass with some 180 grit just to round of the edges and done. But I will leave them untouched for now.
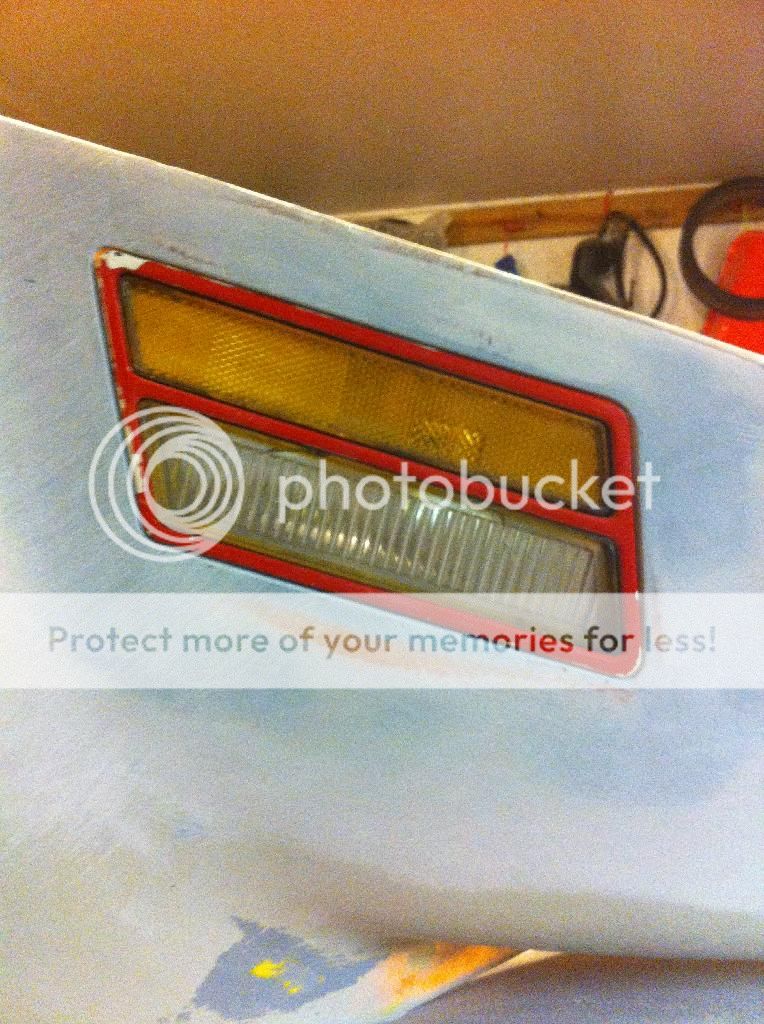
So now that I have the bumper perfectly mated to the car I will next have to clean up any waves in the bumper and reinforce some key areas since they don't make them as thick as they used to. I will also had to rework the openings for the cornering lights and attach the brackets for mounting the 80-82 front grilles since I am not using any of the 80-82 internal structure.
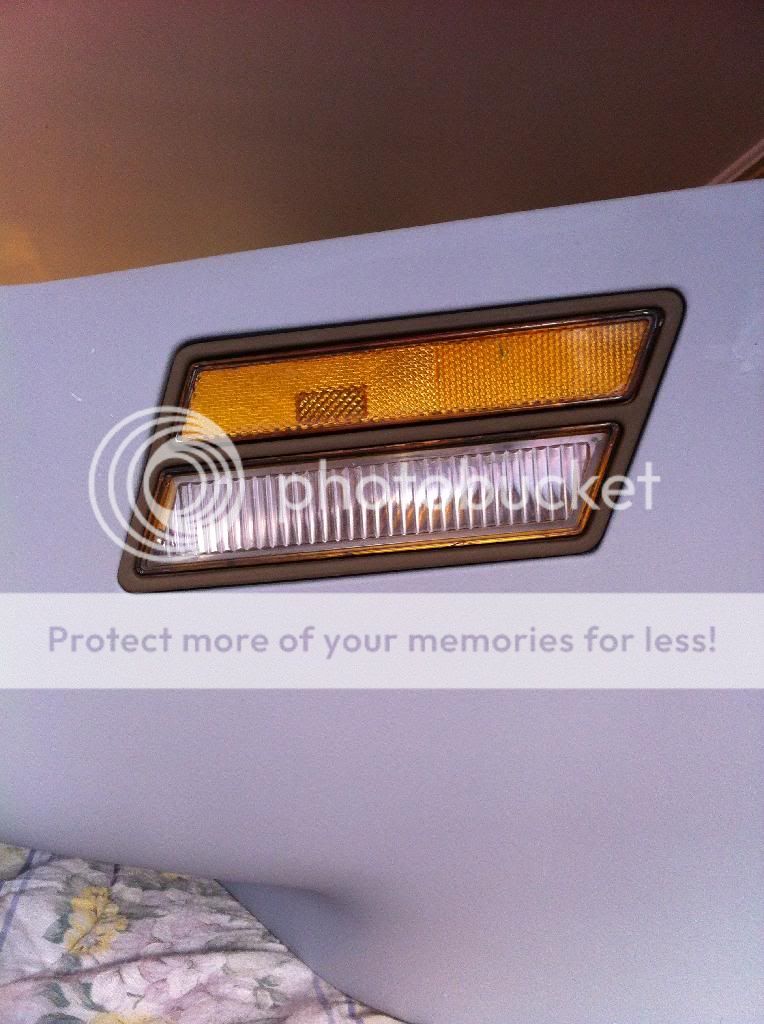
Sure was a pain to get these things to sit as they should. I didn't strip the paint of the lamp bezels so that it was easier to account for material build up.
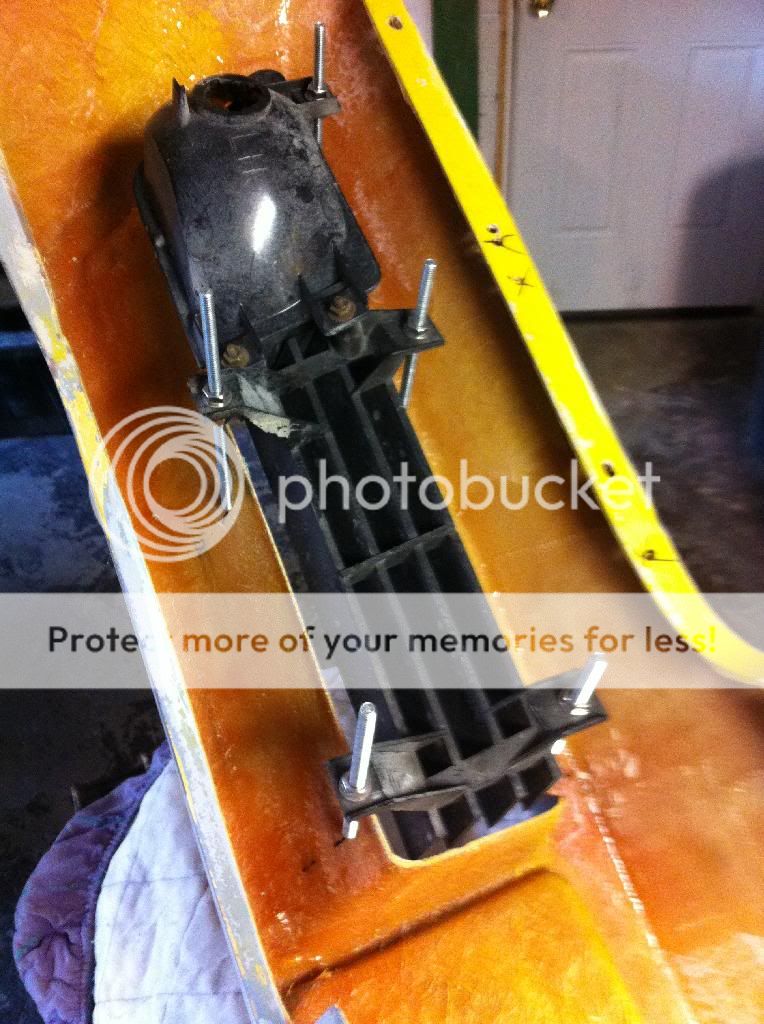
I will laminate the threaded rod to the inside of the bumper and cut the excess rod about an 1/8 of an inch above the nut.
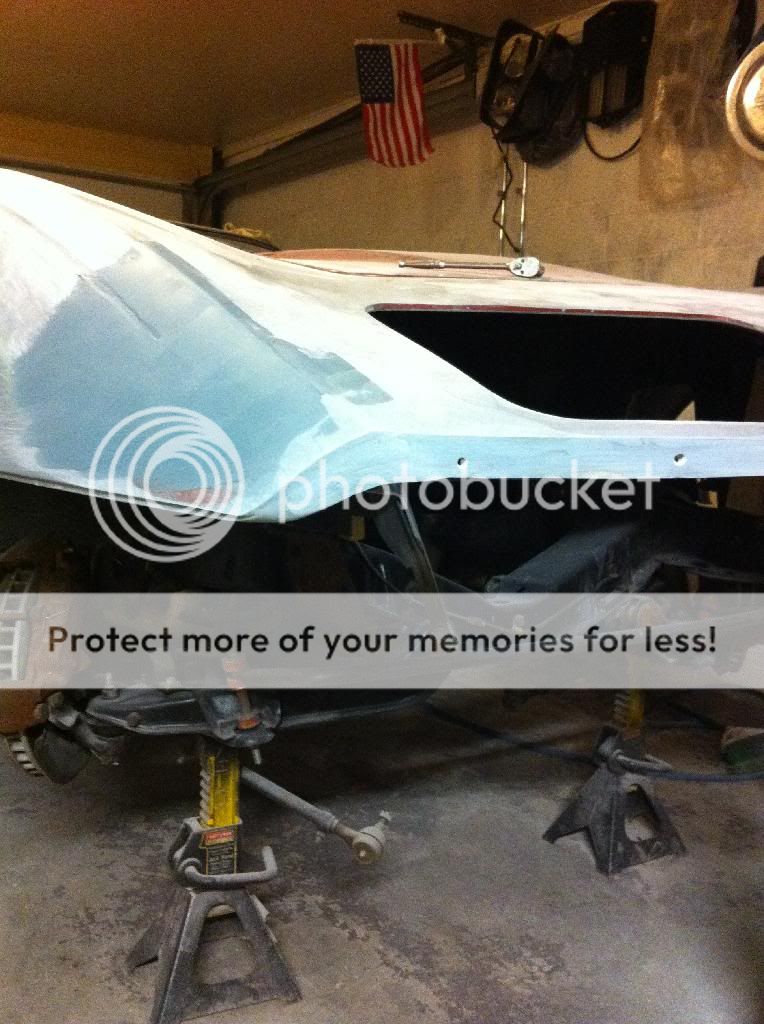
By Saturday I should the bumper ready to be poly primed and set aside while I continue the body work on the fenders. Other than undercutting and redoing the fender seams I also have to deal with the door to fender gaps as well.
I know my progress is slow but I think that I am finally seeing some light at the end of the tunnel. My plan is to finish the bodywork on the front end and leave that in primer, Then redo the engine bay so that then i can reinstall the engine and keep working towards getting it running before I move on to the rest of the body. I would rather work it as I drive it. thats the plan anyway. We shall see.
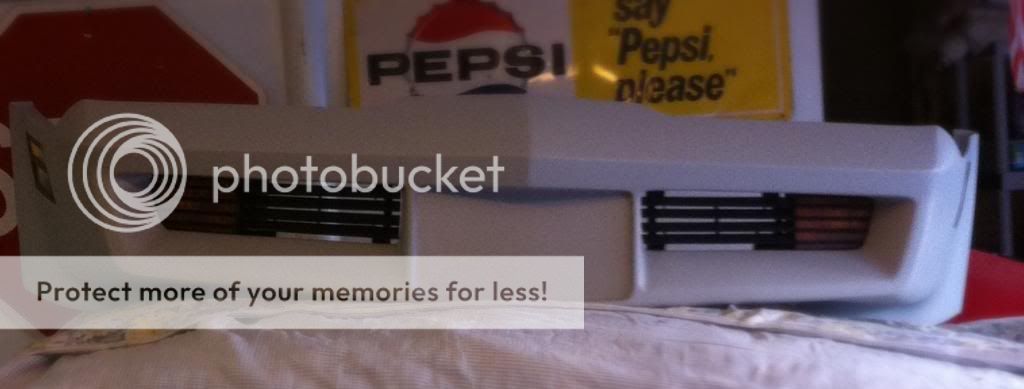
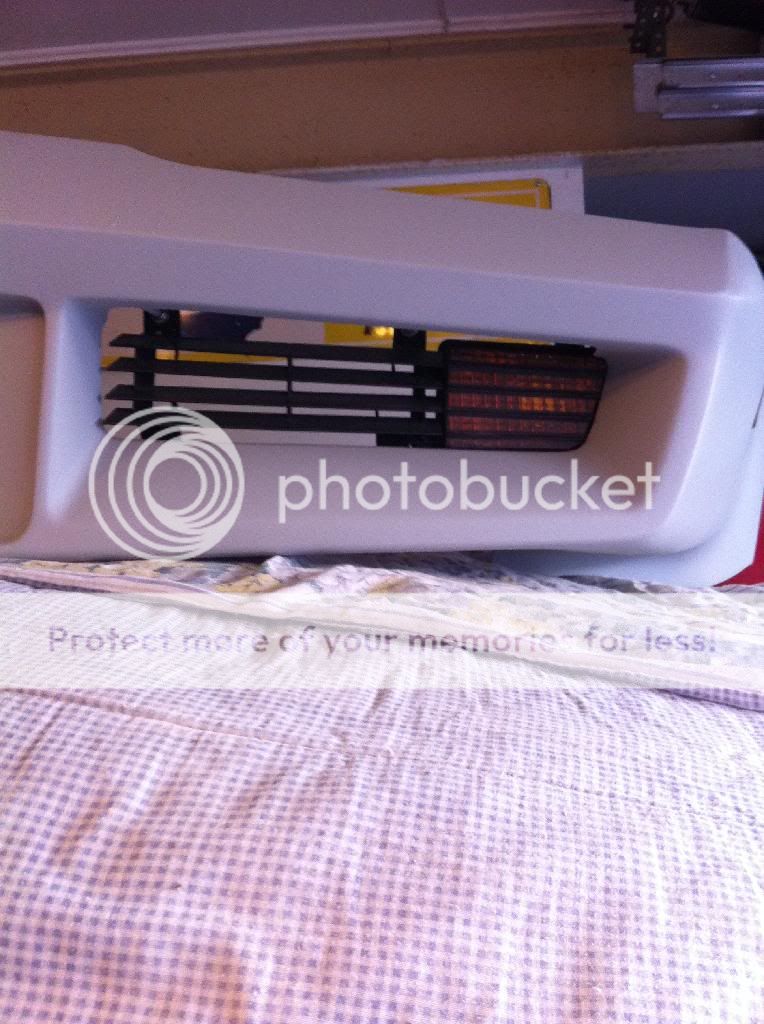
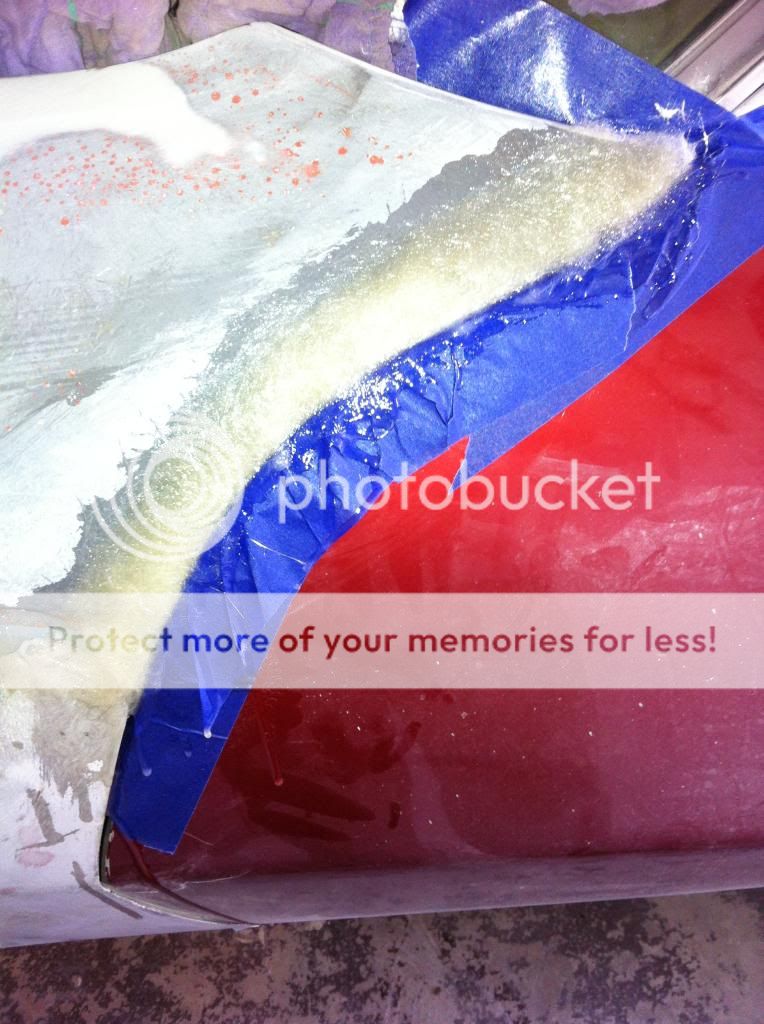
Today I finally finished mounting the grilles and gave the whole bumper a once over before I put a couple of coats of polyester primer on it. At this point I will just set it aside while I finish the bodywork on the fenders. I also bead blasted the cornering light bezels and just sprayed a couple coats of rattle can primer for now so they won't rust.
Now its time to attack the awful door gaps. First off, What I did first and forgot to take pictures of. Is to recondition/modify the door hinges, Including new bushings and pins. I did not sand blast them yet. I will do them and the shims as I get further along on my build.
That will be part of the total stripping and detailing the door jambs. This is the last process for me before I paint the car. Everything in the jambs gets stripped, repaired, primed and painted at the same time.
So now back to the door gaps. With door adjusted as well as can be, I then remove the pins and slide the door off the car. The door gap on this side is way off only from the body side crease up so the bottom will just get dressed up at the end of this procedure with my special super duper gap tool. I now take my angle grinder and I grind the fender edge into a sort of knife edge, tapering the edge for about 2 to 3 inches along the edge of the fender. I then hit the entire area with a DA and 40 grit paper, Going out and additional few inches along the edge. I then use some wide masking tape and stick it to the inside of the fender with the tape hanging about an inch or so over the edge. I then wipe the area really well with acetone and I start the lamination process. I make sure that the lamination is more or less even with the surface of the fender so I don't wind up with a new fender edge that is as thin as paper. I am looking for at least 1/8 of an inch thickness here. I let it all set up overnight.
The next day I remove the tape from behind the new lamination and I use my air saw and carefully cut as much excess off while being careful not to go to far. Then I hang the door and drop a bright light behind the jamb to help you see where you will make your final cut. Obviously you can not close the door at this point (Don't try or you will damage your work). Now comes the tricky part. Cutting the excess lamination while at the same time using the door as a guide. Just closing it enough to see how much you need to cut. Cut along the door side, Not the fender side till you can completely close the door. Once you can close the door you can just use a super duper gap tool to make your gap.
Once you have your gaps looking awesome you just grind it all down and feather it enough for you to be able to put a nice coat of VPA on it all and the rest is just regular body repair.
Here is your usual Corvette fender to door gap.
Make sure the lamination is thick enough and more or less even with the fender surface.
Perfect gap, ground down and ready for a skim coat of VPA.
Lots better!
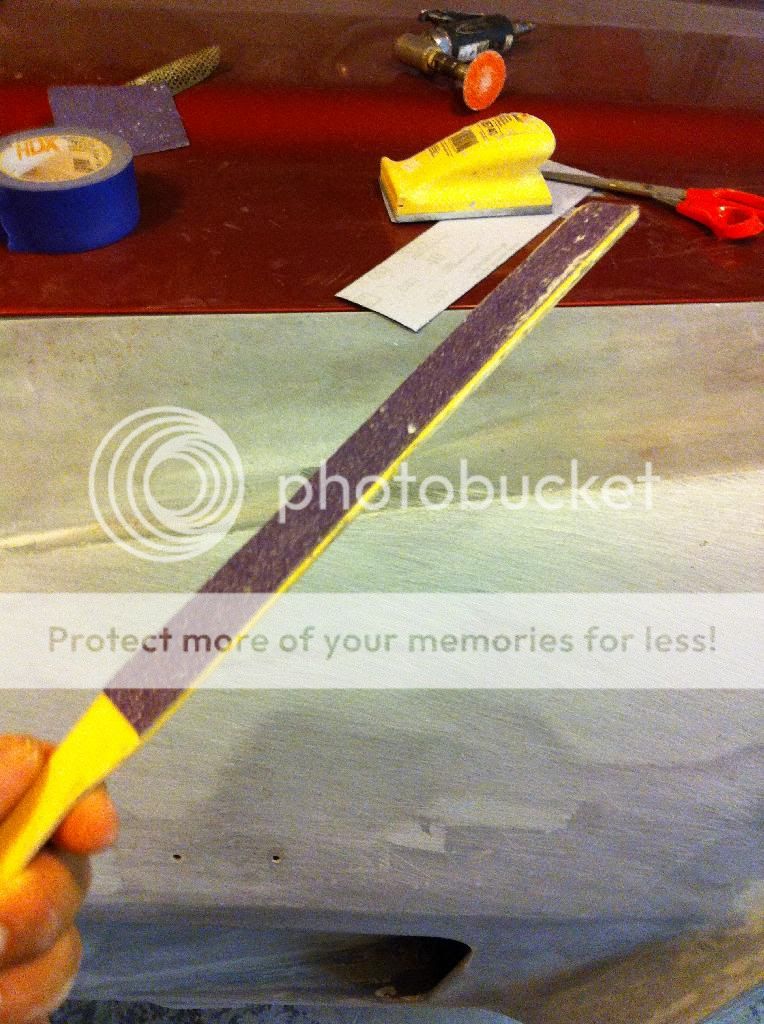
My Super Duper high-tec gap maker tool. Notice it only has sandpaper on one side only! ( A paint stick with a piece of 80 grit glued on to it with some Elmers glue)
Now for the other side. The gap here wasn't as bad as the passenger side.
Also glassed and ground down, Ready for a skim coat of VPA.
Incorporating the front end that you like, individualizes it as your car, your taste, and in this case your work (which is coming along nicely, by the way).
Good idea sending out the block and crank to the machine shop, did you have it balanced?
Thanks for posting your work, I think we all can appreciate the projects.
Very impressive work, that transformation will look better than factory when you're done. I really like your plan of getting the engine back in and getting to enjoy her this summer as you work on her. Continued success.
Incorporating the front end that you like, individualizes it as your car, your taste, and in this case your work (which is coming along nicely, by the way).
Good idea sending out the block and crank to the machine shop, did you have it balanced?
Thanks for posting your work, I think we all can appreciate the projects.
Thank you!
The rotating assembly was purchased from eagle already balanced.
Originally Posted by briankeery
Very impressive work, that transformation will look better than factory when you're done. I really like your plan of getting the engine back in and getting to enjoy her this summer as you work on her. Continued success.
Thanks dude! But Yeah. Thats the plan. But we all know how even the best laid plans can sometimes go. Lots of while Im at it going on.
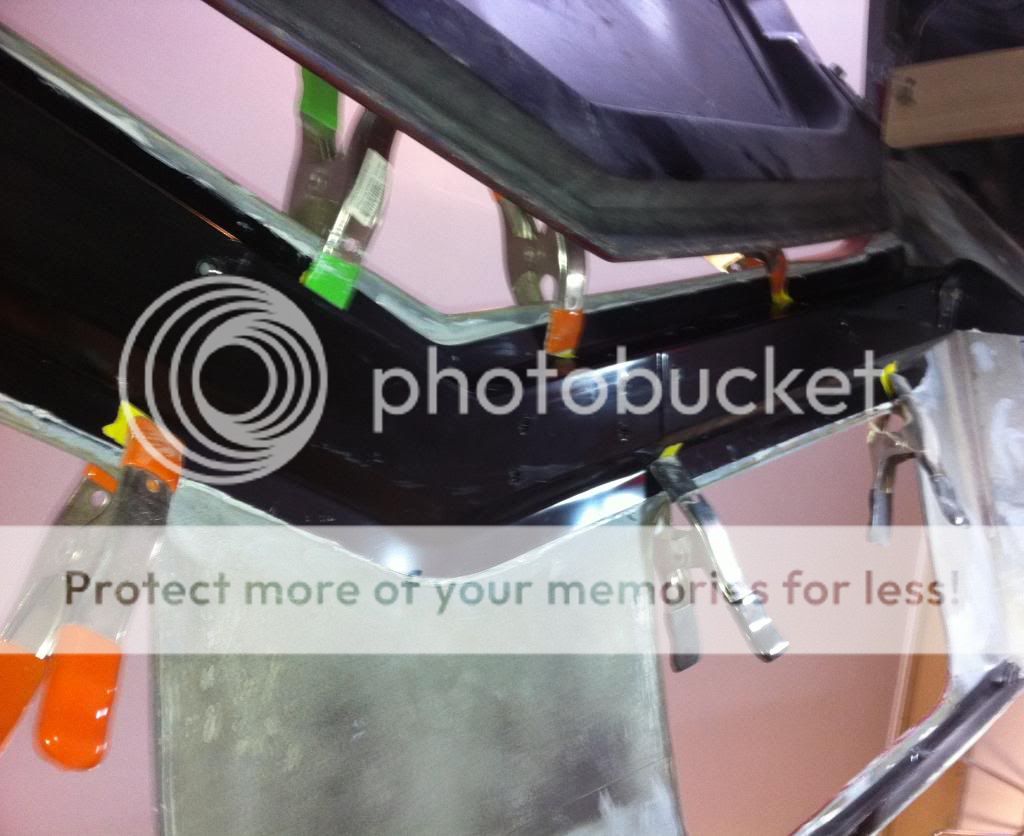
Today I finally got around to attaching the header bar on the car so I can hang the headlight assemblies and finish the bodywork on the front end. I know I should have done it much sooner but my severe arthritis makes it difficult for me to work on my back (using a creeper of course) under this thing without a lift so I kept putting it off until it was absolutely necessary. The old glue had to be ground out and the new header bars position marked and such. Here I used Fusor 116 to bond the header bar.
Old adhesive ground out and the bars position marked. Wiped real good with acetone. Ready to go.
I used an angle grinder to grind the E-Coat off the new bar and I brushed some of the adhesive so that I can set a few stainless washers were I plan on applying the clamps. Although this picture does not show it. I did afterwards placing the washers then ran a nice half inch bead of adhesive on the bar
I then placed the bar on the surface using the lines I had marked and then clamped it down using pieces of masking tape to mark the positions of the washers. I could have left the excess that squeezed out on there but I chose to wipe most of it off.
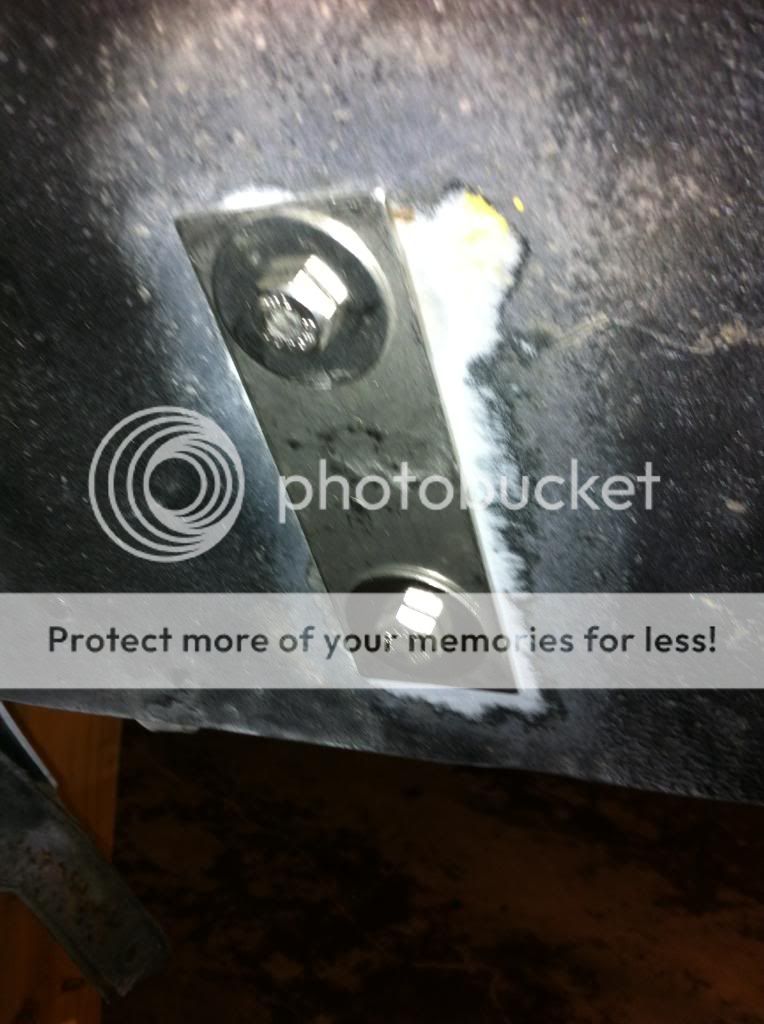
I then installed the new plates and bracket bolts (All stainless) on both sides of the header bar.
I will let it sit till tomorrow at that time I will install the light assemblies. Yay! I am that much more closer to finishing the front end.
Nice to see the install of the header bar with photos. Something I will be doing with mine once I get started. I still need to get going on the chassis rebuild first.
Today I installed the headlight door assemblies so that I can work the gaps and make sure the doors conform to the curvature of the nose. After a little adjusting here and there and some strikes with a hammer and dolly the doors are perfectly aligned and ready for a thin coat of filler to make them perfectly smooth. After I strip them of course.
what a great build. I can't believe I missed it the first time around.
the '80-'82 nose looks great with the sugar scoop rear.
Are you replacing the rear bumper also?
Thanks Qwank! Yes I am replacing the rear bumper too. But it will be awhile before I get around to that since like I stated earlier. Im going to finish the nose and maybe the hood too and leave them in poly prime then move on to the engine bay so that I can put in the motor and get it running. Then once she is up and running I will continue the rest of the body work on the car. I would love to be able to get it running before the season is out and the winter returns.
Coming along well and great looking work. Getting it running will make your other work progress faster or it did for me. I still have a long way to go though.


 03-14-2014, 09:50 PM