When you click on links to various merchants on this site and make a purchase, this can result in this site earning a commission. Affiliate programs and affiliations include, but are not limited to, the eBay Partner Network.
Im back here just to load up the rest of the pictures of my hood.
After finishing the top I went and finished the underside.
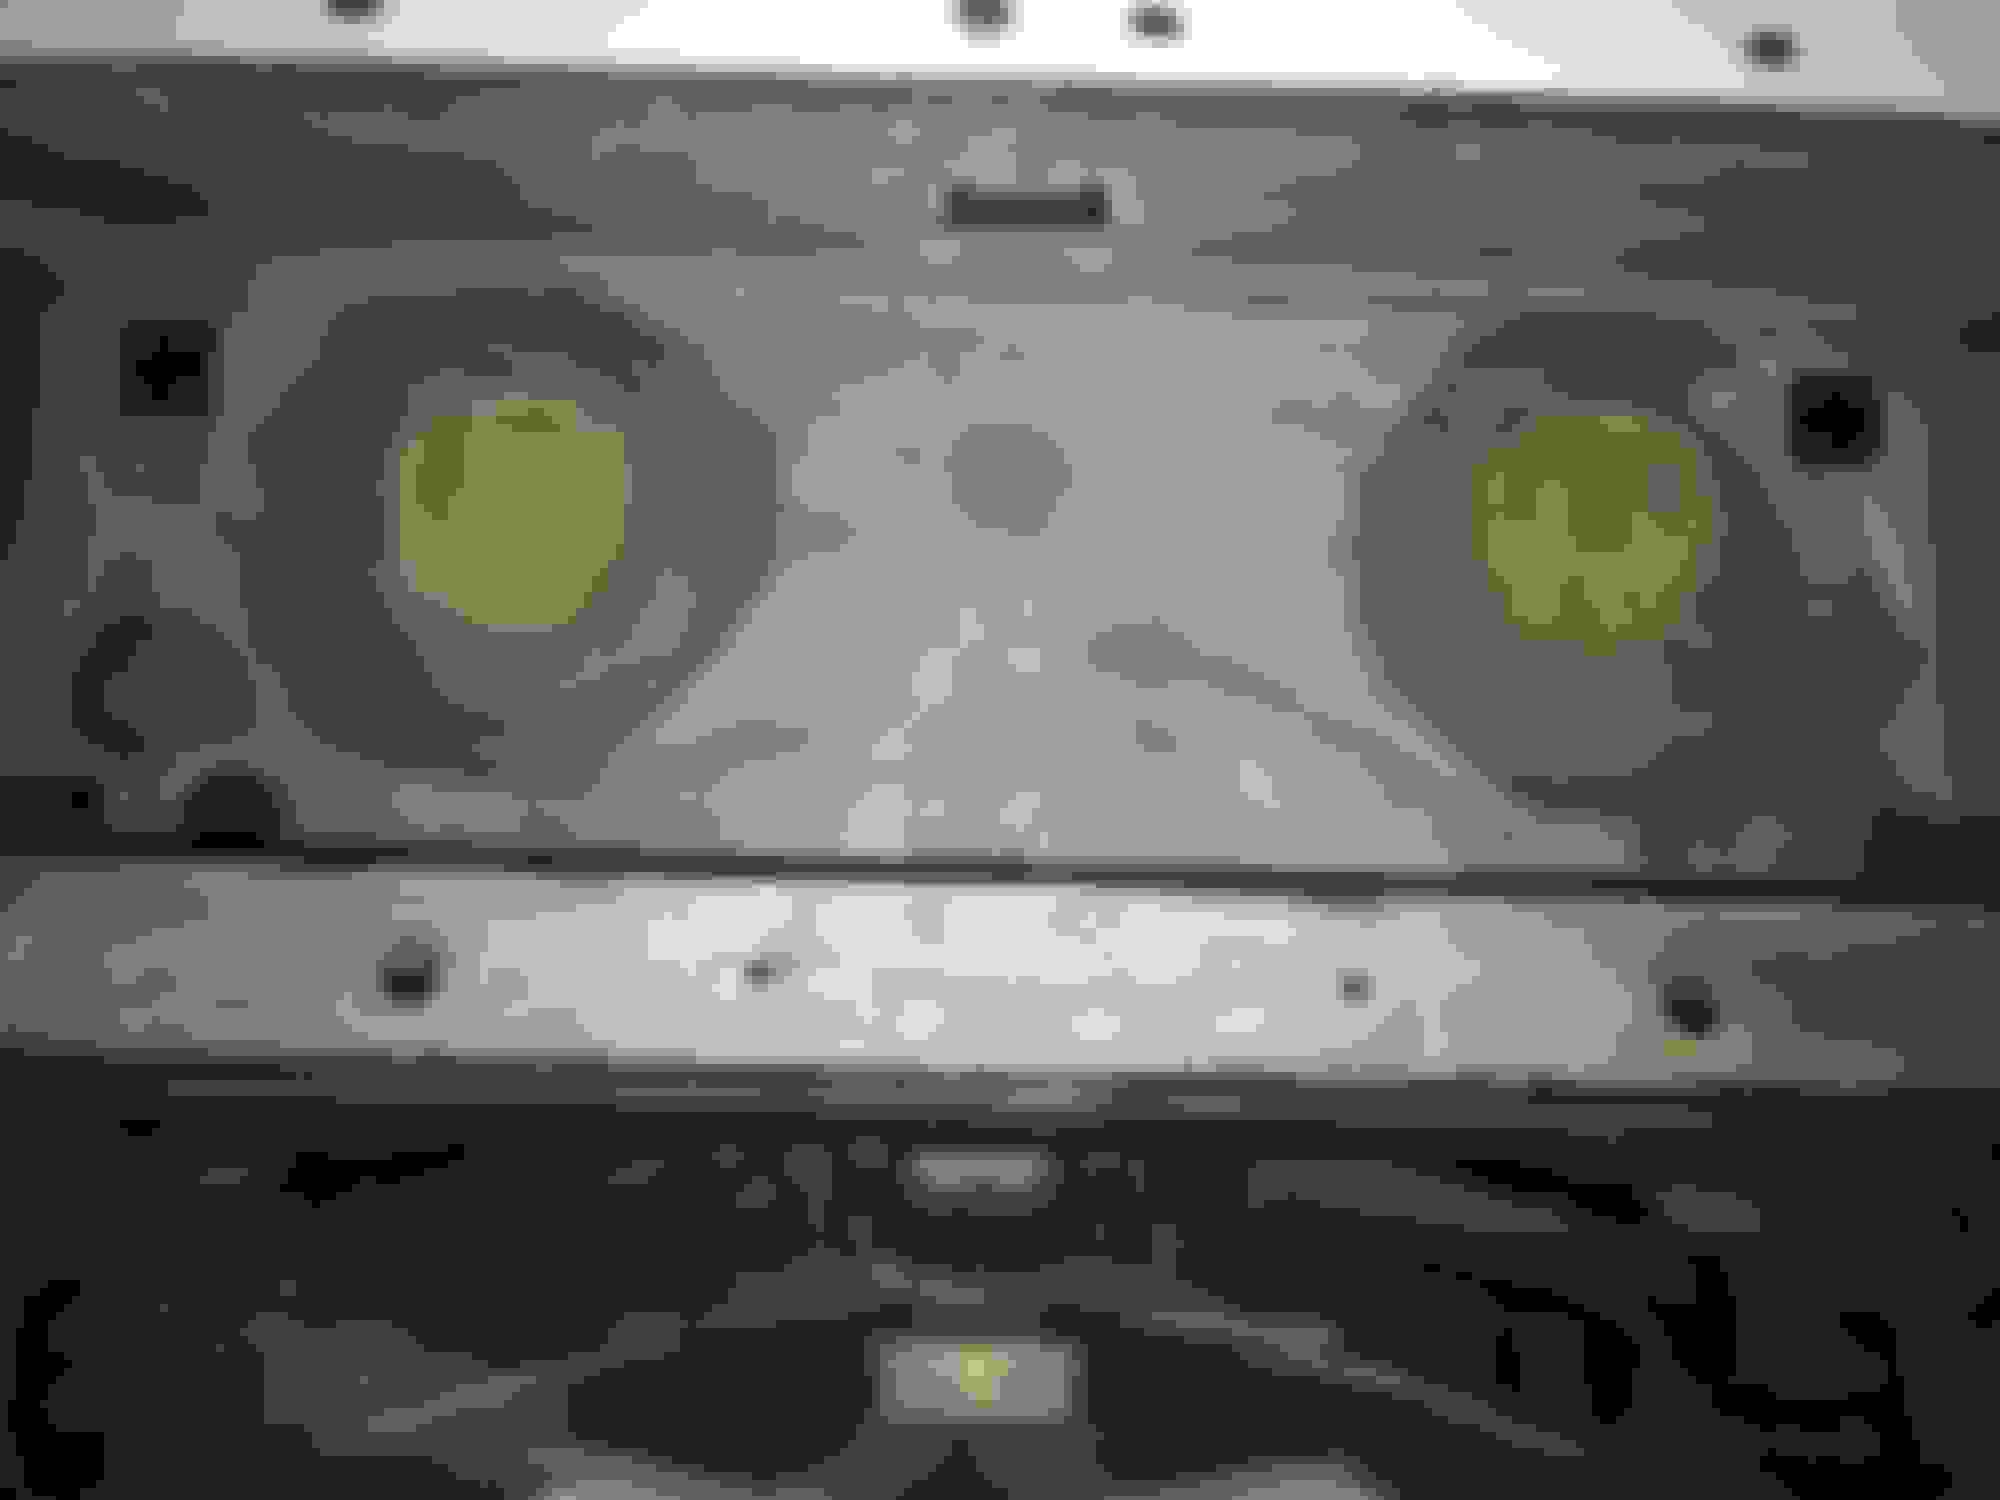
After stripping the rest of the underside and all the old seam sealer out of the joint.
I ran a bead of SEM beige seam sealer around the whole hood joint
A couple coats of epoxy primer.
I followed it up with two coats of 30% gloss black urethane single stage. Just like the engine bay.
I will now put the hood on the car and that will conclude the front end modifications on my Vette. Next I will concentrate on the interior so that I can get my wiring and heater box redone and put back in.
I was going to spend the money on new dash and under hood harnesses but since I am making more than a few mods to the electrical I figure why cut up new wiring when I can go over the existing ones and make my mods while giving them a once over. For example, The front cornering lights which my 77 didn't come with but now has. I can while I have the old harness unwrapped, I can just route the appropriate wiring to and from wherever the 80-82s had them. I am using the later schematics to upgrade my wiring. I will keep track of all the changes on a separate schematic with all the changes made so that whoever comes after me will know whats what and where.
Last edited by persuader; 11-03-2015 at 05:56 PM.
Reason: Spelling
It literally has been years since I have posted any progress on my car. And although I have done a ton of work on it since then, the progress has been very slow mostly due to health issues. I did get the engine and trans back in the car early last year and started it for the first time. I backed it out of the garage and moved it up and down the block a couple of times then drove it back in and then decided to put it back up on jack stands so that I can strip the ready of the body and install the new fiberglass 80-82 style bumper. Then it was on to give the rear suspension a complete once over.
Good thing I did as there was plenty wrong with most of the work done by the PO. Just as I have stated earlier on in this thread. The P.O. did replace most of the parts in this car but new parts installed incorrectly is like doing nothing at all. I won�t bore nobody with an endless rant of the things I have found throughout the car and now in the rear but I will give you just two examples of what I have been dealing with since the day I got her. After removing the trailing arms I found that the bushings we�re new but missing the inner spacers and the two beveled washers that require a special tool to stake them on. And the second work of excellence was finding new bearings, races and seals but no shims at all in the hubs but both spacers were new so I really scratched my head after that one.
Anyways. I will be spending the next few days gathering whatever pictures I�ve taken along the way and just keep posting them on this thread to try and bring it up to date. This were I was after the front end conversion and installation of the new engine and trans.
I can�t find a picture of the rear suspension before I disassembled it so this will have to do Yes the PO did cut the rear bulkhead to install two speakers. This was taken while I was repairing the panel. Anyway you can sort of see the rear suspension as it was before tear down. You can also see the backing plates I made to install the hinges for the rear window storage tray that I installed.
After plenty of scraping, wire brushing and replacing the rear frame mounts, the rear section of the frame was primed and painted and ready for the suspension and exhaust. It was a ton of work to get it to this point as the few following pictures will show.
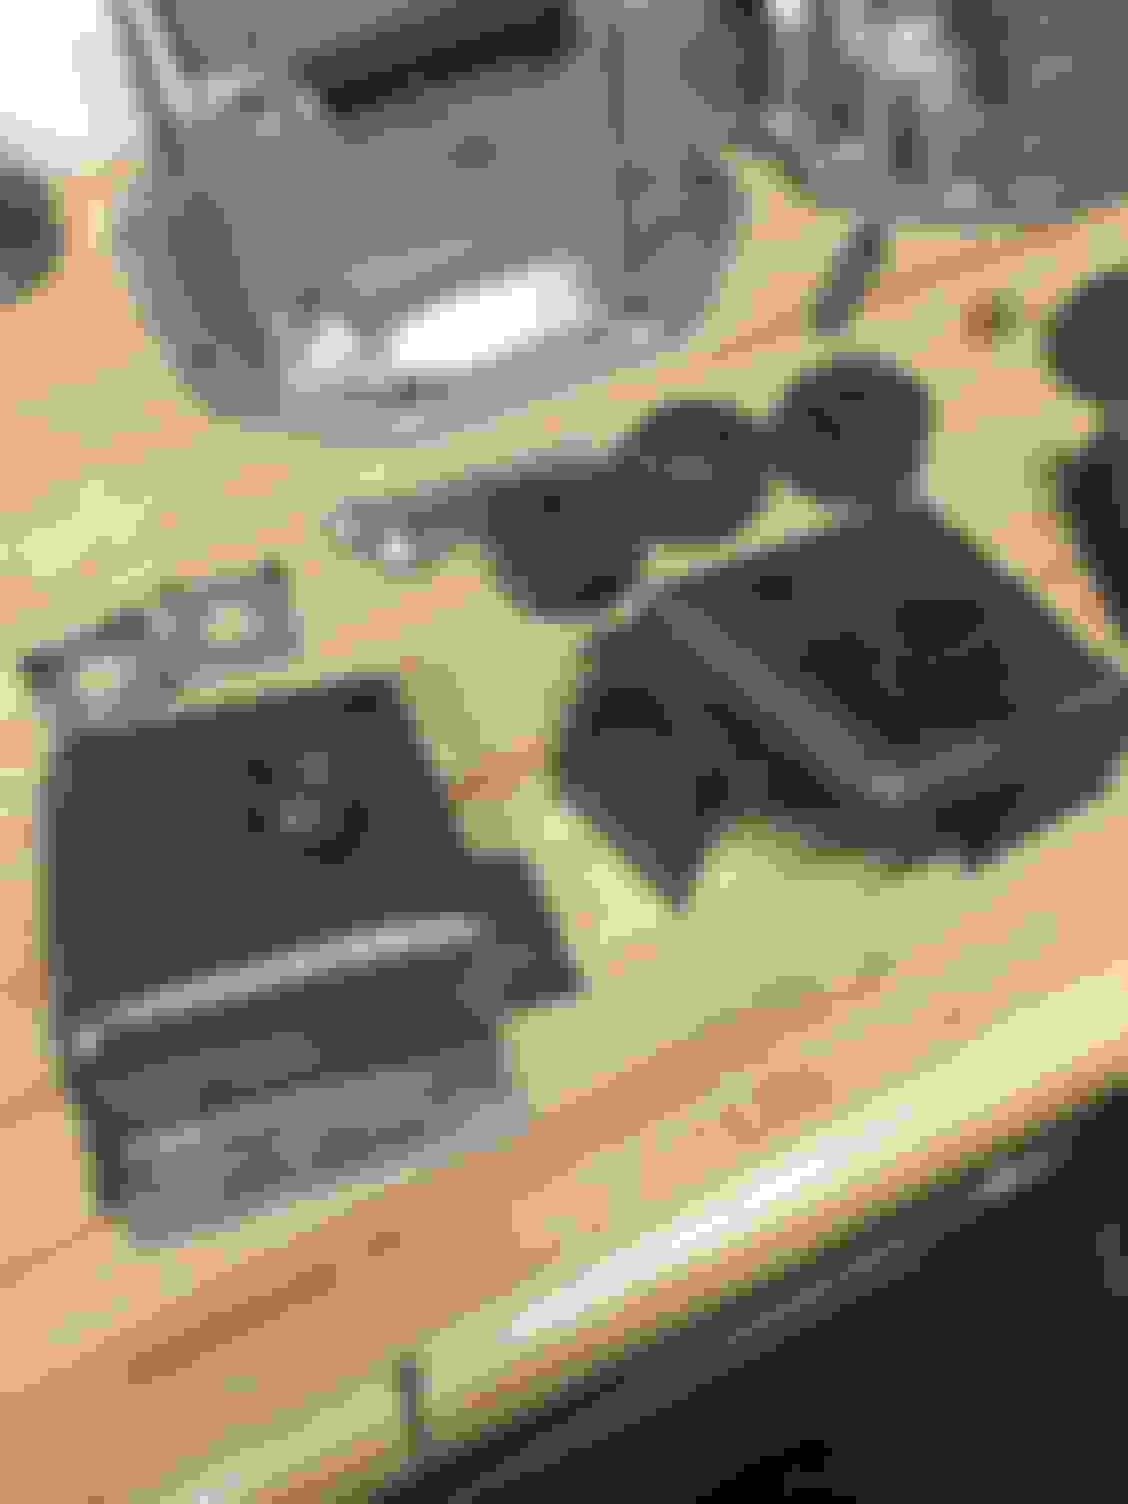
These were the number 4 body mounts as they were when I got the car. They clearly needed replacing but instead someone weld two pieces of metal on top of the existing mount with a cut out to allow the new parts to slide in. I get it. It is very difficult to replace these while the body is still on but to wind up like this in the end , seams like time and labor wasted. These were inside the rear compartment area just a nut welded to a rough cut metal square One side completely disassembled and ready for repair. Here’s the others side. Just need to get the rest of the old mount off the frame. The previous owner did at least install two new body mount brackets even though they were installed with just pop rivets. I blasted the mounts and powder coated them and the new parts s that will go on the car after I did the fiberglass repairs to the body. It turned out to not be all that difficult to effect this repair with I think, cutting the old mounts off the frame and installing the body mount factory style aluminum rivets being the most work to accomplish. After installing the body brackets. I temporarily installed the new rubber mounts and bolts along with the frame mounts. I then welded a the frame mounts in place. I removed the rubber mounts and bolts till the entire rear frame of the car was epoxy primer and painted. Here is the other side. All and all, I definitely think this is as close to a proper job that you can get without completely removing or lifting the body.
Here I am starting the total rebuild off the rear suspension. I first started by striping the trailing my arms, checking them for straightness and while i was as there I decided to relocate the parking brake cable bracket In case I decide on a wider wheel and rim down in he road. Here I am mocking up the brackets before welding and then sand blasting and finally powder coating them semi gloss black.
both arms properly redone with new bushings,seals, bearings shimed to .00 backlash and stainless parking brake shoes and hardware. .
The time came for me to give a look at the rear. The was way to much play in both stub axles so I went ahead and opened it up. I found both axles were mushroomed on the ends and required that I use a die grinder to remove them from the rear. Now covered in metal shavings from removing the axles. A complete rebuild is in order. I thought my car had a 308 gear set in it but realized now that it is actually a rear out of a 79 and it has 355 gears. I will be reusing the gear set and just replace all the bearings and races, clutches and seals. I will also reinstall the ring gear bolts using thread locker.
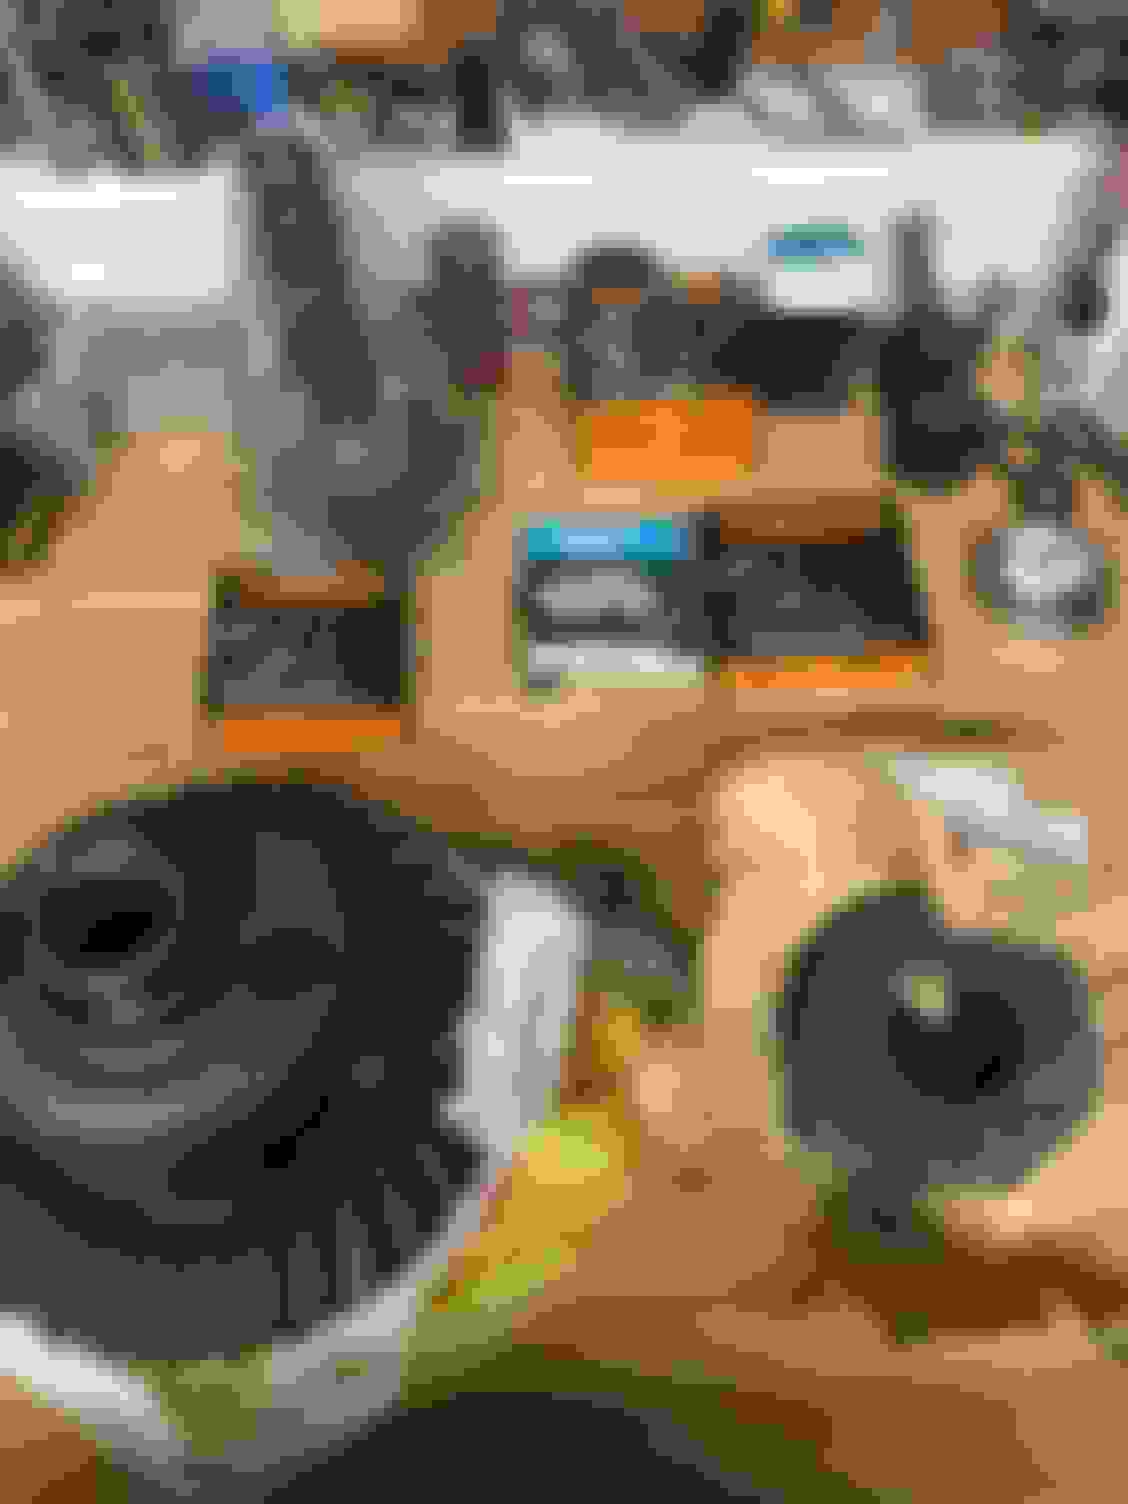
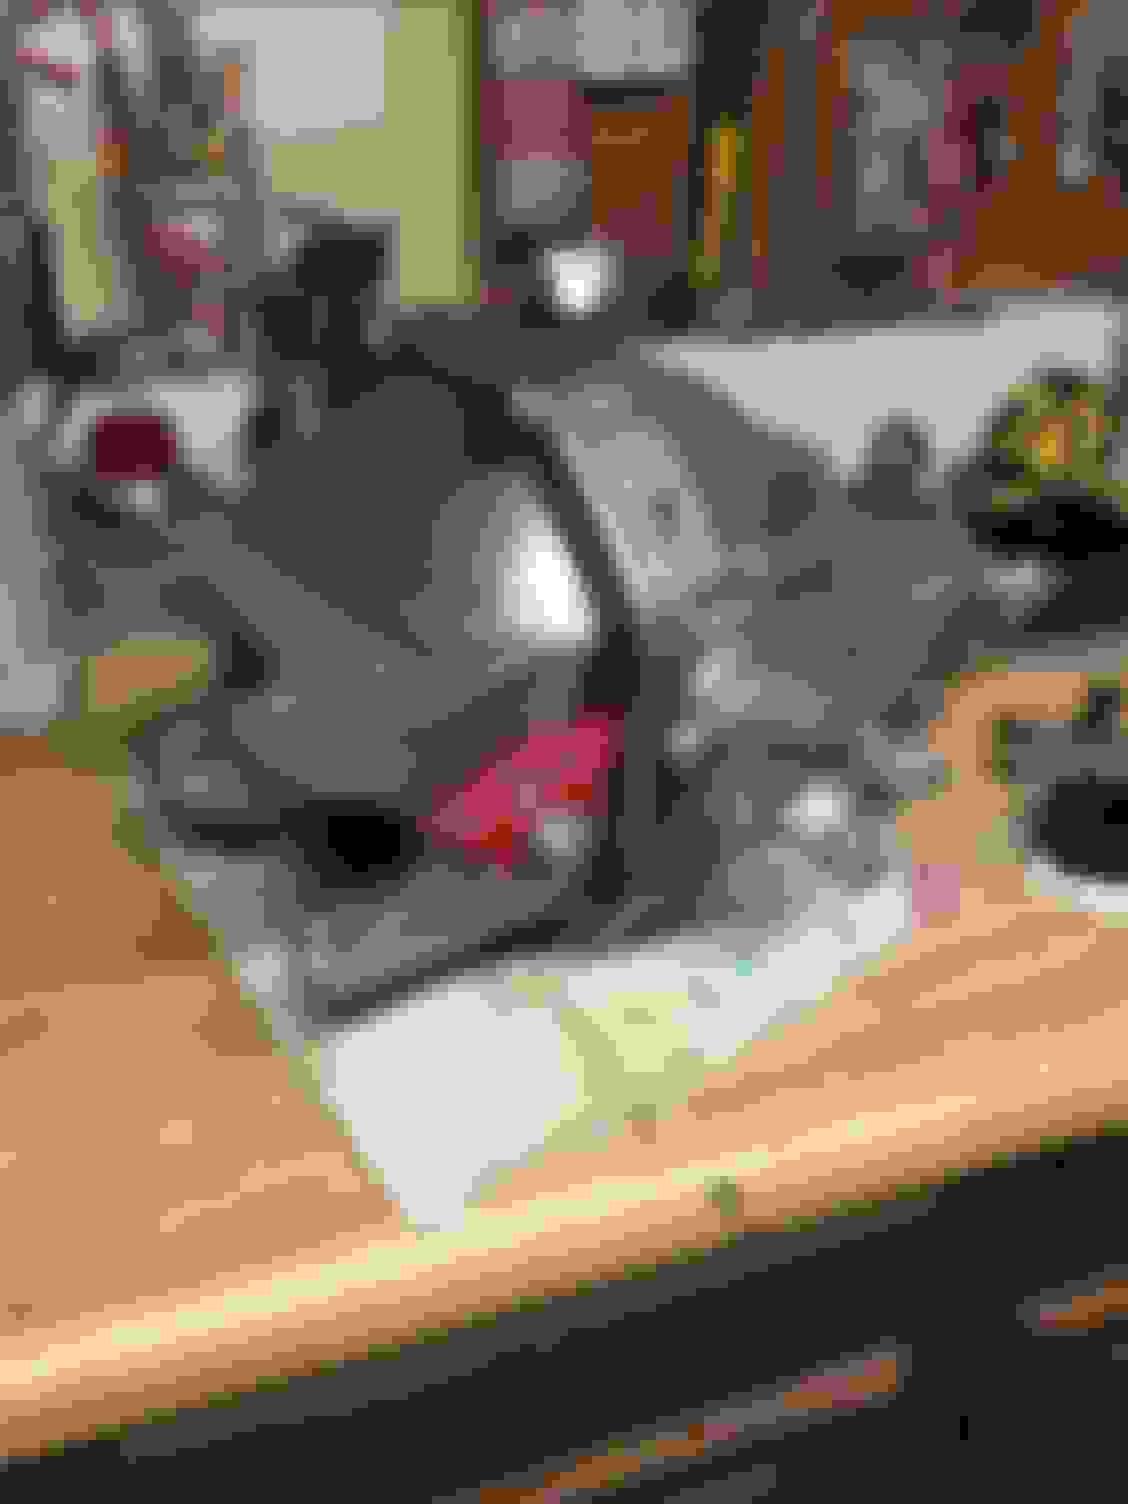
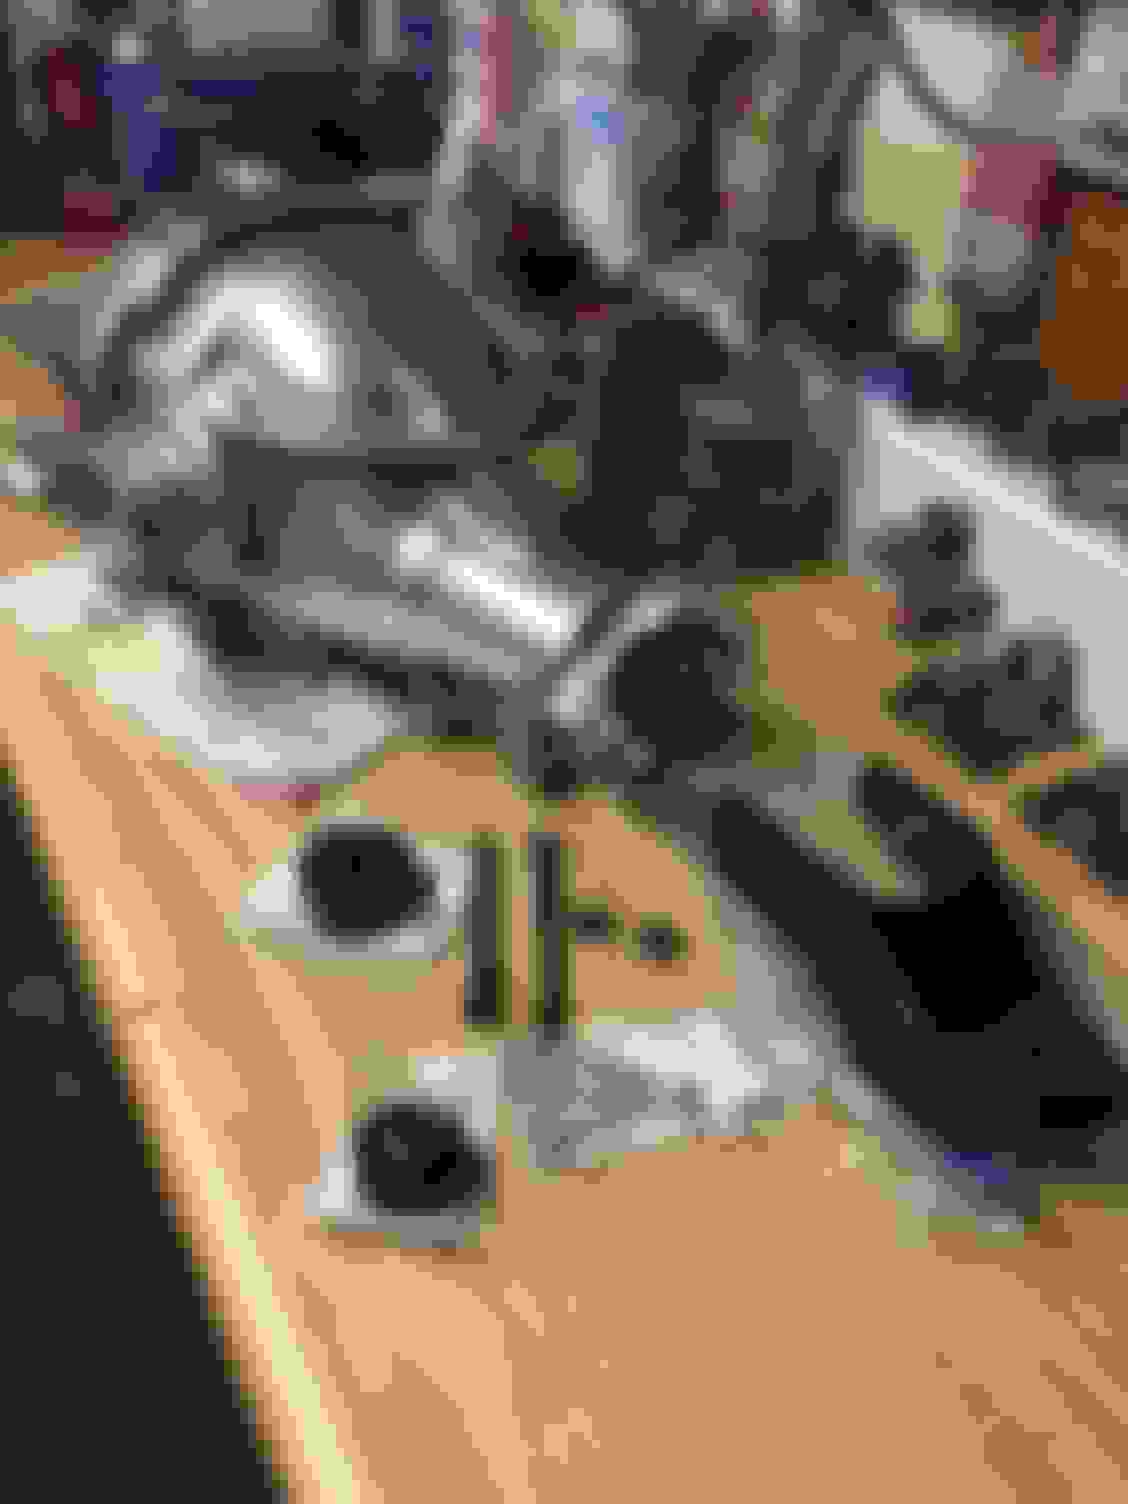
So then I went and gathered together all the parts I need to rebuild the differential , including the two new stub axles. I also powder coated the differential housing, rear cover, the new stub axles and front flange. All new parts laid out. I had forgotten just how much work it is to properly rebuild a differential. Making sure your ring and pinion are set up correctly. The worse part was installing the crush sleeve and tightening the the pinion nut to the achieve the correct 20 - 25 inch pound of bearing pre load. I wish I still had my old torque multiplier. I powder coated the differential front mounting bracket. Here is the differential ready to be installed.
Pictured here is a brass drain plug which I had decided to add to the differential housing during the rebuild just forward of the strut bar bracket to allow for easy fluid changes.
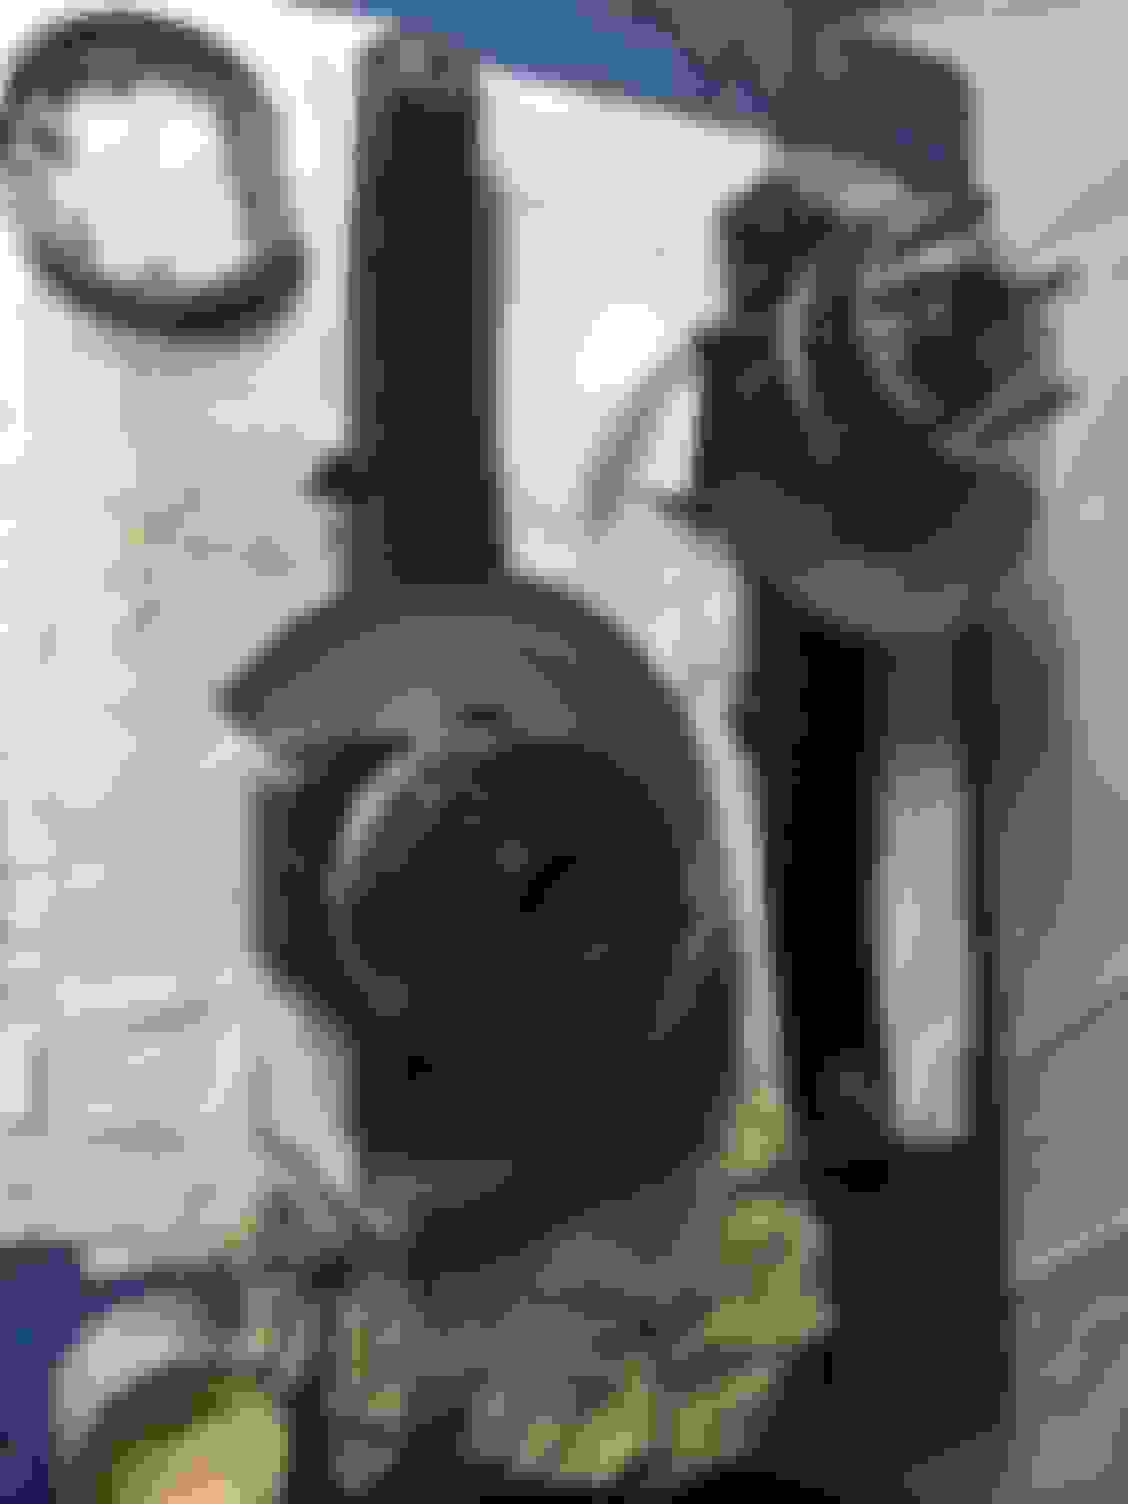
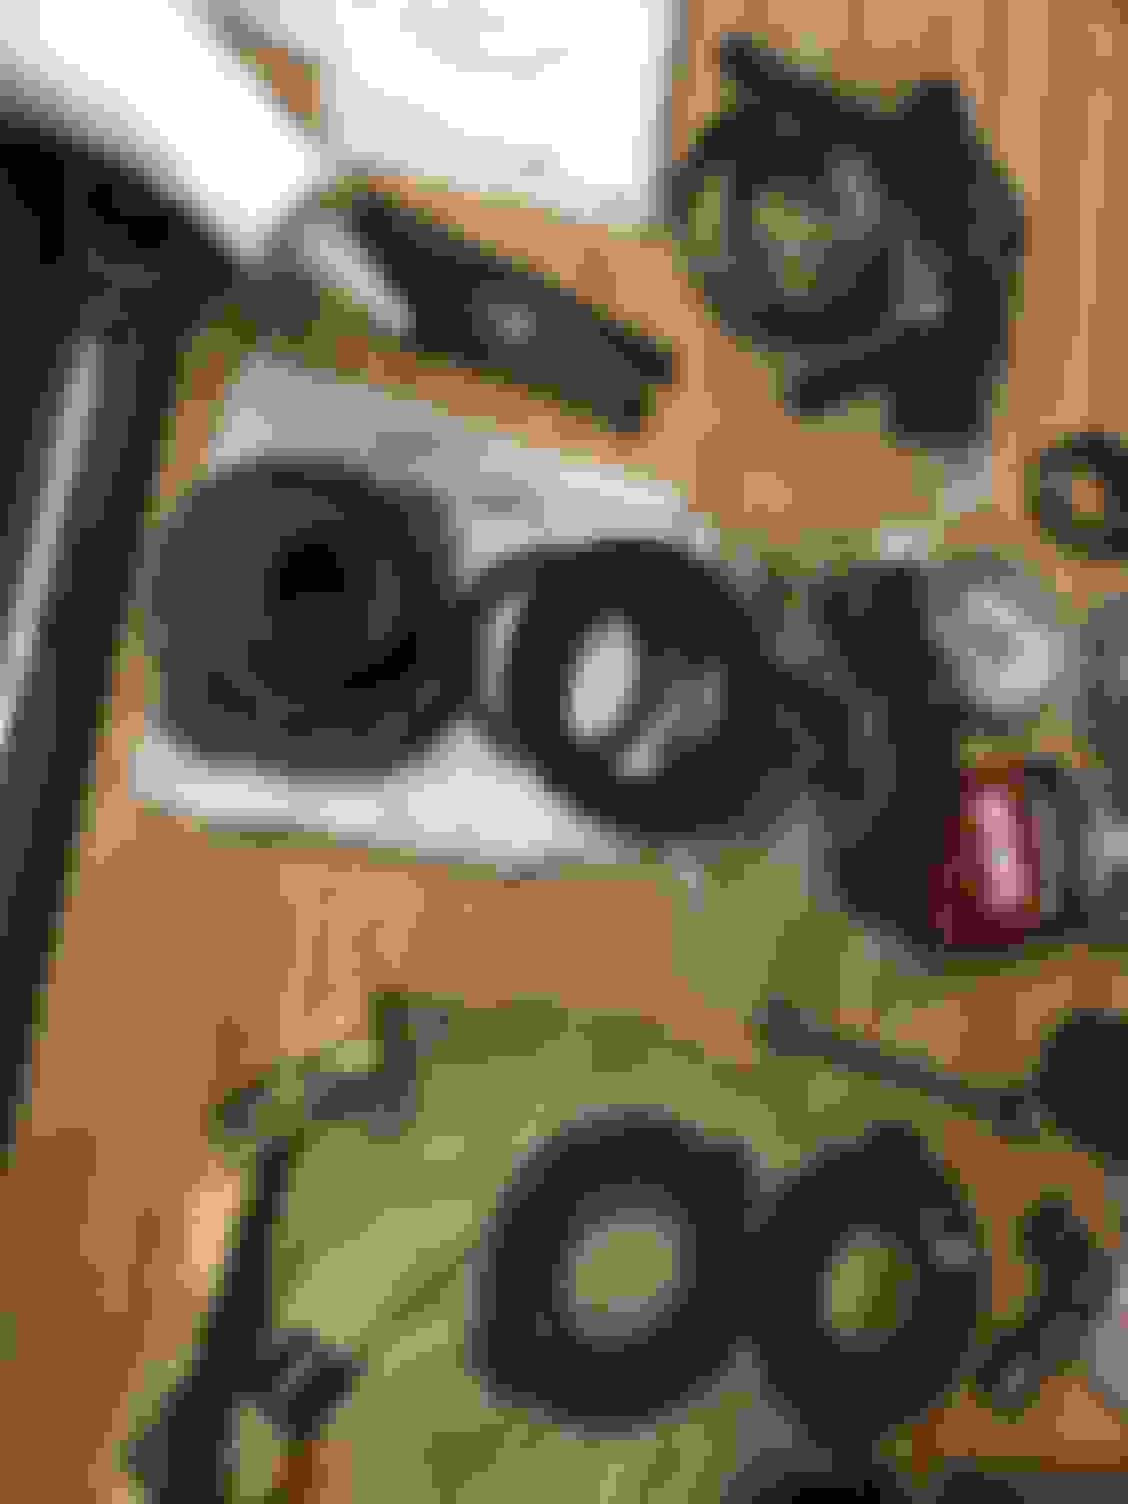
Let me just back up a little to just before I assembled the trailing arms to when I I did the two half shafts . Here are the two shafts as they came off the car. Both had brand new u-joints in them already but they were of unknown name brand and had the zerk fittings in them. As you shall soon see. Bubba�s Kung fu was strong here! How can someone install a new u-joint in this? And this one also? The new u-joints that had been installed literally fell out by themselves once I removed the c-clips. Another disaster waiting to happen for sure. So I replaced both half shaft flanges and powder coat them and the half shafts. I then installed new spicer solid u-joints. You can clearly see the difference between a quality u-joint and a autozone special. Spicer on the top, auto zone special on the bottom.
Ok. So around six months ago I got around to the rear brake calipers. Like the front ones, they were both new. And again, just like the front ones I took them apart and bead blasted them so I can then powder coat them. Afterward, I reassembled them using an o-ring conversion kit.
Thank you sir.
There is so so much more that I have done to this thing since I last posted way back in 2015. As I said I will try to continue posting as much of it as I can in the best cronological order as I can remember. This will most definitely the last car that I will ever build with all my health issues gradually not getting any better, honestly my biggest worry is being able to finish the car before I get to a point that I can no longer work on it.
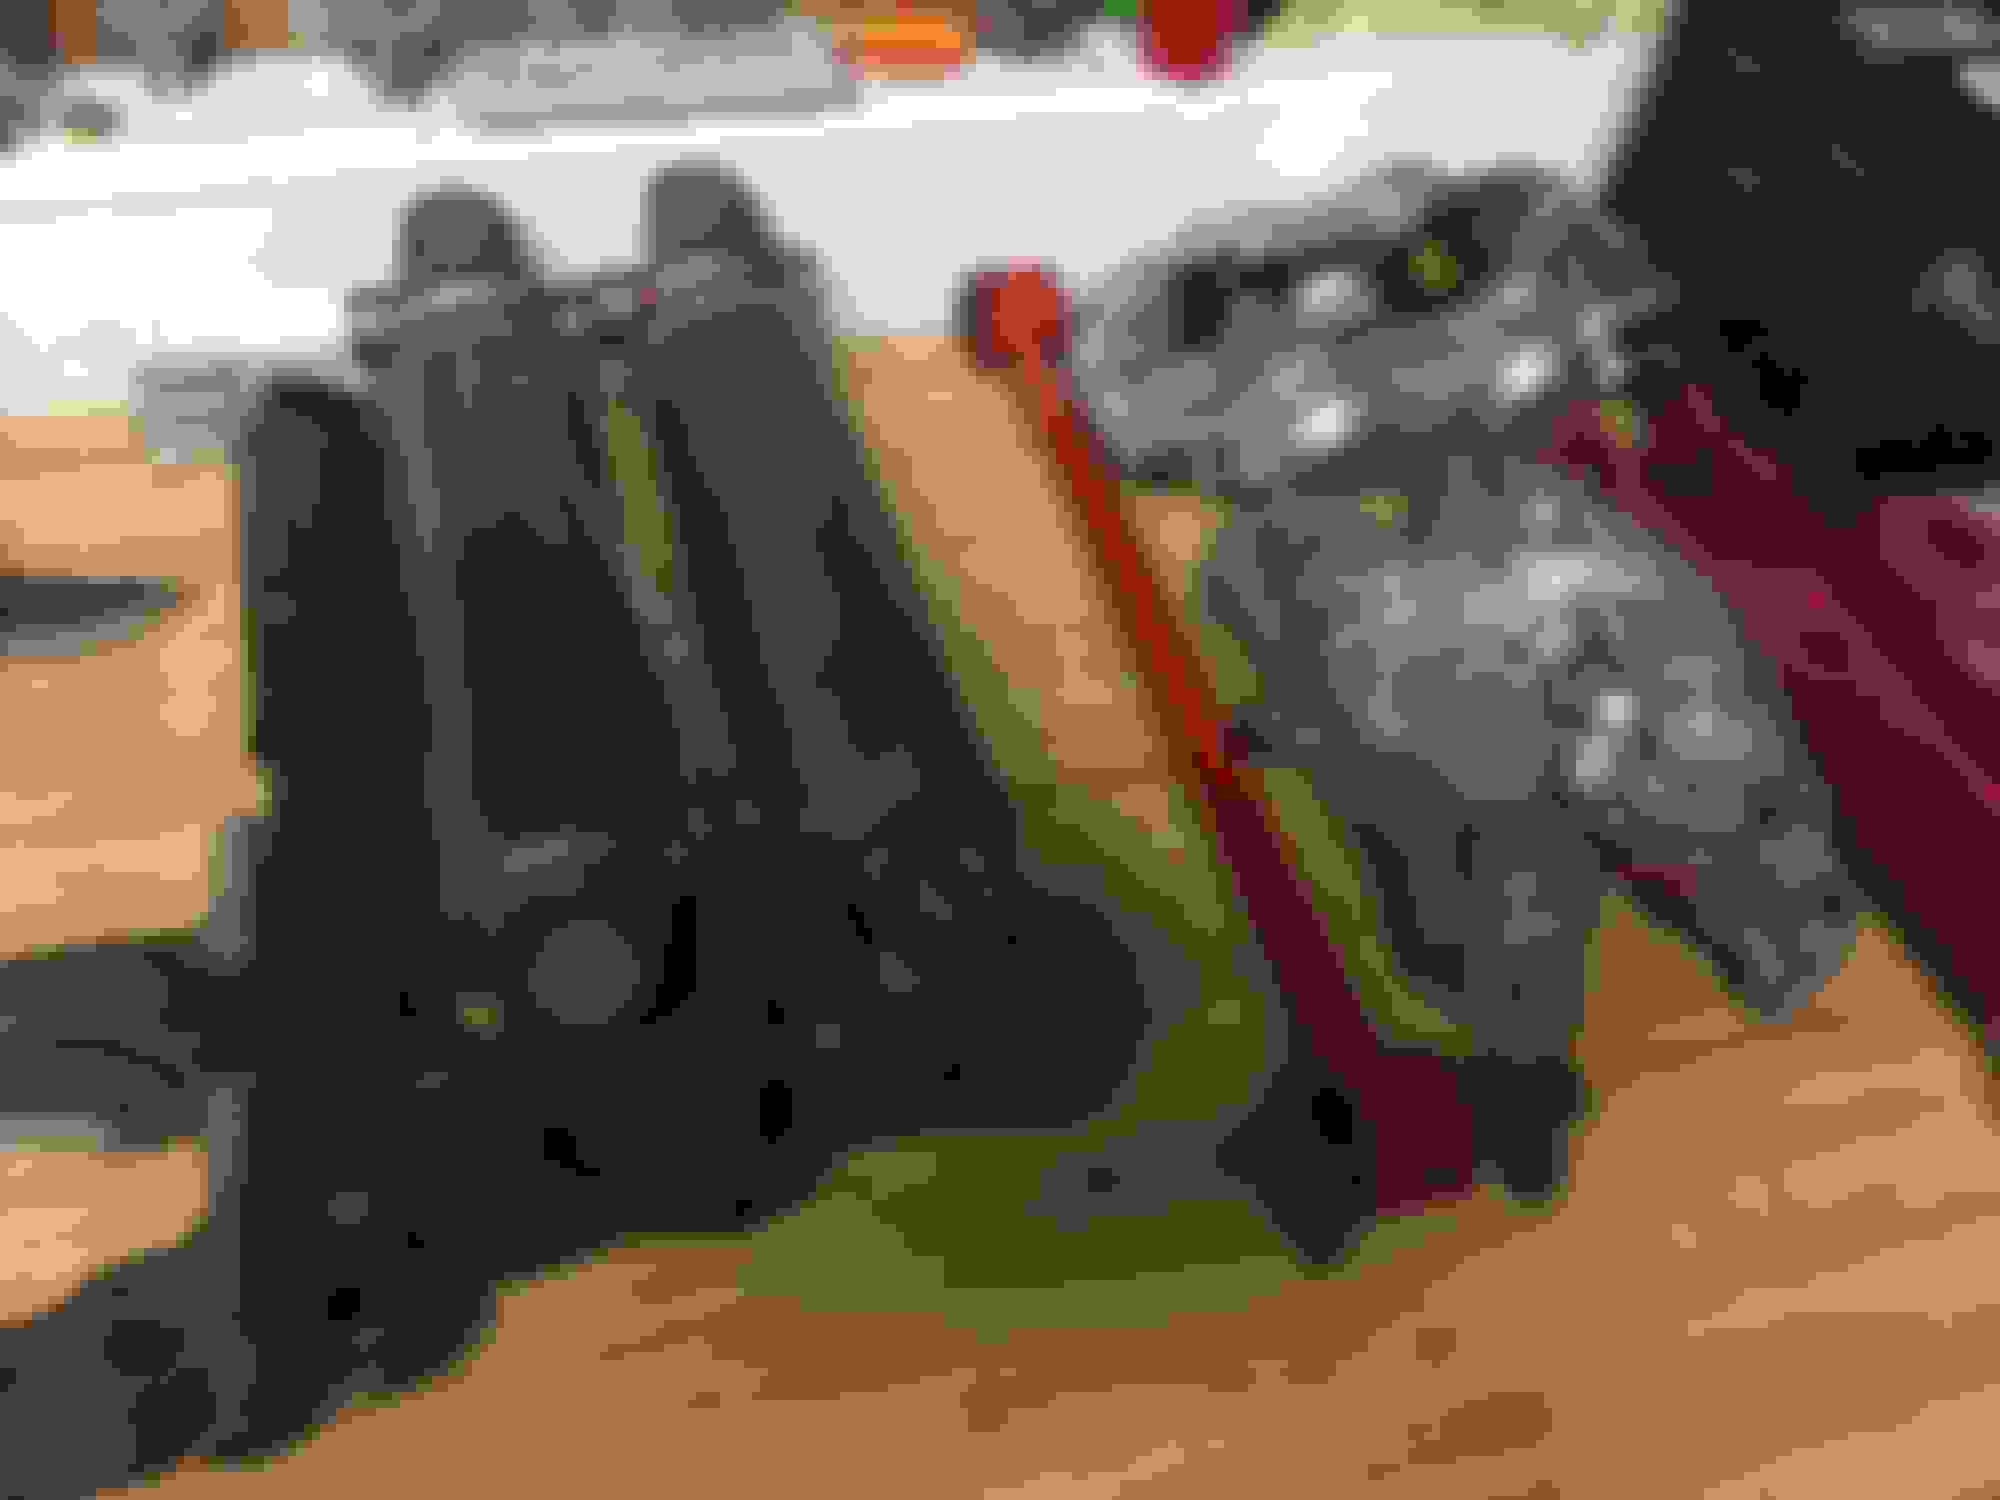
Next thing I did was to instead of reconditioning the original strut rods I decided to build my own Hiem joint ones with parts from speedway motors. I used 5/8 chromoly horns on both outer and inner joints. The swaged bar is a 13 inch unit. Sorry for not posting more in detail pictures but I essentially remove all for outer brackets for the original camber adjustment bolts and just welded thick 5/8 flat washers on both the inside and outside of the strut rod bracket filling in all gaps with welds. During the process I lowered the bolt holes 1/2 from the factory holes so the strut rods ride more even to the half shafts and this helps keep the camber geometry stable during the rear suspensions travel. I then blasted and powder coated the bracket. Here is one of the rods installed on the completed suspension. I decided to powder coat the bars black. Here you can clearly the modification to the strut rod bracket. Here is the back side. New 5/8 volt with castle nut and cotter pin.
So on to one of last of the major components that make up the rear suspension. The rear spring. Replaced buy the P.O. in 2008. Since this car still hadn�t been driven, the spring I consider it to be new. It did look crusty and the plastic liners were splitting and overall just looked nasty. So apart it came and a good cleaning and some new liners and it was back in business. At that point I was finally able to start reassembling the rear suspension. ( forgot to take a picture of the finished spring )


 10-24-2015, 08:38 PM